• Please visit and share your knowledge at our sister communities:
  • If you have not, please join our official Homebrewing Facebook Group!

    Homebrewing Facebook Group

About Time To Document This (Strut/Penrose/BCS-460 System)

Homebrew Talk

Help Support Homebrew Talk:

This site may earn a commission from merchant affiliate links, including eBay, Amazon, and others.
Nice.

Where did you get that mesh hop filter? Did you make it? It seems to fit the height of your bk perfectly. I would love to have one of those myself...
 
Nice.

Where did you get that mesh hop filter? Did you make it? It seems to fit the height of your bk perfectly. I would love to have one of those myself...

A member on here makes them, chads454. He'll make them to your specs and the prices are very reasonable IMO. I got the 4" diameter version, though I'm a bit concerned with utilization right now. Might upgrade to the 6" diameter in the future.

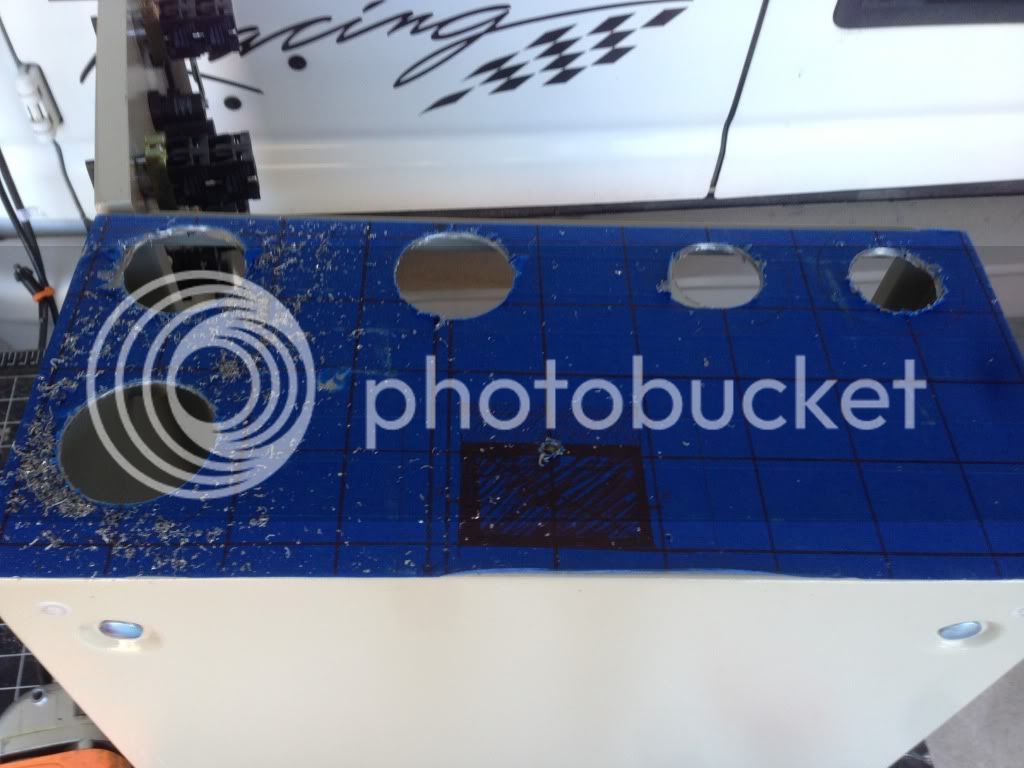
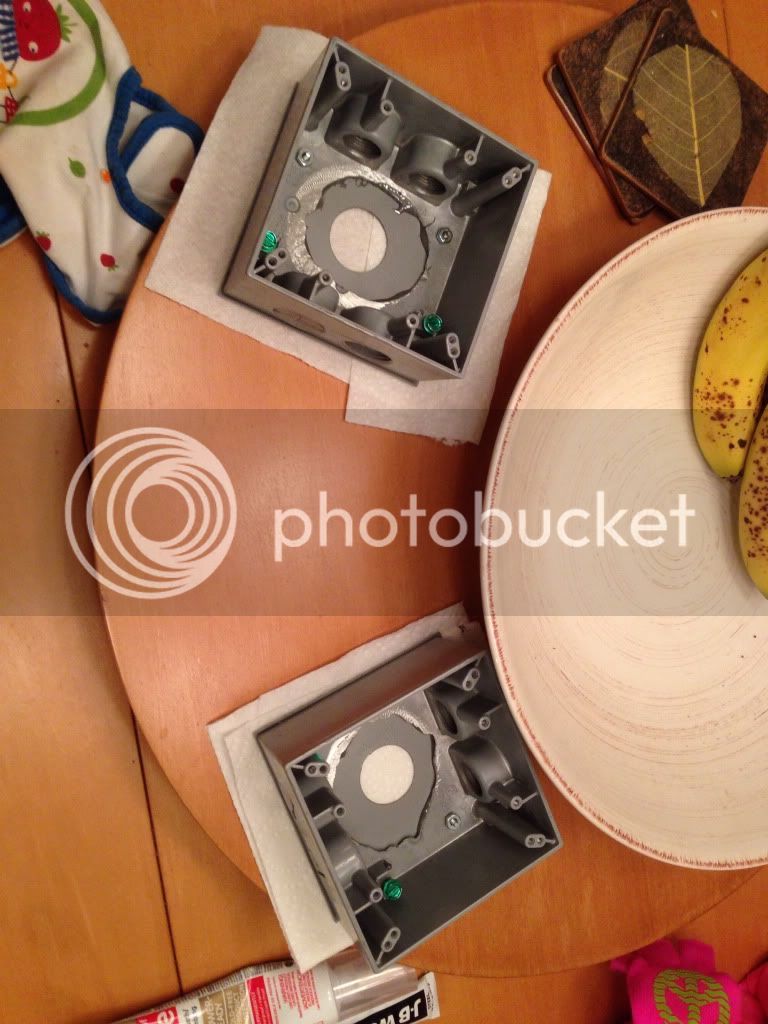
Actually made progress today, finally got the bottom holes drilled. Crappy pic before I cut out the area for the cat 5 jacks:


The holes were pretty annoying. The 2-1/8" hole was slightly small and required some extra time with a drill to fit the power inlet. The 2" holes were not bad (despite being the ones that had a caveat in the tools list in the eBrewSupply instructions), I touched them up with a sandpaper bit and they were nice and smooth. The 1-1/2" holes were notably smaller than they should have been. I completely destroyed my sandpaper bit removing enough material to get the pump outlets to fit. I'd recommend a 1-5/8" hole saw here, it shouldn't interfere with the two screw holes and it will be way easier overall. Also, despite my best efforts, everything isn't lined up quite as nicely as I had hoped. Meh, just aesthetics.

I need to chop a bit off my DIN rail to mount up the contactors (went with the cheaper ones) and I should be set to mount everything inside. Then on to wiring. At some point I'll get serious about the kettles too, though I need to keep one intact as my interim brew kettle for the time being.
 
County Line guys? Might have to take a trip across town to check it out. And you build.

http://www.kickstarter.com/projects/1364509187/county-line-brewing?ref=live

Haven't tried their beer but I hear good things. Hoping for the best, the pro brewers in the valley right now are quite hit or miss in my eyes.

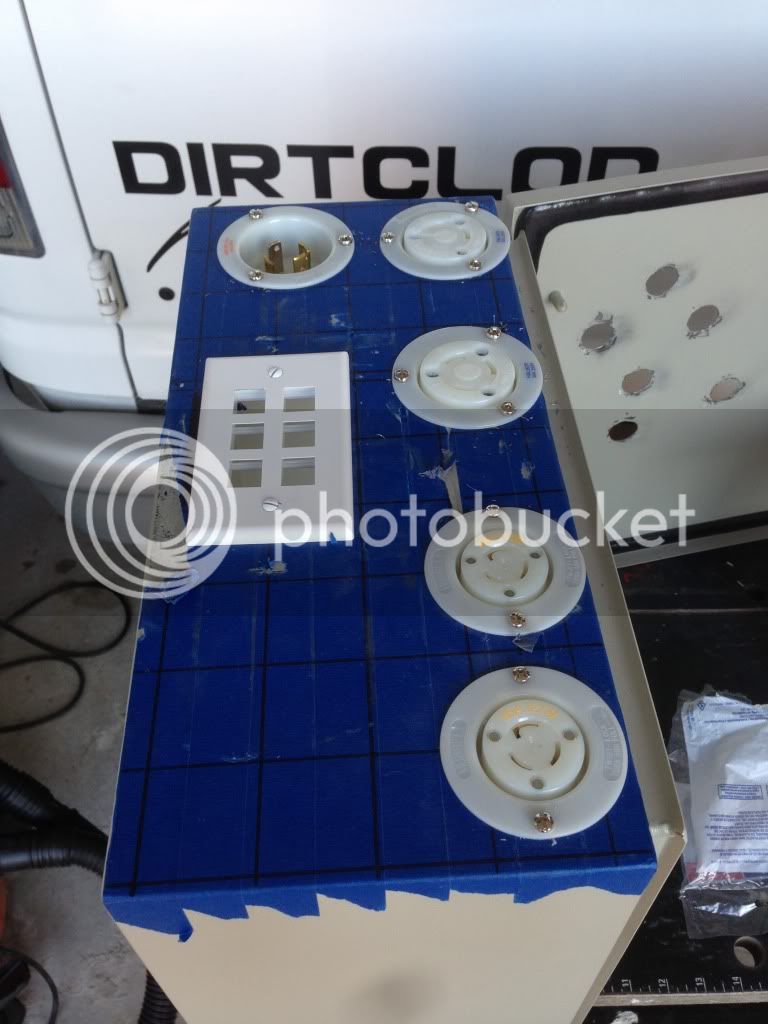
A bit more done, mocked everything up with hardware to get a visual of how bad my misalignment was:


Not bad after all, a bit of overhang on the element outlets but nothing that should interfere with the door.

I believe that concludes the enclosure, I wasn't originally planning on painting it but it's gotten pretty beaten up so I may have to after all. I think I've got a couple cans of flat black I may have to put to use.
 
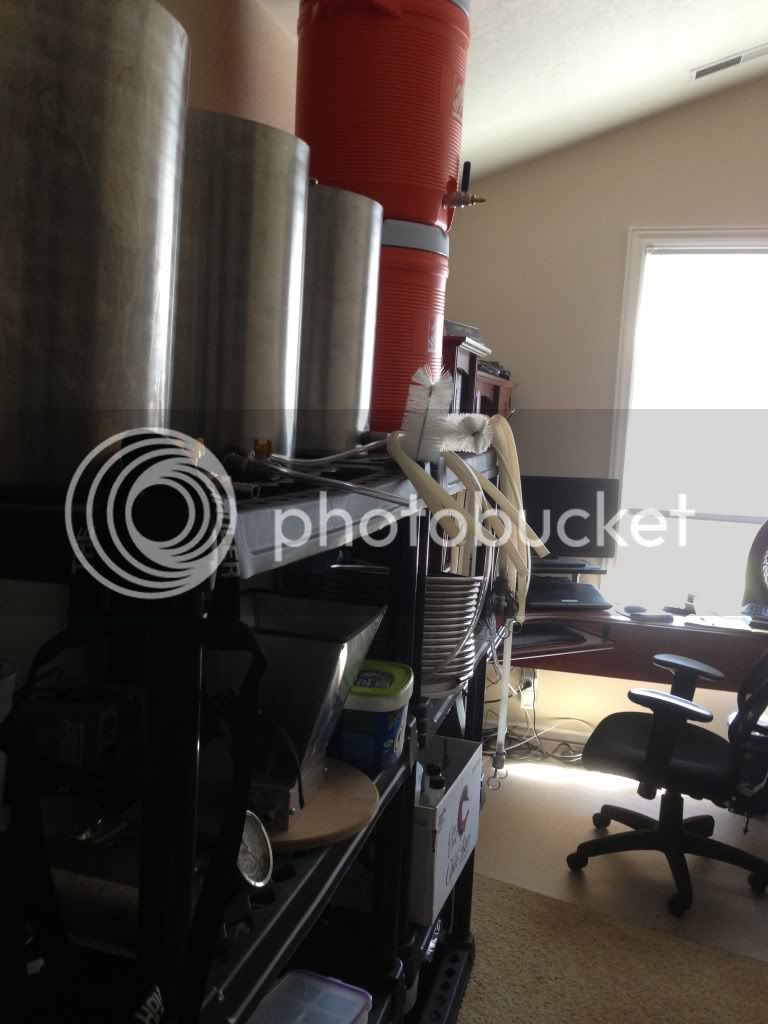
This is what taunts me every day:


Shelves full of parts that need to be installed or assembled so I can get this thing brewing.
 
No progress as of late :smack:

Needed to catch up on brewing so I knocked out two this weekend to fill up my fermentation chamber and eventually my two empty taps. Hoping to get back to this tomorrow, fingers crossed.
 
Progress!

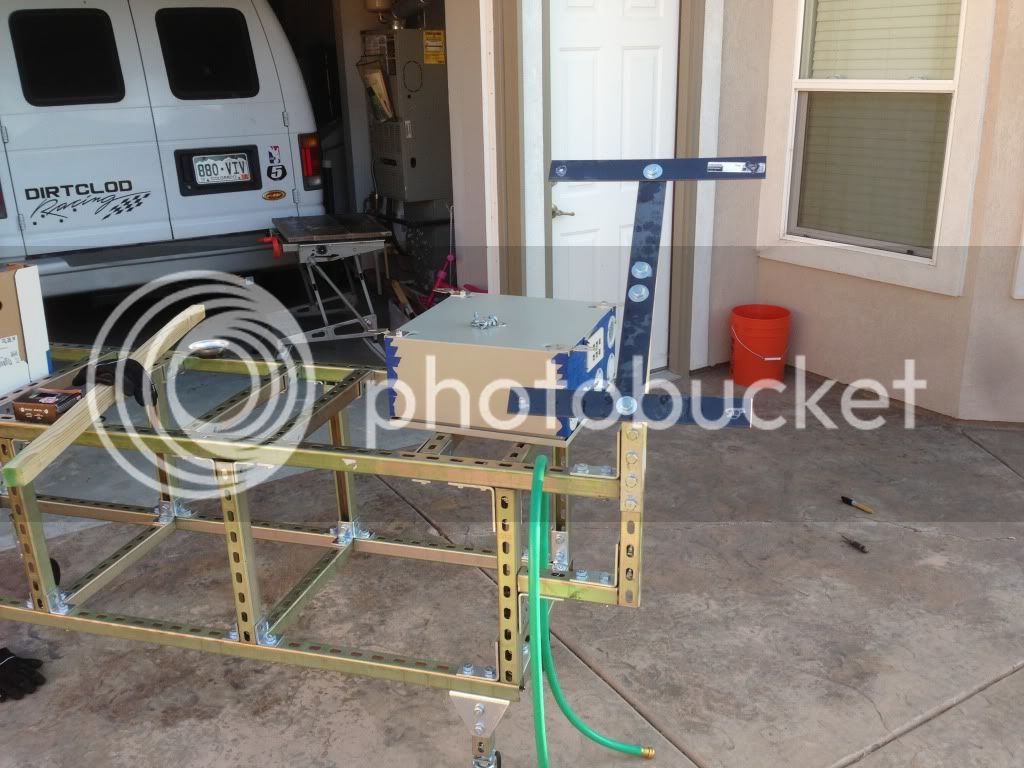
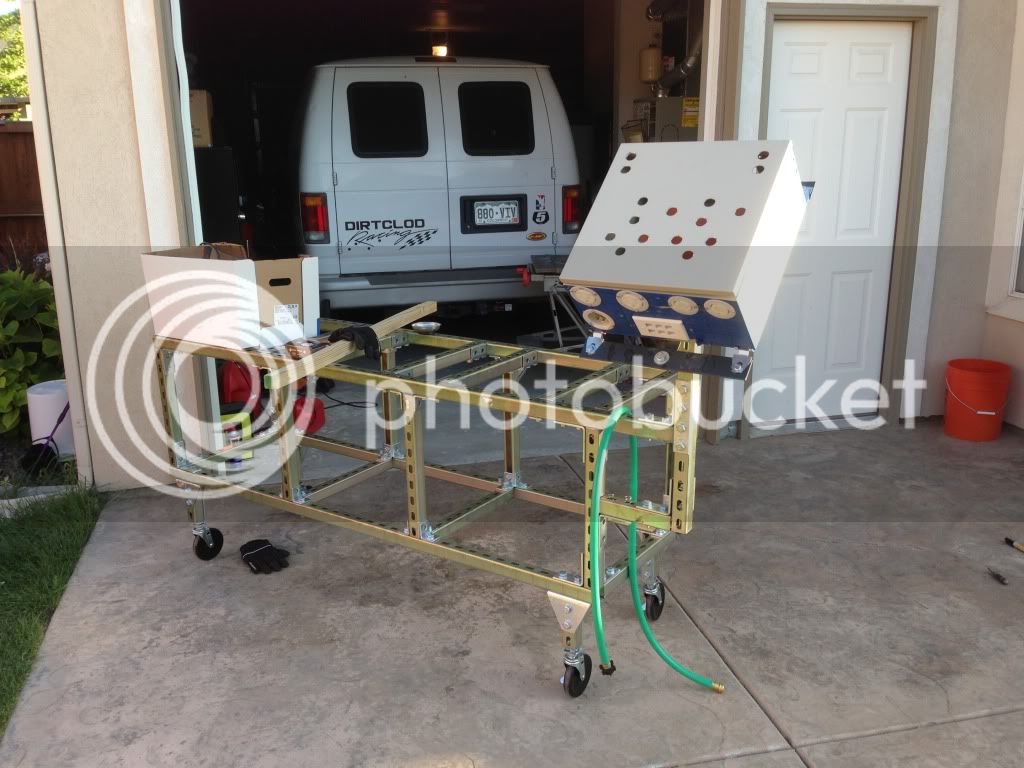
Needed to get the control panel mounted to the stand, I spent about an hour wandering around Home Depot a couple weeks back trying to figure something out. This is what I came up with:


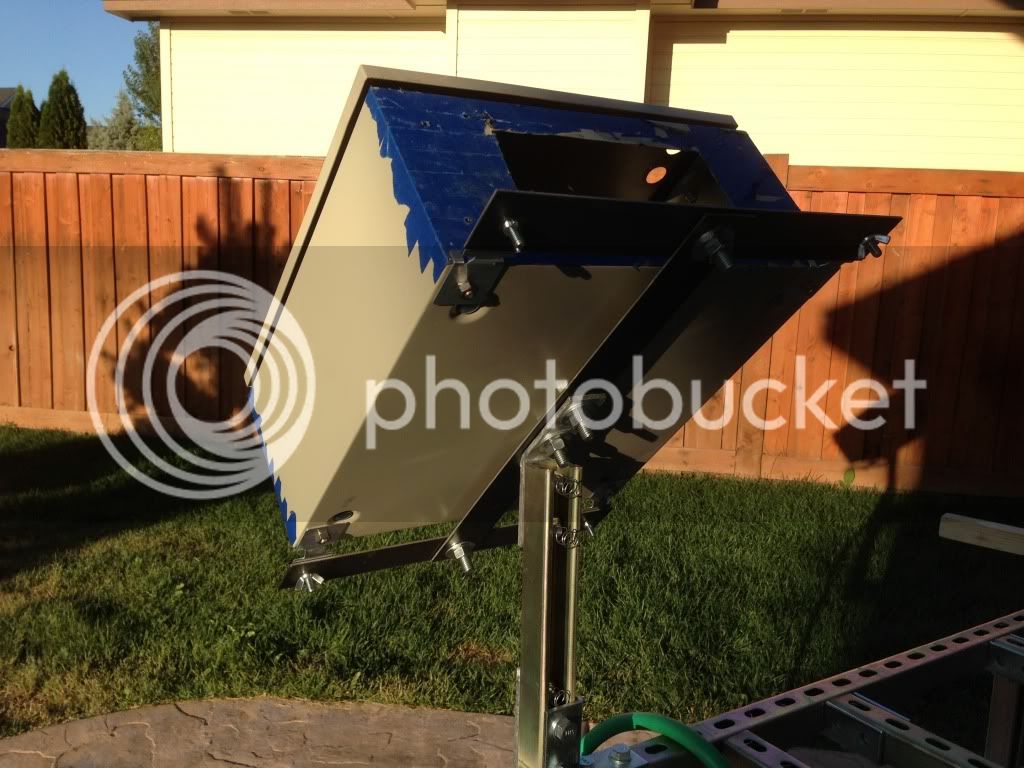
The box has 4 mounts, you could hard mount through the box if you wanted but it came with nice little "feet" and I wanted to make it easy to remove if needed (ideally I'll be able to put this stand on end for storage). Everything connecting to the box unplugs so no need to leave it on there when not in use. I came up with a sideways "H" of sorts. The two holes in the middle mount to the stand, the legs connect with 1/2" bolts, and the box mounting feet are connected with bolts and wing nuts.

Box mounted:


Backside:


Looks like it should work, semi rigid and easy peasy to remove. It definitely confirmed my thought that the stand is too tall though, the top of the control box is damn near eye level for me and I'm 6'2". I think I'll pull the legs and put the casters directly on the bottom rectangle.

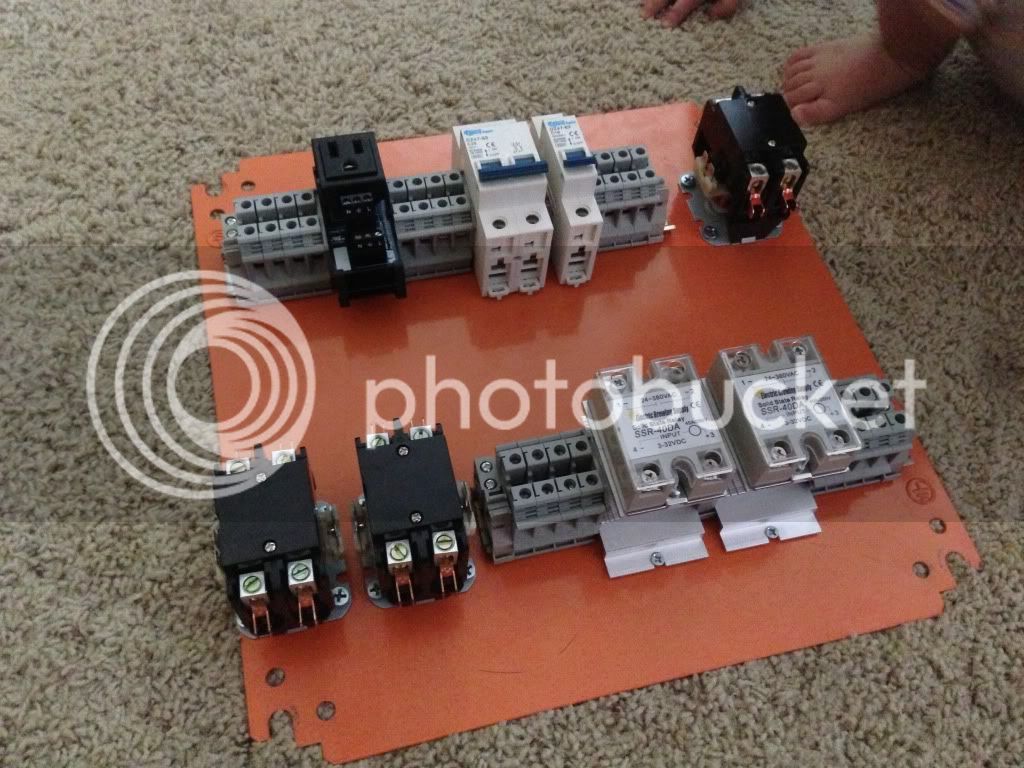
With any luck I'll be able to trim the DIN rail I need to tomorrow (went with the cheap contactors, they're not DIN mount) and start mounting everything to the ground plane in the box. From there it's mostly wiring and paint left on the control panel. Need to get working on the kettles at some point too, dreading drilling the stainless... More to come.
 
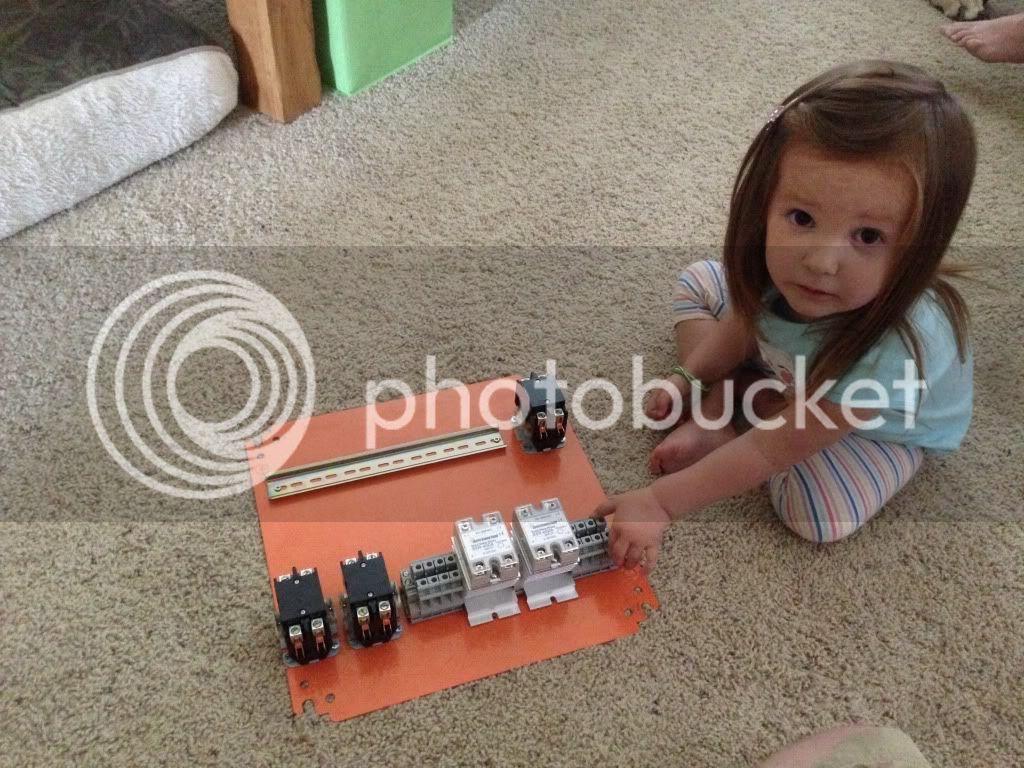
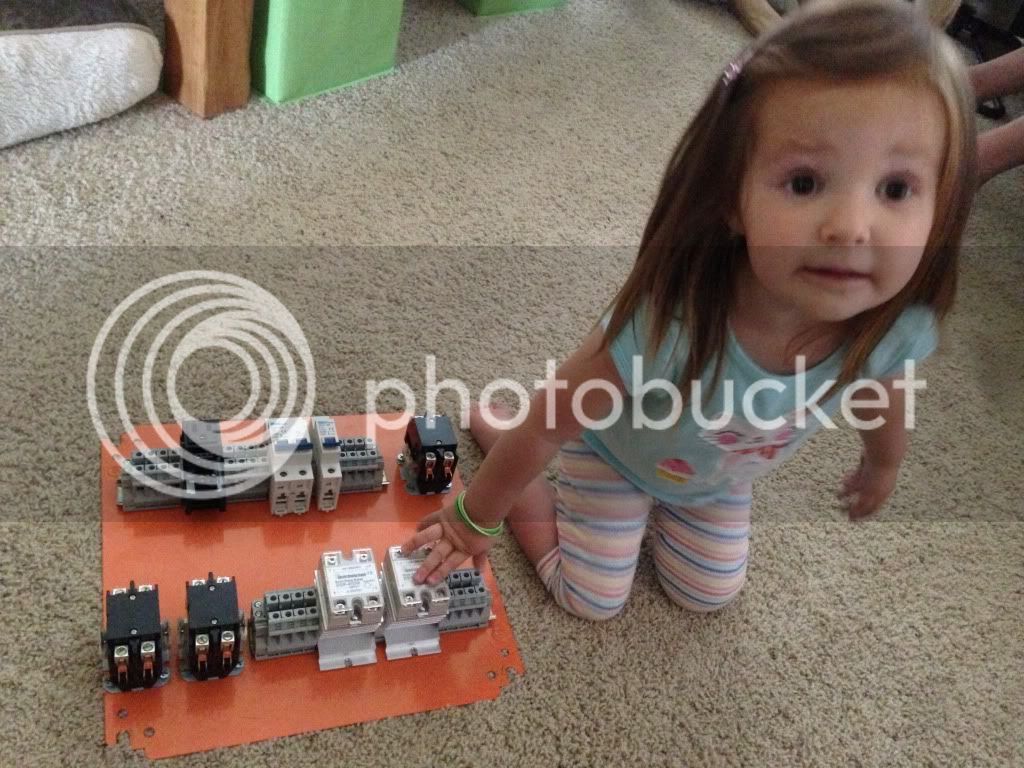
And a bit more progress, got the DIN and ground plane stuff mounted tonight. My daughter insisted on helping:


And explaining the components to me:


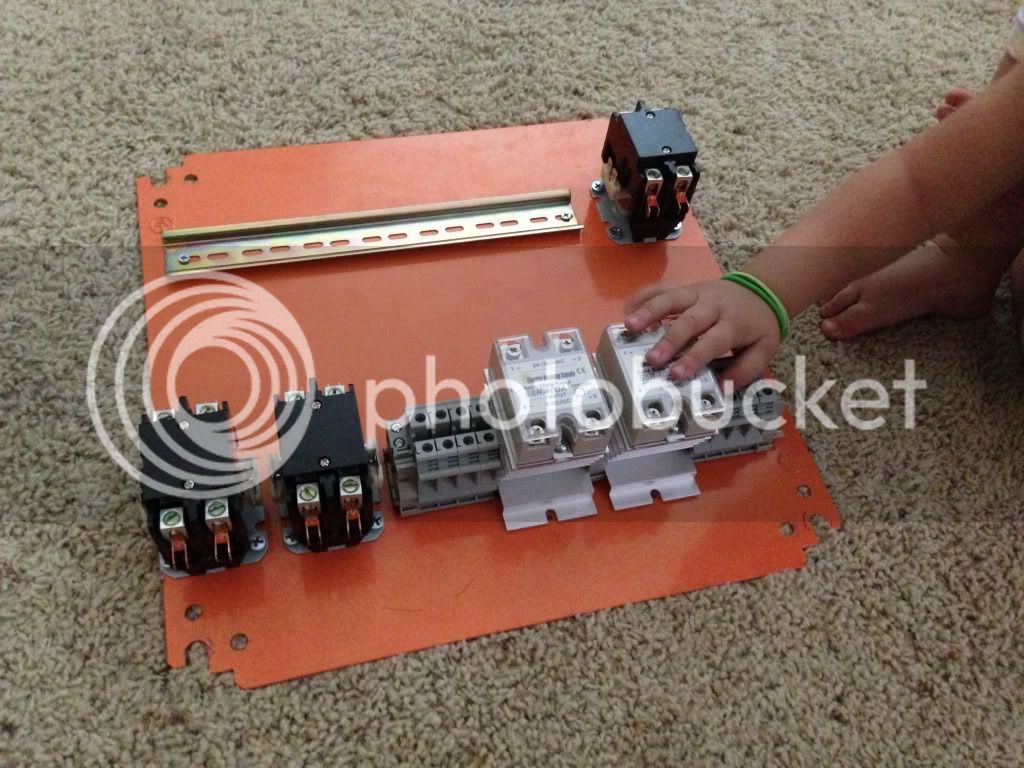
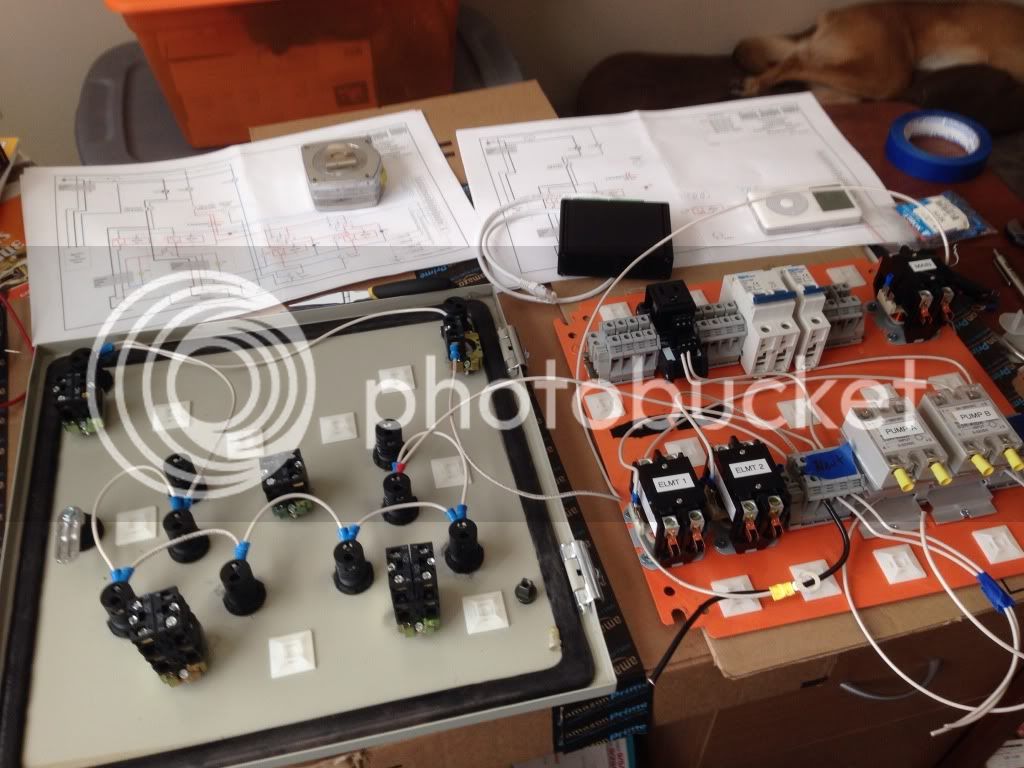
Finished product:


If I can paint the enclosure this weekend I'll mount this back up inside and get to the actual wiring of everything. I exchanged a few emails with eBrewSupply, I believe I understand everything and with any luck won't screw it up :).
 
looking good hyper, and a great helper there.

Side note: See there is nano over on your side of town trying to get going...Haff Brewery? I believe. My side just has a full brewery with Slanted rock..and $2 Tuesday's.Not that 4 miles to your side is a far trip lol.
 
looking good hyper, and a great helper there.

Side note: See there is nano over on your side of town trying to get going...Haff Brewery? I believe. My side just has a full brewery with Slanted rock..and $2 Tuesday's.Not that 4 miles to your side is a far trip lol.

There are some folks in this neighborhood trying to start up County Line, their Kickstarter isn't going too well though. Haven't heard of Haff but they show up on Google, I'll keep an ear open. They're popping up left and right around here...

I like the $2 Tuesdays at Slanted Rock but I'm not a big fan of their beer. They have an awesome setup and I haven't tasted any flaws, they just have rather bland recipes. I wish they'd put the IPA on one of their nitro taps, I think I'd enjoy that enough to make the trek over.
 
For cutting steel electrical enclosures with a jig saw, we have always used the finest toothed blade you can find. I usually shoot for 2-3 teeth engaged in the cut thickness. This will greatly reduce having a bunch of chatter and shaking your arm off. I am also an ME and a machine designer. For some really cool labels, have you considered laser etching? You can buy stainless tags of various sizes for pretty cheap and with different finishes ranging in mirror polished down to rough brushed. You can buy them with either holes for riveting, or adhesive backed. My local laser guy can get his laser to etch in green, purple, or black. He can also scan any picture or graphics so you could use any font or logo you want. Small batch single run stuff like this he usually only charges me a setup fee of $50-$75. It may be a cool custom option if you can find something similar in your neck of the woods or online. I think the stainless labels with the flat black box would look badass.
 
For cutting steel electrical enclosures with a jig saw, we have always used the finest toothed blade you can find. I usually shoot for 2-3 teeth engaged in the cut thickness. This will greatly reduce having a bunch of chatter and shaking your arm off. I am also an ME and a machine designer. For some really cool labels, have you considered laser etching? You can buy stainless tags of various sizes for pretty cheap and with different finishes ranging in mirror polished down to rough brushed. You can buy them with either holes for riveting, or adhesive backed. My local laser guy can get his laser to etch in green, purple, or black. He can also scan any picture or graphics so you could use any font or logo you want. Small batch single run stuff like this he usually only charges me a setup fee of $50-$75. It may be a cool custom option if you can find something similar in your neck of the woods or online. I think the stainless labels with the flat black box would look badass.

I like the stainless idea, I think I'll have to see if anyone local does laser etching. I knew a guy in CO, not here though.

Definitely agree with you on the proper blade, I did it with a larger toothed blade and it shook like mad. But it's done :).
 
Definitely agree with you on the proper blade, I did it with a larger toothed blade and it shook like mad. But it's done .

Find anyone with a cnc (even a hobby tabletop model) in your area, the labels are made from "tri-laminate" poly stock, you engrave the color on top showing the color in the middle of the laminate. Trophy shops normally have it too to make desk-door signs. If you can't find local, I have a antique (cantankerous) old bridgeport cnc I converted.

FOR the holes, (yes I know you are done) I have been using a plasma cutter with a template for about fifteen years now. Ten seconds per hole. HOLD the template, scribe with plasma torch, done. In Powerplants a jig saw vibration may knock offline relays controlling power and cities go black.

(thank you for putting me onto Chad for the filters, I will be in touch with him)

Trust me, if I had something else available I would have used it :). If I were to do it again I might have the eBrewSupply guys just sell me a pre-drilled enclosure, I'm guessing the cost difference would be smaller than the price of all the tools I used. That said it was still fun and a good learning experience.

Back on the build progress topic, I've been out of town on business all week and I'm trucking a motorcycle up to Seattle so we'll see if I make any progress this weekend. Luckily the wife starts up at work again Monday so the kids go to daycare and I have some time over lunch breaks to work. Someday I'll finish this :).
 
No updates as of late :(

Sold a motorcycle, bought a motorcycle, rode the hell out of said motorcycle, did some work travel, harvested and dried my hops, brewed a few beers, etc. Been a busy August. I've got a minor procedure later today that's going to limit my activity this weekend, that should allow me to get the enclosure painted and stuffed, then wiring. Once that's done I'll start up on the kettles, hopefully next week. Maybe...
 
Finally a bit more progress. Motorcycle season is coming to an end, so I'm finding time again :).

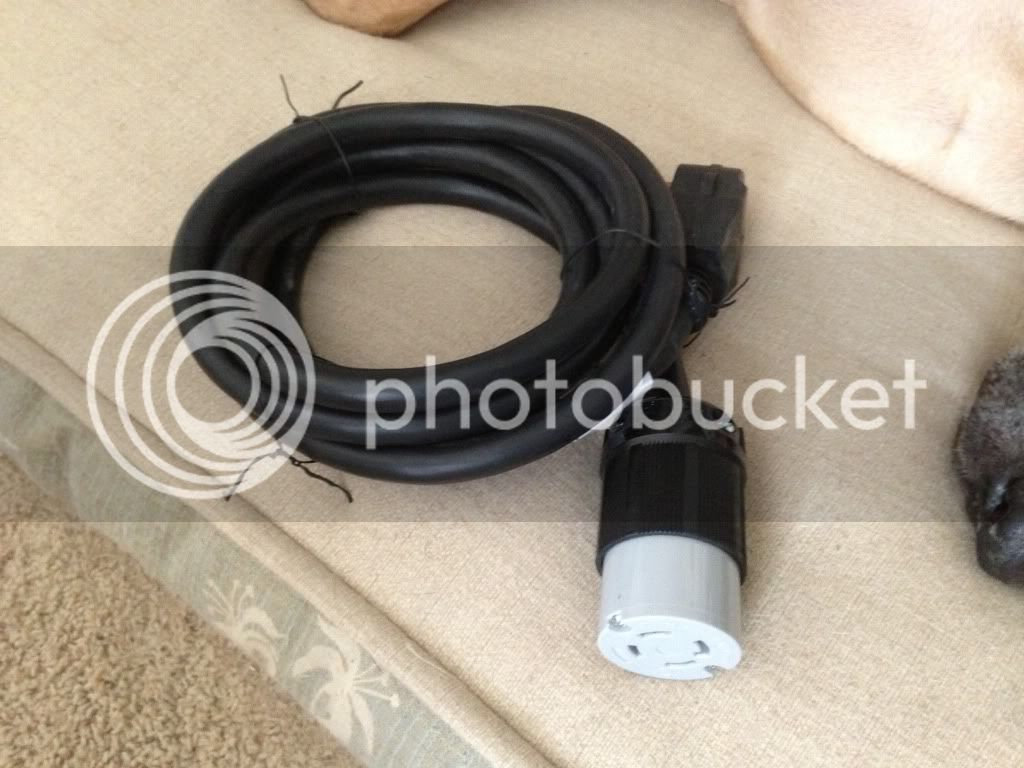
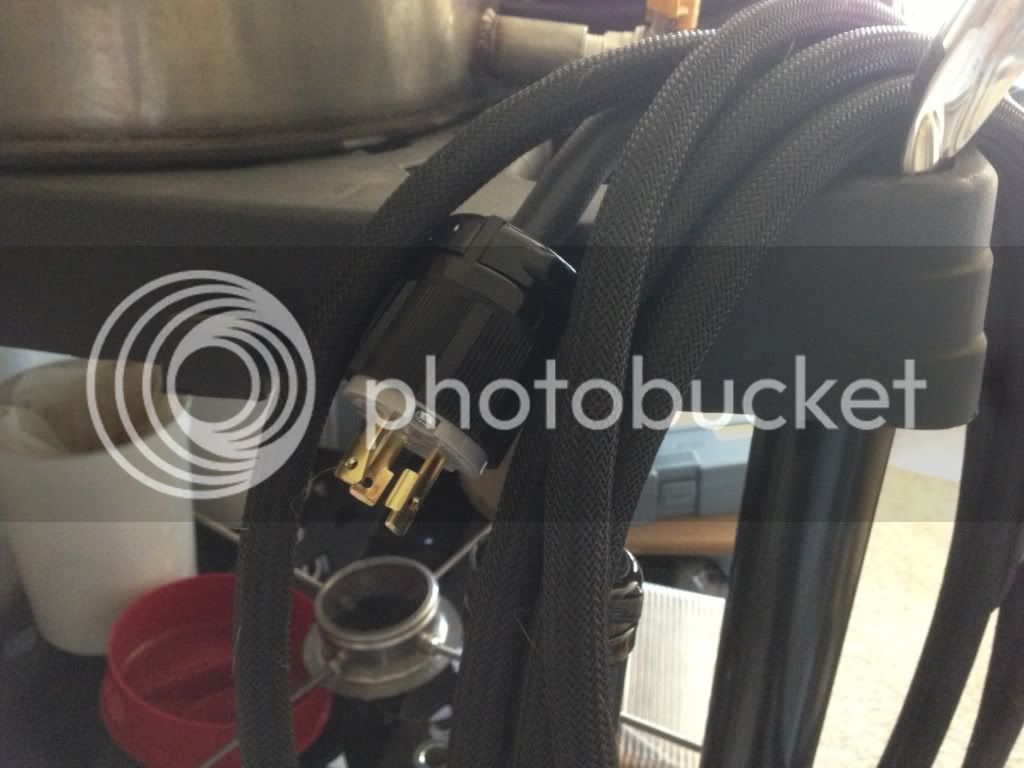
Power cord finished:


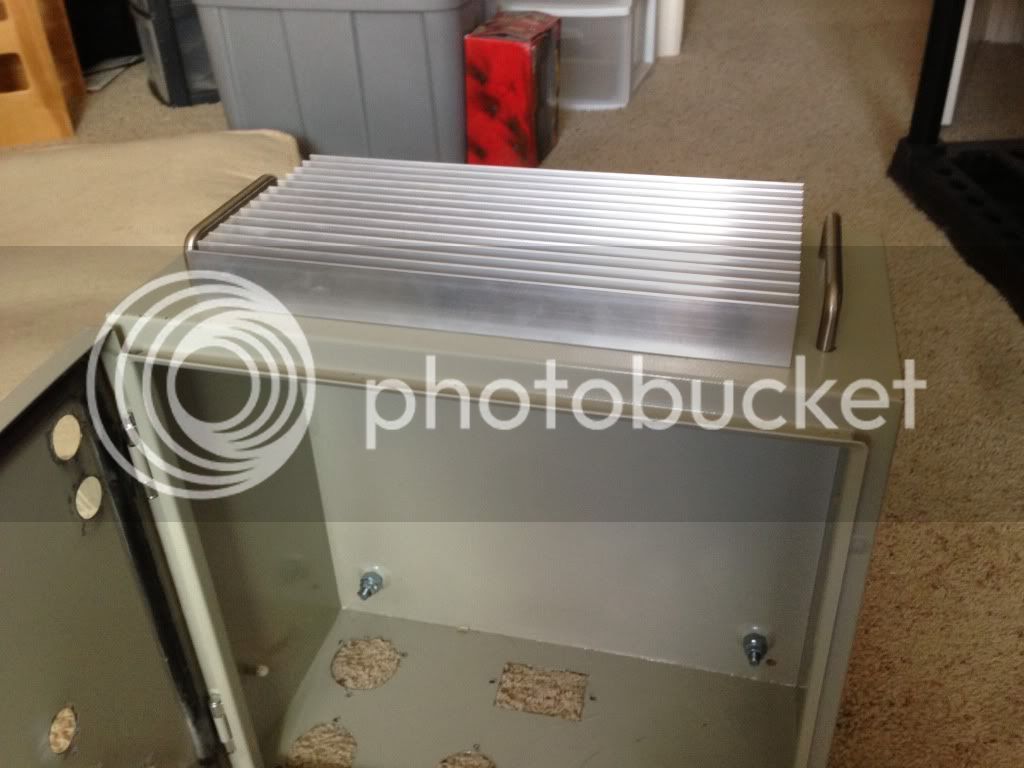
Took a closer look at the enclosure and decided not to paint it, the paint on there is not bad and I'm just not that concerned about the look, more the function. Heat sink is in:


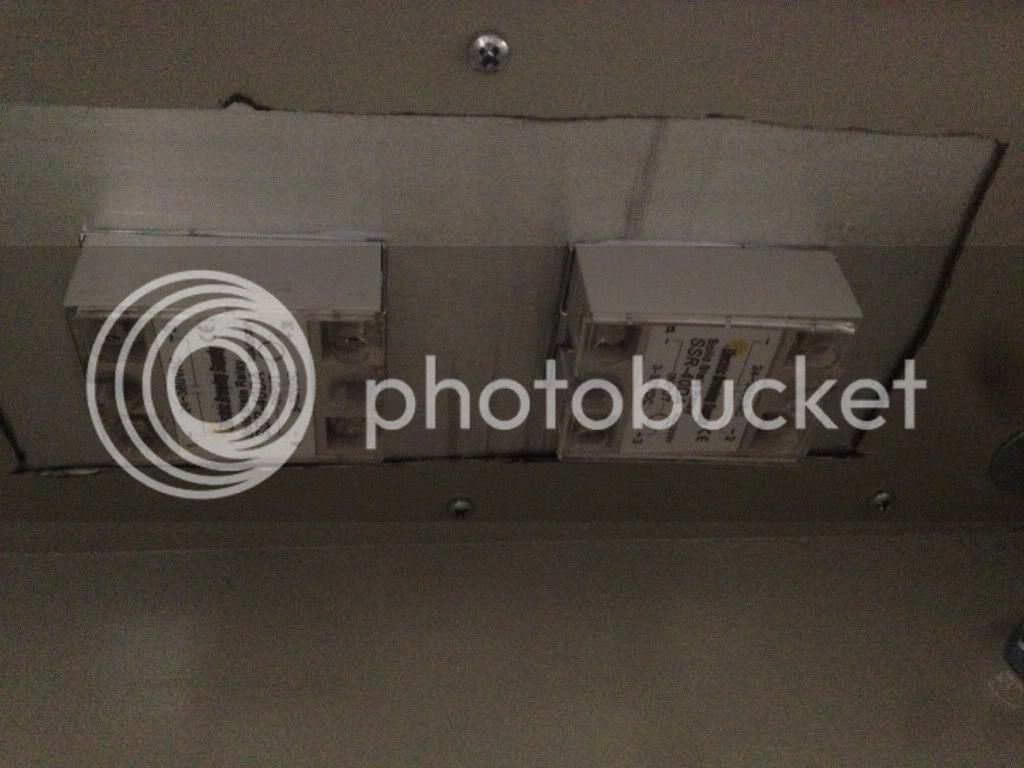
And the SSR's:


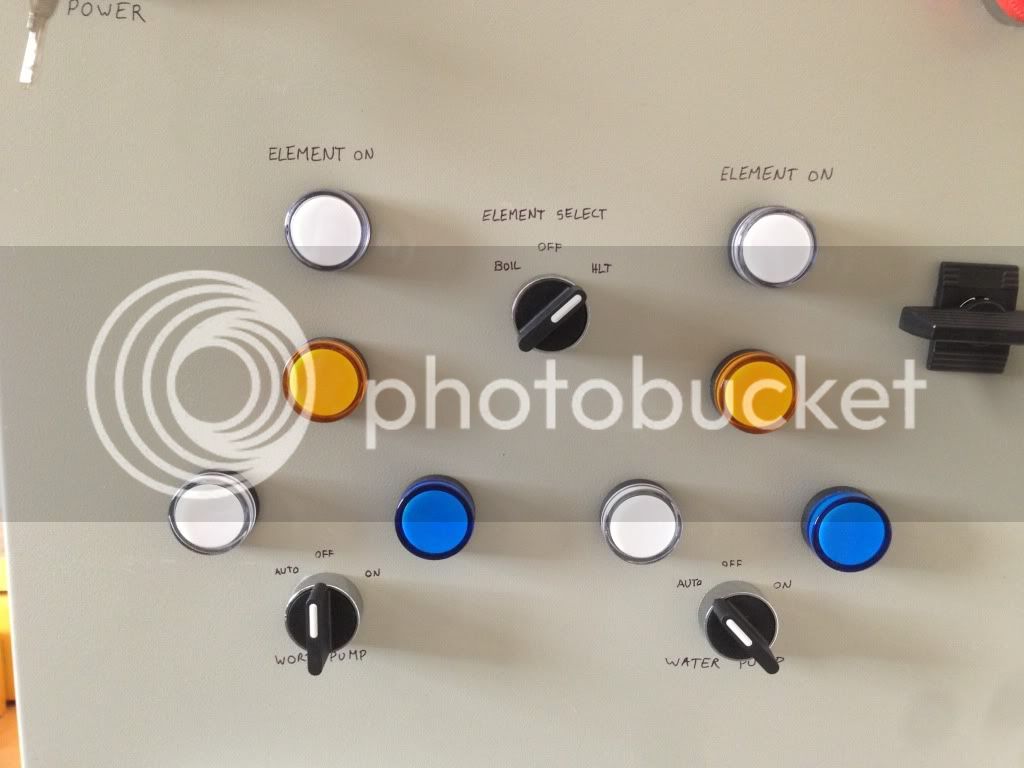
"Fancy" labels (we'll see if I get motivated enough to replace the sharpie):


And made up the element wires:

 
Got some wiring done this week, ground and neutral run:


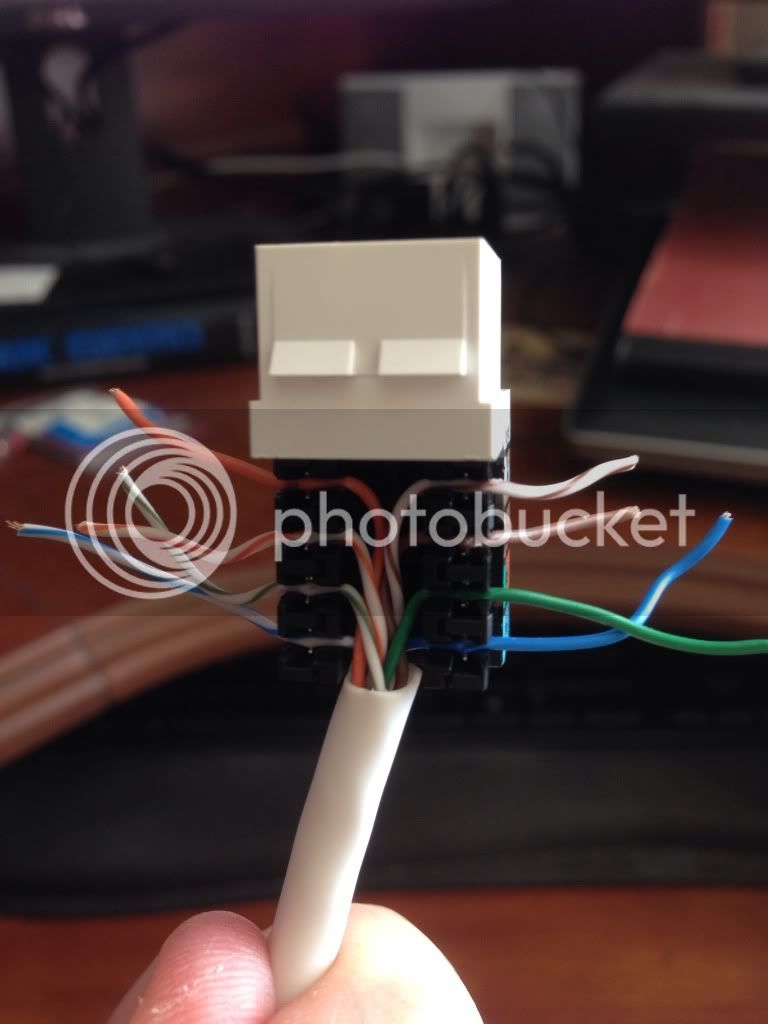
And started on the network connectors (totally new to me), I think I did alright:


It works fine, checked it when playing around with the BCS tonight, no issues. Looks like the BCS is good too, I'll have a bit of a learning curve but it appears doable enough.
 
Wow.

His cable is fine, and it appears he's using 568-B already.

WiringCat5OutletB.gif


Btw, it doesn't matter which wiring standard you use as long as both terminations for any segment conform to the same standard. You could bury 568-B home runs in the walls but use 568-A patch wires at either or both ends and everything will work just fine...

Cheers!
 
Also remember that the pinouts on the connectors vary by vendor.
 
Sorry for the late replies, taking longer than I would have hoped :cross:.

How did you get the 10% off at Strut Fittings?

Coupon code SAVE. Easy peasy.

Wow.

His cable is fine, and it appears he's using 568-B already.

WiringCat5OutletB.gif


Btw, it doesn't matter which wiring standard you use as long as both terminations for any segment conform to the same standard. You could bury 568-B home runs in the walls but use 568-A patch wires at either or both ends and everything will work just fine...

Cheers!

Also remember that the pinouts on the connectors vary by vendor.

It is 568-B, verified on the cable. Worked fine when testing out the BCS with just the wall wart. The temp probes are all 2 wires on pins 1 and 8 so I was able to cannibalize the other half of the cable for those connectors. So I think I'm good :D.

As for a real update, I've been busy. GABF and the like:


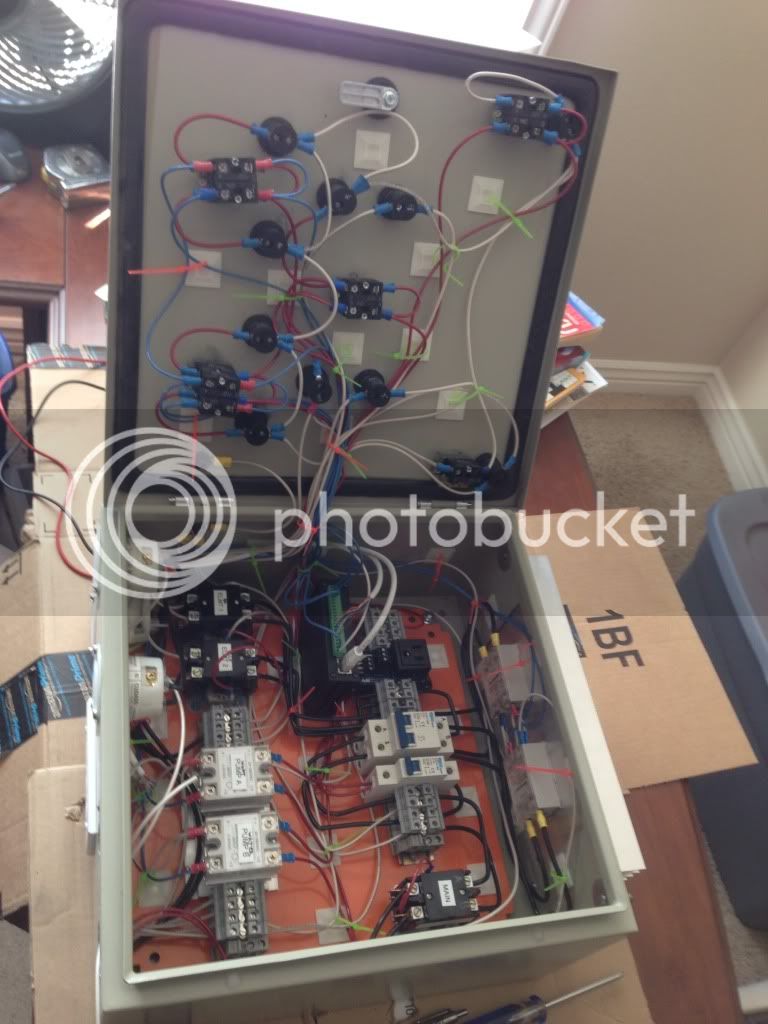
I've also been hard at work wiring, just about done. All I have left is the blanking plate for the 6th hole in the ethernet wall plate and the pump outlets (leaving them off until I get the ethernet plate all finished). Nice little rats nest:


Should be buttoned up by tomorrow. Then I have to bite the bullet and start drilling stainless. My least favorite part...
 
Control panel is done. Feels good man. Threw the twist lock connectors on the pumps so those are more or less done too. Running out of things to do that aren't drilling stainless...

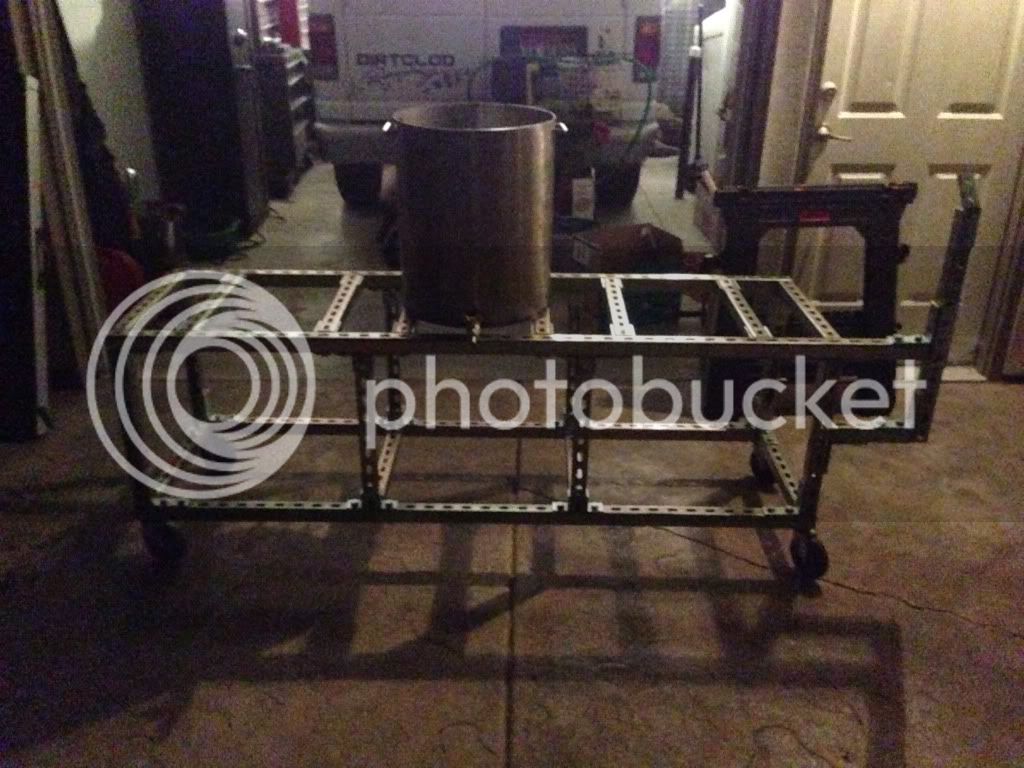
Worked on the stand a bit too, dropped the legs so it's at a nice height and more stable. Pic:


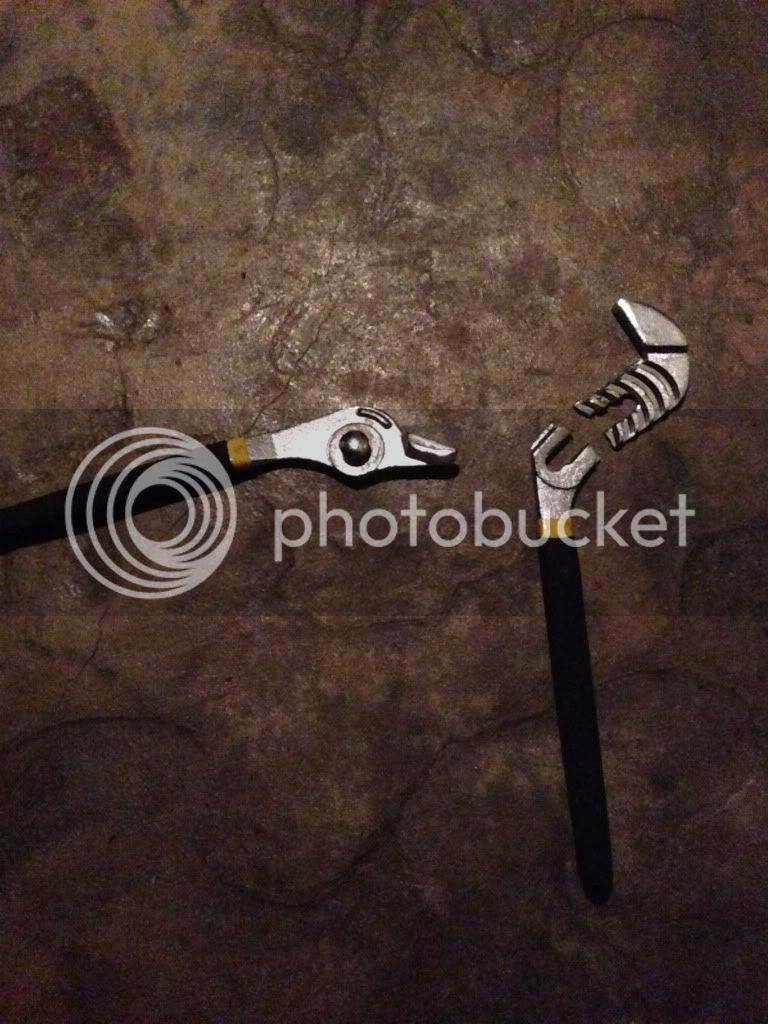
Did this in the process:


Meh, cheap Chinese junk anyways, I'll replace it tomorrow. Probably with more cheap Chinese junk. Then I somehow managed to break a filter wrench and a strap wrench changing my whole house filter, long story. Not a good night for tools in this house.
 
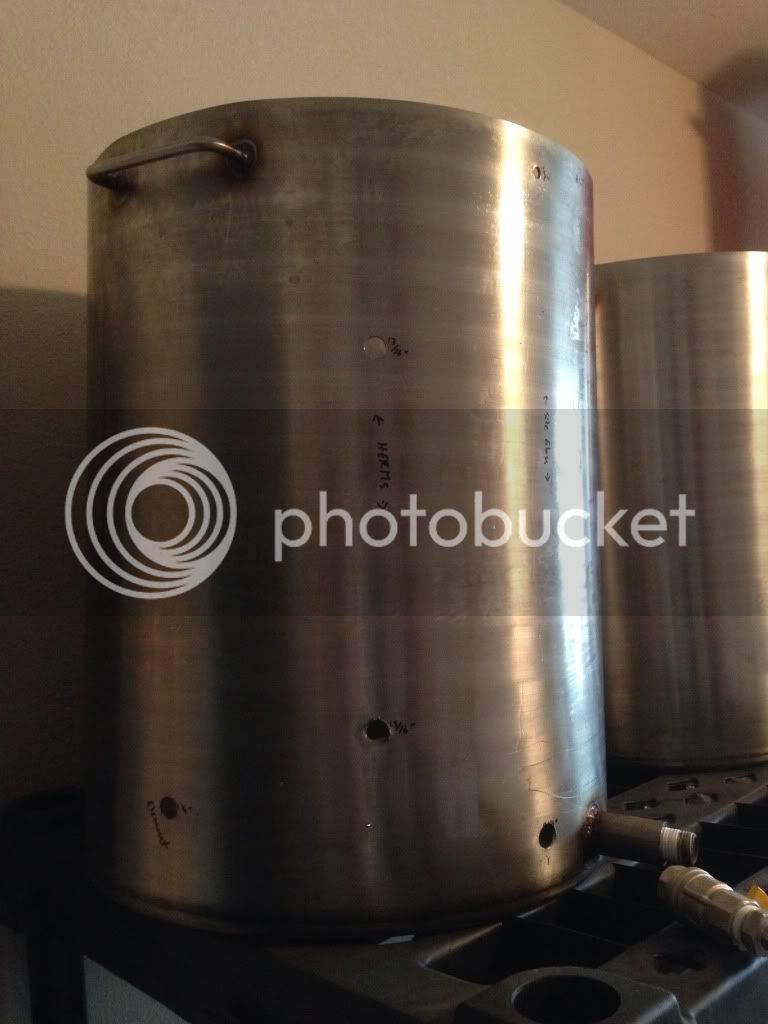
So the stainless drilling was...actually not that bad at all. Got a 1/2" and 1/4" bit from Lowes (Dewalt Cobalt, not cheap but they're good for stainless) and went to town. The odd thing was the 1/2" was way easier than the 1/4", both sans pilot holes (bits have a nice pilot point). All drilled and ready to start punching and assembling (HLT pic as it's got a bunch of holes):


Had to pause halfway through to chase down some neighborhood hooligans that were out smashing lightbulbs. I caught up to them quickly on my dirt bike and gave them a good deal of swearing and the like. Hopefully I scared them enough that they don't come back this way.

Might try to punch more holes today, we'll see. I've got this to keep me busy tonight:


Happy Halloween!
 
I was able to find some time to punch the final holes and get some fittings installed:


The conduit punches are pretty amazing, they just chompa chomp their way through and make an easy clean hole. Wish I had more reasons to use them.

One more note, in Kal's write up he mentions that you can probably use a hand drill to put the big holes in the element boxes. I disagree, I couldn't find a way to keep the hole saw from walking and ended up with holes way off target. As they're not super functional I'll probably just grind until I have enough clearance for the back of the element, but for those going this route, either use a drill press or devise another method, I'd try to dissuade you from the hand drill method.
 
Nice work! And I might have to borrow the punches from you sometime, I've got a smaller kettle I'd like to convert into a eBIAB to do smaller batches.

And that pumpkin ale was awesome!!!
 
Nice work! And I might have to borrow the punches from you sometime, I've got a smaller kettle I'd like to convert into a eBIAB to do smaller batches.

And that pumpkin ale was awesome!!!

Glad you guys made it over to have some, need to free up keg space as I'm sure I'll be brewing like crazy when this thing is done.

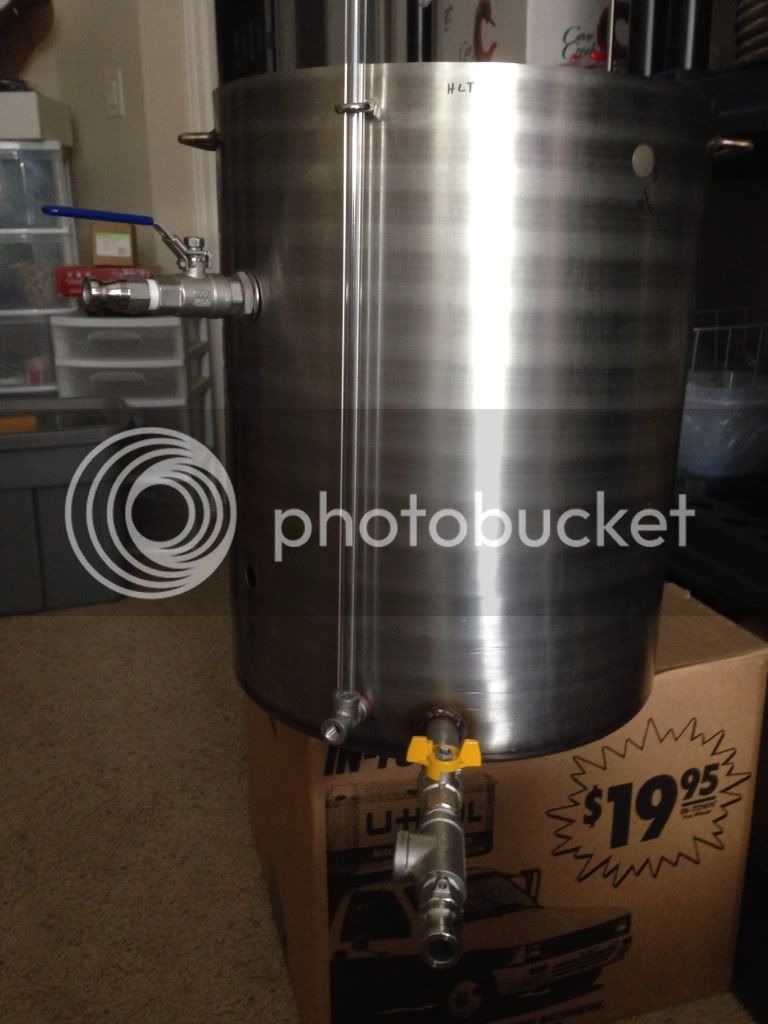
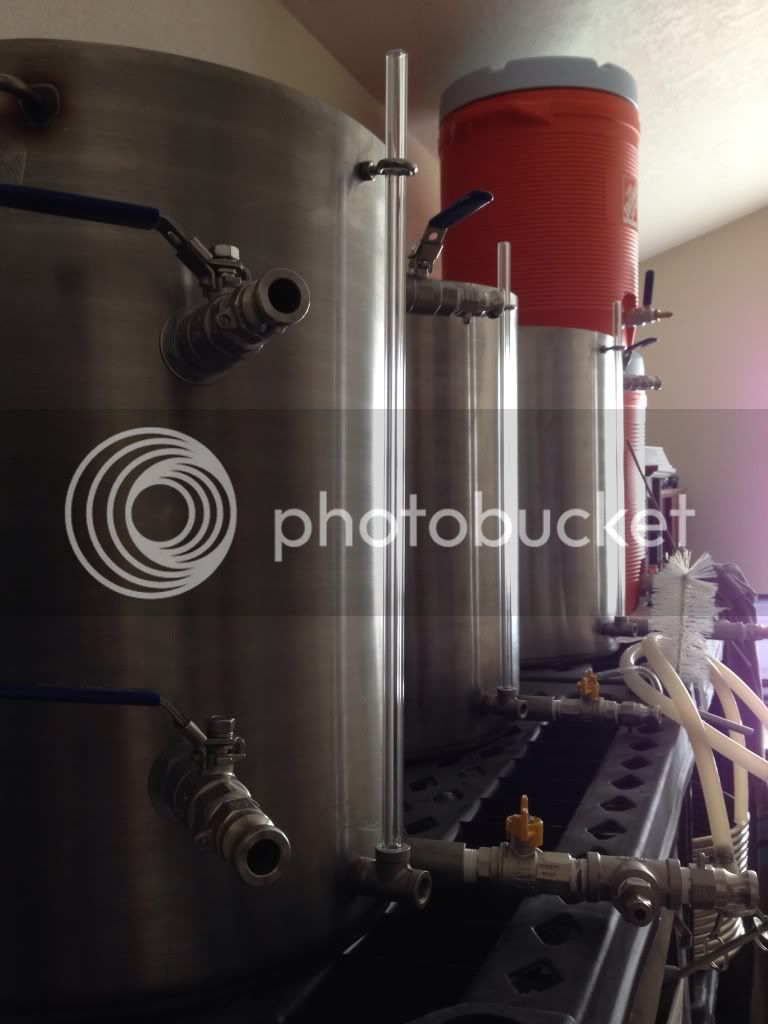
The last bit here has gone really quick. Installed all the fittings aside from the coil on the kettles today, they look like little R2D2's now:


Also, as mentioned above, the hole in the box needed significant rework and is now ugly. Luckily it's nice and hidden. Boxes drying overnight:


Not a ton left, if I can install the elements tomorrow I'll be doing some leak testing. Then install the HERMS coil, trim the sight glasses and put on the stickers, mount up the pumps and chiller on the stand, and once the power outlet is installed sometime next week, start experimenting with some water batches. Damn near exciting!
 

Latest posts

Back
Top