• Please visit and share your knowledge at our sister communities:
  • If you have not, please join our official Homebrewing Facebook Group!

    Homebrewing Facebook Group

80/20 Brew Stand

Homebrew Talk

Help Support Homebrew Talk:

This site may earn a commission from merchant affiliate links, including eBay, Amazon, and others.
Rhoobarb - I wish I would have found your stuff first, I found it a few days back and it definitely would have saved me some money.

I have about $120.00 in the 80/20 parts and about $80 in Home Depot parts (Plumbing Pieces mostly)
 
Me, too! No cutting charges and we have a lot of coatings. I'm thinking of using 'safety yellow' near the burners.:cross: But 80/20 is good stuff, I'm sure you'll be more than happy. And $120 isn't too bad.

Post some pics when you get to the burner mounting stage. I'm curious as to how you will be mounting them so they don't absorb heat to the main frame. I'm looking at either a 2- or 3-tier system myself.

Rhoobarb - I wish I would have found your stuff first, I found it a few days back and it definitely would have saved me some money.

I have about $120.00 in the 80/20 parts and about $80 in Home Depot parts (Plumbing Pieces mostly)
 
So Rhoobarb, you work for Misumi? Nice. I like how they roll. We built a big tape coating system recently using mostly your stuff. Keep up the good work.
Yes, I do. Thanks, glad we could come through for you!

I handle the East Coast states and Eastern Canada. Anyone can get a free Misumi catalog here. Click on the 2011 MISUMI Metric Mechanical Components for Factory Automation, it has the extruded aluminum products in it. Unlike McMaster-Carr, we want to give out catalogs!;)

There is a 'learning curve' to using our catalogs and our website, b/c everything is configurable so you can customize. Once you get the hang of it, it's pretty straightforward. Lots of good technical and engineering tables and formulas in our FA catalog, too.
 
I really like how configurable your stuff is. Imagine how much this stuff would cost me to have my machinists make for me, not to mention the time it would take for me to whip up the drawings.

You guys rock, plain and simple.
 
I have been trying to come up with something for the mounting of the burner, and the kettle. Initially I thought I would add one more piece running from the front to the rear and have the kettle just sit in there, but I take it that you dont think this is the best idea, that I need to 'separate' the kettle from the frame to some degree.

Thanks.
 
Ok, I came up with an idea. I can use a few SS Washers and lift the kettle off of the frame on some sections of maybe 1/2" square steel tube. I can run them across the depth of the frame. The kettle is 17" in diameter, so going across the kettle, maybe one at 1", 5" 11" and 16" to get a good distribution and keep them out of the flame.
 
That might work, Paul. I also wonder if it will really be that big of a problem - will the whole frame really get that hot all the way around, or just near the burner? I would never touch the area near the burner on the steel stand I use now. Why would I do it on an EA stand?!

Hmmm...:confused:
 
I really like how configurable your stuff is. Imagine how much this stuff would cost me to have my machinists make for me, not to mention the time it would take for me to whip up the drawings.

You guys rock, plain and simple.
Thanks! We should use you in a case study!;)
 
Wow the Misumi is pretty well priced. I just purchased some 80/20 yesterday and hope to have a two tier stand with a fold out MLT built with the material.

I was also thinking about burner mounting and saw this video which I think is overkill but I'm thinking of just buying a bayou burner and attaching the round collar to the 80/20 frame. But until I get the materials I won't know how I will exactly do it
 
Last edited by a moderator:
Well, thats exactly how my kettle would be sitting, except that I would be using one of the cheap 'jet' burners. What is the purpose of the steel sections inside of the aluminum frame though? They dont seem to support the kettle at all in that video. My main concern is the flames bending around the kettle and getting the aluminum too hot.

Ok, it looks like I will probably be fine without anything.
 
Roughed-in some of the plumbing and finished the burner mount:

imag0084.jpg


imag0085.jpg


Obviously the black nipple in the burner mount picture needs to be much shorter.

Test fired it and it works well, but the gas control using valves is not nearly as precise as using a regulator.
 
... What is the purpose of the steel sections inside of the aluminum frame though? They dont seem to support the kettle at all in that video. My main concern is the flames bending around the kettle and getting the aluminum too hot. ...
I thought that, too. They aren't necessary, IMO. The frame should support the kettle. He also had the burner mounted to low. What is that, a 10" clearance? He's going to waste a lot or propane keeping that full open. And brewing outside on a windy day, the flame will blow out often. I think mounting it ~3"-5" from the bottom of the kettle would work better. I wind screen around the burner would be good, too.
 
Yes, a small wind screen (10 x 8 ducting reducer) will work wonders....you only need about 4 inches of clearance as well. Those burners are great...very little of the burner is in contact with the stand, so less heat will be transferred. If you can keep the flames/heat from washing over the stand, you should be GTG.

A needle valve is what you want for fine control....ball valves are worthless.

Also, you could probably shave about 6-8" off the length of the stand (maybe 12?).....and still not send too much heat near the tank....if it's a concern, you could insert an aluminum plate into the 80/20 to cover it. This will allow you to significantly reduce your footprint and better drain the MLT into the BK....
 
Out of curiosity, how does your tankless heater handle the exhaust? If it goes to a vent, why not go with an electric BK and lose the burner? You could REALLY slim down the build that way, and because the water heater is doing most of the heavy lifting, you could get away with a weaker element in the BK because you'd just need to maintain a boil.
 
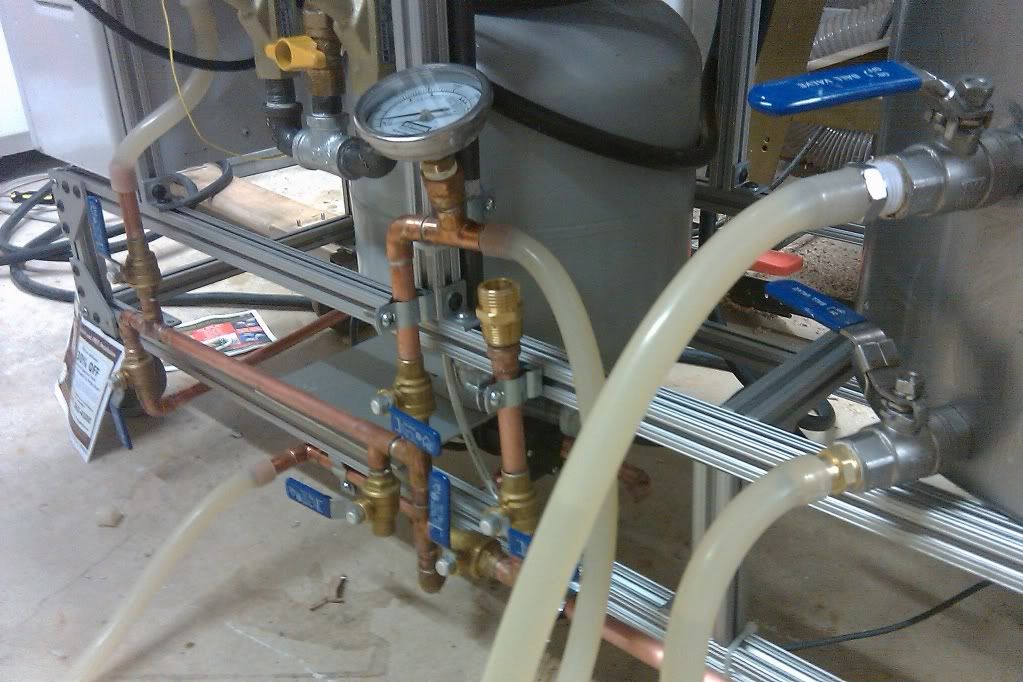
yeah, there are a lot of options with this system... Too many to think about.

I will look into needle valves, do hardware stores carry them with 1/2" NPT?

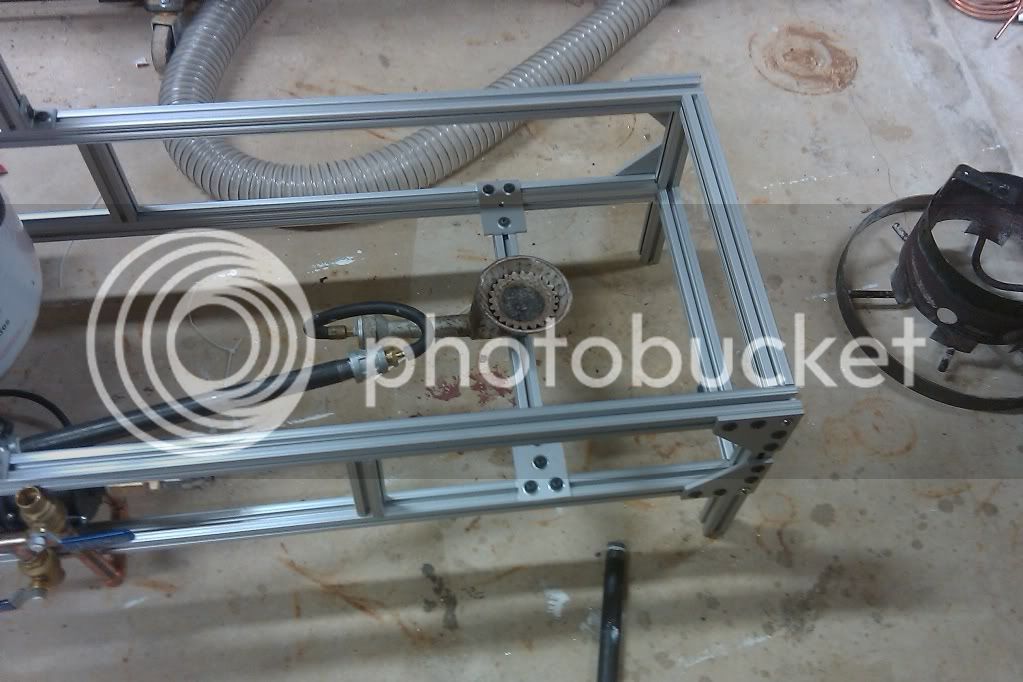
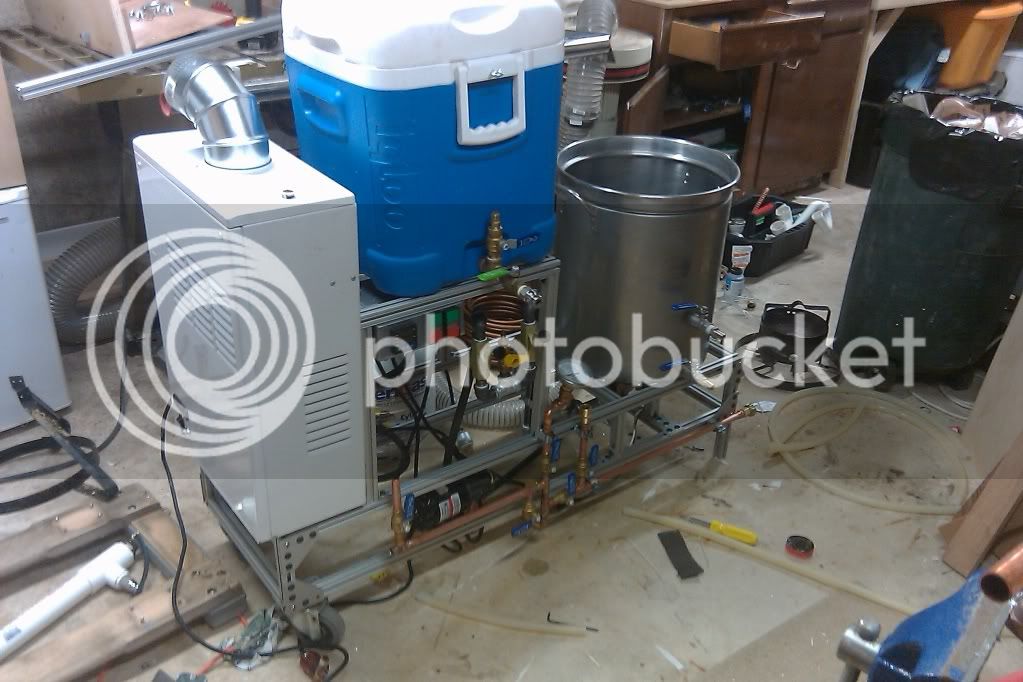
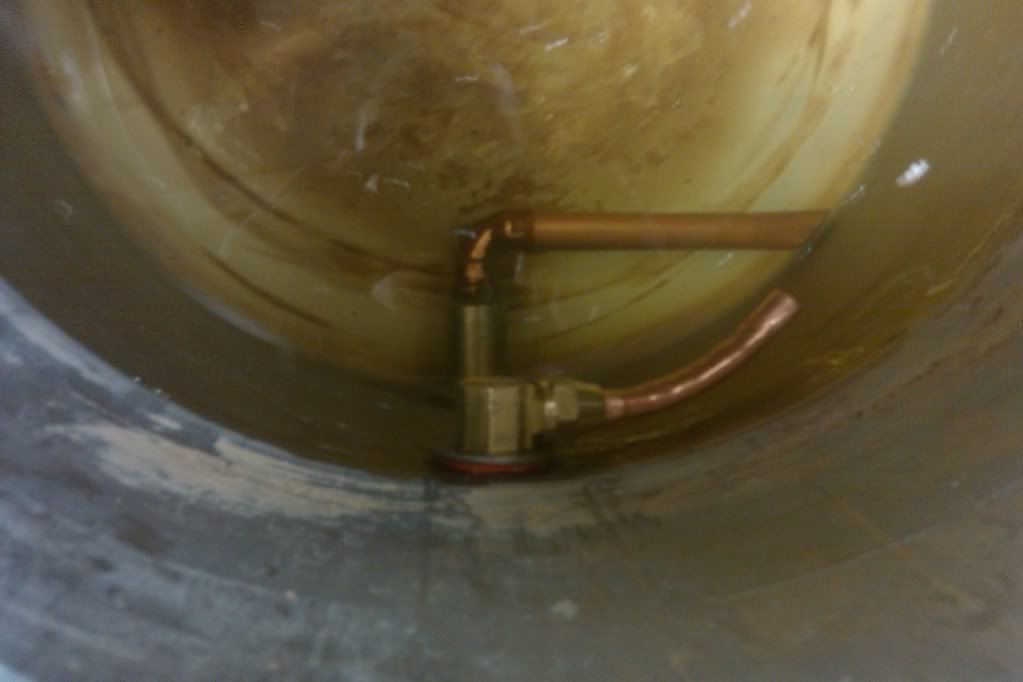
The tankless has a 6" stub of a vent, you can see 1/2" of it protruding on the top. I am probably going to just ad a 90° turn to keep it away from the cooler.

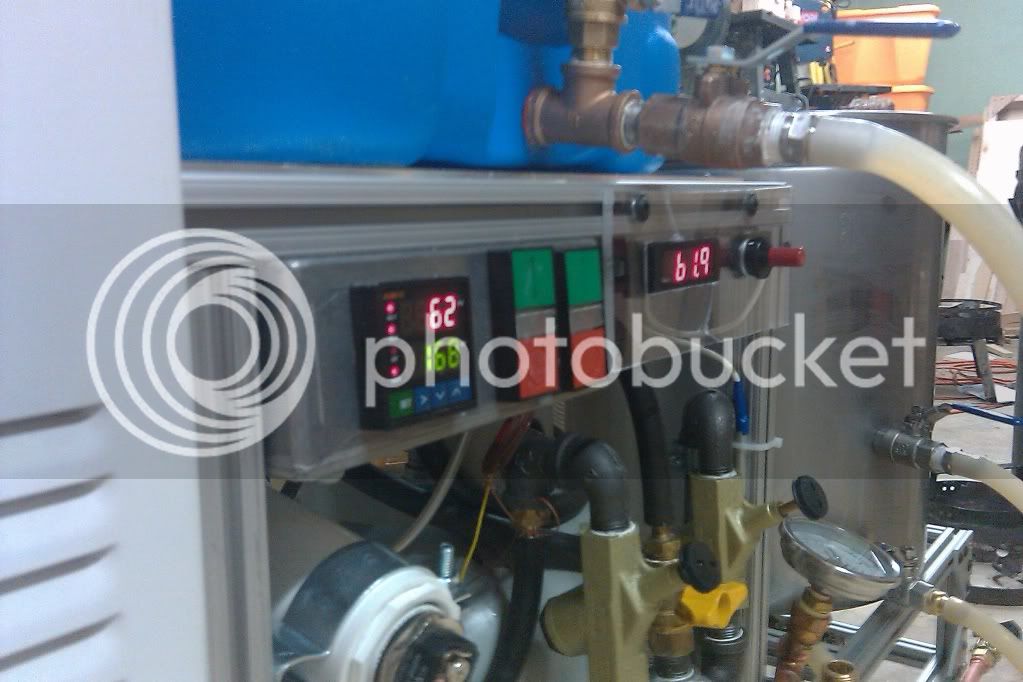
I am interested in going electric, but my garage is opposite of my electrical panel, and I have no 240Vac over there. In addition, the service panel is in the basement, the garage is on a slab obviously, and routing the electrical service there would require me to cut out the back of a closet and the basement ceiling... not fun.

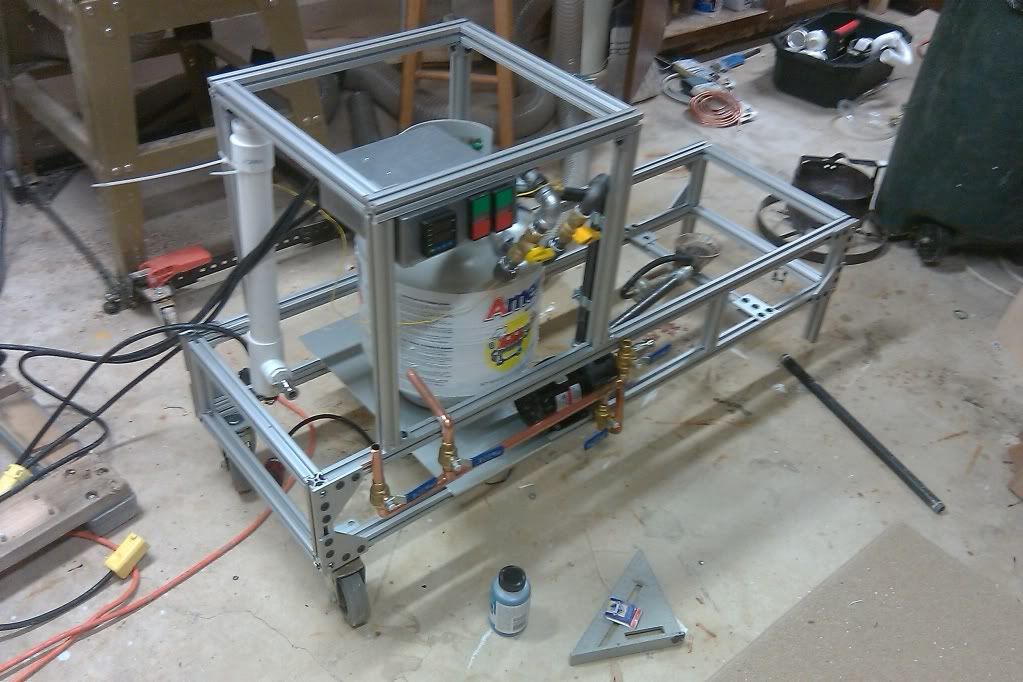
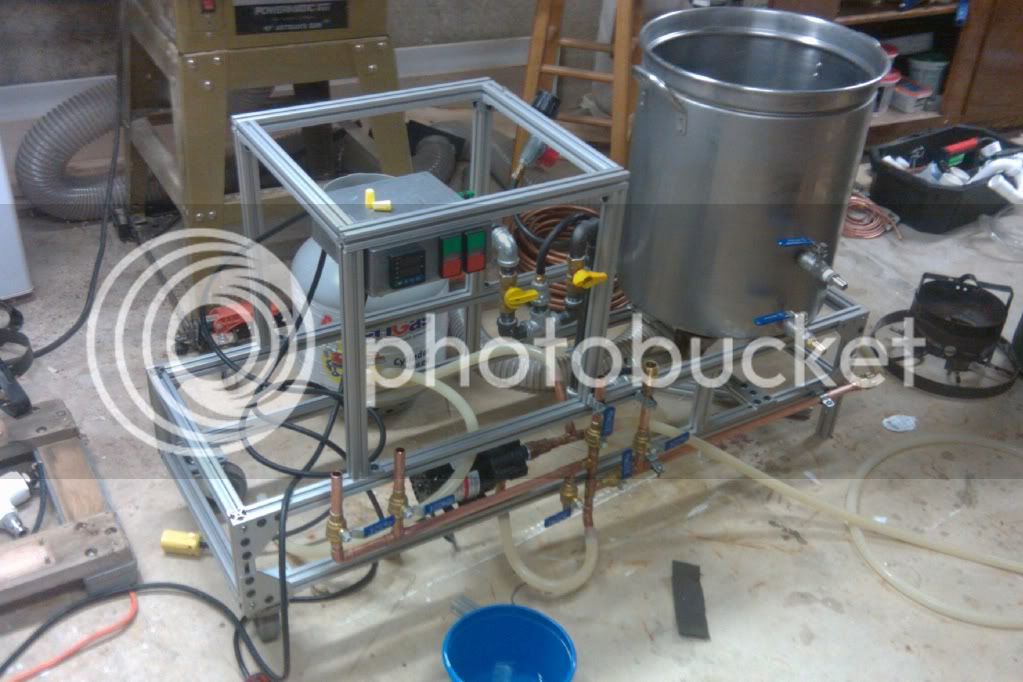
I kept the build that long since I might shift the cooler stand over a bit to give more room for the tankless heater. As it is now, the tankless heater will overhang by about 2 inches. Additionally, I wanted room for a 100qt kettle in case I ever needed it, and they are roughly 20-21" in diameter.

Thanks for the thoughts and feedback, keep them coming.
 
I finished the pump supply and return manifolds this weekend. LOTS of soldering.

I am going to try to get it done and do an inaugural run on Sunday. Just have to finish the electrical, put in the needle valves for the gas, and attach a few more pieces of aluminum and I'll be ready for a test-drive.

Oh, and I tested the whirlpool abilities this weekend, having only about 2ft of copper pipe and 2 feet of Silicone tube makes for a VERY fast whirlpool, also much nicer with the integrated return spigot.

imag0091.jpg
 
Most recent update:

imag0093.jpg


- Added the thermometer on the kettle return so that I can monitor the chilling process.

- Plumbing Supply manifold is nearly complete, just need to run down and under the flash boiler to supply it.

- New gas manifold needle valves dont have enough flow to be practical, so I am going to go with a ball valve for the flash boiler and one of the Bayou Classic valves for the burner.

- I tried to mount a grill igniter near the burner, but it doesn't seem to ignite the propane, maybe when I can get more propane out of the burner it will ignite.

- Electrical still needs to be completed, but that really take more than 10 minutes of work.
 
Thanks, another couple of days, and I think I will be done, I have to be... in order to brew a Wit this weekend!

I have a feeling I wont have the control valve for the burner, but thats OK, I can deal with that.

Oh, and I got to mount the RIMS tube, but it will sit right behind the Flash Boiler.
 
What a unique build! I love seeing new ideas being fabricated. You're moving right along without hitting any snags, as well... Good job!

There have been plenty of little snags, nothing big though. The gas control issue is going to be the biggest snag, I will have purchased 5 valves by the time this thing is done, and used only 2 of them.

The next big snags will be when I fire it up, maybe I will melt the aluminum, or my Mash Tun. I am going to need an infared camera to watch how hot the frame gets!

The big part that is making it so easy is that it was all a 'benchtop' system for about 6 brews, so I have the hang of how everythign works, the control box was complete already, RIMS tube, Flash Boiler etc. I am simply making them all work together in a very concise way.
 
So what kind of flow rates/temps are you looking at with the Tankless?
 
can I see a photo if the inside of your kettle I'd like to see how you have your whirlpool setup.

-=Jason=-
 
So what kind of flow rates/temps are you looking at with the Tankless?

Roughly 1/2 Gal per Minute at a 110 degree rise (last time I actually measured was in in the summer with ~64° ground water temp. I have to slow things down a bit now that our ground water temp is about 45°.
 
can I see a photo if the inside of your kettle I'd like to see how you have your whirlpool setup.

-=Jason=-

imag0090.jpg


Not whirpooling when it was taken, but you get the idea. Needs to be cleaned too.

I didnt use the coupler on the return, and it worked well, but I had to bend the SS washer a bit to acomodate the flare fitting. Once the flare fitting was not butted right up to the washer, and the washer could seat on the lip of the inside of the MPT side, it was fine.
 
Finished it up last night.

Here is the overview with all of the hoses attached as they would be in a normal brew session:

imag0100.jpg


Here you can see the supply manifolds and valves:

imag0102.jpg


Here is the control panel, from left to right, RIMS PID, Pump Switch, Heater, Flash Boiler output temp, and BK burner igniter. The 3 valves below are from L to R, Flash Boiler Needle Valve, Main shut-off, BK Burner Valve (will be replaced by somthing with higher flow). The Flash Boiler power switch and igniter are on the left side.

imag0103.jpg


Testing last night went well, I want to re-verify the max output from the Flash Boiler tonight, but everything worked well, I went to-from each vessel, and through each heat exchanger. The pump primes pretty well with the dump valve, and the flow rates are really fast.
 
Finished it up last night.

Testing last night went well,

Congratulation, looking great.
A lot more brewing projects you can build with 8020, like grain mill, etc.

If you wash down the frame as I do the non stainless screws and bolts on your system will rust in no time.


Cheers,
ClaudiusB
 
Back
Top