• Please visit and share your knowledge at our sister communities:
  • If you have not, please join our official Homebrewing Facebook Group!

    Homebrewing Facebook Group

3-in-1 "Boil Kettle, Jacketed Chiller, Conical Fermenter" by Brewha

Homebrew Talk

Help Support Homebrew Talk:

This site may earn a commission from merchant affiliate links, including eBay, Amazon, and others.
Limulus has offered a nice perspective and I'll throw my two cents in from another area of the country with a variation on set-up.

Right on OneManBrewery....I am just a week behind you eagerly awaiting my Medium BIAC.

I am hoping that the experienced on this forum can answer a few basic questions I have.

1. To sparge or not to sparge....Does anybody heat water in the jacket to sparge, or is the consensus to just add more grain and let the MT drain? I raise the colander and fly sparge for a short time until the wort is clear. My jacket is only used for efficiently cooling with the 53 degree municipal water.

2. Does anybody use the chiller to cold crash to 40F ( the coldest setting) before transferring to the keg? And if you use glycol in the jacket do you use PBW to clean if using the jacket for sparge water on the next brew? The jacket is my chiller and I crash in the keg after fermentation is complete.

3. Are the settings in Beersmith for the BIAC good, or are there tweaks that need to be made? Suggestions appreciated. Tweak it definitely; not for grain, hops, or yeast quantities, but certainly for boil size.

4. I've been doing 5 gallon batches with my gravity system. Is the Beersmith program accurate when scaling to a 10 gallon batch? I have several recipes from my five gallon gravity days and have had no issues converting ingredients from 5 to 10 gallons.

5. Any advice for the initial setup besides what is on the Brewha website? I have the original valves and have had no issues with blockage. This may be a result of my use of whole leaf hops secured in the Brewha hop containers rather than pellets although I don't know for sure.

Thanks....Cheers
 
Well I finally ordered the medium BIAC.

The garage is set up with hoist, 24 inch SS commercial sink, ventilation system, and a GFI spa disconnect.

I also have installed a cold water manifold that supplies my sink, a sediment to carbon block filter group, and a reverse osmosis deionized filter system from Buckeye Hydo.

I have the 7.1 cuft freezer set up with a brewpi controller for long term conditioning and wine fermentation.

An 8.8 cuft freezer that will be set up as a kezzer.

I hope to pick up the system from the freight dock next weekend if all goes well. The system is at the shipper in Vancouver right now.

I am printing off this entire thread as there is some great info here. I used built the ventilation system and gfi based on thread info.

This will be my first brew ever, I decided to jump in with both feet, but it has taken a year to get the garage set and save the money for the system.

I will post pics of everything once I get the BIAC set up.
 
Wow, first brew ever!? I did not see a grain mill listed in your equipment. You can buy grain pre-crushed, so that is not a big deal. I would recommend you at least do a partial mash batch or two before jumping in to all grain. The main thing on my want/envy list is a big sink in my brewing area.

Since this is new to you, keep this in mind so you don't become frustrated: you will have spills and make messes and you will forget steps during your process. It happens to everyone. Good luck with the first brew.

QUOTE=Cmason;7466598]Well I finally ordered the medium BIAC.

The garage is set up with hoist, 24 inch SS commercial sink, ventilation system, and a GFI spa disconnect.

I also have installed a cold water manifold that supplies my sink, a sediment to carbon block filter group, and a reverse osmosis deionized filter system from Buckeye Hydo.

I have the 7.1 cuft freezer set up with a brewpi controller for long term conditioning and wine fermentation.

An 8.8 cuft freezer that will be set up as a kezzer.

I hope to pick up the system from the freight dock next weekend if all goes well. The system is at the shipper in Vancouver right now.

I am printing off this entire thread as there is some great info here. I used built the ventilation system and gfi based on thread info.

This will be my first brew ever, I decided to jump in with both feet, but it has taken a year to get the garage set and save the money for the system.

I will post pics of everything once I get the BIAC set up.[/QUOTE]
 
I forgot the grain mill,
A monster mill MM3 with a direct drive motor installed a a cabinet on wheels.
Left the gap to factory setting, which based on info from this thread should work fine.

I am working on deciding what the first brew should be.
Looking for a straight forward recipie.

Any suggestions?

I also have a couple of questions - 5 gal batches seem to run the risk of dry fireing the element, any input as to the smallest safe batch size?

Any tip or tricks if I want to run an extract batch? I do not want to burn extract on the element, so I would need to work out a sequence/process to pre heat or thin the extract I think.
 
I used the motor offered by All American Ale Works. I like the direct coupling for safety. In test grinds I did have to start the motor before the grain going in the hopper. But it powered through everything that went in.
 
Based on the comments to my previous questions, I think I will use the no sparge method for my first brews. My thought was to use the 2 gallons in the jacket that was already heated to wort temperature to rinse the grain. It seems that if you are recirculating the wort during the mash, that sparging isn’t needed.

In the Beersmith program, the equipment profile for the Brewha BIAC say:
Notes: Boil off calculated based on 60 minute boil. Brewer may need to adjust based on boil period and amount of power to element (affecting evaporation rate). Fermenter loss is due to ~1.8L in the cone below the racking port. The 'Loss to Trub' is the removal of hot break that has settled to the bottom of the cone at the end of the chilling after boil, removed before pitching yeast.
Beersmith does not account for the BIAC system where 'dead space' (area below Mash Colander) is not lost for boil volume calculations. We spoke with Brad about making a change to accommodate and he said he would for future versions. In the meantime, he said for now "the easiest way to handle it is to up your water/grain ratio for the mash in step which will add a little more water to your mash to compensate."

After spending so much money on this system, I want my first batch to taste great and not be disappointed because I didn’t use the right amount of grain or water.

Question: Can you tell me what the actual changes you made to the equipment profile to make a 5 (I’m actually going to do 6 gallon batches to prevent exposing the heating element) and 10 gallon batch? What corrections for boil off (or other changes) do you make for a 90 minute boil?

Question: Is the grain bill the same when using the no sparge method, or do you have to increase the amount of grain? The water/grain ratio is greater but we are recirculating the wort???

Most of my brews are IPAs. Any help you can give for me to make my first brews a success would be greatly appreciated.
 
Cuda6pak, what is the absolute coldest you can get with your aquarium chiller? I'm considering a similar setup.
 
Based on the comments to my previous questions, I think I will use the no sparge method for my first brews. My thought was to use the 2 gallons in the jacket that was already heated to wort temperature to rinse the grain. It seems that if you are recirculating the wort during the mash, that sparging isn’t needed.

In the Beersmith program, the equipment profile for the Brewha BIAC say:
Notes: Boil off calculated based on 60 minute boil. Brewer may need to adjust based on boil period and amount of power to element (affecting evaporation rate). Fermenter loss is due to ~1.8L in the cone below the racking port. The 'Loss to Trub' is the removal of hot break that has settled to the bottom of the cone at the end of the chilling after boil, removed before pitching yeast.
Beersmith does not account for the BIAC system where 'dead space' (area below Mash Colander) is not lost for boil volume calculations. We spoke with Brad about making a change to accommodate and he said he would for future versions. In the meantime, he said for now "the easiest way to handle it is to up your water/grain ratio for the mash in step which will add a little more water to your mash to compensate."

After spending so much money on this system, I want my first batch to taste great and not be disappointed because I didn’t use the right amount of grain or water.

Question: Can you tell me what the actual changes you made to the equipment profile to make a 5 (I’m actually going to do 6 gallon batches to prevent exposing the heating element) and 10 gallon batch? What corrections for boil off (or other changes) do you make for a 90 minute boil?

Question: Is the grain bill the same when using the no sparge method, or do you have to increase the amount of grain? The water/grain ratio is greater but we are recirculating the wort???

Most of my brews are IPAs. Any help you can give for me to make my first brews a success would be greatly appreciated.

You want to be very careful when doing the smaller batches. My fear is in lifting the colander and exposing the element as it takes a while to drain. For that reason I only do 10 gallon batches. The 10 gallon IPA just brewed started with 14.5 gallons of water with 27 lbs. of grain and a 60 minute boil. When fermentation was finished it filled two 5 gallon cornies perfectly. Sorry I can't be more specific to your questions. Maybe somebody else can help with the Beersmith mods.
 
I used the motor offered by All American Ale Works. I like the direct coupling for safety. In test grinds I did have to start the motor before the grain going in the hopper. But it powered through everything that went in.

I have that same motor coupled to an MM2-Pro and it starts right up with a full hopper. Little surprised that the third roller would impede the torque on that motor. ???
 
You want to be very careful when doing the smaller batches. My fear is in lifting the colander and exposing the element as it takes a while to drain. For that reason I only do 10 gallon batches. The 10 gallon IPA just brewed started with 14.5 gallons of water with 27 lbs. of grain and a 60 minute boil. When fermentation was finished it filled two 5 gallon cornies perfectly. Sorry I can't be more specific to your questions. Maybe somebody else can help with the Beersmith mods.

Thanks for the input JB. The figures that you mentioned will be helpful to make sure I will be in the ballpark when doing 10 gallon batches.

When I ordered my BIAC, I voiced my concern about doing smaller 5 gallon batches to Nathan and he assured my that it can be done if careful. I wanted to purchase a shorter heating element from him, but he recommended that I bend down the one that comes with the BIAC and see how it goes. He said to leave the heating element installed and reach down into the kettle and push it down. I think that by bending the heating element, keeping the re-circulation rate low, and doing 6 gallon batches should keep me safe. When I raise the colander up, I will leave the heating element off until I'm sure the element is covered. I will monitor the first several batches carefully to make sure I don't ruin the element.

As an aside....my BIAC has been in a warehouse in Vancouver for 8 day now. Hey CMason, is your BIAC sitting next to mine or has yours shipped from Vancouver?
 
Yep mine has been in Vancover since the 10th.

Have you asked Nathan what is up? I suspect they are assembling a full truck of misc freight to cross the boarder with.
 
Yep mine has been in Vancover since the 10th.

Have you asked Nathan what is up? I suspect they are assembling a full truck of misc freight to cross the boarder with.

Probably so...Should have contracted an LTL(Less Then truckLoad) carrier..
 
Thanks for the input JB. The figures that you mentioned will be helpful to make sure I will be in the ballpark when doing 10 gallon batches.

When I ordered my BIAC, I voiced my concern about doing smaller 5 gallon batches to Nathan and he assured my that it can be done if careful. I wanted to purchase a shorter heating element from him, but he recommended that I bend down the one that comes with the BIAC and see how it goes. He said to leave the heating element installed and reach down into the kettle and push it down. I think that by bending the heating element, keeping the re-circulation rate low, and doing 6 gallon batches should keep me safe. When I raise the colander up, I will leave the heating element off until I'm sure the element is covered. I will monitor the first several batches carefully to make sure I don't ruin the element.

As an aside....my BIAC has been in a warehouse in Vancouver for 8 day now. Hey CMason, is your BIAC sitting next to mine or has yours shipped from Vancouver?

Glad to be of some help. I'm going to practice turning off the element when raising the colander until I can visually see that the element is submerged as you mentioned. That's something I haven't been doing although all my brews have all been 10 gallons. Good idea!
 
Nathan's advice about bending the element does work. I found that out the hard way after I recirculated a little too aggressively and ran mine dry. I bought a replacement element from Bobby M at brewhardware.com. It is all stainless and a little shorter. It comes from NJ and does not have to go through all the Canadian customs. I also bent it down and I can brew a 5-gal batch with no fear.

Thanks for the input JB. The figures that you mentioned will be helpful to make sure I will be in the ballpark when doing 10 gallon batches.

When I ordered my BIAC, I voiced my concern about doing smaller 5 gallon batches to Nathan and he assured my that it can be done if careful. I wanted to purchase a shorter heating element from him, but he recommended that I bend down the one that comes with the BIAC and see how it goes. He said to leave the heating element installed and reach down into the kettle and push it down. I think that by bending the heating element, keeping the re-circulation rate low, and doing 6 gallon batches should keep me safe. When I raise the colander up, I will leave the heating element off until I'm sure the element is covered. I will monitor the first several batches carefully to make sure I don't ruin the element.

As an aside....my BIAC has been in a warehouse in Vancouver for 8 day now. Hey CMason, is your BIAC sitting next to mine or has yours shipped from Vancouver?
 
Yep mine has been in Vancover since the 10th.

Have you asked Nathan what is up? I suspect they are assembling a full truck of misc freight to cross the boarder with.

I called the CSA Transportation company last night and they said my package was going to leave Vancouver today, go to Dallas, then eventually make its way up to Chicago. It will be at least another week before it gets to my house.:(
 
Cuda6pak, what is the absolute coldest you can get with your aquarium chiller? I'm considering a similar setup.

It largely depends on ambient temperature. Right now my BIAC is in my garage so it swings from high 40's to high 80's throughout the year. I think I posted earlier in the thread that the coldest I could get the TK-2000 water temp was 39* in the garage which was right around 90*. Keep in mind the beer was 3-4 degrees higher than that. So I say worst case scenario with some insulated lines you could cold crash the beer at 44* in a 90* garage. Of course as temp goes down it becomes very easy to hold just about any temp you want above 35* beer temp. Still love the setup for the compact heating/cooling all-in-one and would not change it at all.
 
When I ordered my BIAC, I voiced my concern about doing smaller 5 gallon batches to Nathan and he assured my that it can be done if careful. I wanted to purchase a shorter heating element from him, but he recommended that I bend down the one that comes with the BIAC and see how it goes. He said to leave the heating element installed and reach down into the kettle and push it down. I think that by bending the heating element, keeping the re-circulation rate low, and doing 6 gallon batches should keep me safe. When I raise the colander up, I will leave the heating element off until I'm sure the element is covered. I will monitor the first several batches carefully to make sure I don't ruin the element.

One thing that helps is opening up the gap on your mill from the "normal" .035in to closer to .050in. (an old DVD is a good way to get a even gap around .048in). The last batch I did was 50/50 2-row and wheat and I didn't have any re-circulation problems even with that much wheat. There are a few threads elsewhere that talk about the other benefits of a larger crush when doing a recirculating mash.

As a safeguard you can also attach a section of tubing to the re-circulation port to create a temporary site glass. I use one of the tri-clamp fitting with the 90deg hose barb and then run the tube up and through a handle at the top. Then, when you're filling the tank with water just mark the tube with a piece of tape when the water level gets above the element. Keep the water above the tape and you're good.

As some point I'll probably etch some markings in the mash colander to make it easier to eyeball without the tube but so far the tube has been easy enough.
 
One thing that helps is opening up the gap on your mill from the "normal" .035in to closer to .050in. (an old DVD is a good way to get a even gap around .048in)

I also opened my mill up to around .050 and have seen improved circulation results.

As some point I'll probably etch some markings in the mash colander to make it easier to eyeball without the tube but so far the tube has been easy enough.

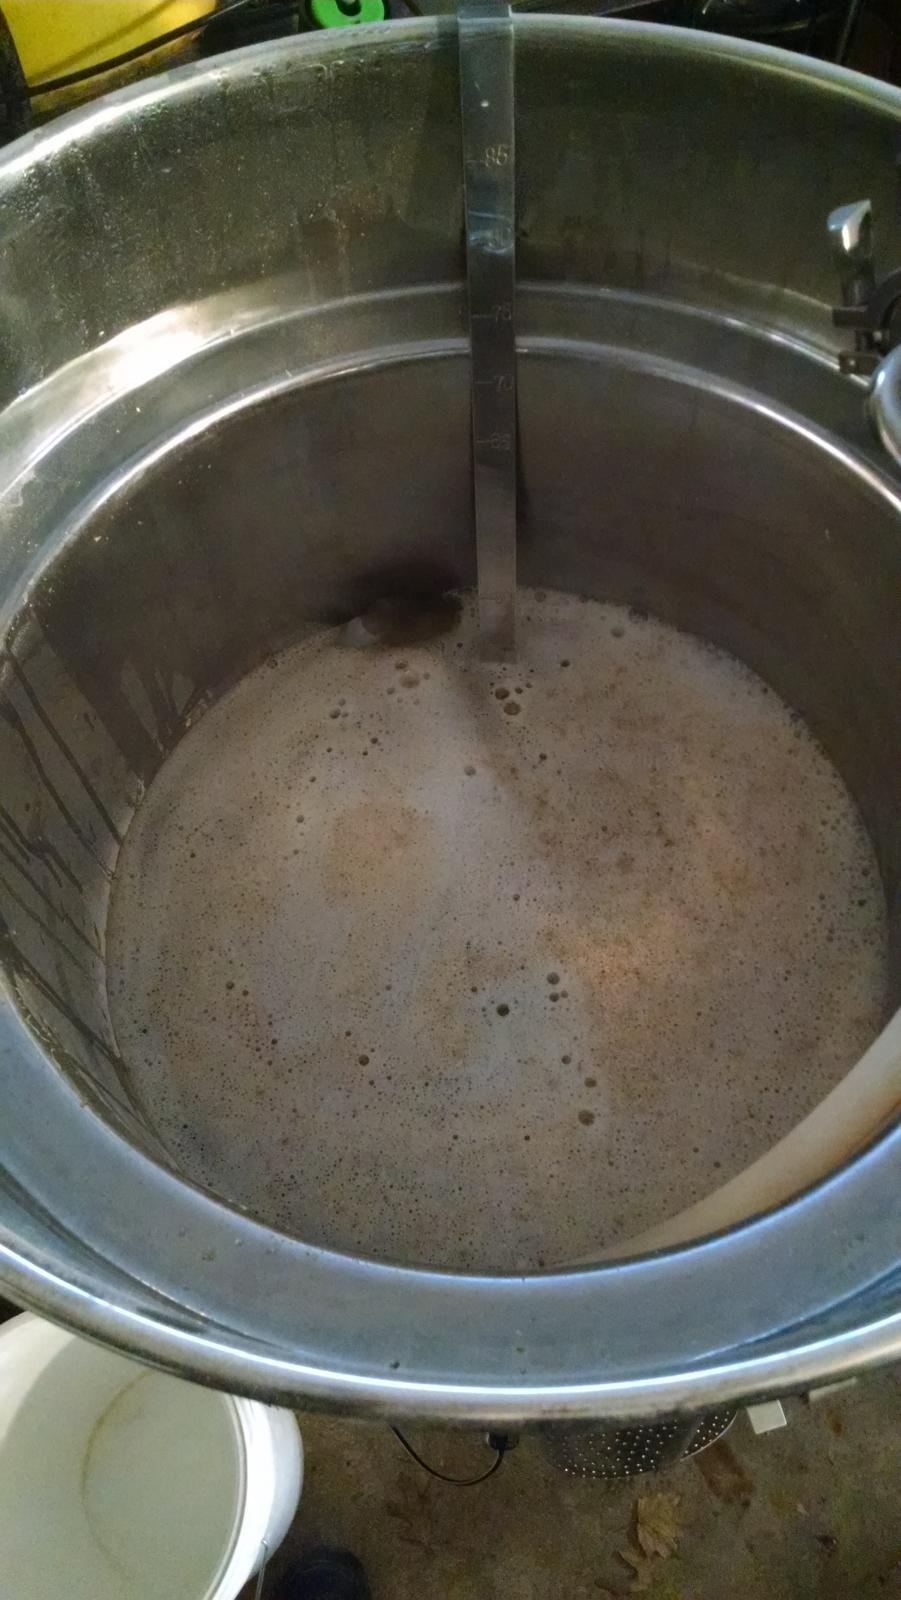
I just hang the water measuring cane in the mash colander and make a note of the reading or put a binder clip on it.

2016-01-22 16.16.09.jpg
 
2 questions for BIAC owners. Does anyone use a 230v extension cord and where did you get it? I need to brew in he garage but the dryer power is inside. Would anyone be willing to share their procedure list with a new BIAC owner? My medium BIAC arrived yesterday and the stainless is heavier gauge than expected. I can't wait to try it out.
 
2 questions for BIAC owners. Does anyone use a 230v extension cord and where did you get it? I need to brew in he garage but the dryer power is inside. Would anyone be willing to share their procedure list with a new BIAC owner? My medium BIAC arrived yesterday and the stainless is heavier gauge than expected. I can't wait to try it out.

You could build one, http://www.wireandcabletogo.com/Por...OOW/10-3-SJOOW-Portable-Cord-300V-UL-CSA.html , $0.89/foot plus connectors might be cheaper than buying one and super easy to make.
 
Hey Guys,
I just noticed that Nathan now has an optional wedge wire mash colander. It is an extra $350 but it sure would be nice instead of the perf bottom.
 
Hey Guys,
I just noticed that Nathan now has an optional wedge wire mash colander. It is an extra $350 but it sure would be nice instead of the perf bottom.

I haven't had any issues with the perforated bottom on the colander but this is intriguing. I get a few pieces of grain husk sticking in the colander so I'm wondering about cleaning the wedge wire bottom. Is it easier or more difficult to clean? How would it increase performance? Please pardon my ignorance as I am unfamiliar with wedge wire bottoms.
 
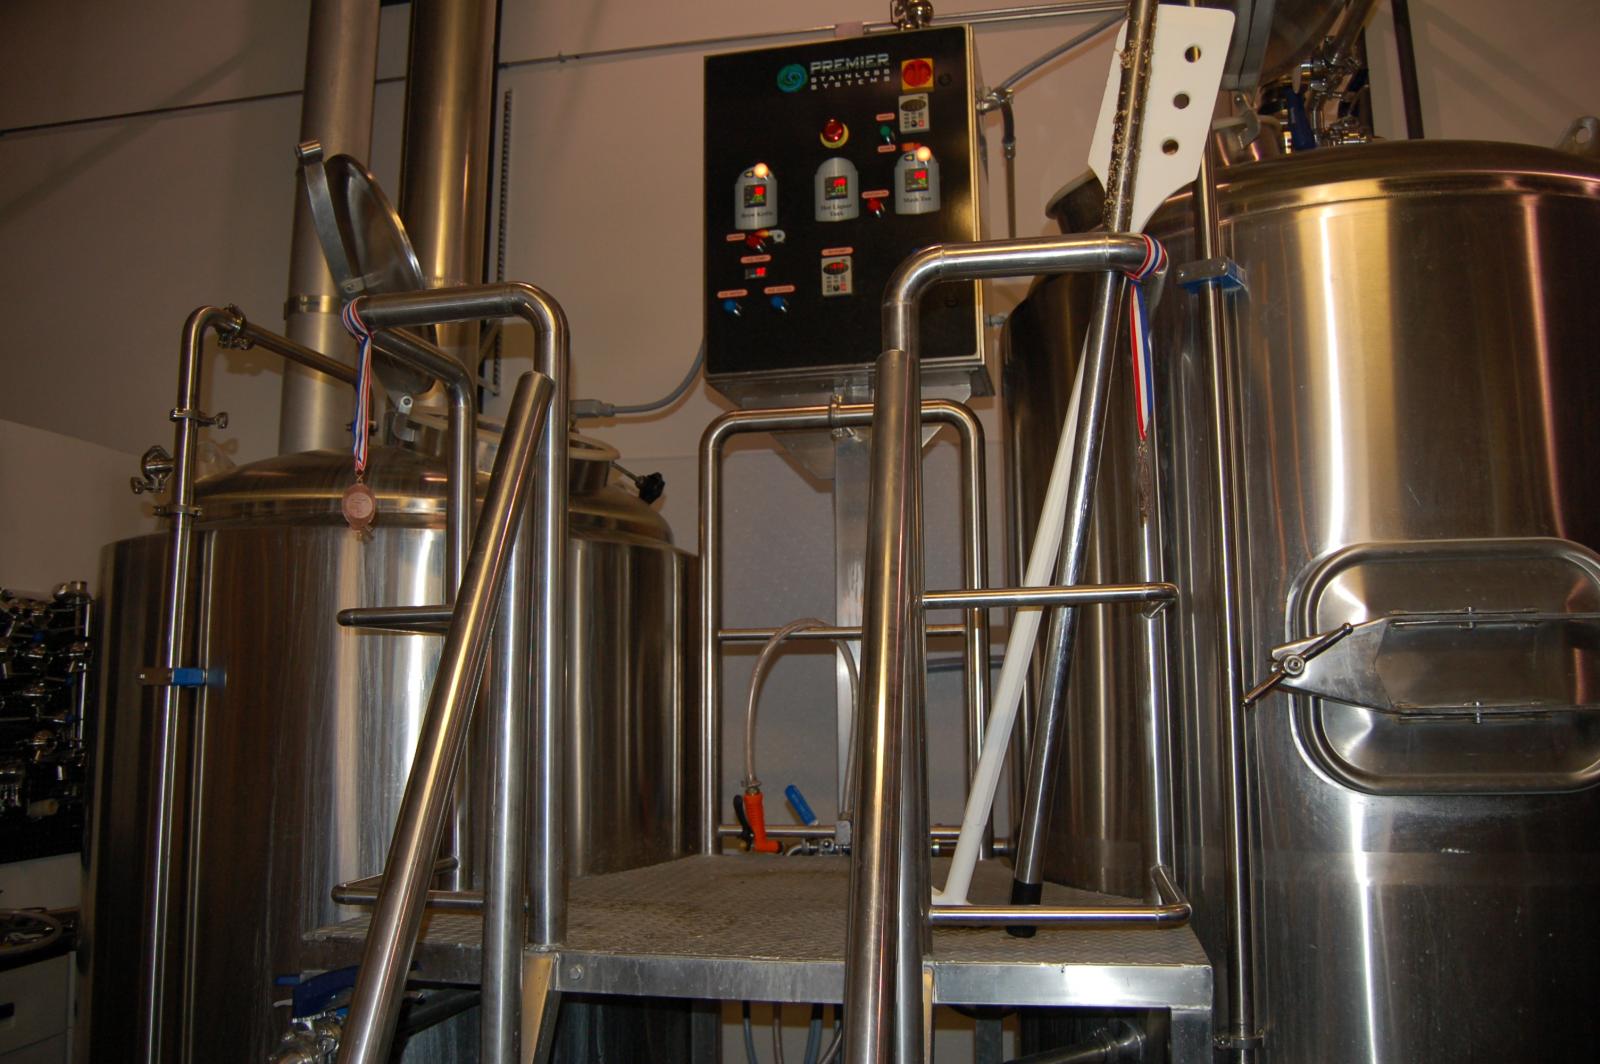
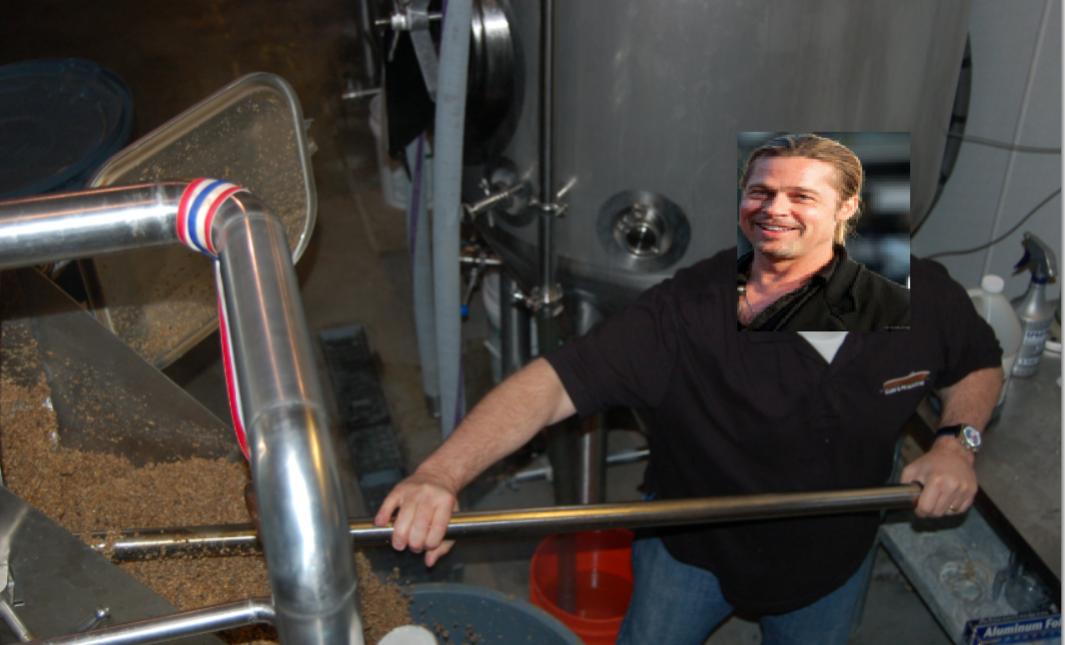
As a little gift to myself (also approved by my wife) I took the Brewery Immersion Course in Colorado two years ago. I got to brew on Premier Stainless Systems 7BBL system. It had wedge wire and I could definitely tell it was a superior false bottom but also more expensive. All I had to do was remove the bottom from the MT and spray it with a hose. I thought I had a photo of the actual wedge wire bottom in the 7bbl system. I could not find that but I did find a photo I took of the system I brewed on for three days. The last day, I did the whole thing by myself! Oh, and yes, those are GABF medals hanging from the brew platform. Don't worry, they also have framed ones. I also posted a photo of me cleaning out the mash tun.

I haven't had any issues with the perforated bottom on the colander but this is intriguing. I get a few pieces of grain husk sticking in the colander so I'm wondering about cleaning the wedge wire bottom. Is it easier or more difficult to clean? How would it increase performance? Please pardon my ignorance as I am unfamiliar with wedge wire bottoms.

DSC_0183.jpg


raking out the mash.jpg
 
Limulus....That is funny!

Got my medium BIAC today (2 weeks in transit) and started to assemble it. What a nice piece of equipment! As others have said...it has such a nice finish and Nathan didn't cheap out on anything. This is a quality system and I am looking forward to making some great beer with it. I am lifting my glass of homebrew now and toasting to ... Nathan. Thanks for the ingenuity.
 

Latest posts

Back
Top