No problem.
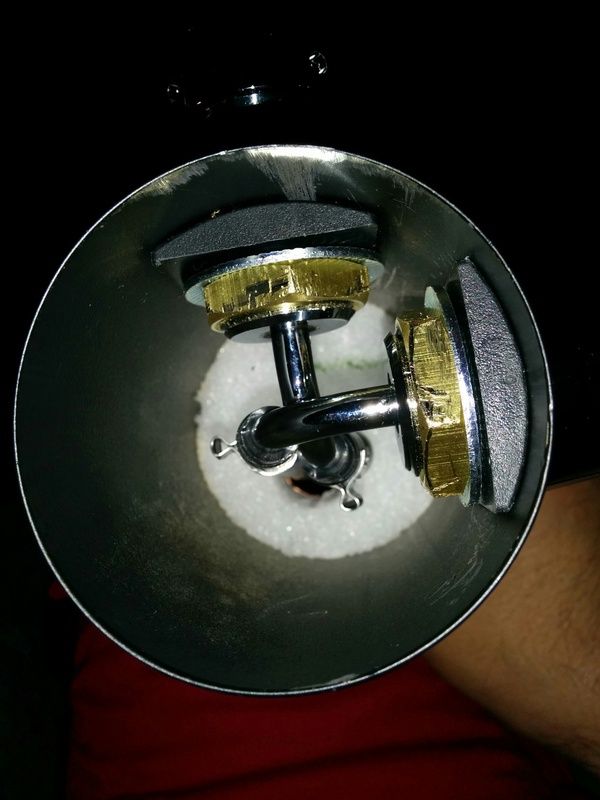
I had some 1" x 1" aluminum angle handy that I made legs to attach to the fan. You can sort of see them in the picture. This was just to get the fan up off the hump for better circulation. But it's not permanently mounted to the fridge in any way, It's just sitting on the hump directly under the bottom of the tower. It was a bit of a hassle, but I managed to run the cut end of my cell phone charger through the drain hole in the back and then soldered and shrink wrapped my connections to the fan. When it dies I'll have to snip the wires to get it out. I got the fan off of Ebay for just a few bucks.
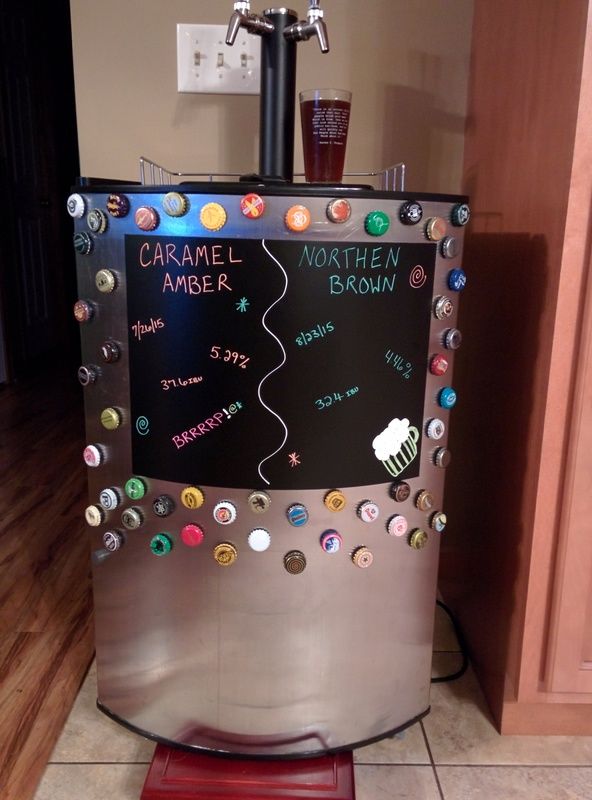
I ran the copper pipe all the way to the hump for 2 reasons. #1 I figured the more surface area in the fridge the better the pipe will act as a heat sink. Not sure if it makes much of a difference or not since others only have an inch or two sticking down into their fridge with good results. But, like I said, I haven't had any of the dreaded first pours of foam from a warm tower issues at all. #2 is I didn't have to permanently attach my pipe together. The friction of my foam in my tower keeps the piece of pipe in the tower very snugly. And then the friction of the rest of the pipe running along the top and down the side keeps the rest of it together. Another words, the whole setup is friction fit. Haven't had it come apart the many times I've been moving kegs around and in/out of the kegerator. And it's easy to disassemble if needed.
My beer lines go up into the tower through the T-fitting of the copper pipe. And then run inside the length of the pipe that's in the tower all the up to within about and inch of the shanks. I used 3/4" ID copper pipe, IIRC, which fits two pieces of the beer line I linked from Amazon without a problem. But does not fit regular thick walled beer line, too tight of a fit.
I used a little under 11' of line per faucet. I used this calculator to figure out what I needed, and it works well.
http://www.mikesoltys.com/2012/09/17/determining-proper-hose-length-for-your-kegerator/ The majority of my beer I serve at about 11.5 psi with a temperature of 38 degrees. That's about 2.5 volumes of CO2. Pours great with that setup. I have a Northern Brown in there now set at 6 psi for 2 volumes of CO2. Just pours slower at the lower psi.
If I think of anything else I'll let you know. Sorry for the lengthy response. I know the information I found on here was invaluable when I was getting my setup worked out. Figured I'd share as much as I could with you. Good luck!!!


![Craft A Brew - Safale BE-256 Yeast - Fermentis - Belgian Ale Dry Yeast - For Belgian & Strong Ales - Ingredients for Home Brewing - Beer Making Supplies - [3 Pack]](https://m.media-amazon.com/images/I/51bcKEwQmWL._SL500_.jpg)


