
kcbeersnob
Well-Known Member
I received my 10G ThermoBarrel on Saturday and put it to use for the first time on Monday. Here are my thoughts. If you have one, reply with your experience.
val214 did a great job capturing pics already, so I won't bother posting mine.
https://www.homebrewtalk.com/showpost.php?p=7034385&postcount=136
https://www.homebrewtalk.com/showpost.php?p=7034386&postcount=137
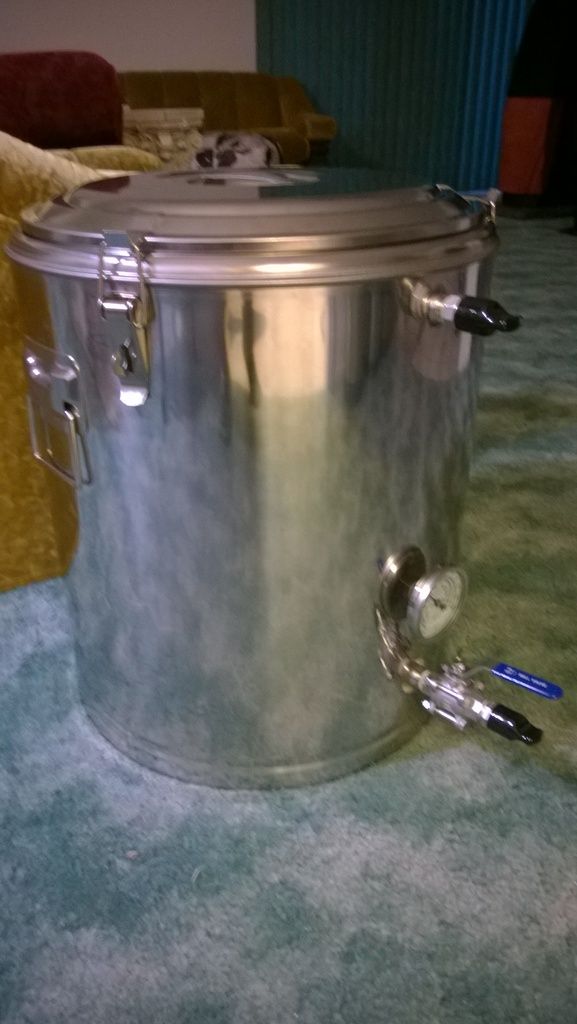
It arrived in good condition with one flaw that I was able to fix with a pair of pliers. It definitely needed a good cleaning--especially the bulkheads. Washed it with a PBW solution and cleaned the bulkheads with a bottle brush.
The thermometer in mine is terrible. It can get out of calibration by simply moving the vessel. Given the importance of mash temp, I swapped it out with the Blichmann thermometer that was in my kettle.
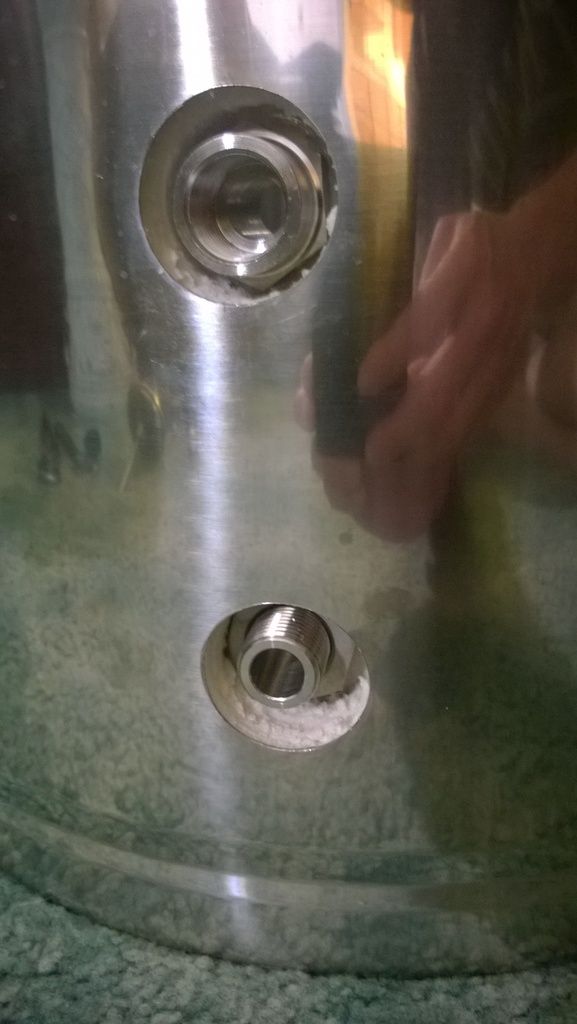
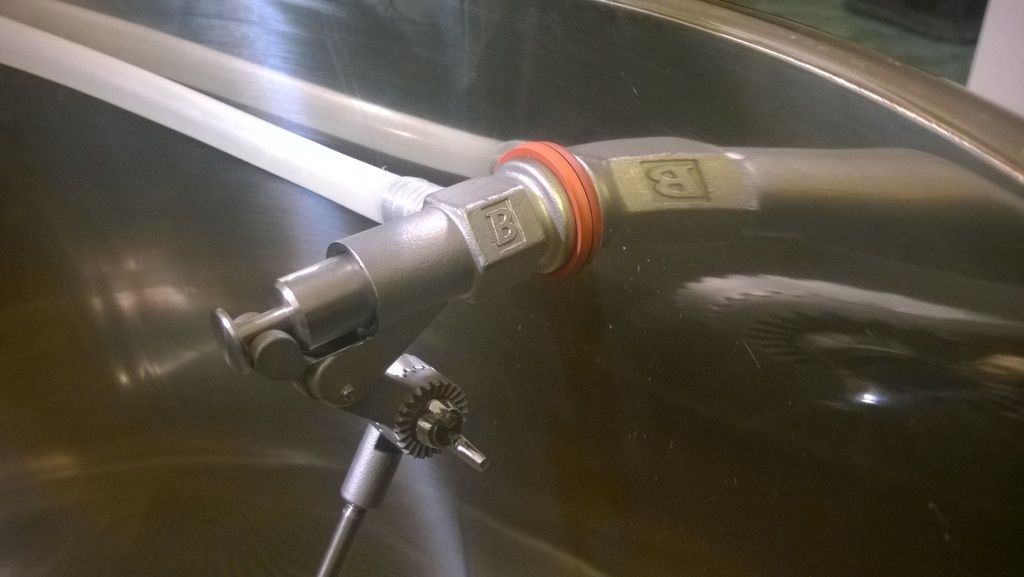
I was very disappointed to discover the ports are not welded, but that's my fault for not reading the product description thoroughly. The bulkheads do turn without using a huge amount of force (such as when installing the ball valve), so be careful. Fortunately I did not experience any leaks.
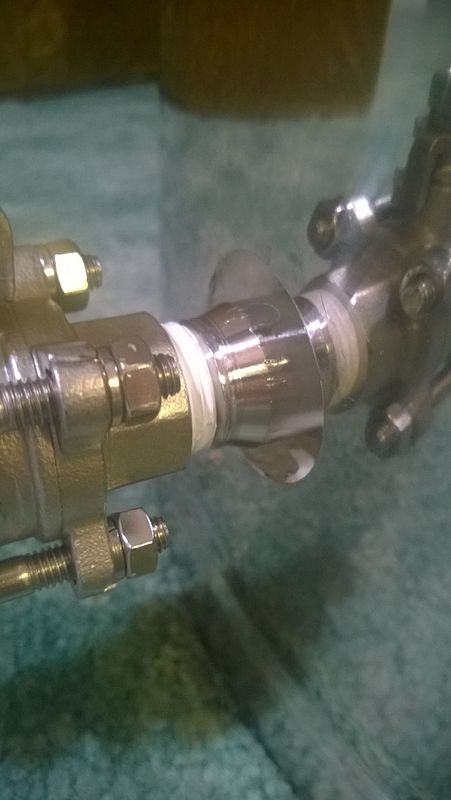
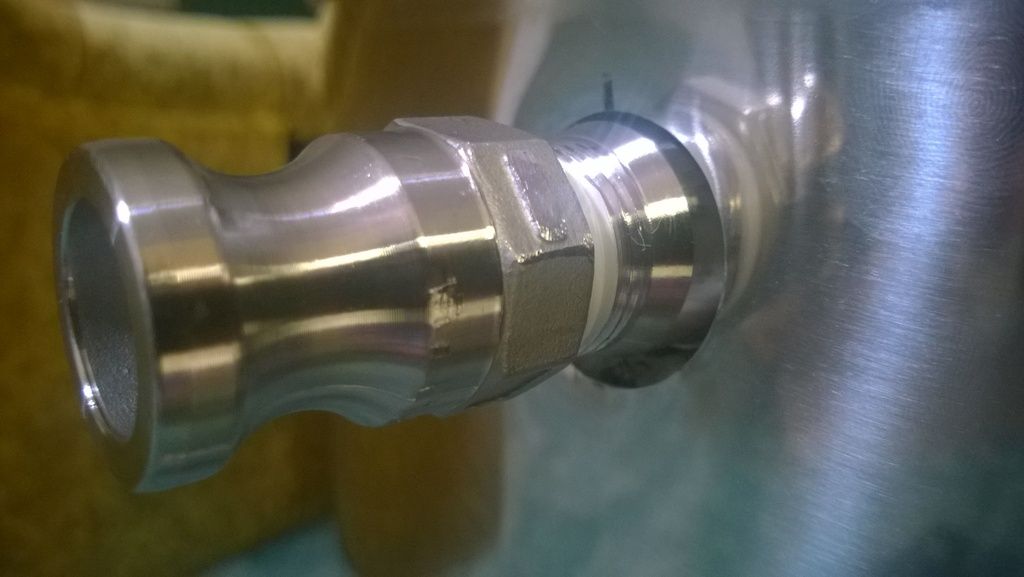
Kudos to Chapman for supplying all of the necessary fittings, including a stainless 3 piece ball valve.
How was the performance?
First, note that I have used a 10G Rubbermaid cooler with a stainless braid for 81 batches. My average mash efficiency has been 78%. I batch sparge. I vorlauf and rack using a pump. I am diligent about controlling mash pH.
The key factors for me were:
1) Achieving and maintaining target temperature.
2) Mash & lauter efficiency around 78%
3) Hit target volumes with minimal loss
4) No leaks
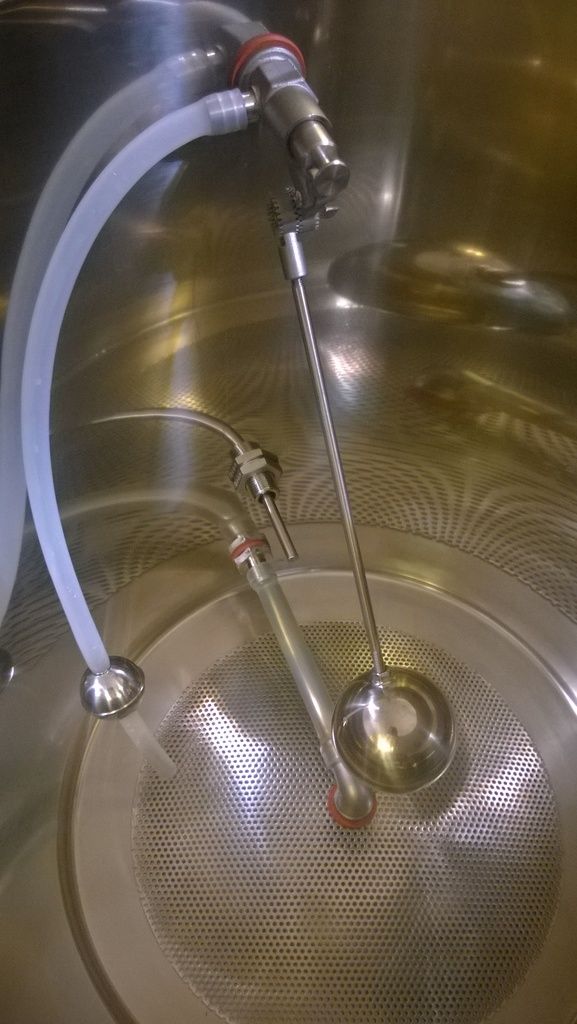
5) False bottom performance
#1 Temp
As per my typical protocol, I heated my strike water to 4-5 degrees above my target temp, then drained into the TB. Unlike my cooler, the strike water temp immediately dropped 4 degrees to my target strike temp. While stirring in the grain, the temp fell less than when using my cooler. During the one hour rest, temp fell one degree, which is acceptable. Although the overall experience was different from legacy equipment, I only need to tweak my procedure a little.
Grade: A
#2 M&L Efficiency
This one is significantly dependent on #3 and I need more data for both, but on the first run I hit 76.7% M&L efficiency. That's on par with what I achieved using my cooler the last time I brewed the same recipe.
Grade: TBD
#3 Volumes & Loss
#4 Leaks
No Leaks
Grade: A
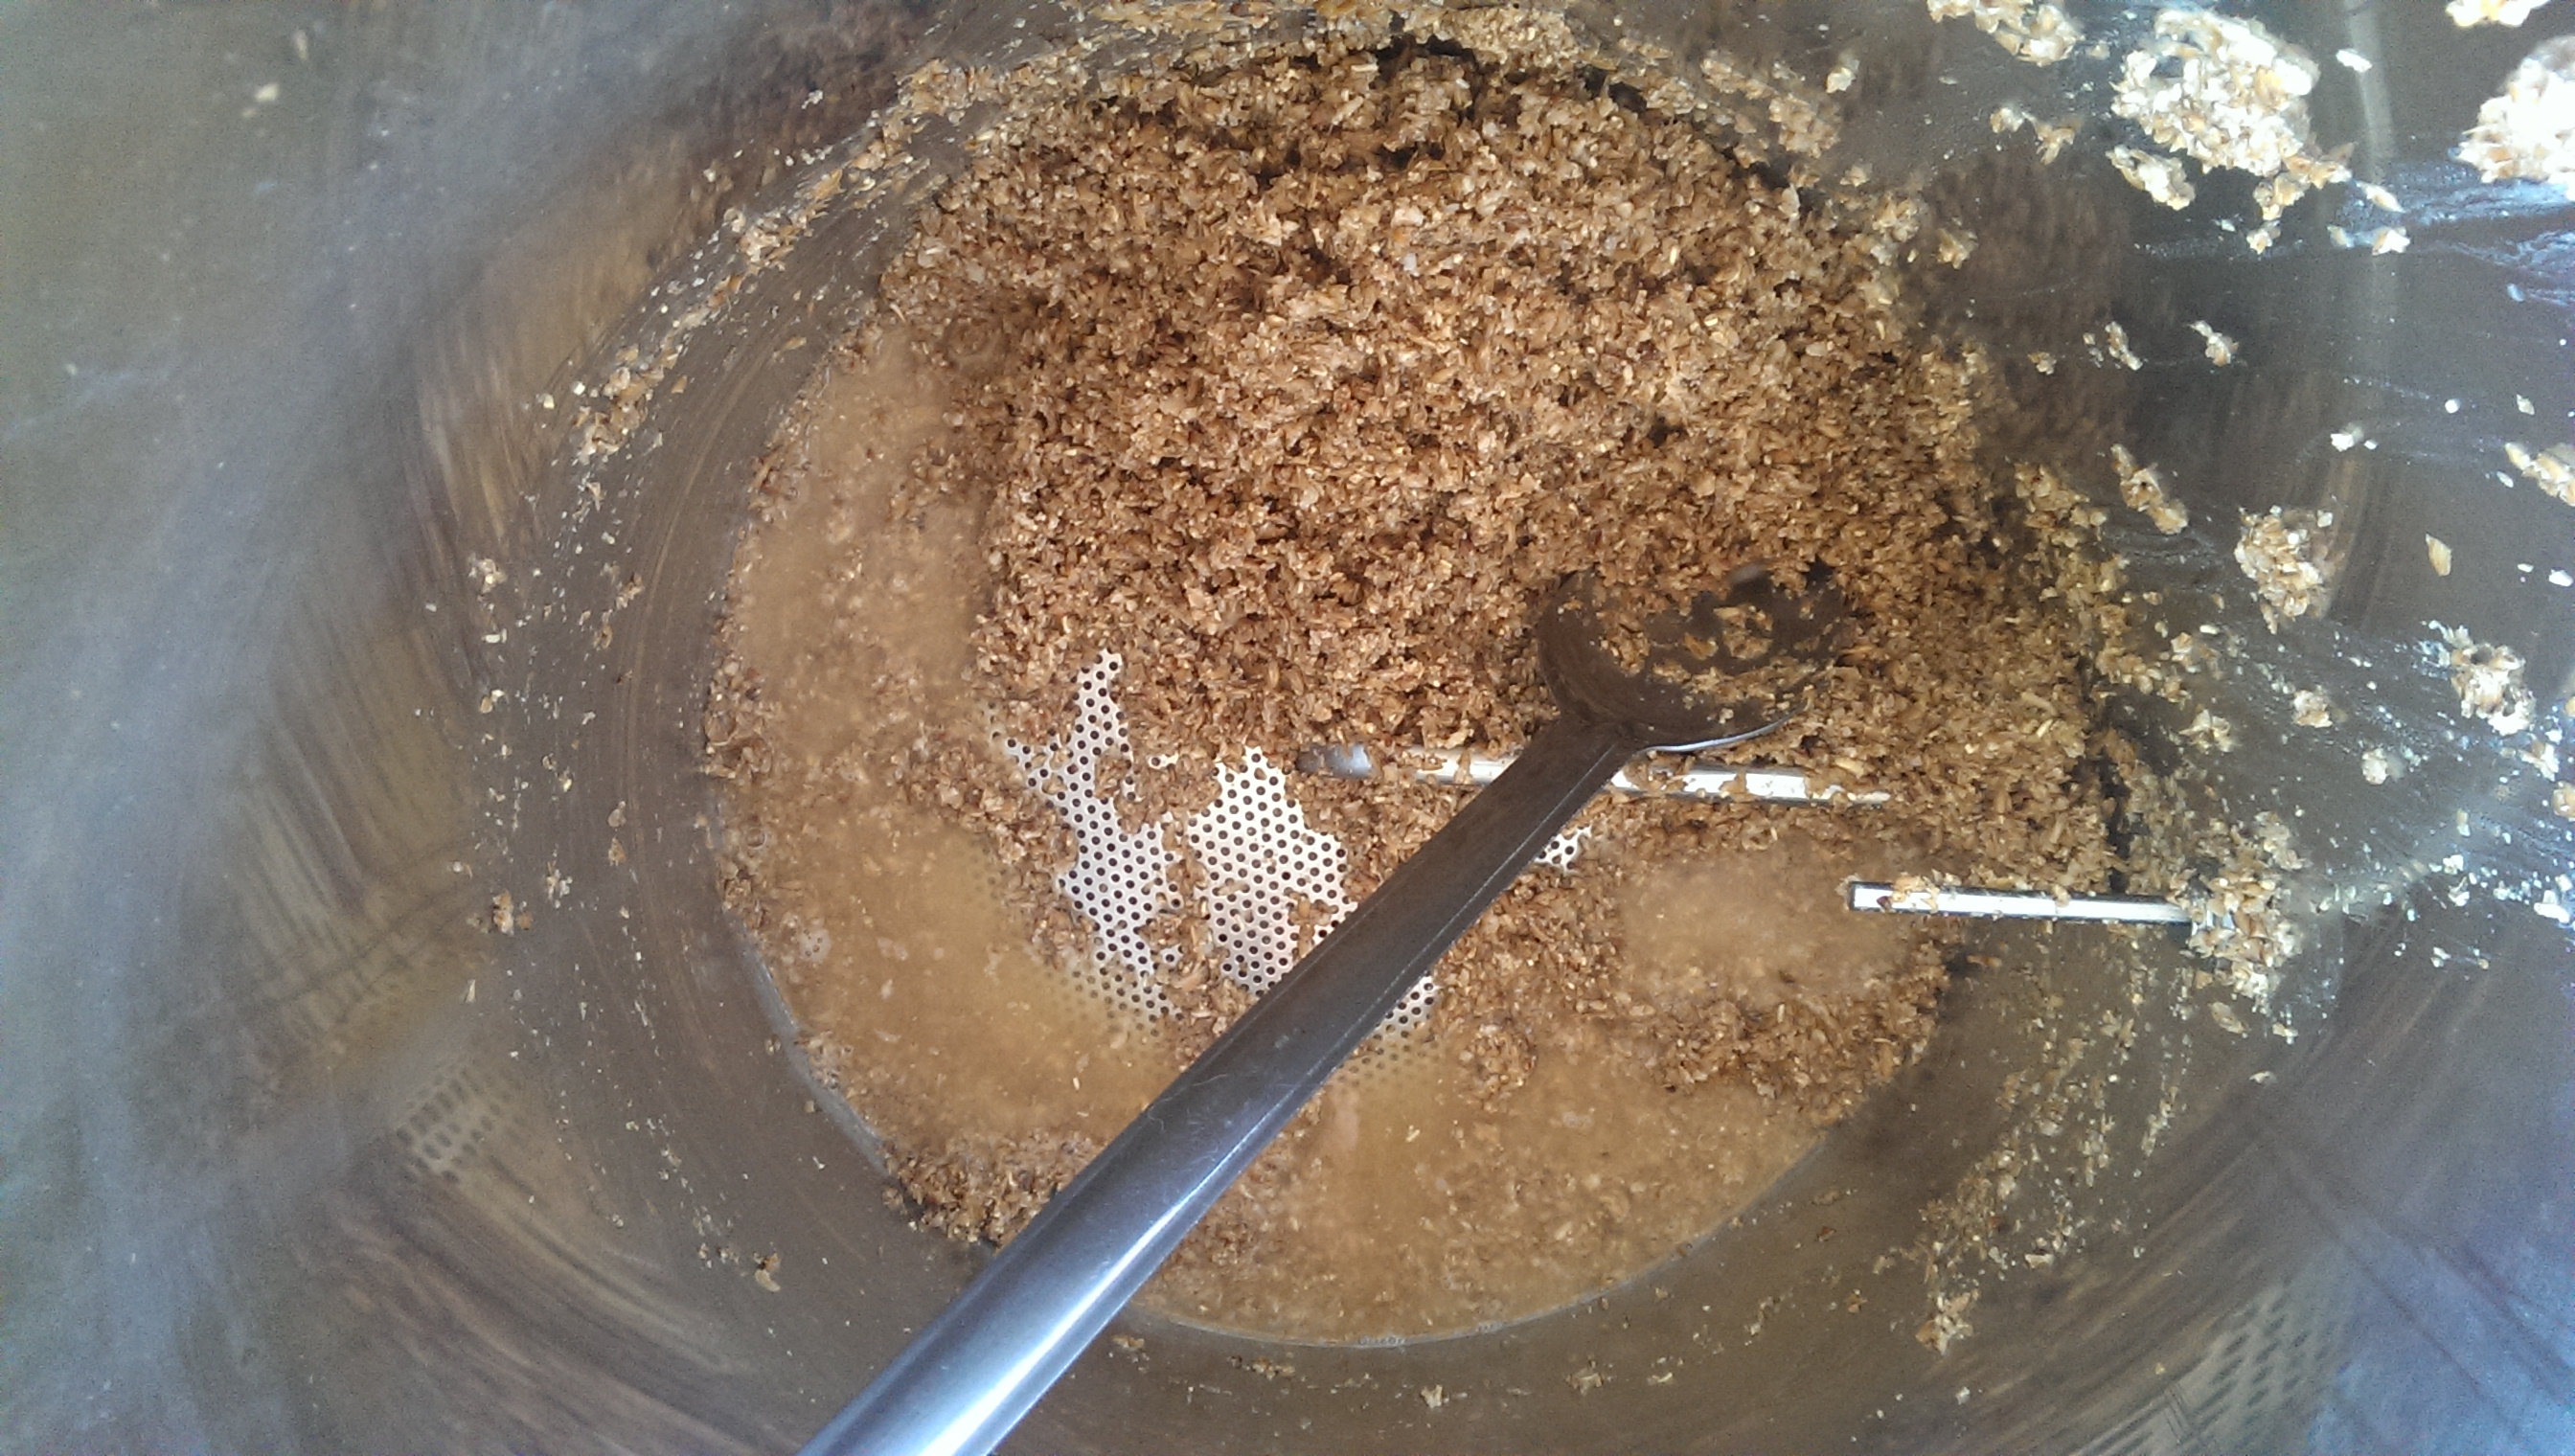
#5 False Bottom
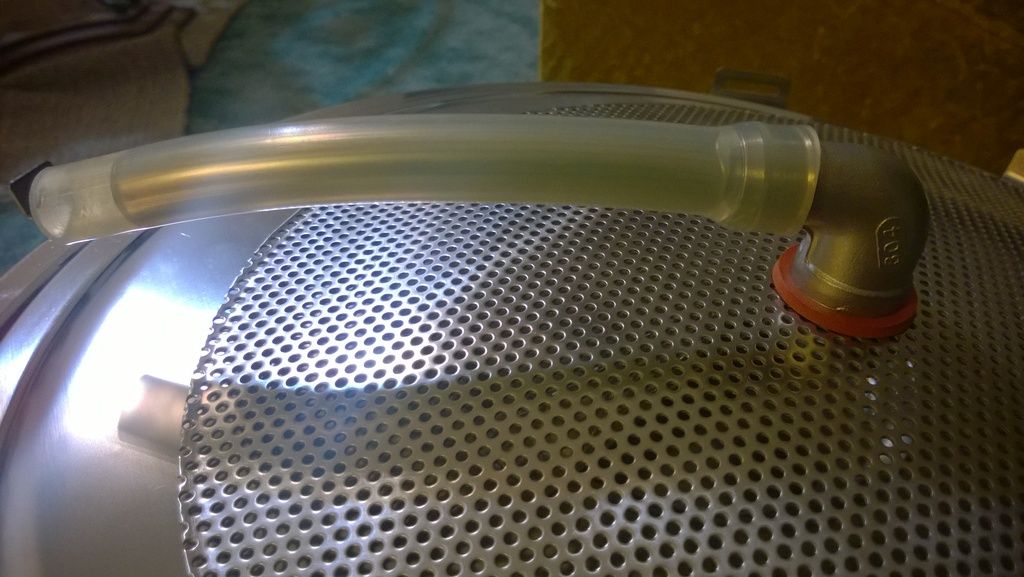
Although it was a last minute addition by the vendor, the recirculation port is the feature I liked most about the unit. After adding the necessary fittings, it worked great for a vorlauf recirculation. It is a bit too low in the unit to be useful with larger batches, but it's a great feature.
So, was it worth it?
I still want to gather more data, but my initial impression is that it was probably worth the Kickstarter price. At retail prices ($349 for 10G)? No. Not when for only $50 more ($395) you can get the SS Brewing Mash Tun, which seems to have several design advantages (minus a recirculation port). That bottom drain design is brilliant!
val214 did a great job capturing pics already, so I won't bother posting mine.
https://www.homebrewtalk.com/showpost.php?p=7034385&postcount=136
https://www.homebrewtalk.com/showpost.php?p=7034386&postcount=137
It arrived in good condition with one flaw that I was able to fix with a pair of pliers. It definitely needed a good cleaning--especially the bulkheads. Washed it with a PBW solution and cleaned the bulkheads with a bottle brush.
The thermometer in mine is terrible. It can get out of calibration by simply moving the vessel. Given the importance of mash temp, I swapped it out with the Blichmann thermometer that was in my kettle.
I was very disappointed to discover the ports are not welded, but that's my fault for not reading the product description thoroughly. The bulkheads do turn without using a huge amount of force (such as when installing the ball valve), so be careful. Fortunately I did not experience any leaks.
Kudos to Chapman for supplying all of the necessary fittings, including a stainless 3 piece ball valve.
How was the performance?
First, note that I have used a 10G Rubbermaid cooler with a stainless braid for 81 batches. My average mash efficiency has been 78%. I batch sparge. I vorlauf and rack using a pump. I am diligent about controlling mash pH.
The key factors for me were:
1) Achieving and maintaining target temperature.
2) Mash & lauter efficiency around 78%
3) Hit target volumes with minimal loss
4) No leaks
5) False bottom performance
#1 Temp
As per my typical protocol, I heated my strike water to 4-5 degrees above my target temp, then drained into the TB. Unlike my cooler, the strike water temp immediately dropped 4 degrees to my target strike temp. While stirring in the grain, the temp fell less than when using my cooler. During the one hour rest, temp fell one degree, which is acceptable. Although the overall experience was different from legacy equipment, I only need to tweak my procedure a little.
Grade: A
#2 M&L Efficiency
This one is significantly dependent on #3 and I need more data for both, but on the first run I hit 76.7% M&L efficiency. That's on par with what I achieved using my cooler the last time I brewed the same recipe.
Grade: TBD
#3 Volumes & Loss
- I conservatively assumed .5G dead space. My first runnings ended up slightly more than 1qt. low. My total volume ended up slightly higher than target, though.
- When cleaning out the spent grain, there was slightly less than a quart of wort remaining in the TB. I rarely had more than a cup of loss in my cooler. Unfortunately because of the design of the TB, you can't tip the unit to get the remaining wort out. It's true loss.
#4 Leaks
No Leaks
Grade: A
#5 False Bottom
- About 10 min into the mash I usually take a small sample to check pH. Using my cooler with braid, I get very little grain material. Using the TB a huge percentage of the sample volume was grain particles even after taking 6-7 samples.
- At the start of the vorlauf there was a lot of grain material, but I experienced no pump priming, recirculation or transfer issues related to the false bottom.
- Although I recirculated for several minutes, the wort never ran as clear as it does using my cooler & braid.
Although it was a last minute addition by the vendor, the recirculation port is the feature I liked most about the unit. After adding the necessary fittings, it worked great for a vorlauf recirculation. It is a bit too low in the unit to be useful with larger batches, but it's a great feature.
So, was it worth it?
I still want to gather more data, but my initial impression is that it was probably worth the Kickstarter price. At retail prices ($349 for 10G)? No. Not when for only $50 more ($395) you can get the SS Brewing Mash Tun, which seems to have several design advantages (minus a recirculation port). That bottom drain design is brilliant!
Last edited:


![Craft A Brew - Safale S-04 Dry Yeast - Fermentis - English Ale Dry Yeast - For English and American Ales and Hard Apple Ciders - Ingredients for Home Brewing - Beer Making Supplies - [1 Pack]](https://m.media-amazon.com/images/I/41fVGNh6JfL._SL500_.jpg)


")
