The Giant Motorized mill build

Homebrew Talk - Beer, Wine, Mead, & Cider Brewing Discussion Forum

Help Support Homebrew Talk - Beer, Wine, Mead, & Cider Brewing Discussion Forum:

This site may earn a commission from merchant affiliate links, including eBay, Amazon, and others.

Redtab78

Well-Known Member
Joined
Apr 1, 2016
Messages
888
Reaction score
375
Location
Lost at sea
Well, when I say Giant, I documented the entire thing just in case someone else like me enjoys seeing what others do and how they do it.

Having that said, lets get to it!!

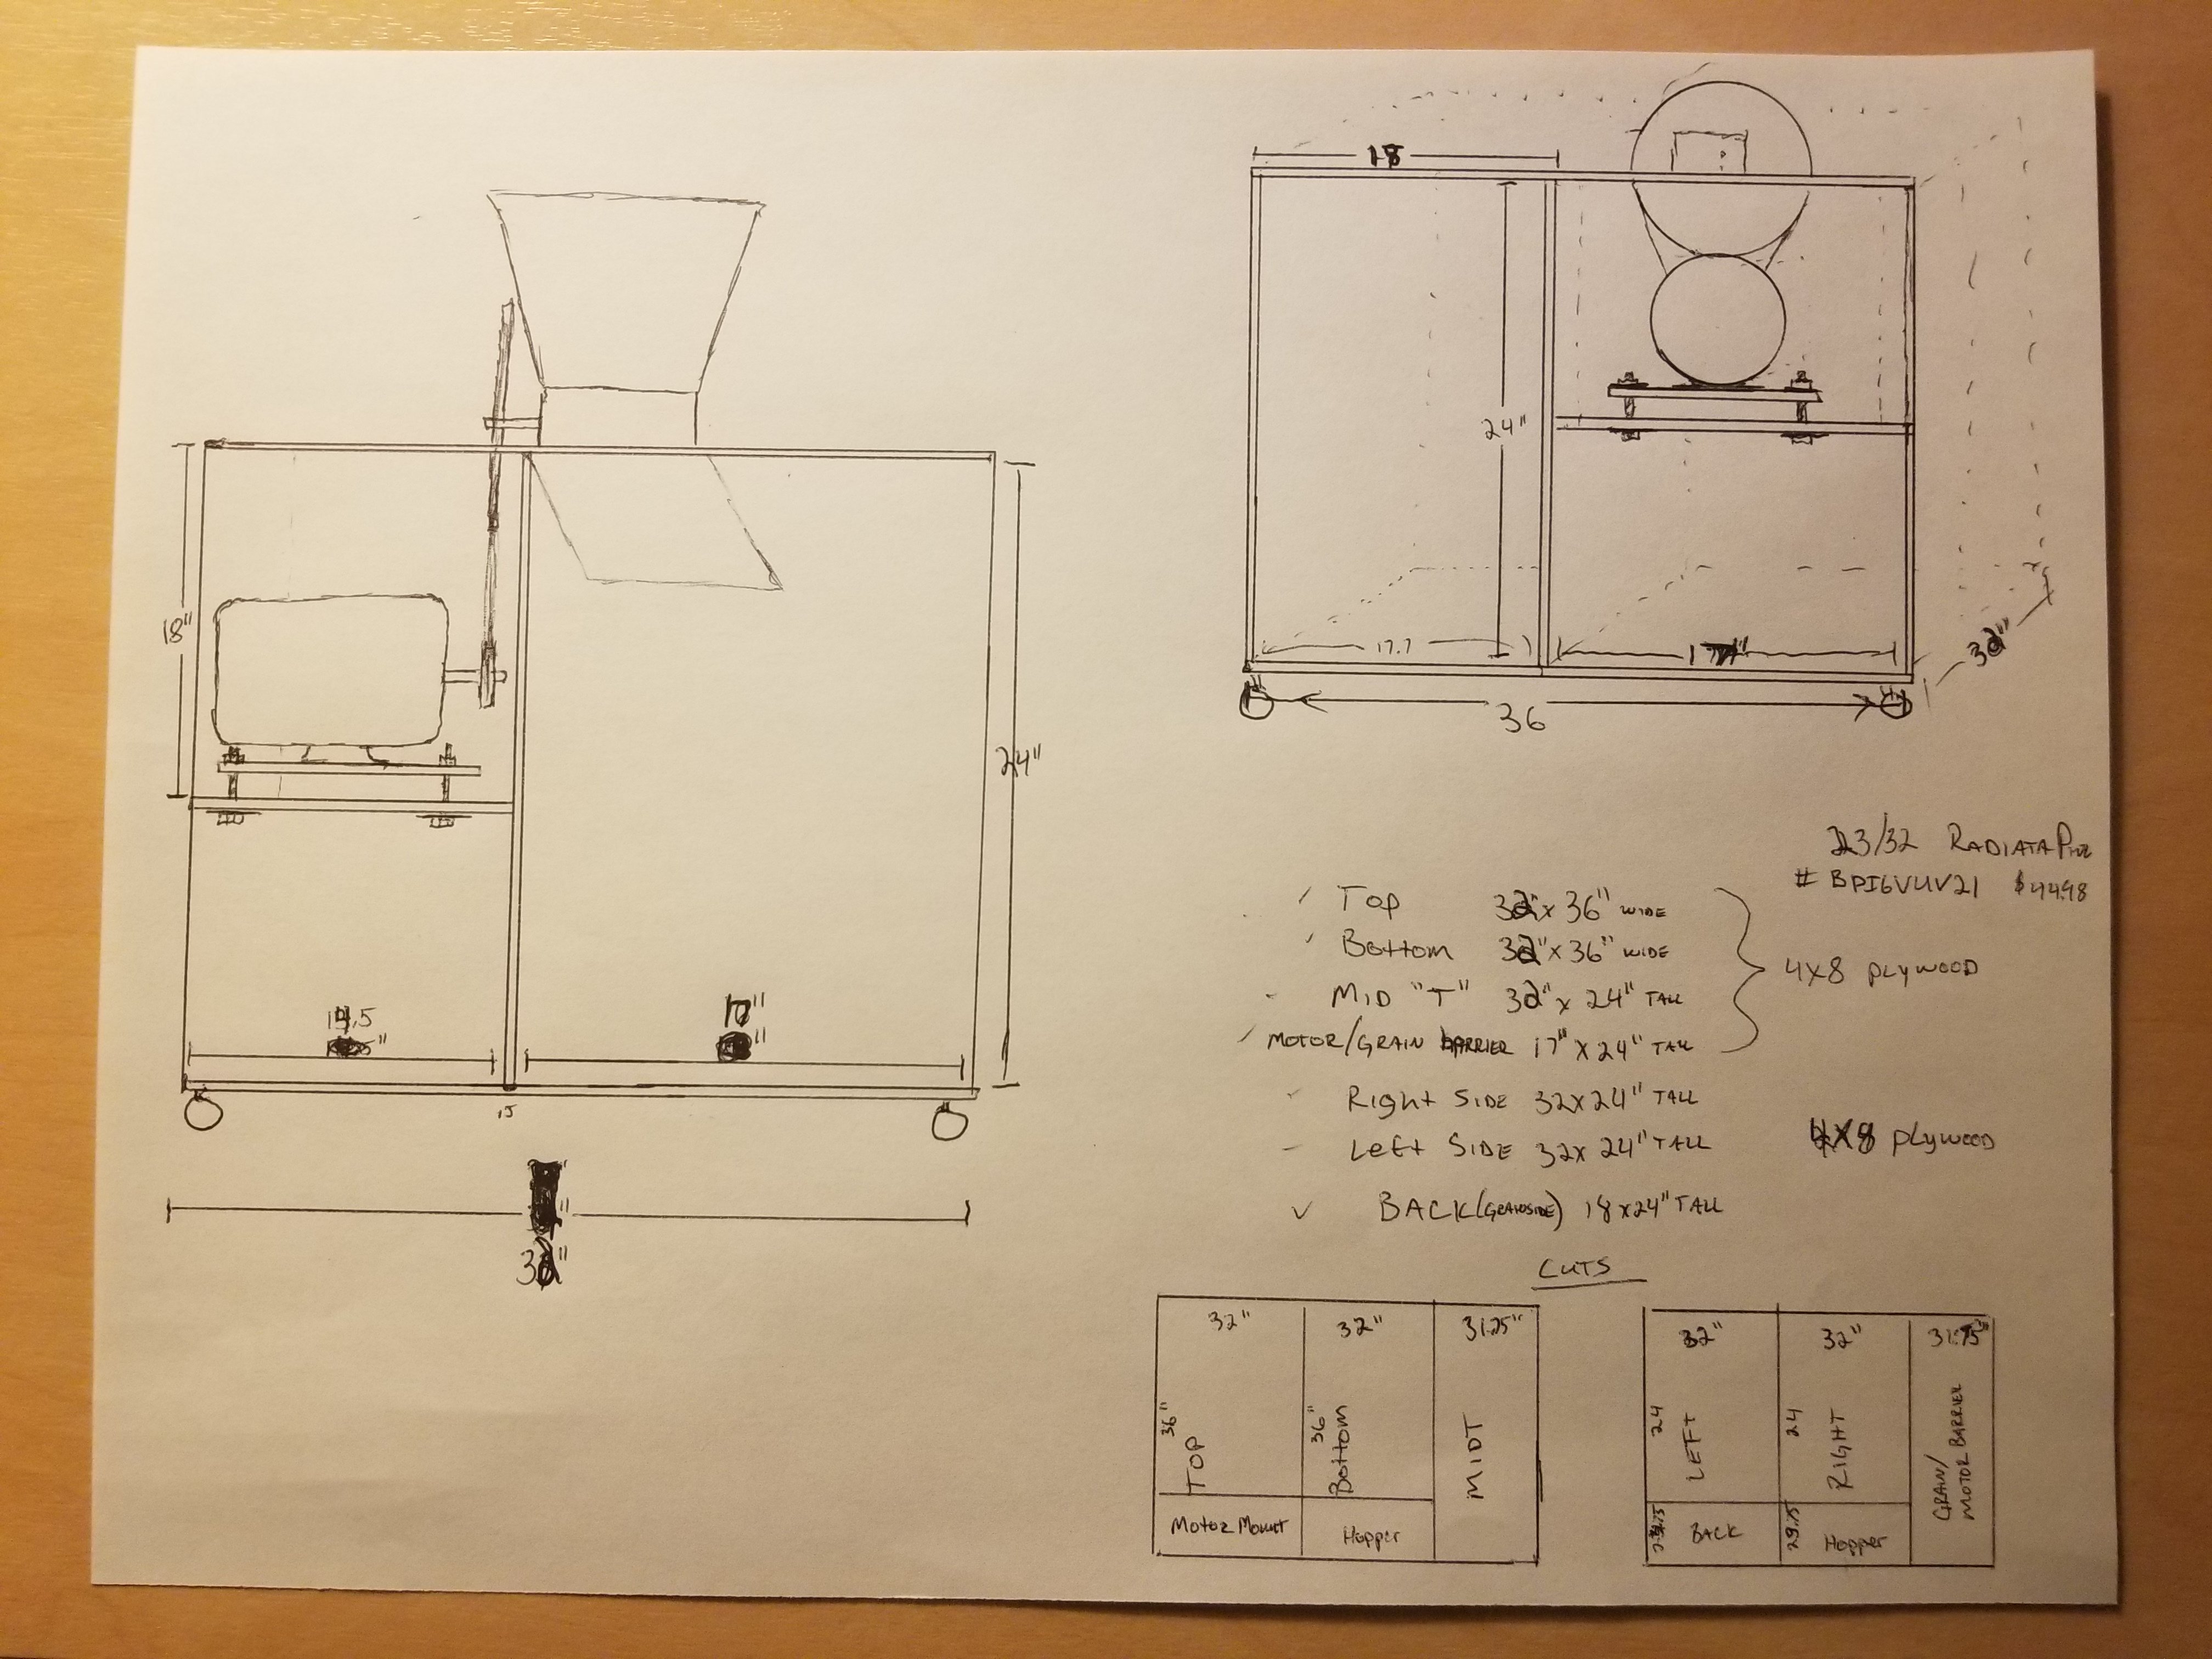
Here is the original design:
20180422_223439.jpg


Even though the cutlist shows 2 full 4x8 sheets being used, I actually didnt all of both pieces, and I have about 1/3rd of a sheet left over that I plan to use later for another add on. After getting both sheets cut at 32" at Home Depot, (mostly had them cut it so it would fit in my jeep)

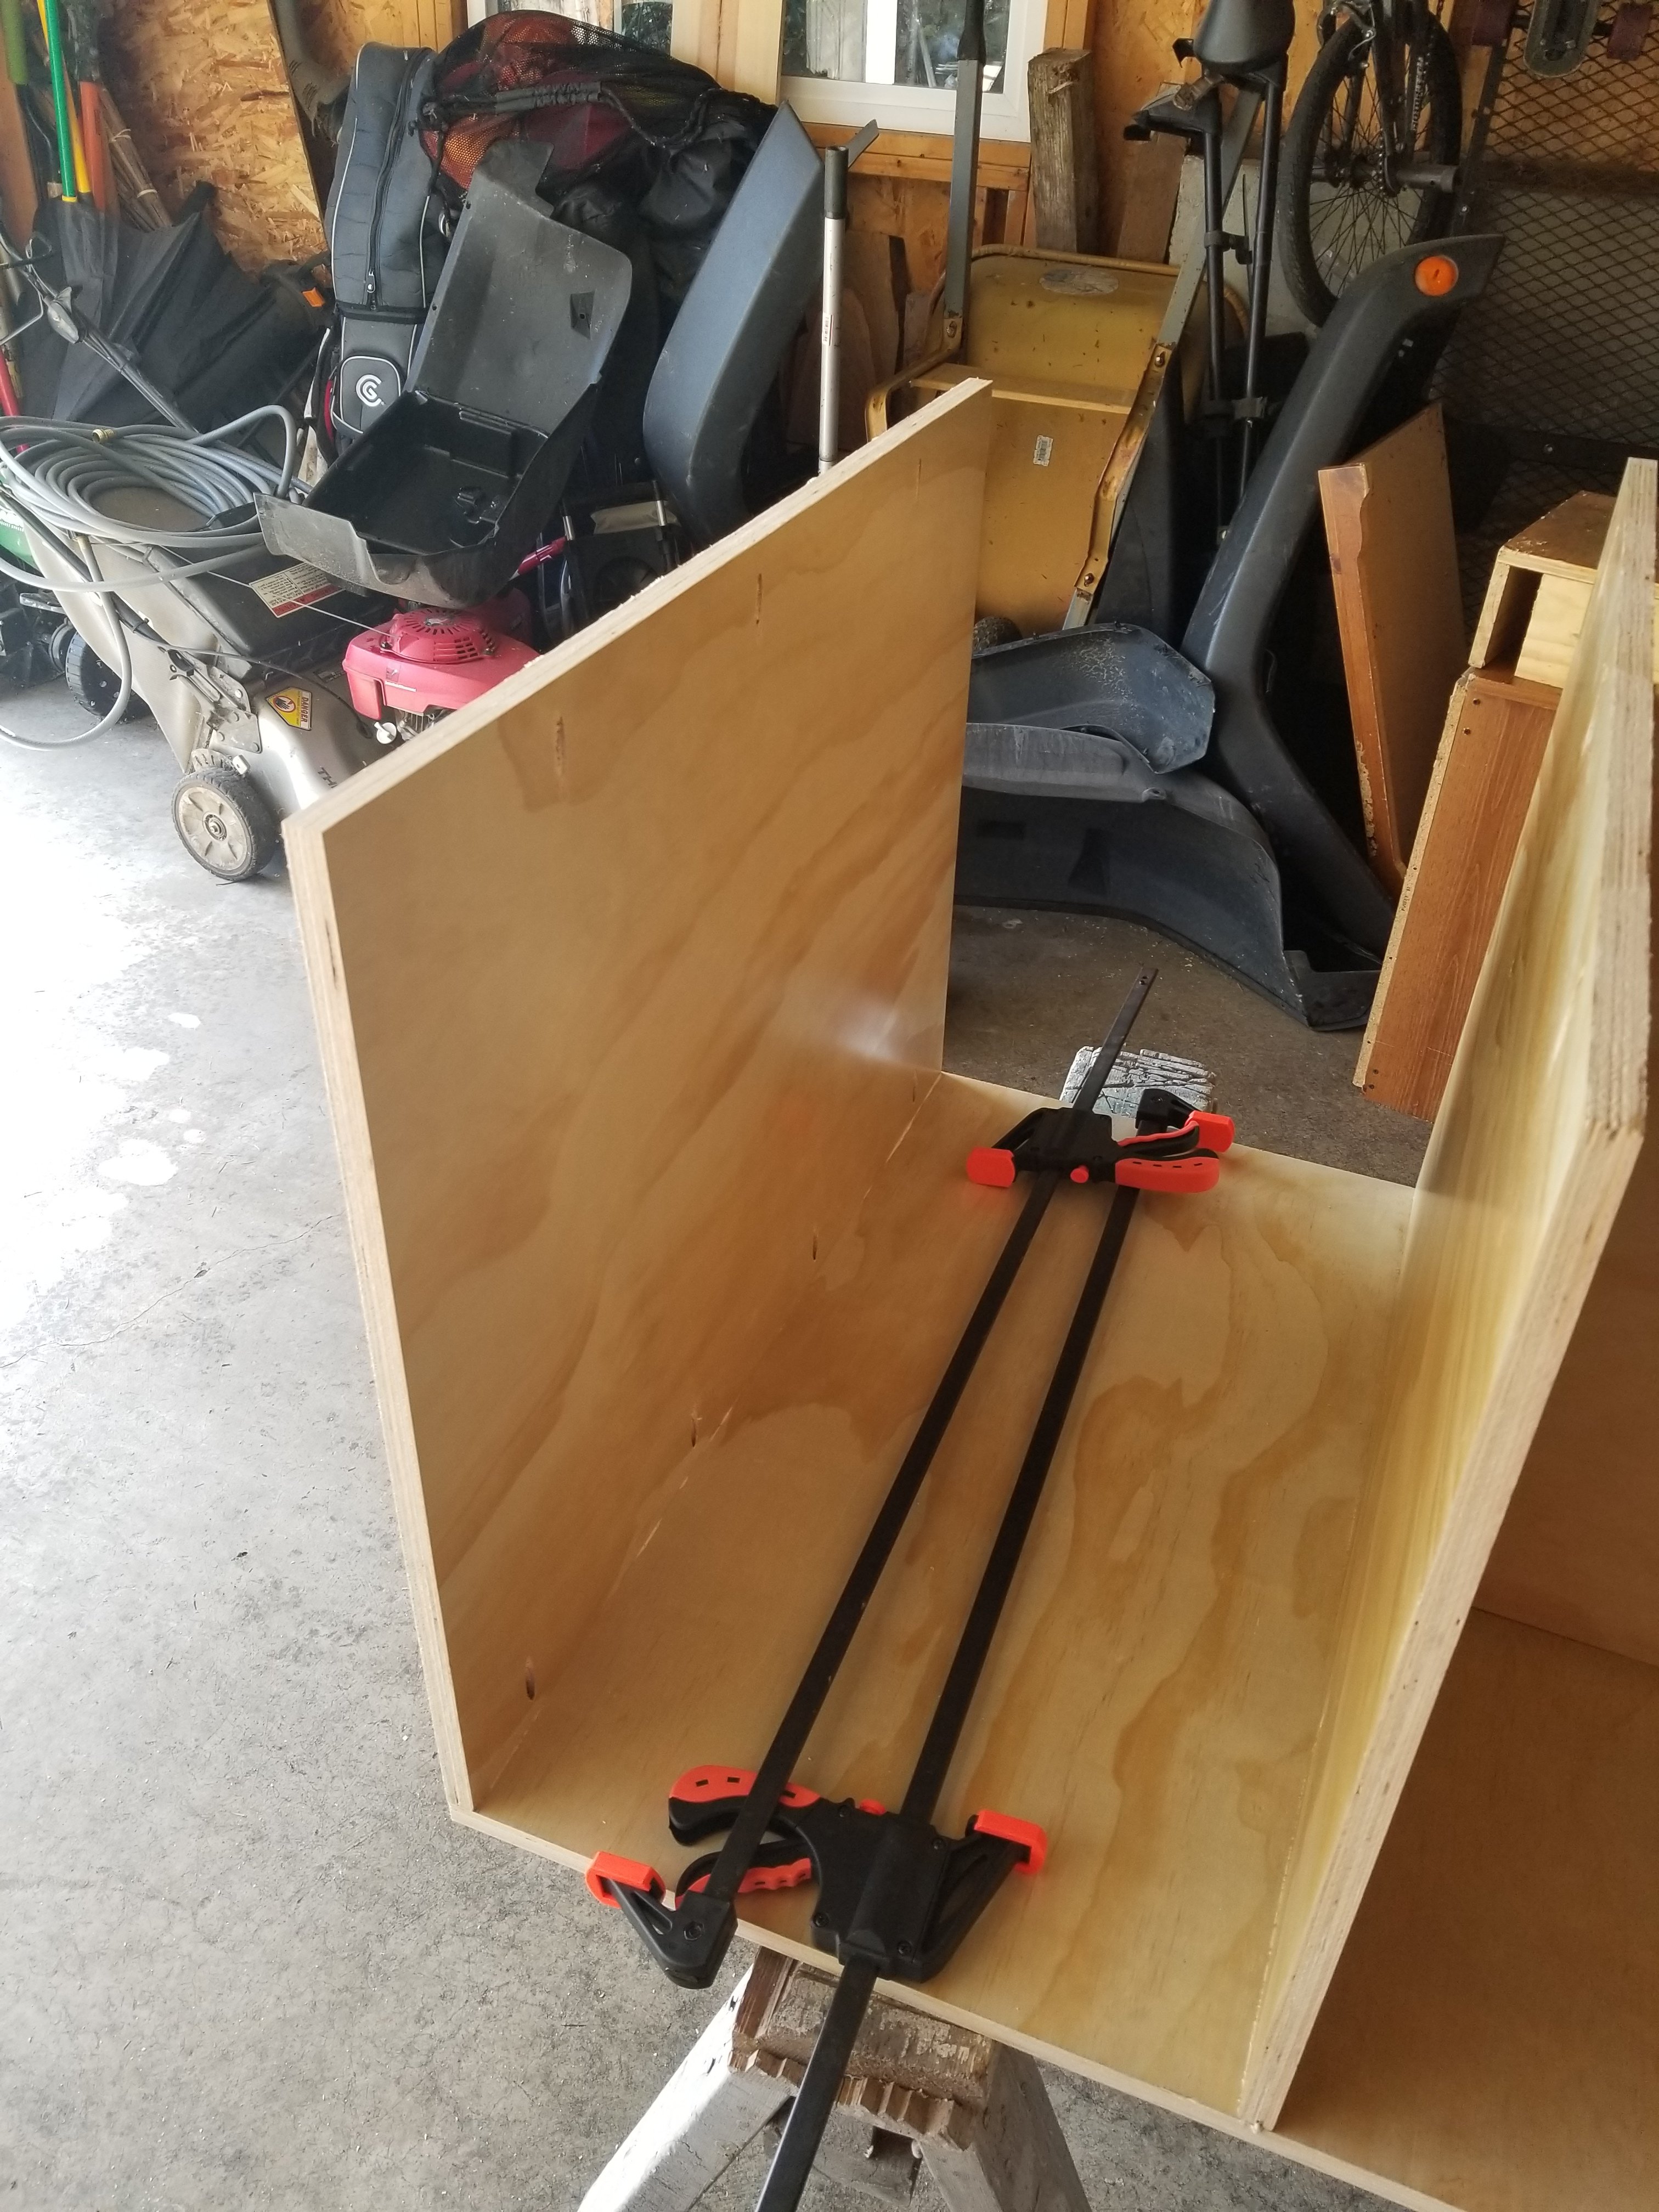
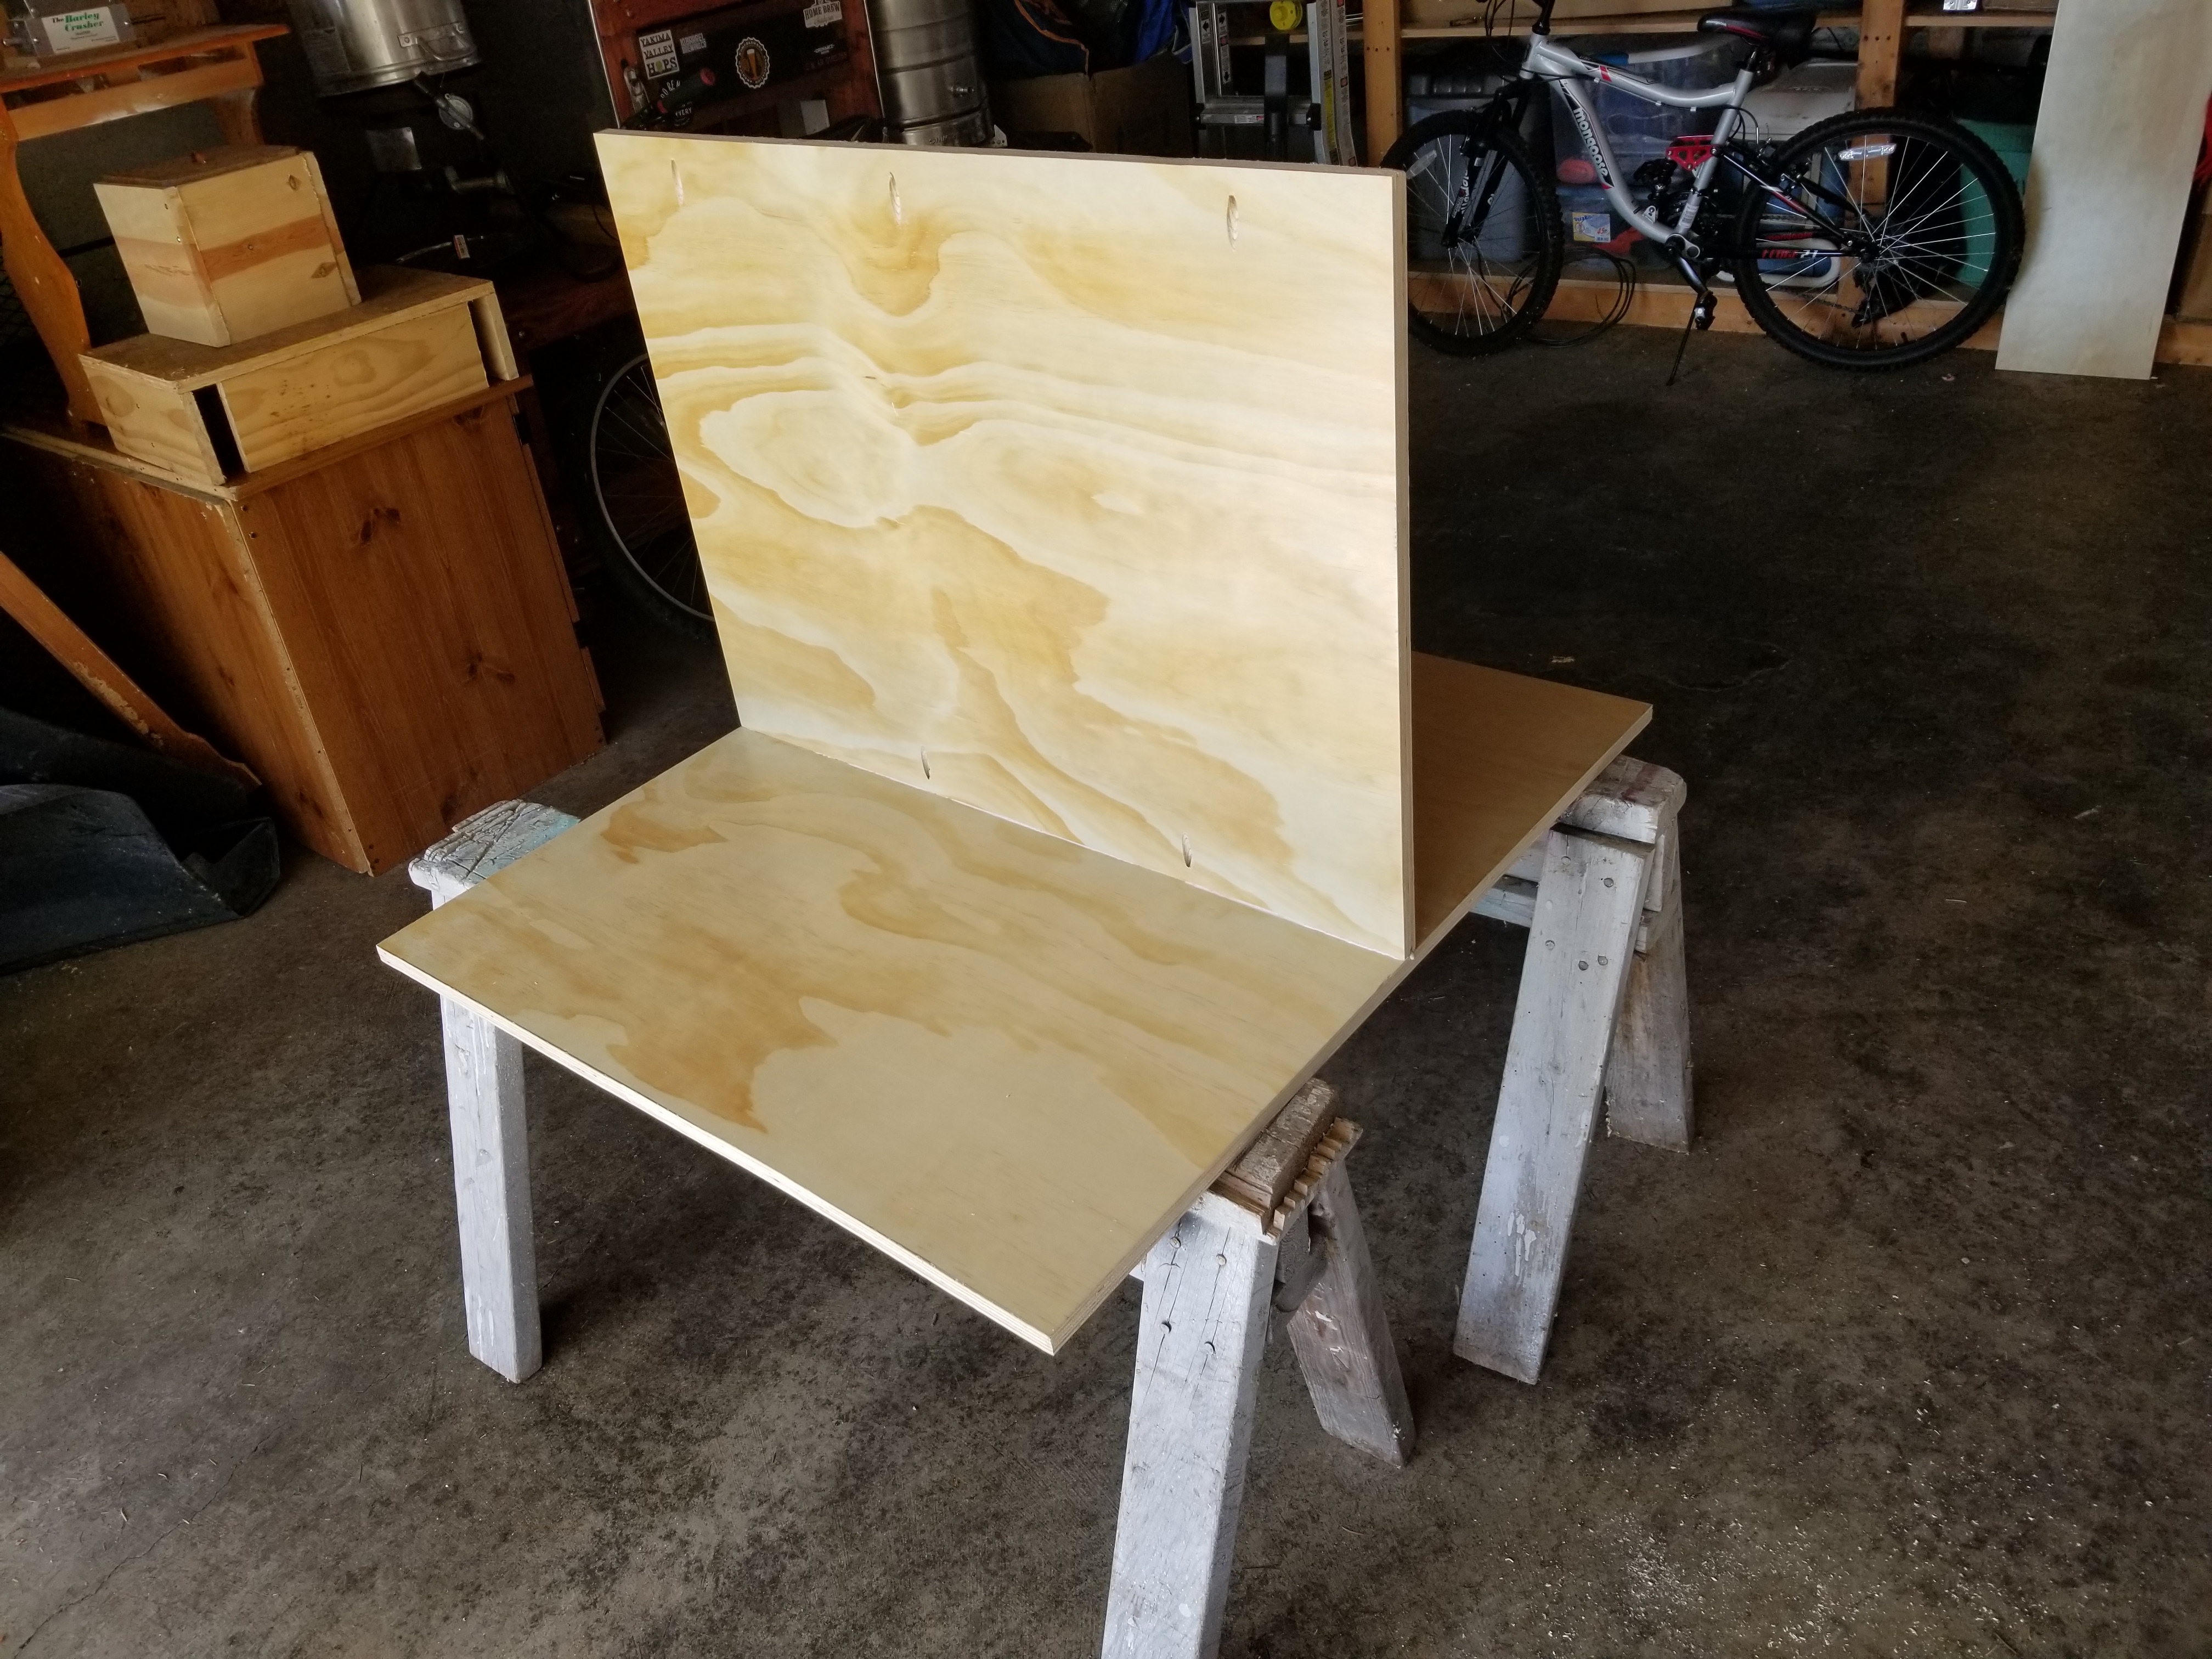
I made my first cuts, which was the bottom and the middle divider between what will later become storage and the milling area:
20180426_104130.jpg


Using my handy dandy Kregg jig, I glued and pocket holed all joints:
20180426_104138.jpg


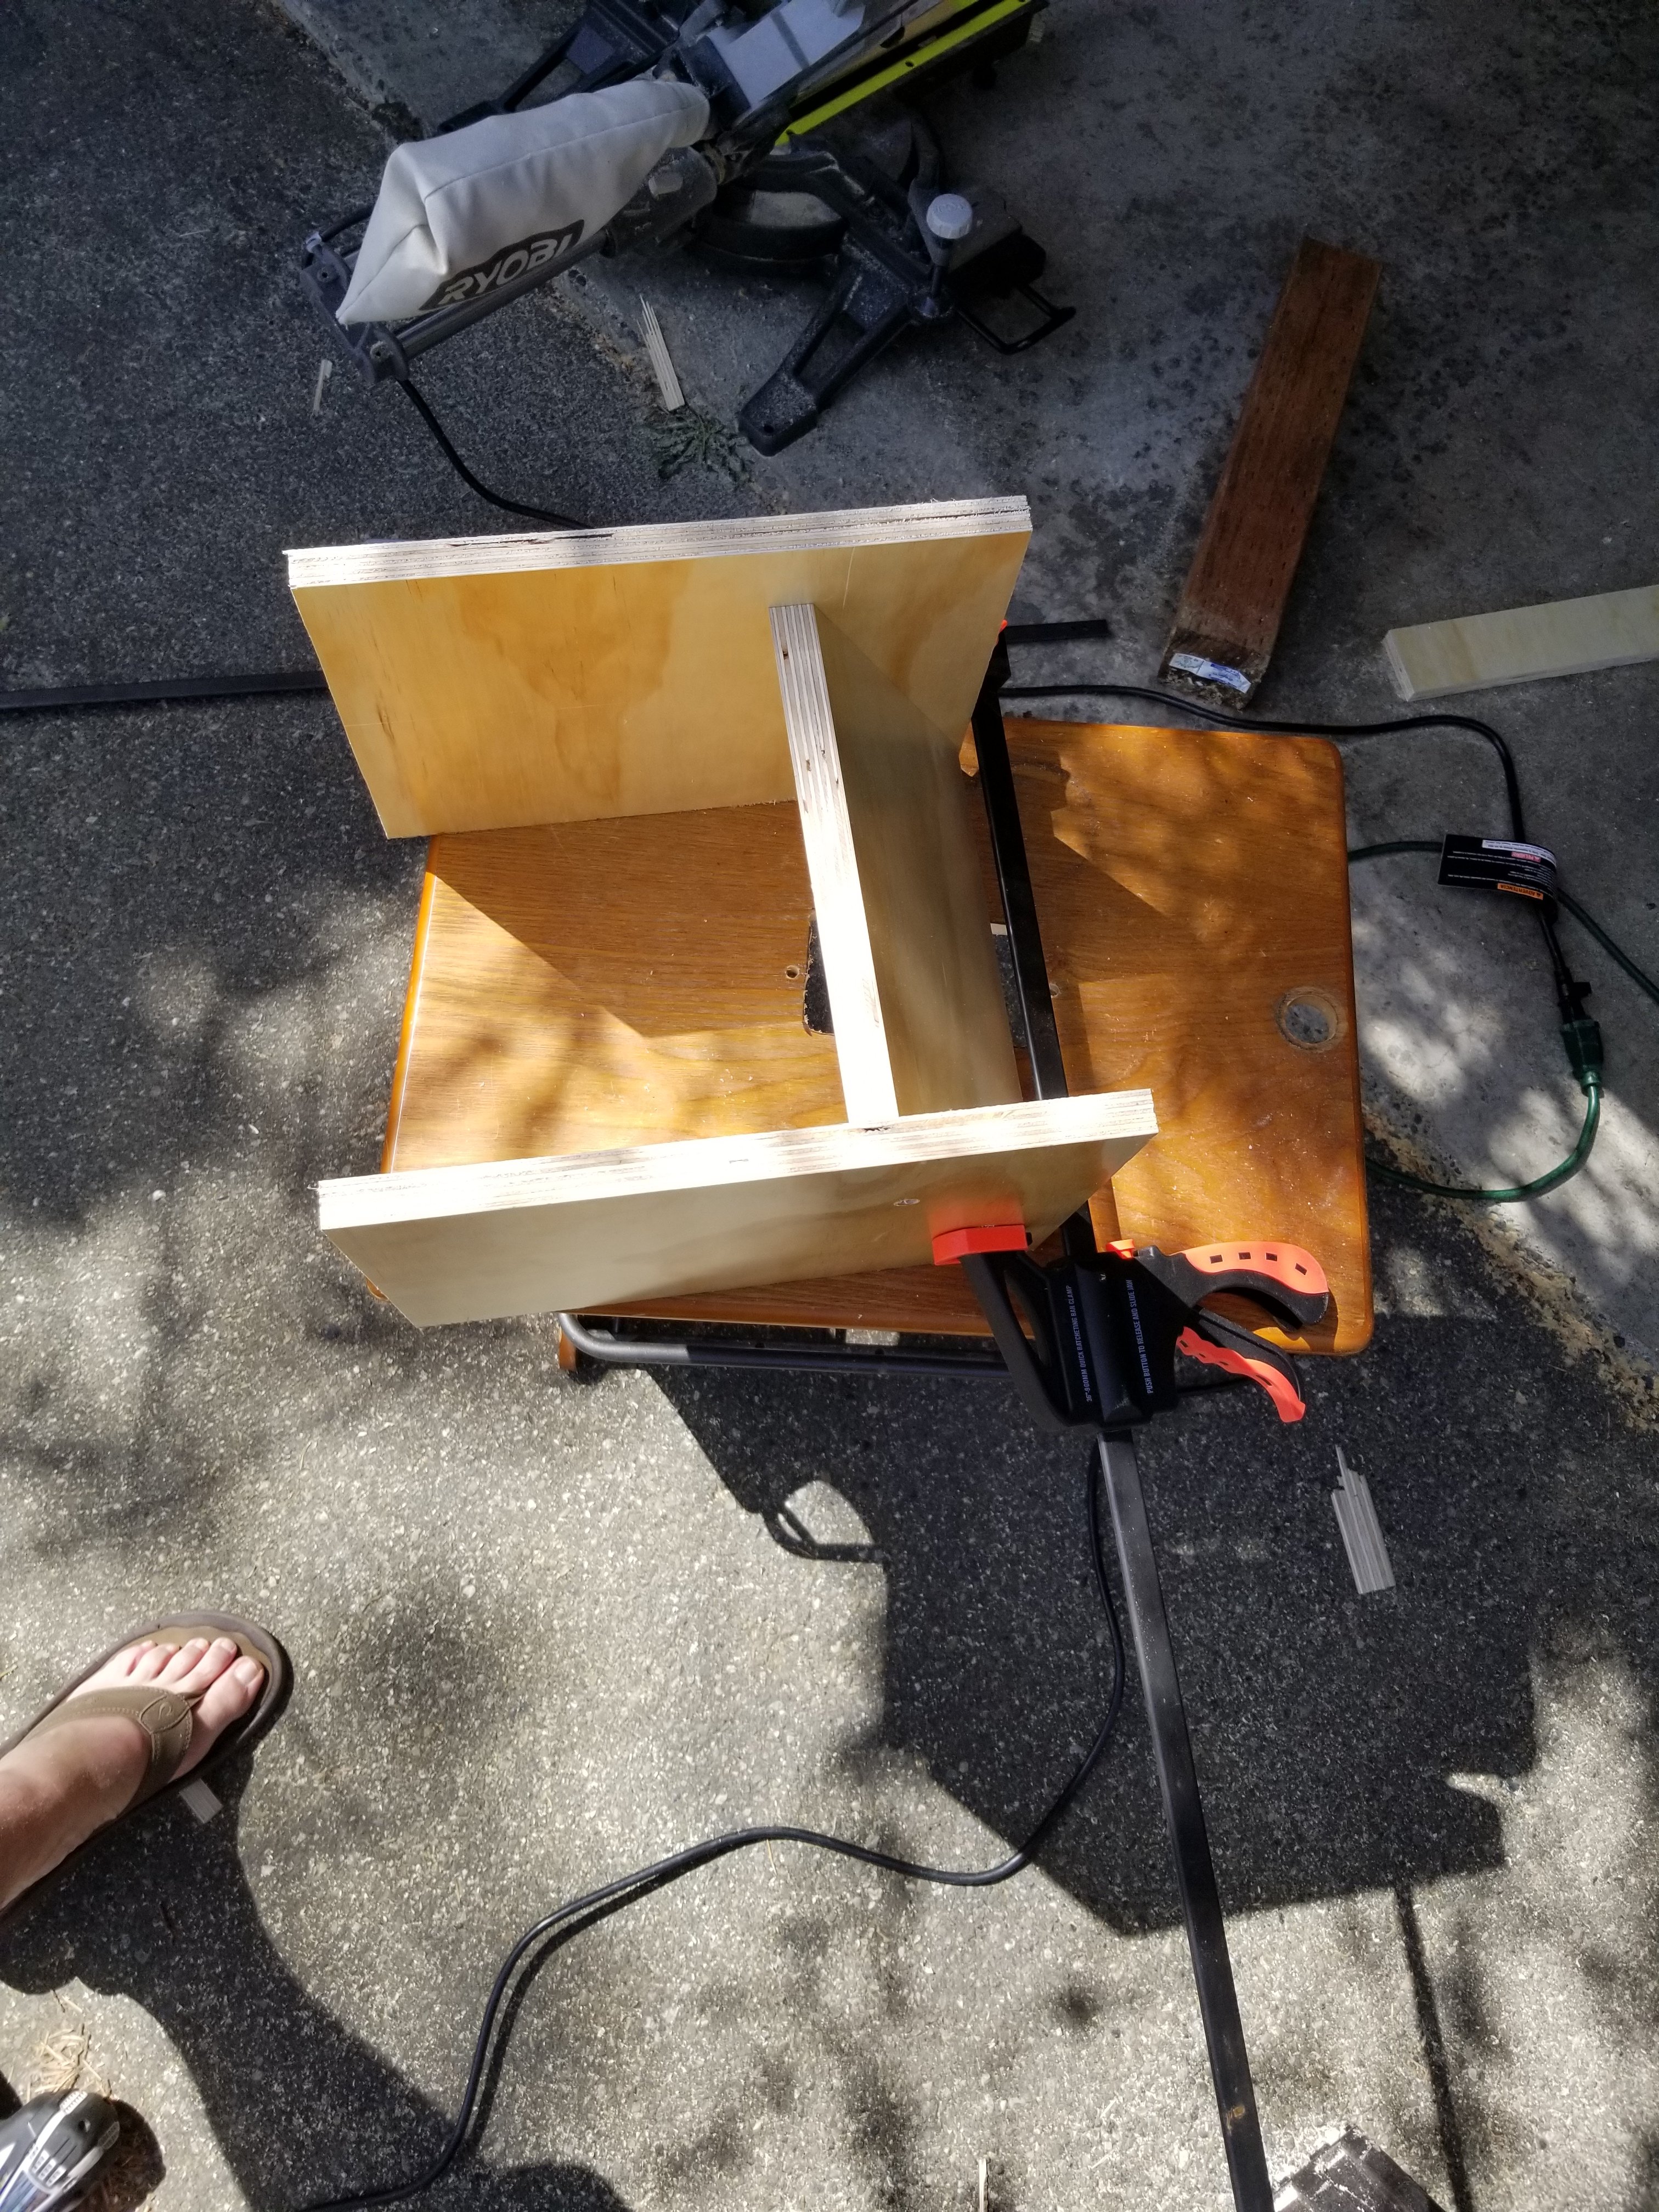
Next was the dividing wall between the motor and my catch bin:
20180426_105330.jpg
 
Once I had my "sections" divided up, it was time to put the storage wall up:
20180426_112606.jpg


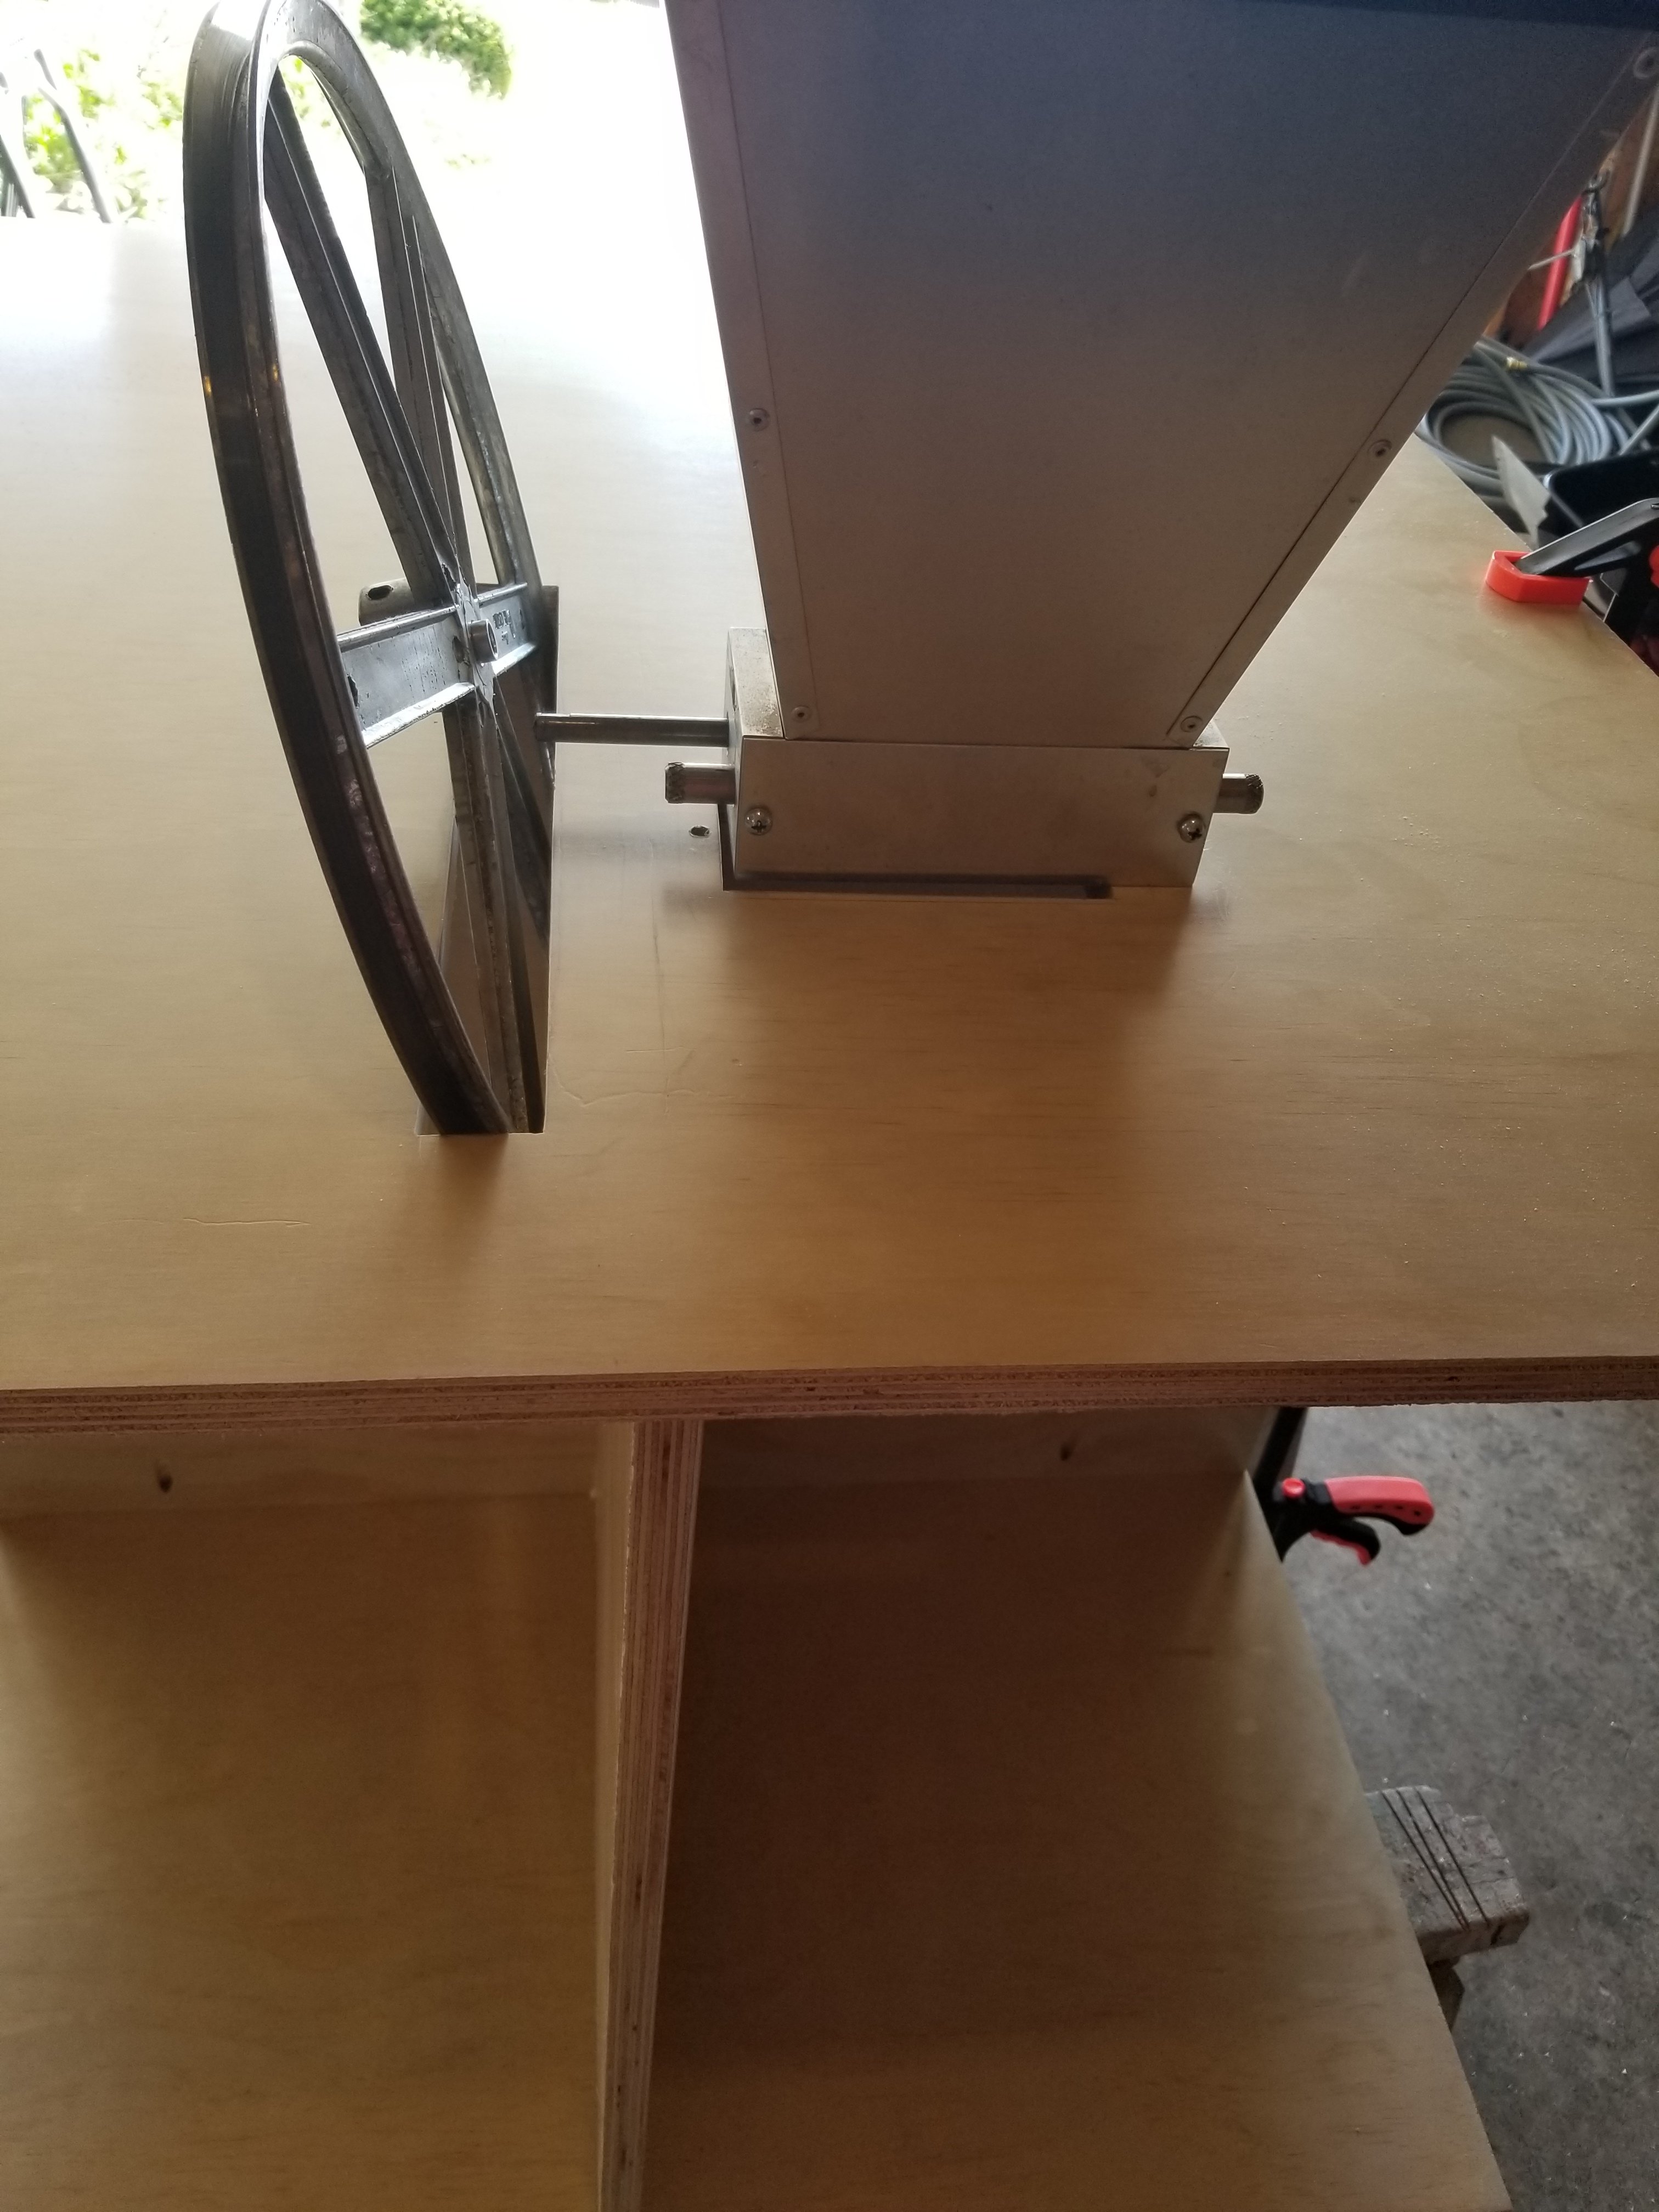
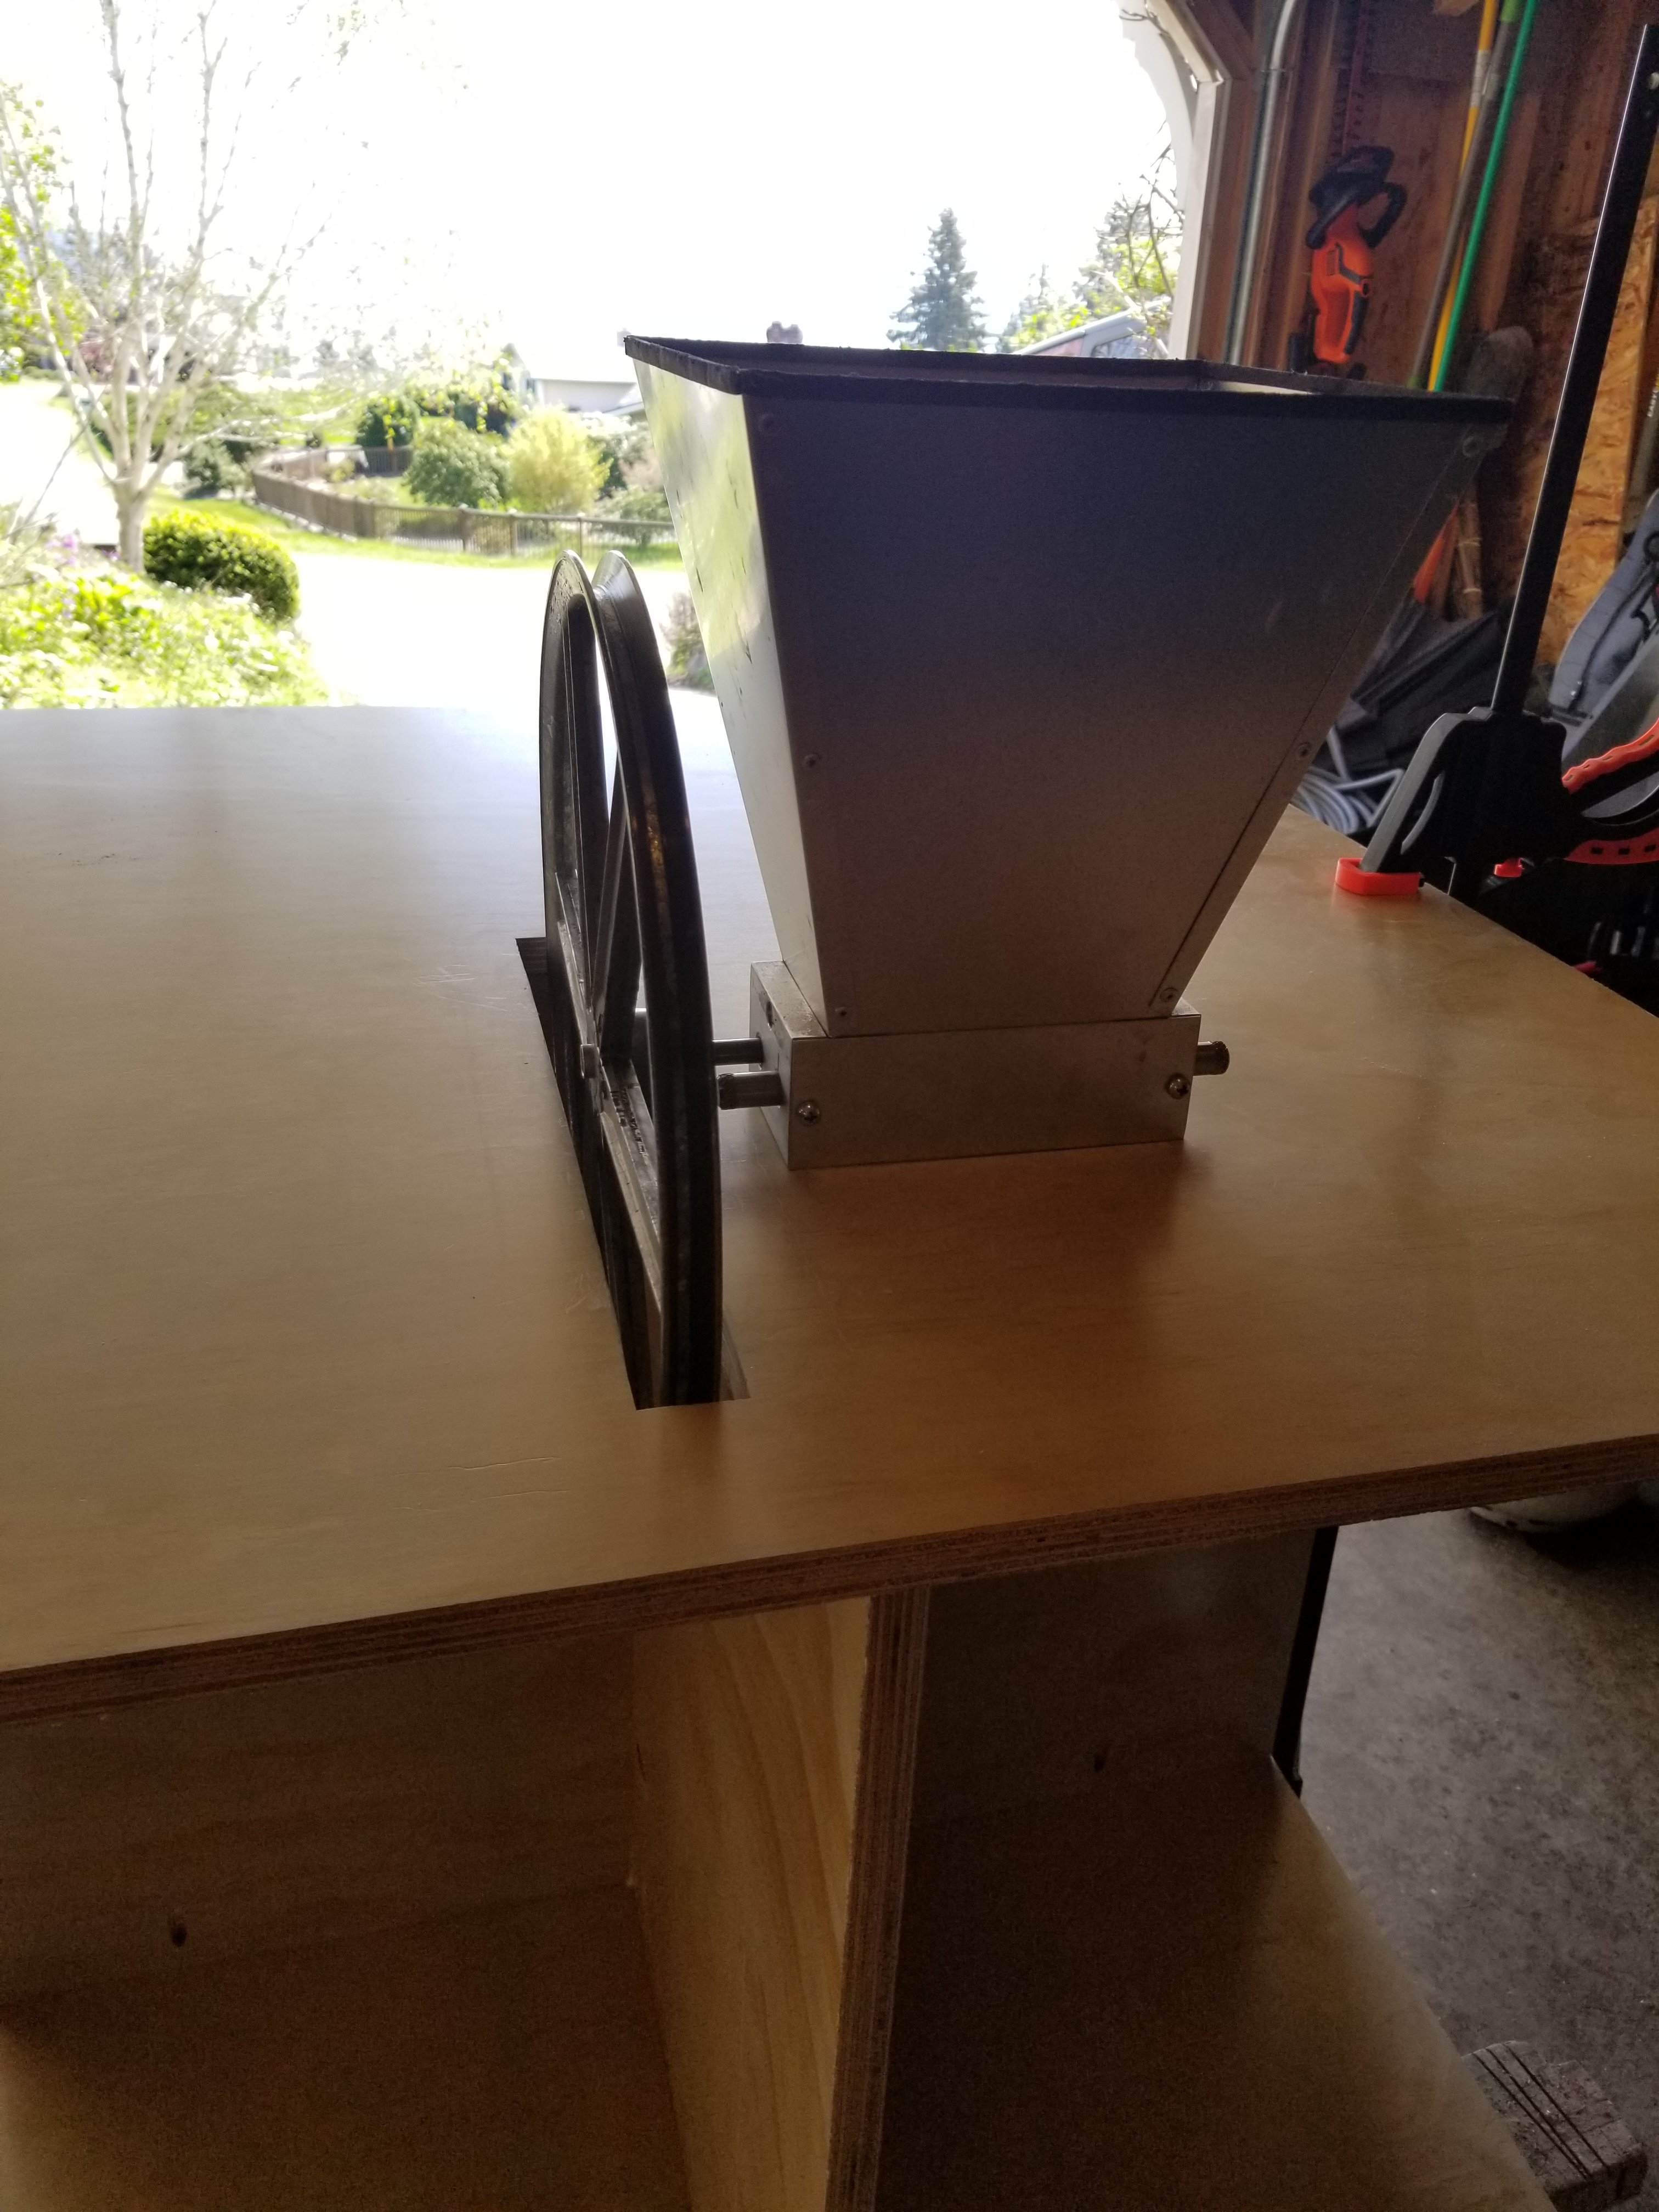
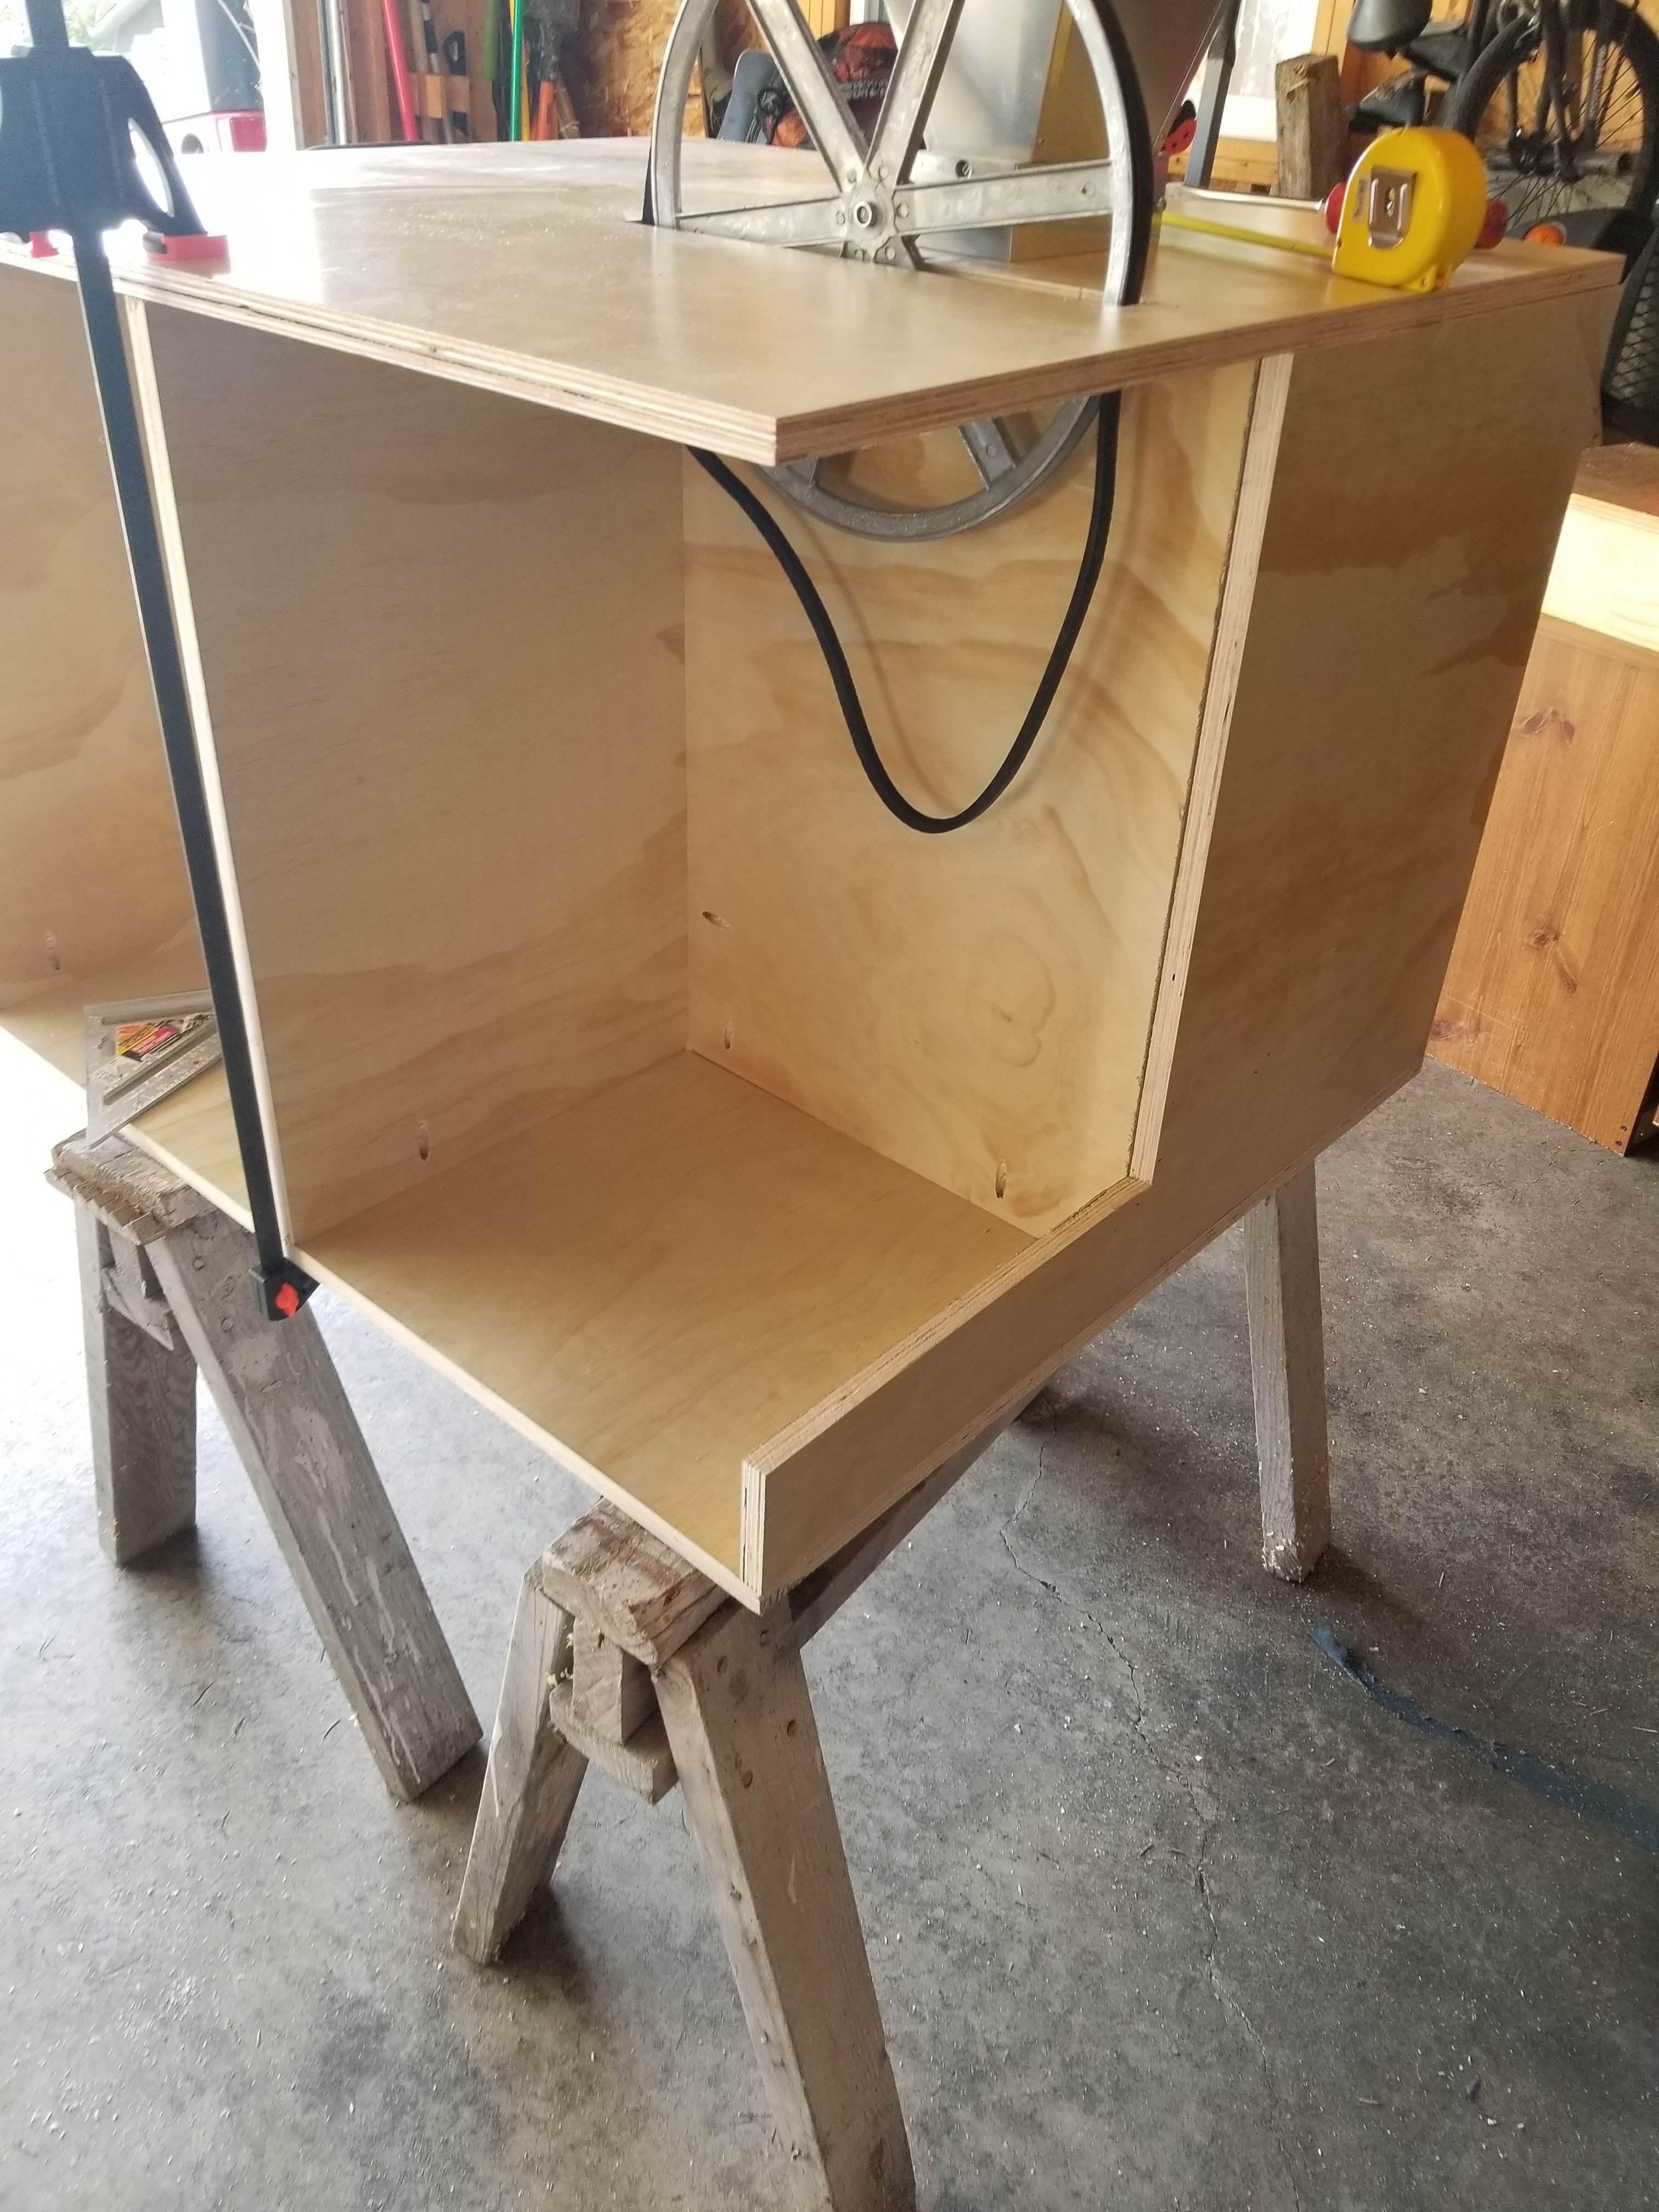
Then I cut the top, and marked off where the mill would sit as well as the cut out required for the pulley (which took me about 5 times of enlarging the area a tad bit more and more untill I was comfortable with the clearance):
20180426_112619.jpg


ok....needs a little more room :/

20180426_113457.jpg


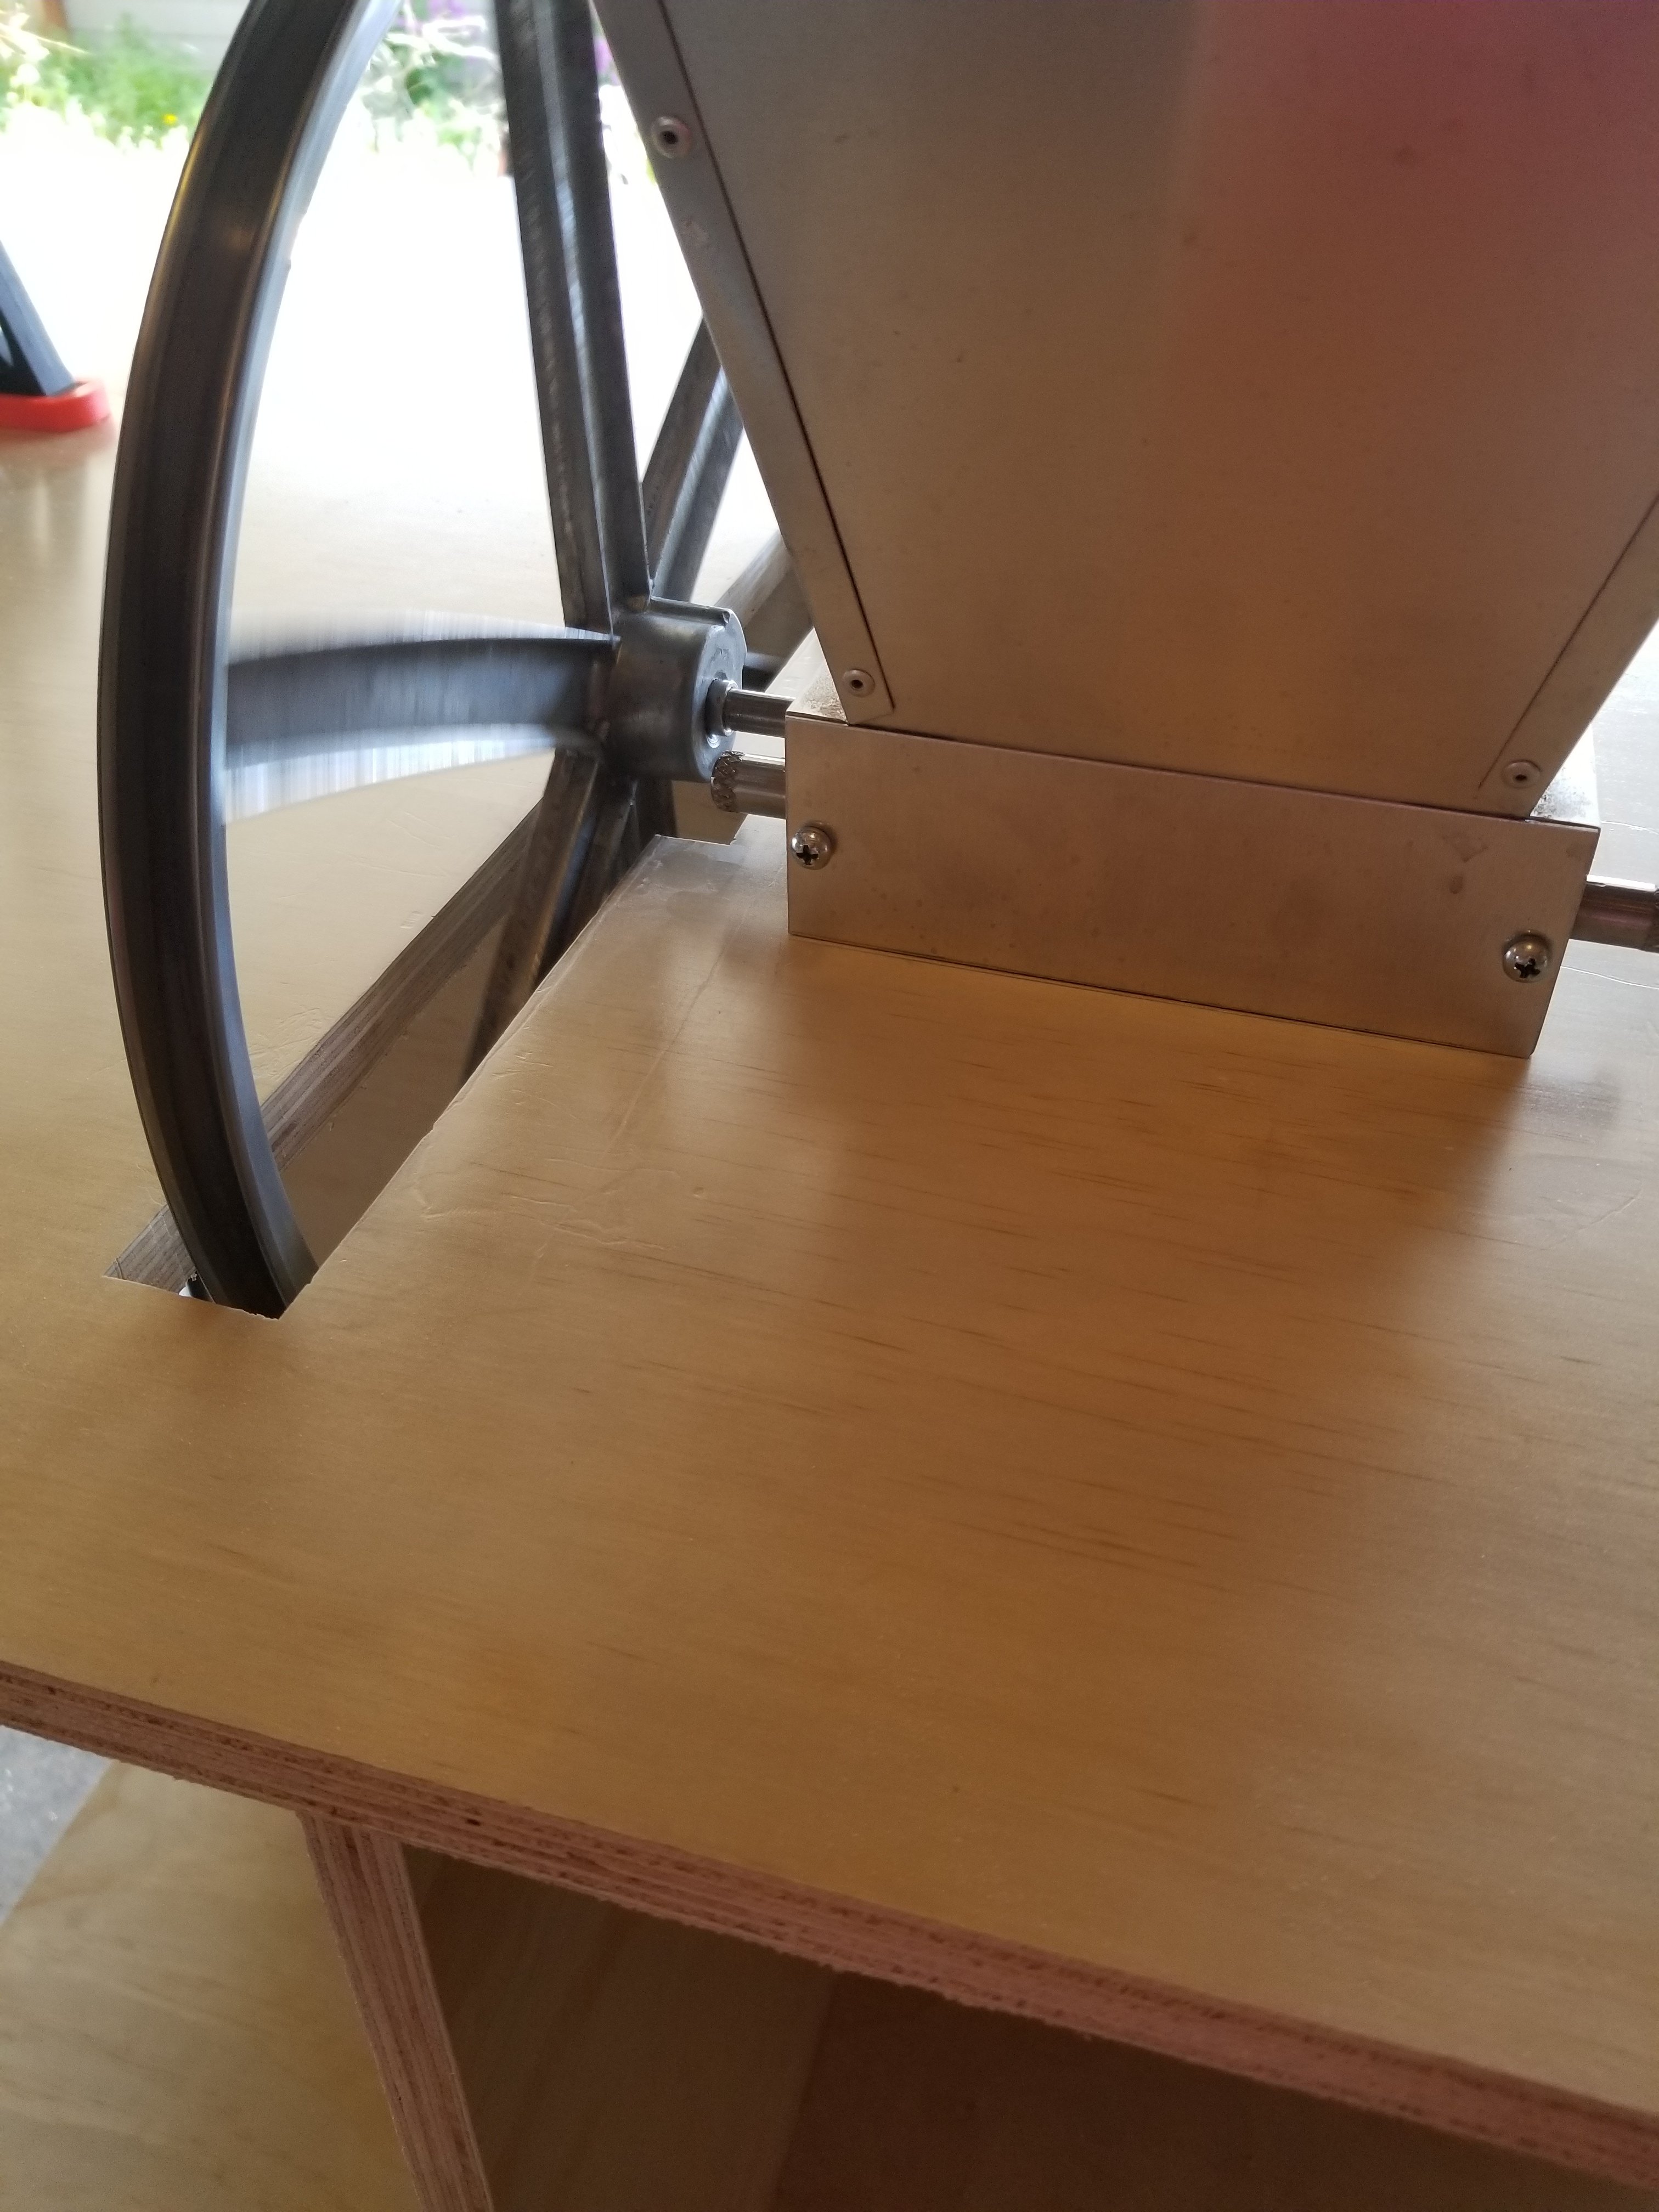
Next I test fit for clearance all mocked up only to find the area on the pulley where the set screw is needed yet more clearance:
20180426_114610.jpg
 
I got all the clearances cut with plenty of room to spare:
20180426_114613.jpg


Here is a pic of the notch cut for the set screw "bulge"
20180426_115502.jpg
20180426_115504.jpg


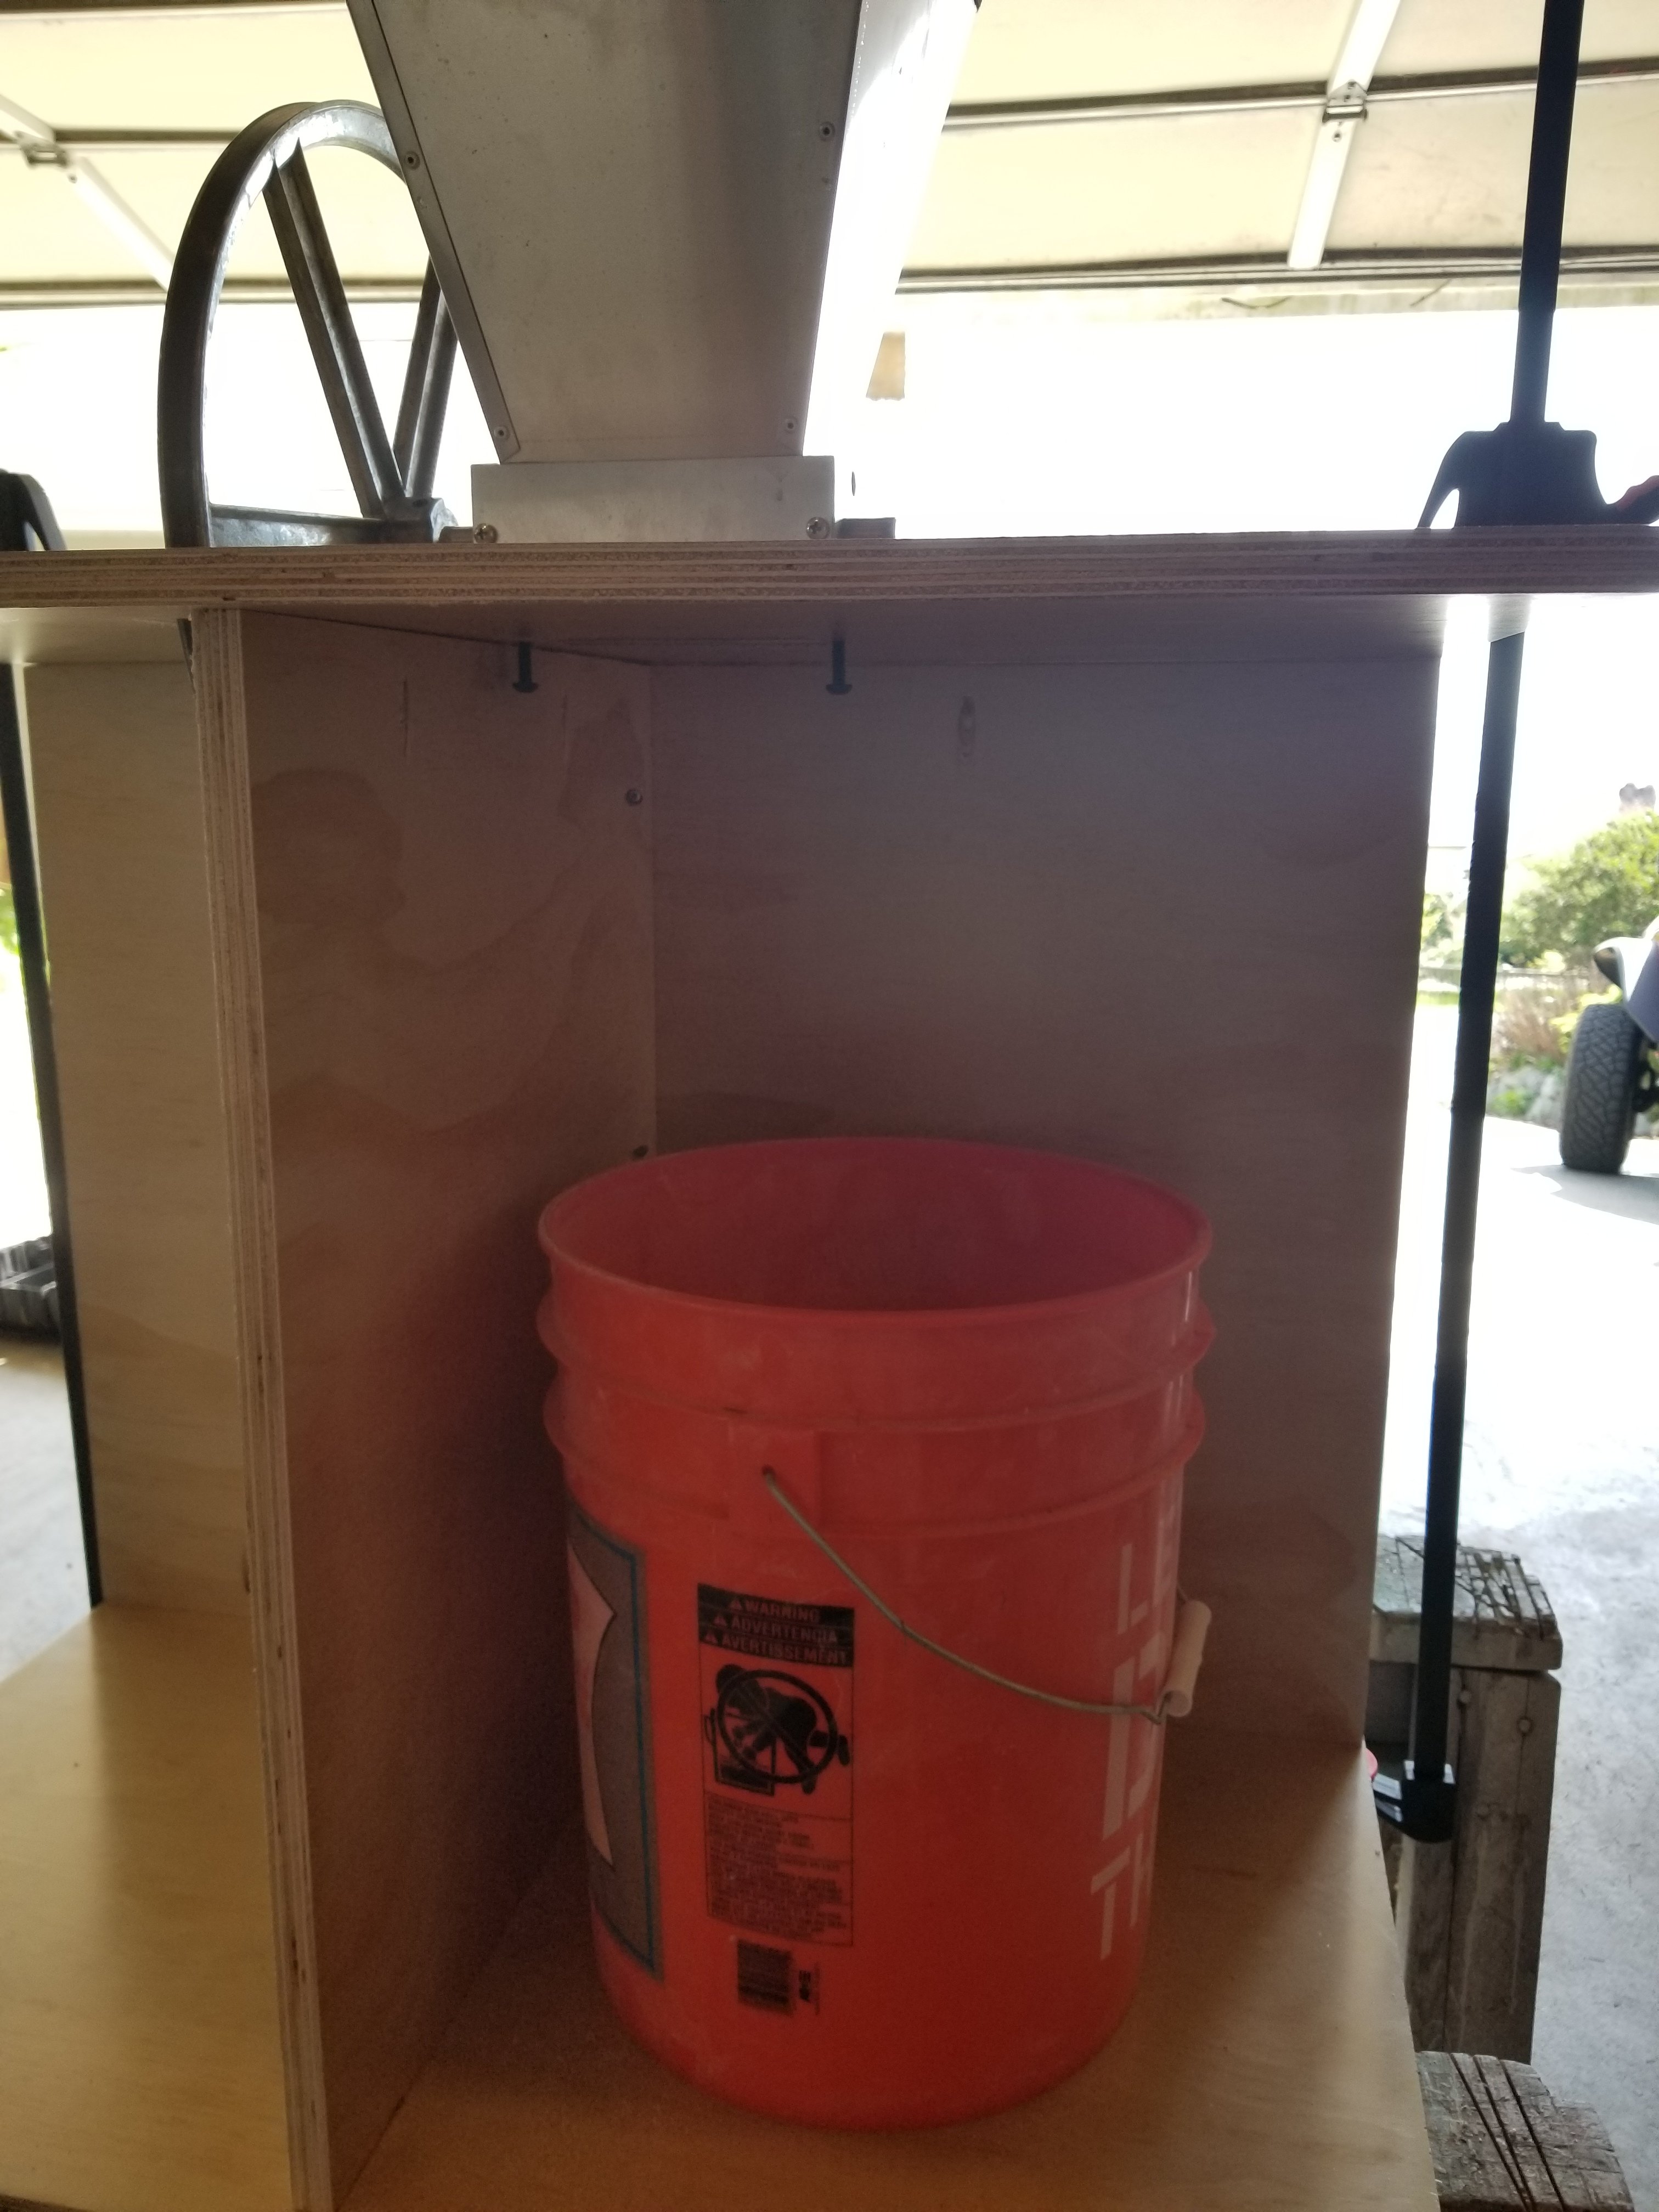
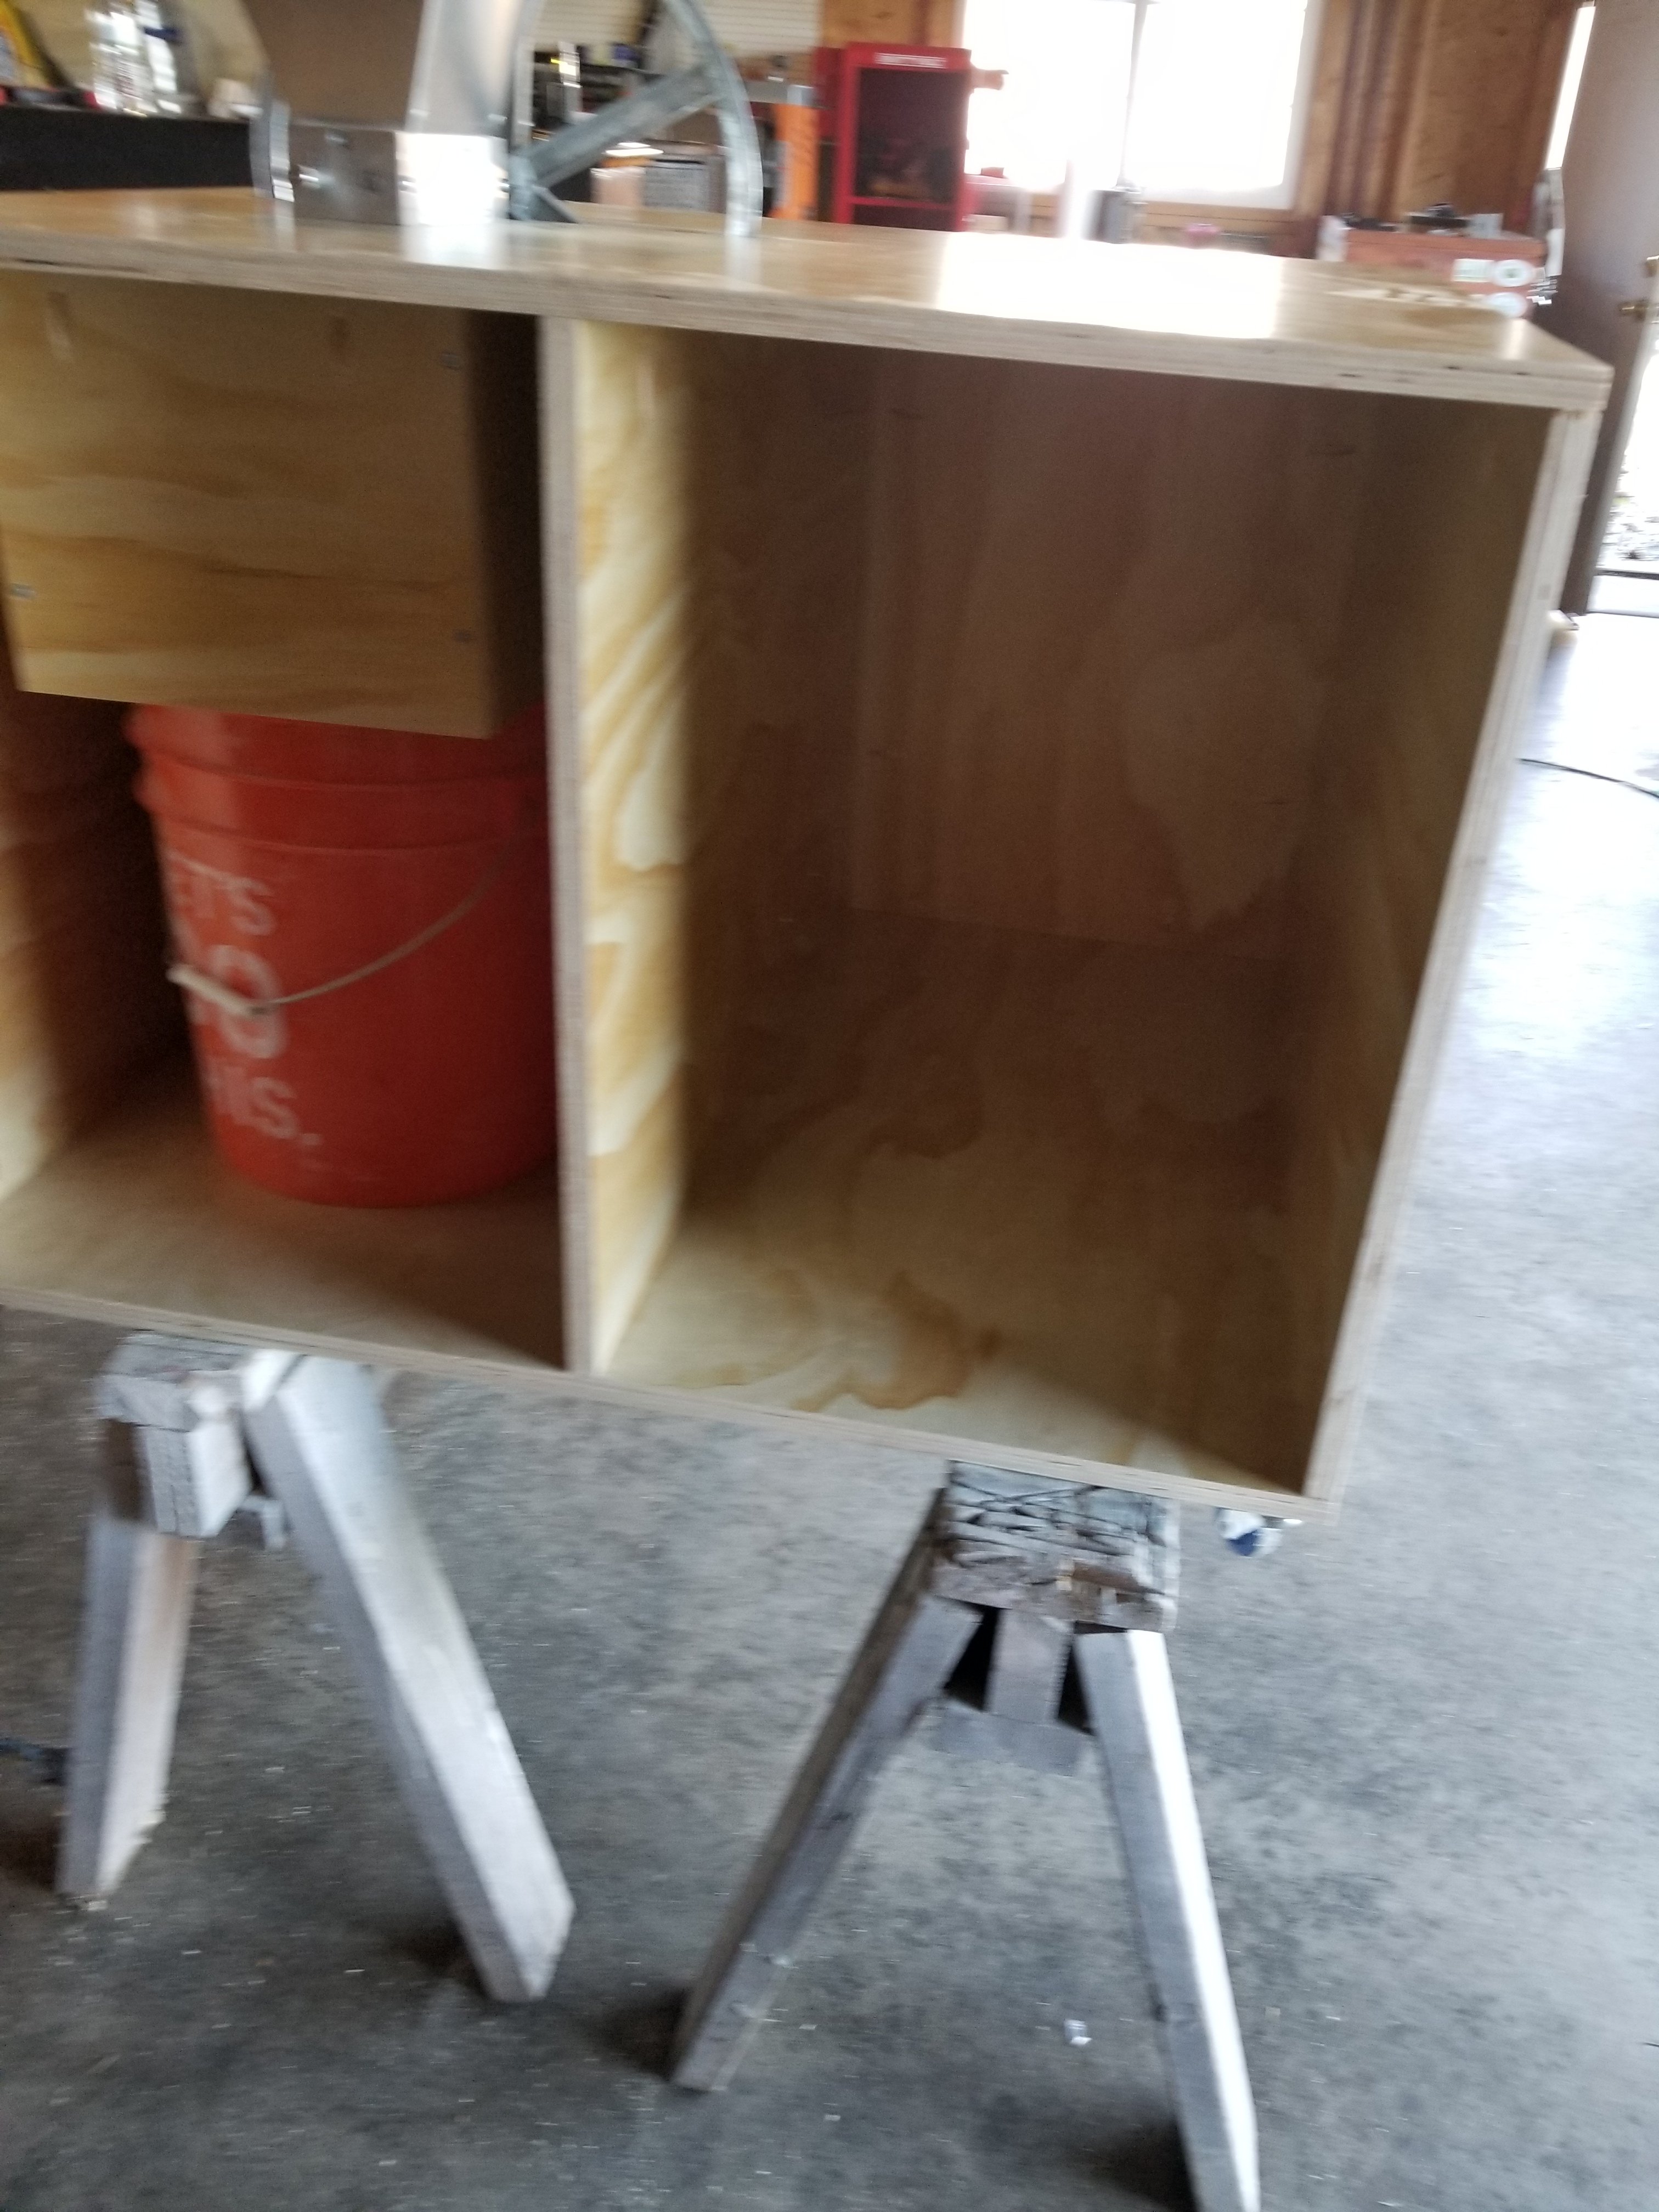
Here is a test fit for the bucket, the extra space will be made up for in a little while, for now its just to see the distance:
20180426_115526.jpg
 
Nice, subbed!

So how did you decide what size wheel to use? Where'd you get it? What motor are you planning on using?
 
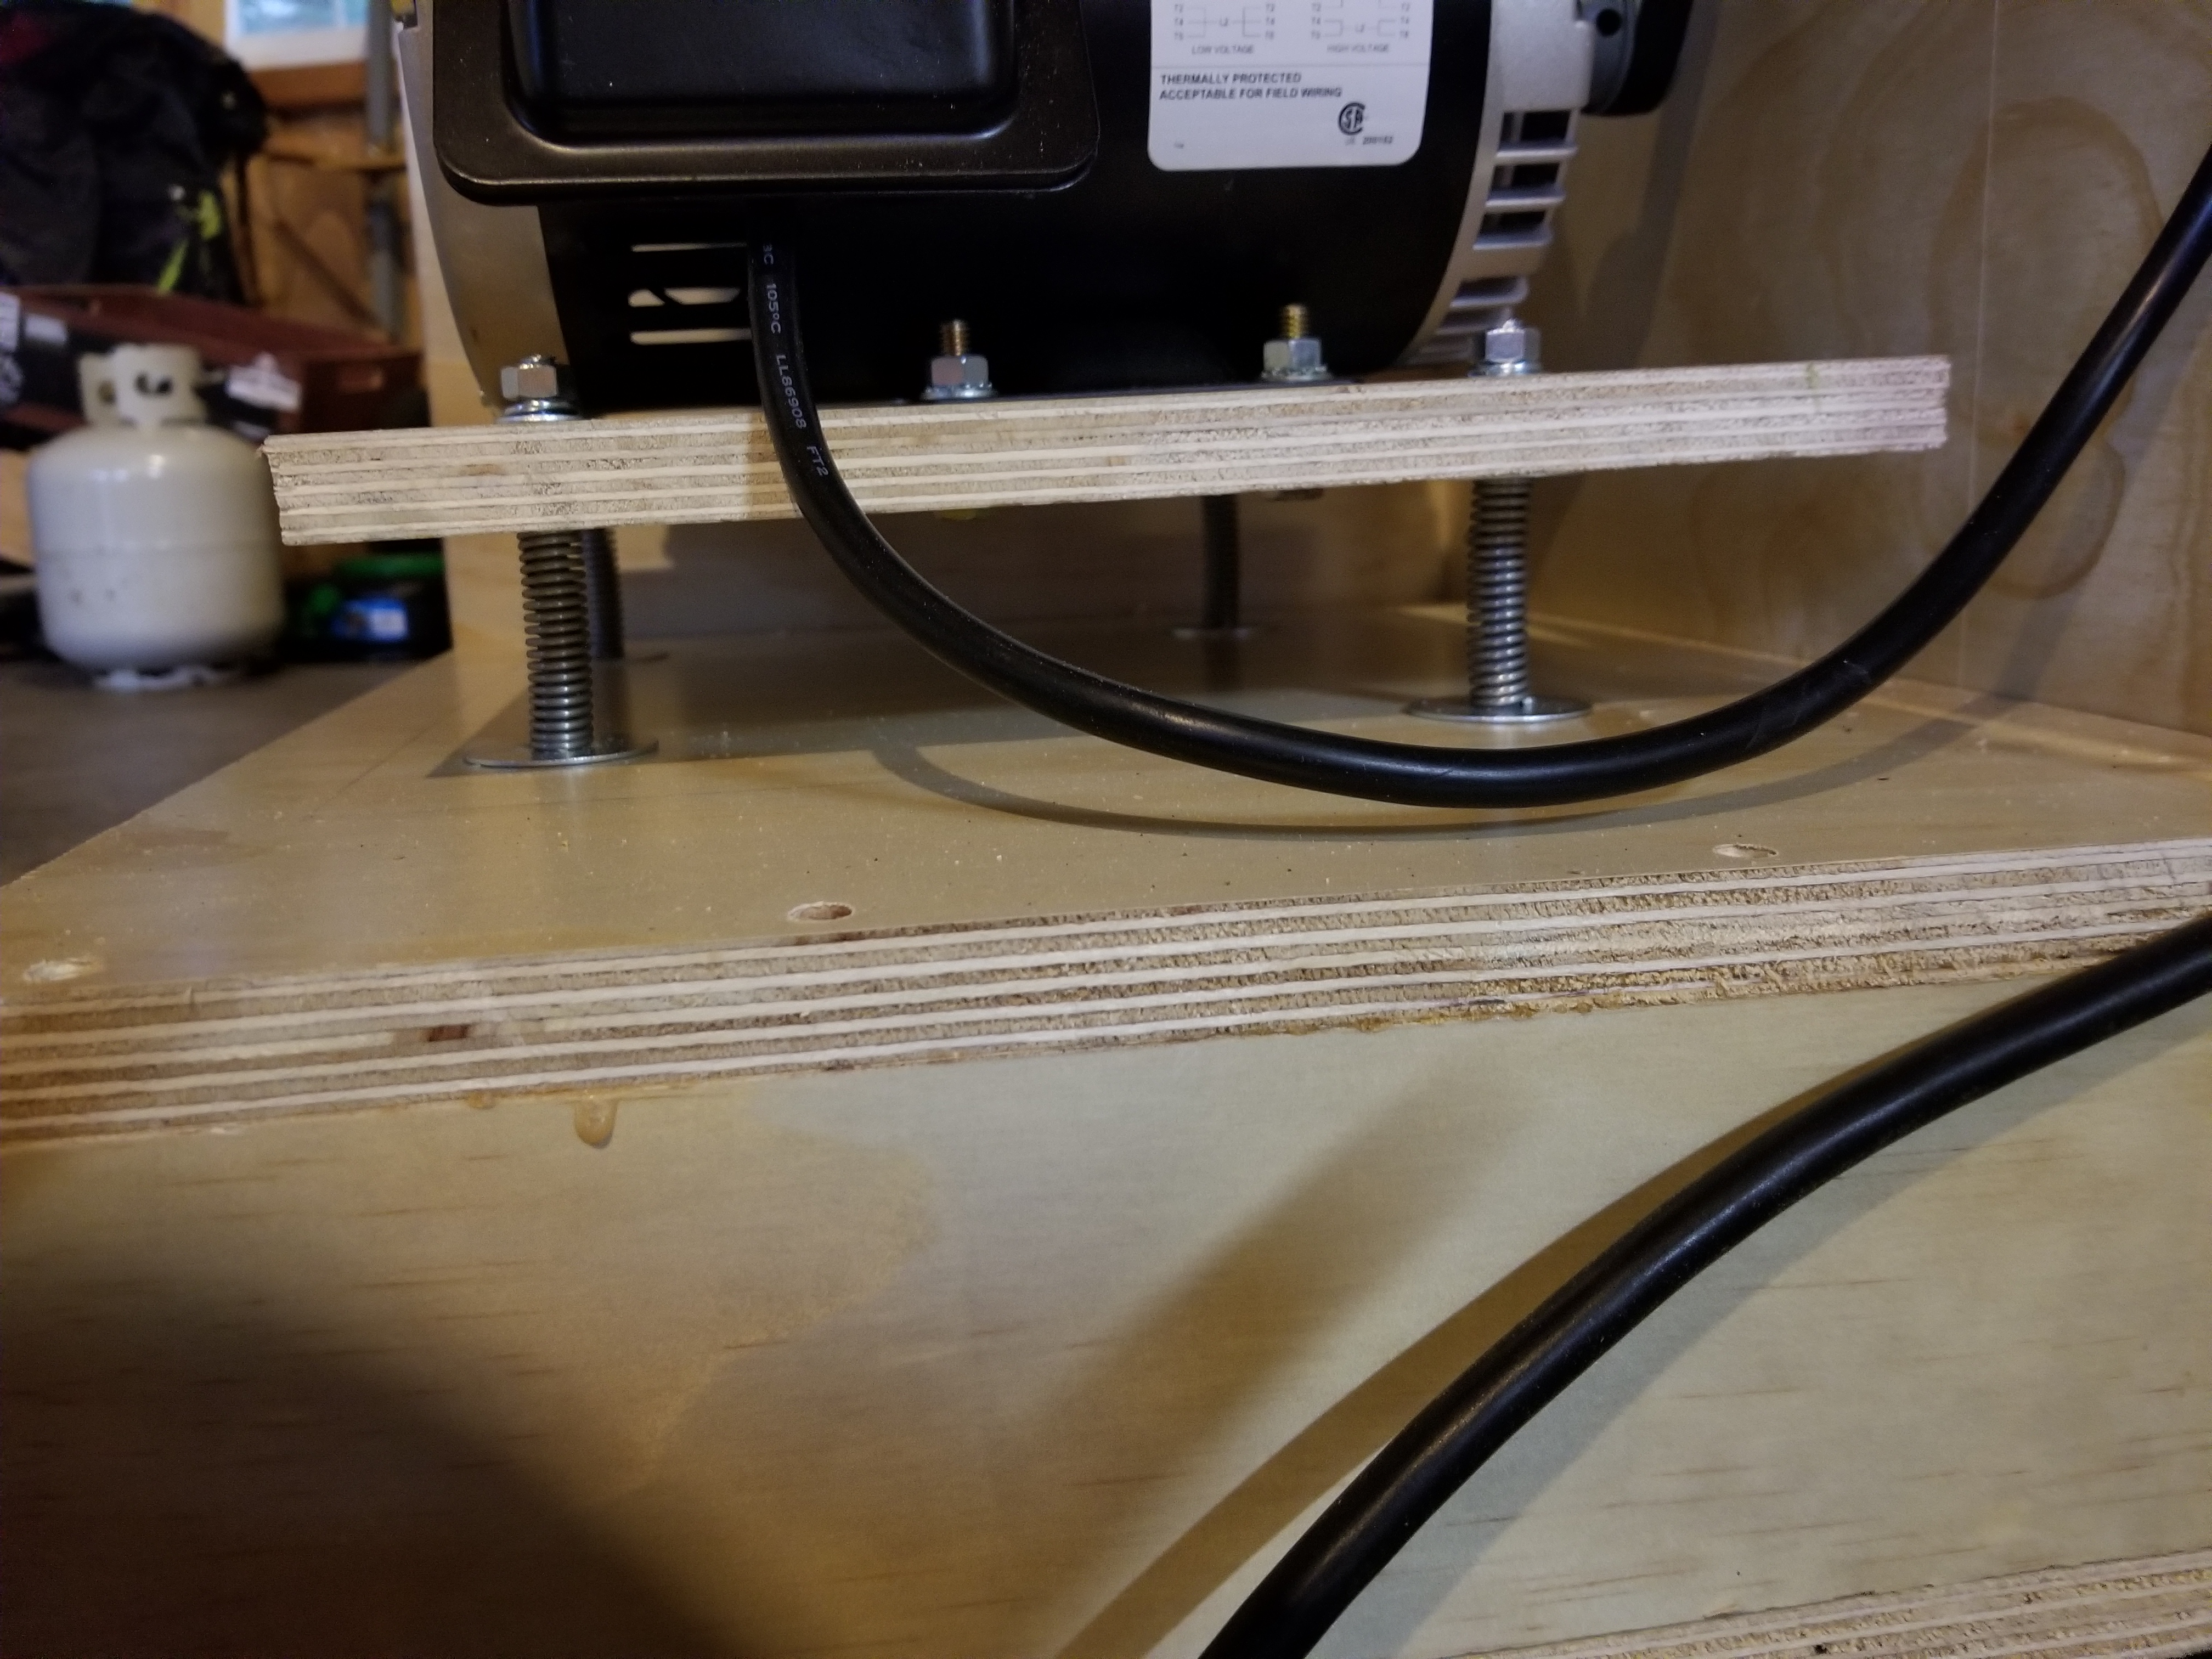
Now its time to get the other side cut and the motor area taken care of, for this the plan will be to "float" the motor on heavy duty compression springs to stabalize it while also using bolts to apply enough force to apply tension which will come a few steps later:
20180426_123437.jpg


This piece will be heavily screwed down to be the solid platform that the motor will "float" on:
20180426_123454.jpg

Here is the piece the motor is mounted to sitting on the olid "deck". Again, there will be springs holding the motor in the air with bolts pulling is back down. This idea will allow you to tighten 4 corners as needed to straighten up the lower pulley and keep it in line with the upper pulley:
20180426_123504.jpg


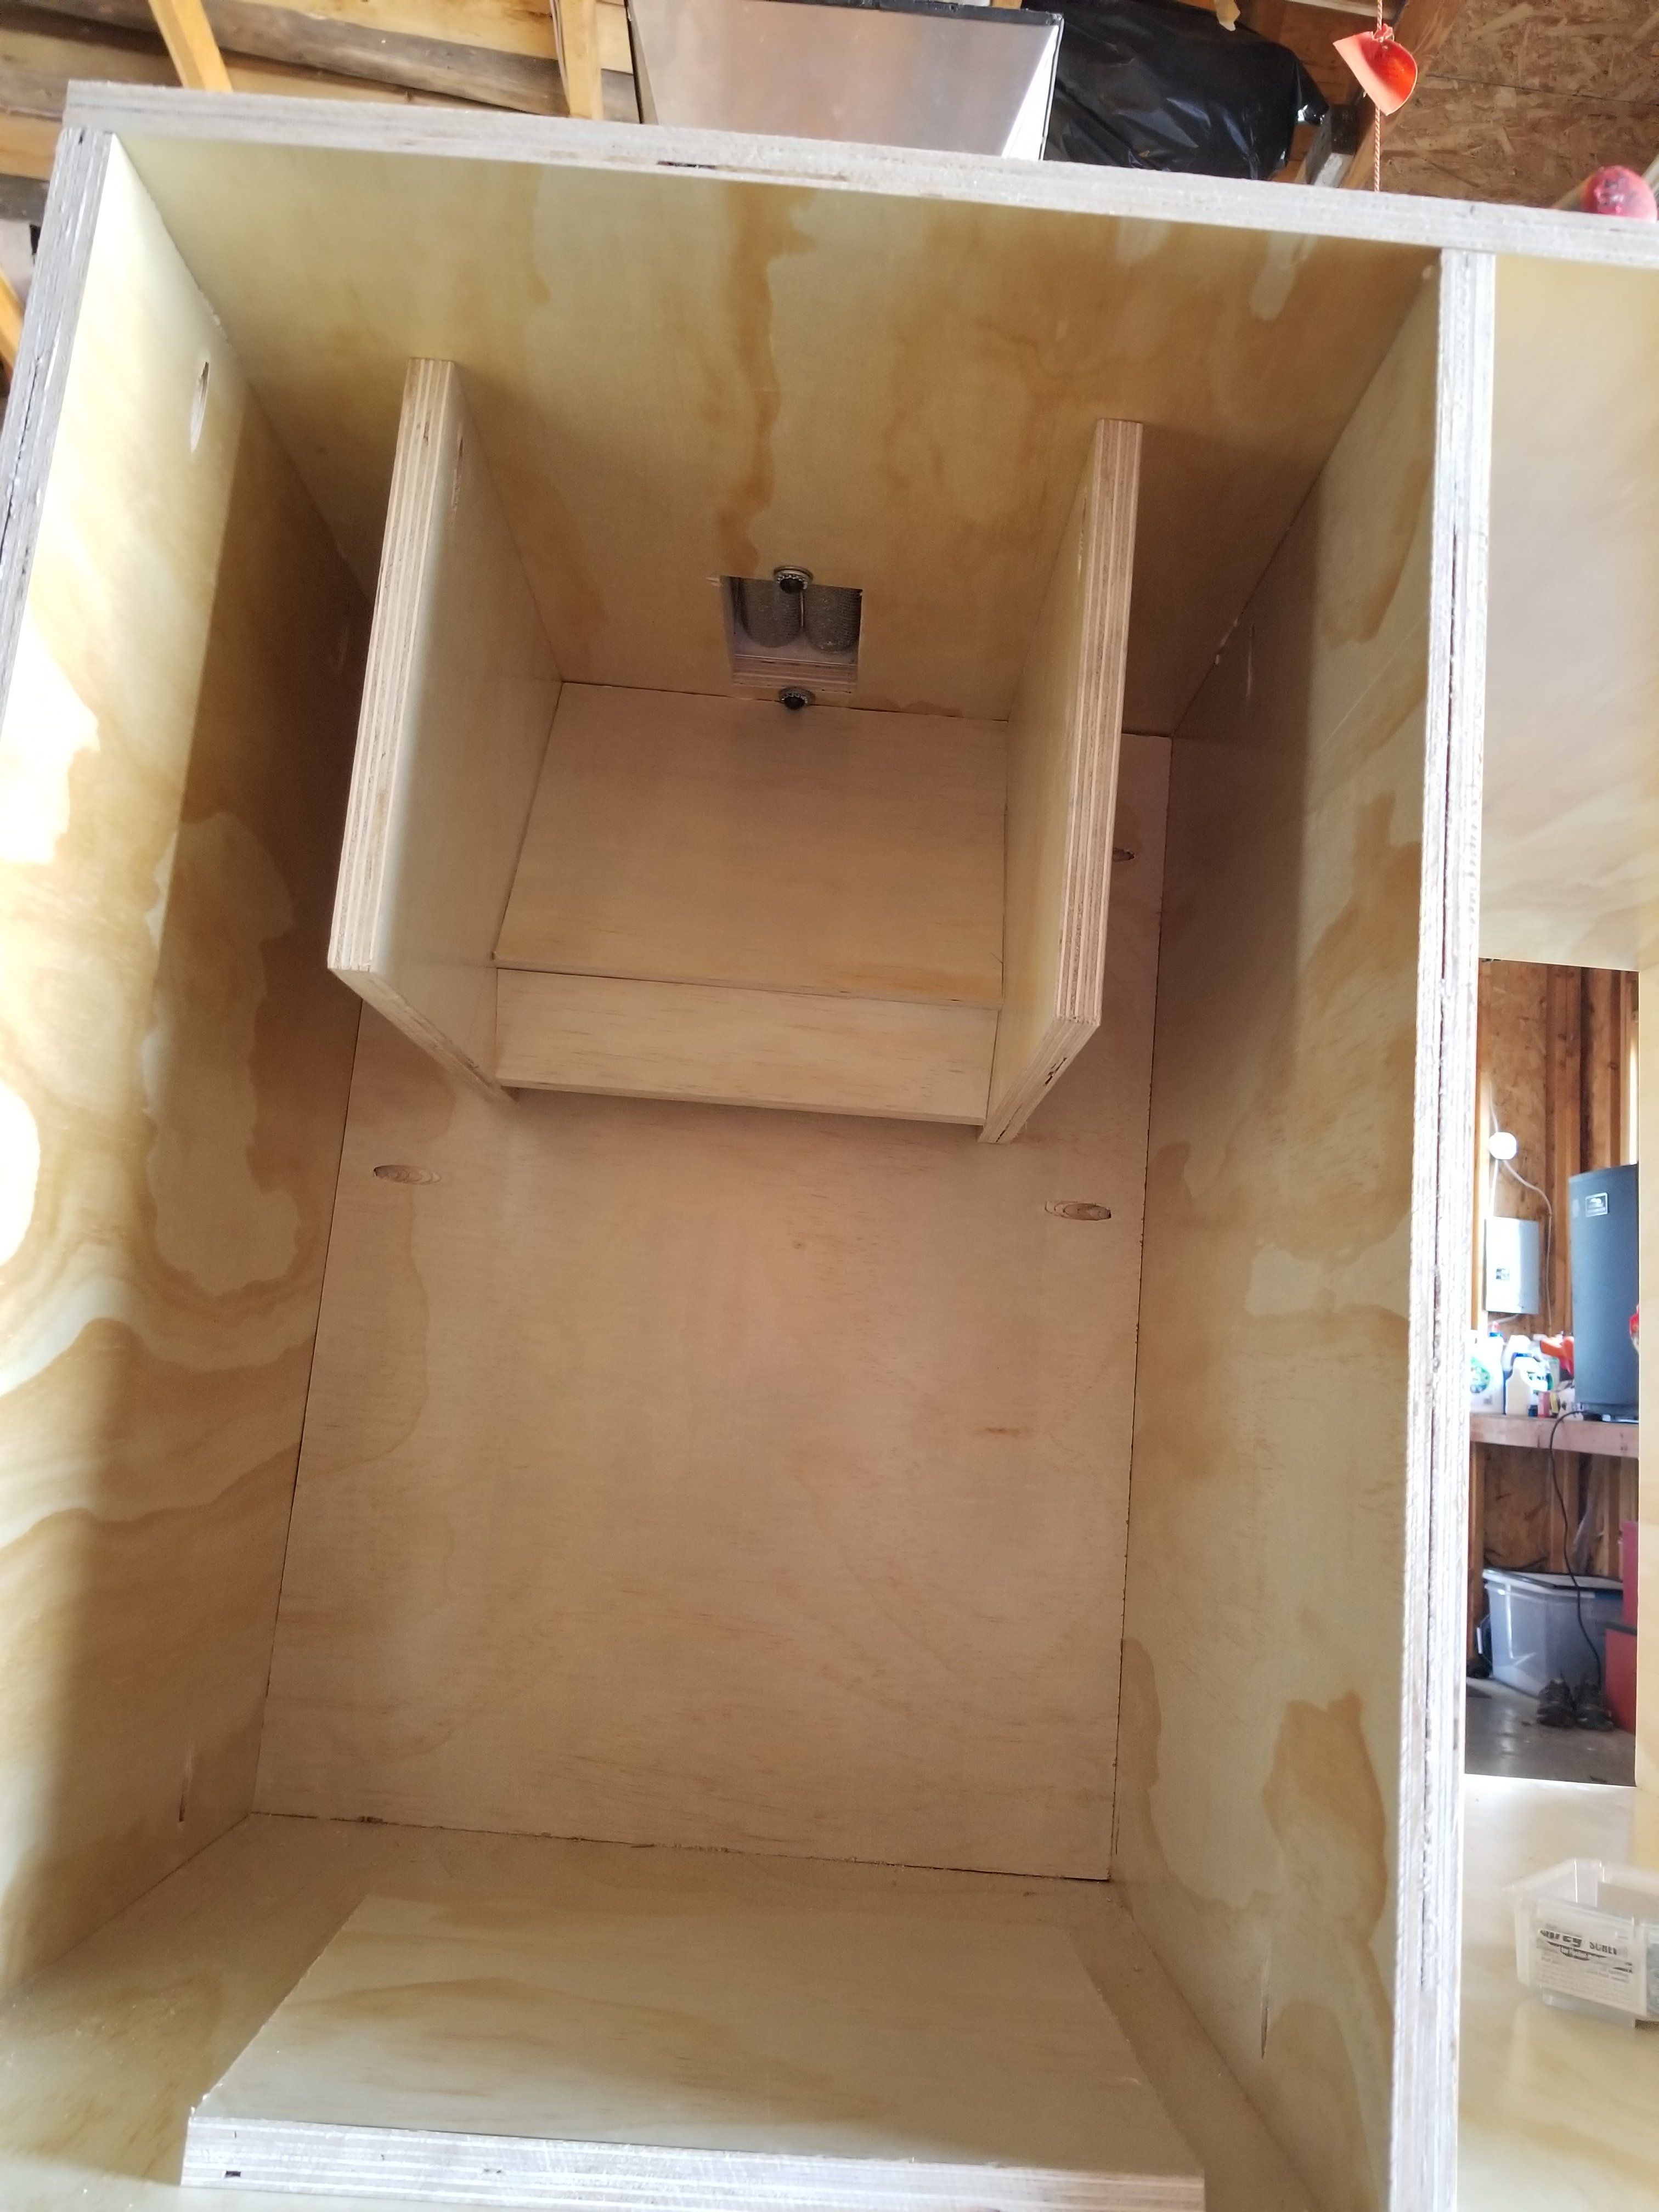
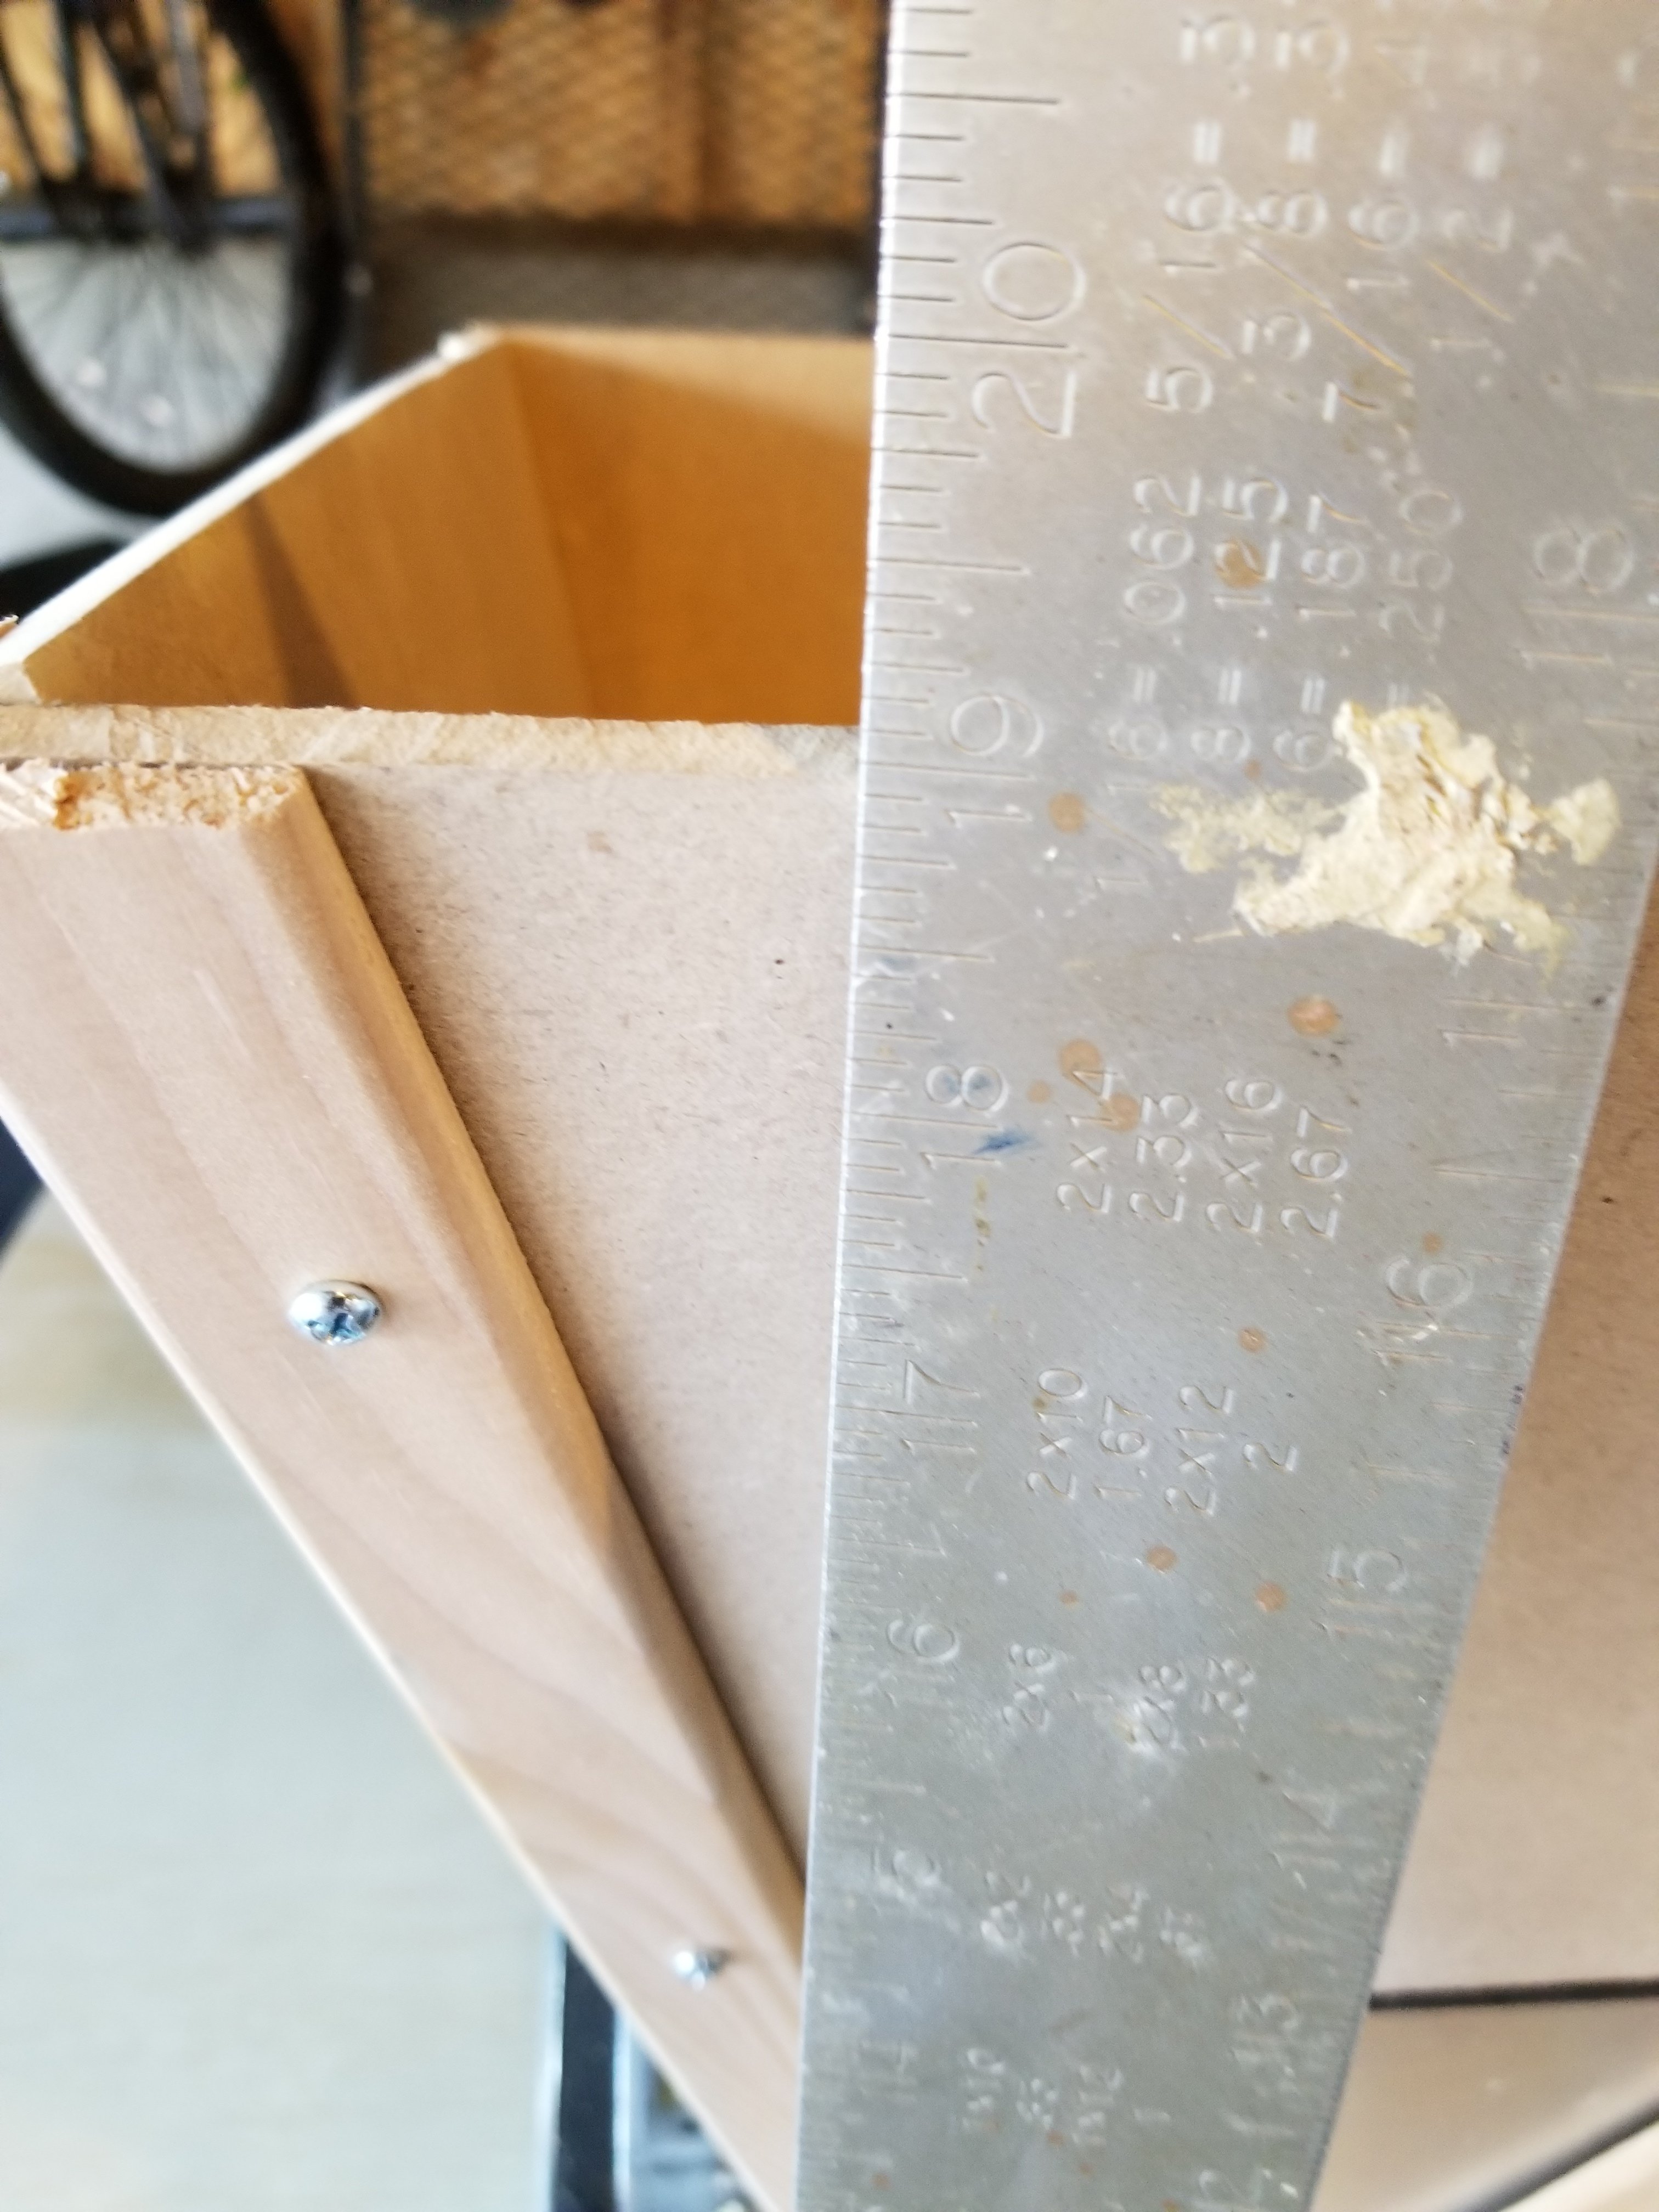
Now its time to attack the extra space in the grain catching area, think of it as a chute, if you will.

Here I am mocking up the sides of what will become the chute:
20180426_124830.jpg

And here is a shot from the front, where I was playing with the width of the chute:
20180426_124833.jpg
 
After getting the width that I wanted I built 3 sides of the chute leaving the front open for later. Here is the back that slants forward being figured out:
20180426_131553.jpg


Another shot
20180426_131557.jpg


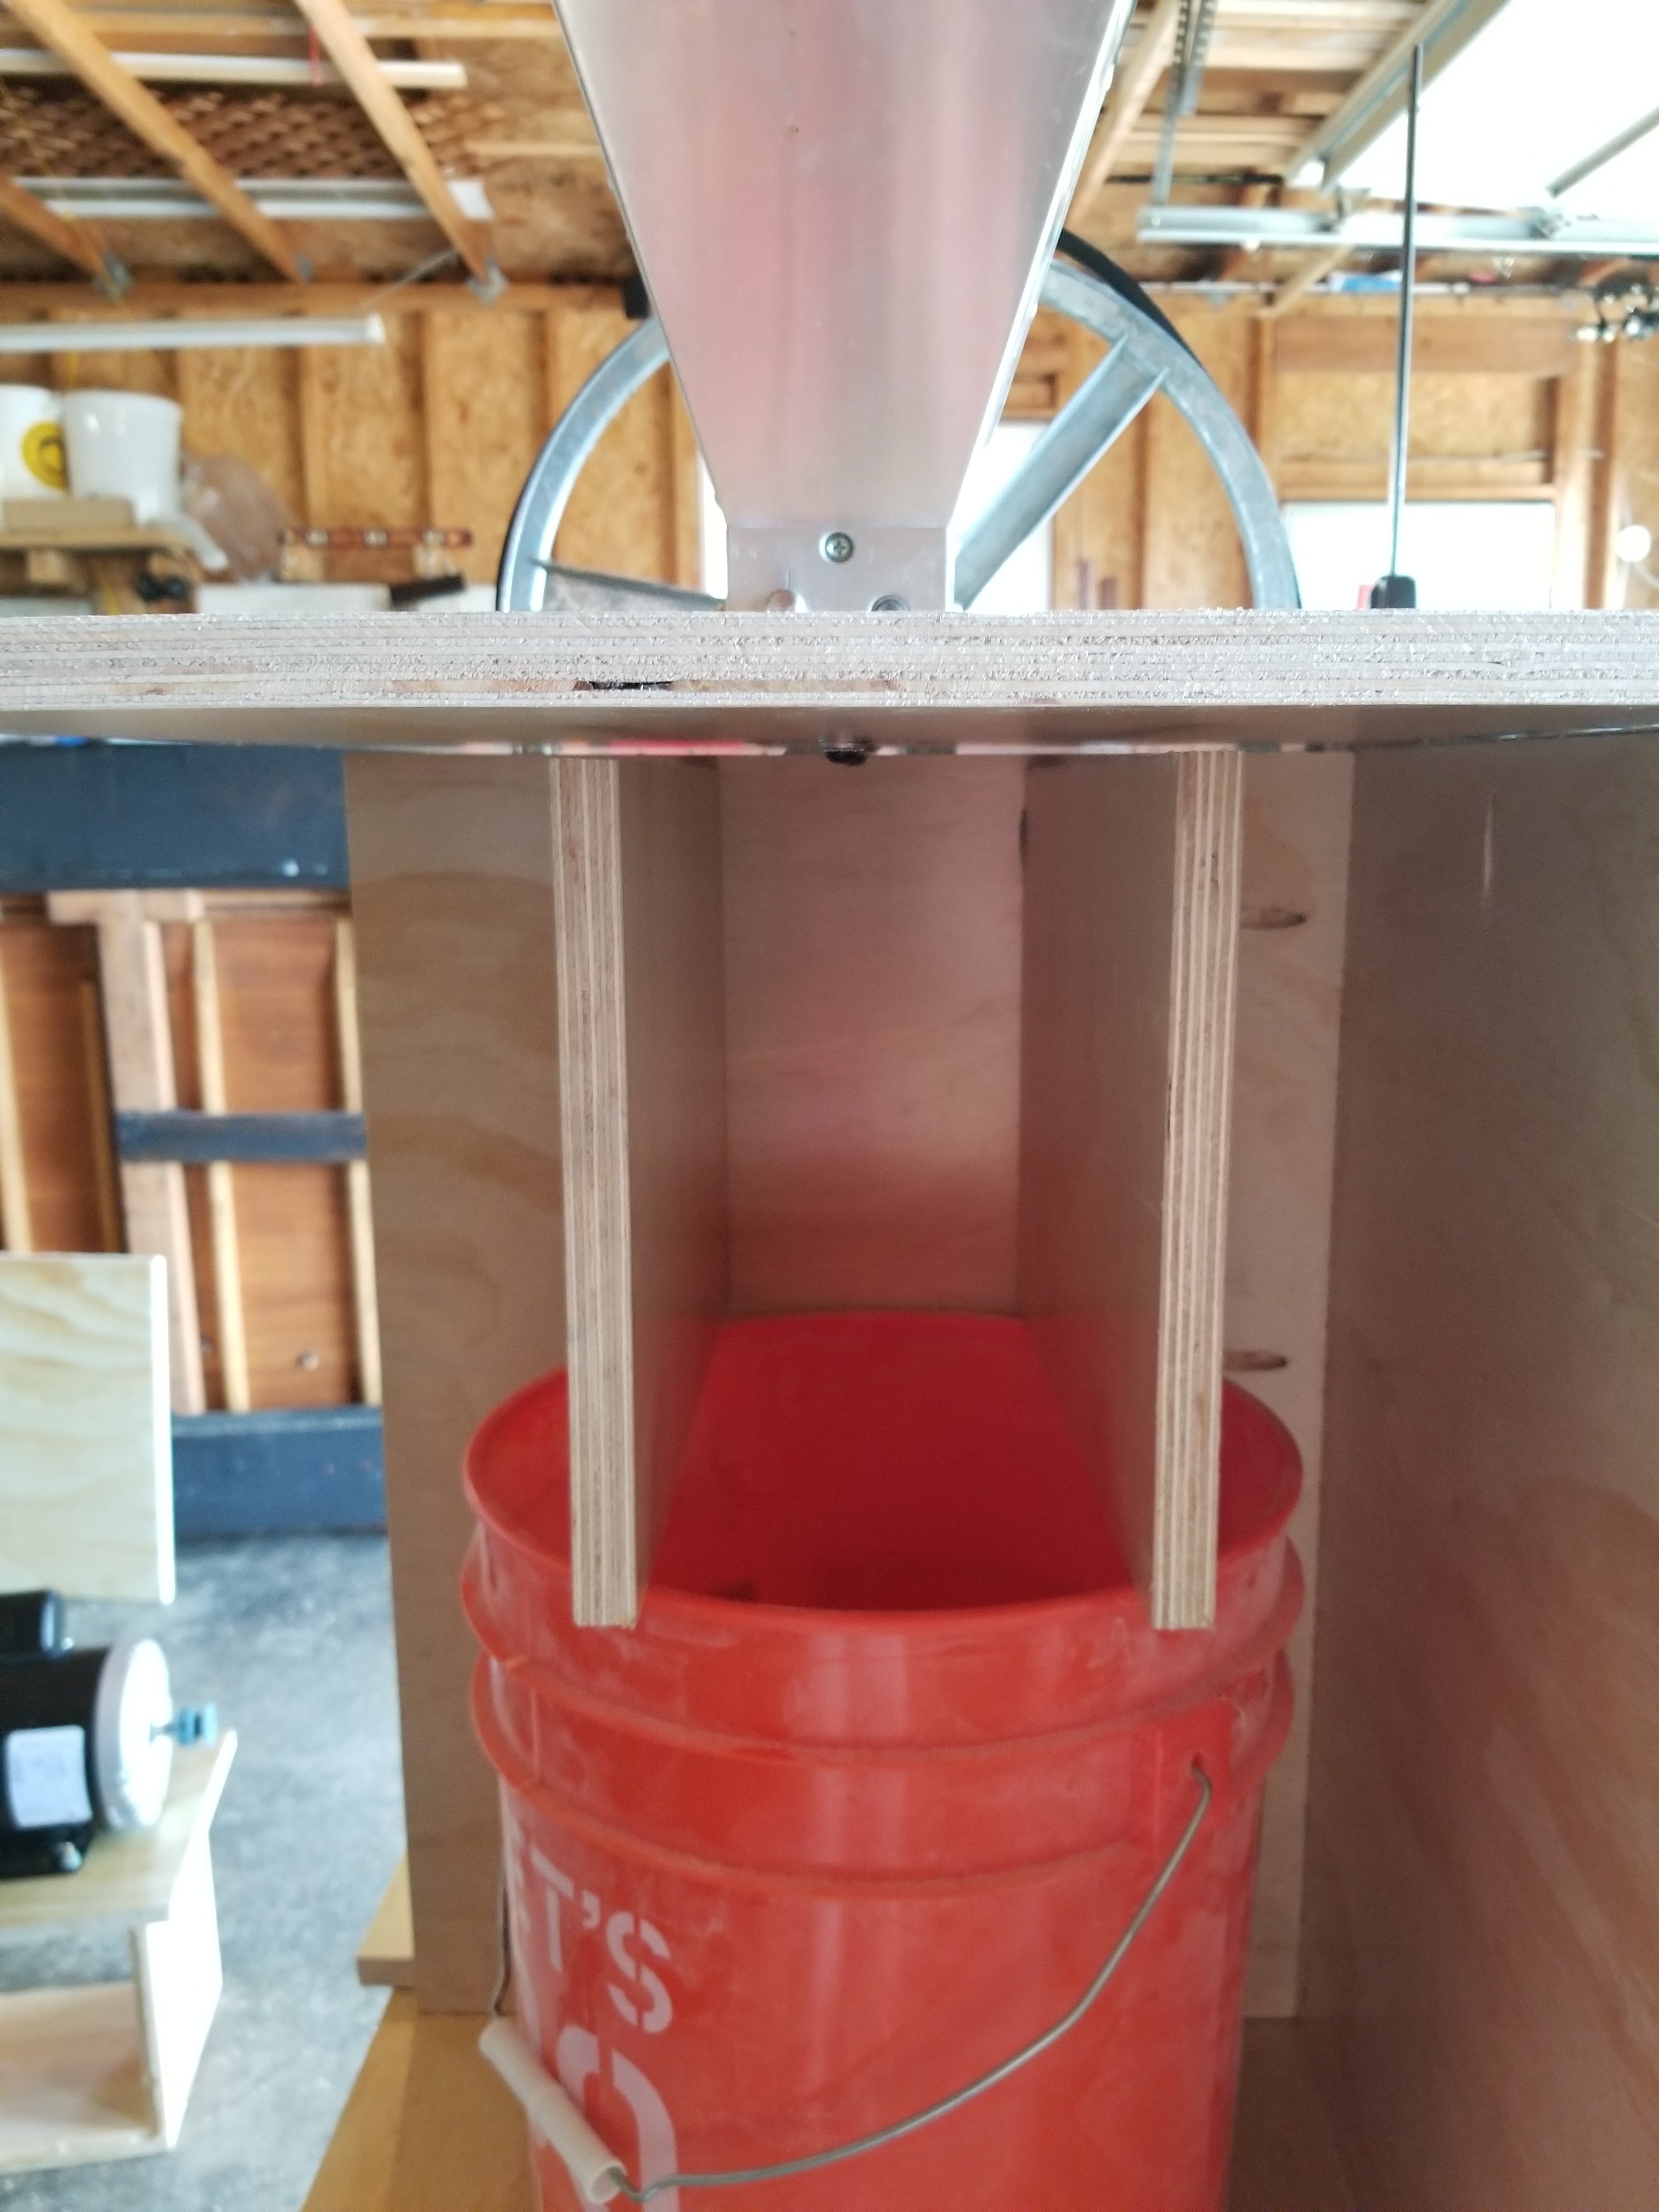
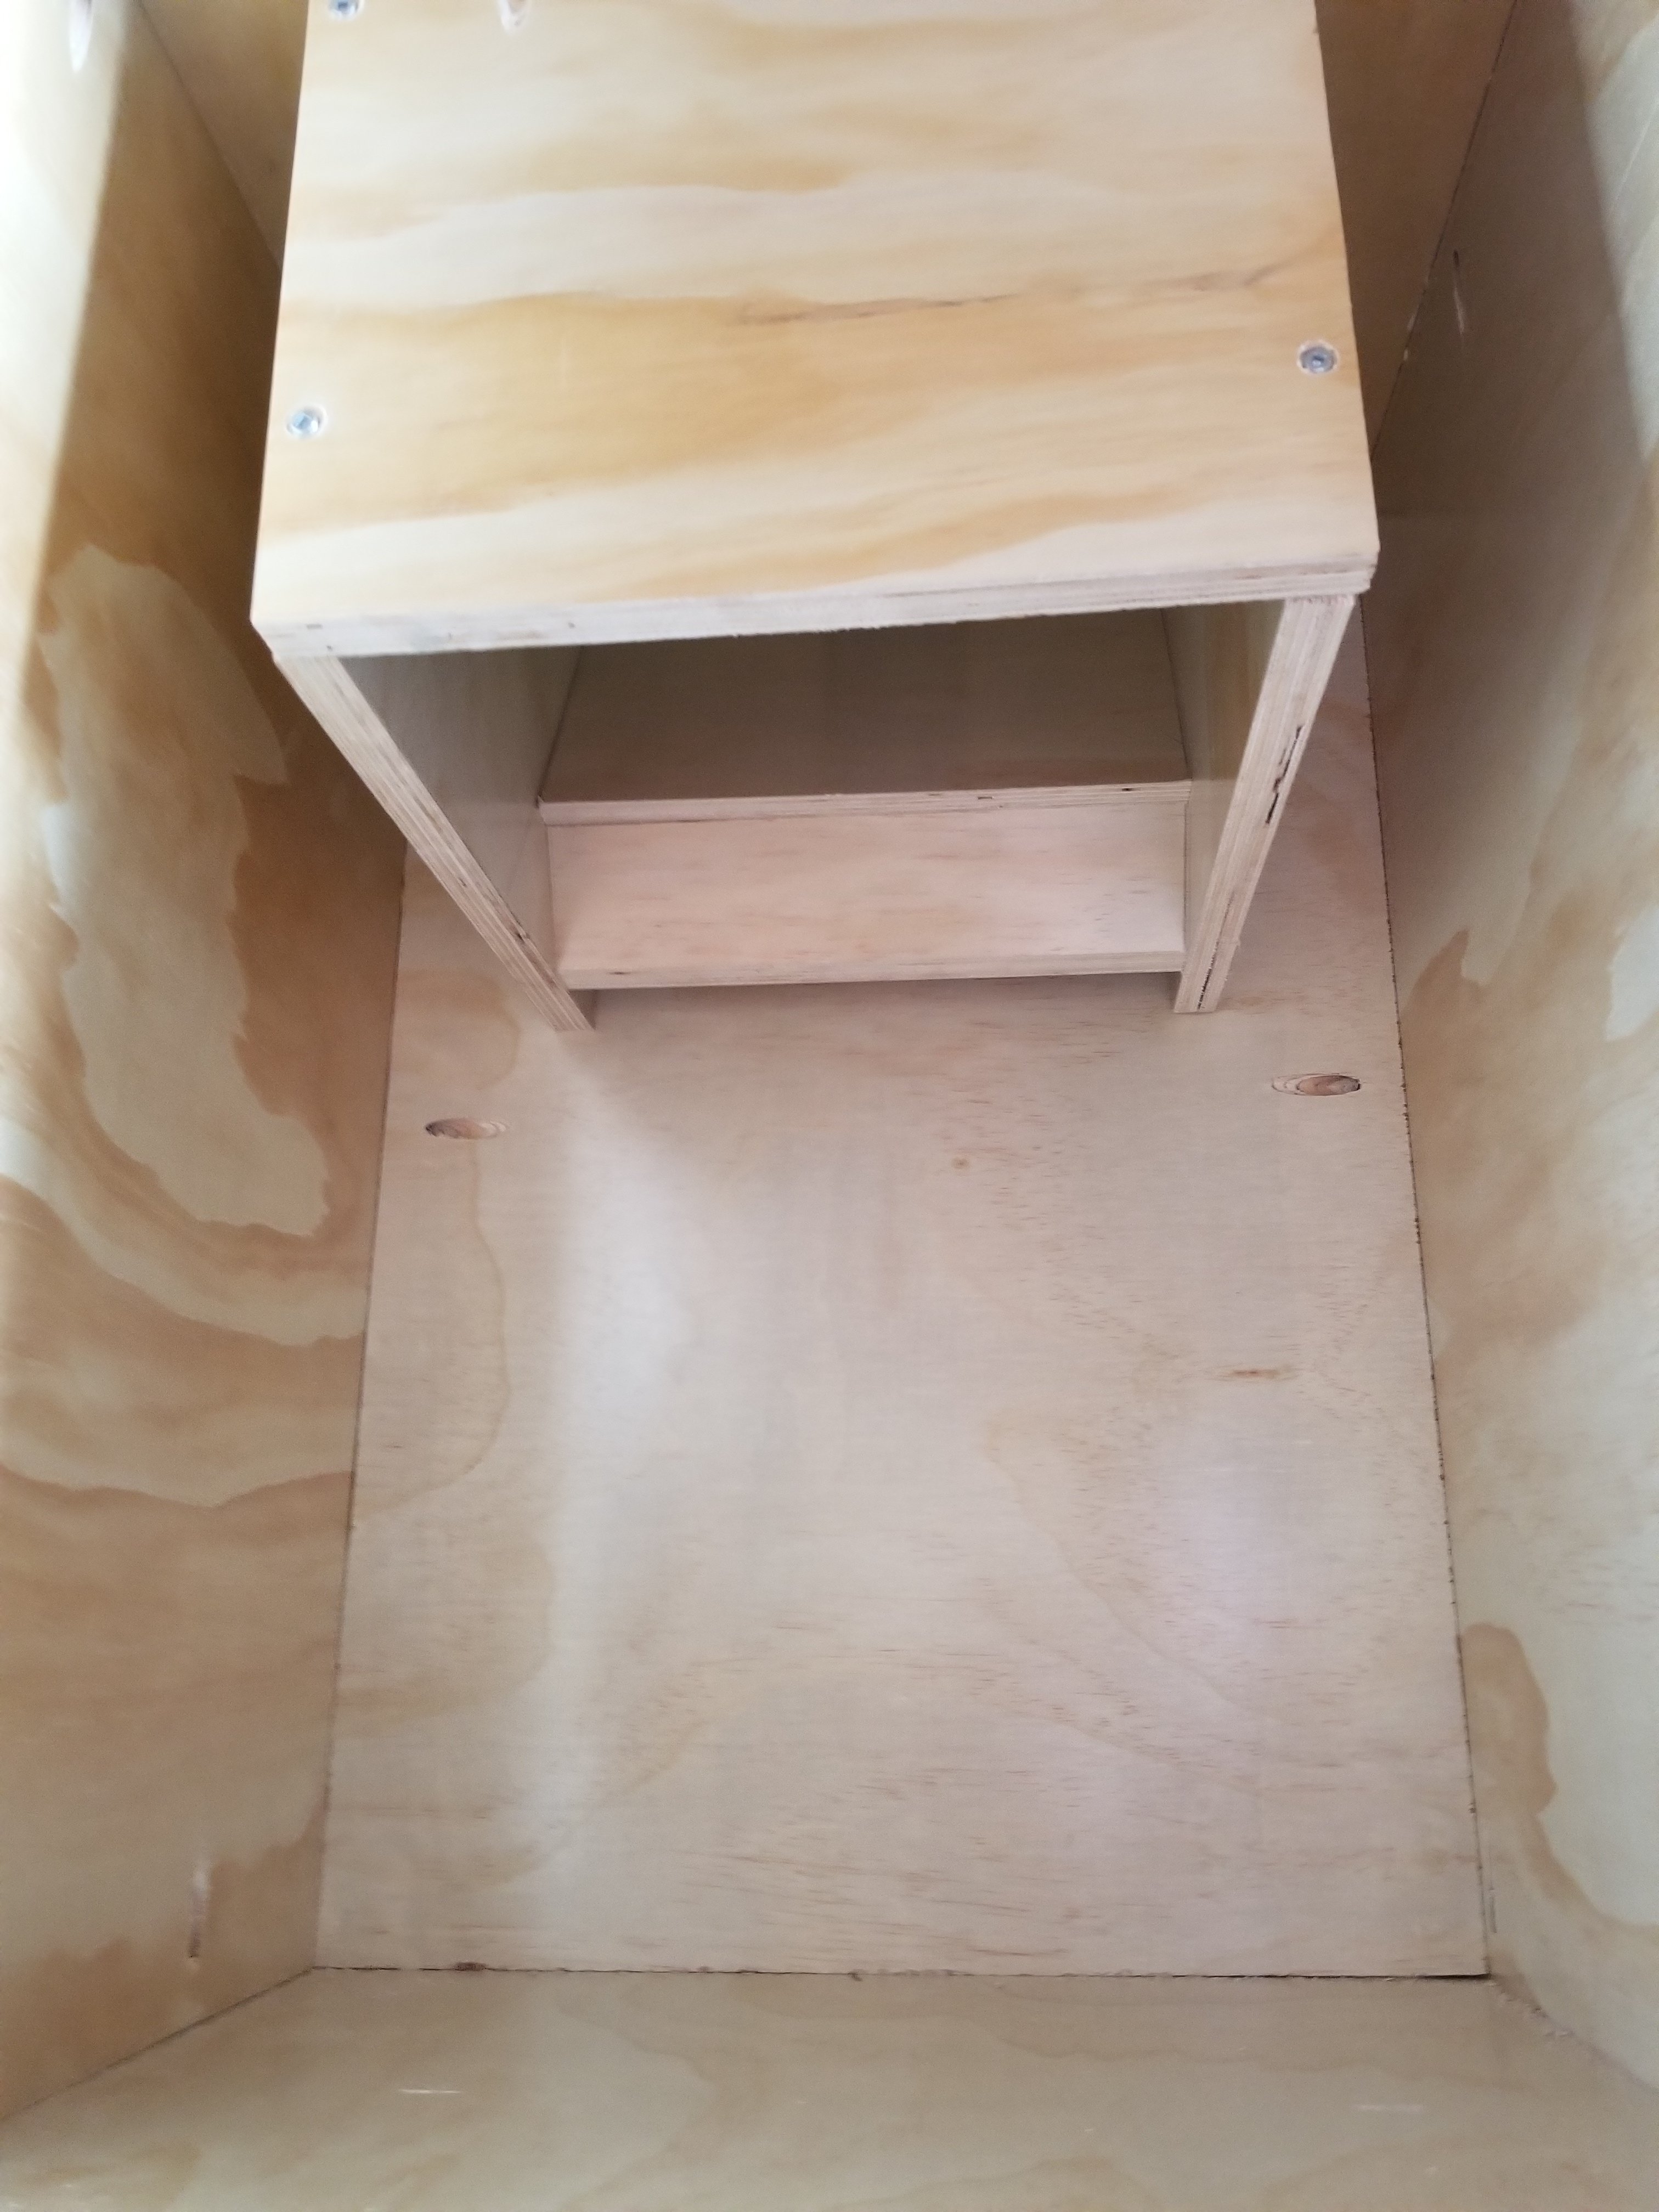
Here is the chute installed. To get the measurements right and make the bucket easy to slide in and out, I set the bucket ontop of a scrap piece of 1/4" wood, then set the chute on the bucket to get it all lined up and supported while I attached it from the back as well as a few pocket holes. When I removed the scrap and the bucket, I was left with,what I feel, is the perfect amount of clearance:
20180426_141521.jpg


Now its time to attach the front of the chute:

20180426_145628.jpg


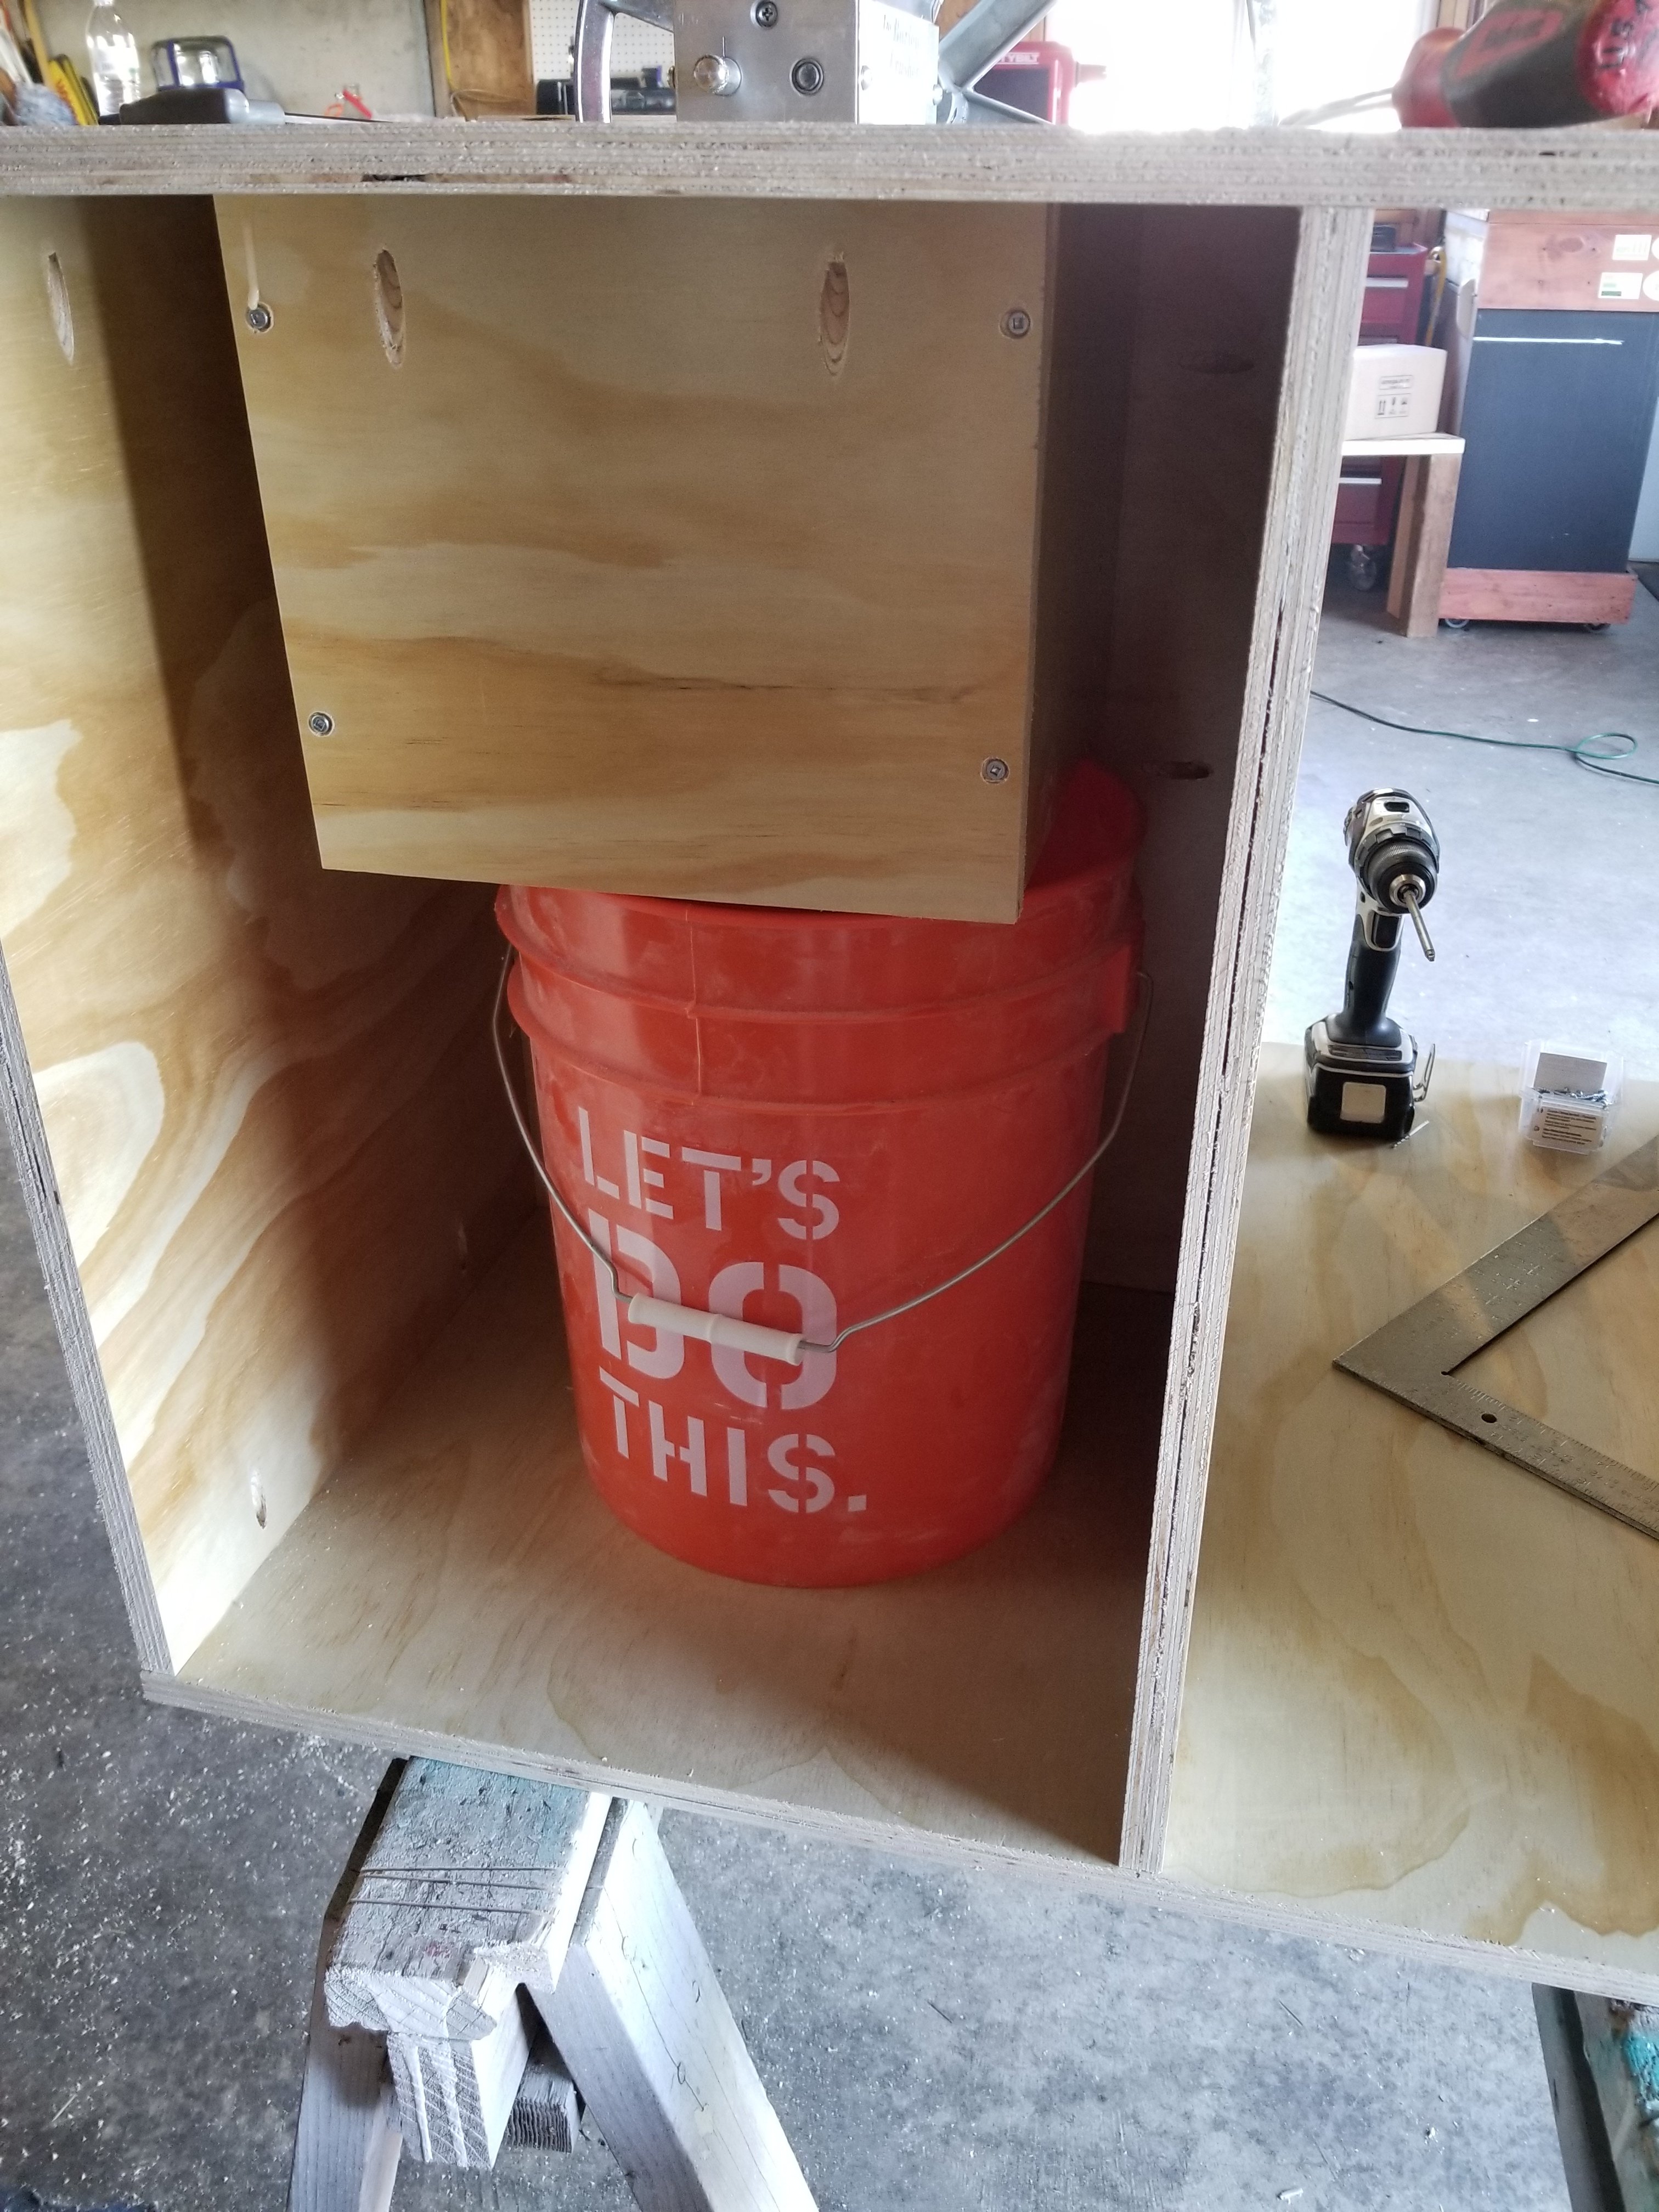
Not sure why that pic makes it all look crooked, but I assure you its straight ;) Here is a pic of the chute finished and the bucket placed under getting ready to receive the malt!
20180426_145620.jpg
 
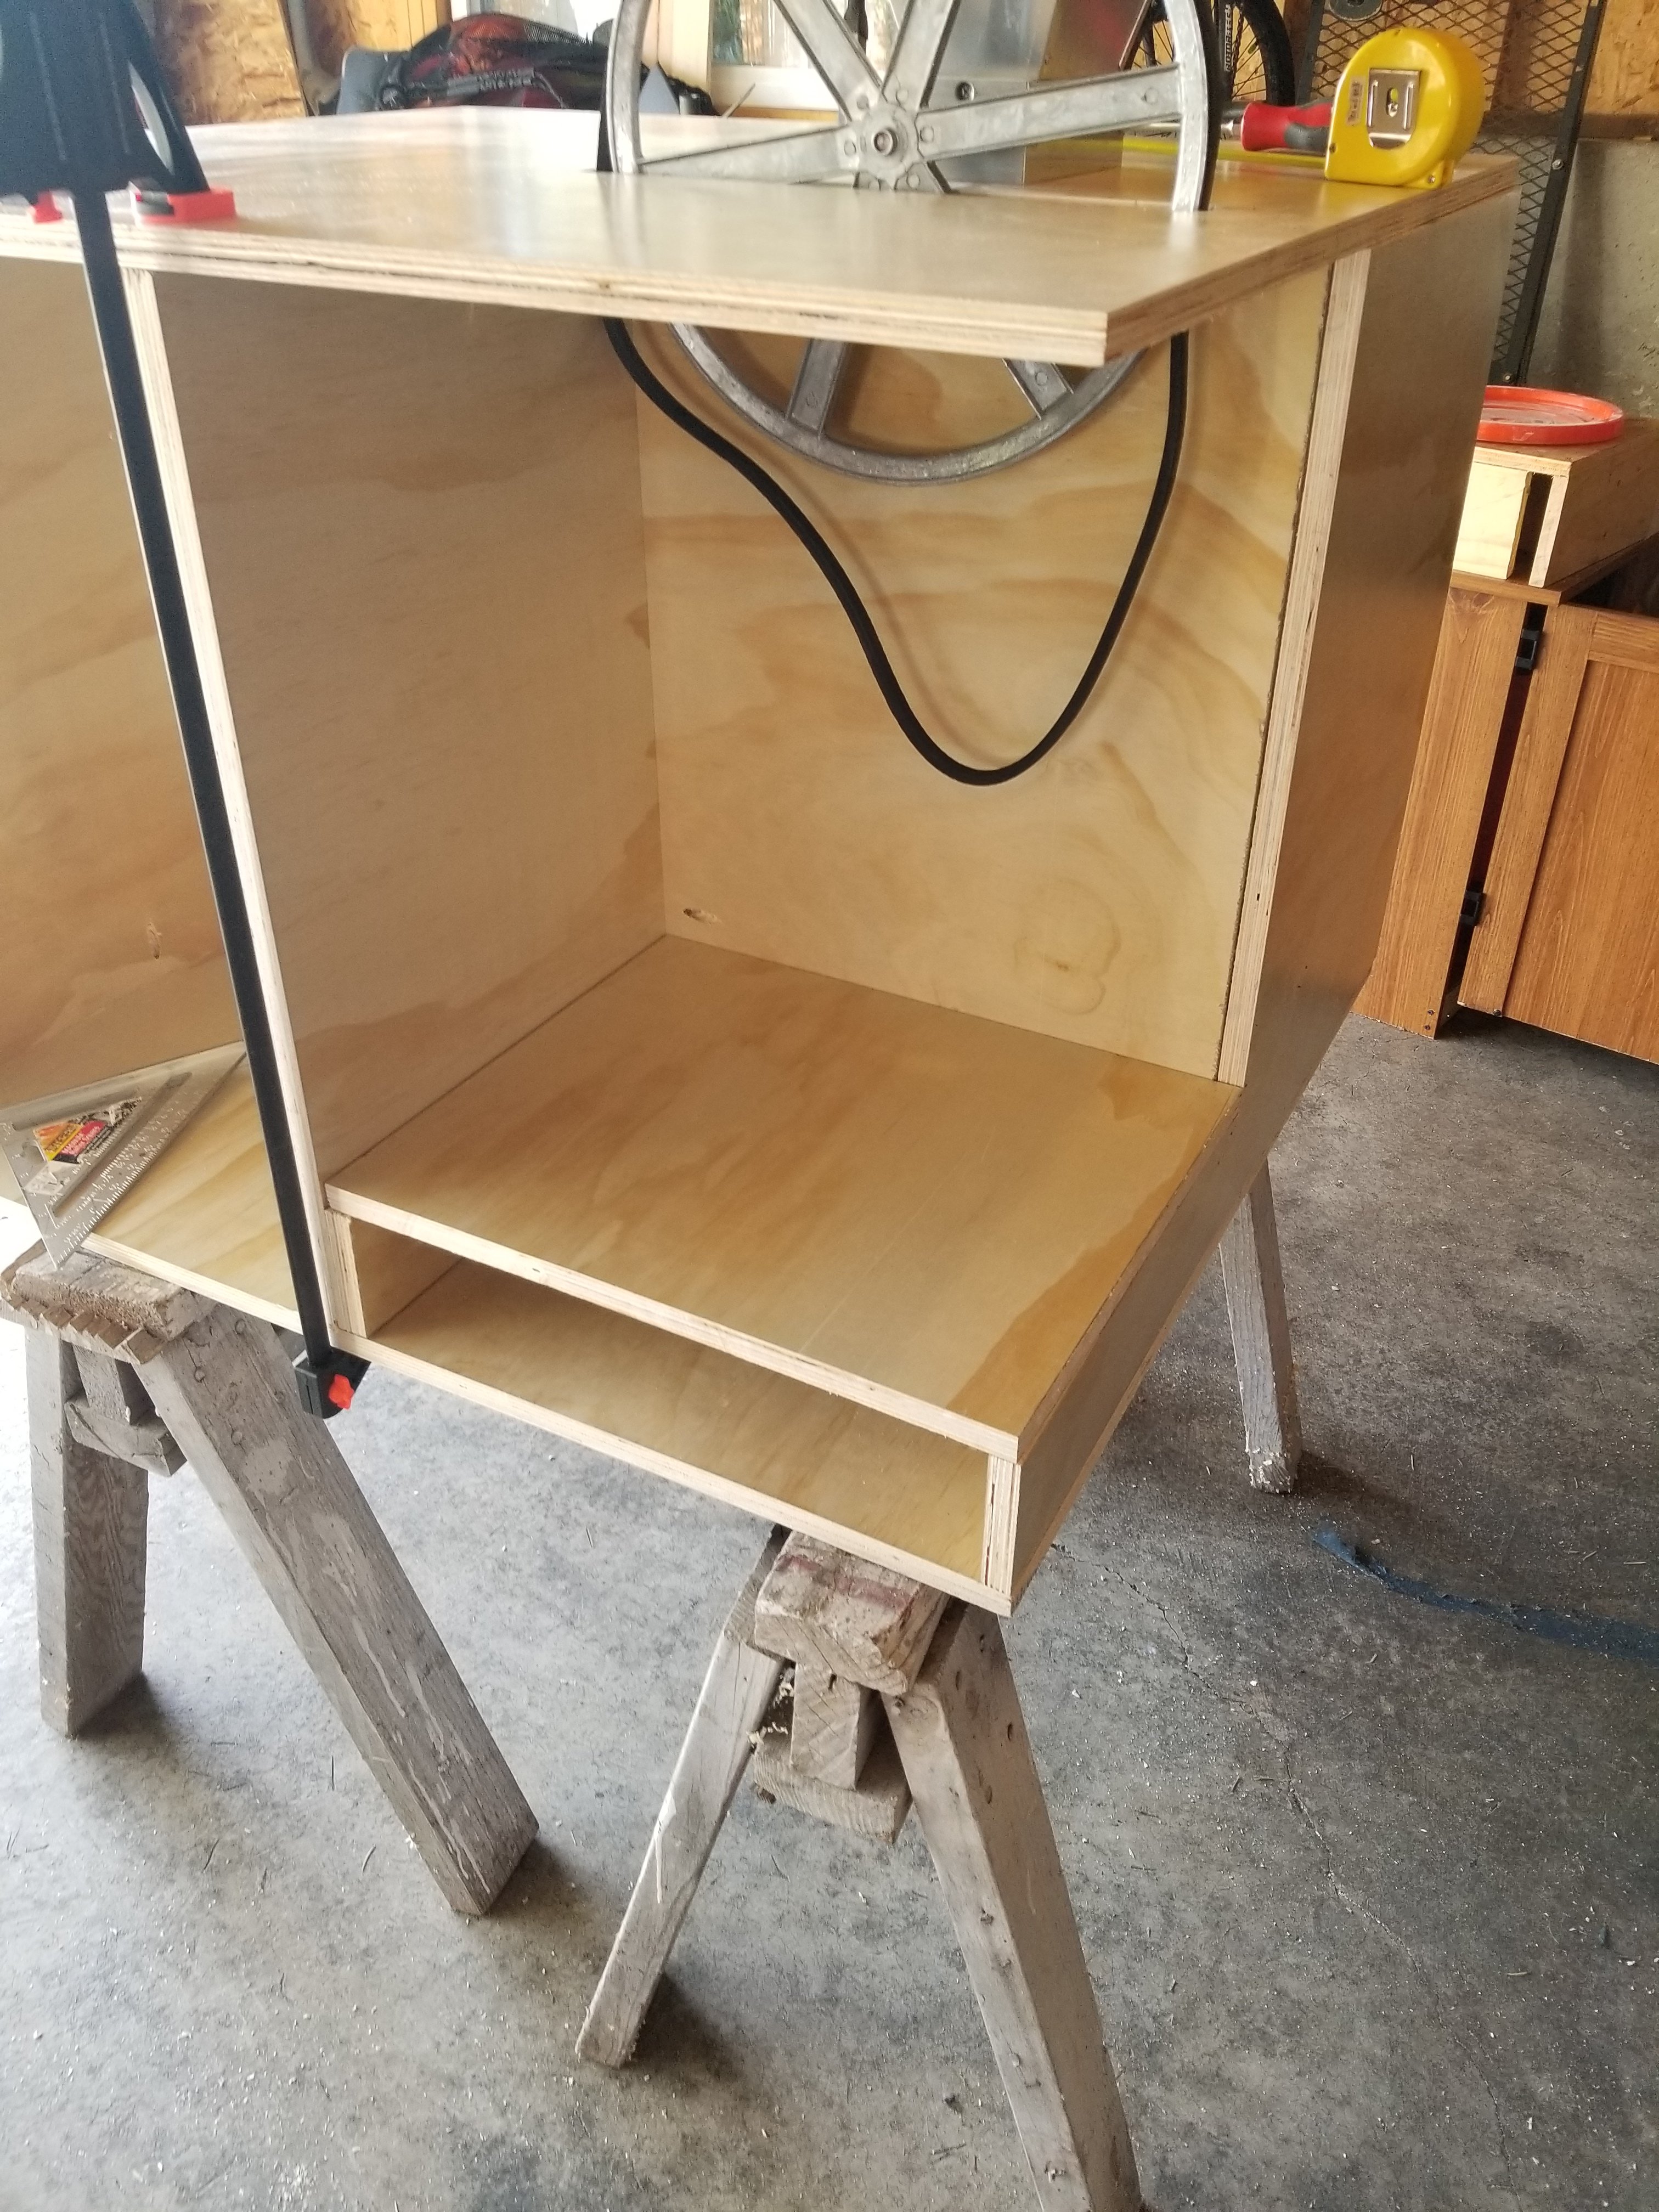
next it was time to attach the back to the storage area This took me on the inside with the kregg screws and my son ensuring it stayed flush. You can also see here I mounted the motor to the false bottom and screwed in the solid bottom. The extra 4" under the platform will be where the power cord ill be stored. I also attached the 4 casters to the corners:
20180426_153911.jpg


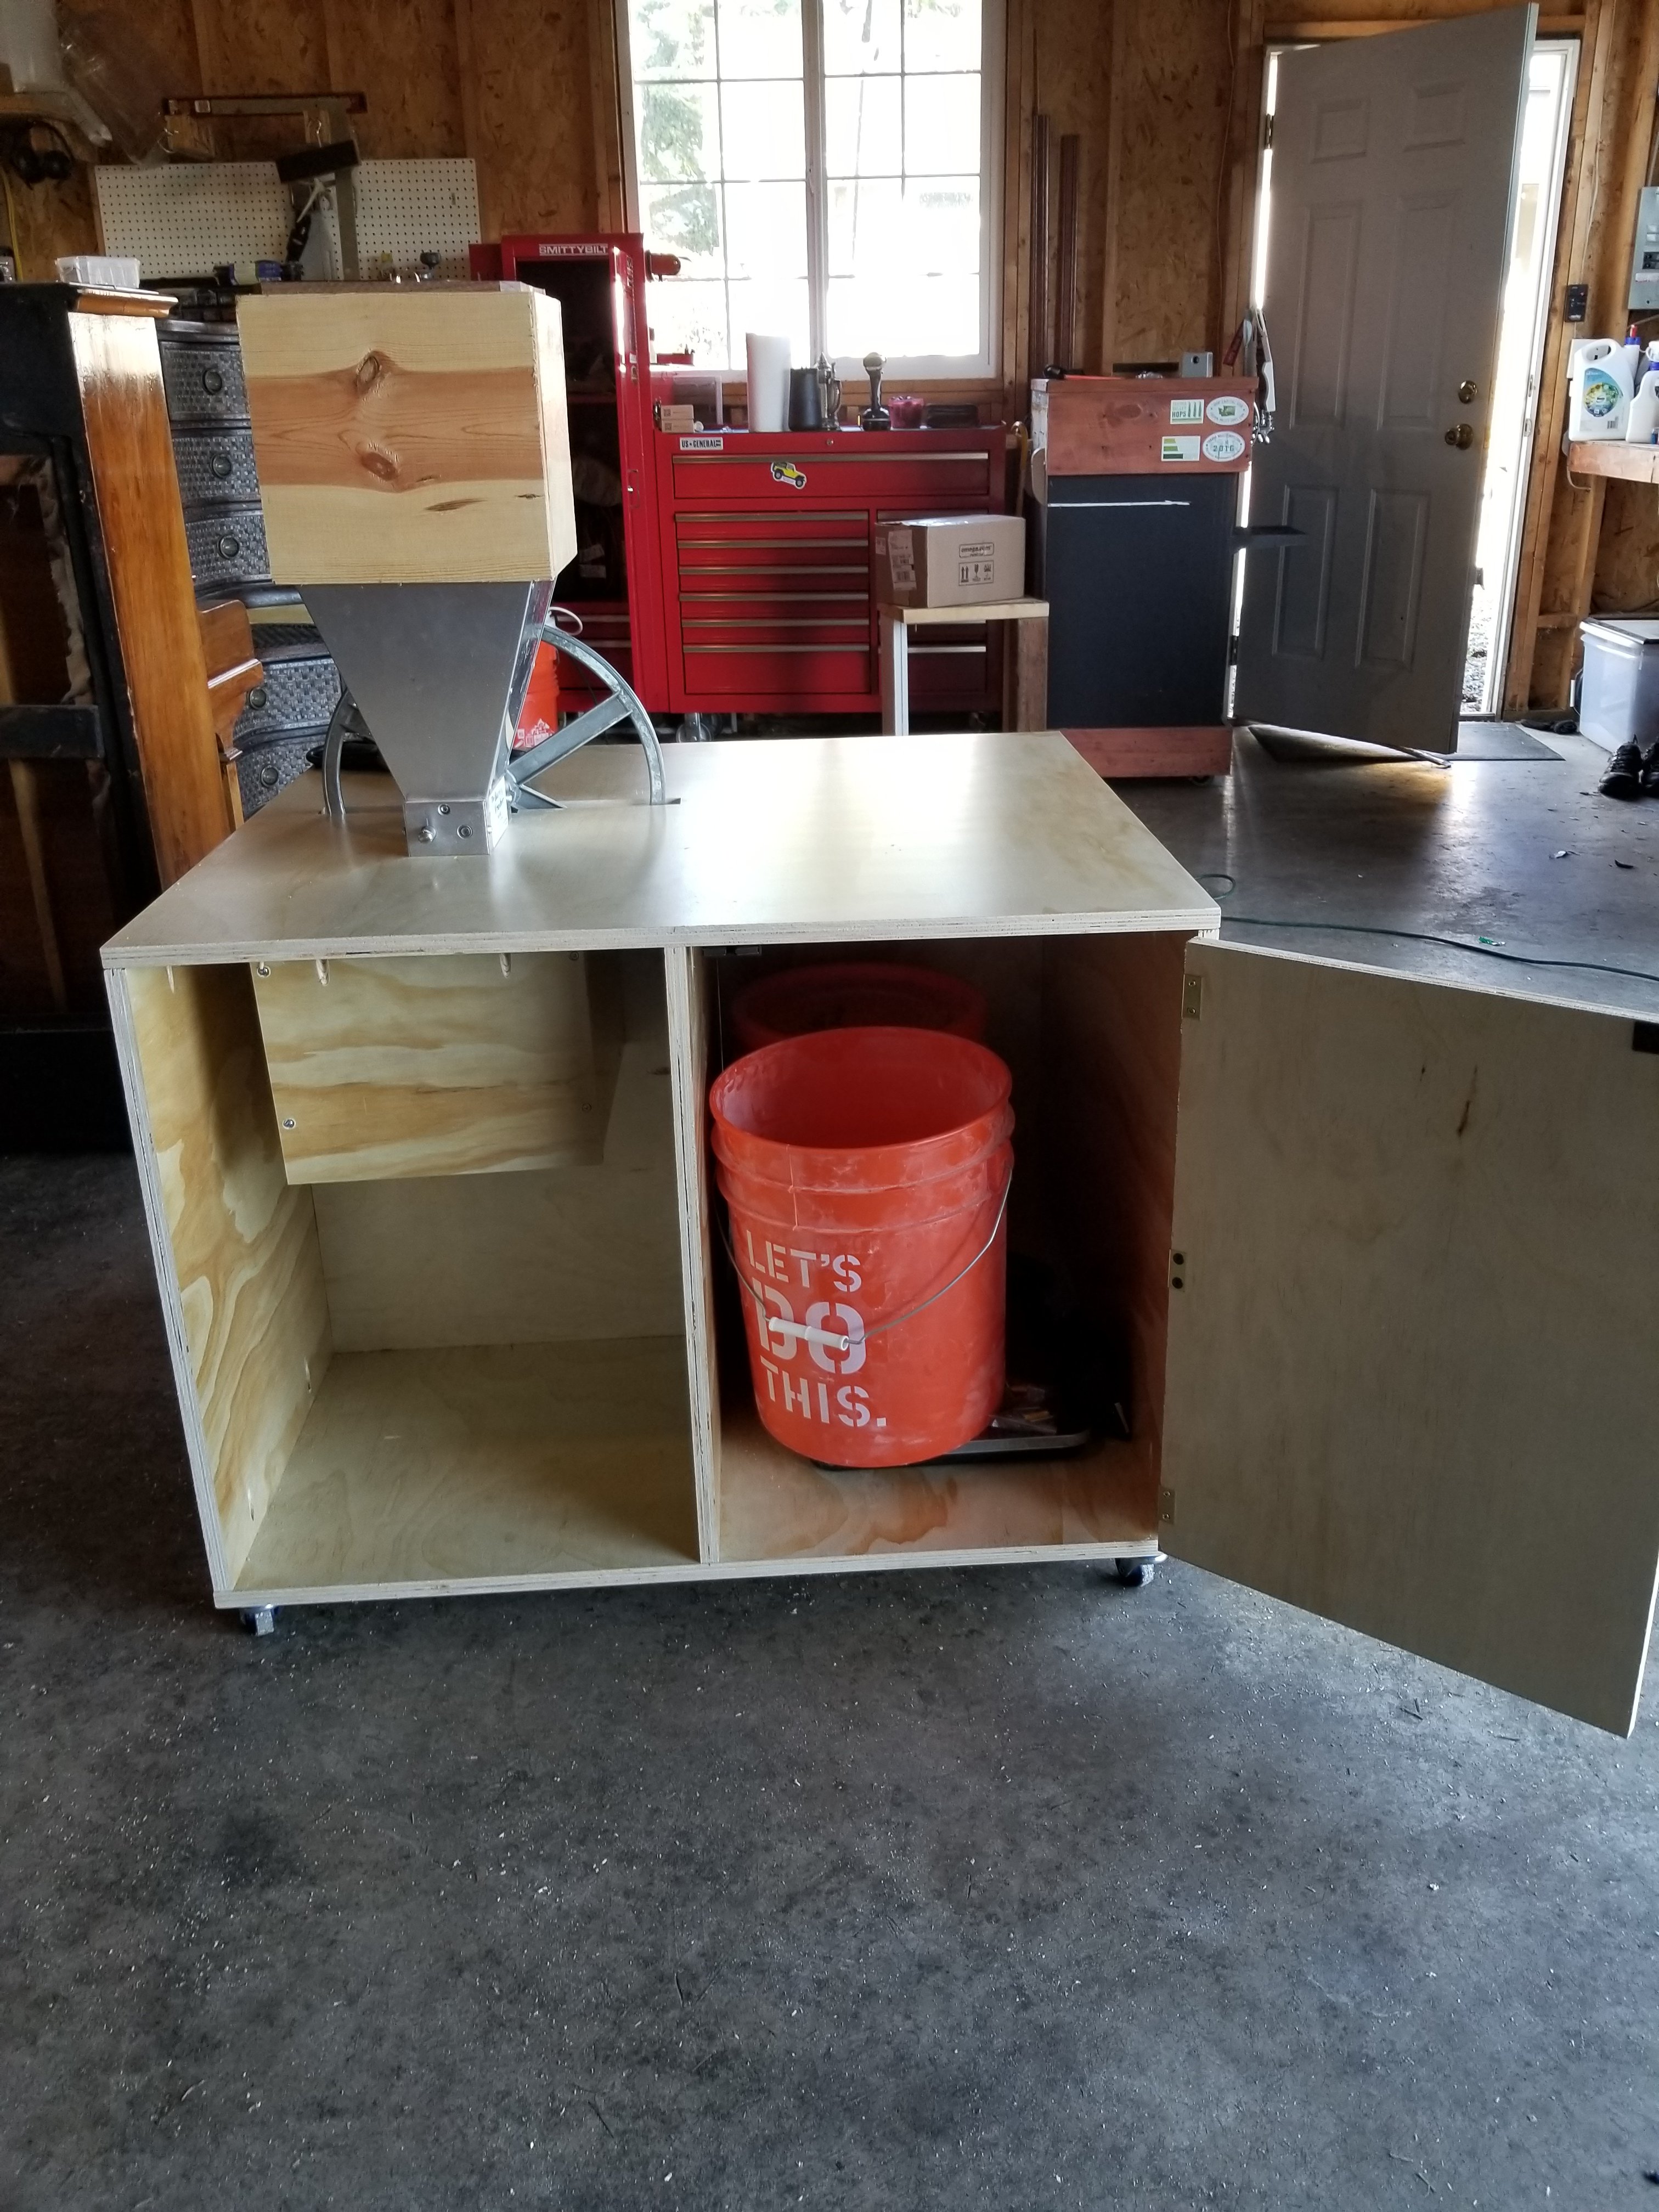
Here is a pic from the front after the back has been secured. This is quite a large storage area where I will kepp 2 50# vittles vaults for my base malts and the scale:
20180426_153904.jpg


Next I cut a door for the storage, and attached it using 3 small brass hinges I scavenged from another old door as well as the pull knob, you can also see the room I have for grain storage:
20180426_162744.jpg


And with the door shut:

20180426_162737.jpg
 
Now time to get the wiring done for the motor:

20180426_162750.jpg


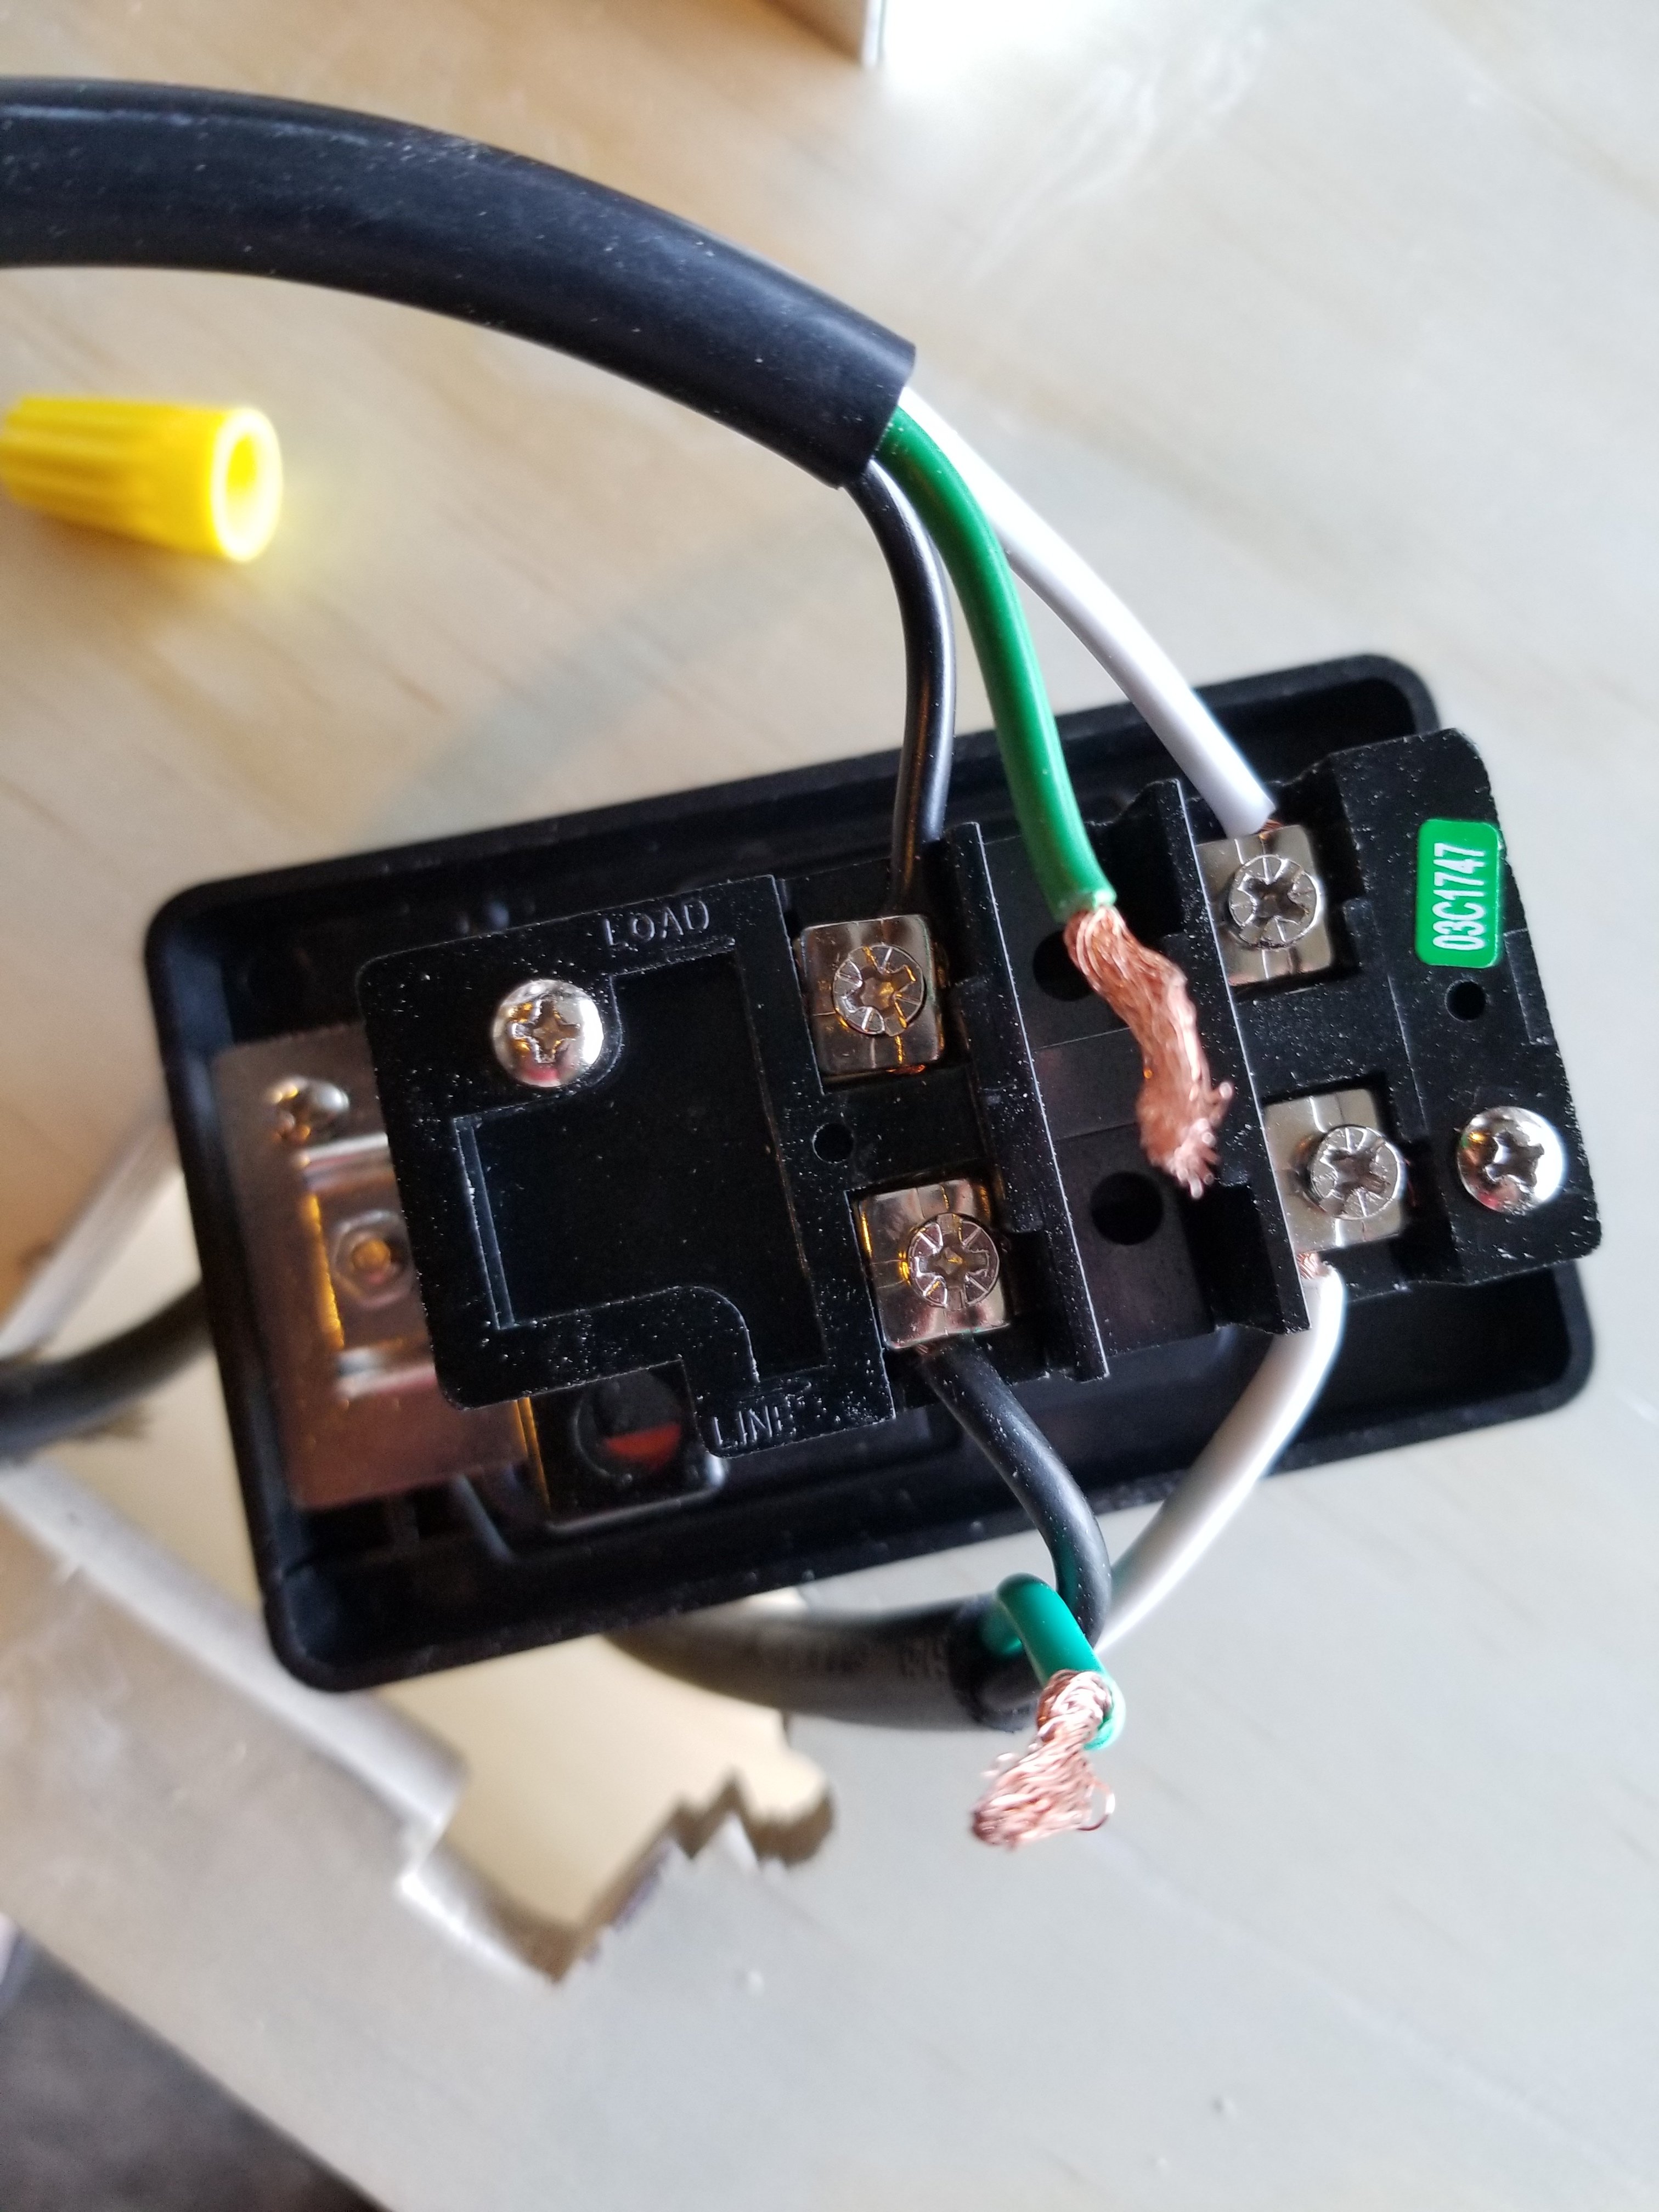
Using a "start stop" switch I tested all connections to ensure I had them correct. Here is how I wired my HY56 switch. the "load" side goes to the motor, and the "line" side is the power cord. then ground to ground.
20180426_190641.jpg


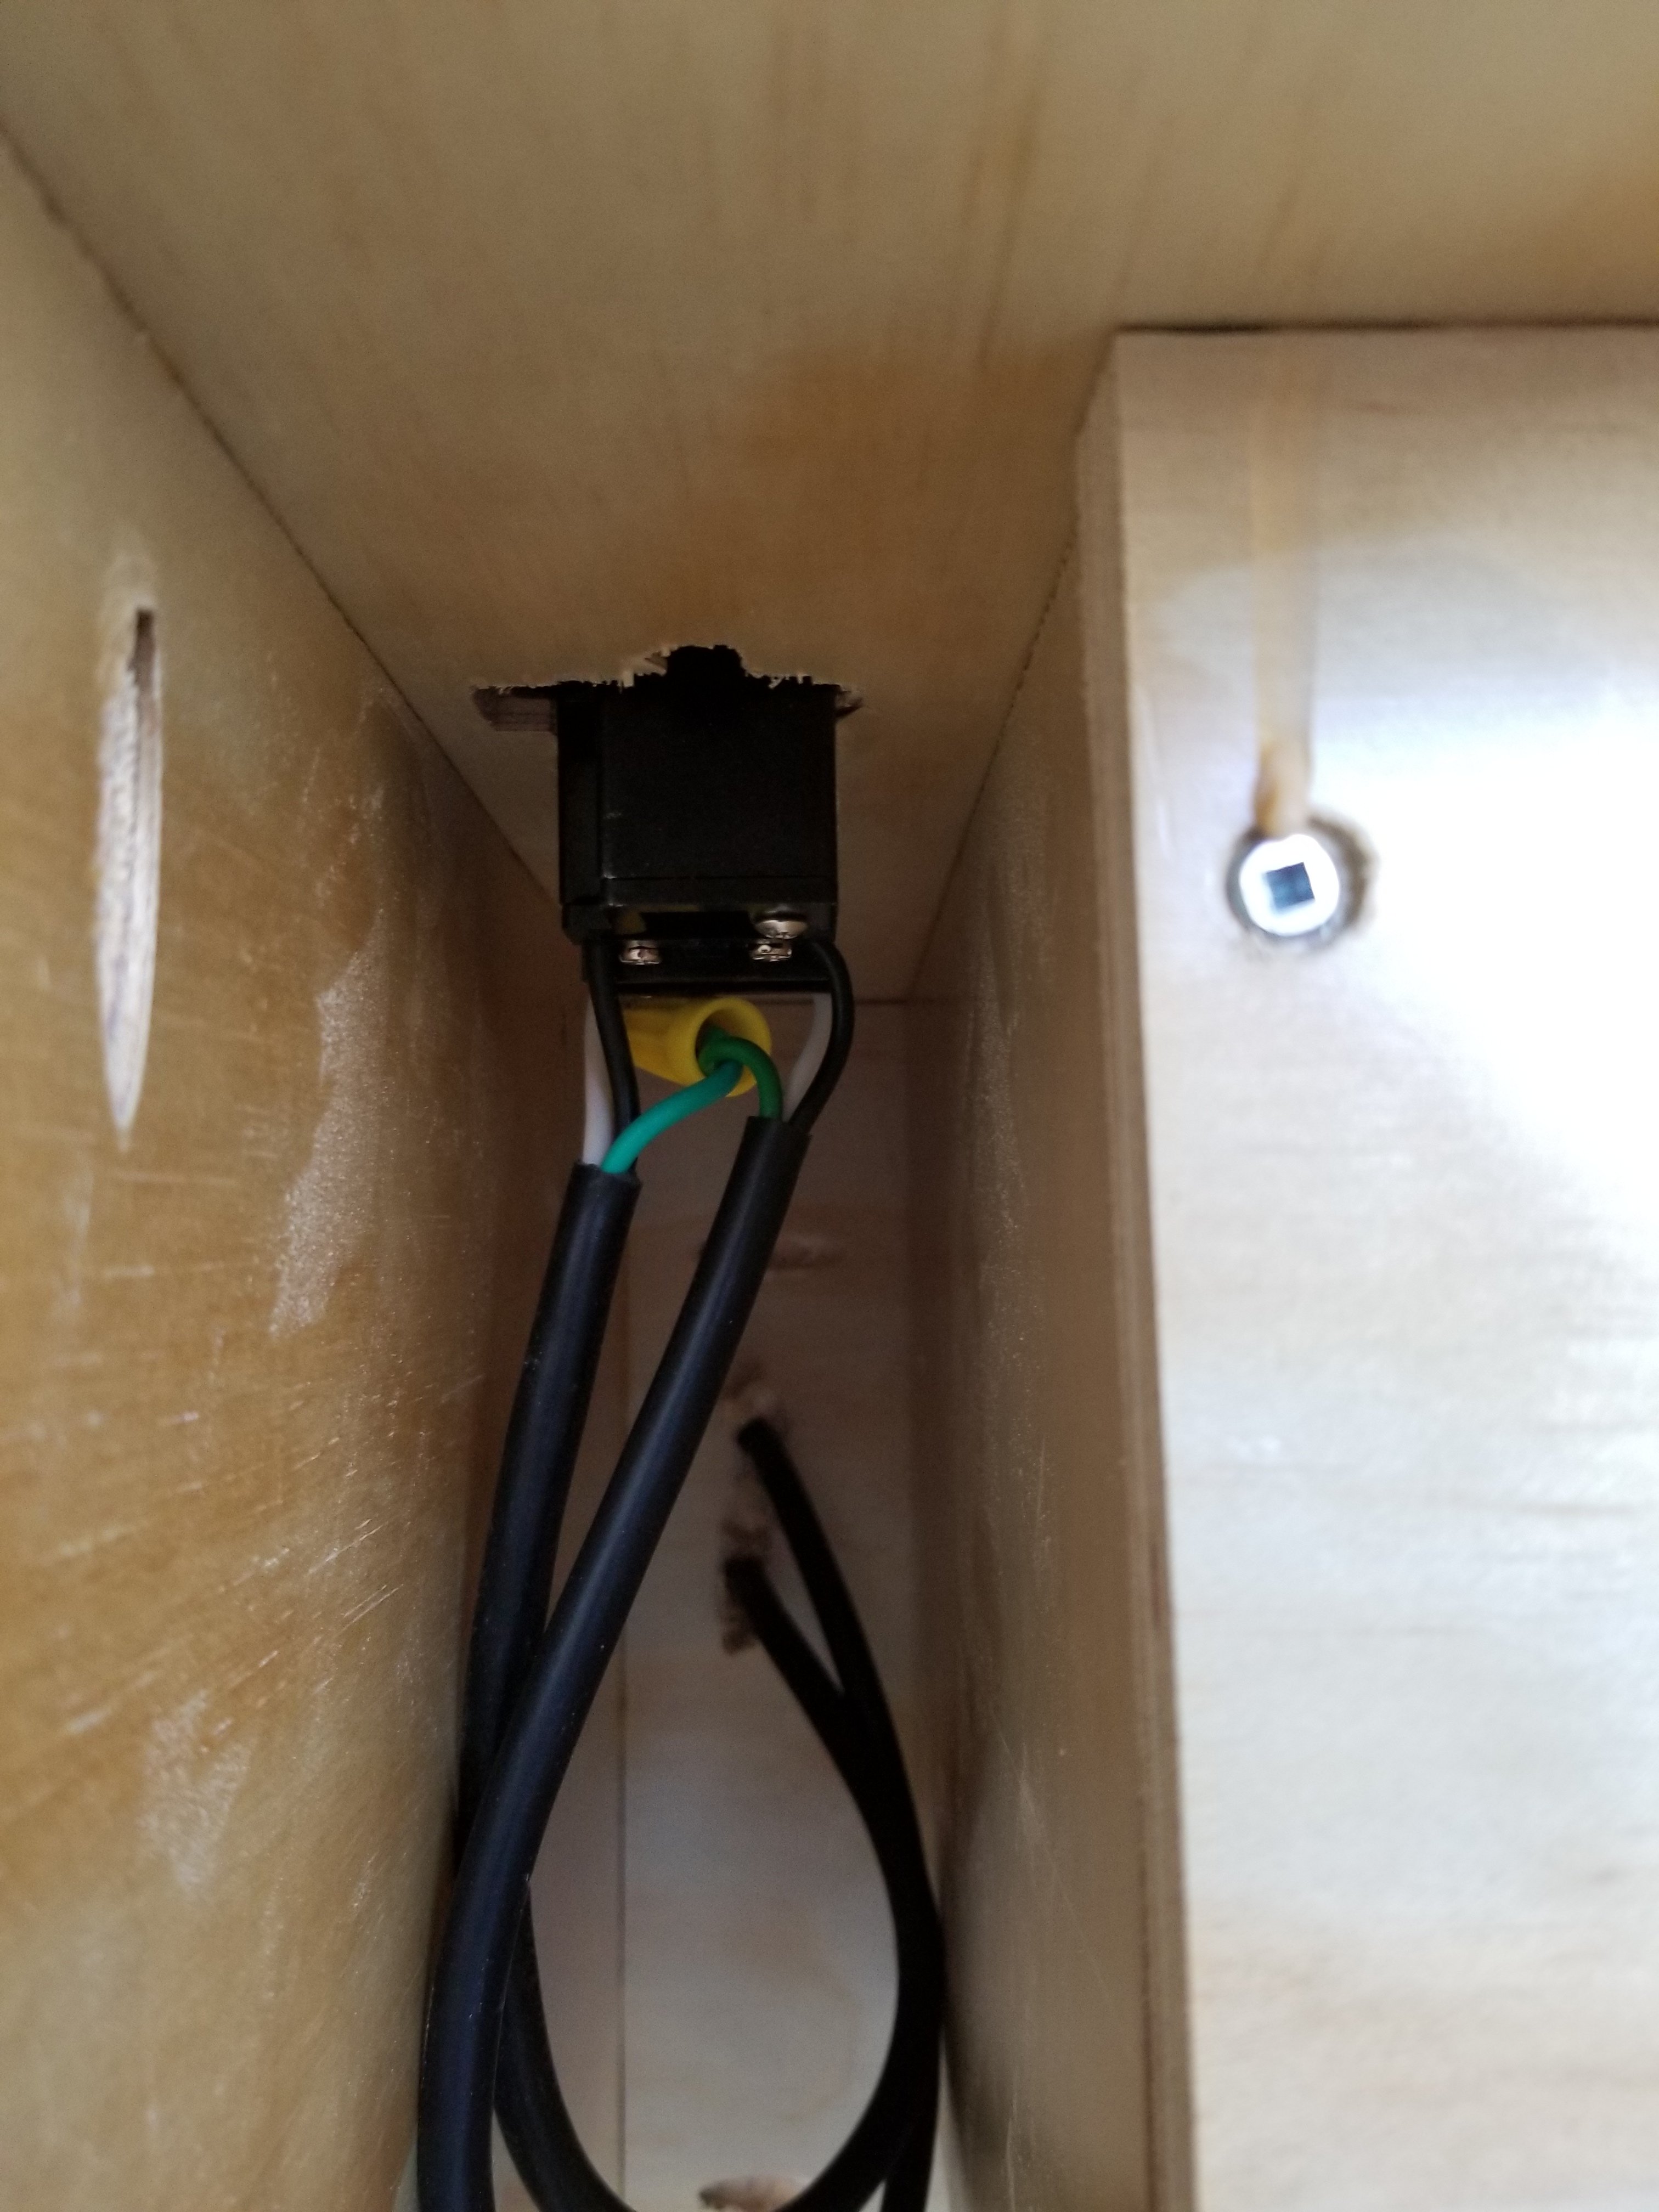
Here is the wires coming from the motor side into where I cut the slot for the switch. The hole I cut for the switch was very tight, I made the cut small then trimmed it a little at a time everywhere it was hitting to ensure a very snug fit. After this pic, I pulled all excess back through into the motor area:
20180426_190729.jpg
 
and FINALLY!!! Here it is in all its glory (minus the springs, for some odd reason they didnt come in on time, so I will post more about those later when they get in.

I went from this (which I used my drill on):
20180426_110924.jpg
to this:

20180426_205810.jpg
 
ok, now for the parts list:

Motor is a Smith and Jones 1750 nameplate rpm general purpose motor found here.

The web site I used to do the calculations for the pulleys is here.

The pulleys were found on Ebay here. SHOP AROUND!! I got the cast aluminum for $55 with free shipping and the 1.55" on the motor was about $5 i also found the belt on ebay, i just searched for a 57" 4L vbelt and found one for about $10.

My barley crusher has a 3/8" shaft, and the 14" pulley has a 1/2" fixed bore, so I had to get a 1" spacer that I drilled a hole for the set screw to got through the spacer and tighten to the shaft, found here.

The switch and power wire was found on Amazon here.

and the wood used is 23/32" Radiata pine found at Home Depot.
 
Last edited by a moderator:
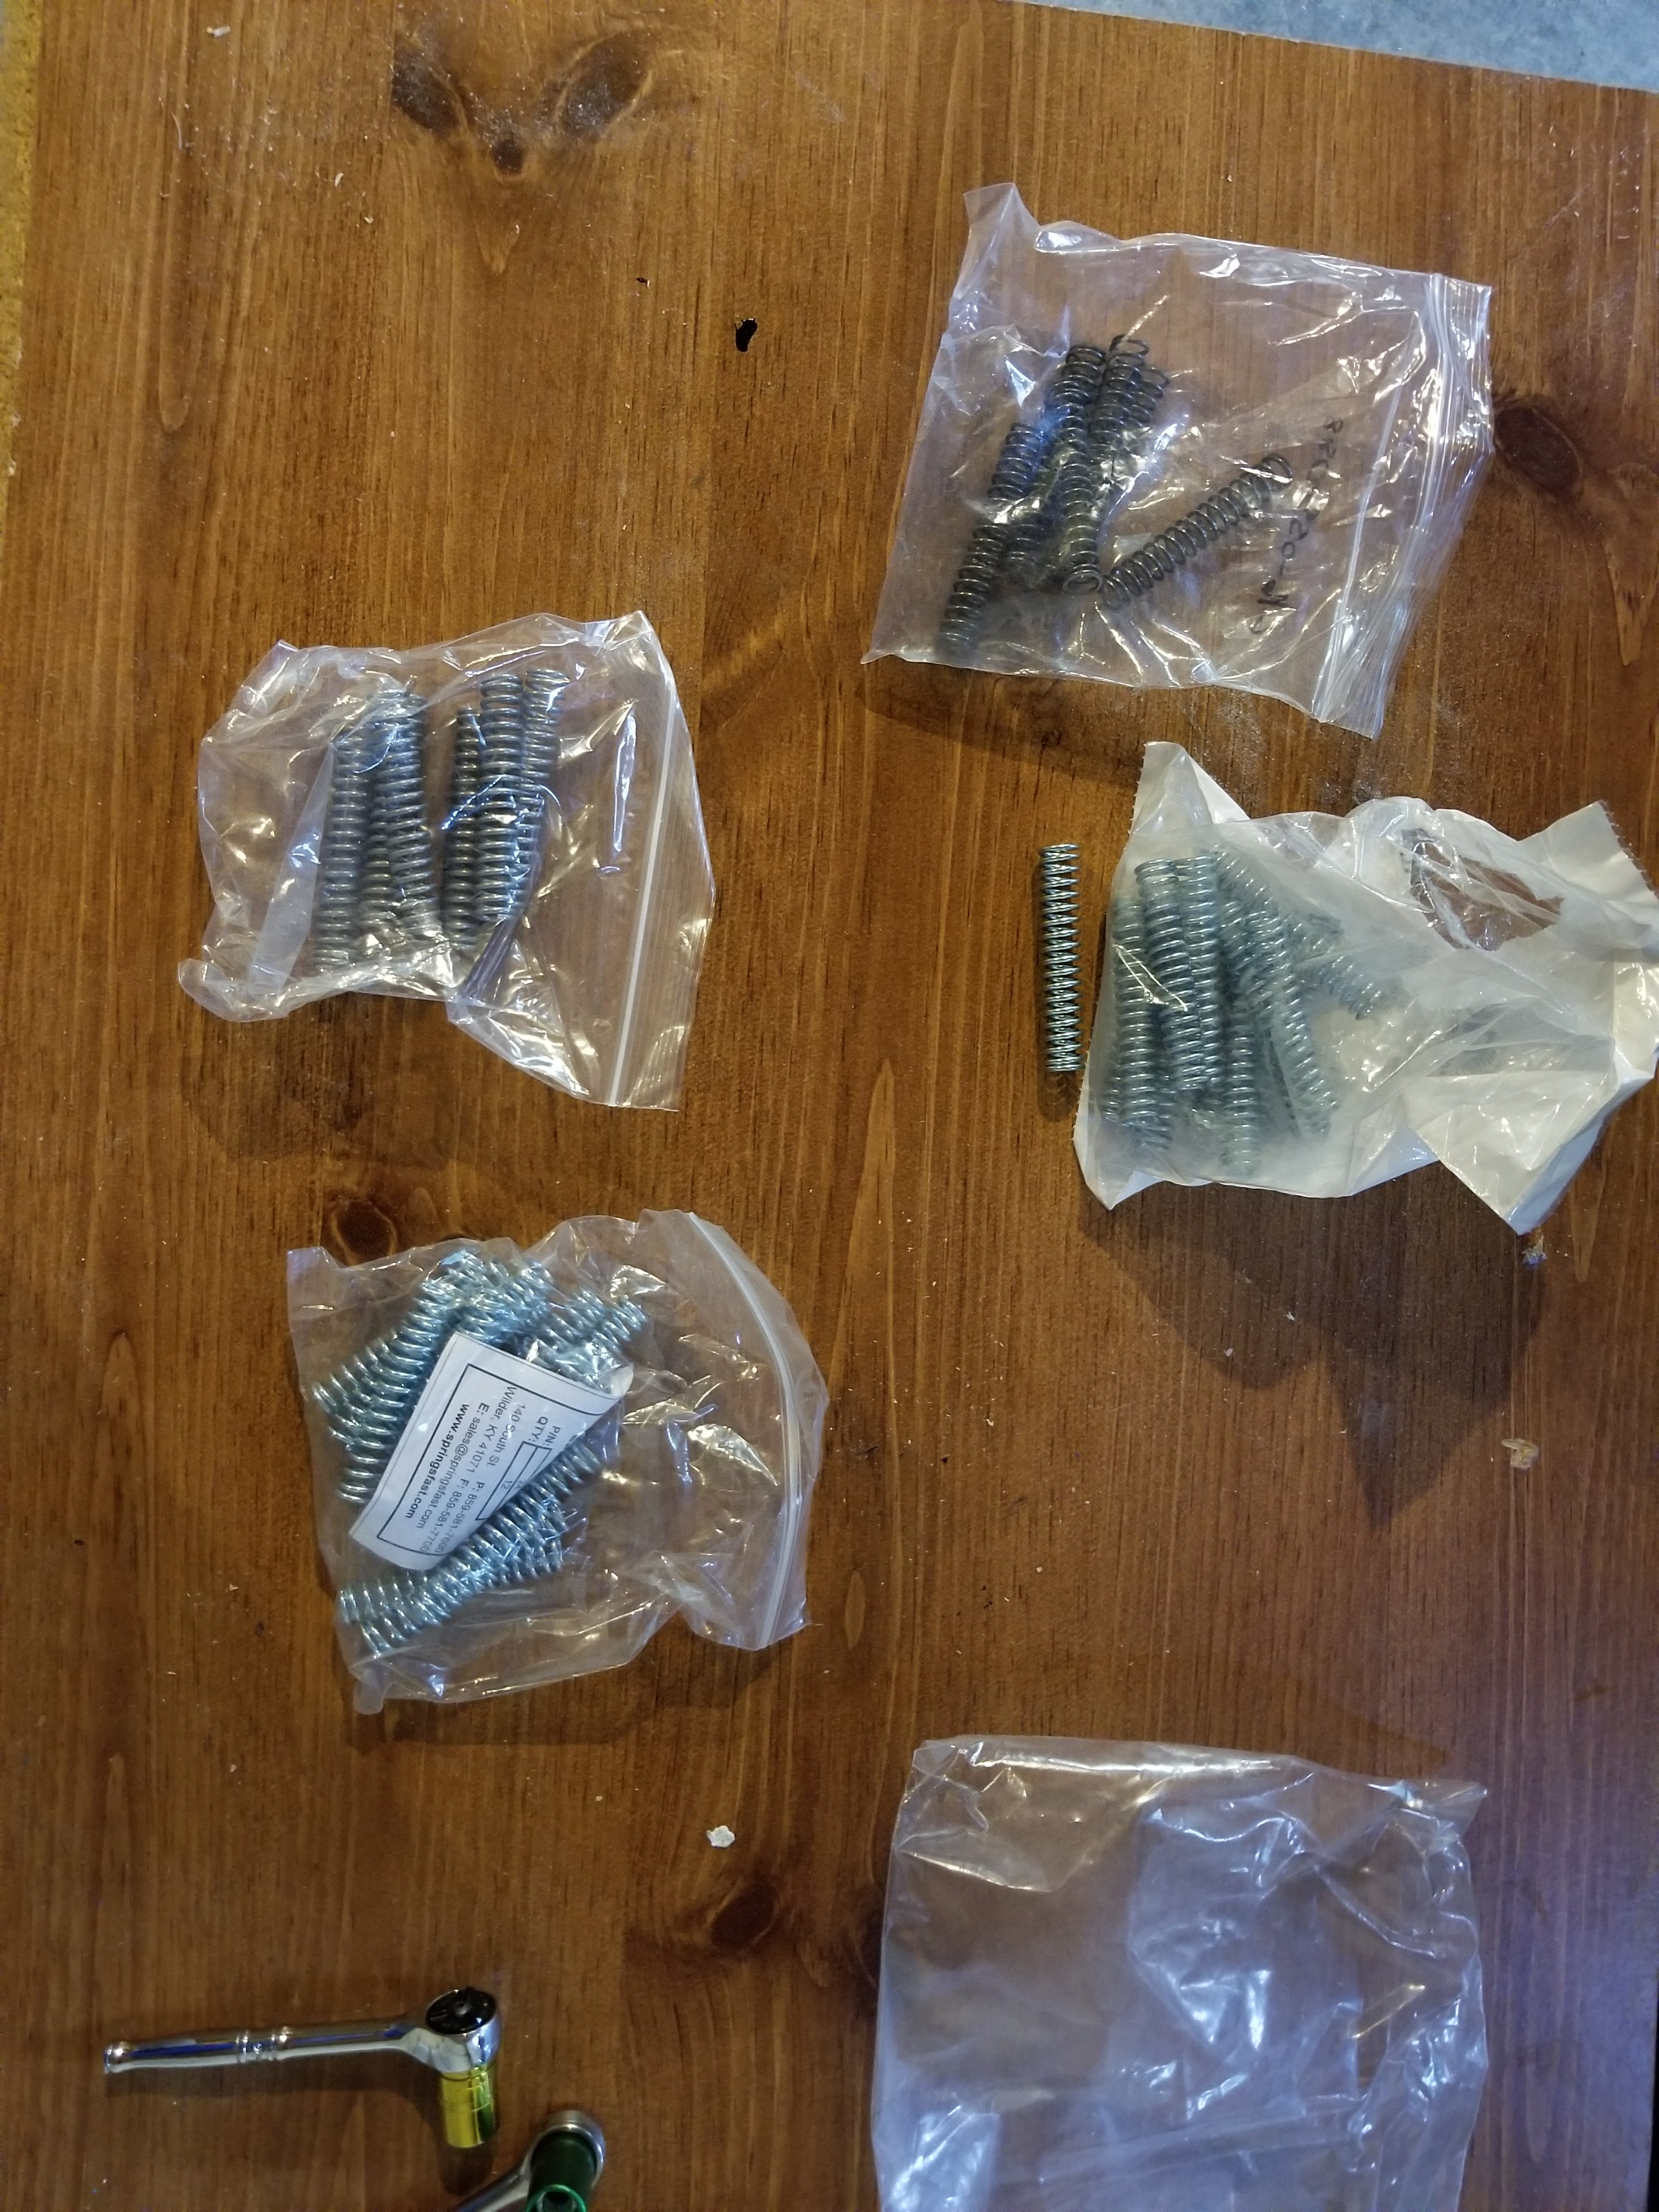
Springs came!! I had no idea what weight and size, so i got a variety
20180428_185556.jpg


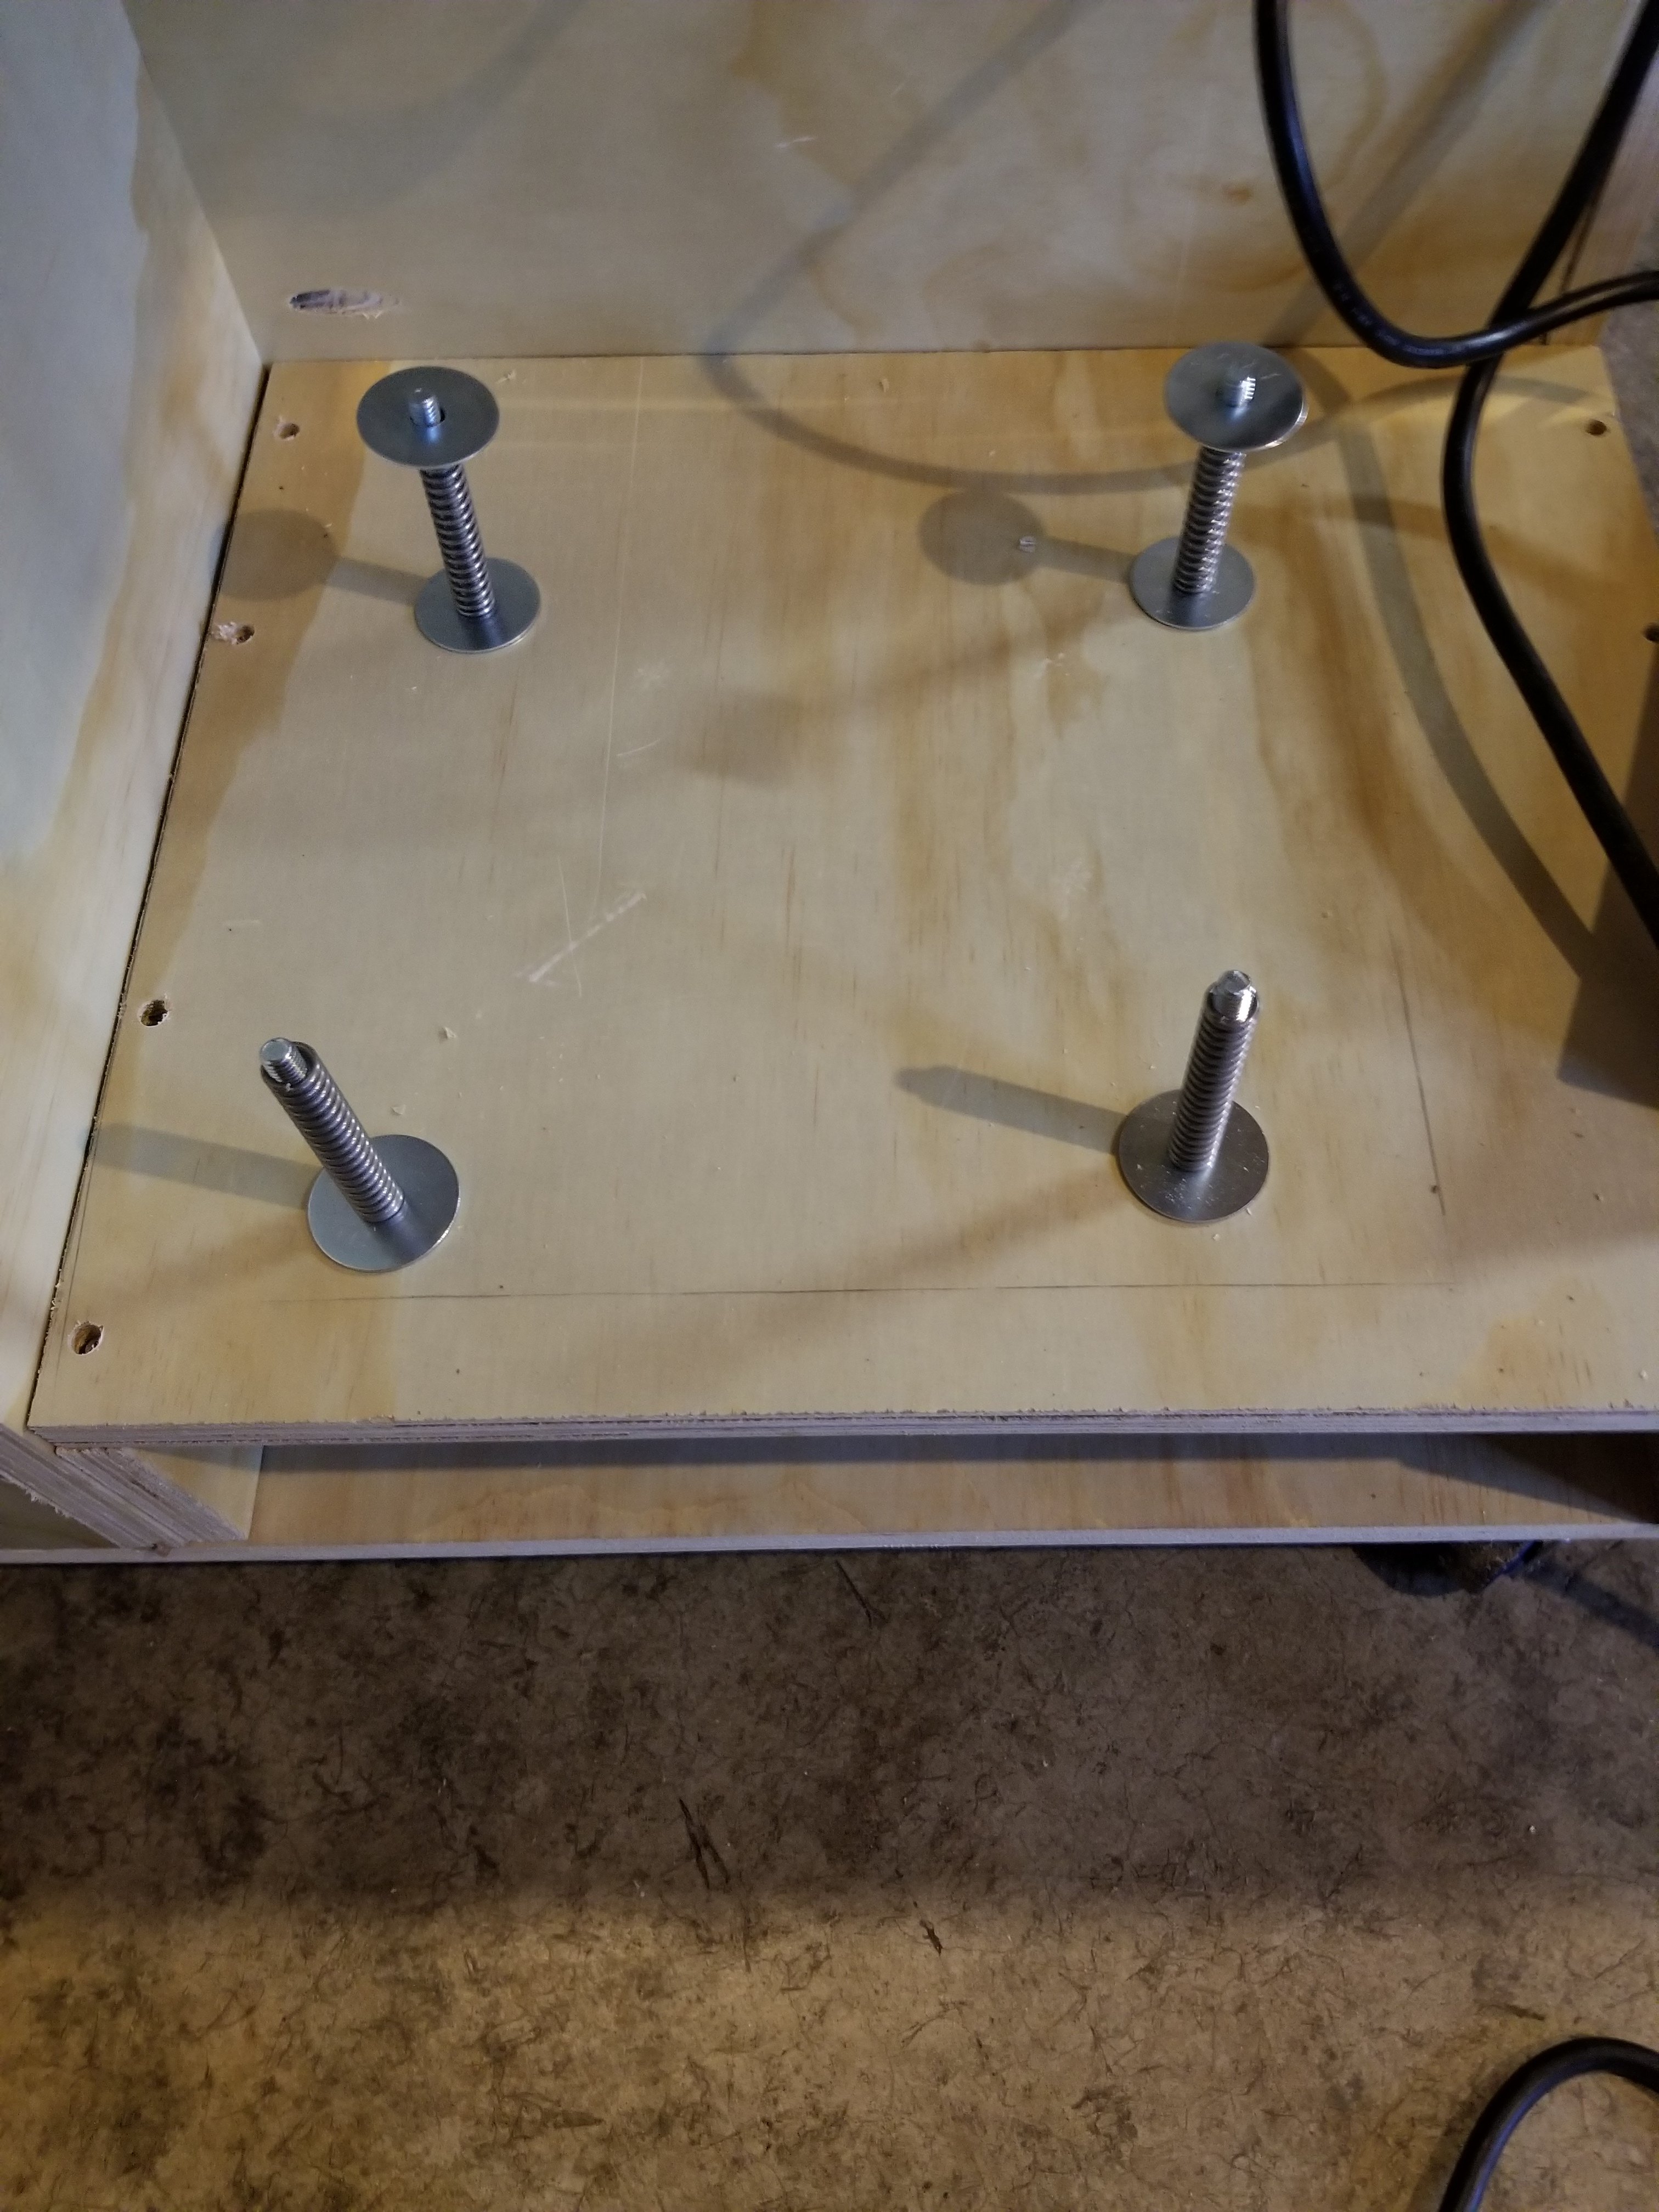
Here is the "platform"
20180428_185625.jpg


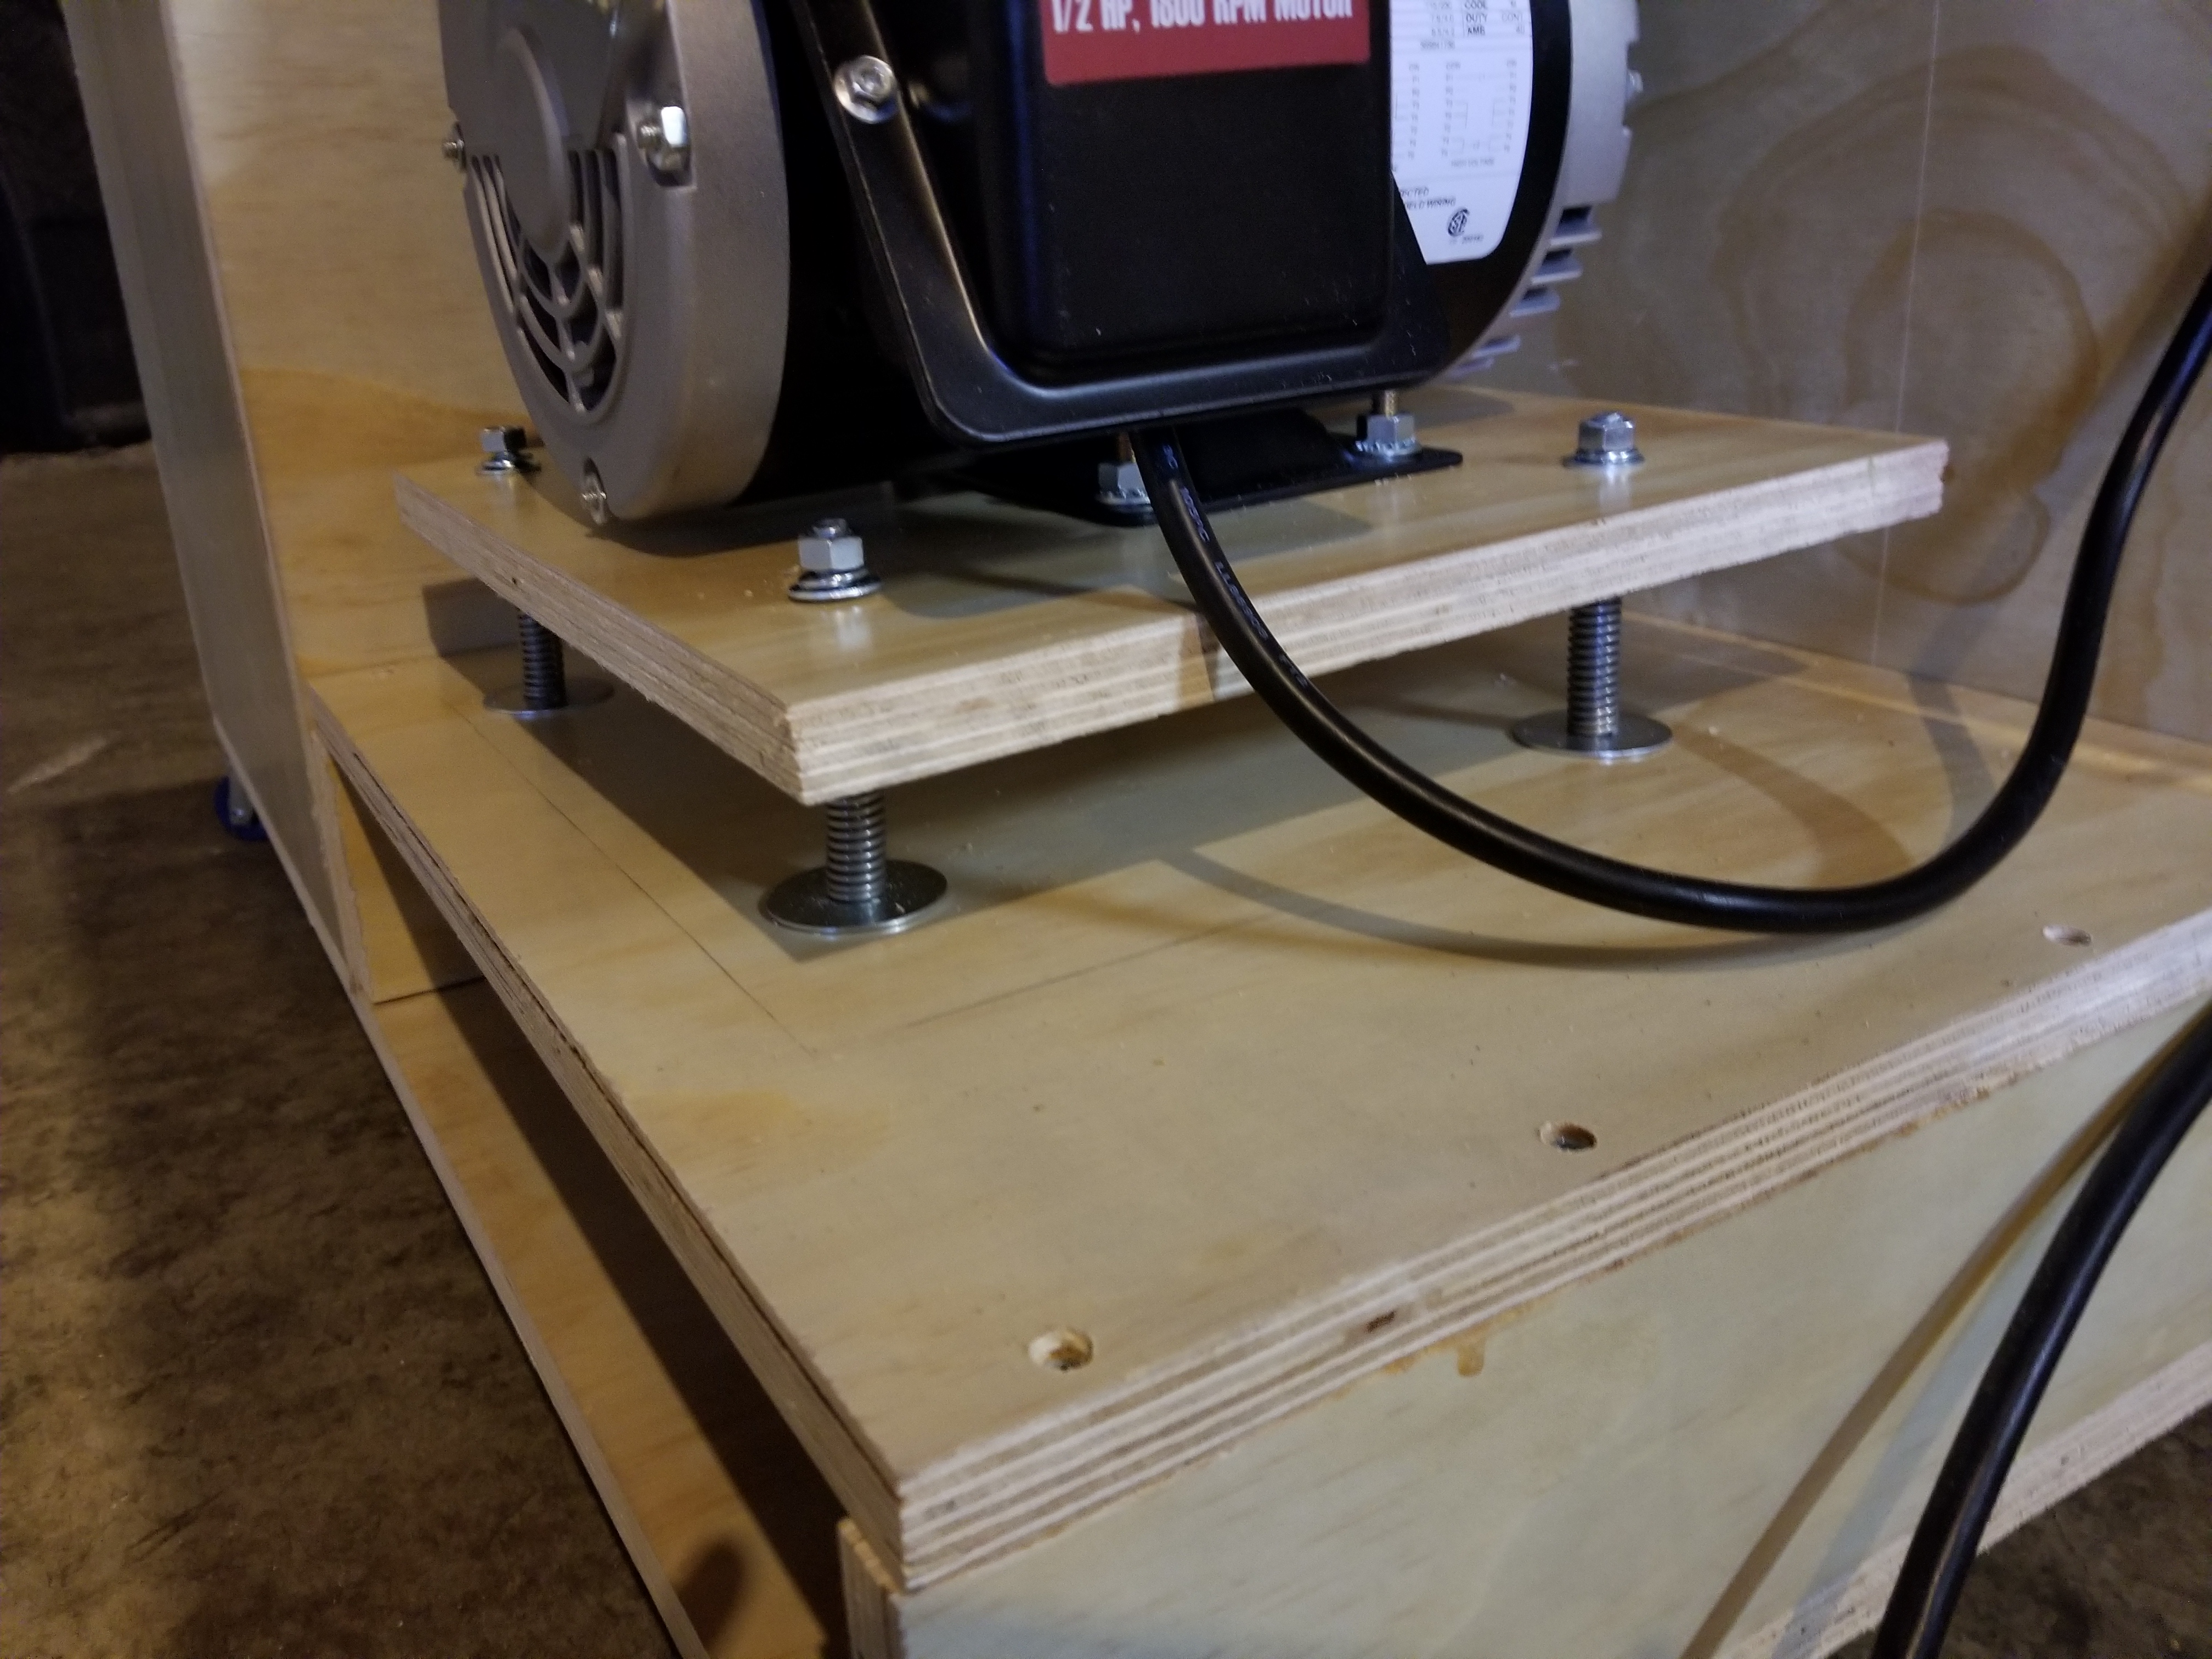
With the springs:

20180428_185708.jpg


Final assembly all tightened and proper belt tension:
20180428_190452.jpg


One more from lower: i dont know why it appears uneven, but it is same height on all 4 corners according to my ruler :)

20180428_190457.jpg
 
Nice build... although the thread title is misleading. Giant mill stand build would be more appropriate. I came in here expecting to see like 8" diameter x 12" rollers!

:mug:
 
On another thought...if anyone is interested in a similar design, i have a crap ton of springs!!
 
Great job!
What about a safety guard?

Playing around with a hopper/safety guard combination thing, just cant get the cut angles right.

What do the springs do?
They support the weight and keep the motor at a level stance. Without them the back end of the motor would sag putting the pulley at an angle that could cause premature wear or could pop the belt off. With them, i can adjust them as needed to keep the motor at the right angle and apply proper tension.
 
20180623_145420.jpg
20180623_145318.jpg
20180623_145254.jpg
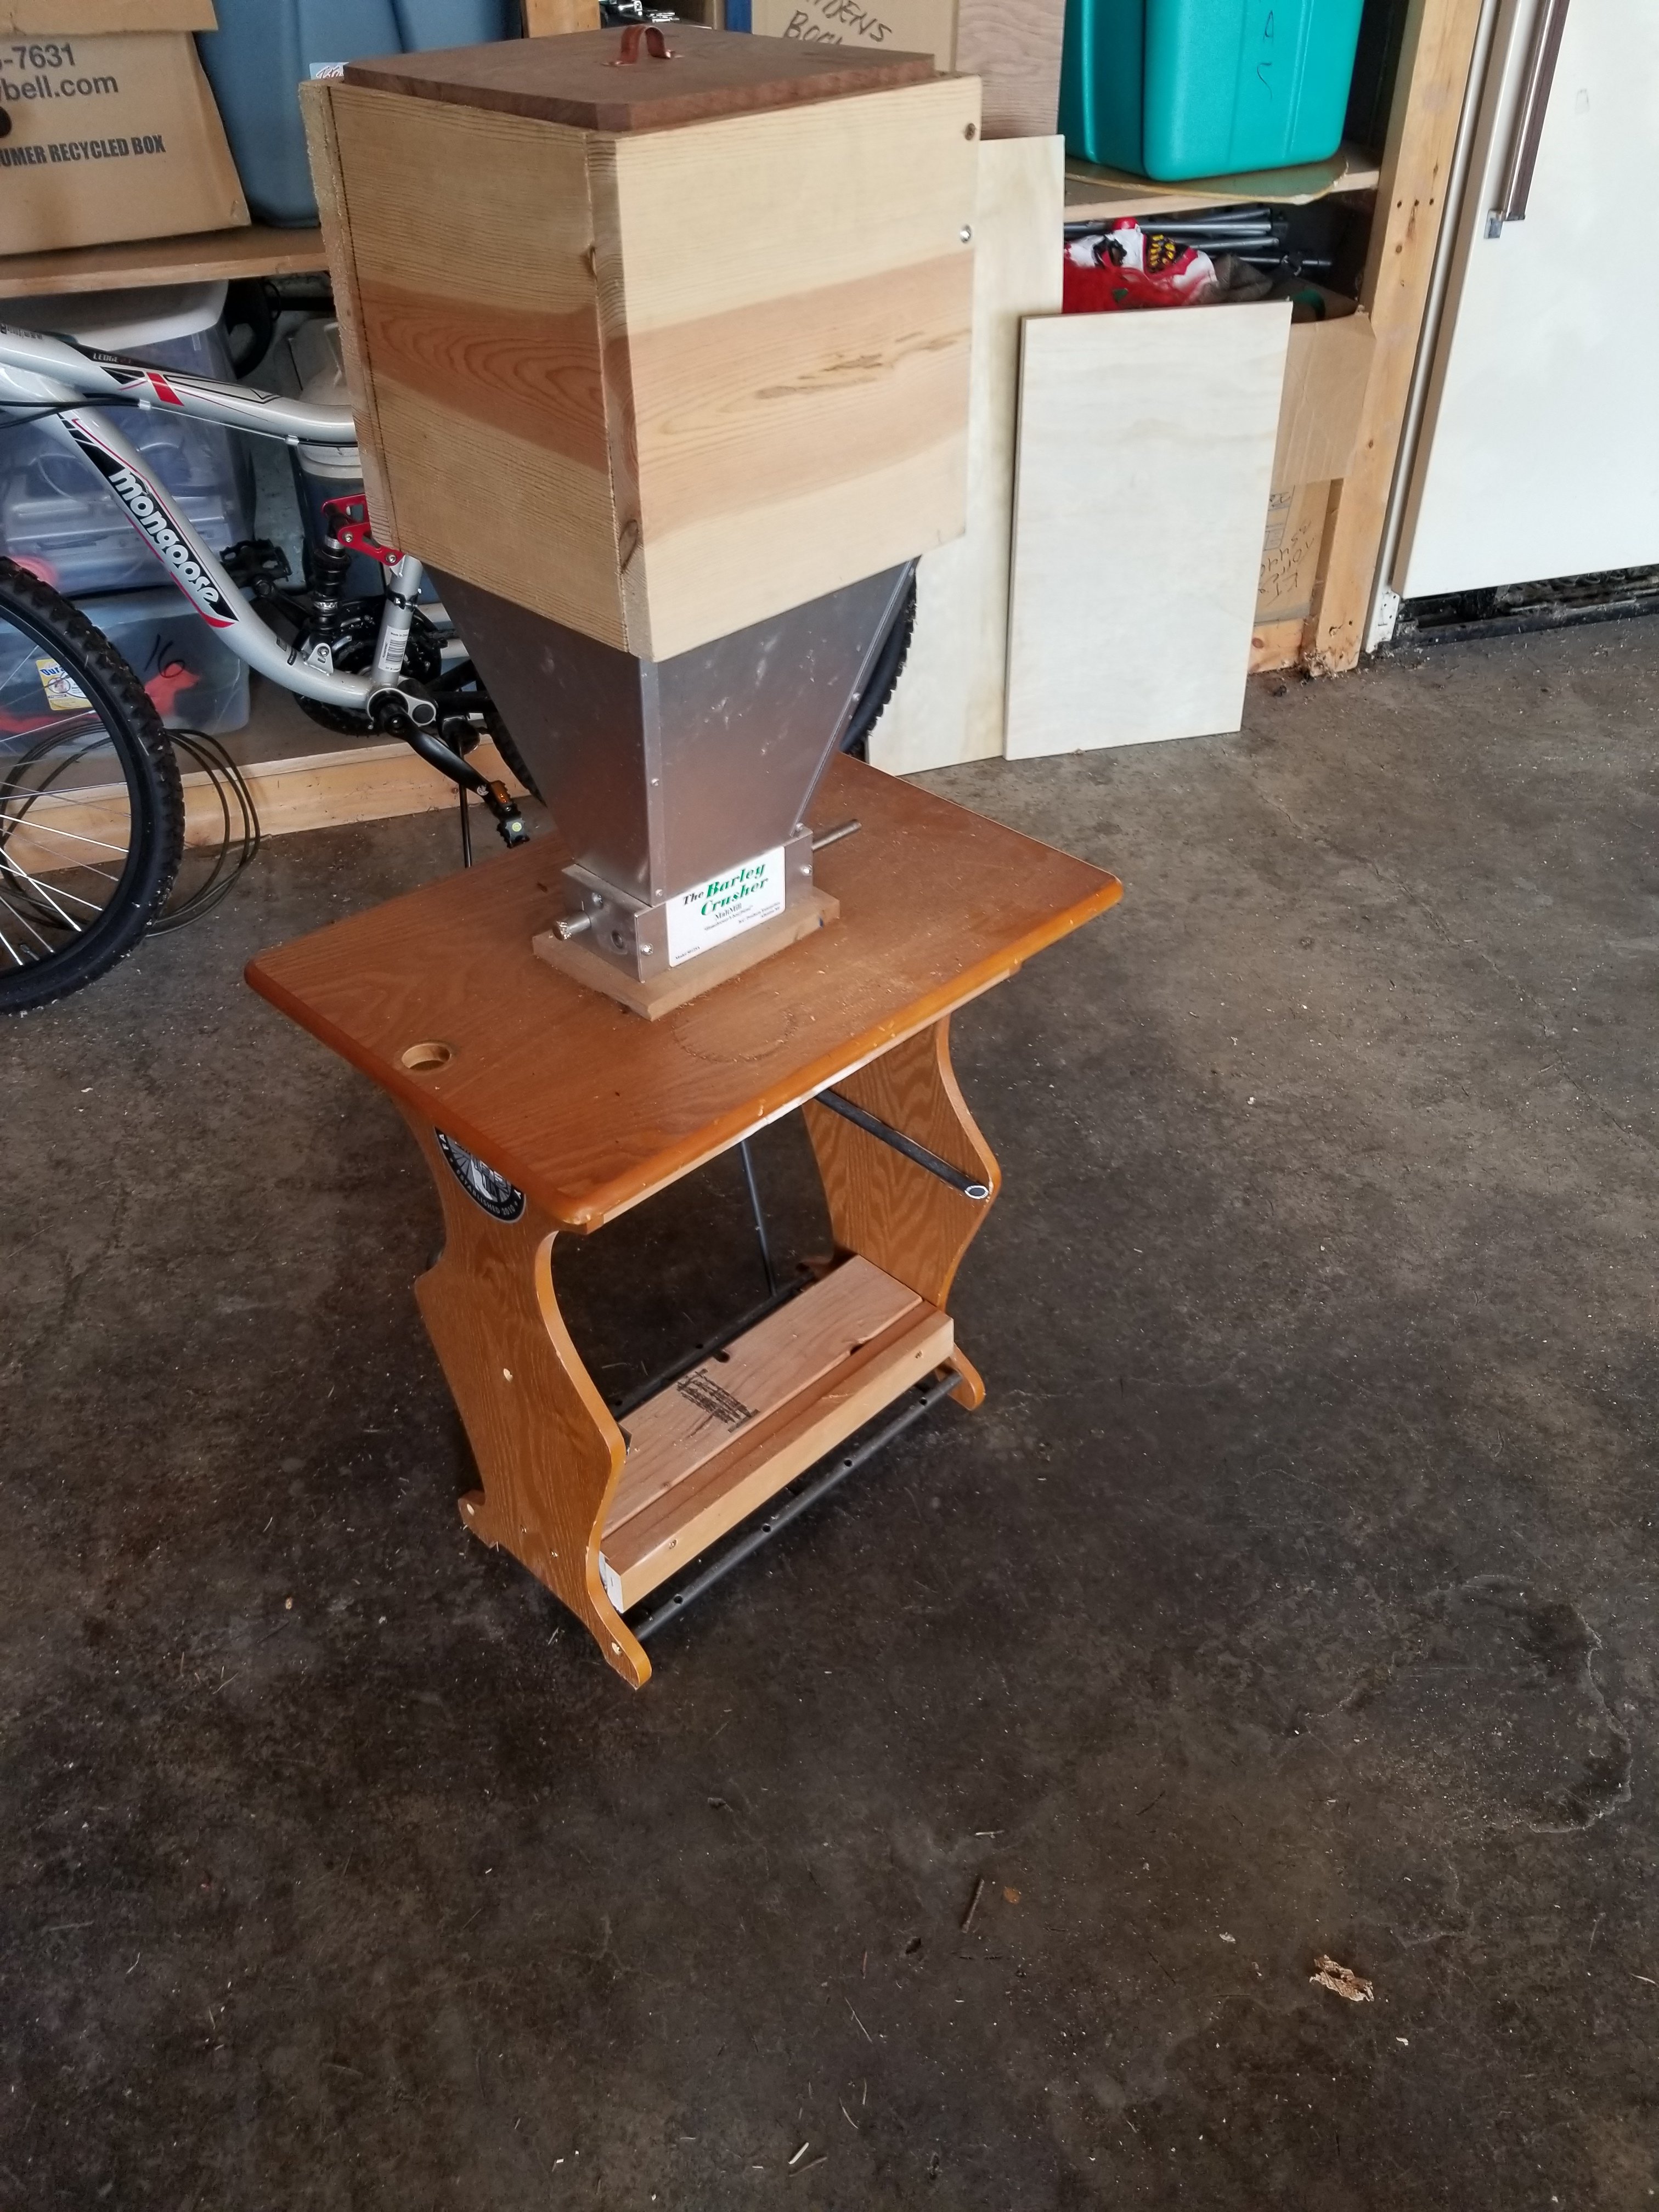
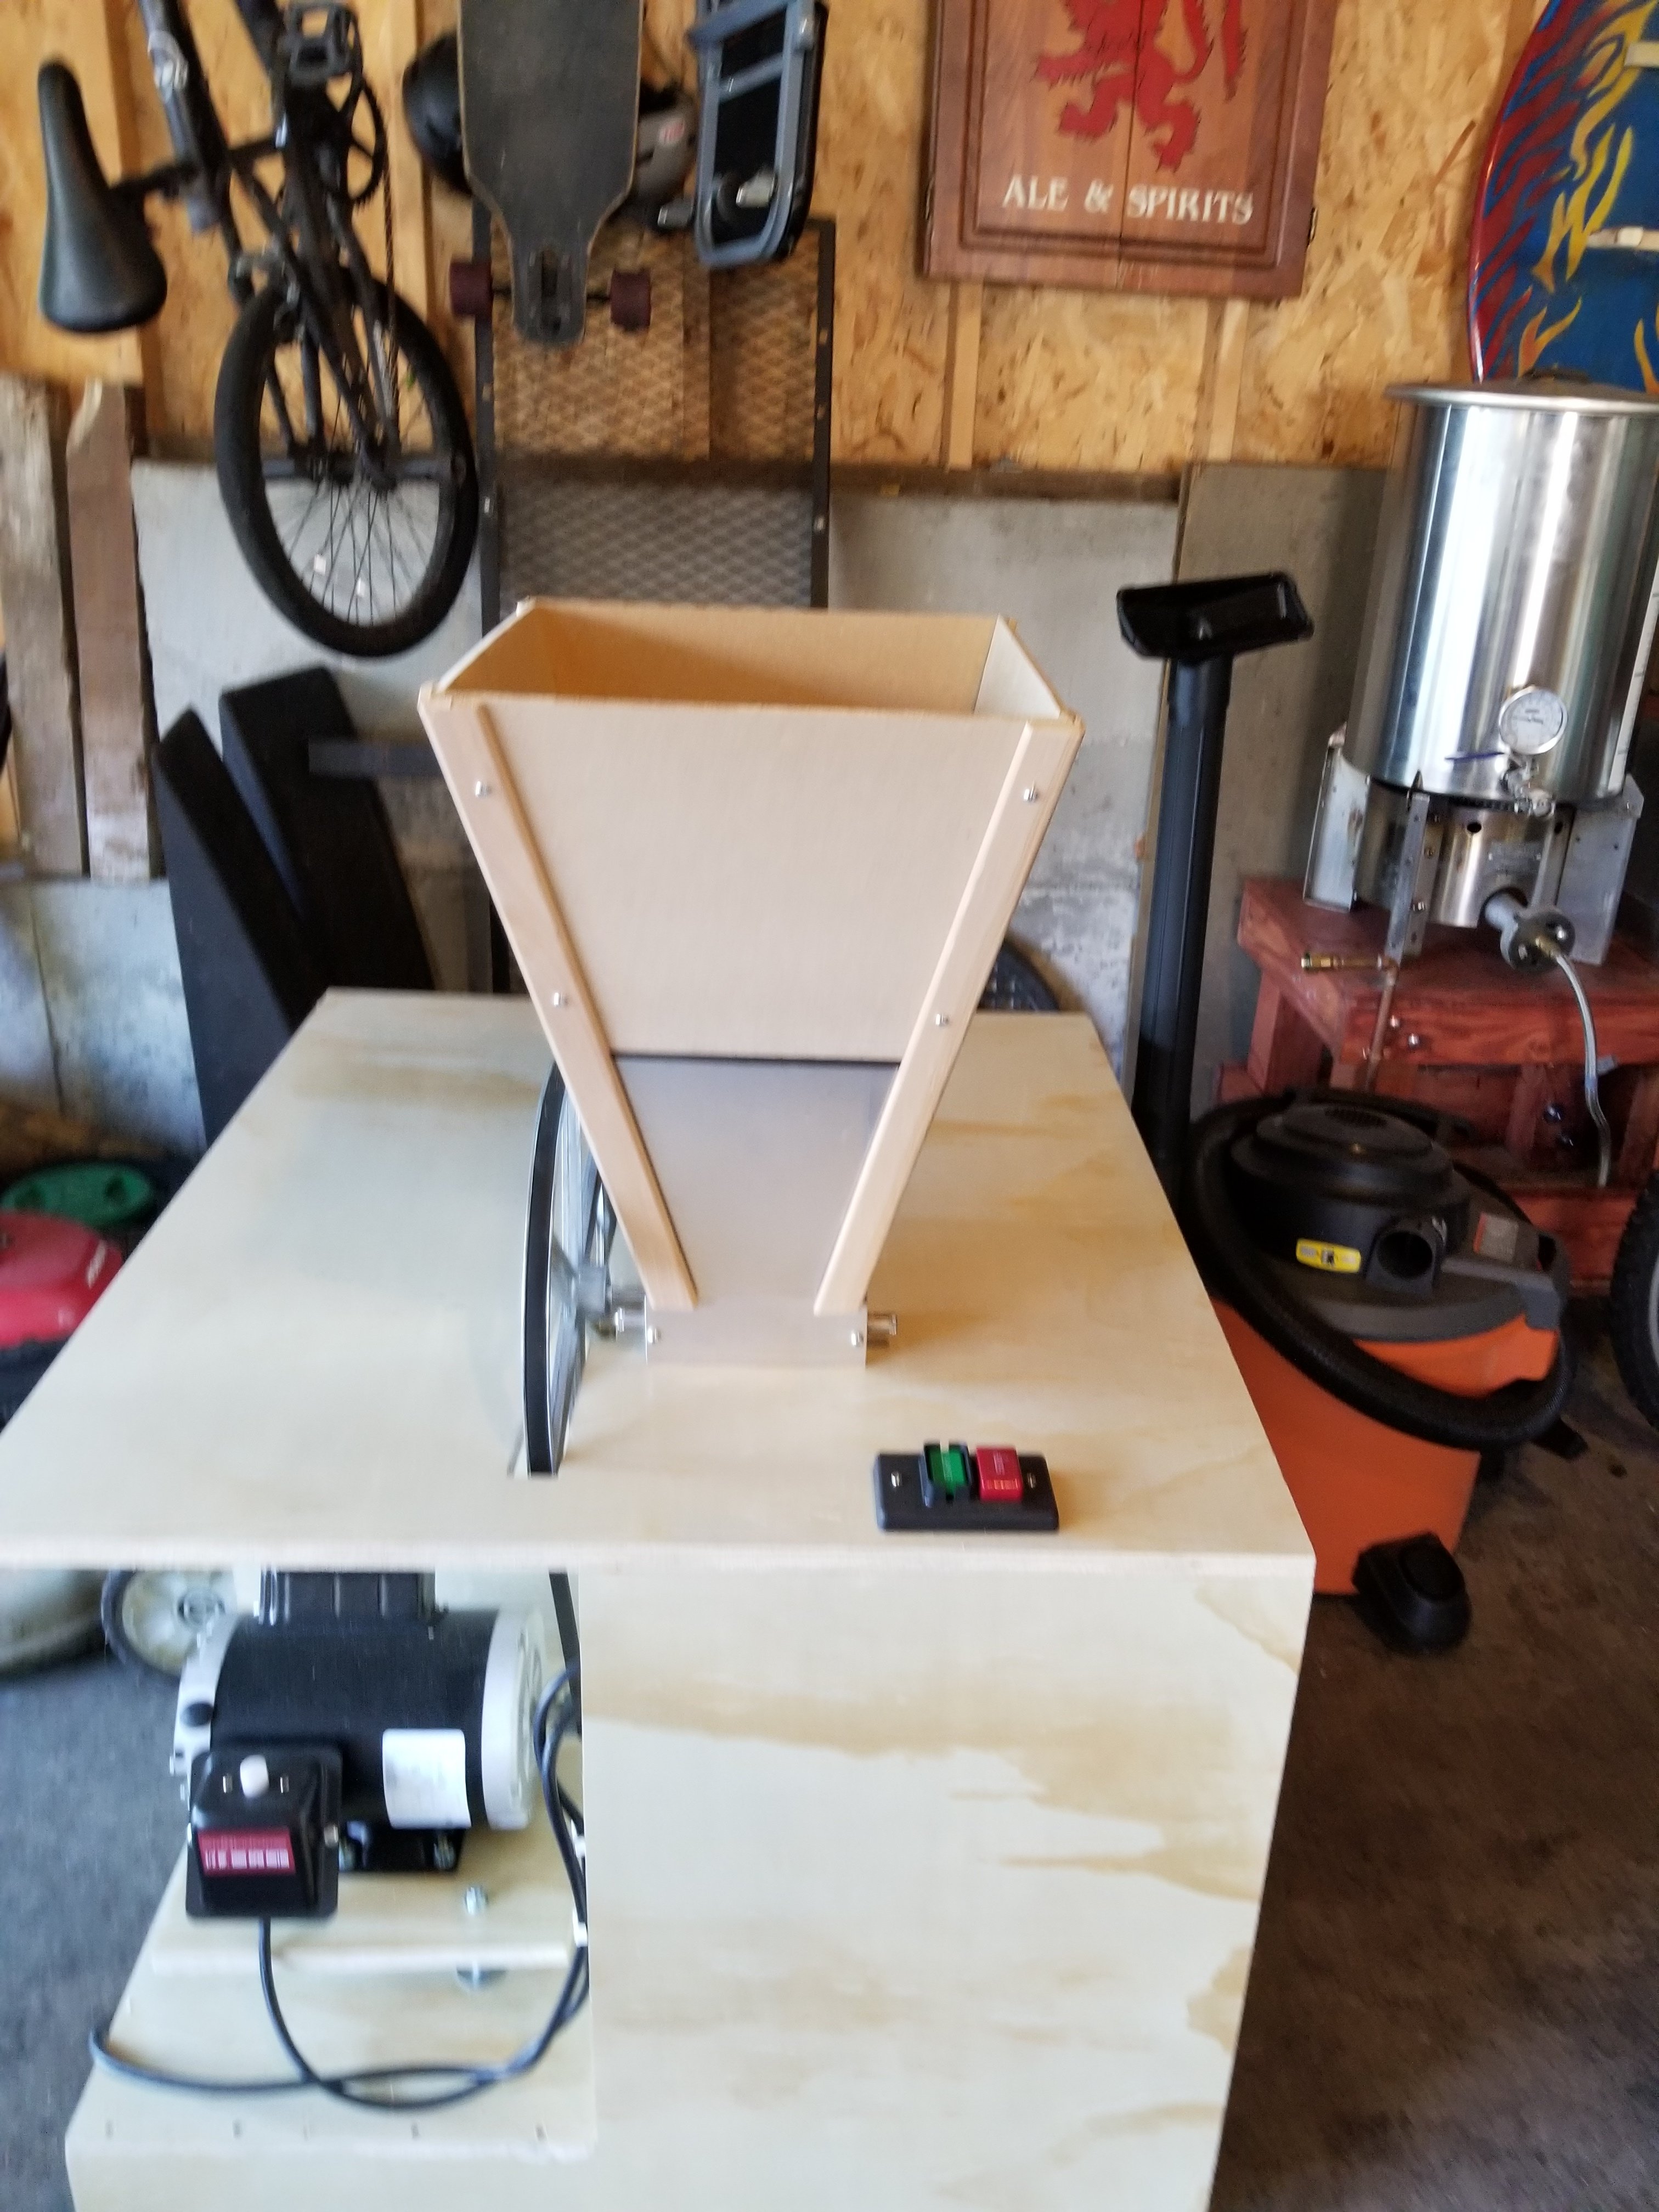
Added a new hopper!! No clue as to capacity now, I'm guessing maybe...18#s or so since that was originally 7# hopper and i doubled the height plus the extra width.

If anyone is interested in how i did it, ill share my process :)
 
Back
Top