
specialkayme
Well-Known Member
I posted these questions in a different thread, but figured it should be it's own thread at that point.
I ordered a StillDragon Controller and got it probably 80% assembled.
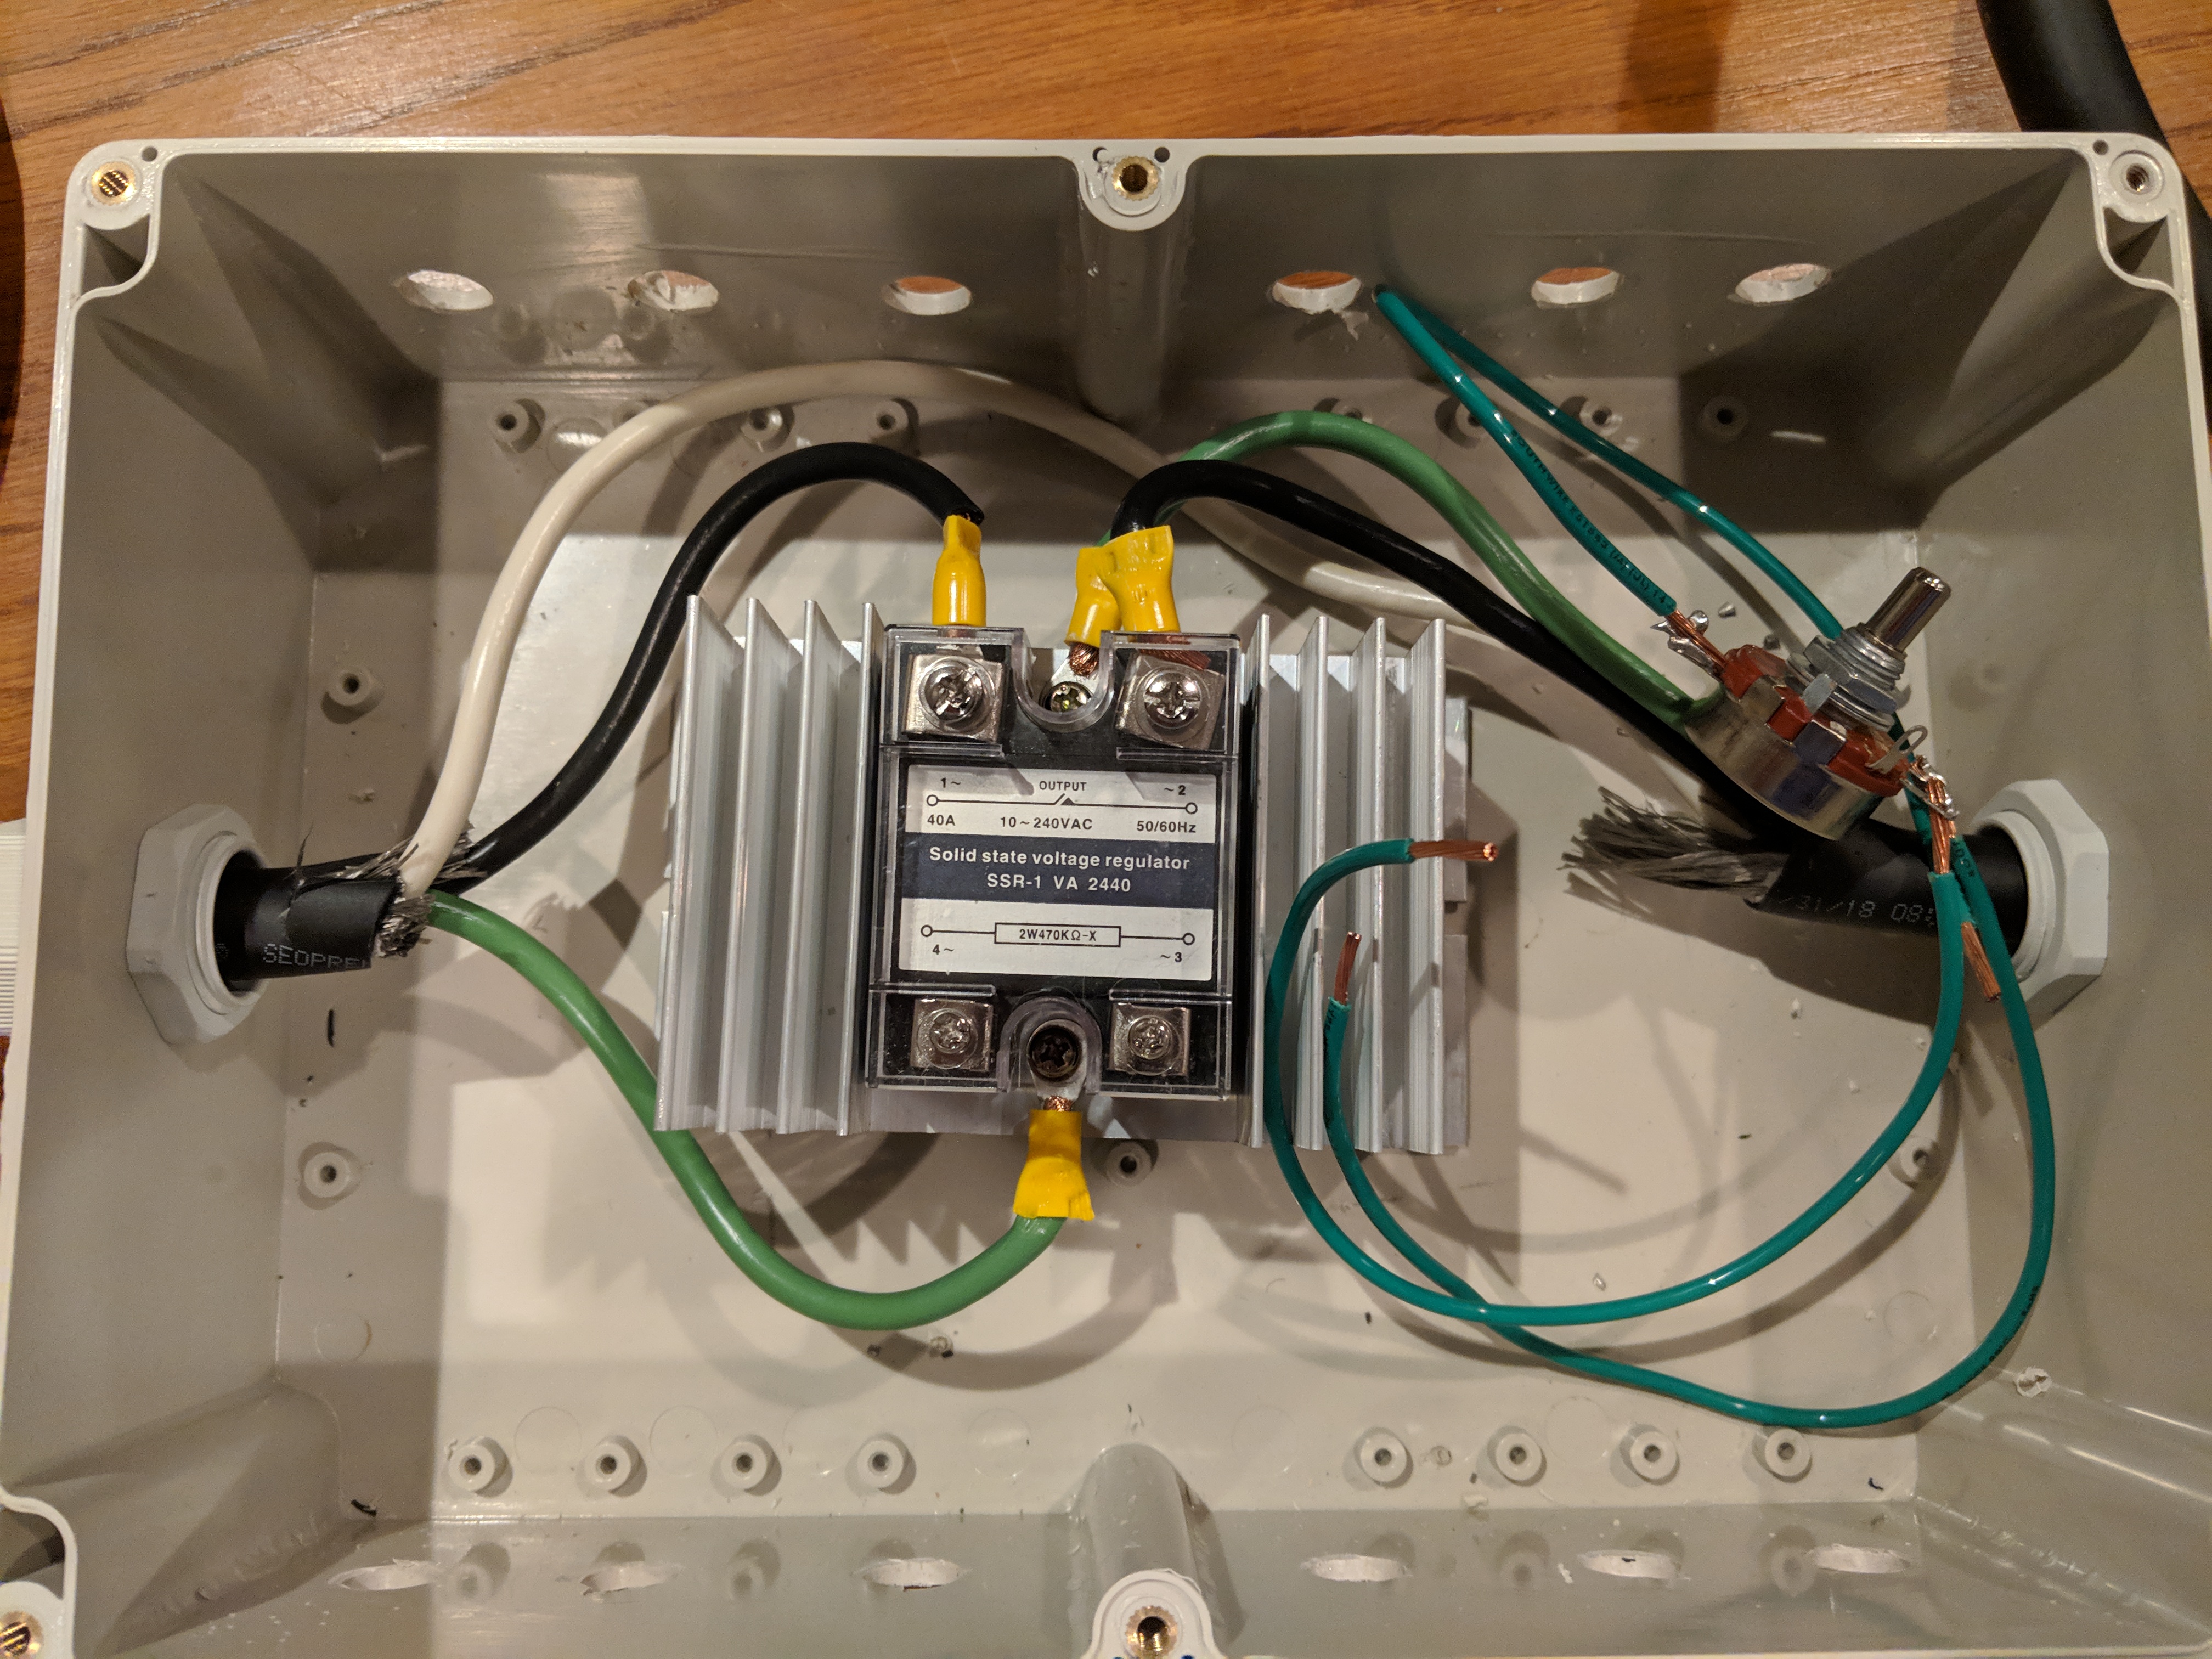
The nob on the right isn't connected yet (although I did my first soldering job, yay!, even if it looks like a 4 year old did it), and the heat sink isn't attached to the box yet, but most of the other wiring is done. I must say the instructions (https://www.stilldragon.org/uploads...ller.Kit.Build.Instructions.v1.0.20131020.pdf) aren't very helpful. I wasn't aware that I had to drill holes to secure the heat sink to the box until I wired most of this. I also didn't know I needed to drill holes for the rubber feet until everything was in the box. Probably more importantly, I assume the grease that came in the pack goes between the heat sink and the SSR, right? Nothing about that in the instructions.
There also appears to be more screws in the set than I know what to do with.
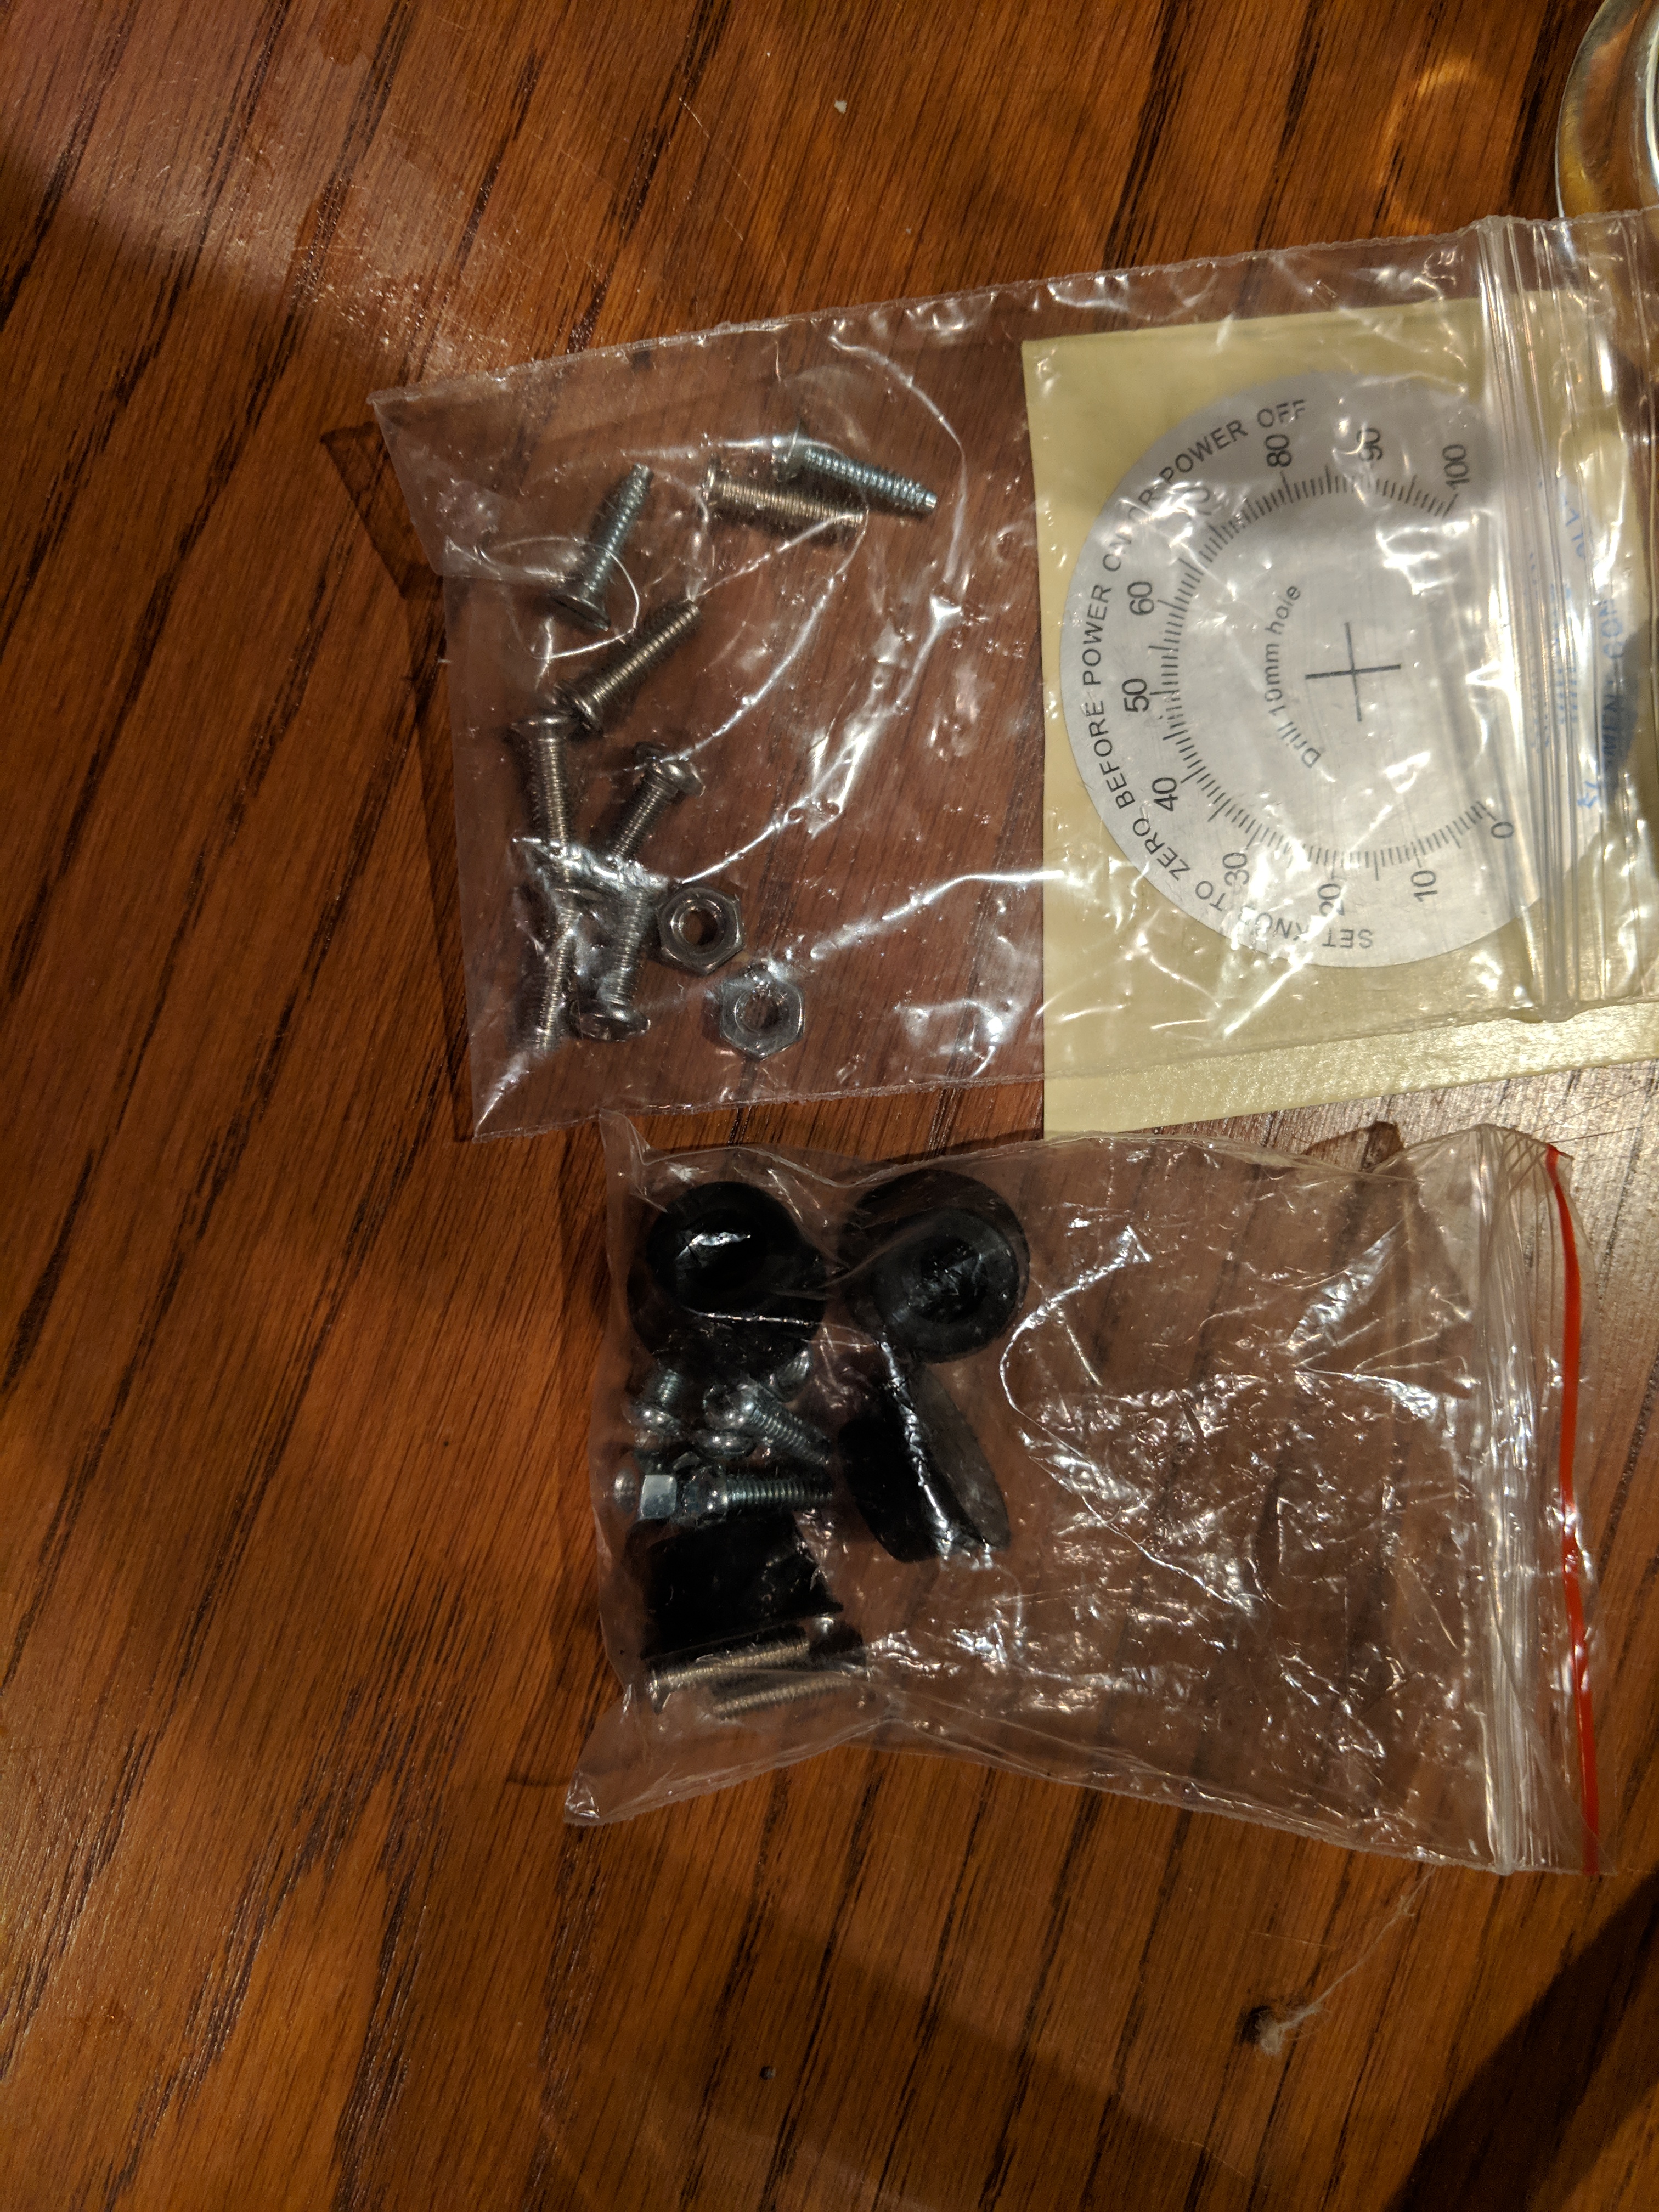
The bag on the bottom has 4 rubber feet, 4 screws and 4 nuts to secure the feet to the box, as best I can tell. There are also two additional screws in the box that were used to secure the lid of the box to the base. The top bag has two screws and two nuts that, as best I can tell, are to secure the heat sink to the bottom of the box, as well as 4 other screws that I assume are to also secure the lid of the box to the base (for 6 total screws to put the lid on). The top bag then has two additional screws that I can't tell what they go to. Any ideas? It is somewhat frustrating to have extra parts.
Thanks for the help.
I ordered a StillDragon Controller and got it probably 80% assembled.
The nob on the right isn't connected yet (although I did my first soldering job, yay!, even if it looks like a 4 year old did it), and the heat sink isn't attached to the box yet, but most of the other wiring is done. I must say the instructions (https://www.stilldragon.org/uploads...ller.Kit.Build.Instructions.v1.0.20131020.pdf) aren't very helpful. I wasn't aware that I had to drill holes to secure the heat sink to the box until I wired most of this. I also didn't know I needed to drill holes for the rubber feet until everything was in the box. Probably more importantly, I assume the grease that came in the pack goes between the heat sink and the SSR, right? Nothing about that in the instructions.
There also appears to be more screws in the set than I know what to do with.
The bag on the bottom has 4 rubber feet, 4 screws and 4 nuts to secure the feet to the box, as best I can tell. There are also two additional screws in the box that were used to secure the lid of the box to the base. The top bag has two screws and two nuts that, as best I can tell, are to secure the heat sink to the bottom of the box, as well as 4 other screws that I assume are to also secure the lid of the box to the base (for 6 total screws to put the lid on). The top bag then has two additional screws that I can't tell what they go to. Any ideas? It is somewhat frustrating to have extra parts.
Thanks for the help.

")


