bighoss
Well-Known Member
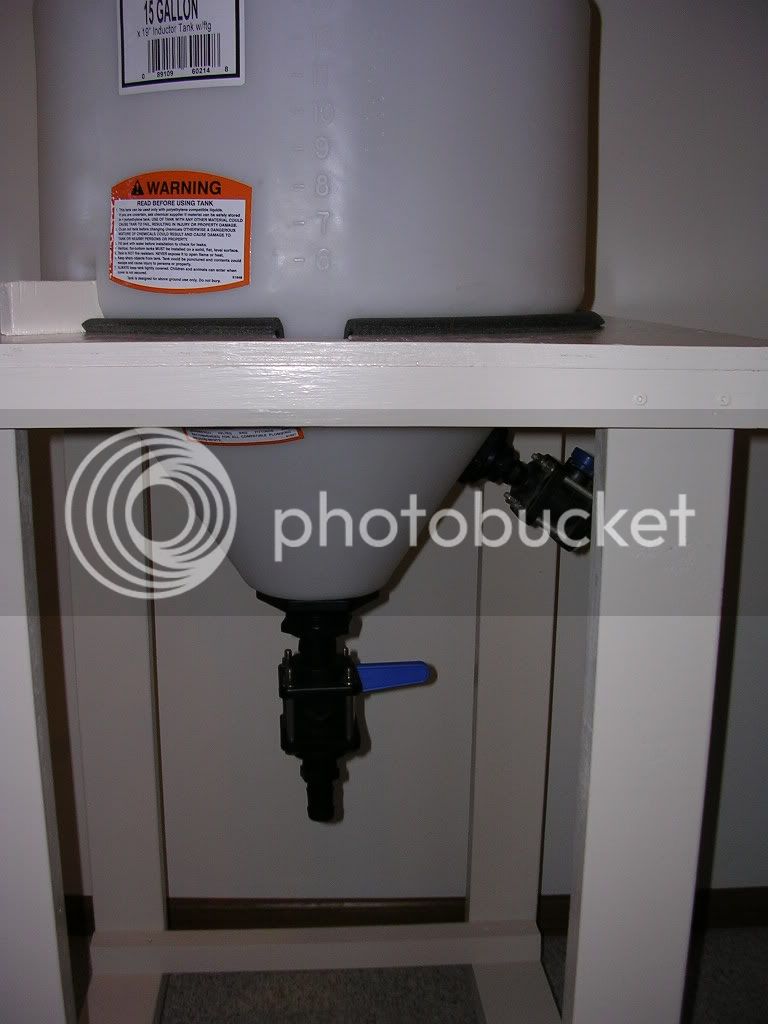
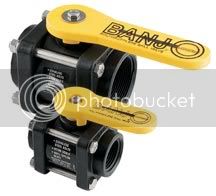
I believe they are going for the 1-1/2" FPT.


You get a 1-1/2" Stainless Steel Closed Nipple that allows you to connect the FPT Ball valve
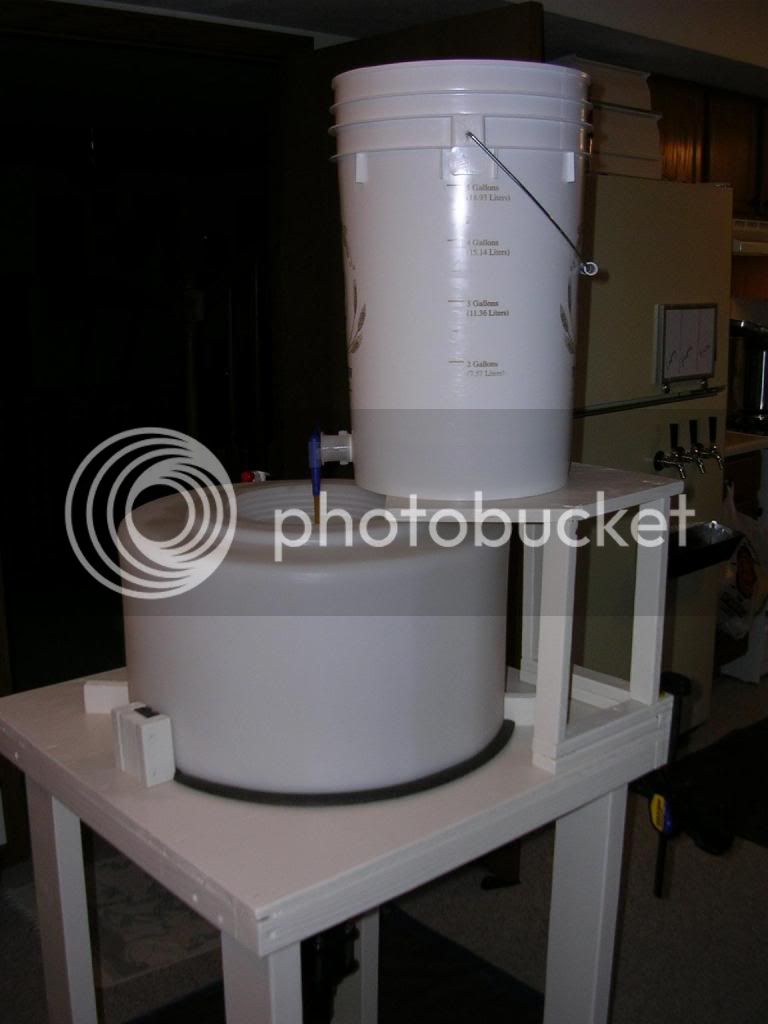
Mine is 2' x 2' on the top and is 36" high.


What diameter hole for the conical, if you don't mind me asking?
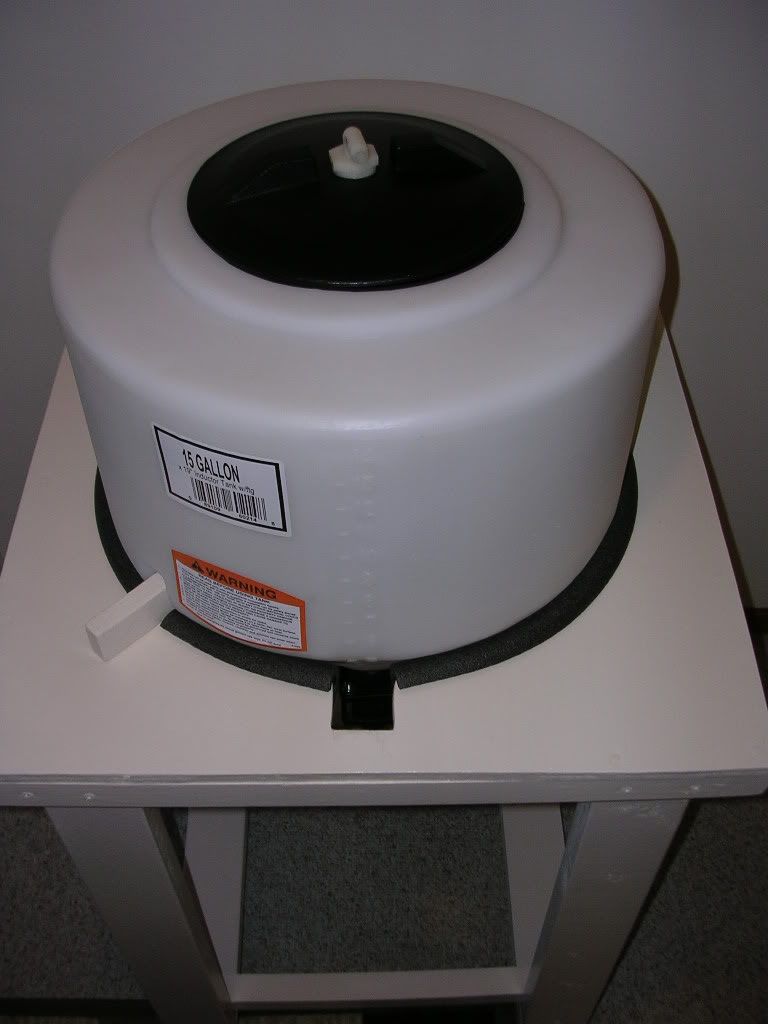
I did a 15" hole.
You get a 1-1/2" Stainless Steel Closed Nipple that allows you to connect the FPT Ball valve
Certainly could except on my build it would be to low to gravity feed into a corny.
Jarrod addeed it to the Website.http://www.ohiovalleyag.com/catalog/index.php?main_page=product_info&cPath=48_49&products_id=2112
$51.87 great price, almost 20% less than my best price. didn't check to see what shipping would be, but if/when I'm looking again I'll be checking ohiovalleyag.com
Are you sure? I mean, have you tried it?
Yeah it's definitely a great price. I'm not even brewing AG yet and I thought about buying one for future use.
Just ordered one of these from Ohio Valley thanks for the link.
I don't believe anyone bought these.. 114 posts and noones posted a dang pic yet?
I want to see how y'all are setting them up...
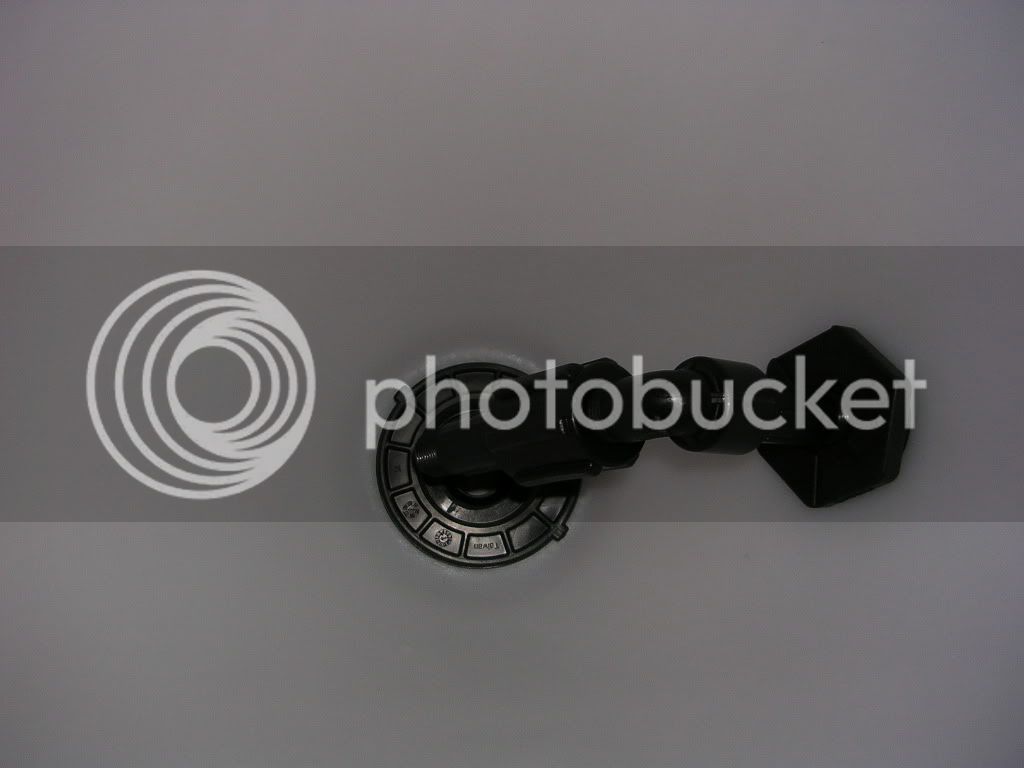
Also what are you doing for airlocks?
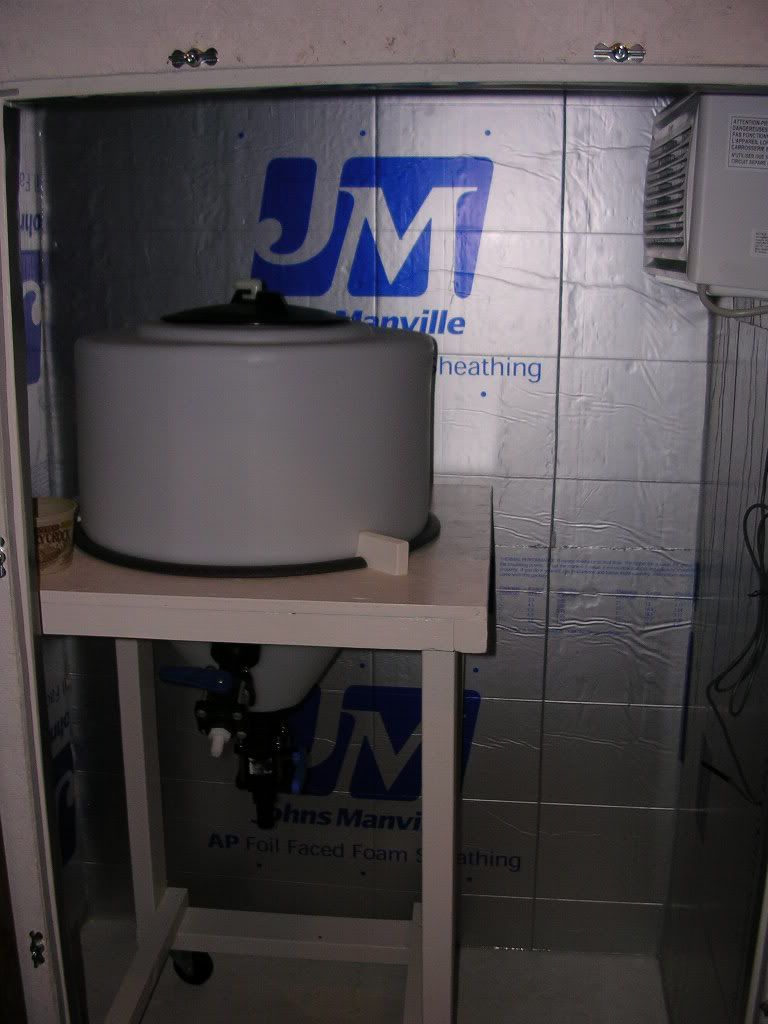
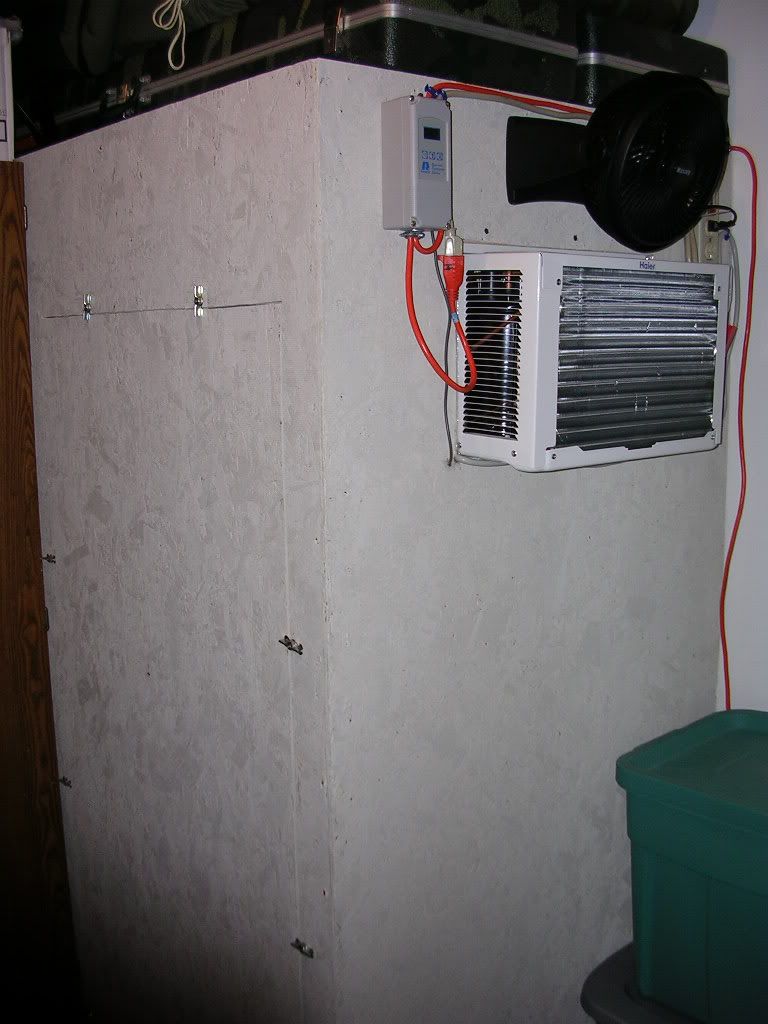
Ordering two of these from Ohio Valley and am going to do a build like the guys at Hess. I am then going to drop a stainless steel coil through the screw on lid in both and run a homeade glycol setup through them for temp control. I dont see any reason why this wont work out well. So long as it is kept very clean and sanitized right after use.
![Craft A Brew - Safale BE-256 Yeast - Fermentis - Belgian Ale Dry Yeast - For Belgian & Strong Ales - Ingredients for Home Brewing - Beer Making Supplies - [3 Pack]](https://m.media-amazon.com/images/I/51bcKEwQmWL._SL500_.jpg)


