tdbc2011
Well-Known Member
Thanks to SouthernYankee for giving me the confidence and information to start this project. I used his plans but changed them to fit my 10 gallon pots. If it were not for hbt, there is no way I could have built my kezzer or this brew stand (not complete yet!).
I purchased a 90 amp flux core wire welder from harbor freight for $79 and with all of the equipment and the 2 year extended replacement warranty it ran a total of about $150. I know a lot of people hate this small, cheap welder but I have always wanted to learn to weld and I thought this was a small investment to learn.
The 50 ft of 14 gauge 1.5 square tubing on ebay for $110 with shipping. It was cut into 5 ft sections.
I practiced for a couple of hours on some scrap. The welds were strong but not pretty.
All of my cuts were with a Skill miter saw with a metal blade. I read that this may damage it but a metal saw was twice as much and I only made 15-20 cuts.
The welds are in no way perfect but they seem to be strong.
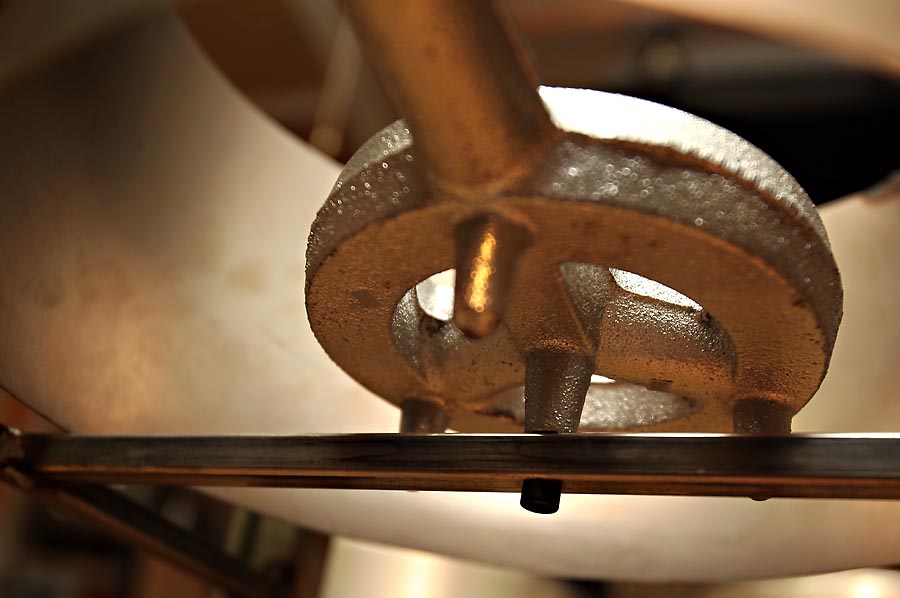
The burners were purchased from amazon for about $50. They are the replacement for the sq14 bayou classic. The btu output is not as high as a banjo but I am using them now on a camp chef and they work fine. I only brew 5 gallon batches and these burners have worked well.
I will put a cross member from the center supports for the burners. It will be bolted on so that the height can be adjusted or if I ever use a different burner.
A hole will be drilled in the bottom legs for a casters welding a nut over the hole so that the caster can be adjustable from the bottom. This will compensate for any part that is out-of-square. (And it is! )
)
The cooking surface is pretty square and the pots fit perfectly.


I purchased a 90 amp flux core wire welder from harbor freight for $79 and with all of the equipment and the 2 year extended replacement warranty it ran a total of about $150. I know a lot of people hate this small, cheap welder but I have always wanted to learn to weld and I thought this was a small investment to learn.
The 50 ft of 14 gauge 1.5 square tubing on ebay for $110 with shipping. It was cut into 5 ft sections.
I practiced for a couple of hours on some scrap. The welds were strong but not pretty.
All of my cuts were with a Skill miter saw with a metal blade. I read that this may damage it but a metal saw was twice as much and I only made 15-20 cuts.
The welds are in no way perfect but they seem to be strong.
The burners were purchased from amazon for about $50. They are the replacement for the sq14 bayou classic. The btu output is not as high as a banjo but I am using them now on a camp chef and they work fine. I only brew 5 gallon batches and these burners have worked well.
I will put a cross member from the center supports for the burners. It will be bolted on so that the height can be adjusted or if I ever use a different burner.
A hole will be drilled in the bottom legs for a casters welding a nut over the hole so that the caster can be adjustable from the bottom. This will compensate for any part that is out-of-square. (And it is!
 )
)The cooking surface is pretty square and the pots fit perfectly.


