BareKnuckleBrew
Active Member
- Joined
- Apr 29, 2012
- Messages
- 29
- Reaction score
- 10
First and foremost I want to thank everyone that ask and answer questions posted on HBT forums! I have been an un-registered user for about 7 months, seeking and peeking at topics that I have had questions about. I try to refrain from asking questions without researching the answer first. You guys all rock and have helped me numerous times!
So how did my kitchen get to the point that a good friend (non-HBer) asked “why does your kitchen look like something from a cheap science fiction movie?”
I can point 100% of the blame to my wife! The good idea fairy showed up around Christmas (2011), as a MR BEER kit. Great fun, very easy training wheels into homebrewing so to say. I read the directions, cleaned and sanitized, boiled and brewed… and waited like the kid from the movie “The Christmas Story” waited for the secret decoder ring. It was a daily event to come home from work and see what was happening. Somehow I managed to wait the full week and then primed and bottled…and waited some more! I gave it a whole 2 weeks in the bottle before popping one. And to my surprise it DIDN’T kill me; it was pretty good to be honest.
I knew as soon as I started to brew that first all LME kit; that doing a batch like this just wasn’t going to satisfy my itch to brew. Somehow, somewhere, someone put the LME into a can. I had to know how to do it without the can. (not that extract brewing isn’t fun… I just wanted to do more). I stepped up the brewing the following week by picking up a couple of DMEs with specialty grains and a 5 gal starter kit; from the helpful guys at Jay’s Brewing Supplies. Again, great results (New Zealand IPA and Northwest IPA). And, again I found myself wanting to do more of the brewing.
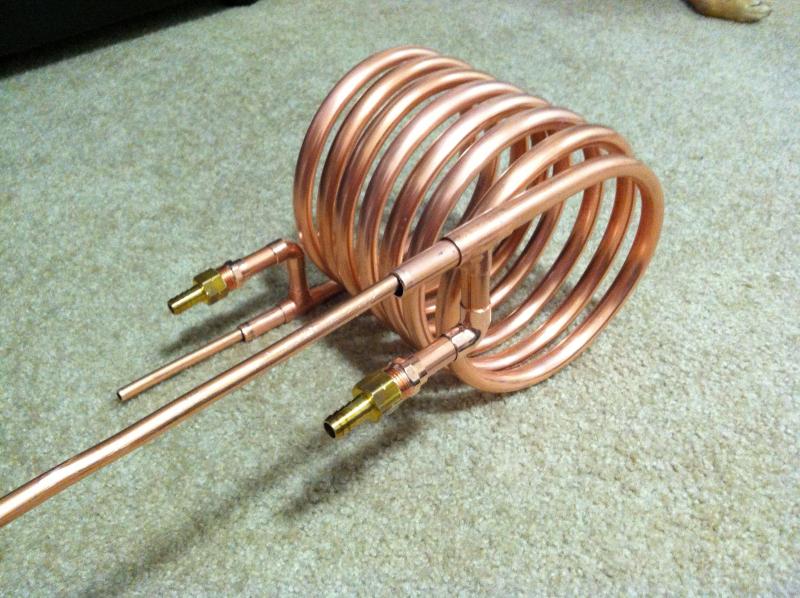
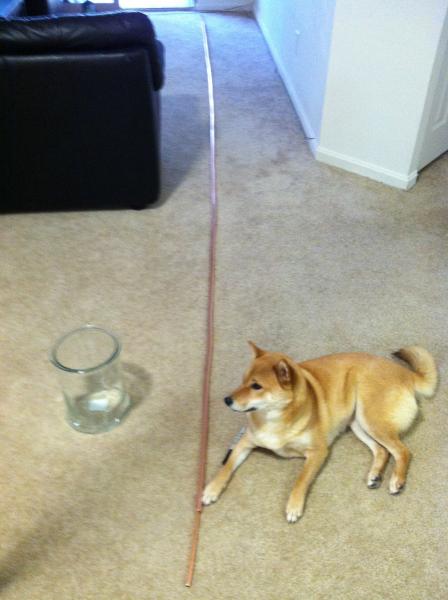
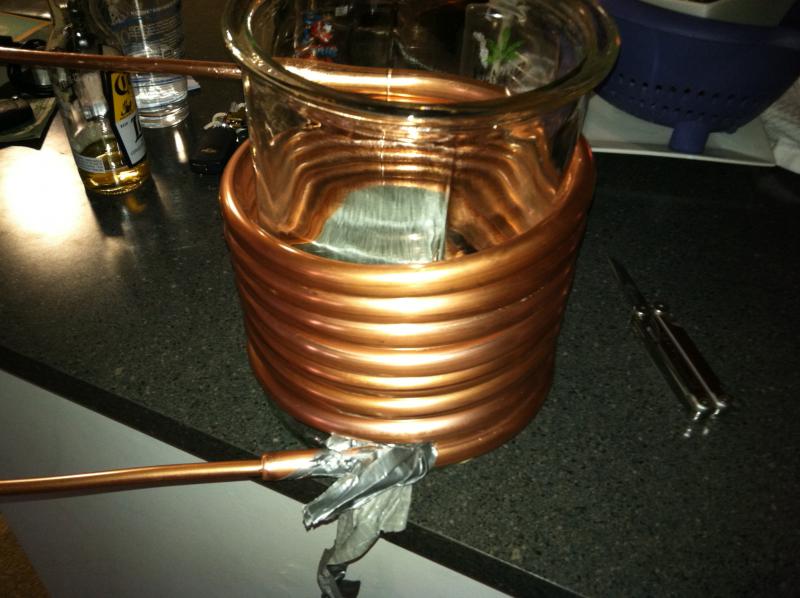
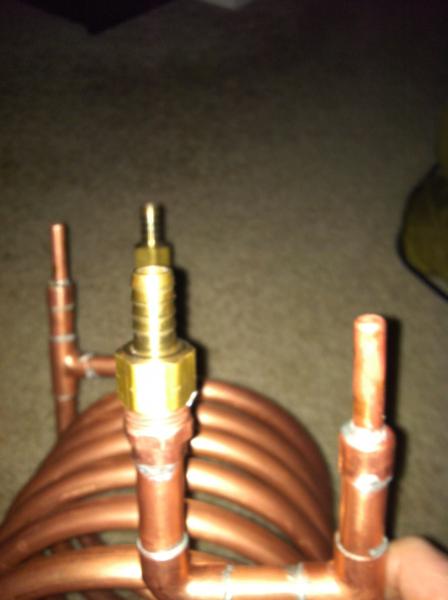
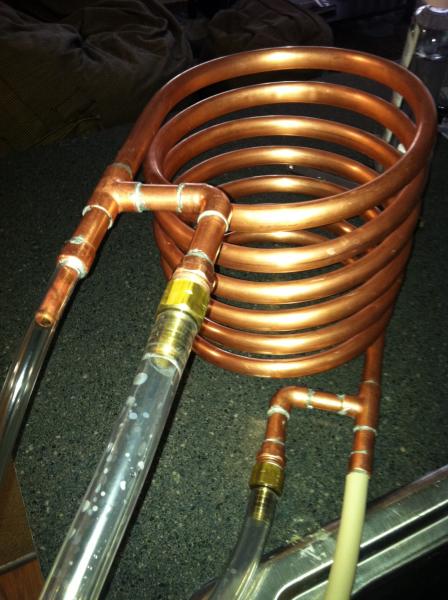
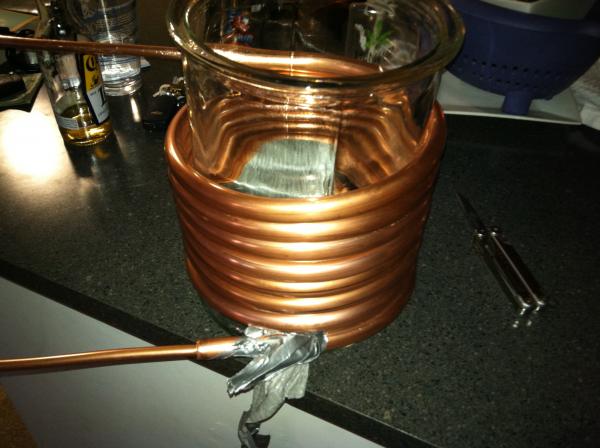
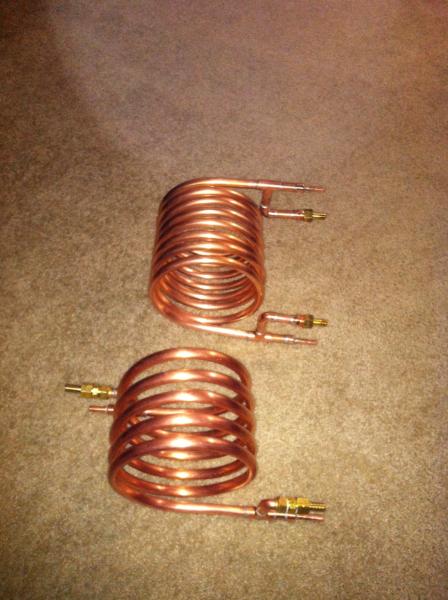
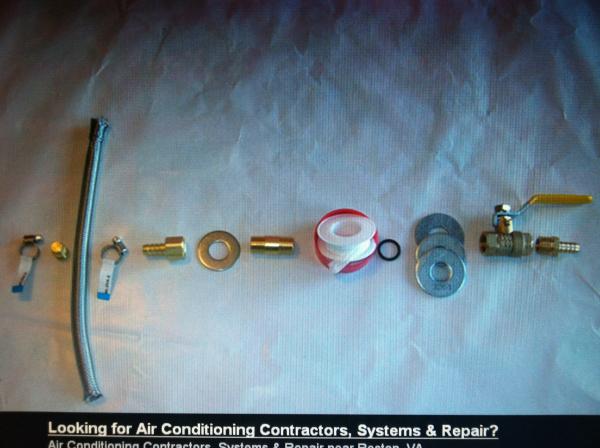
By the second batch I understood the need of a wort cooler. After a little bit of research I find a cool all copper CFC on the web. And since I am not a Trump and again I want to do this from start to finish I come up with a plan and made my first trip to Home Depot. It didn’t take me long to find the copper tubing and all the fittings I was going to need. NEW FLASH: it is a pain in the arse to push 13 ft of copper tubing into a slightly larger diameter 12ft of copper tubing! Now I need to coil this tubing … the first item I find that is about the diameter I want my coils is a heavy glass jar. PLEASE baby Jesus do not let this glass jar bust while I am sculpting this piece of art called my CFC! Somehow I manage to coil the CFC, sweat/solder the fitting and test drove the cooler. MONEY! It works; no leaks… next step, run hot and cold liquid thru to test temp resolute. Again, spot on! It dropped hot liquid from 180 to 75 (gravity fed).
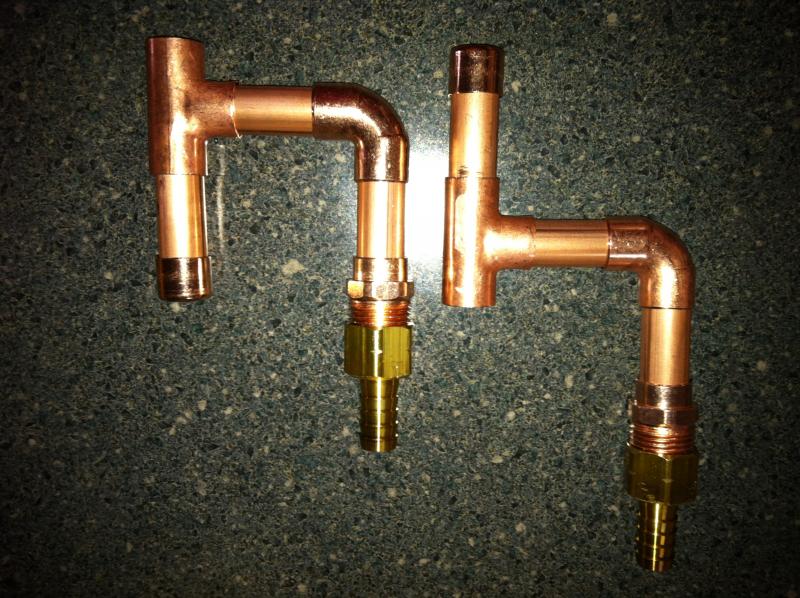
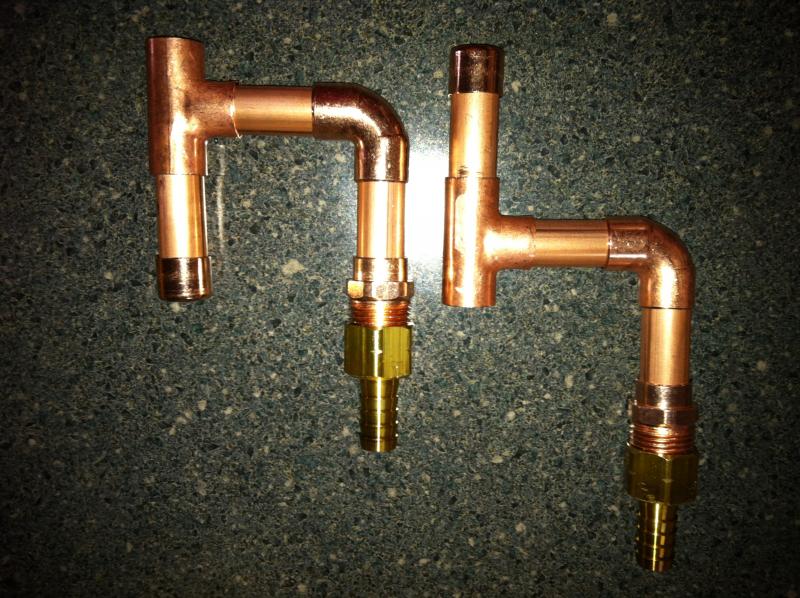
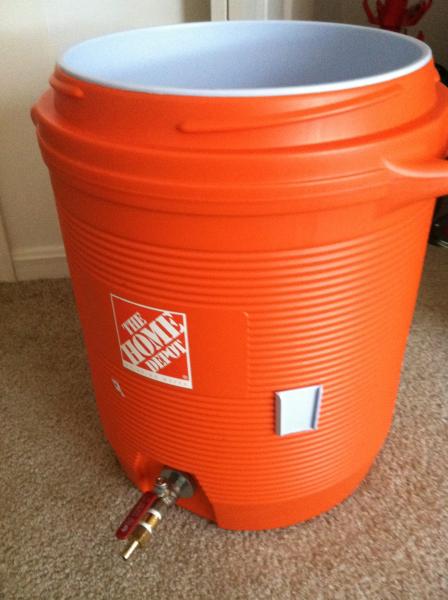
At this point more reading and research takes place. I need a mash tun. I know all those high speed all copper or SS look great at the breweries and brewpubs. I do not have the money or space for those cool guy items. So it is back to Lowe’s/Home Depot. A 10 gal Igloo water cooler and a little bit of hardware makes a super effective and cost efficient mash tun. One weekend at a time I build and collect my brewery!
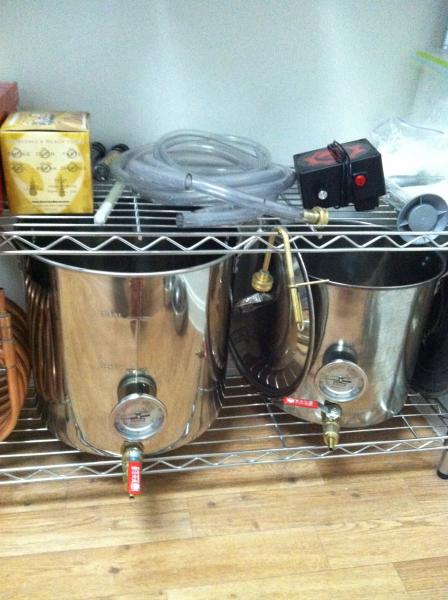
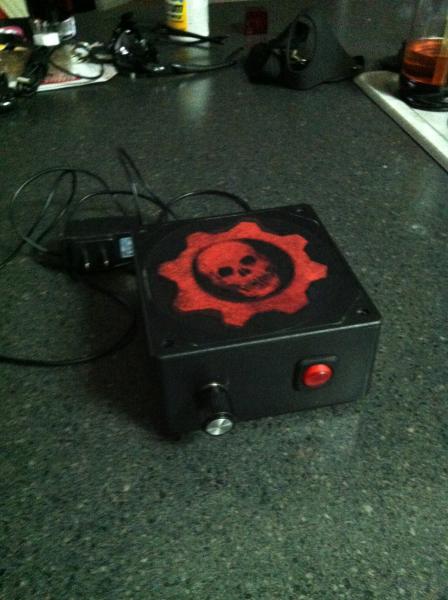
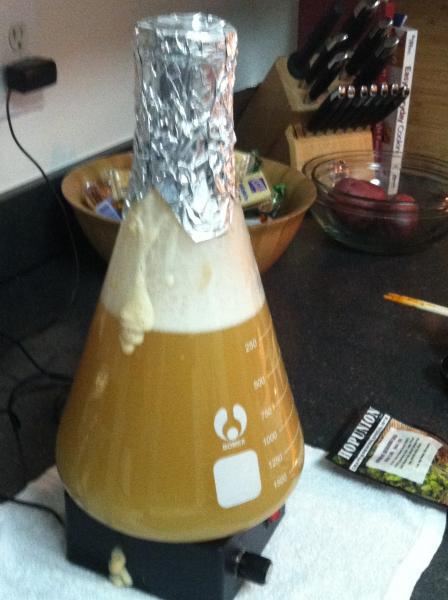
After a quick calculation of boil size and batch size, I realized my starter pot (as cool as it is) is not going to be able to handle the all grain circus I was planning on releasing. So back to the internet I go. I find an 8 gal kettle. While I’m looking for kettles I see cool ones with bells and whistles (thermometers and ball valves). I gotta have some of that action. Once again I pull out the handy dandy common sense meter and it tells me to MAKE IT YOURSELF. This knocks off an easy hundred bucks from the cost. (more money for beer ingredients!) Same with the DIY stir plate made out of junky old computer parts. (ex-girlfriend’s and/or ex-wives computer parts work best if you can get your hands on them- just saying).
Now, armed with the book Joy of HomeBrewing, the internet and the pure desire to pull off an all grain batch; I was ready to do this. With exactly 3 extract batches under my belt. It was time to dive in head first. I have to be honest my first all grain batch was a blur. I was so excited about the brewing that I kept no notes, no testing just blasted right thru everything. It wasn’t until I was sealing the primary that I realized I didn’t even take an OG reading let alone do an iodine test of the starch. Somehow it all worked out and the beer tasted great. It was a clone of Fat Tire… of course it really didn’t taste JUST like a Fat Tire but it was a Belgian ale.
I have since change the recipe a bit to make it mine and have brewed the Belgian Ale about 10 times. Each time I work on refining the process and duplicating the taste.
My armature HB stats: 16 batches- 14 TKOs, 1 Draw (so-so beer- (raspberry wheat)), 1 defeat (Over carbonated)
So as a new HBer I thank all of you for insight and advice! I have had a blast brewing and learning how to brew better!
RDWHAHB and keep on brewing!
BKB


