bigdubz
Active Member
First a little about the space. The basement is about 700 square feet, and was originally all one room. The idea is to have a multipurpose room that will house my three hobbies, brewing, woodworking and home theater. Here is a Sketchup of the what I hope the final product will be.

So far in the transformation to semi-finished (no drywall on the foundation walls or ceiling installation) I have added a partition wall and door to separate the laundry and mechanical areas, painted the floor joists above flat back, installed can lights and installed a basic projector screen/home theater setup.
On to the brewing setup!
I've been a BIAB propane-turkey-fryer brewer for 3 years now, which worked fine and I brewed some good beers and had a lot of fun.

What got old about it was the noise of the propane burners and being at the mercy of the weather. I made the decision to go indoors and e-brew a while ago but this fall I finally tossed the rusted out propane burner and committed.
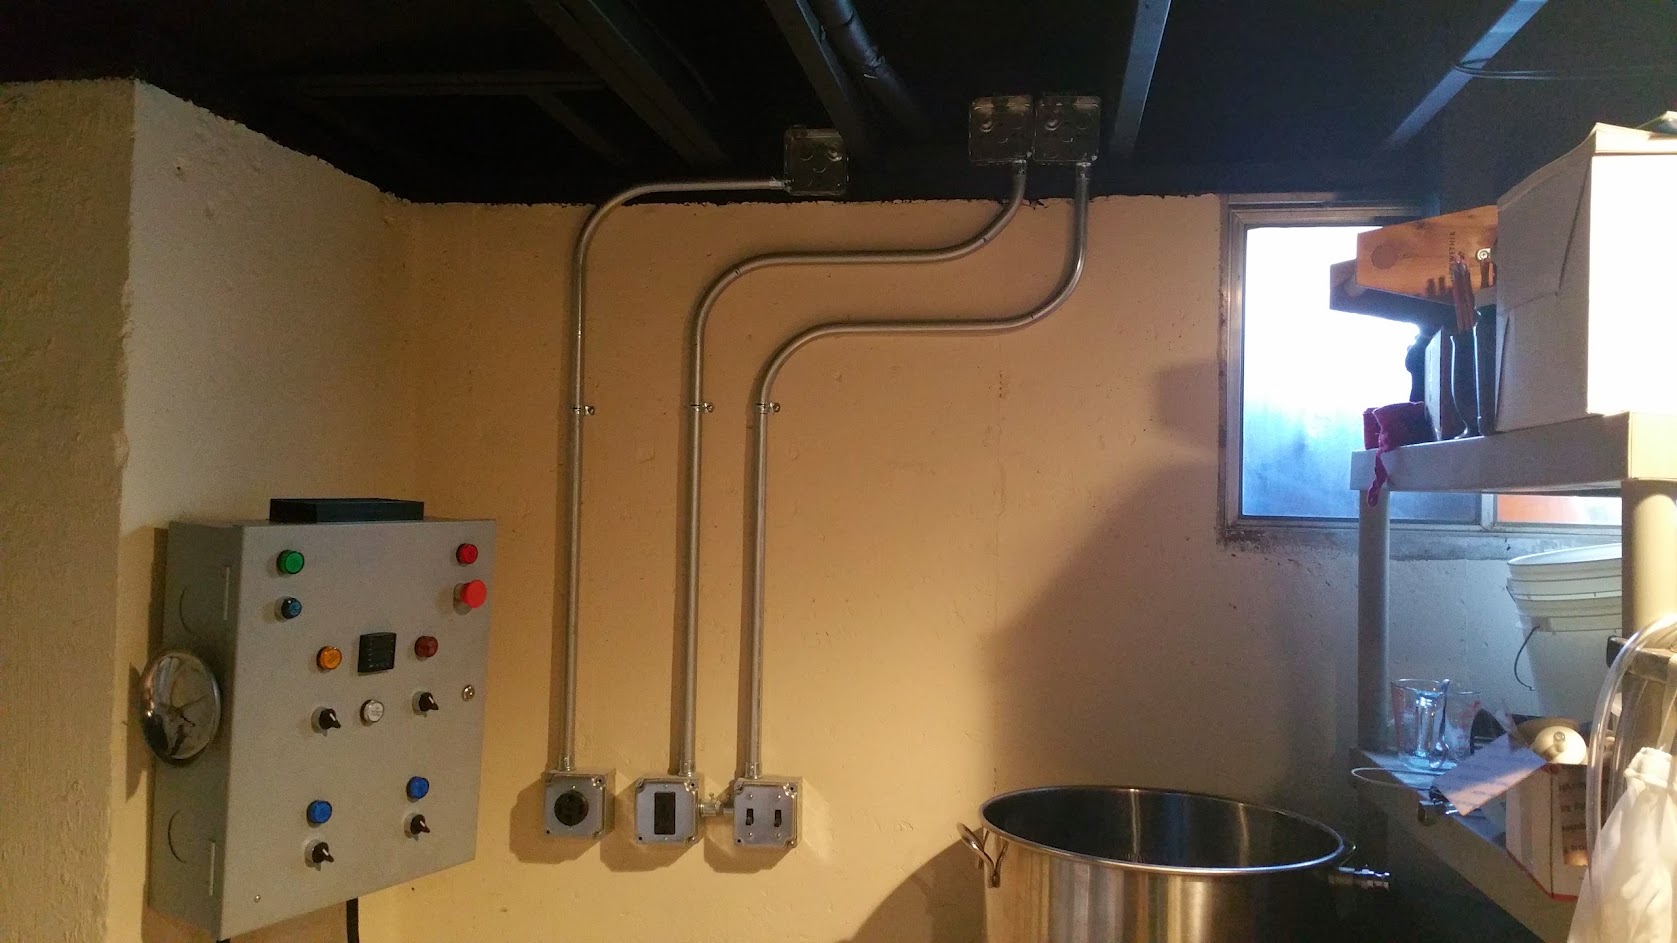
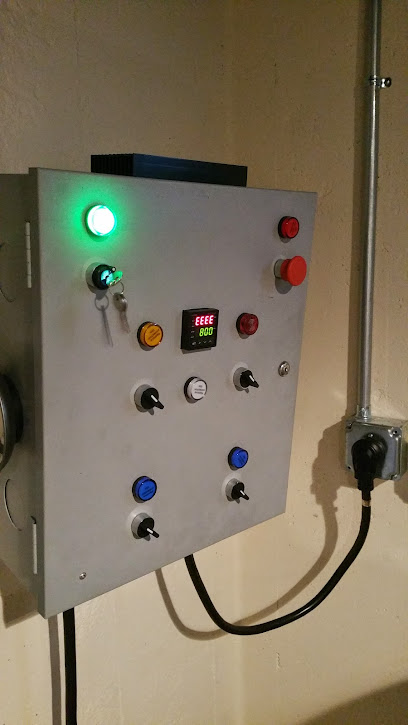
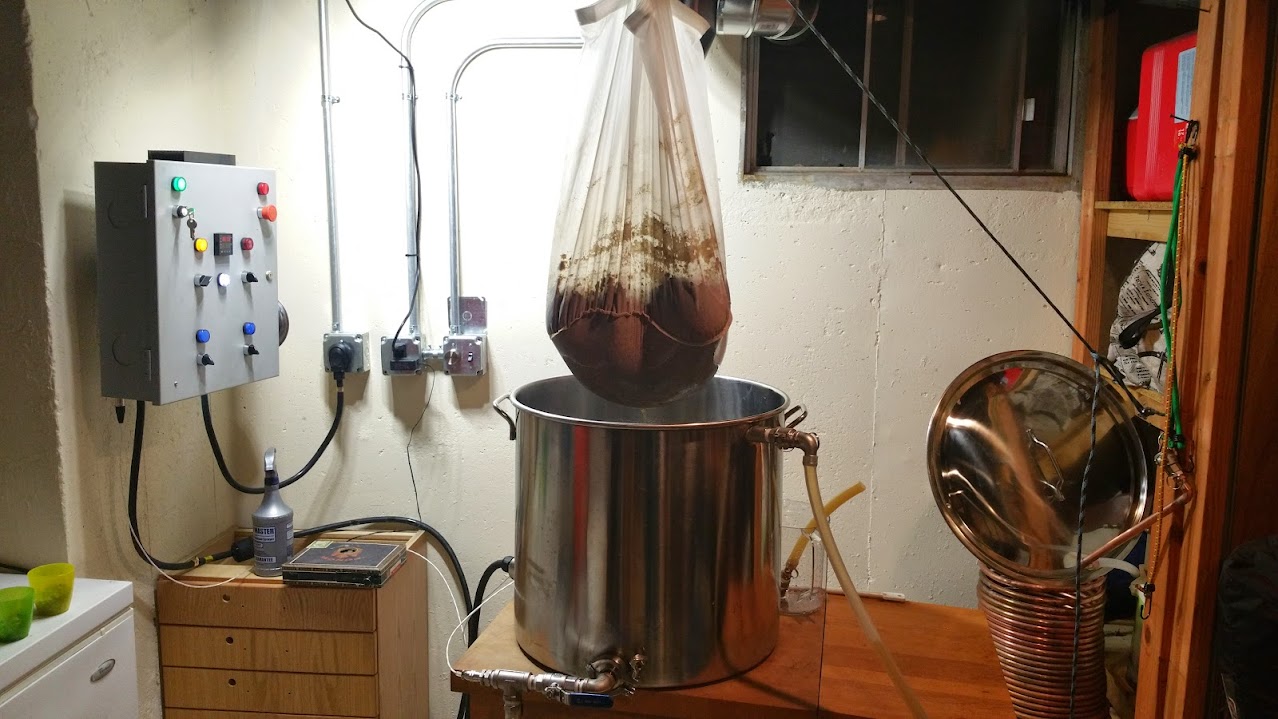
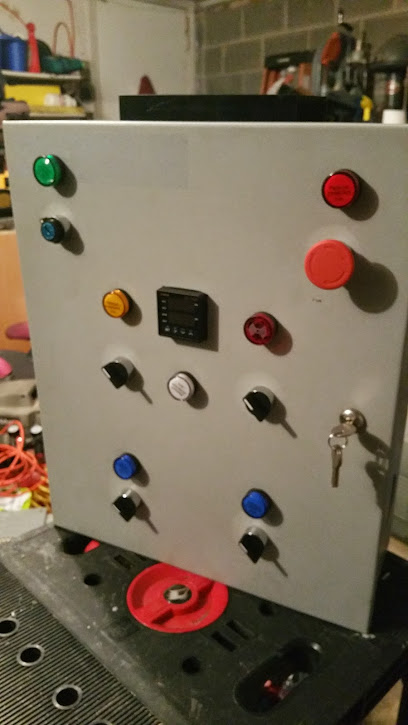
I was gifted a control panel box from friend who works in HVAC and since it's on the bigger side (16 x 20 x 6) and I might go 3-vessel one day, I decided on the DIY kit from electricbrewsupply.com. Following the schematic and borrowing tons of information from this forum, I got the panel built. Before anyone says it, yes, I did mistakenly use the red spade connectors on the 14 gauge wire to the switches and lights. And yes, I did re-terminate all of them the other night with the correct size connectors.
In progress picture:

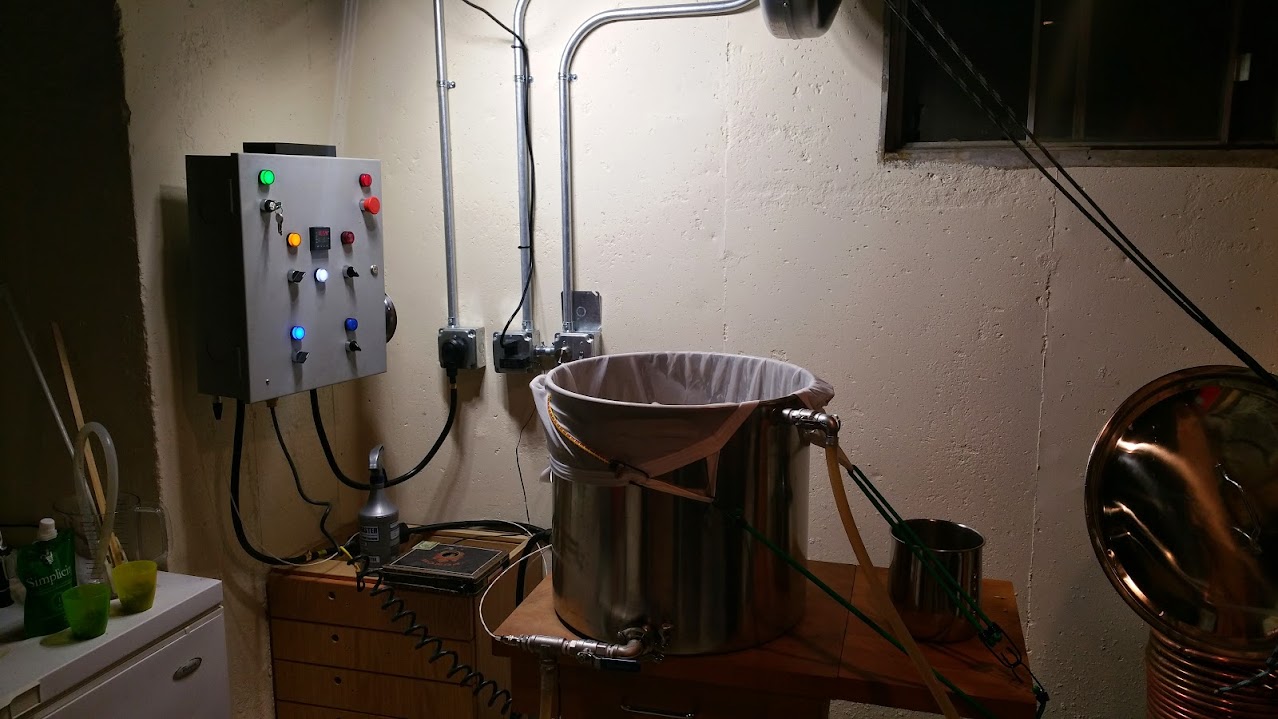
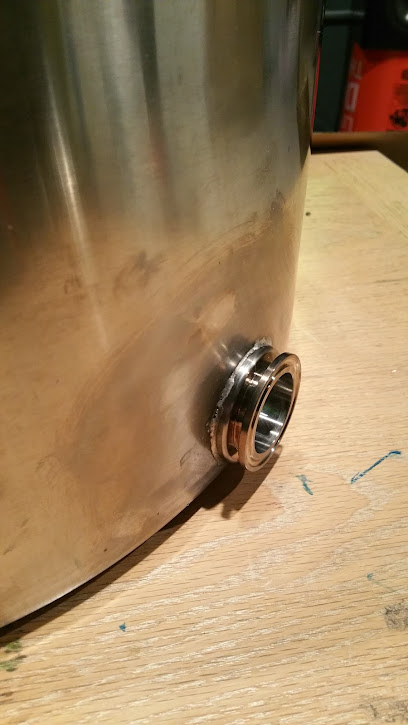
Last night I installed the solder on tri-clamp element fitting from brewhardware.com. It went together just as Bobby describes in his video. I had trouble getting the pot to conform to the fitting at first and was able to reheat it a second time after re-positioning the clamp for a better fit. The end result is pretty sweet and will allow for easy clean up.
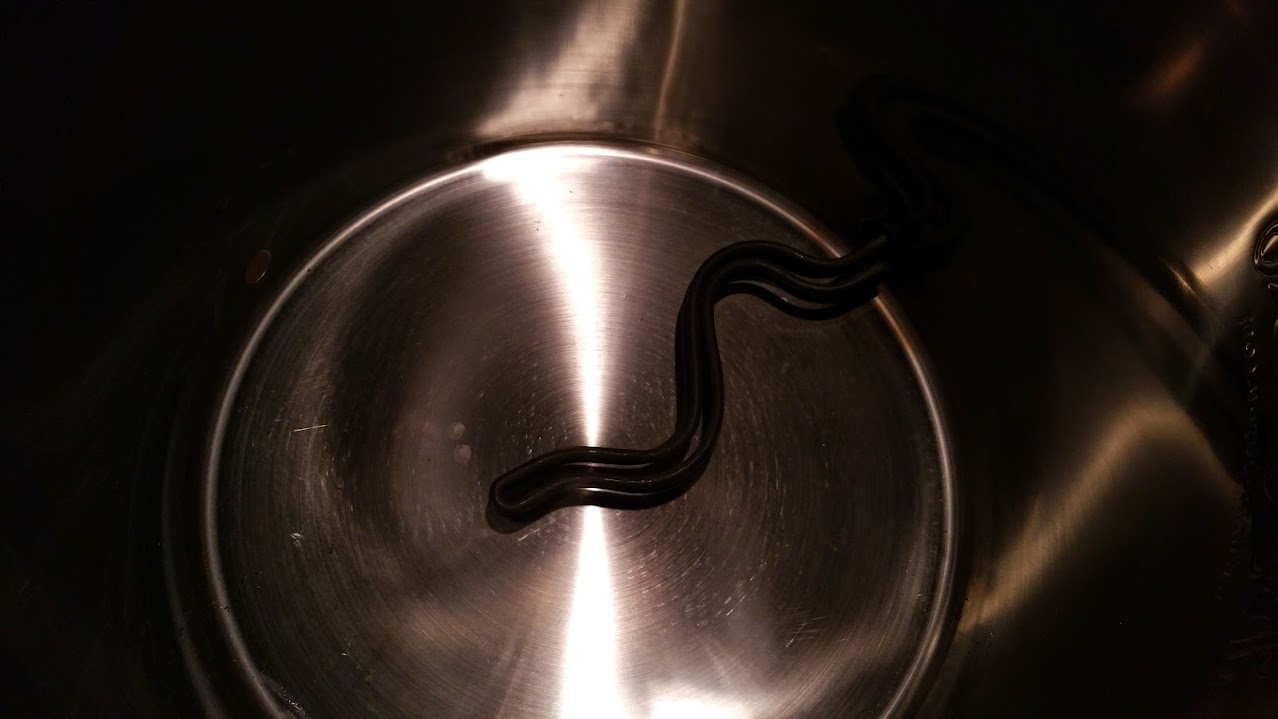
I really liked that I was able to get the ripple element (5500w) really low in the pot so that it sits maybe 1/2 inch up from the bottom. With a 20 inch diameter pot, this is crucial for allowing me to do both 5 and 10 gallon batches.
I also two punched 7/8 holes in the pot for the drain valve and re-circulation port.
That's where it stands this far. Next up is finishing the kettle plumbing and running the 30amp 220v and 20a 120v circuits tonight.
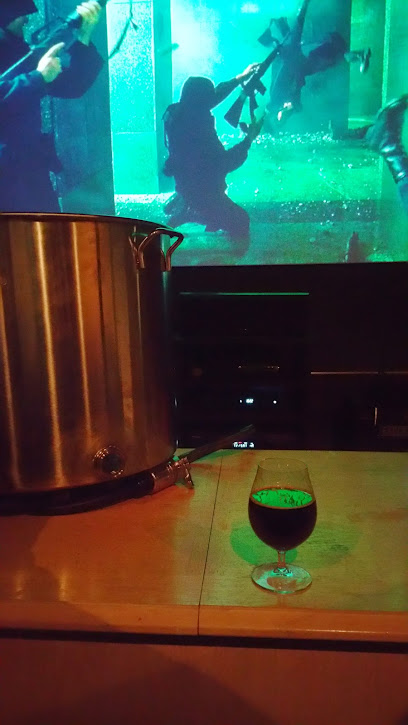
After all that, I kicked back to enjoy the view with a Founders Expedition Stout. Odd thing, building a machine with fuzzy-logic and high voltage while watching a movie about machines that subjugate humanity and use us for batteries.
Cheers
So far in the transformation to semi-finished (no drywall on the foundation walls or ceiling installation) I have added a partition wall and door to separate the laundry and mechanical areas, painted the floor joists above flat back, installed can lights and installed a basic projector screen/home theater setup.
On to the brewing setup!
I've been a BIAB propane-turkey-fryer brewer for 3 years now, which worked fine and I brewed some good beers and had a lot of fun.
What got old about it was the noise of the propane burners and being at the mercy of the weather. I made the decision to go indoors and e-brew a while ago but this fall I finally tossed the rusted out propane burner and committed.
I was gifted a control panel box from friend who works in HVAC and since it's on the bigger side (16 x 20 x 6) and I might go 3-vessel one day, I decided on the DIY kit from electricbrewsupply.com. Following the schematic and borrowing tons of information from this forum, I got the panel built. Before anyone says it, yes, I did mistakenly use the red spade connectors on the 14 gauge wire to the switches and lights. And yes, I did re-terminate all of them the other night with the correct size connectors.
In progress picture:
Last night I installed the solder on tri-clamp element fitting from brewhardware.com. It went together just as Bobby describes in his video. I had trouble getting the pot to conform to the fitting at first and was able to reheat it a second time after re-positioning the clamp for a better fit. The end result is pretty sweet and will allow for easy clean up.
I really liked that I was able to get the ripple element (5500w) really low in the pot so that it sits maybe 1/2 inch up from the bottom. With a 20 inch diameter pot, this is crucial for allowing me to do both 5 and 10 gallon batches.
I also two punched 7/8 holes in the pot for the drain valve and re-circulation port.
That's where it stands this far. Next up is finishing the kettle plumbing and running the 30amp 220v and 20a 120v circuits tonight.
After all that, I kicked back to enjoy the view with a Founders Expedition Stout. Odd thing, building a machine with fuzzy-logic and high voltage while watching a movie about machines that subjugate humanity and use us for batteries.
Cheers