H2oWerker
Member
Sure lots of folks build kegerators, but I though I'd share my build experience anyway...
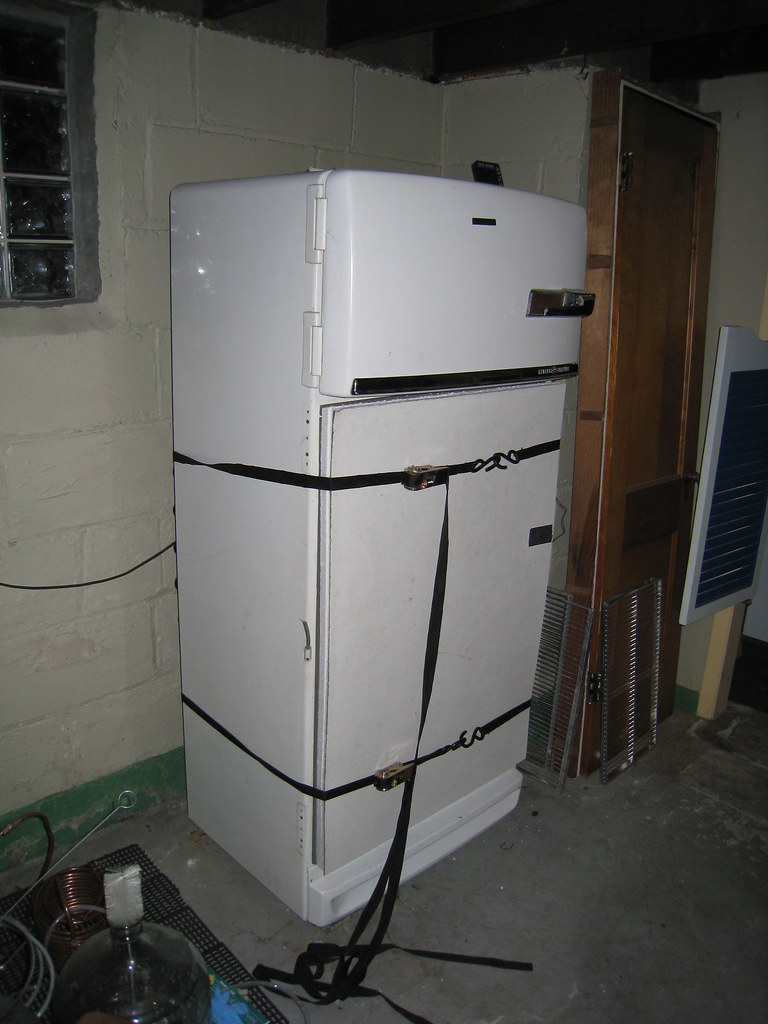
I've had the fridge for 9yrs, it was in the 1st house my wife and I bought when we moved in. It's OLD! Late 50's/early 60's GE and certainly not efficient by today's standards. I'd always wanted to make it into a kegerator so I wouldn't leave it behind when we sold that house. Now it's been sitting in the basement of our new house for the last 5 years and I've decided it was time to do this project.
I took the basic measurements and ordered a conversion kit online. While measuring the door I decided to pull the butter door/pocket out. That thing had a heating element wrapped around it! (no wonder they aren't very efficient) And the heating element had continuous 120v power running to it.
What does a slightly skilled and overly ambitious guy do w/ something like that?!
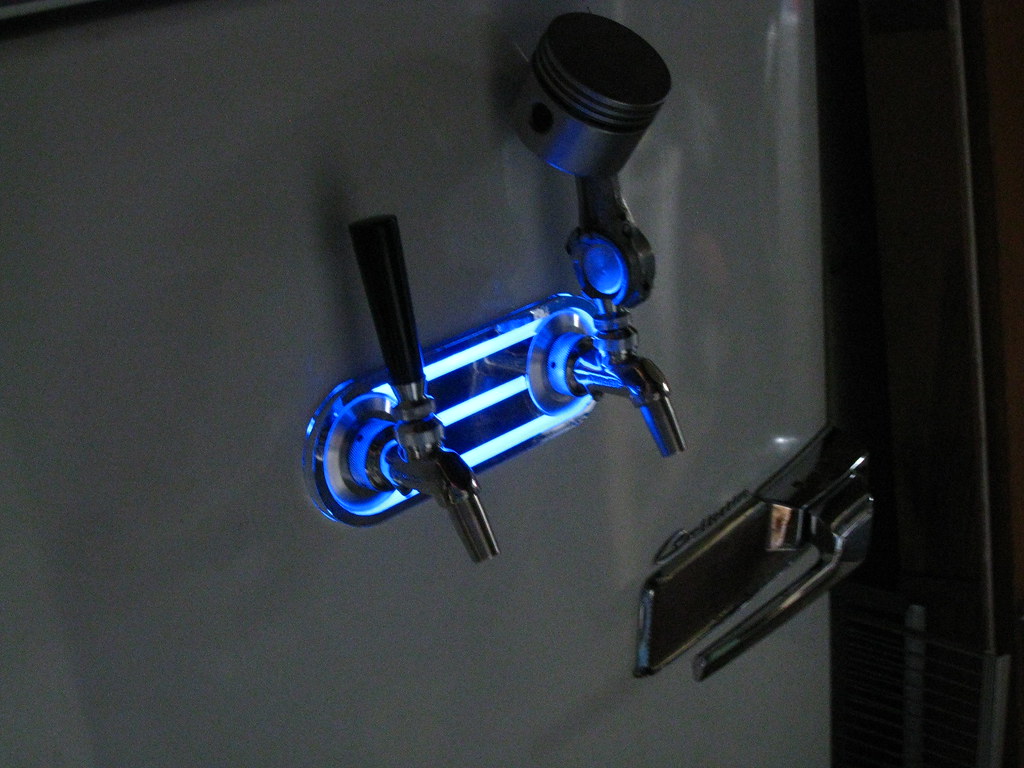
"Make back-lit faucet flanges!"
That was my initial thought. Then I considered how much nicer it would look w/ a wider dual outlet flange. Since I happened to have picked a piece of bullet-proof lexan from a construction dumpster and work in a machine shop it was going to become reality. Figuring out the spacing of the faucets was easy, the hard part was determining how I wanted to style the light, and how to set-up/cut the lens.
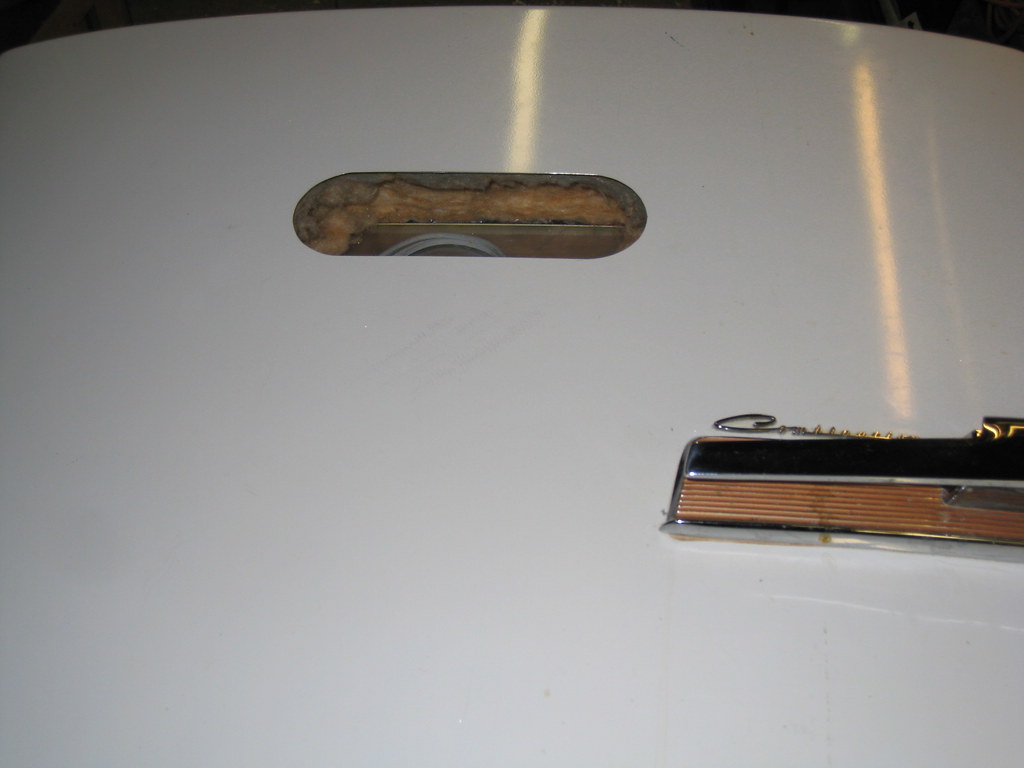
After completing the lens shaping a fitted hole needed to be cut into the refrigerator door. Using 3/8" bolts dropped into 18mm sockets as locating pins I traced the lens shape onto the door (covered it w/ painters tape first) and carefully cut w/ a 32tpi jig saw about 1/16" inside the line. Then file, file, file, file, file, file, file, file, file, file, file, test fit, file, file, file, etc. till the lens just slipped into place.
Here's the hole.
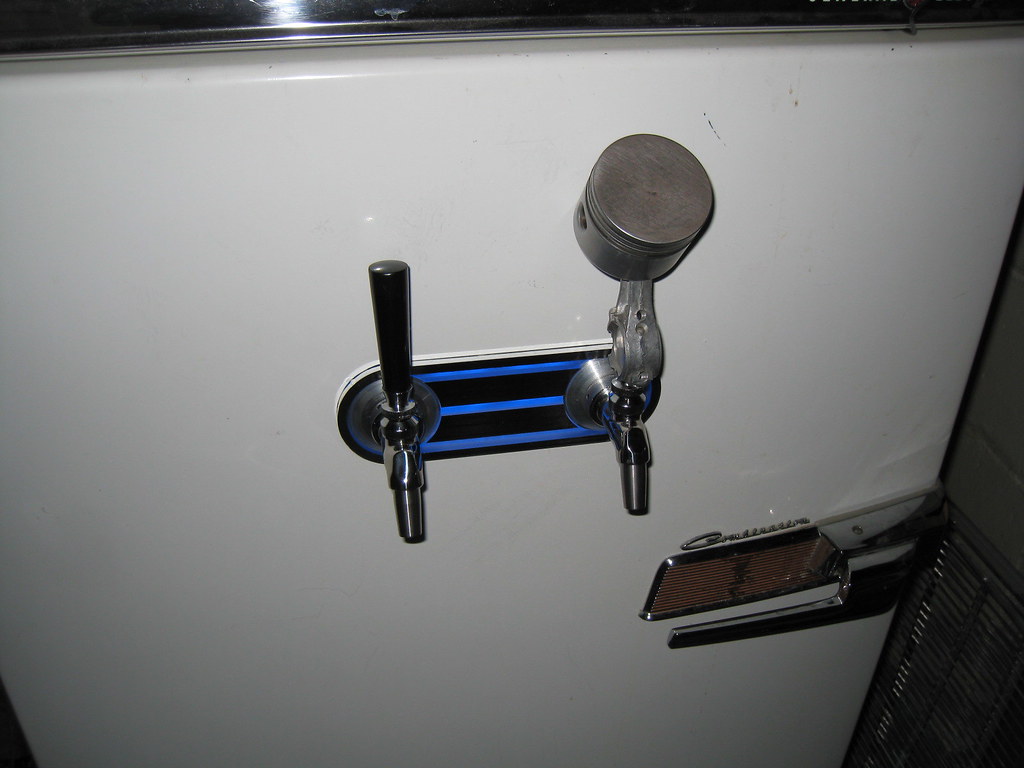
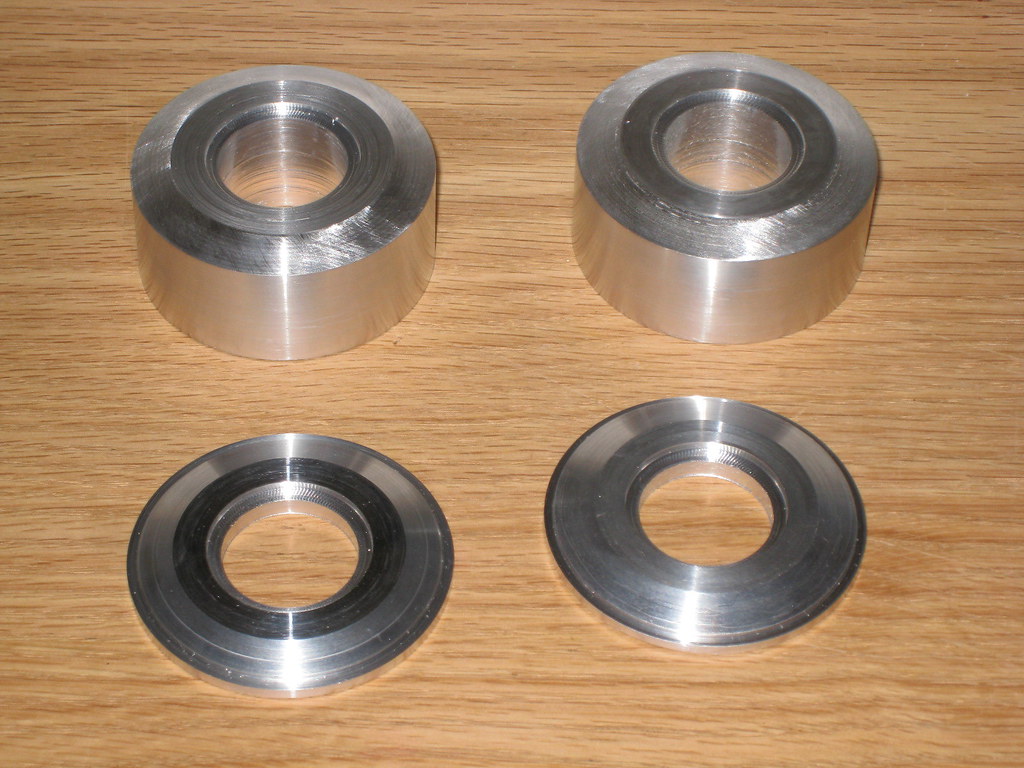
As I'm sure everyone knows kits come w/ black plastic faucet flanges. Those wouldn't do. So I made some from aluminum. And I made some REALLY THICK ones for a friend who likes his tapper handles BIG.
Here they are:
So now everything has been test fitted and I'm waiting for 40 blue LEDs to arrive in the mail.
Oh. I couldn't bare the thought of bottling my latest batch. So I whipped up a temporary door that is ratchet strapped to the fridge while the beer carbs...
I'll get pics of the lens up after I get all the forward facing surfaces covered w/ chrome automotive tape, and have a working light array.
I've had the fridge for 9yrs, it was in the 1st house my wife and I bought when we moved in. It's OLD! Late 50's/early 60's GE and certainly not efficient by today's standards. I'd always wanted to make it into a kegerator so I wouldn't leave it behind when we sold that house. Now it's been sitting in the basement of our new house for the last 5 years and I've decided it was time to do this project.
I took the basic measurements and ordered a conversion kit online. While measuring the door I decided to pull the butter door/pocket out. That thing had a heating element wrapped around it! (no wonder they aren't very efficient) And the heating element had continuous 120v power running to it.
What does a slightly skilled and overly ambitious guy do w/ something like that?!
"Make back-lit faucet flanges!"
That was my initial thought. Then I considered how much nicer it would look w/ a wider dual outlet flange. Since I happened to have picked a piece of bullet-proof lexan from a construction dumpster and work in a machine shop it was going to become reality. Figuring out the spacing of the faucets was easy, the hard part was determining how I wanted to style the light, and how to set-up/cut the lens.
After completing the lens shaping a fitted hole needed to be cut into the refrigerator door. Using 3/8" bolts dropped into 18mm sockets as locating pins I traced the lens shape onto the door (covered it w/ painters tape first) and carefully cut w/ a 32tpi jig saw about 1/16" inside the line. Then file, file, file, file, file, file, file, file, file, file, file, test fit, file, file, file, etc. till the lens just slipped into place.
Here's the hole.
As I'm sure everyone knows kits come w/ black plastic faucet flanges. Those wouldn't do. So I made some from aluminum. And I made some REALLY THICK ones for a friend who likes his tapper handles BIG.
Here they are:
So now everything has been test fitted and I'm waiting for 40 blue LEDs to arrive in the mail.
Oh. I couldn't bare the thought of bottling my latest batch. So I whipped up a temporary door that is ratchet strapped to the fridge while the beer carbs...
I'll get pics of the lens up after I get all the forward facing surfaces covered w/ chrome automotive tape, and have a working light array.

")