You are using an out of date browser. It may not display this or other websites correctly.
You should upgrade or use an alternative browser.
You should upgrade or use an alternative browser.
OT: CNC Router/Plasma Table
- Thread starter r8rphan
- Start date

Help Support Homebrew Talk - Beer, Wine, Mead, & Cider Brewing Discussion Forum:
This site may earn a commission from merchant affiliate
links, including eBay, Amazon, and others.

r8rphan
Well-Known Member
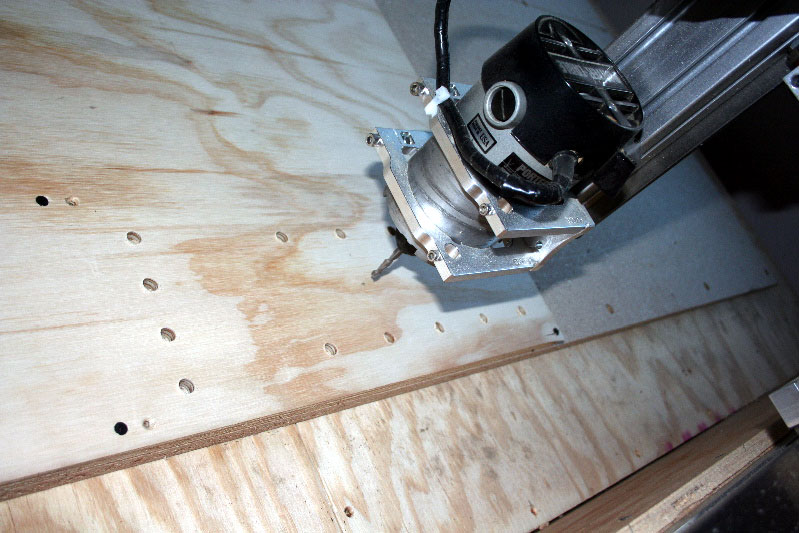
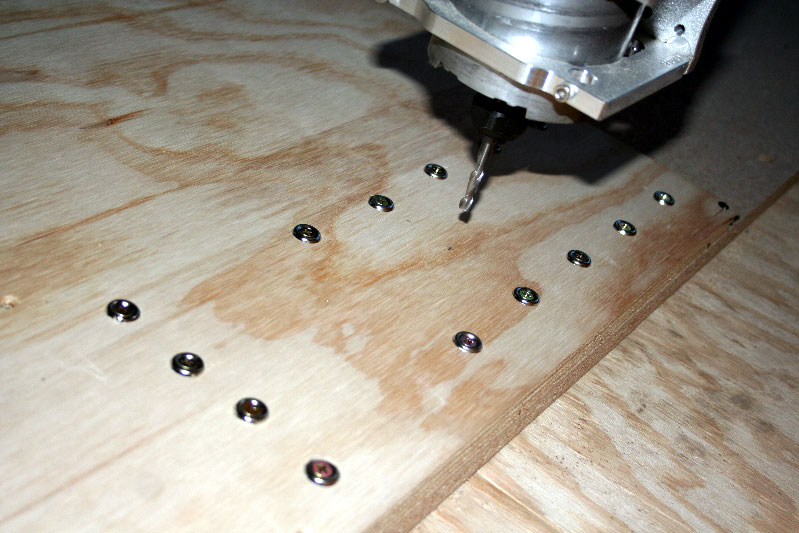
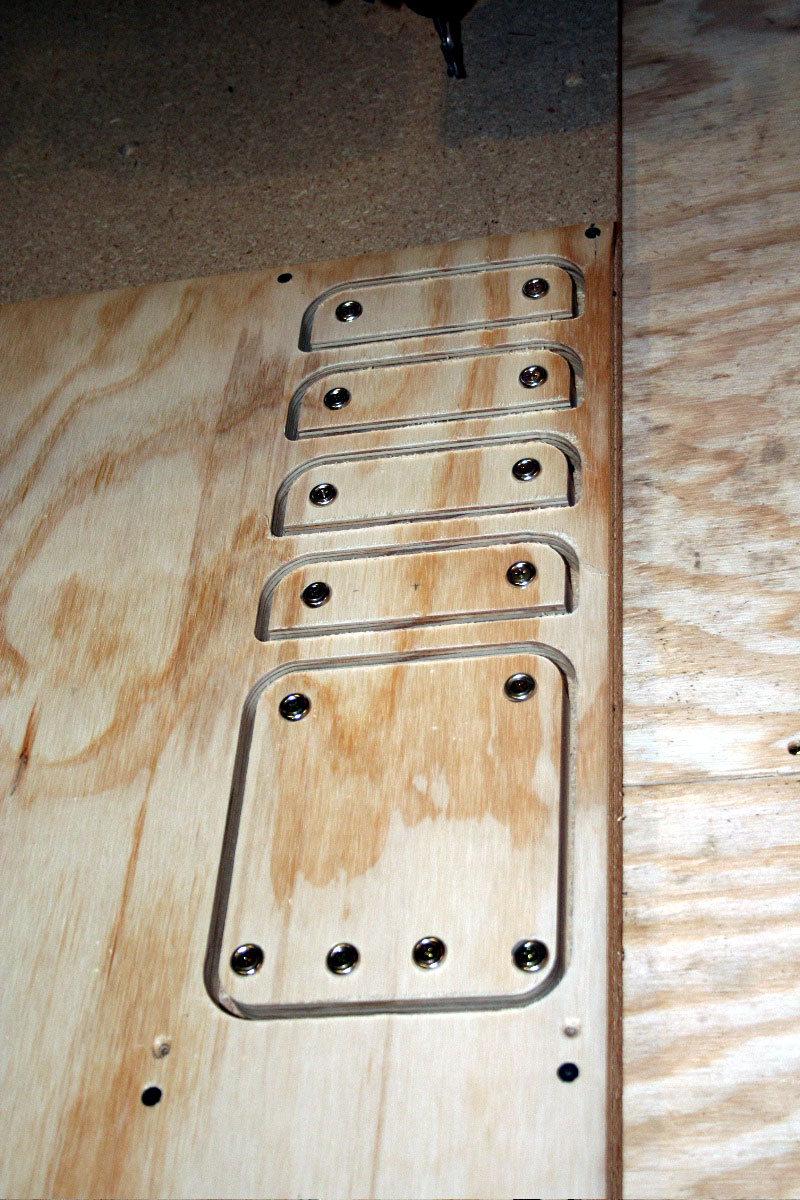
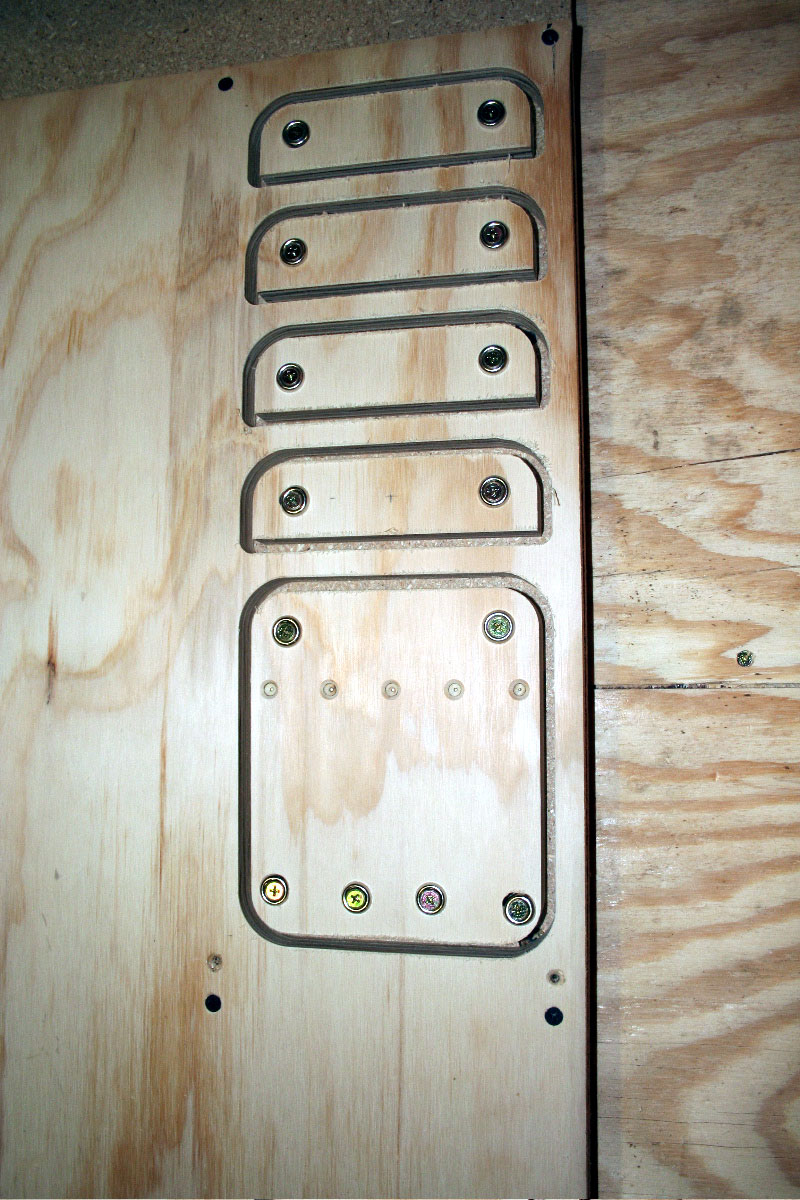
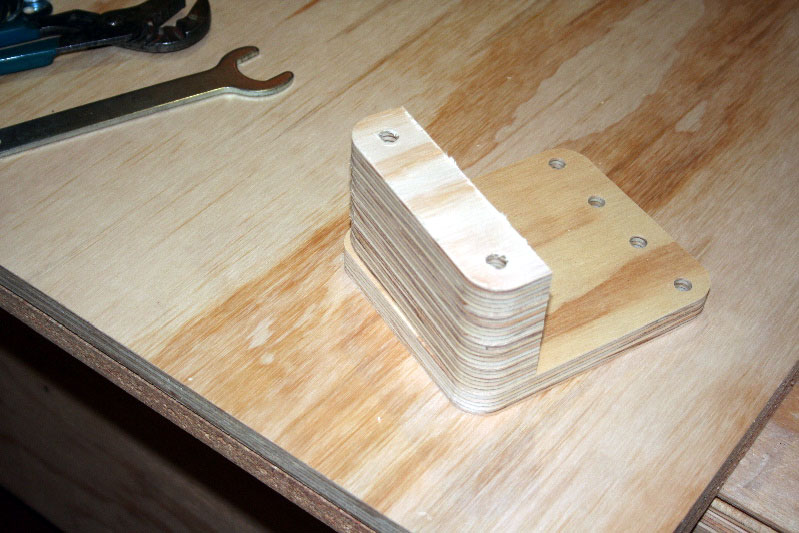
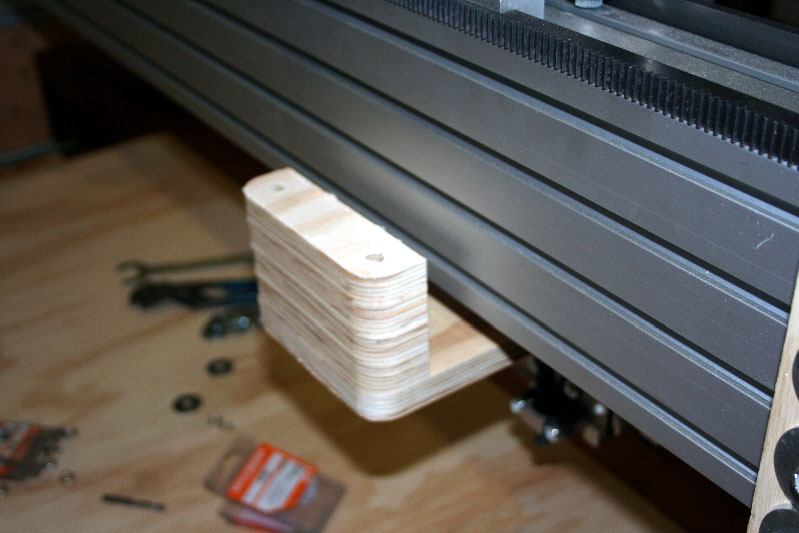
I tried cutting out some parts for the machine last nite. this thing is AMAZING!
These are to make a mount to hold a dust shoe down at the work surface, where a vacuum will suck up the dust and chips and then separate them in a dust cyclone on the way to the shop vac...
I don't like the concept now that it's dry fitted on the machine, but I loved that they all turned out perfect, and the holes lined up perfect on the machine... I'll probably go a different direction with the main piece, and use only the small ones..
But now I've tested the workflow from 'in my mind' to 'design' to cut.. and it's a dream! This thing will not only save me a bunch of hassle, but also open up a whole world of possibilities..
r8rphan
Well-Known Member
Be careful. If the machine learns how to build itself it won't need you.
As long as I get the generated income, I'm fine with that... I'll just be it's pimp!
Inodoro_Pereyra
Well-Known Member
Be careful. If the machine learns how to build itself it won't need you.
As long as I get the generated income, I'm fine with that... I'll just be it's pimp!
You crazy?
 Didn't you watch the Governator's movies?
Seriously though, for what I've seen, you could easily start making precut furniture with that machine, just as it is now. It'd be a nice way to make a buck...
r8rphan
Well-Known Member
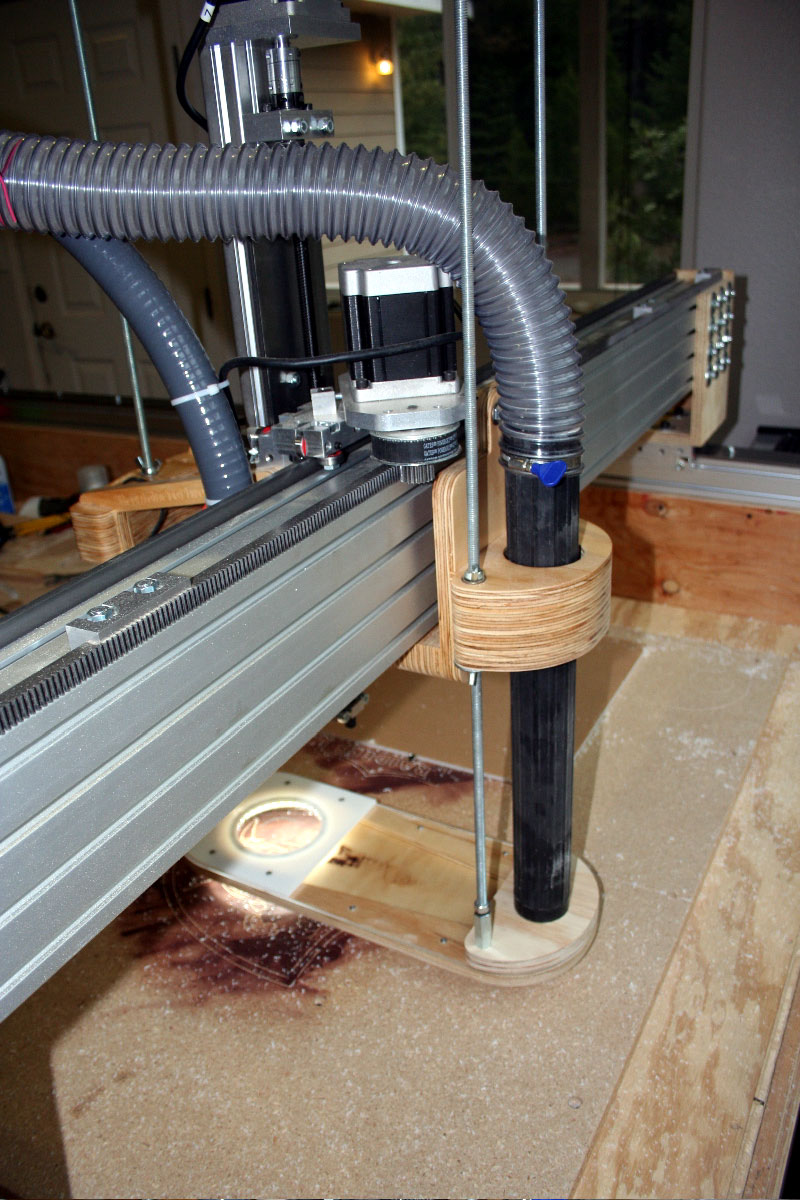
More progress today.. and it took 'all' day too..
So the vacuum system is pretty much complete.. I have to take it off monday morning, and take it with me to the job where my disc sander is so that I can clean up the perimeter real nice (My X axis still needs some adjustment), then bring it home, finish sanding and clear coat it all.. I also need to cut the threaded rod to length..
But I wanted to get this done today, so that I can start on the home switches tomorrow...
Anyways, here's some pictures..
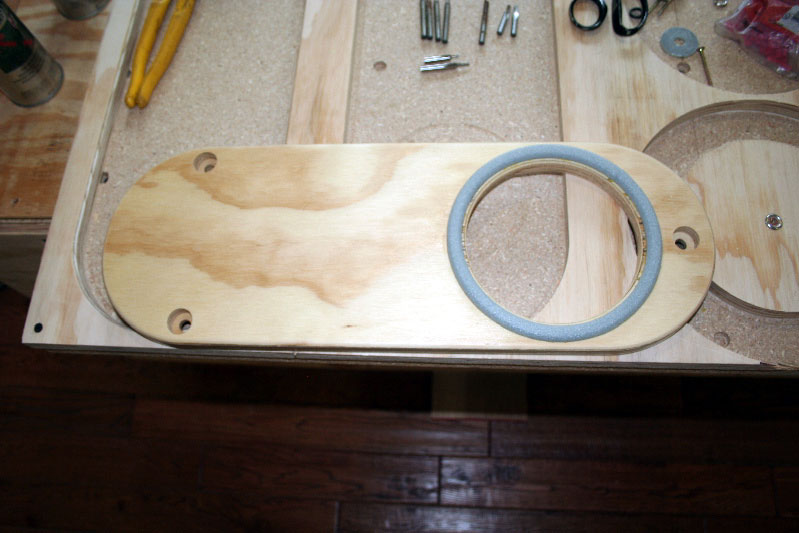
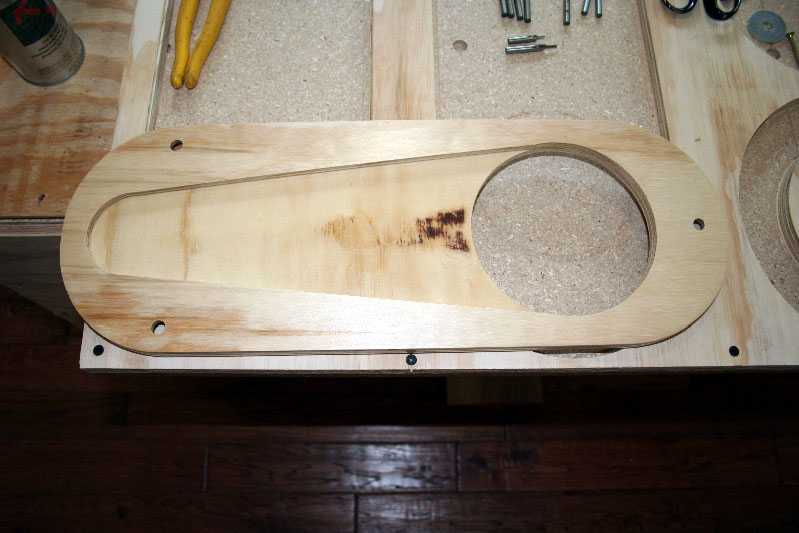
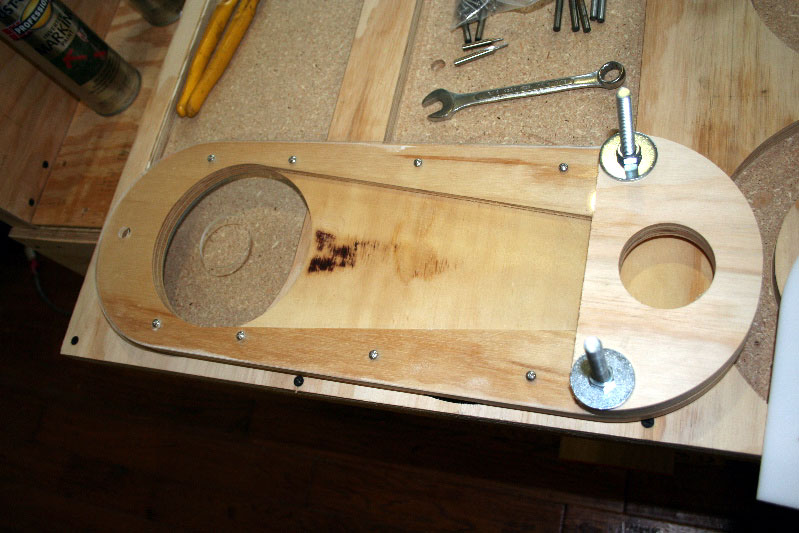
Here is the new dust shoe body, with the hole in the right place this time.. LOL
It's acutally 'done' sanded sealed and everything! Yay!
So the vacuum system is pretty much complete.. I have to take it off monday morning, and take it with me to the job where my disc sander is so that I can clean up the perimeter real nice (My X axis still needs some adjustment), then bring it home, finish sanding and clear coat it all.. I also need to cut the threaded rod to length..
But I wanted to get this done today, so that I can start on the home switches tomorrow...
Anyways, here's some pictures..
Here is the new dust shoe body, with the hole in the right place this time.. LOL
It's acutally 'done' sanded sealed and everything! Yay!
r8rphan
Well-Known Member
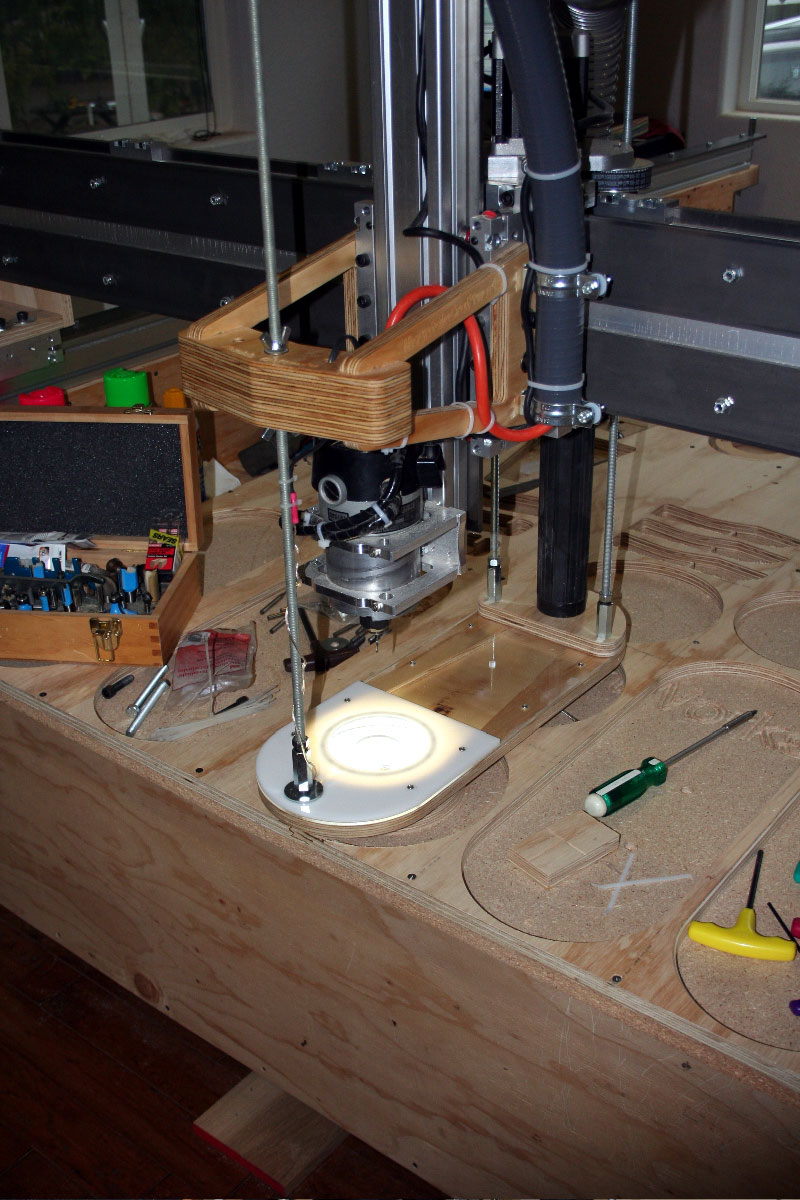
So then I started on the Light system..
Originally, the idea s\was to mount it underneath the router mount.. But I decided it would be better if the light wasn't constantly moving up and down.. So I decided to mount it right on the dust boot..
Unfortunately, this blocks part of the window, so I ordered a bigger one and machined a part to use the one I have now in such a way, that all I have to do is re-machine the same part to enlarge the opening and the pocket for the light.. I even have the files ready for when it arrives...
This is the part I was having trouble with today where I snapped my brand new acrylic bit (ouch)
r8rphan
Well-Known Member
So then it was finally time to start assembling things...
r8rphan
Well-Known Member
And then replaced the old dust shoe, hooked up the wires, held my breath, and hit the power button on the 12v supply...
And then there was light.. and the light was 'good'
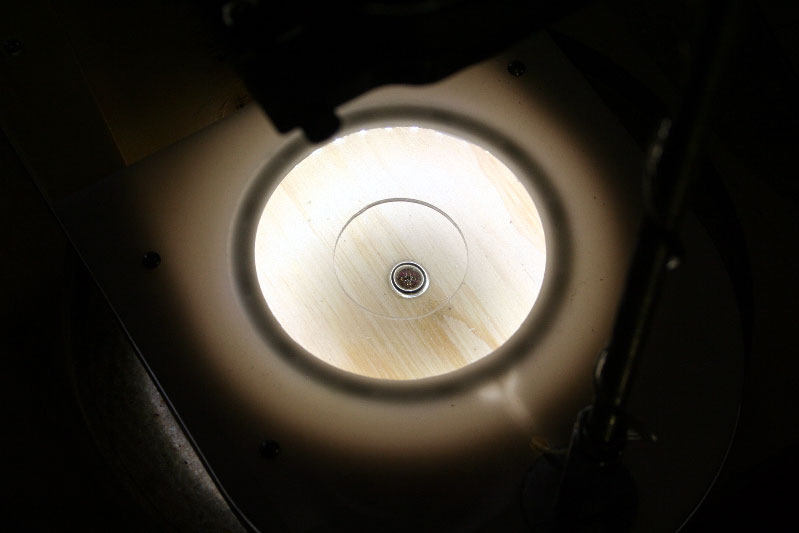
And then there was light.. and the light was 'good'
r8rphan
Well-Known Member
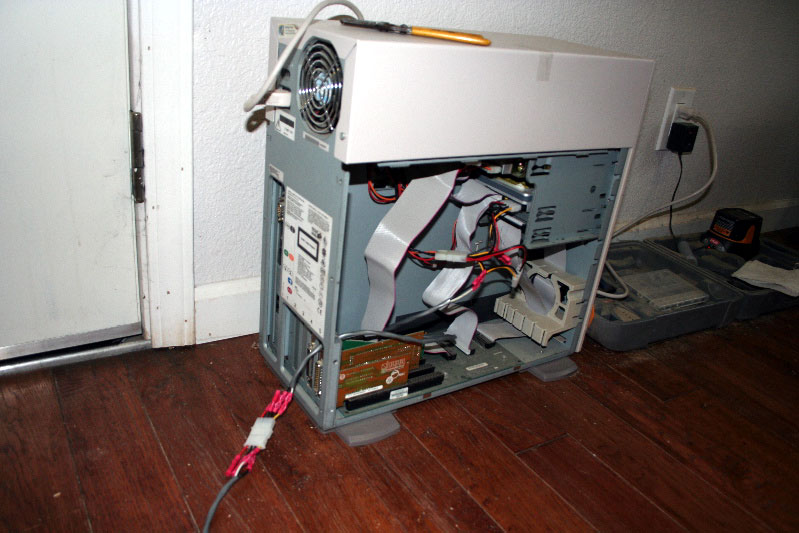
Here is the old computer I used to supply the 12v power to the light and to the fans in the CNC Tables Power supply..
Eventually, I will mount the S-PID in or on this thing, and also install some safety power interrupt switches for the router and vacuum as well as a key switch for the main CNC power Supply box.. There's plenty of space in there for relays and what not.. I'll also mount an e-stop switch right on top of the thing.. It'll sit right next to me at the computer..
I'll get the +5V I need for the S-PID from the power supply too (I already have the butt splices in place...)
I may even leave the motherboard the CD player and a hard drive in there so I can use it to play music while I work...
r8rphan
Well-Known Member
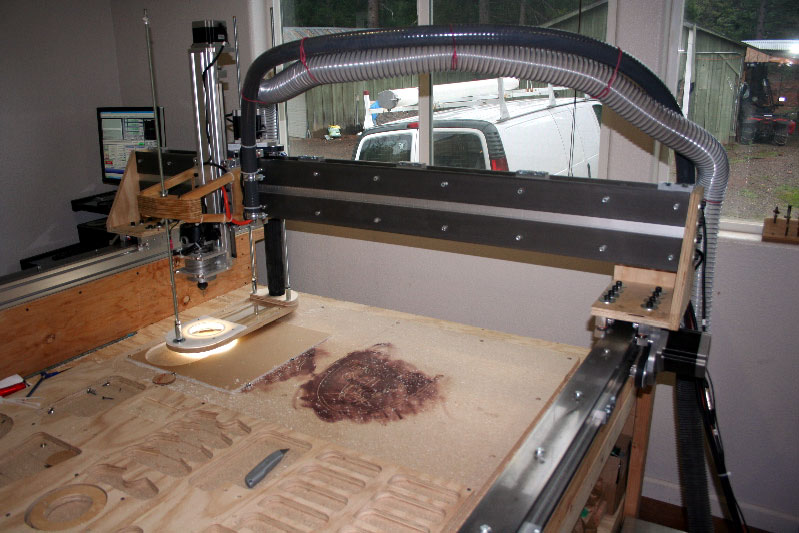
And here is the new dust deputy, with my high speed mount (I pocketed holes in the frame to make it lighter so it would be faster..), and the 1 dollar shop vac bucket I scored at a rummage sale...
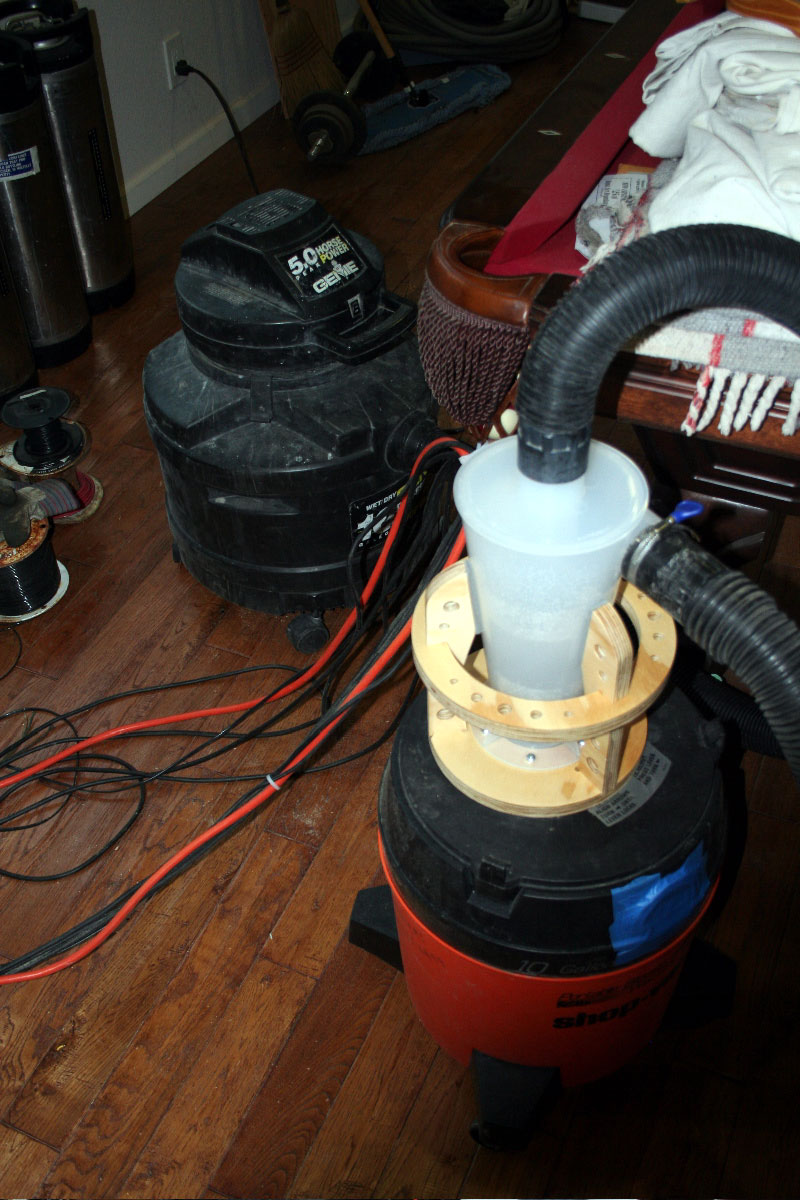
So now the vacuum system is pretty much 'handled'...
Next I start on the home switches, then onto the material bed and finish enclosing the table work area, then finish this PC control box installing the S-PID, and before you know it I can actually start 'using' this beast...
And maybe even get a chance to clean my house again! Yay!
Shower, food, and a homebrew is in order now!
I'm pooped.
), and the 1 dollar shop vac bucket I scored at a rummage sale...
So now the vacuum system is pretty much 'handled'...
Next I start on the home switches, then onto the material bed and finish enclosing the table work area, then finish this PC control box installing the S-PID, and before you know it I can actually start 'using' this beast...
And maybe even get a chance to clean my house again! Yay!
Shower, food, and a homebrew is in order now!
I'm pooped.
r8rphan
Well-Known Member
ebay... Look up angel Eye Light.. They're accent lights people mount around their headlights...
I ordered a larger one so that I can expose more viewing area.. The one in the pictures is a 120mm that I had originally intended to mount around the bottom of the router... but later decided I don't want the light going up and down.. It might drive me a little crazy (although I might add it on there anyways..LOL)..
The new one I ordered is a 140mm.. I'll just re-mill the piece of white acrylic on the dust boot now...
ebay... Look up angel Eye Light.. They're accent lights people mount around their headlights...
I ordered a larger one so that I can expose more viewing area.. The one in the pictures is a 120mm that I had originally intended to mount around the bottom of the router... but later decided I don't want the light going up and down.. It might drive me a little crazy (although I might add it on there anyways..LOL)..
The new one I ordered is a 140mm.. I'll just re-mill the piece of white acrylic on the dust boot now...
Lol, installed angel eyes on my friends mazda 3 with him. I didn't know they had smd led rings, we just had the ccfl's
r8rphan
Well-Known Member
So far I've only cut 'cabinets' on my machine, and played around with other little carvings, but this is my first serious attempt at carving with it...
Okay.. So here is the finished prototype unit... I plan to create files with four or five variations (leaping Bass, Deer, trees, eagle, USMC emblem, etc), and the ability to cut all the parts for two or more boxes at a time (however that best works out)...
I just ran some pine through my table saw and edge glued them without planing or further dressing the edges... seemed to make a strong joint.. The construction of the box adds further support to the glue joints.. so I'm not worried about failure..
This one is in pine, and has quite a few blowouts, but surprisingly, after finishing with lacquer, they're not that noticeable... Future boxes will be hardwood.. starting with red oak and soft maple... then more expensive woods once that it's all dialed in...
I need to get some decent 3D carving bits (will probably get the set from precision bits), and dial my speeds and feeds in, and get some experience in finishing.. I also need to find a way to process sand this stuff as that is where the most labor is involved once the program files are made...
Anyways, the idea is that once I get the quality to the level I want, to make several styles of this box and start cranking them out.. It's something to start putting in the local stores on consignment, and sell at craft shows...
I gotta order some hinges yet..
Then onto the next 'product' work out the kinks on that, and start selling them, and then the next product, and so on.. hopefully improving quality and knowledge and inspiration all along the way...
jfkriege
Well-Known Member
That looks pretty fantastic to me. I have been following this with great interest as I am looking to build something similar in the next year or so (probably a Joes 4x4). It looks like it is really starting to produce well for you.
Joshua
Joshua
r8rphan
Well-Known Member
For those of you that still care....
Have made some upgrades since I last posted... Redid the sacrifice board and hold down system (there are now more than 500 5/16" nuts under the sacrifice board to be used as direct hold downs or with cams), I rebuilt the gantry with welded steel uprights, etc., so that it is now much more rigid and consistent, I ditched the micro switches on the x and y axis and replaced them with proximity switches, adding one to the other rail of the x axis so that the whole machine is now self squaring, installed a flexible fiberglass rod to hold the wiring conduit and vacuum hose to the Z axis carriage upright and out of the way, added a cable chain and upgraded vacuum hose system, went to a removable dust shoe that travels with the z axis and is held in place with magnets (some day when I get around to it, I'll make a slightly larger version out of plexi)...
and even posted a couple YouTube vids...
In process of setting up shop to start making electric guitars...
Last edited by a moderator:
r8rphan
Well-Known Member
Here it is surfacing a very large slab of myrtle burl for a customer
Last edited by a moderator:
Similar threads
- Replies
- 1
- Views
- 822
- Replies
- 6
- Views
- 3K
