Simple All-Grain Mash in a Bag Technique: Illustrated

Homebrew Talk - Beer, Wine, Mead, & Cider Brewing Discussion Forum

Help Support Homebrew Talk - Beer, Wine, Mead, & Cider Brewing Discussion Forum:

This site may earn a commission from merchant affiliate links, including eBay, Amazon, and others.

jldc

Supporting Member
HBT Supporter
Joined
Nov 6, 2008
Messages
660
Reaction score
9
Here are some pics that show how I brew. I use a combination of DeathBrewer’s stovetop AG method with Bobby_M’s double batch-sparge method.

Advantages over more traditional batch- and fly- sparge techniques include cheaper and easier equipment builds, faster sparges, and virtual elimination of stuck sparges.

The primary disadvantage is a limitation of the grain bill to around fifteen pounds (at least without some sort of mechanical method to lift the grain bag and a really big grain bag). This tends to put 10-gallon batches out of reach.

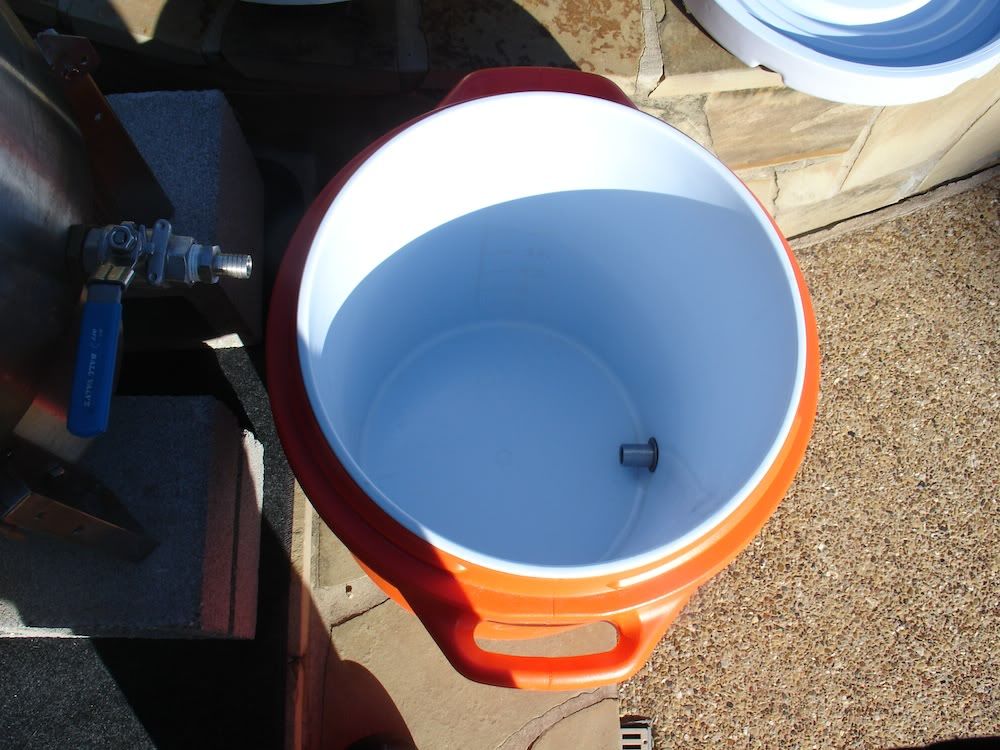
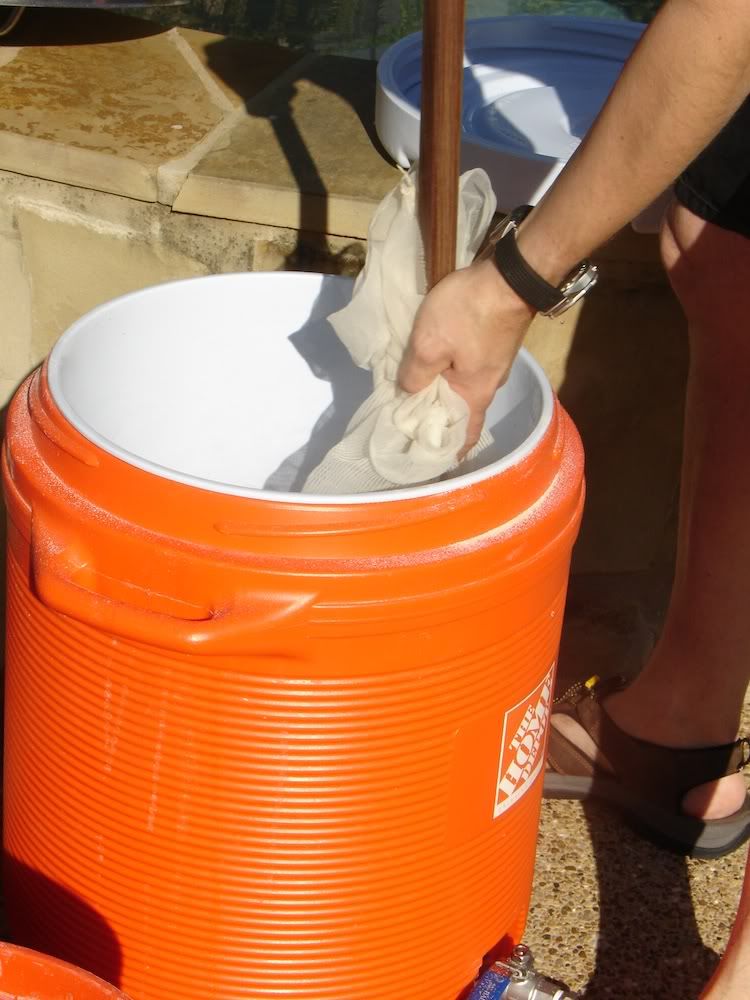
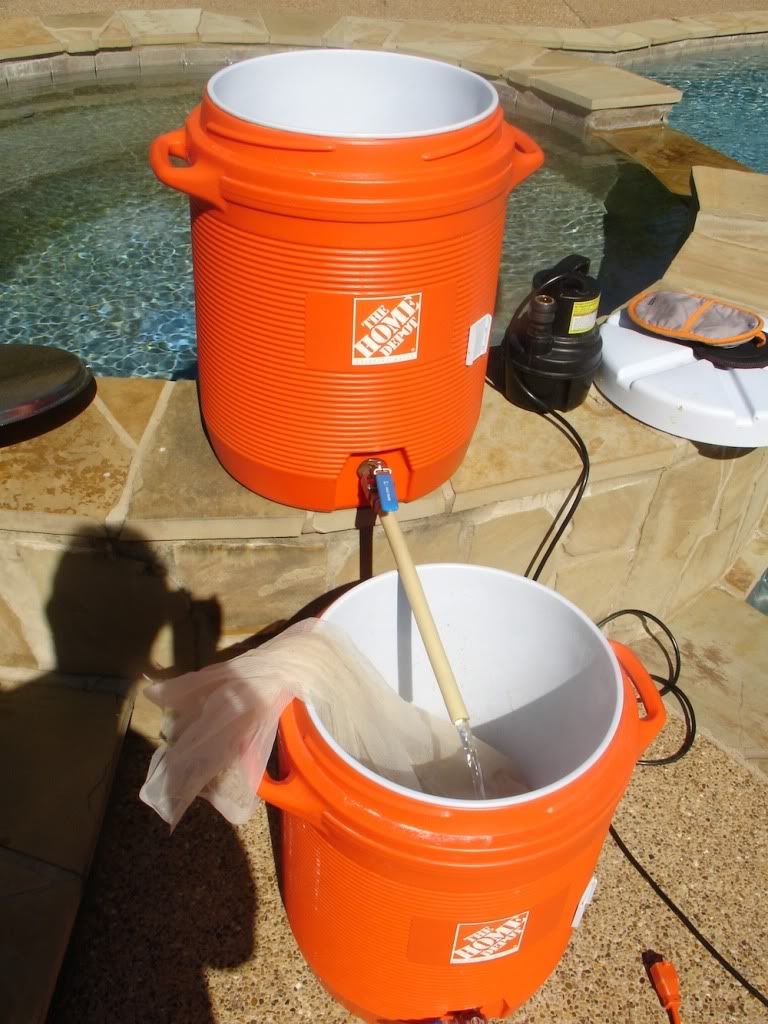
I use two 10-gallon Home Depot coolers with ball valves. You could get by with one, but two makes everything easier and quicker.
2-coolerinterior.jpg

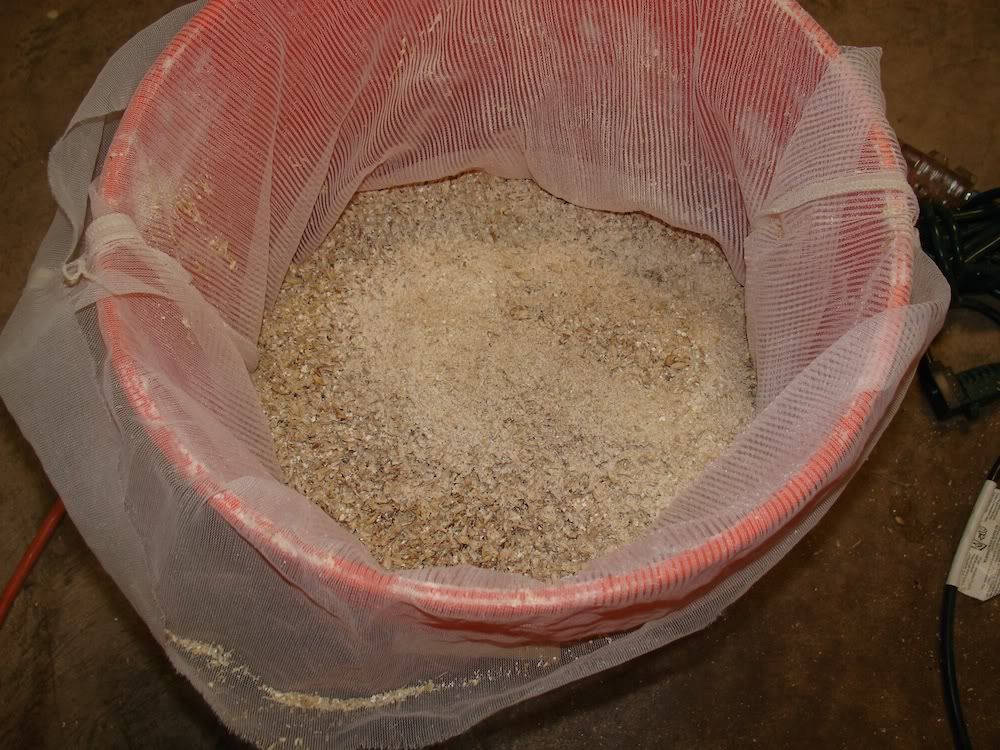
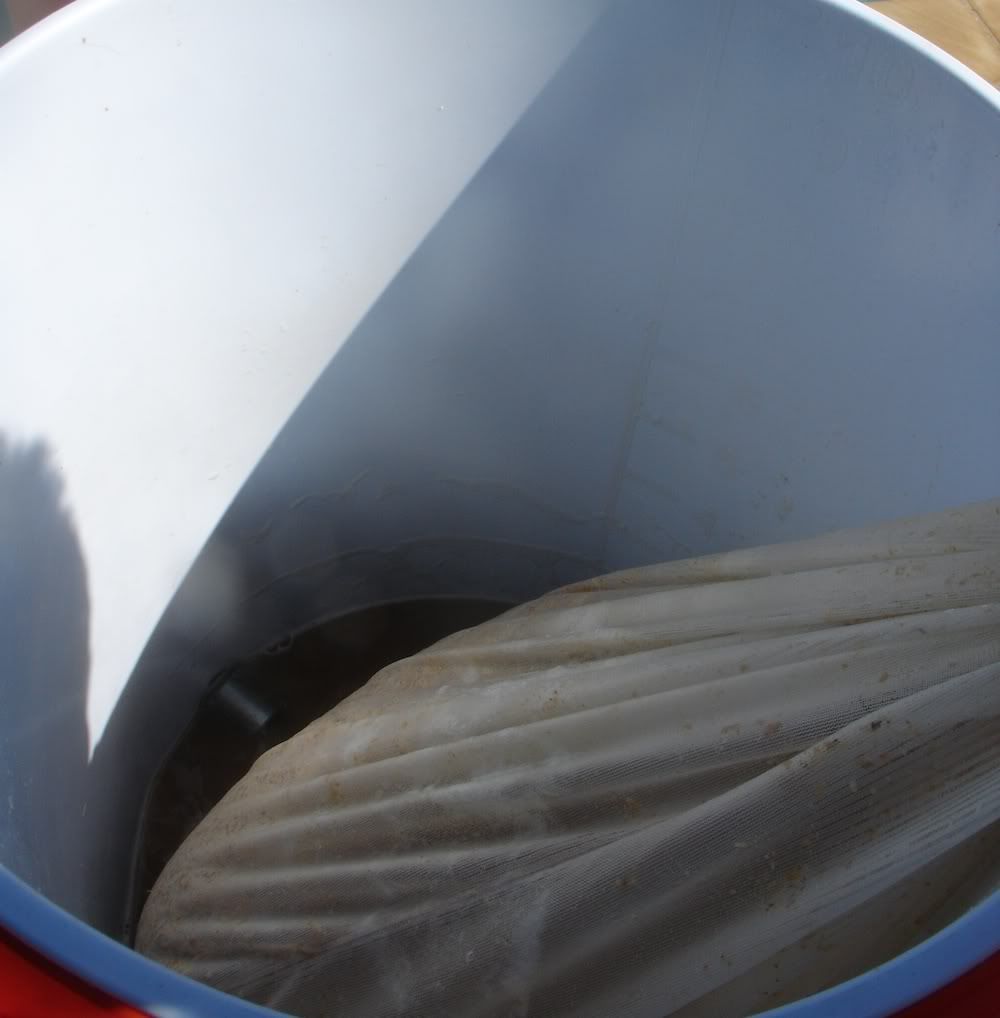
I use the large grain bags from Austin Homebrew.

Start with a fine grind directly into the bag – look at the flour:
1-milledgrain.jpg


Todays recipe:
Sleeping Dog Pale Ale
12 ½ lbs. grain
5.75 gallons
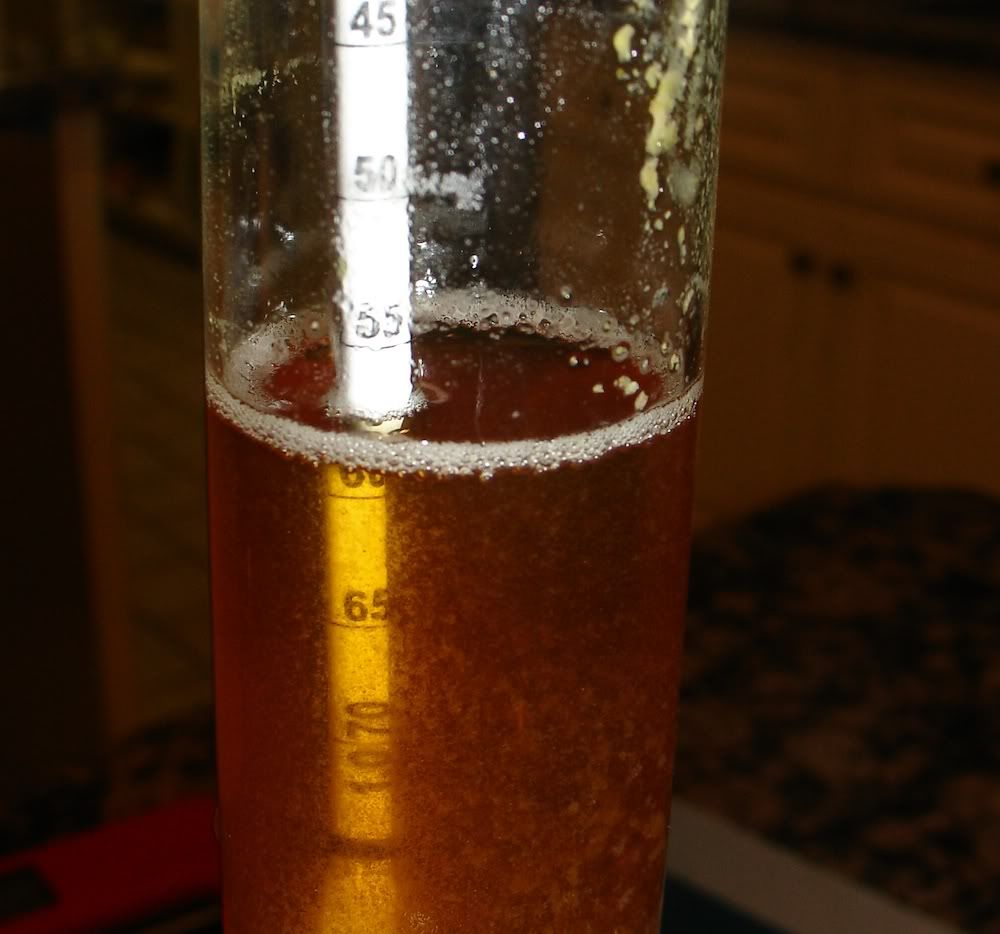
1.055 O.G. at 76% efficiency (this is conservative – I’m usually around 82%)
Mash temp 154 degrees F
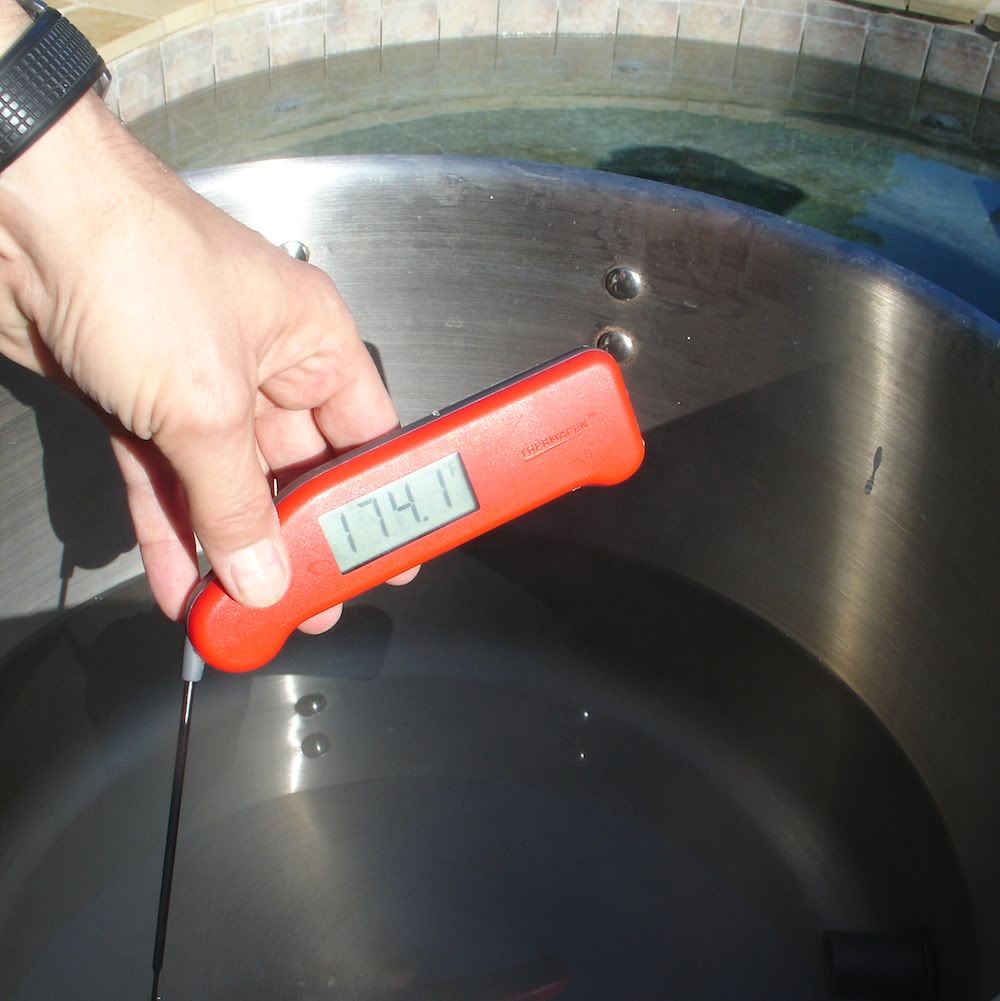
Strike temp 164 degrees F

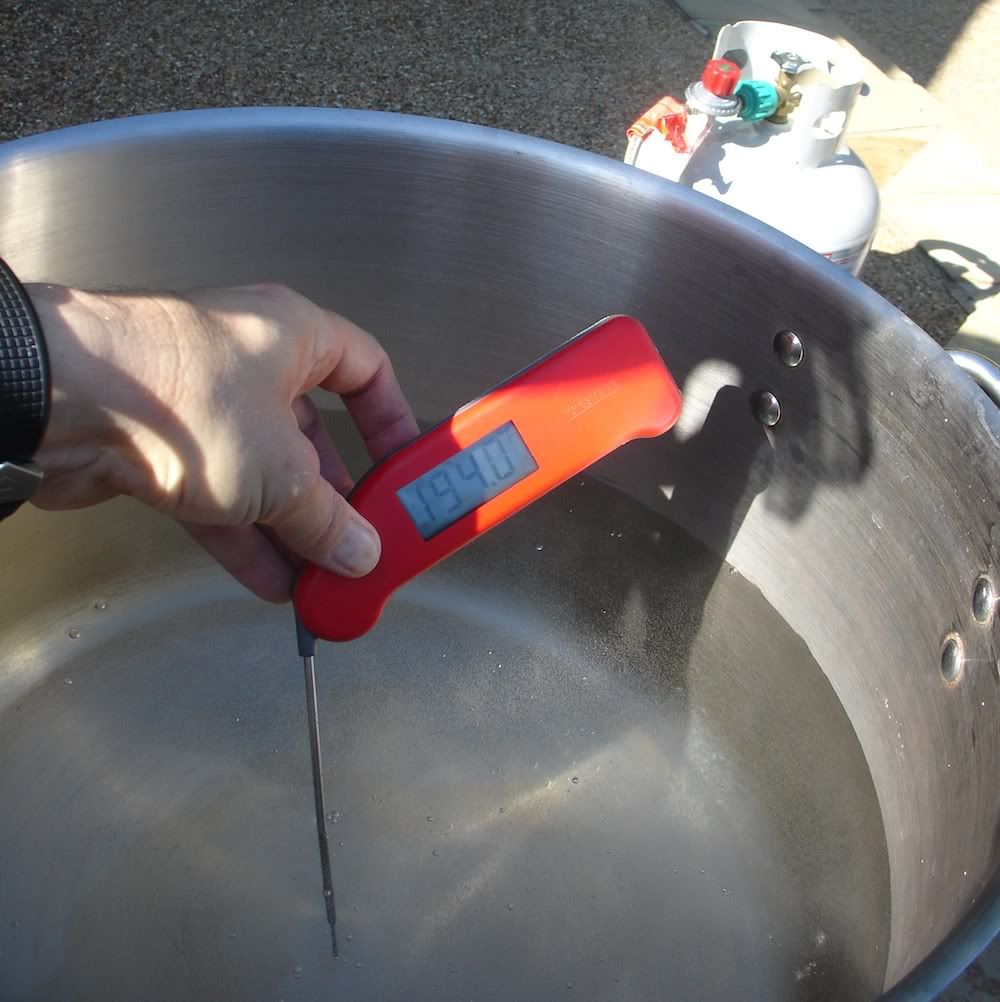
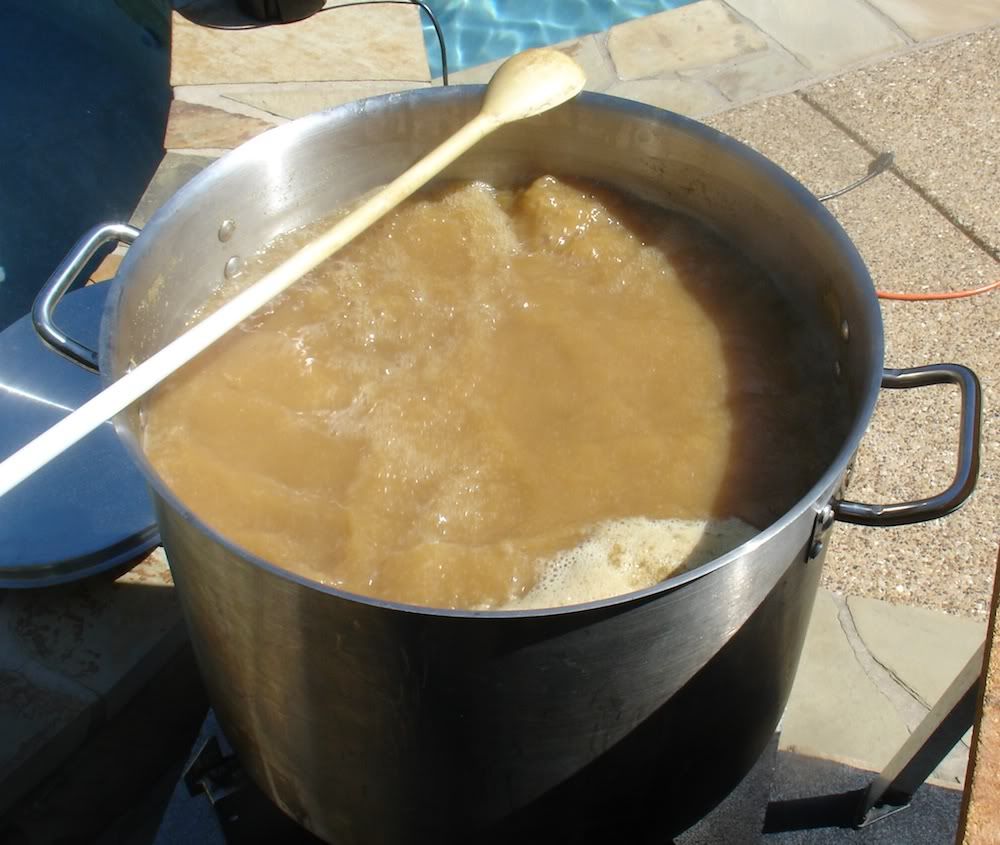
Heat the strike water in the brew pot to about ten degrees higher than strike temp:
3-strikewaterinpot.jpg


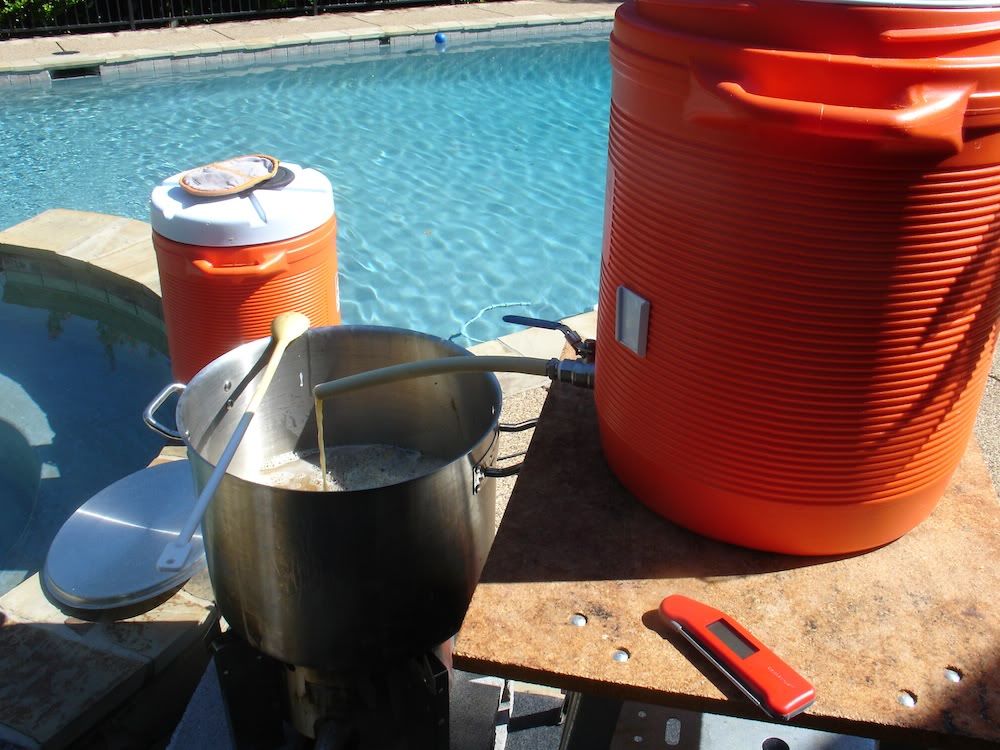
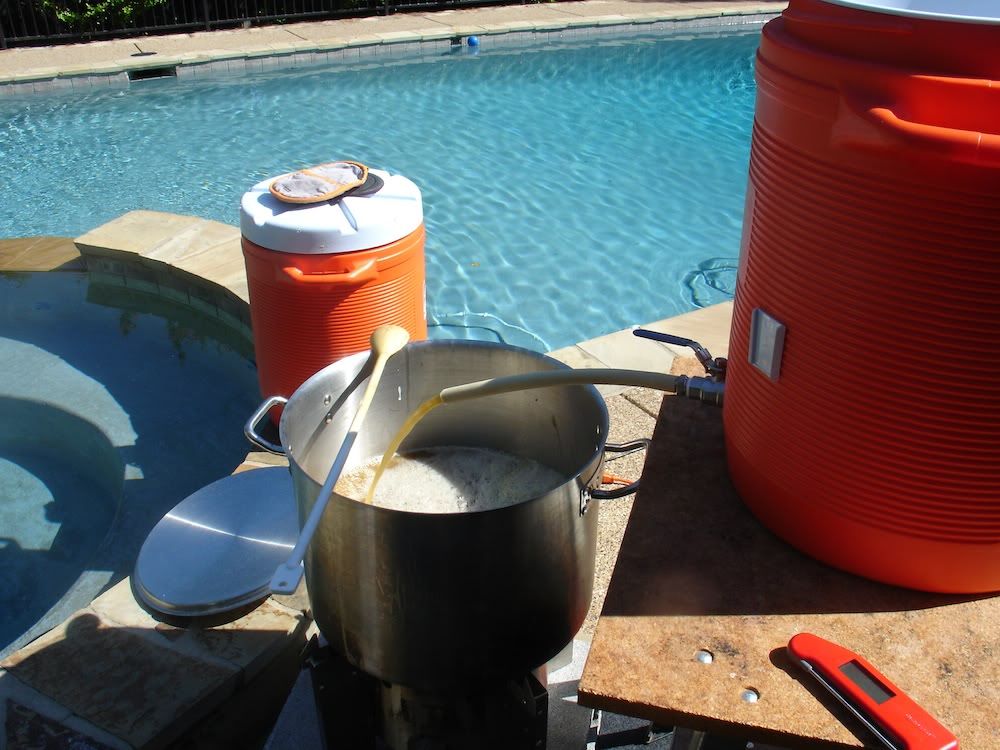
Drain into one of our coolers. Close the lid and wait ten min or so for the cooler to heat up:
5-strikewaterincooler.jpg


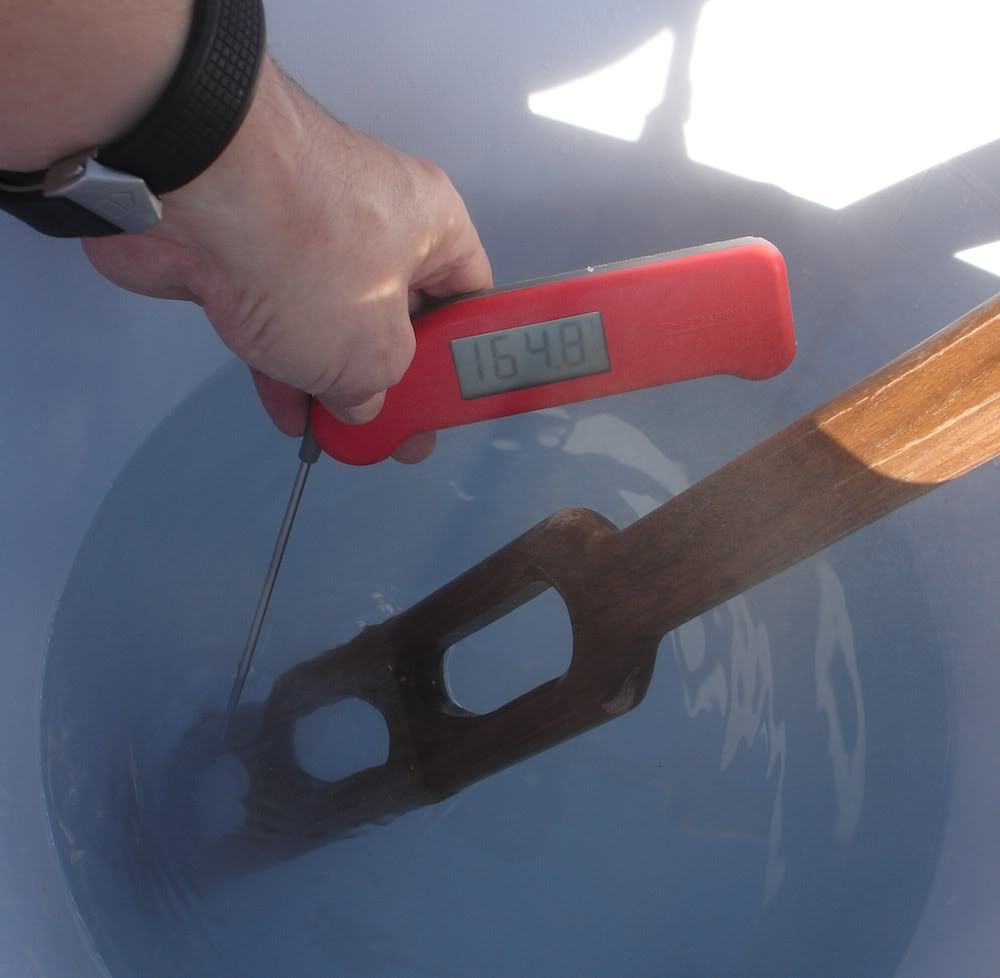
Close enough. You really want to be a degree or two high. Leave the lid off and wait for the temp to drop to the strike temp.
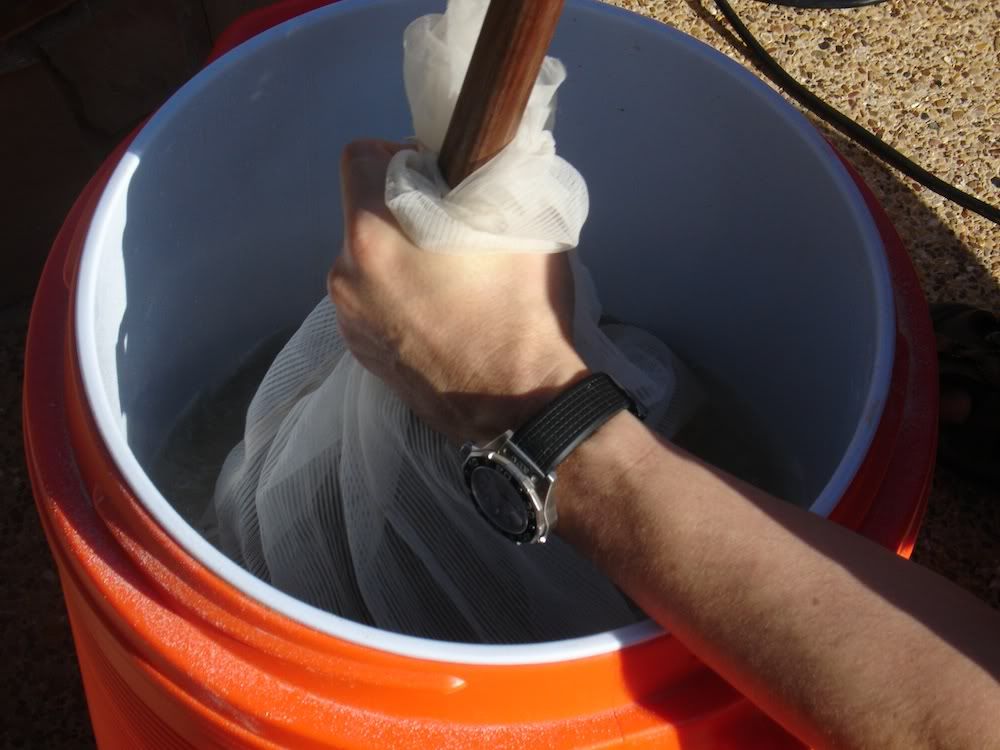
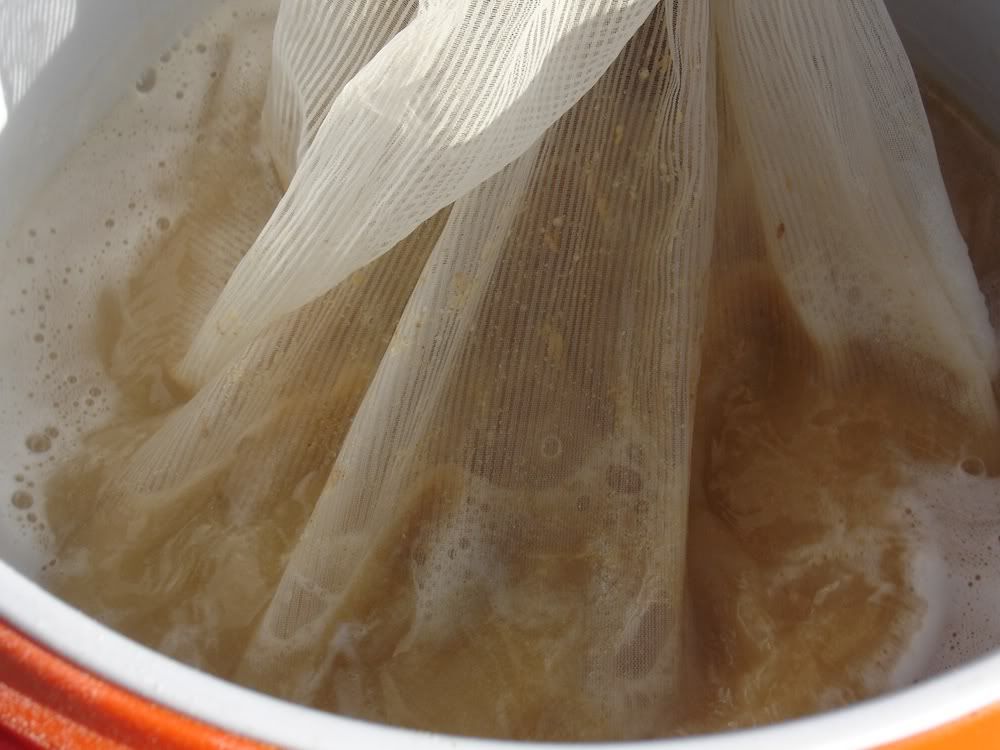
Time to mash. Add the bag with milled grain and stir like crazy:
6-stirringwithmashpaddle.jpg

7-stirringwithmashpaddle2.jpg

8-mashtun.jpg


Close the lid and set the timer:
9-mashtimer.jpg


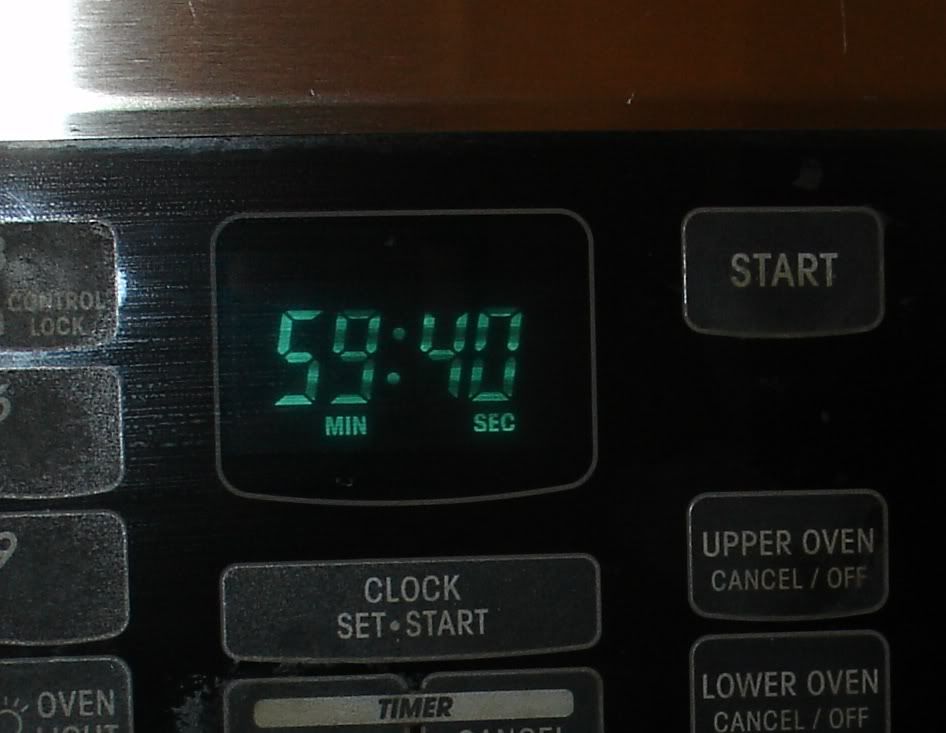
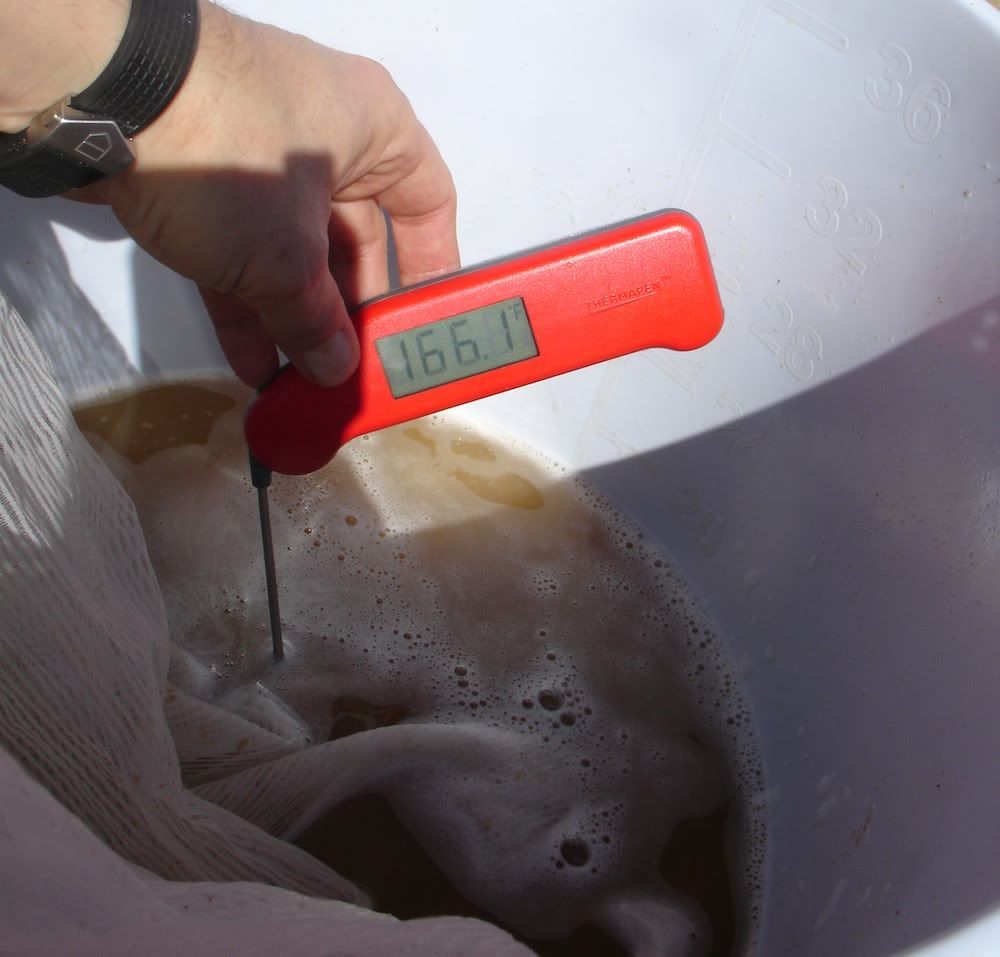
Check the temp ten minutes later:
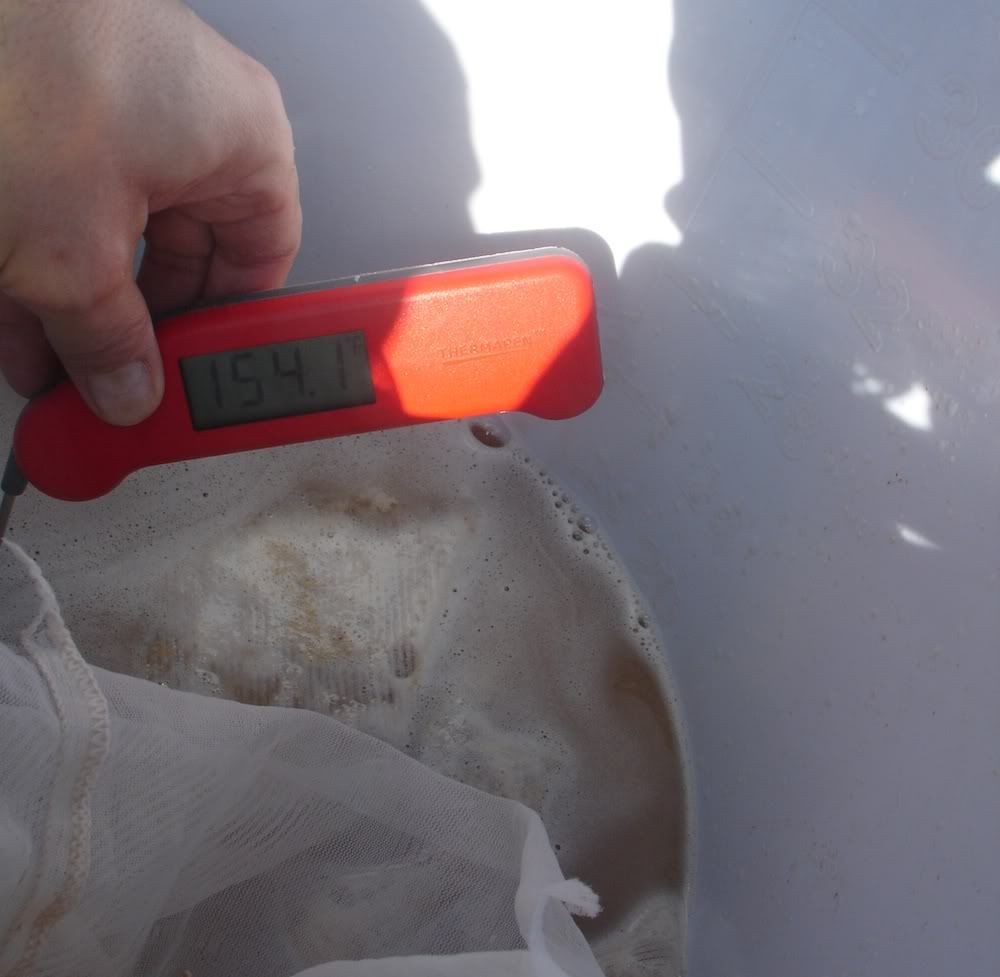
10-mashtemp.jpg


Looks good.
 
While the mash is sitting, we’ll heat the sparge water. I heat to just below boiling:
11-spargetemp.jpg


By the time you loose heat warming the second cooler, you’ll never get the grain bed much over 170. Drain the sparge water into the second cooler.

After sixty minutes of mashing, we drain the mash tun:
13-Drainingmashtun1.jpg


The flow is a little slow, so we’ll lift the grain bag an inch or two:
14-Drainingmashtun2.jpg


Much better. Lifting the drain bag and tilting the cooler a bit will allow all but a few ounces of wort to drain into the brew pot. I don’t vourlaf , but you will see particles in the bottom of the cooler. They won’t drain into the kettle because the ball valve is slightly above the bottom of the cooler.
15-Drainingmashtun3.jpg


Add half the sparge water to the mash tun:
16-addingspargewater.jpg


Stir like crazy. Wait 5-10 min. Drain and repeat with the second half of the sparge water. Look the grain bed isn’t too hot:
17-endofspargetemp.jpg


Boil and brew like usual:
18-boil.jpg


Here’s our measured OG:
19-Hydrometeroriginalgravity.jpg

1.057 at 78 degrees.
This corrects to 1.059 or 82% efficiency.

There you go and I hope at least one person finds this helpful.

L
 
I do something similar (just did my first batch sparge today) except I lift my grain out into a strainer over a temporary pot (or over the brew kettle) then put it back in after adding the batch sparge water. My coolers have not been altered yet. I have not found the weight of the grain bag to be a problem for me since I put it down almost immediately on the strainer. Lifting the pots and dumping out the mash tun have been a little risky though. I have wondered if I could do what you are doing and now I know! I have some new 15g square coolers with a much bigger dump port that I have been looking forward to using. By the way I made an Anchor Steam clone today and used whirlfloc and clarity-ferm, interested to see if it comes out clear. I totally missed scooping off the hot break, it quietly went into a boil while I wasn't watching.
 
That's some nice stone work there, thanks for sharing :)

Seriously though, its always nice when someone posts pics to give us visual folks pretty colors to look at too.
 
That's some nice stone work there, thanks for sharing :)

Thanks. The pool and the pump you see in the pics work great with an immersion chiller to cool the wort - in the winter at least. In the summer, I have to use a fair amount of ice.
 
How do you find the clarity of your beers using this method?

I used to do it exactly like this (except sparging wasn't done in a cooler) but my beers were always extremely cloudy. Since I was still new at AG I assumed it was the lack of a compact grainbed. At that stage I wasn't using irish mosh, gelatin or crash cooling.

Do either of those help ensure you get a decently clear beer even without the vorlauf?
 
My beers are very clear, but I do use whirlfloc. I also primary for three weeks and let the beer carb in the keg for another three weeks (carb at serving pressure) in the keezer. The first few pints are a little cloudy, but then clear as a bell.
 
Couldn't you just bag the grains, and leave it in the kettle? That way you could use the burner to maintain temp and all you'd have to do is pull the grains out, rinse them off a bit, and fire up the burner? I can't tell but it looks like your pot is big enough to do this.
 
Yup, that is the BIAB method.

Brew In A Bag

All you need is a Bag, Kettle, and Burner. (Highly recommend an Immersion Chiller, but the Ausie do a no chill cube thing)
 
Back
Top