big_al_in_k-zoo
Well-Known Member
Subscribed. Can't wait to see/find out your results Flomaster / Alowell.
This seems to be a no brainer.
This seems to be a no brainer.

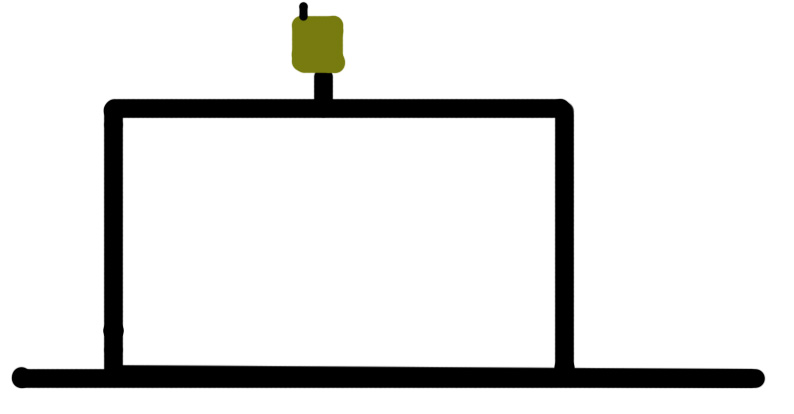
The autovents in BeerThirty's rig were placed above the pumps with enough tubing to catch the air bubble from the keg dip tube. When the pump is started the bubble hits the inlet side first and most will vent if the pump is stopped for about 15 seconds, the remaining air usually will pass on out through the outlet air vent. The plastic tubing connecting them to the pumps is 1/2" PFA that was heated and formed into the bends to keep the stress on the pump connections minimal. if you were to build a "D" loop on its back with the flow along the bottom and the air vent in the top, you might be able to catch the air bubble and vent it.
It would seem to me that once an air bubble makes it past the pump head it would make no difference where it goes. It may exit through the autovent or it may move on to where the tubing terminates. Once the pump head is flooded and no air remains downstream on the suction side of the pump, there should be no further priming problems unless there's an air leak. I would think that the autovent would permit the pump head to be flooded with ease, then you could turn on the pump and push out any air that in front of the pump.
So you're basically saying I should put the air vent on the inlet side of the pump to allow air that blocks the pump head from flooding the release.
My understanding is that this is one issue. The second issue is that when you turn off your pump, air can be pulled back into the pump head, causing it to lock up on you. Hence the need for two autovents.
I'm not sure where the best spot to position the vents are, though. Close to the pump? Near the keggle? Up high? I even thought of having them on a quick connect I could move around.
I'm going to try having a vent on the inlet side as well as the outlet.
Absolutely NO. The vent must be on the output side of the pump.
Here's my take:
1. You can avoid the possibility of pulling air back into the pump head by simply closing the flow control valve on the output side of the pump before turning off the pump.
2. Raise your kettle some or lower the pump. You need a little bit more positive suction head in order to make priming easier. This would very extremely easy to try, so why not do it?
3. You only need a single vent (auto or manual) on the output side of the pump.
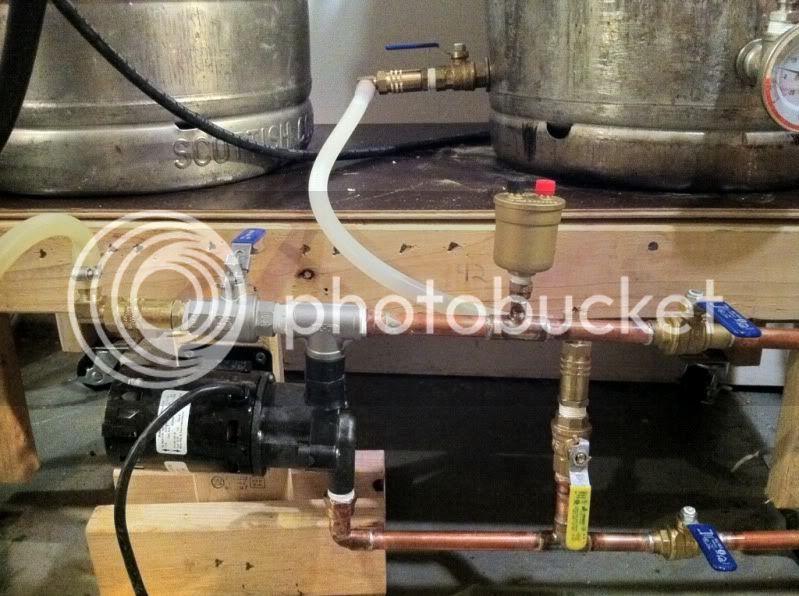
I have one on the inlet of each pump to allow priming when the pump cavity is full but the line is empty, and one on the outlet of each pump so when the pump is turned off air that is trapped in the outlet lines or valves cant flow back to the pump and vapor lock the pump.
I understand what you're saying. #1 makes sense to prevent air being pulled back. However, according to Beerthirty, the vent that was to relieve air pressure pulled back was on the OUTLET side.
Closing the valve on the ouput side (the flow control valve) would prevent ANY air from being pulled back into the pump head. Close this valve BEFORE turning off the pump.
My problem really does appear to be lack of positive pressure from the keggle. I see the air bubbles get trapped in the tube from keggle to pump. But raising it is an issue due to hard plumbing I have to gravity transfer from my mash tun above it. It's as high as it can go to allow transfer. If I raise it, it'll be above my mash tun plumbing, among other challenges. I might be able to lower the pump a bit, but not much.
It appears from the pics that you have a flexible tubing (not hard piping) from the kettle to the QD which should allow you to raise the kettle very easily.
If the problem is air stuck in the dip tube, wouldn't a vent on the inlet side solve this problem?
IMO, this should not be necessary.
Secondly, If I drilled a small hole or two in the dip tube, would it keep air out of it and still suction fine? I use a hop strainger so hops aren't really an issue.
This would also not be necessary so long as you have enough positive suction head which can be accomplished by raising the kettle some. You could also try removing the dip tube entirely and re-test. IOW, temporarily remove the DIP tube from the equation.
Thanks again for all the ideas. There do seem to be some conflicting concepts about setup of this thing.
If I drilled a small hole or two in the dip tube, would it keep air out of it and still suction fine? I use a hop strainger so hops aren't really an issue.
I'm wondering if this would aerate my wort too much.
")
Do you have a Grainger part number for the 1/2" one? I checked their site, but all I see are the 1/4" and 1/8". Thanks!yeah on ebay $99.00 http://cgi.ebay.com/ws/eBayISAPI.dll?ViewItem&item=220721509445#ht_1308wt_905 FREE SHIPPING...
works great and the money I saved is going towards SS camlock fittings
you can pay using paypal and a debit card if you don't have money in your paypal account.
as for the autovent try www.grainger.com I opted for the 1/2" size so no bushings needed for my tee.
-=jason=-
ok so I tested my pump out last night and WOW... anyone with a pump should NOT be with out an autovent. I recirculated for a good 20 minutes with out loosing prime.
I don't get it, does everyone have a hard time priming march pumps? I have never lost prime while recirculating, and priming is very simple.
I just have a pinch clamp on the end of my tubing, open ball valve with tubing above valve, fill tubing and pinch off the end. Then connect to the in flow, release and let her rip, works 100% of the time.
Maybe it's the undying need for another brewing gadget??

I primed fine with the bleeder valve. But put it this way, if you could get a self priming pump for $10 more than you paid, would you do it?
Plus, with RIMS and the potential for dry firing your element, it seems like a nice thing to have.
I don't get it, does everyone have a hard time priming march pumps? I have never lost prime while recirculating, and priming is very simple.
I just have a pinch clamp on the end of my tubing, open ball valve with tubing above valve, fill tubing and pinch off the end. Then connect to the in flow, release and let her rip, works 100% of the time.
Maybe it's the undying need for another brewing gadget??
IMO, tubing or hard piped should make no difference for priming. I think it's a gadget fetish thing. Not that there's anything wrong with that ya know. I am afflicted with that disorder myself.
I have had an issue when priming with the output connected to a submerged port on another vessel. I disconnect the camlock and allow the pump to fill, then reconnect and that's all I need to do. If hard-piped, I wouldn't be able to do that. Also, you can squeeze the tubing a little to help get any air bubbles out of the inlet (like a priming bulb on an outboard motor gas tank) Depending on the temperature and volume in the vessels, it may not "self prime" just by allowing the gravity feed as the pressure of the air in the outlet tubing/pipe may not move upstream sufficiently)
I installed my bleeder valve between the flow control valve and the pump head. Closing the flow control valve prior to opening the bleeder valve eliminates any potential back pressure from upstream, such as a submerged port on a kettle. Once primed, I simply close the bleeder valve and open the flow control valve as desired. Works perfectly for me every time.
I installed my bleeder valve between the flow control valve and the pump head. Closing the flow control valve prior to opening the bleeder valve eliminates any potential back pressure from upstream, such as a submerged port on a kettle. Once primed, I simply close the bleeder valve and open the flow control valve as desired. Works perfectly for me every time.
Enter your email address to join: