HickoryMike
Well-Known Member
At the risk of looking desperate for attention, I wanted to post this video in it's own thread.
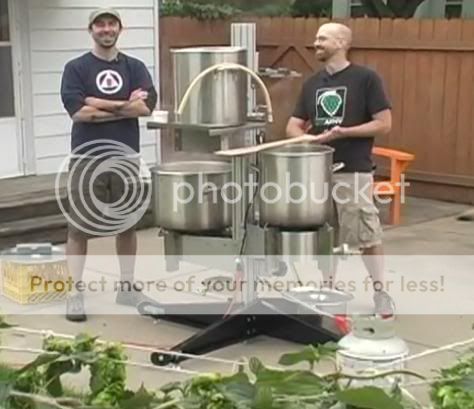
I had been interested in the Top Tier for a long time but I never purchased the stand because all the stock photos online looked underwhelming. I searched for user videos and found ZERO. I ended up purchasing the stand after seeing it in action during a recent BrewingTV episode.
The video may be dry in parts, but I felt I needed to be as thorough as I could in the 15 minute limit.
Crank it up to 720p and enjoy
If you are a Top Tier owner or have experience with the system, I encourage you to join in on the original thread that inspired this video:
https://www.homebrewtalk.com/f11/does-anyone-out-there-own-top-tier-195134/
Last edited by a moderator: