
lorglath
Well-Known Member
The kettles I got were either this, or extremely similar.
This is the solder I used
This is the Flux I am using.
The die is a 1" ID threaded coupler I got from Menards.
I also have some pics... I will try that cold solder technique... and have a few questions on another hole... but I will first add pics for the holes in question.
Here is one of the problem childs...
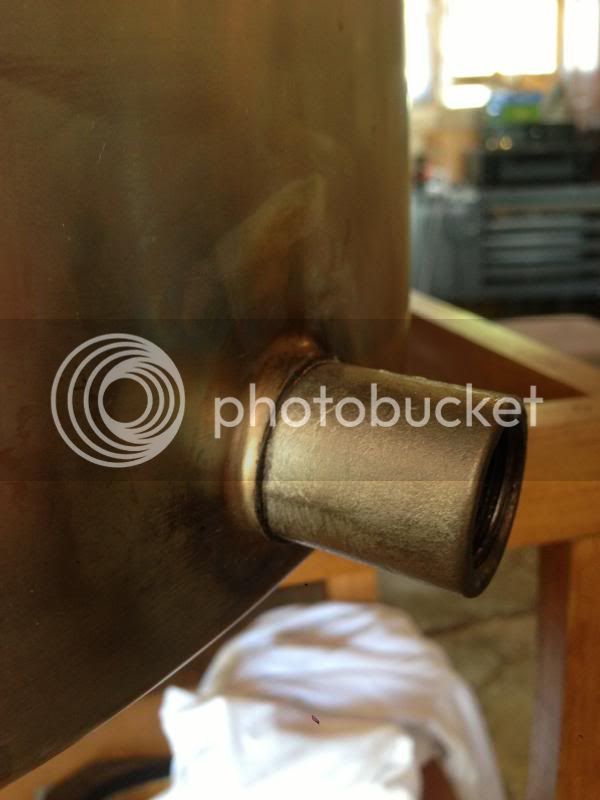
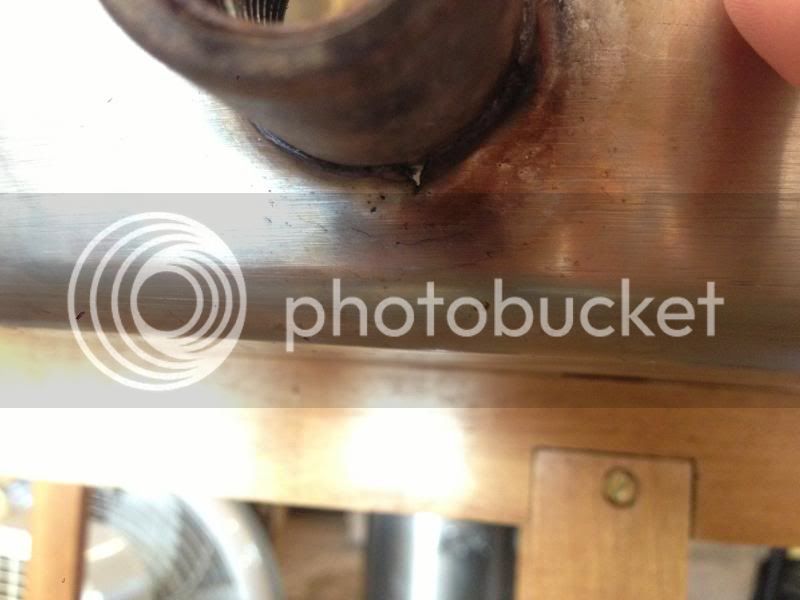
Bottom with the tear...
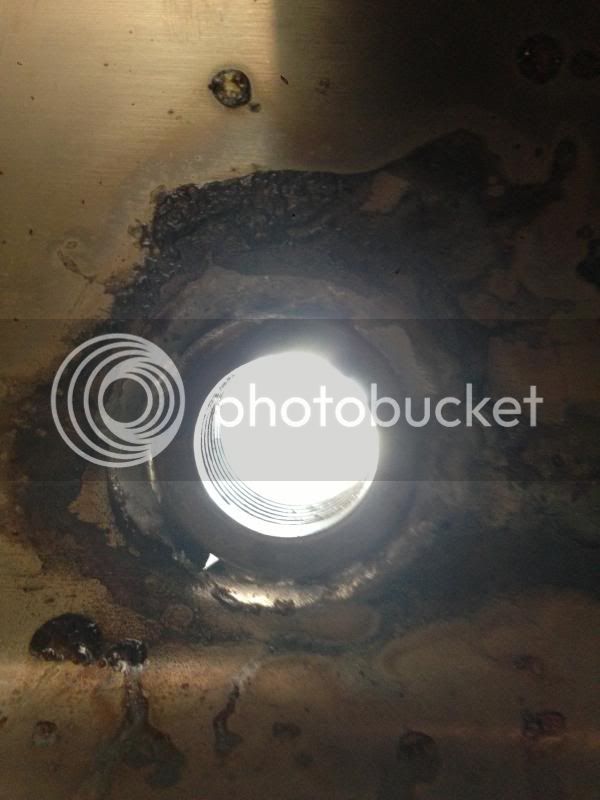
View from the inside... uncleaned yet
Here is my next issue... the first hole I did was FANTASTIC! except after the solder had reflowed... I moved the pot too quickly causing the solder to run all over... I add more solder and reheated it, but I didn't add more flux.. I believe I caused a bad joint... Can I fix this by adding more flux around the spot and then just reflowing it one more time?
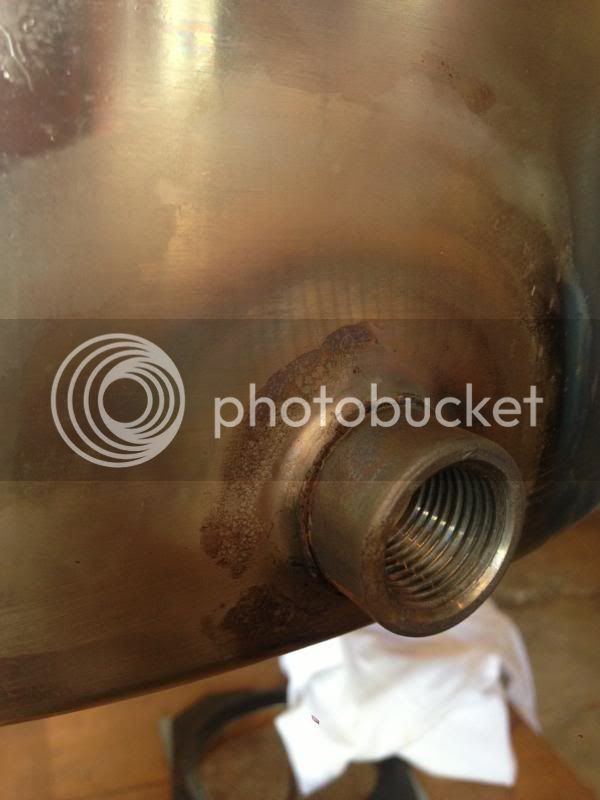
Outside - looks pretty
inside (out of focus, sorry) - you can see it is a rounder bead rather than laying flat
This is the solder I used
This is the Flux I am using.
The die is a 1" ID threaded coupler I got from Menards.
I also have some pics... I will try that cold solder technique... and have a few questions on another hole... but I will first add pics for the holes in question.
Here is one of the problem childs...
Bottom with the tear...
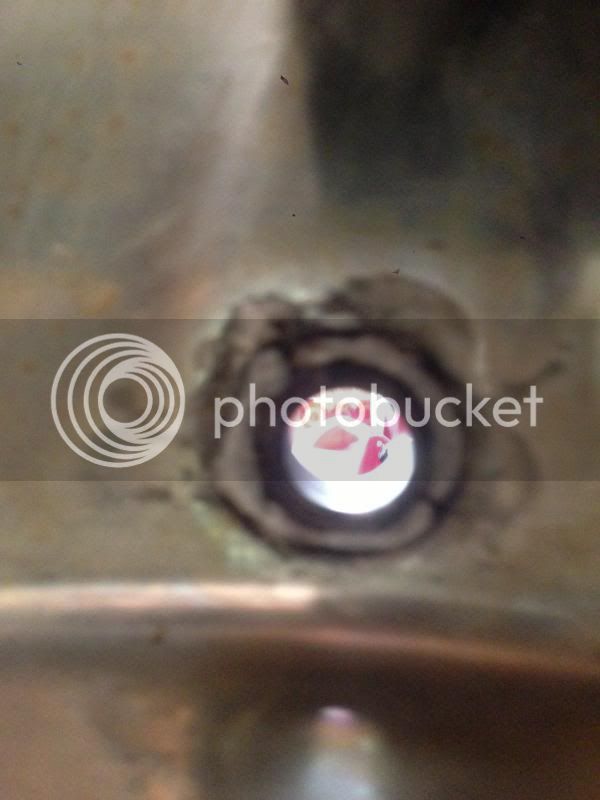
View from the inside... uncleaned yet
Here is my next issue... the first hole I did was FANTASTIC! except after the solder had reflowed... I moved the pot too quickly causing the solder to run all over... I add more solder and reheated it, but I didn't add more flux.. I believe I caused a bad joint... Can I fix this by adding more flux around the spot and then just reflowing it one more time?
Outside - looks pretty
inside (out of focus, sorry) - you can see it is a rounder bead rather than laying flat
Last edited by a moderator:


")


