I did a lot of research and found myself looking at this forum quite a bit.
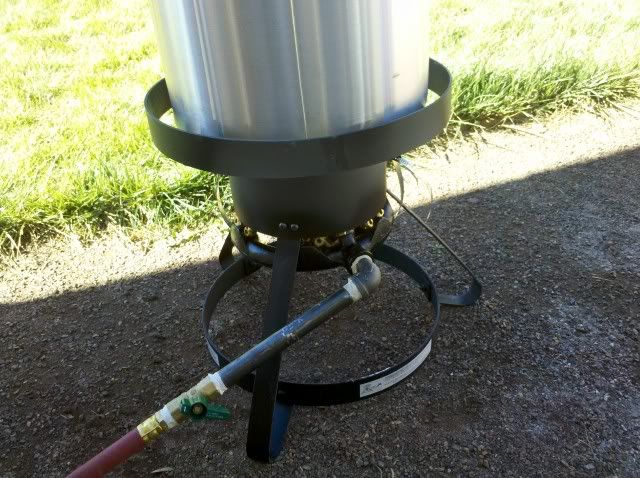
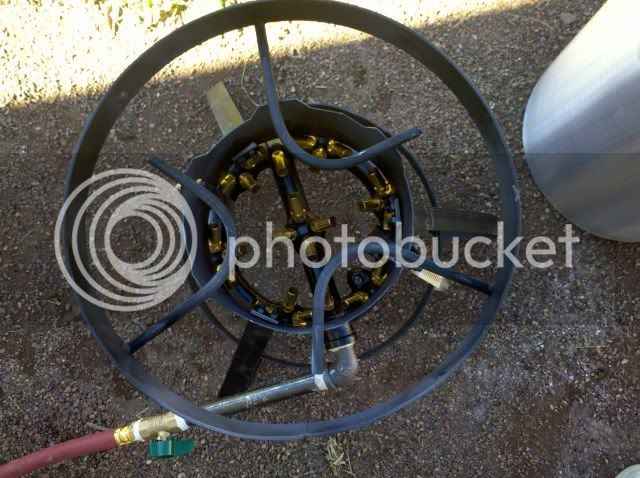
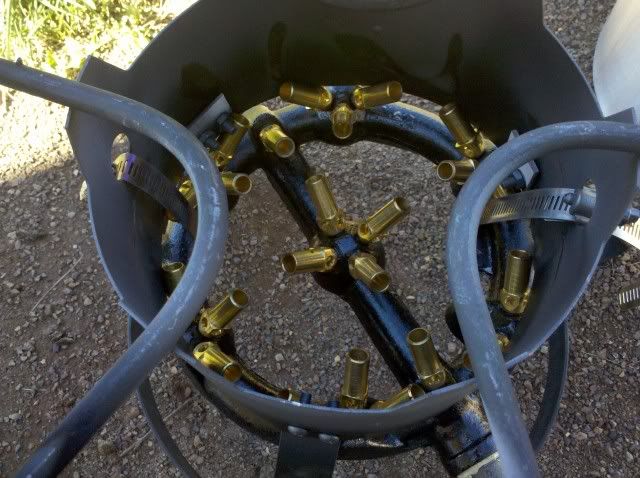
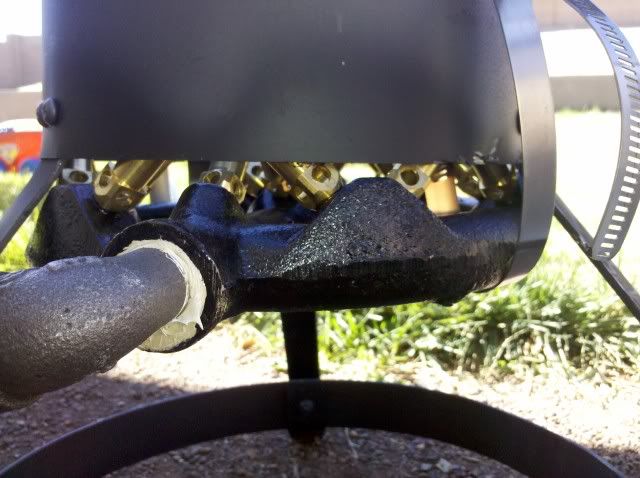
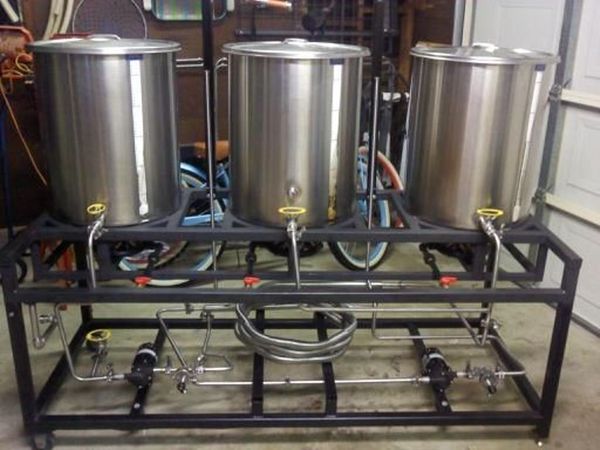
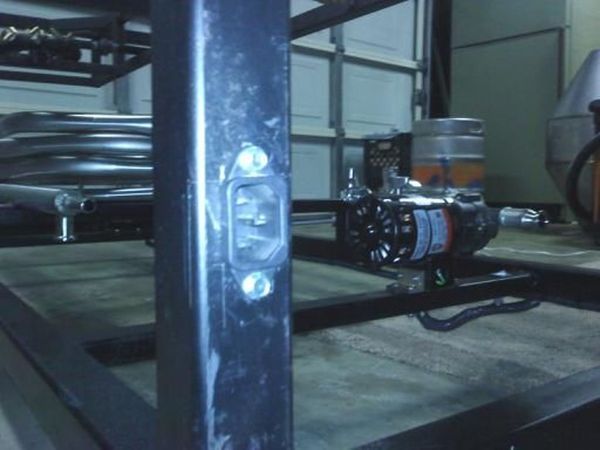
My frame is 1 1/2 x 1 1/2 square steel. I used a gas tube instead of running a gas line. The three jet burners, natural gas, work great. In fact once the wort is at a boil I turn it very low to maintain the boil. The electrical is run from the flush mounted receptical, thru a keyed switch, to the switches for each pump. The keyed switch is so if I leave it plugged in the kids or animals wont accidently hit a switch and run a pump when it's dry.
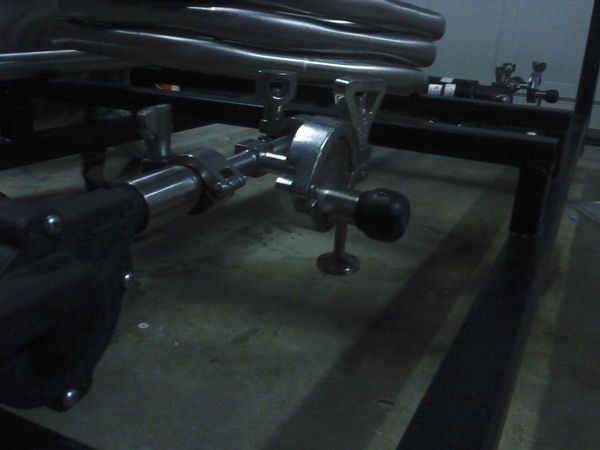
Working at an aerospace company, for an owner that loves beer, allowed me to design and build stainless lines for the entire system. With a boatload of small tri-clover fittings, gave to be by Mark at Oceanside Ale Works, I ended up with a system that should last a lifetime.
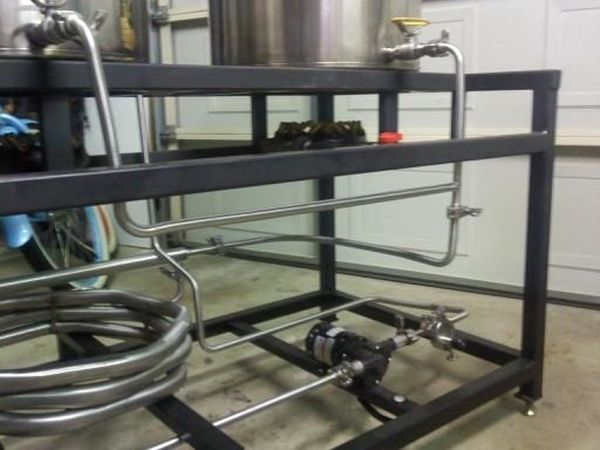
I also built a heat exchanger by running a 5/8" line thru a 1 1/4" line and then making a "coil". I circulate water from the HLT in the big line, the wort circs in the small line, so I don't need a coil inside the HLT to control the mash temp. When the boiling is done I run tap water thru the big line, wort thru the small, and it takes it down to about 80.
There are sampling valves that can be opened to allow the pump to prime itself and take small samples from while brewing.
Wheels on one side makes moving it "easier" (it's heavy) like a wheel barrel.
I usuall do 20 gal batches but can go down to 10. Was thinking about getting some 55 gallon stainless drums for bigger batches.....
Thanks to everyone that has posted on here. It's been a tremendous help and hopefully these pics might inspire some new designs and ideas as well.