Brewtroller build Help

Homebrew Talk - Beer, Wine, Mead, & Cider Brewing Discussion Forum

Help Support Homebrew Talk - Beer, Wine, Mead, & Cider Brewing Discussion Forum:

This site may earn a commission from merchant affiliate links, including eBay, Amazon, and others.

drunk2much

New Member
Joined
Apr 4, 2014
Messages
4
Reaction score
0
Location
Moody
Aghhh!

I have been working on this brewery for over 2 years now (or what seems to be 2) and I'm at the point where it has lost its fun. ( I haven't brewed in that time frame too:mad:)

I have a few questions I'm hoping will get answered here.

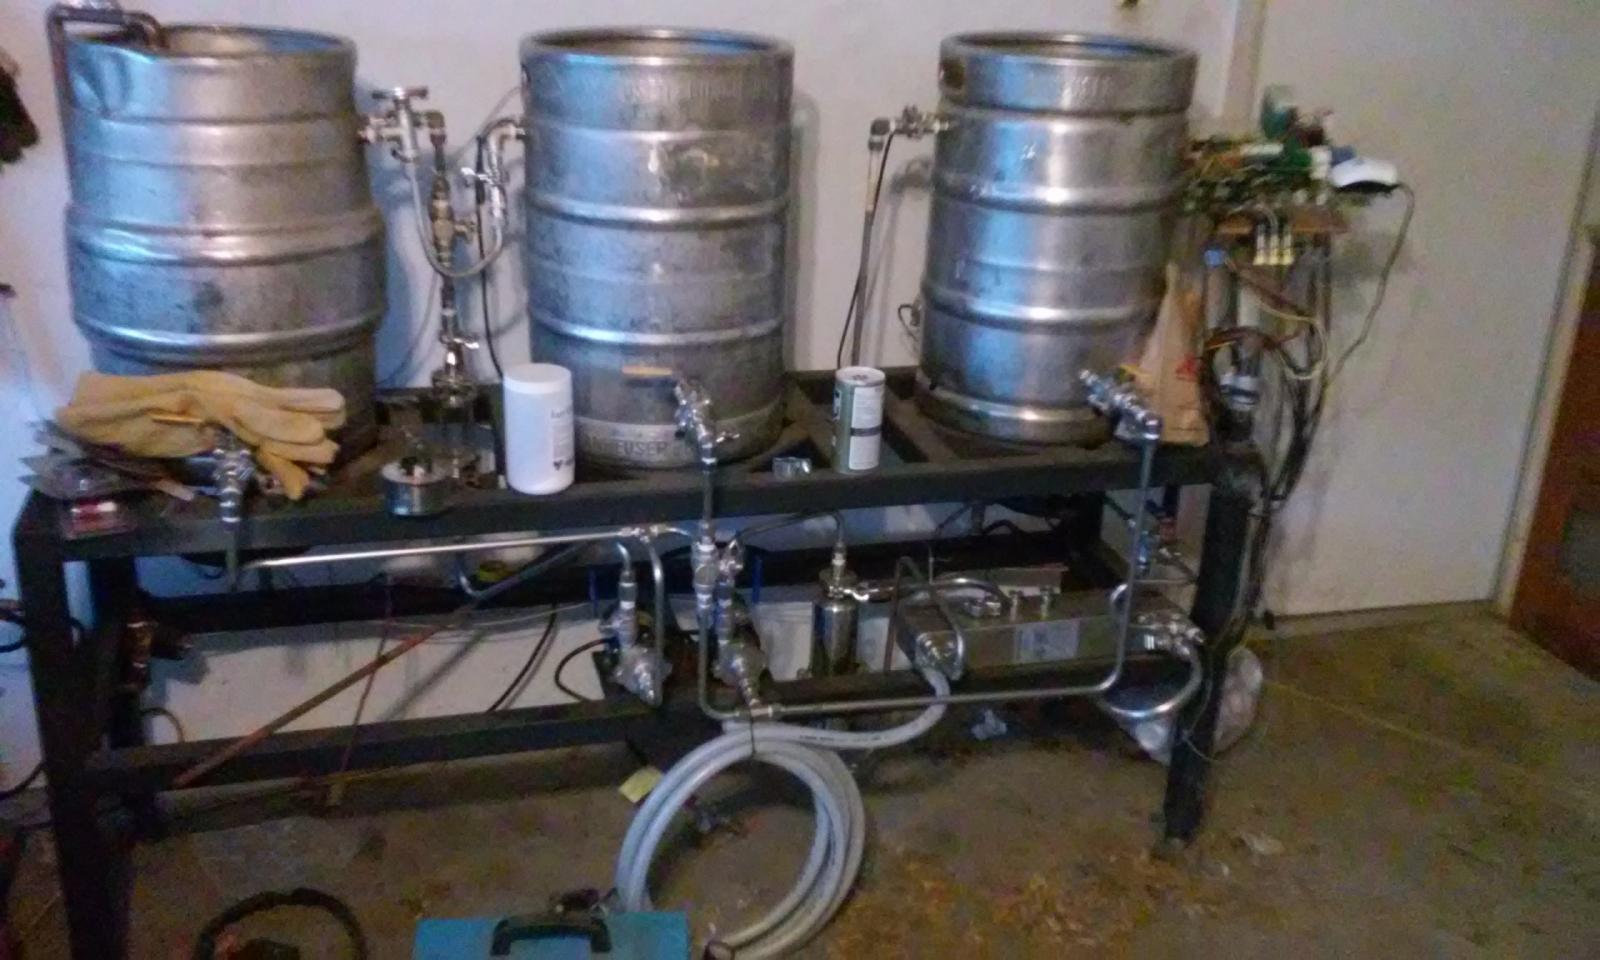
First Ill throw a few pics and a url here so that you have an ideal of what im working with.

[ame]https://www.youtube.com/watch?v=Df6Zzzgwogw[/ame]

You can just skip to about end to get a quick view of what I have built. I'll post a pic in the body of this thread too. I have updated the rig since the photos posted here are most current.

Here is also a craiglist ad where I ab begging for help there too if you in the centex area.

https://austin.craigslist.org/wan/5085930310.html

So after all that, my questions.

1. I want to add a electric element in the HLT. Can i do this with brewtroller while running propane on the other side for the Kettle. Will the on board PID care? I would think it would, just would like to know for sure

2. I have run the brewtroller program several times and I get kinda confused with the way the program proceeds. I don't really understand exactly how to best navigate through it. It seems a bit cumbersome.

3. Also the way I configured some of the lines, I seem to have a bit of an issue with them priming, any advice? I can get the to run but I have to manually manipulate the valves to get them to draw.

4. Is there any thing in the code when you install that most people utilize. I know you can just delete the // in the arduino developer but I didn't really know which are most utilized.

5. Any other advice would be greatly welcomed. Just don't be too harsh:confused::confused::confused:

I would ask the question over on the brewtroller forum but since the change of hand that forum dosen't seem to get as much traffic.
 
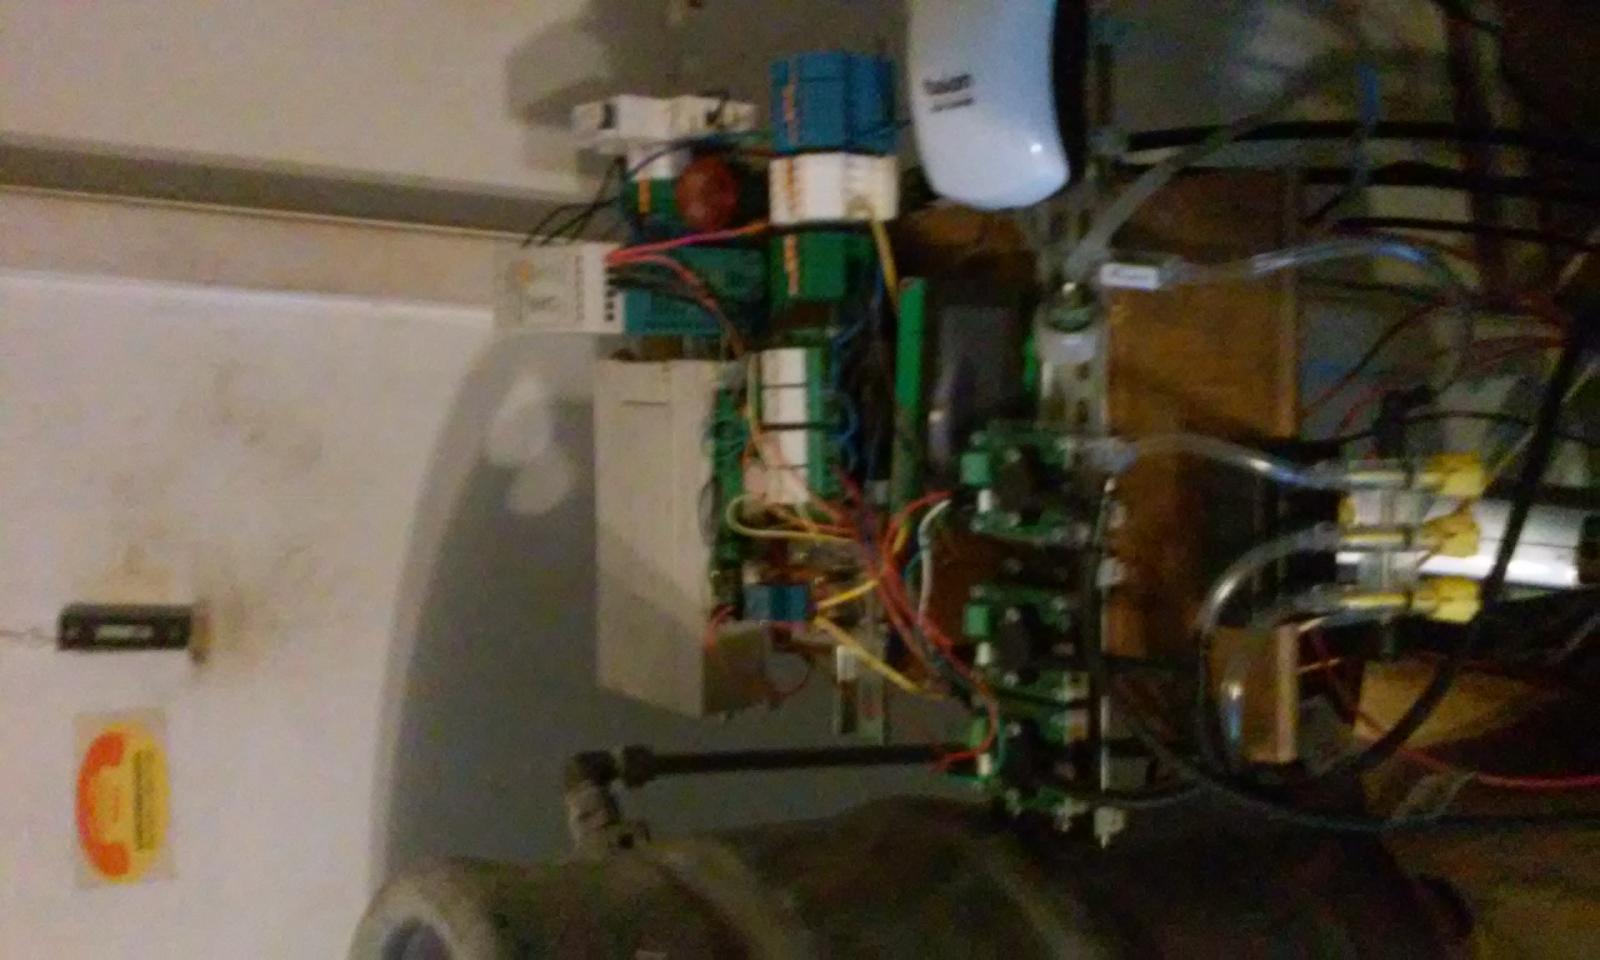
Sorry the pic did work, here they are.

0710152038a.jpg


0710152038.jpg
 
I can try to answer some of your questions, I built / have been using a brewtroller build for a couple years now.

You can see some old posts about it here

> 1. I want to add a electric element in the HLT. Can i do this with brewtroller while running propane on the other side for the Kettle. Will the on board PID care?

My setup is all electric, but, yes you can do both electric and gas mix. Each vessel has it's own individual config, so I don't see a problem tuning it to work with both at the same time.

> 2. I have run the brewtroller program several times and I get kinda confused with the way the program proceeds. I don't really understand exactly how to best navigate through it. It seems a bit cumbersome.

It's best to think about it in grain brewing steps going from left to right. The first menu is config / programming, next is about filling and pre-heating, then mash steps, sparge out, followed by boil, then cool. The menu is a little cumbersome, I agree, so I always use the iPhone / iPad app to assist. With the iPhone app, you can turn valves on and off individually, it's really convenient. Makes prep and cleanup much easier. I keep an old early gen iPad around just for this. Just remember, press and hold to go back or cancel.

Word of warning, if you click to advance to the next cycle on the machine, and do it again on the iPhone, it will advance two steps!!! Only advance steps from one or the other. Restart the iPhone if you have to to avoid advancing steps, there is not a good way to go back and you'll make a mess.

> 3. Also the way I configured some of the lines, I seem to have a bit of an issue with them priming, any advice? I can get the to run but I have to manually manipulate the valves to get them to draw.

I had some issues here too. To fix mine in the mash, I went with a really nice false bottom, and was /very/ careful not to let recirc flow too quickly. Also, I bottom mounted the drains instead of on the side, with a mostly straight run down to the pump. I use the chugger pumps / heads, which work pretty well. I had another issue in cooling the boil, and ended up going with that really great stainless steel counter flow chiller from williams. For chilling, I recirc back into the boil kettle until I reach temperature, the boil whirlpools, and I let everything sit at temperature for a few minutes. I open a manual valve in the kettle and go right into the carboy.

For an automated brewing system, I found that this chiller was a great fit because it's so easy to sanitize, keep clean, and sterilize. Brewtroller lets you turn it on 20 minutes early while still in the boil. If some hop particulate gets into it, meets no resistance, and comes right back into the kettle.

A down side is that you really have to flush the thing before and after brewing, and you lose a very small amount of wort. I sometimes do a fully automated dry run to cycle everything.

> 4. Is there any thing in the code when you install that most people utilize. I know you can just delete the // in the arduino developer but I didn't really know which are most utilized.

It's different for every setup.. I commented a bunch of stopping points so that it would need less intervention to do a full brew. I also have a minimum HLT volume in the HLT such that refill after mash-in makes sure the coil is covered with water.

I made a small code fix to fill the HLT more at initial fill to require less refill after mash in. Works pretty well, but I might size my HLT a little bigger in the future.

> 5. Any other advice would be greatly welcomed. Just don't be too harsh

Try not to make it too much more complicated before you get it running smoothly, I'd wait on the electric if you already have gas running, until you get everything else working.

A couple manual ball valves can simplify things, and get your brewing faster. For example, I don't use the auto-fly sparge feature, I tune a ball valve for sparge out and watch it for a couple minutes.

I also use the high temp silicon tube instead of stainless, it lets me move things around to assist cleaning, and make changes / fixes. Even if you don't use it everywhere, it can be very convenient in select spots.

Create a very short duration brew cycle with low temps, say only 5-10 degrees above temp at the tap, with only 5 min durations to get used to the menu / flow of brewing. After you really get a feel for the menu's, keep it around as a "flush" cycle.

If I think of something else later I'll let you know.
 
Hey drunk2much,

Have you gotten any further? Do you still have questions? I'm here now, so I'm happy to help.

Generally, you will have no problems running electric on one end and gas on the other. The software doesn't care what its hooked up to.

In terms of the software, really you can just put the right hardware profile in the base folder that matches your system setup and upload and you should be good to go without much other changes.

BrewTroller is also hoping to release a new firmware upload tool that will make this even easier.

Let me know if you have any other questions, send me a message, hit us on IRC, or contact me via the brewtroller website and I'll be happy to help!
 
Thank both of you so much for your input, I sometimes kinda feel alone slamming my head into the wall trying to go in the best direction. Granted the task i'm undertaking is quite involved.

I have ordered all the items to just go all electric minus the final element and 2 more SSR that aren't here yet from china.

I didn't really like the way I have the propane set up. I plan to cut out the gas rail and who knows what with build another stand for sale? When firing the gas system with those high pressure burner kinda gave me the willies even with the high pressure cut out safeties. Also, all that heat was also getting dumped into the frame which I quickly found out the first and only time I used it, before the automation leap.

I plan to weld two 2" triclamp with those fancy SS adapters for elements, just as soon as the cold front gets here tomorrow and cools us down to 89 degrees.

I have ordered one 3/4" ball valve for the water in (fill) but it wont be here for a while. All of my 3 way (i Have 3 of them) were put in utilizing them as an T configuration. I didn't know that was lesser common of the ball valves. So, I either redesign the set up or order from china. I inquired about a year ago on alibaba and I'm still getting Emails from them inquiring if I need their products. I'm still up in the air what to do here.

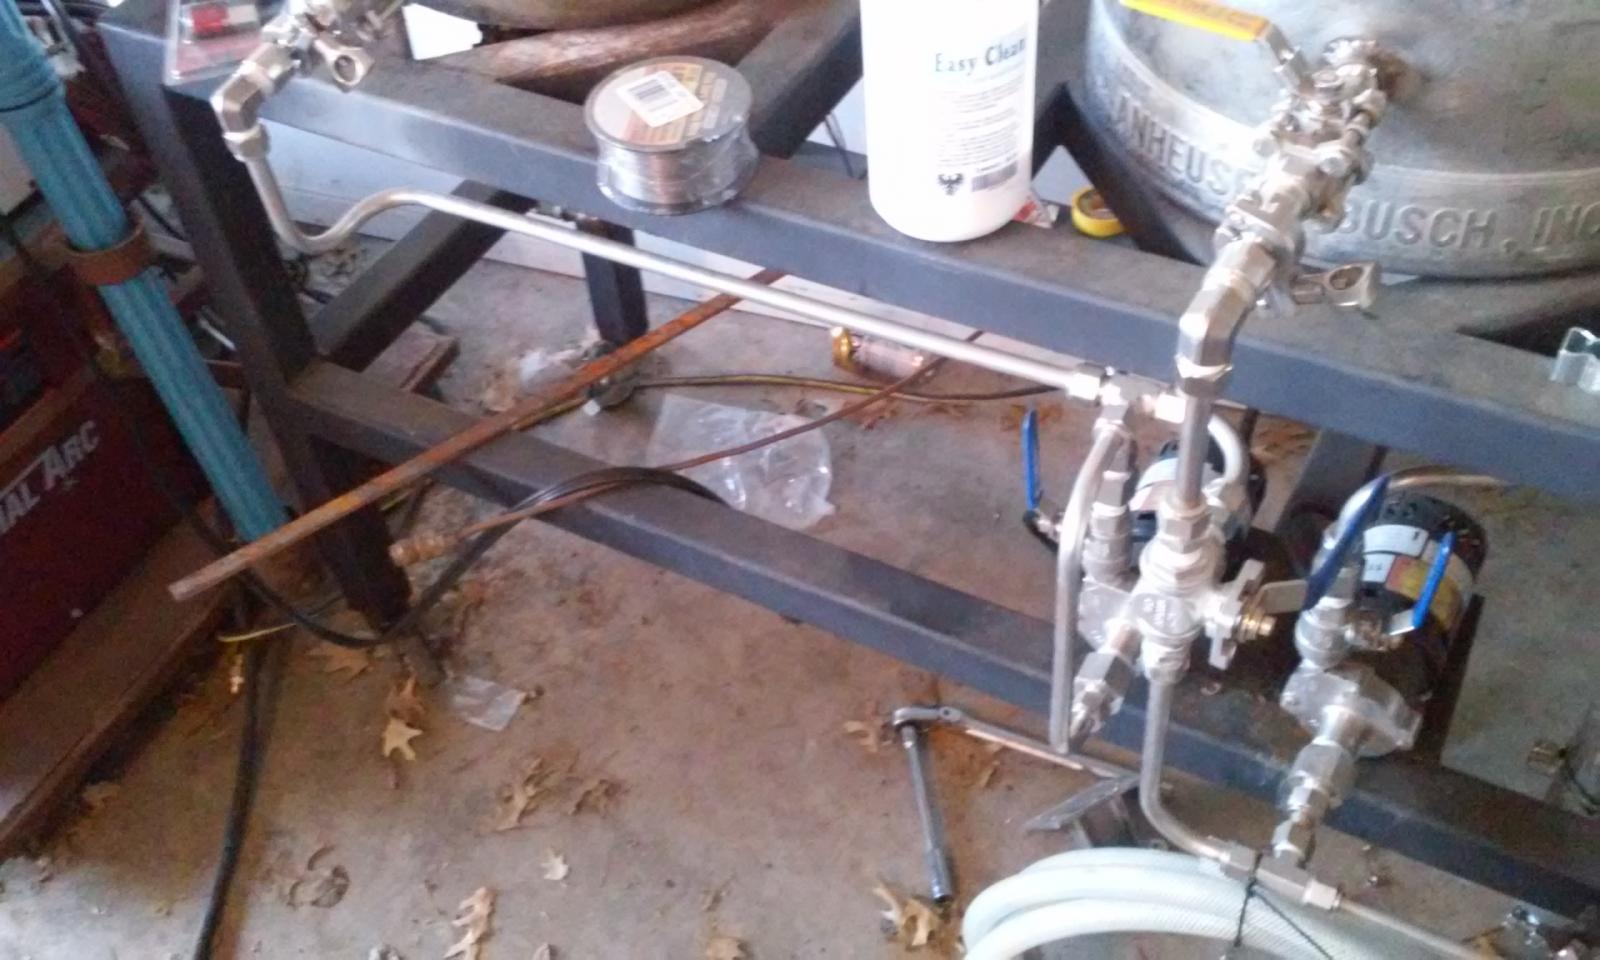
My False bottom is ok i guess, the drain at the bottom is genius! but I don't see me reworking this. I'm getting some sort of cavitation when trying to prime the lines, I think it has to do with the short run between the 3 ball valve and where the two line meet. I'll try to take a picture tomorrow.

That's a nice chiller, I was worried about my plate chiller plugging up with hop material but I put that prefilter before the line and it seem to do ok the one time i used it.

I have tried to build this thing with easy dissasembly, hence all the tri clamps, but this might be over kill?

Adam, thanks for the support. I really didn't have a problem configuring the board or updating the NIC. I just feel dumbfounded with all the choices to that are available and which would be useful to me. I know everyone system is unique but maybe this feeling is due to my lack of actually using the system enough to know who to configure it.
 
Adam, thanks for the support. I really didn't have a problem configuring the board or updating the NIC. I just feel dumbfounded with all the choices to that are available and which would be useful to me. I know everyone system is unique but maybe this feeling is due to my lack of actually using the system enough to know who to configure it.

You are certainly not alone in being overwhelmed by possibility!! My advise there is to put a plan together, even if its not perfect, and build it, then brew on it. I guarantee that your first build will not be your last!! These things evolve, and you won't REALLY know what you want until you brew on it!
 
I ended up doing low density elements from amazon, following a simplified version of this design, which needed a couple of these 1" fittings from bargainfittings.com. It worked out pretty well.

How are you welding, yourself or asking for help? I ended up using this method:


I probably did a couple dozen fittings this way, and they were surprisingly fast / easy. Did mostly 1/2 inch, except for the heating elements, so a cheap hole punch plus the parts from mcmaster mentioned in that video made really quick work of everything. I've had a lot of compliments on how nicely the soldering came out by the real pro's, and it was due to the linked video being awesome.

For water fill, I highly recommend forgetting the ball valves. These solenoid valves from the ebay seller valves4projects are awesome. They need back-pressure to work correctly, but the constant water pressure from the house are a perfect fit. You have to get an extra relay to run them, but you can get those for 5-10$. They out perform the ball valves because it's instant on. The ball valves take a couple seconds to turn off, causing a little bit of over fill... Not to mention they fail more easily, I threw away / returned 3-4 of them.

For the cavitation problem, bottom mounting the drains lets the air from the pump bubble back up and out of the line. If you have your drain connected to a dip tube, the air may bubble up and get caught at that inverted U caused by the dip tube. If the pump does prime itself again, it just hits the air bubble waiting for it. Might not be the case for your build, but that was mine.
 
Last edited by a moderator:
I used the same silver soldering video to do my setup, I agree, it was fast and easy!!

I also concur that solenoids are the way to go for water in, they are just not ideal for moving wort around due to the small pressure ports they have that are prone to clogging.
 
I have a tig welder and do all the welding myself. (not by trade just learned over time). I am using these pricey gems to hold the elements. (see pic)
I don't know where would be ideal to mount the elements on the keg per say. should they be lower closer to the bottom or about 1/4 of the way up the keg or does it even matter?

I didn't get around to welding these things in yet last these week was just terrible. I'm going to try to get this don't next week.

I have a 3/4 inch solenoid for the water in, it just won't seem to stay closed and leaks into the HLT. ( I foolishly didn't calculate the amp's when i fist installed it and blew #1 output, now it reads a constant 12V, it has its own relay now. I was about 70 m-amps over :mad: I bought a motorized ball valve for the water in last Saturday, maybe this one won't fail me.

I posted a better picture of the lines coming out of the HLT and Wort kettles maybe this will give ya'll a better ideal of what im dealing with.

0818152144 (1).jpg


0822151913.jpg


0822151914.jpg
 
Back
Top