
DeepSea
Well-Known Member
If you plan on using this technique make sure you wear gloves as well as eye and hearing protection.
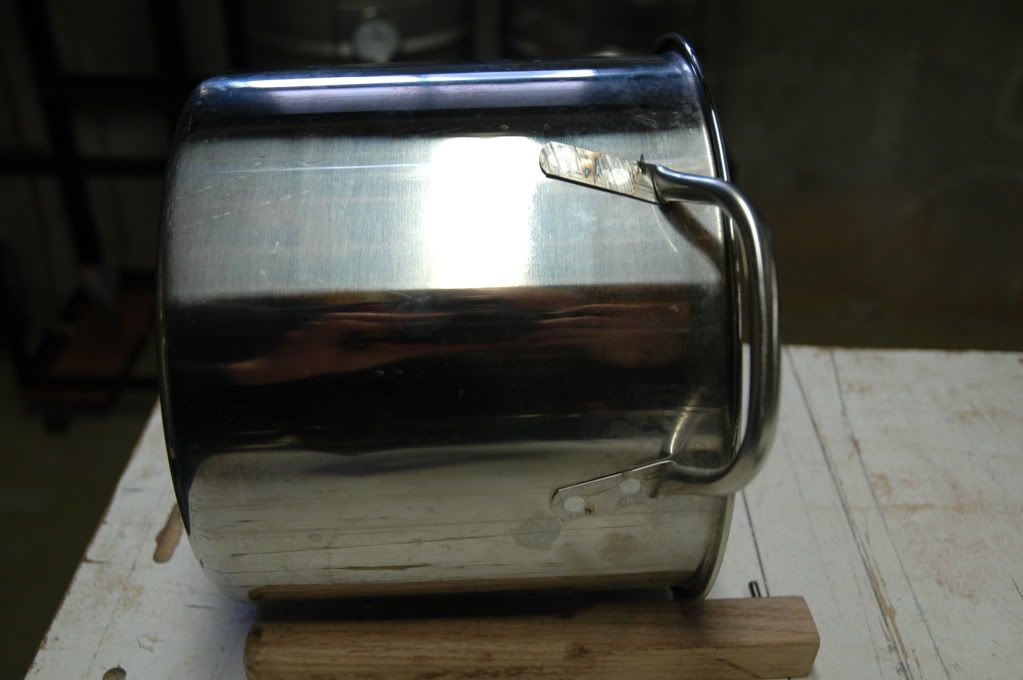
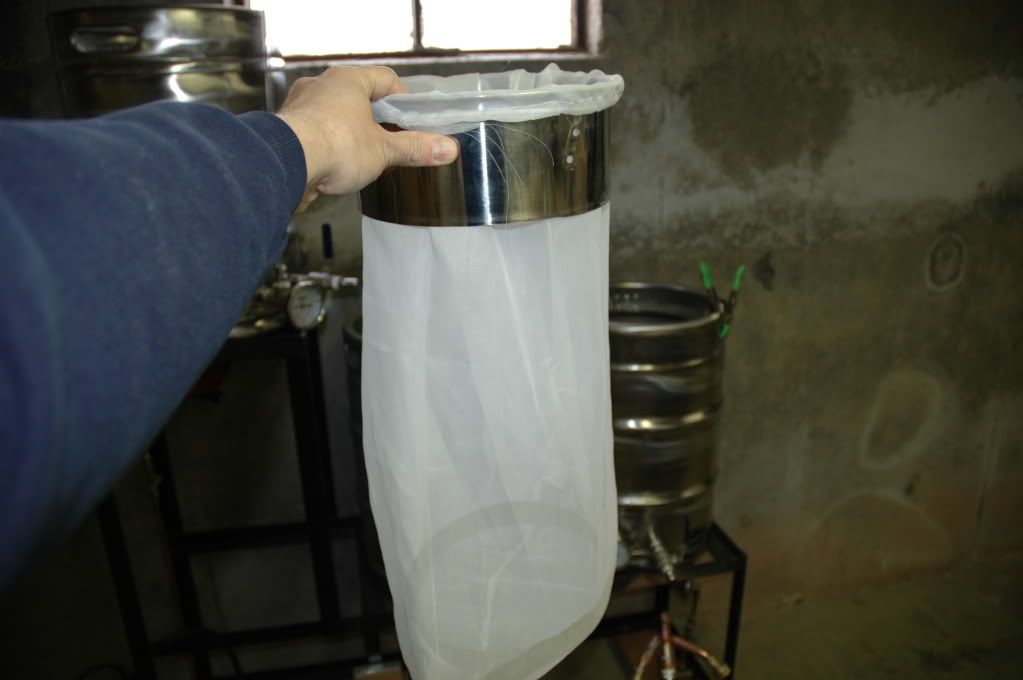
This is my hop bag holder. It started our as a $1.00 yard sale find. I ground off the rivets that hold the handles on
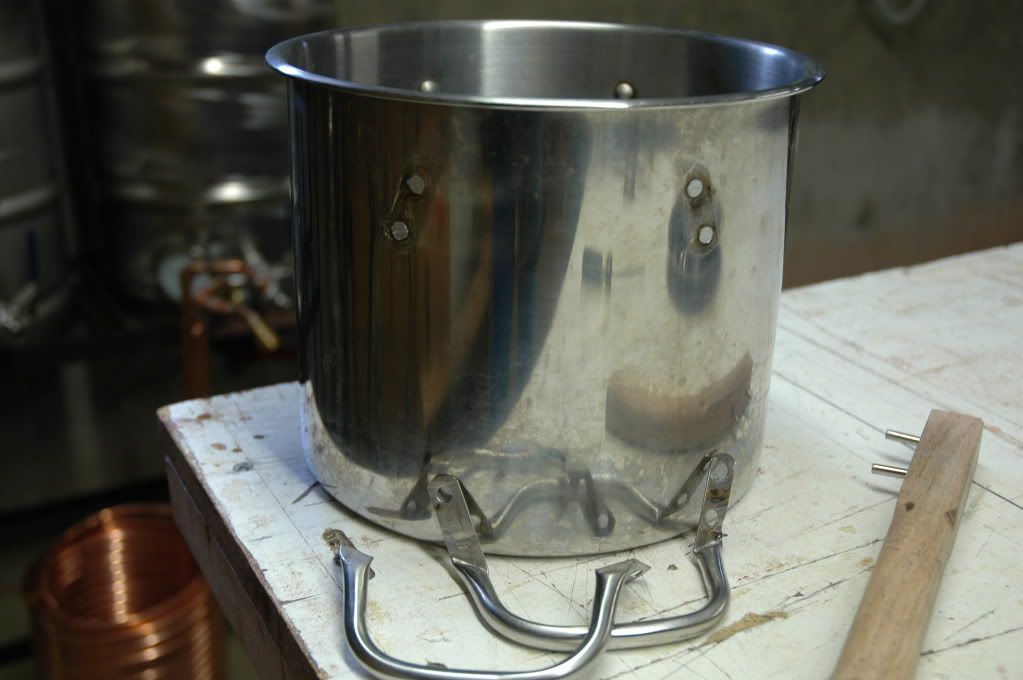
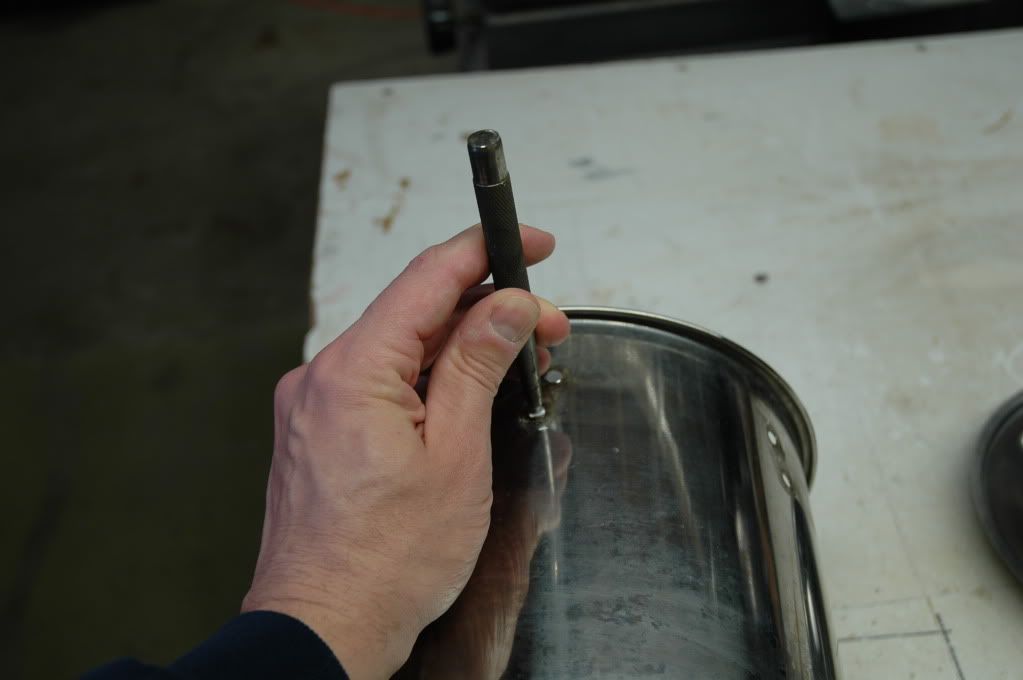
I them used a punch to remove the remaining rivet parts.
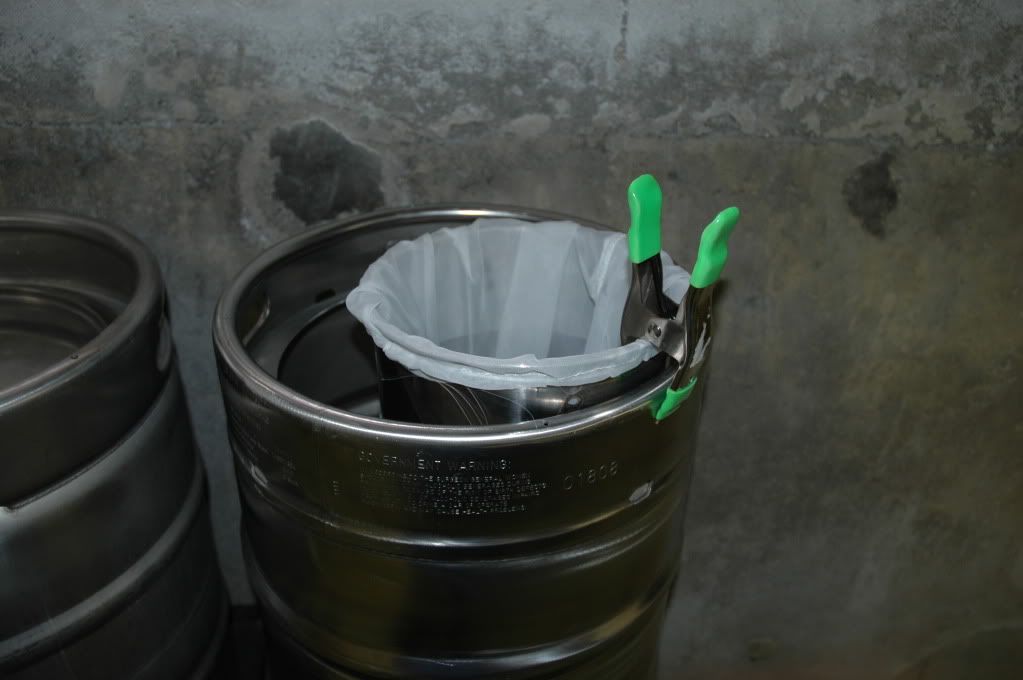
Use wood blocks under the guard so it is raised to the desired level of cutting. I cut the pot twice. Once for the top section and a second to keep the bottom of the hop bag spread out. The bottom section is extra but I think I may use it to sanitize small things.
When you cut the pot it is best to have the pot resting against the wood, the grinder to the left of the pot. The grinder rotates clockwise so this pushes the pot against the wood. My grinder has a button that allows you to start it and keep it running without holding the trigger. This allows you to concentrate on putting downward pressure on the grinder guard (with one hand) and slowly rotating the pot with the other.
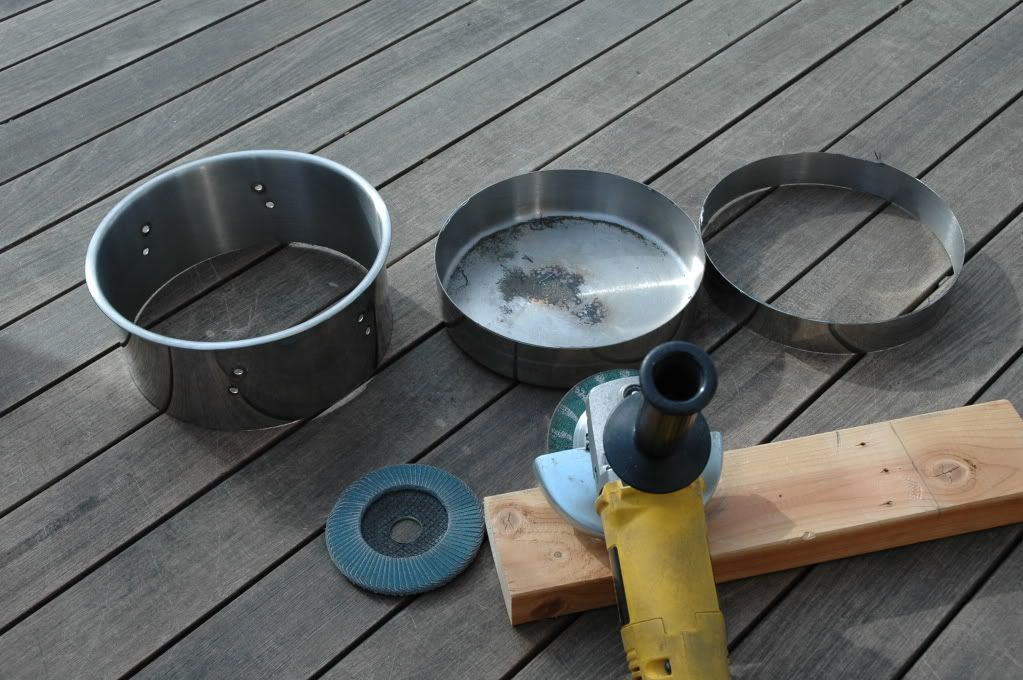
Use a sandpaper disc to smooth out rough edges and your ready to brew.
DeepSea
This is my hop bag holder. It started our as a $1.00 yard sale find. I ground off the rivets that hold the handles on
I them used a punch to remove the remaining rivet parts.
Use wood blocks under the guard so it is raised to the desired level of cutting. I cut the pot twice. Once for the top section and a second to keep the bottom of the hop bag spread out. The bottom section is extra but I think I may use it to sanitize small things.
When you cut the pot it is best to have the pot resting against the wood, the grinder to the left of the pot. The grinder rotates clockwise so this pushes the pot against the wood. My grinder has a button that allows you to start it and keep it running without holding the trigger. This allows you to concentrate on putting downward pressure on the grinder guard (with one hand) and slowly rotating the pot with the other.
Use a sandpaper disc to smooth out rough edges and your ready to brew.
DeepSea
