(First Post) Fermentation Chamber Build

Homebrew Talk - Beer, Wine, Mead, & Cider Brewing Discussion Forum

Help Support Homebrew Talk - Beer, Wine, Mead, & Cider Brewing Discussion Forum:

This site may earn a commission from merchant affiliate links, including eBay, Amazon, and others.

xcender

Member
Joined
Jul 21, 2011
Messages
14
Reaction score
0
Location
Virginia Beach
Hello all... like the title says this is post numero uno.

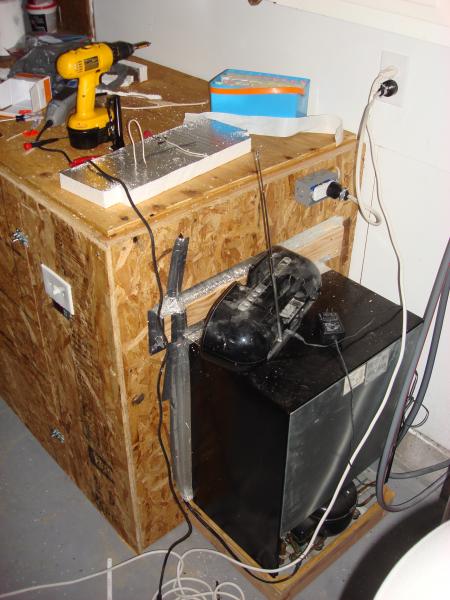
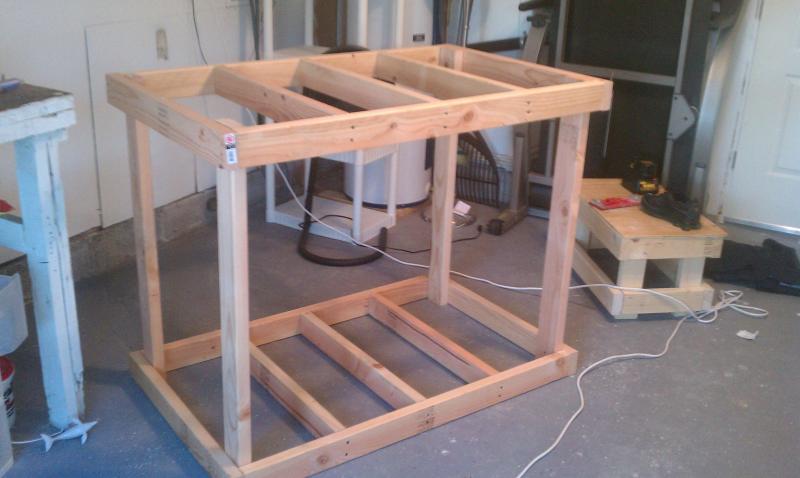
My first major homebrew project was this chamber. Came out how I wanted it too just hope that it will regulate the way I had planned out in my head.

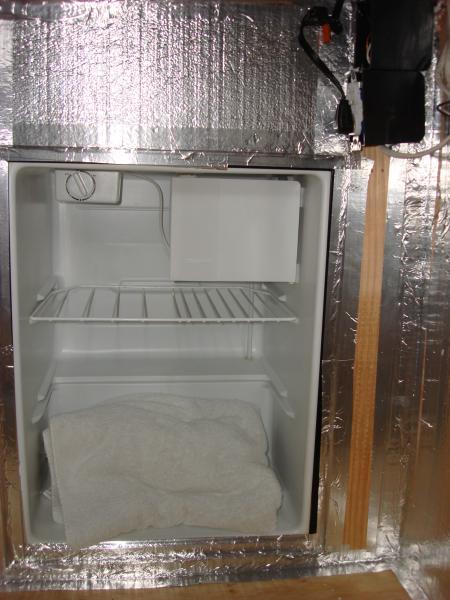
The chamber is big enough to house 6 6 gallon ferm buckets/carboys, and tall enough for corney kegs (which is the next logical transition). These 2 ideas were the preface to this build.

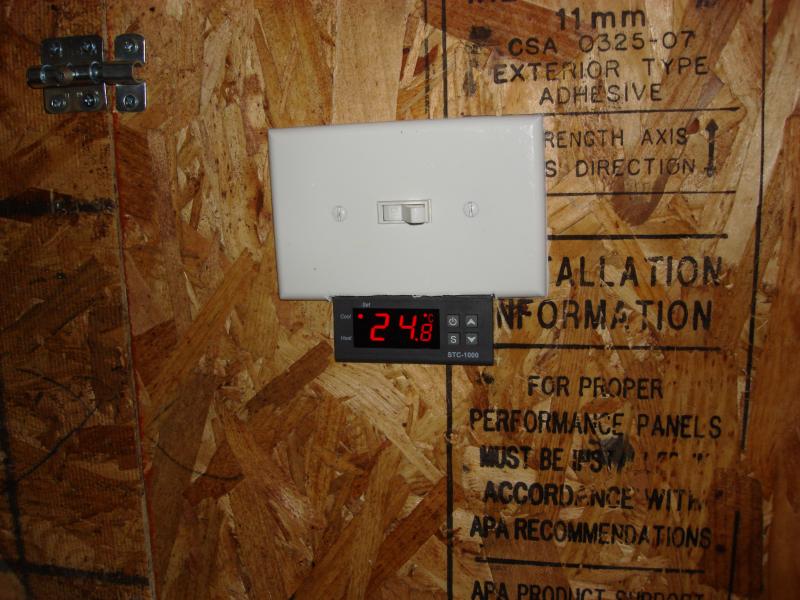
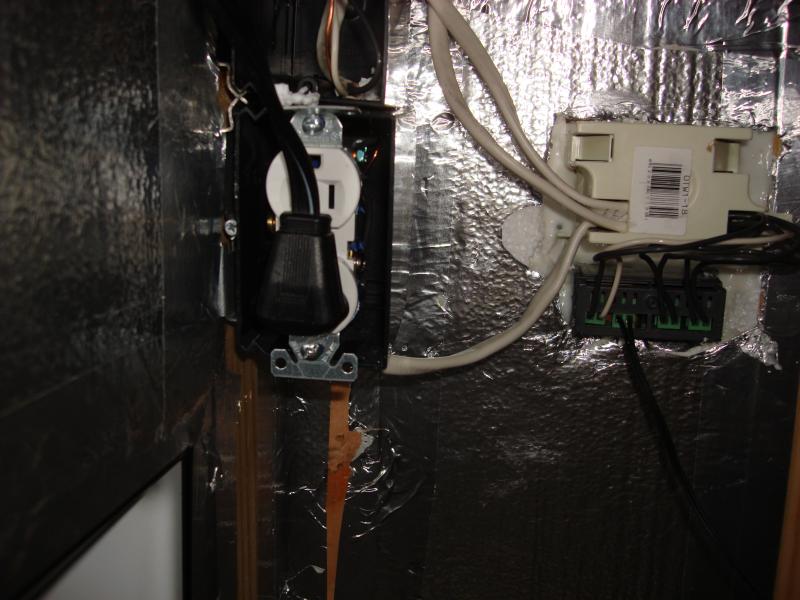
Some of what you can't see is that at the top and bottom I have also installed R-13 insulation to fill the gaps, and add a little more protection from the outside temp (which it is warm here in VA Beach... 90's everyday). All the electrical I opted to run inside the unit in the rare event that this beast needs to be moved it can and be plugged back in. The switch is there just as a "mains" switch.

I used the ebay aquarium temp controller.
IMAG0327.jpg


IMAG0328.jpg


The Chamber.jpg


The Frige.jpg


On-off and controller.jpg
 
Nice build! Looks not overly engineered, i like.

I totally get why you would do it this way, but the electricians here will complain about the male-male power cable feeding the thing. theory being if you unplug it from the chamber, you then have a hot cable dangling. Nitpicky....but just don't forget about it.
 
I totally get why you would do it this way, but the electricians here will complain about the male-male power cable feeding the thing..

It is a anti-SWMBO measure, now that would teach anyone not to mess with your fermenter!:D

Nice build

Clem
 
Jasper, thanks for the reply. Hindsight being 20/20 I would have just ran the cable from the my common box to the outside with enough cable to plug in to the wall to avoid the safety hazard. Guess I can just put a cover on the box and wire in the cable.

Clem- Thanks for the reply, and if anyone plans to mess with this box they are in for a rude awakening. :)
 
Looks very similiar to what I built. Unfortunately, my mini fridge couldn't cool it. Left it run for three days and it maybe got to 60. It was an older fridge, but maybe it was just too small for what I built....oh well. Just started to build a keezer instead.
 
Here is the schematic for what I did as well... pretty much the same as everyone else's, but I opted for 2 plugs per cycle (hot - cool).

Scanned Image.jpg
 
Do you have any fans inside of it at all? Reason being that without fans, the far end of it might be quite a bit warmer than the fridge end, even with the fridge's thermostat working right.
 
I do not have any fans installed at this time, but they are on order, as well as the 12VDC power supply. I have the ferm bucket at the far end of the chamber, and the thermister inside a 44oz cup of water at the center of the chamber. The difference from the ferm bucket and the controller/thermister is 2.5DegC. So I just adjusted the temp accordingly (the control offset is +/- .3 which is the lowest).... so far it is holding well. I figure that fans will just improve the efficiency of the fridge and maybe allow for me to get the temp a little lower than without fans. I will have to focus on what I am going to do here in about 3 months when the temp starts to drop... I guess 2 incandescent 60-80 Watt bulbs inside the chamber will help regulate for winter temps.
 
Awesome work - I have been gathering up lumber for a fermentation chamber as well. Already have the temp controller built and waiting.

Was the insulation you used the ridged foam type or a soft roll?
As you noted you want to be able to move it any thoughts about putting casters on it so it can be rolled somewhere?
 
At this point I think putting casters would be nice, but not necessary. My garage floor allows for easy sliding of the unit, and the added height that the casters bring wouldn't allow me to use the top as a shelf for my brewing equip.

Regarding the foam I used rigid styrofoam on the inside and since I had the 2x4's with the depth from top to bottom I used some spare wall insulation for added protection at the top and bottom. I could probably have cut about 2-3'' off the top and 6'' off the side. So far maintaining 65+ DegF is no problem.

One good tip that I received doing this project. If you choose to use the rigid foam it is easy to get good straight cuts using a simple metal hack saw blade... only about 2-3 bucks at local hardware store.

Good luck on your build!
 
Back
Top