Snood
Well-Known Member
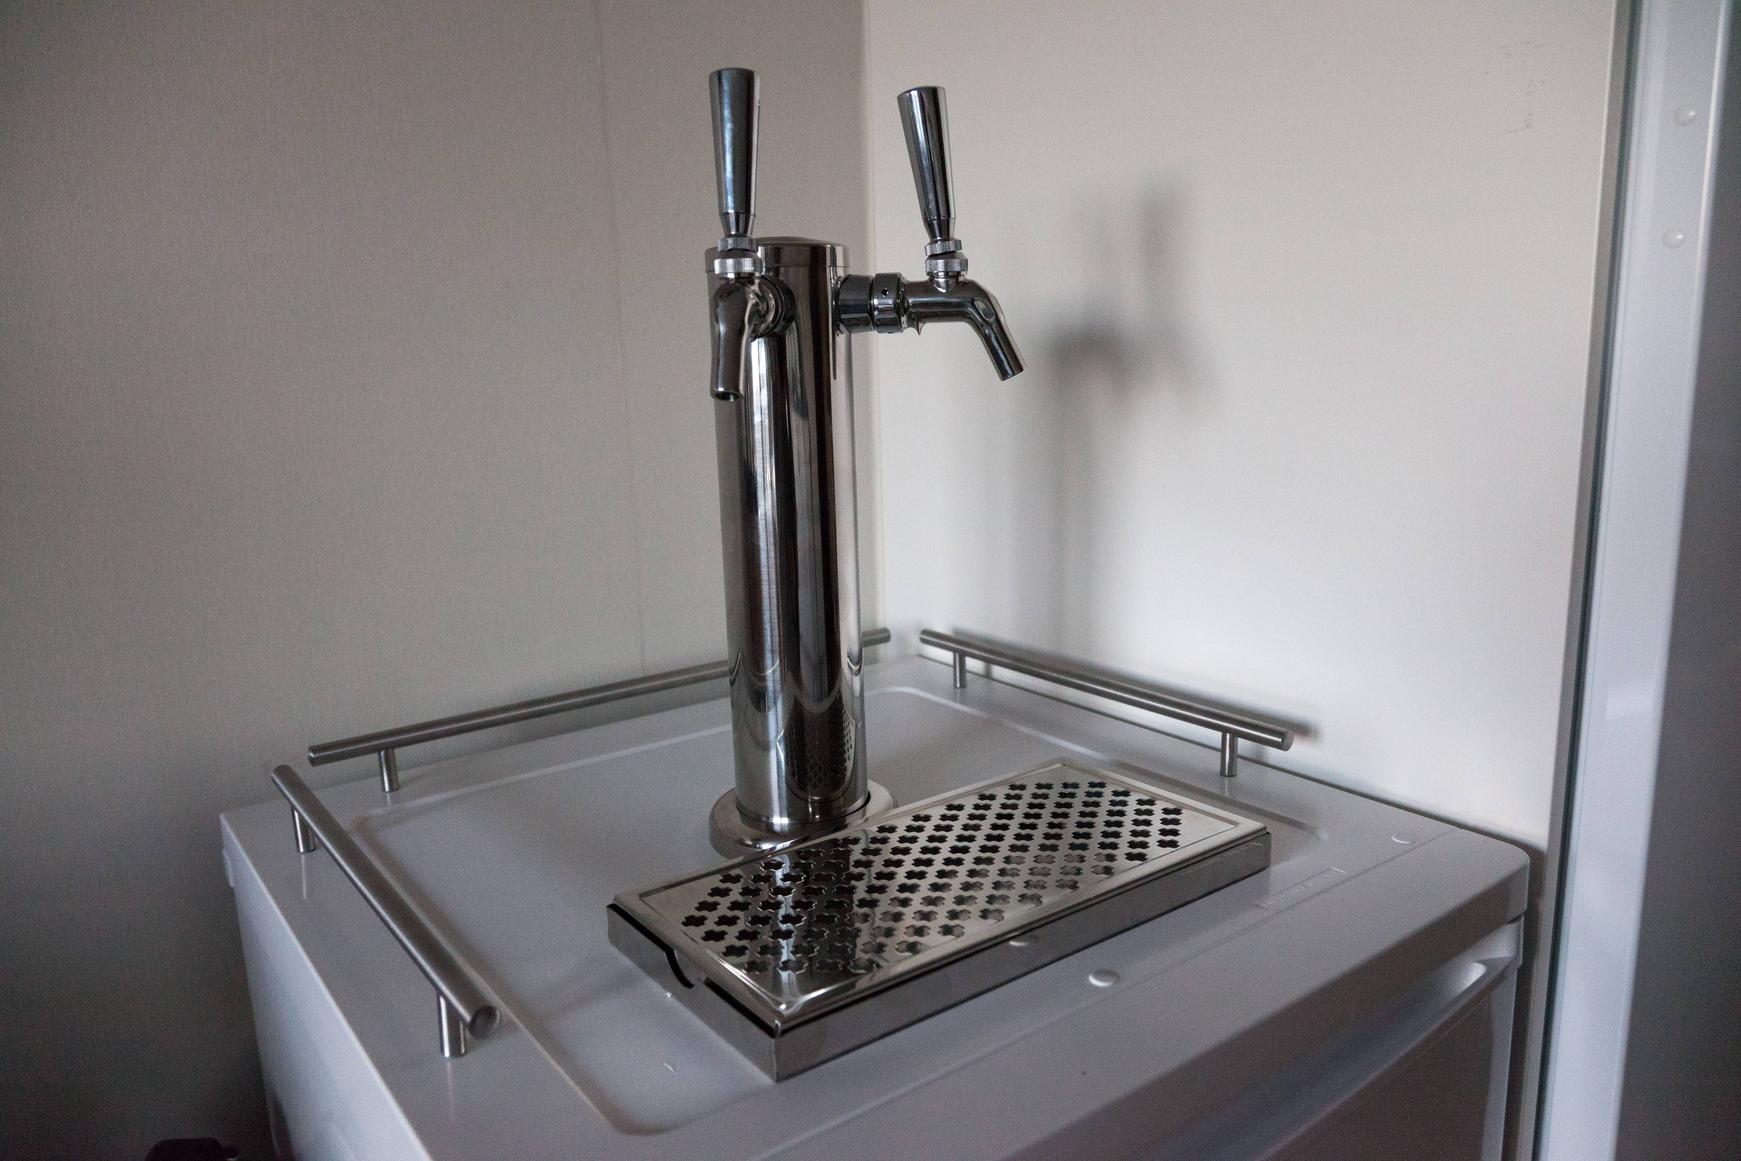
I recently moved into a new apartment with my girlfriend and we now have space for a kegerator. I started using Cornelius kegs this year but until now I have not been able to easily serve the beer, especially not without using about 8 metres of 3/16 OD line to reduce the needed pressure.
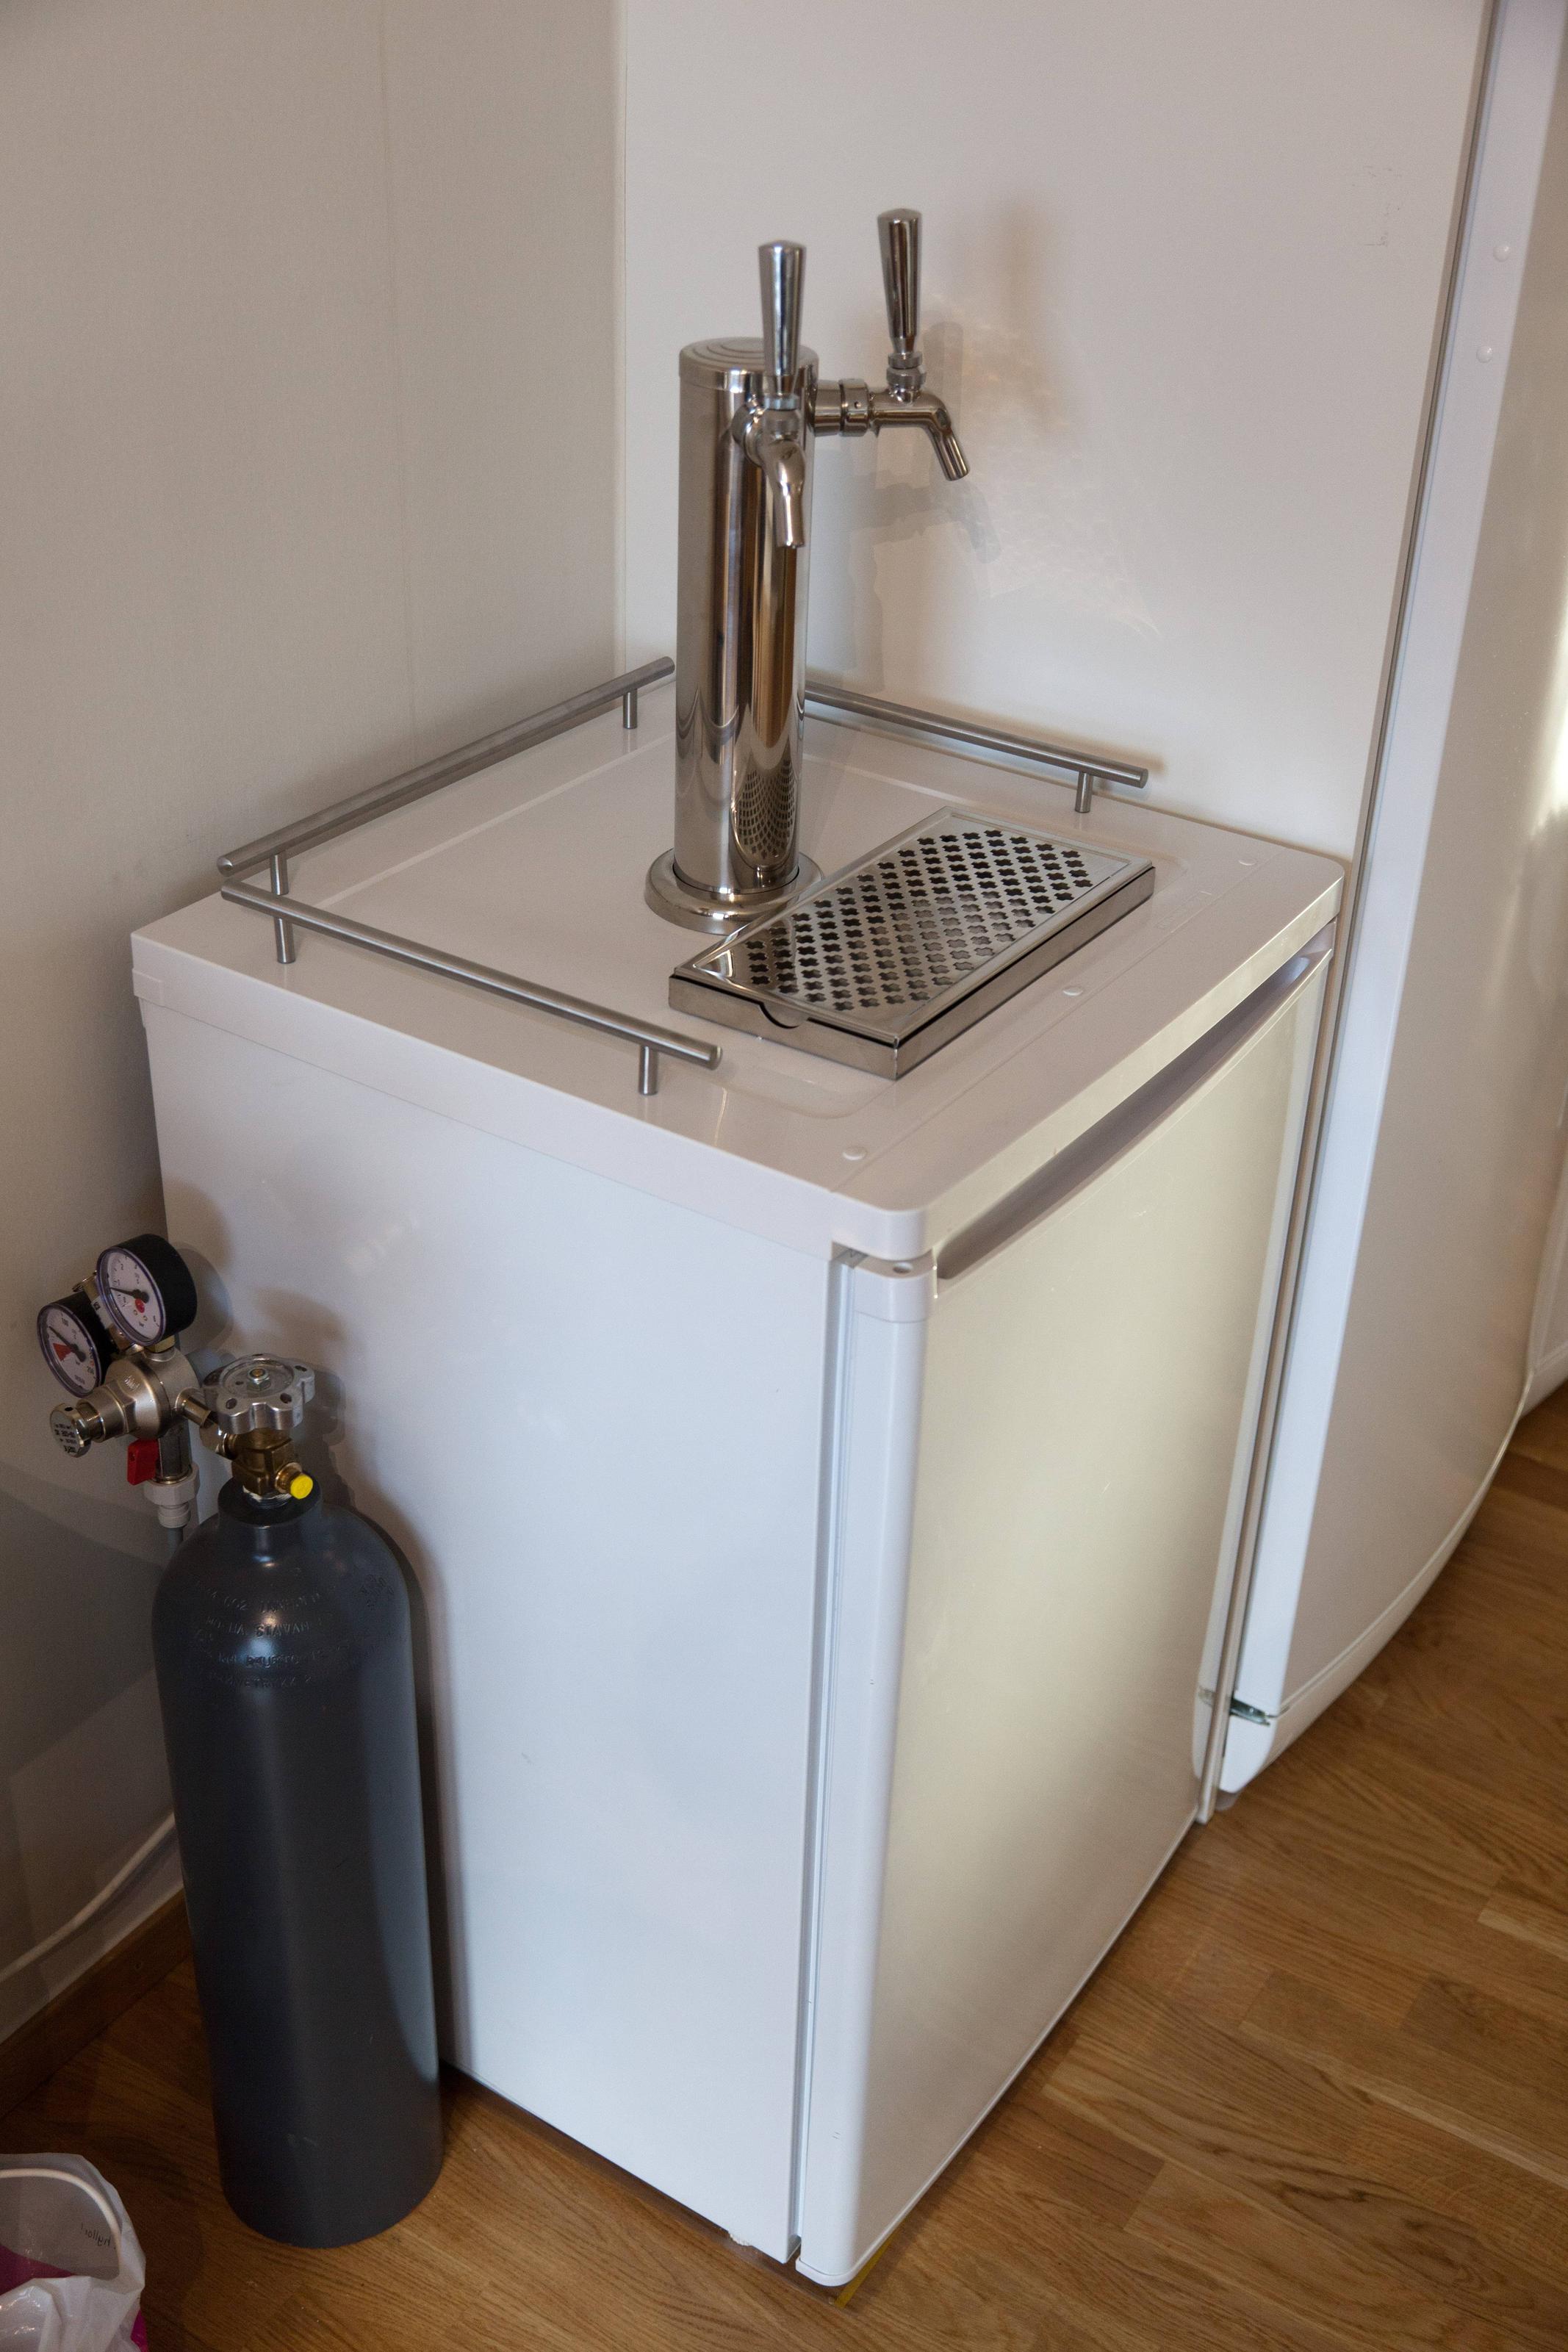
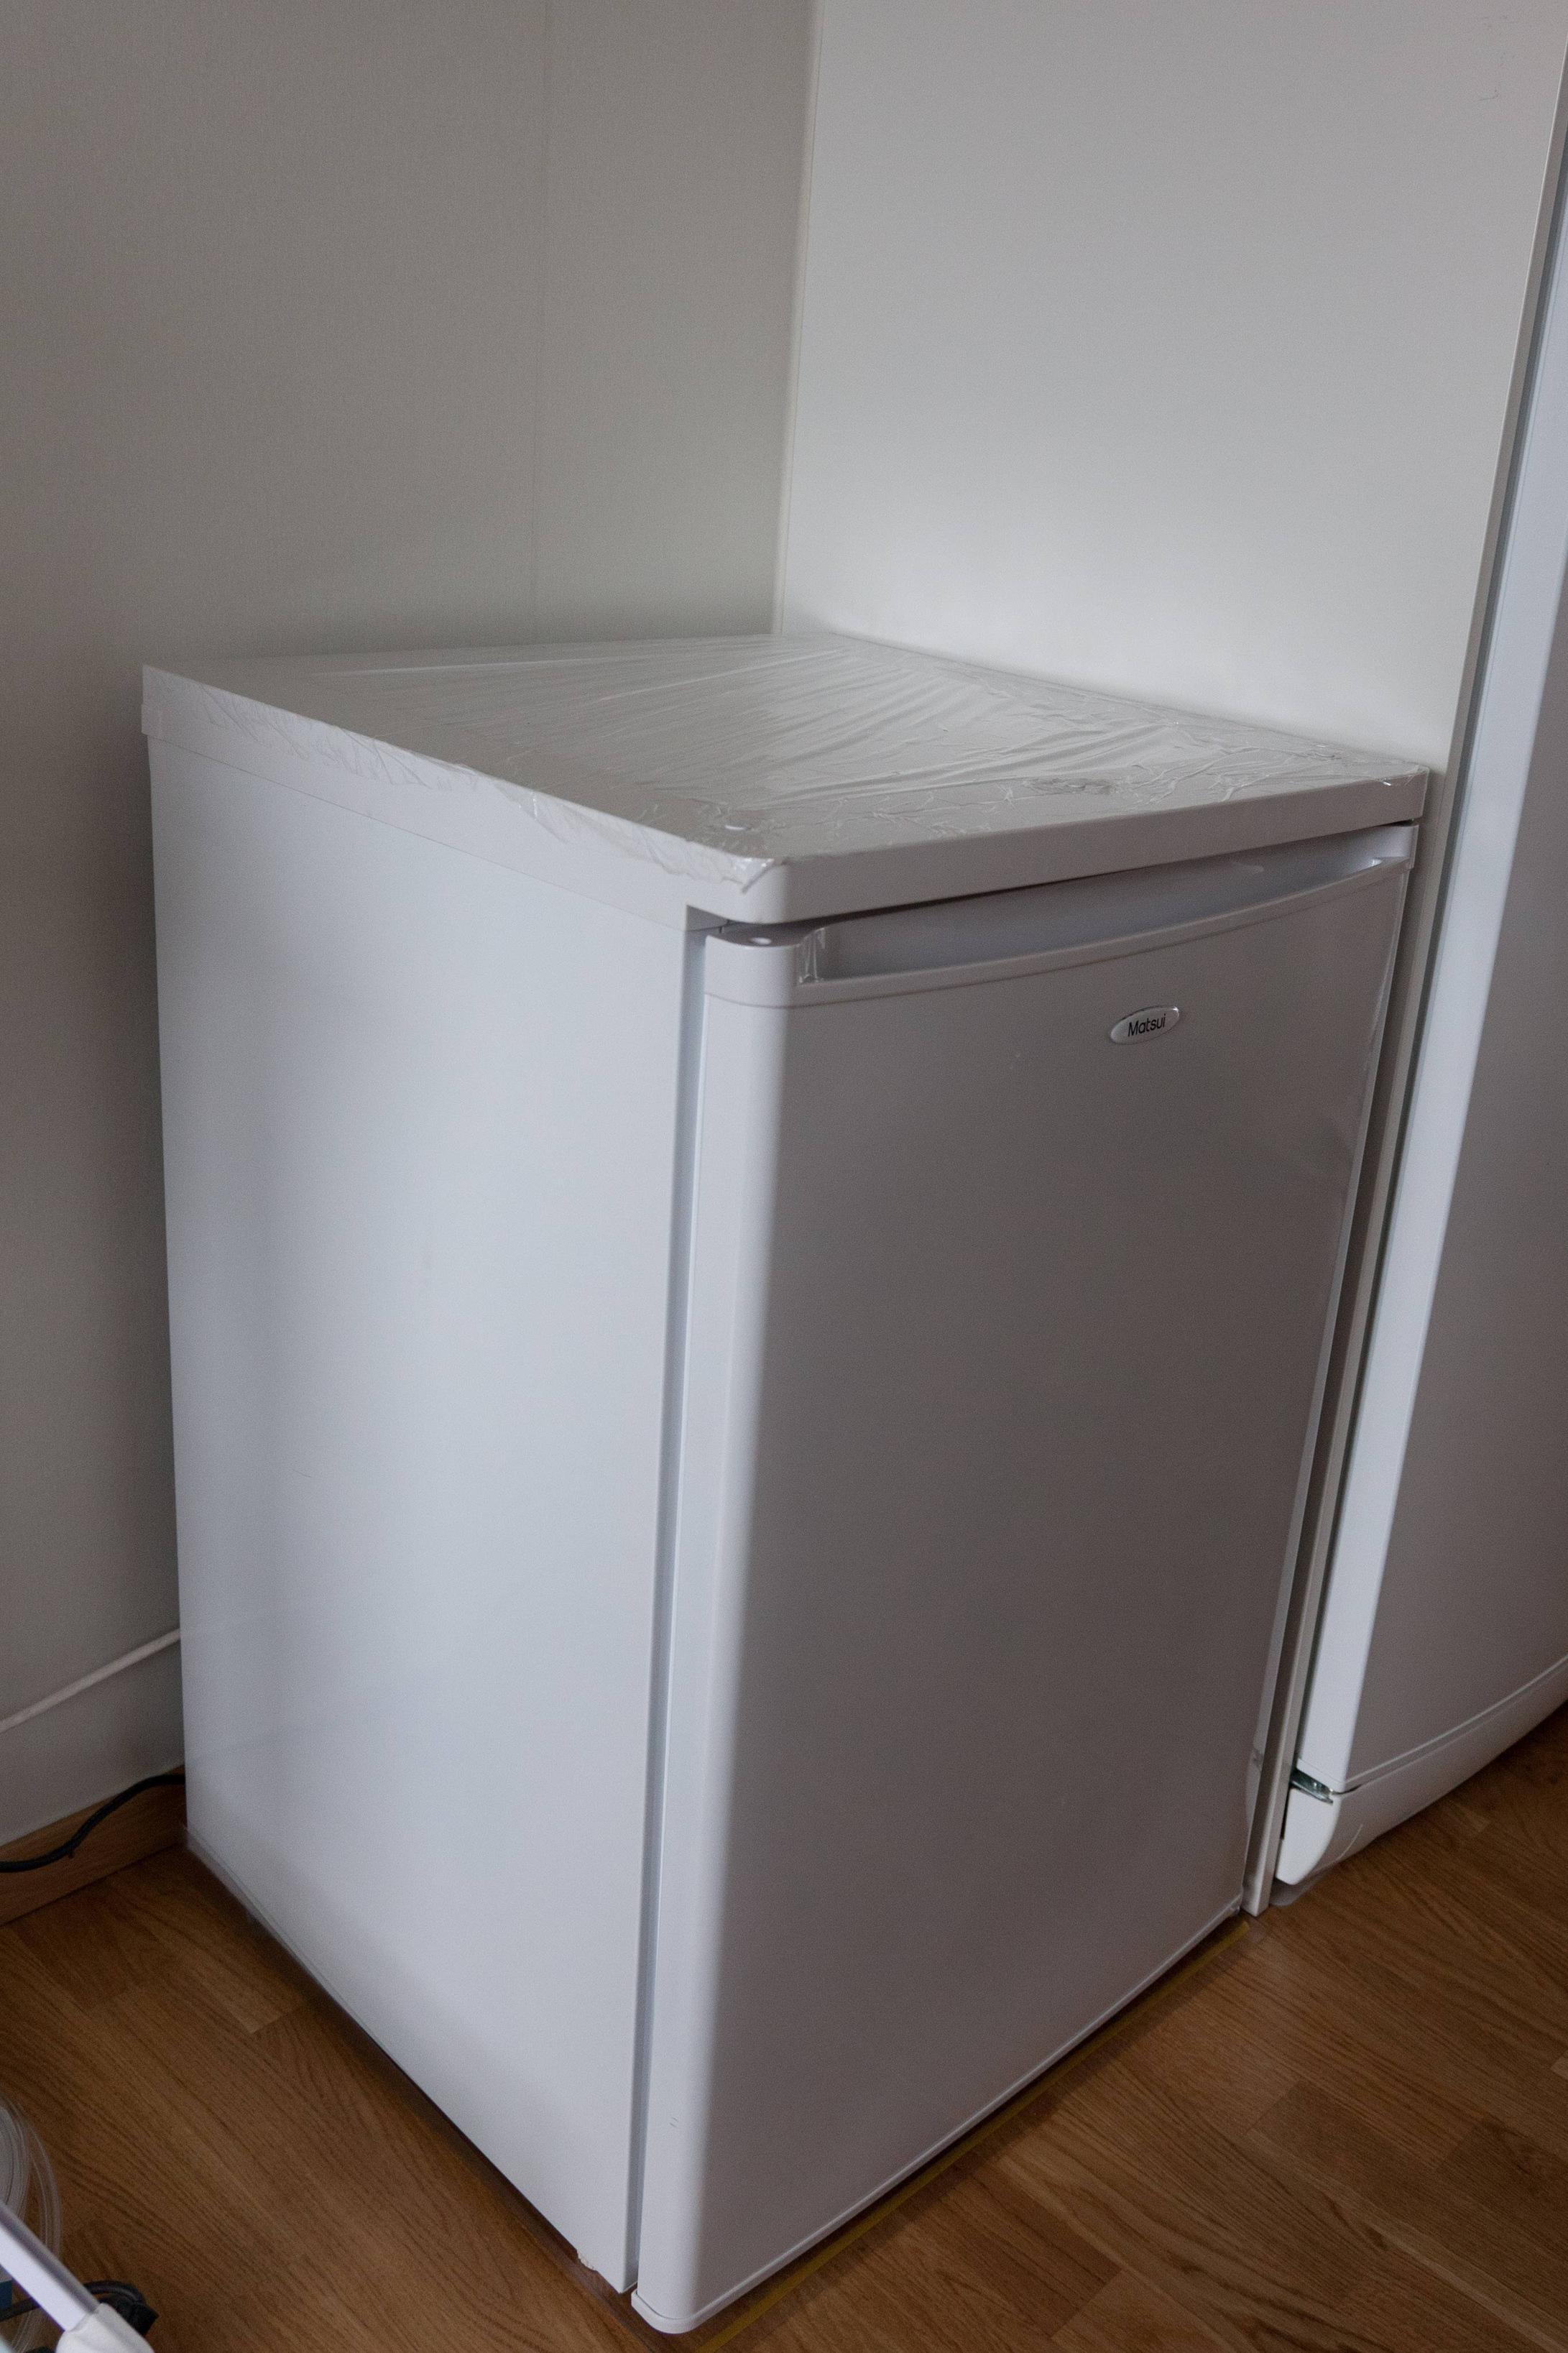
I opted to keep it cheap whilst still buying a new fridge. Unfortunately the choice of fridges in Sweden where I live is quite poor, especially for mini fridges, there are no stainless steel, black or silver painted fridge options at all. Luckily for me it will be standing next to our regular fridge and freezer in the kitchen, these are white so I guess it will fit in better, but it's not going to be the prettiest.
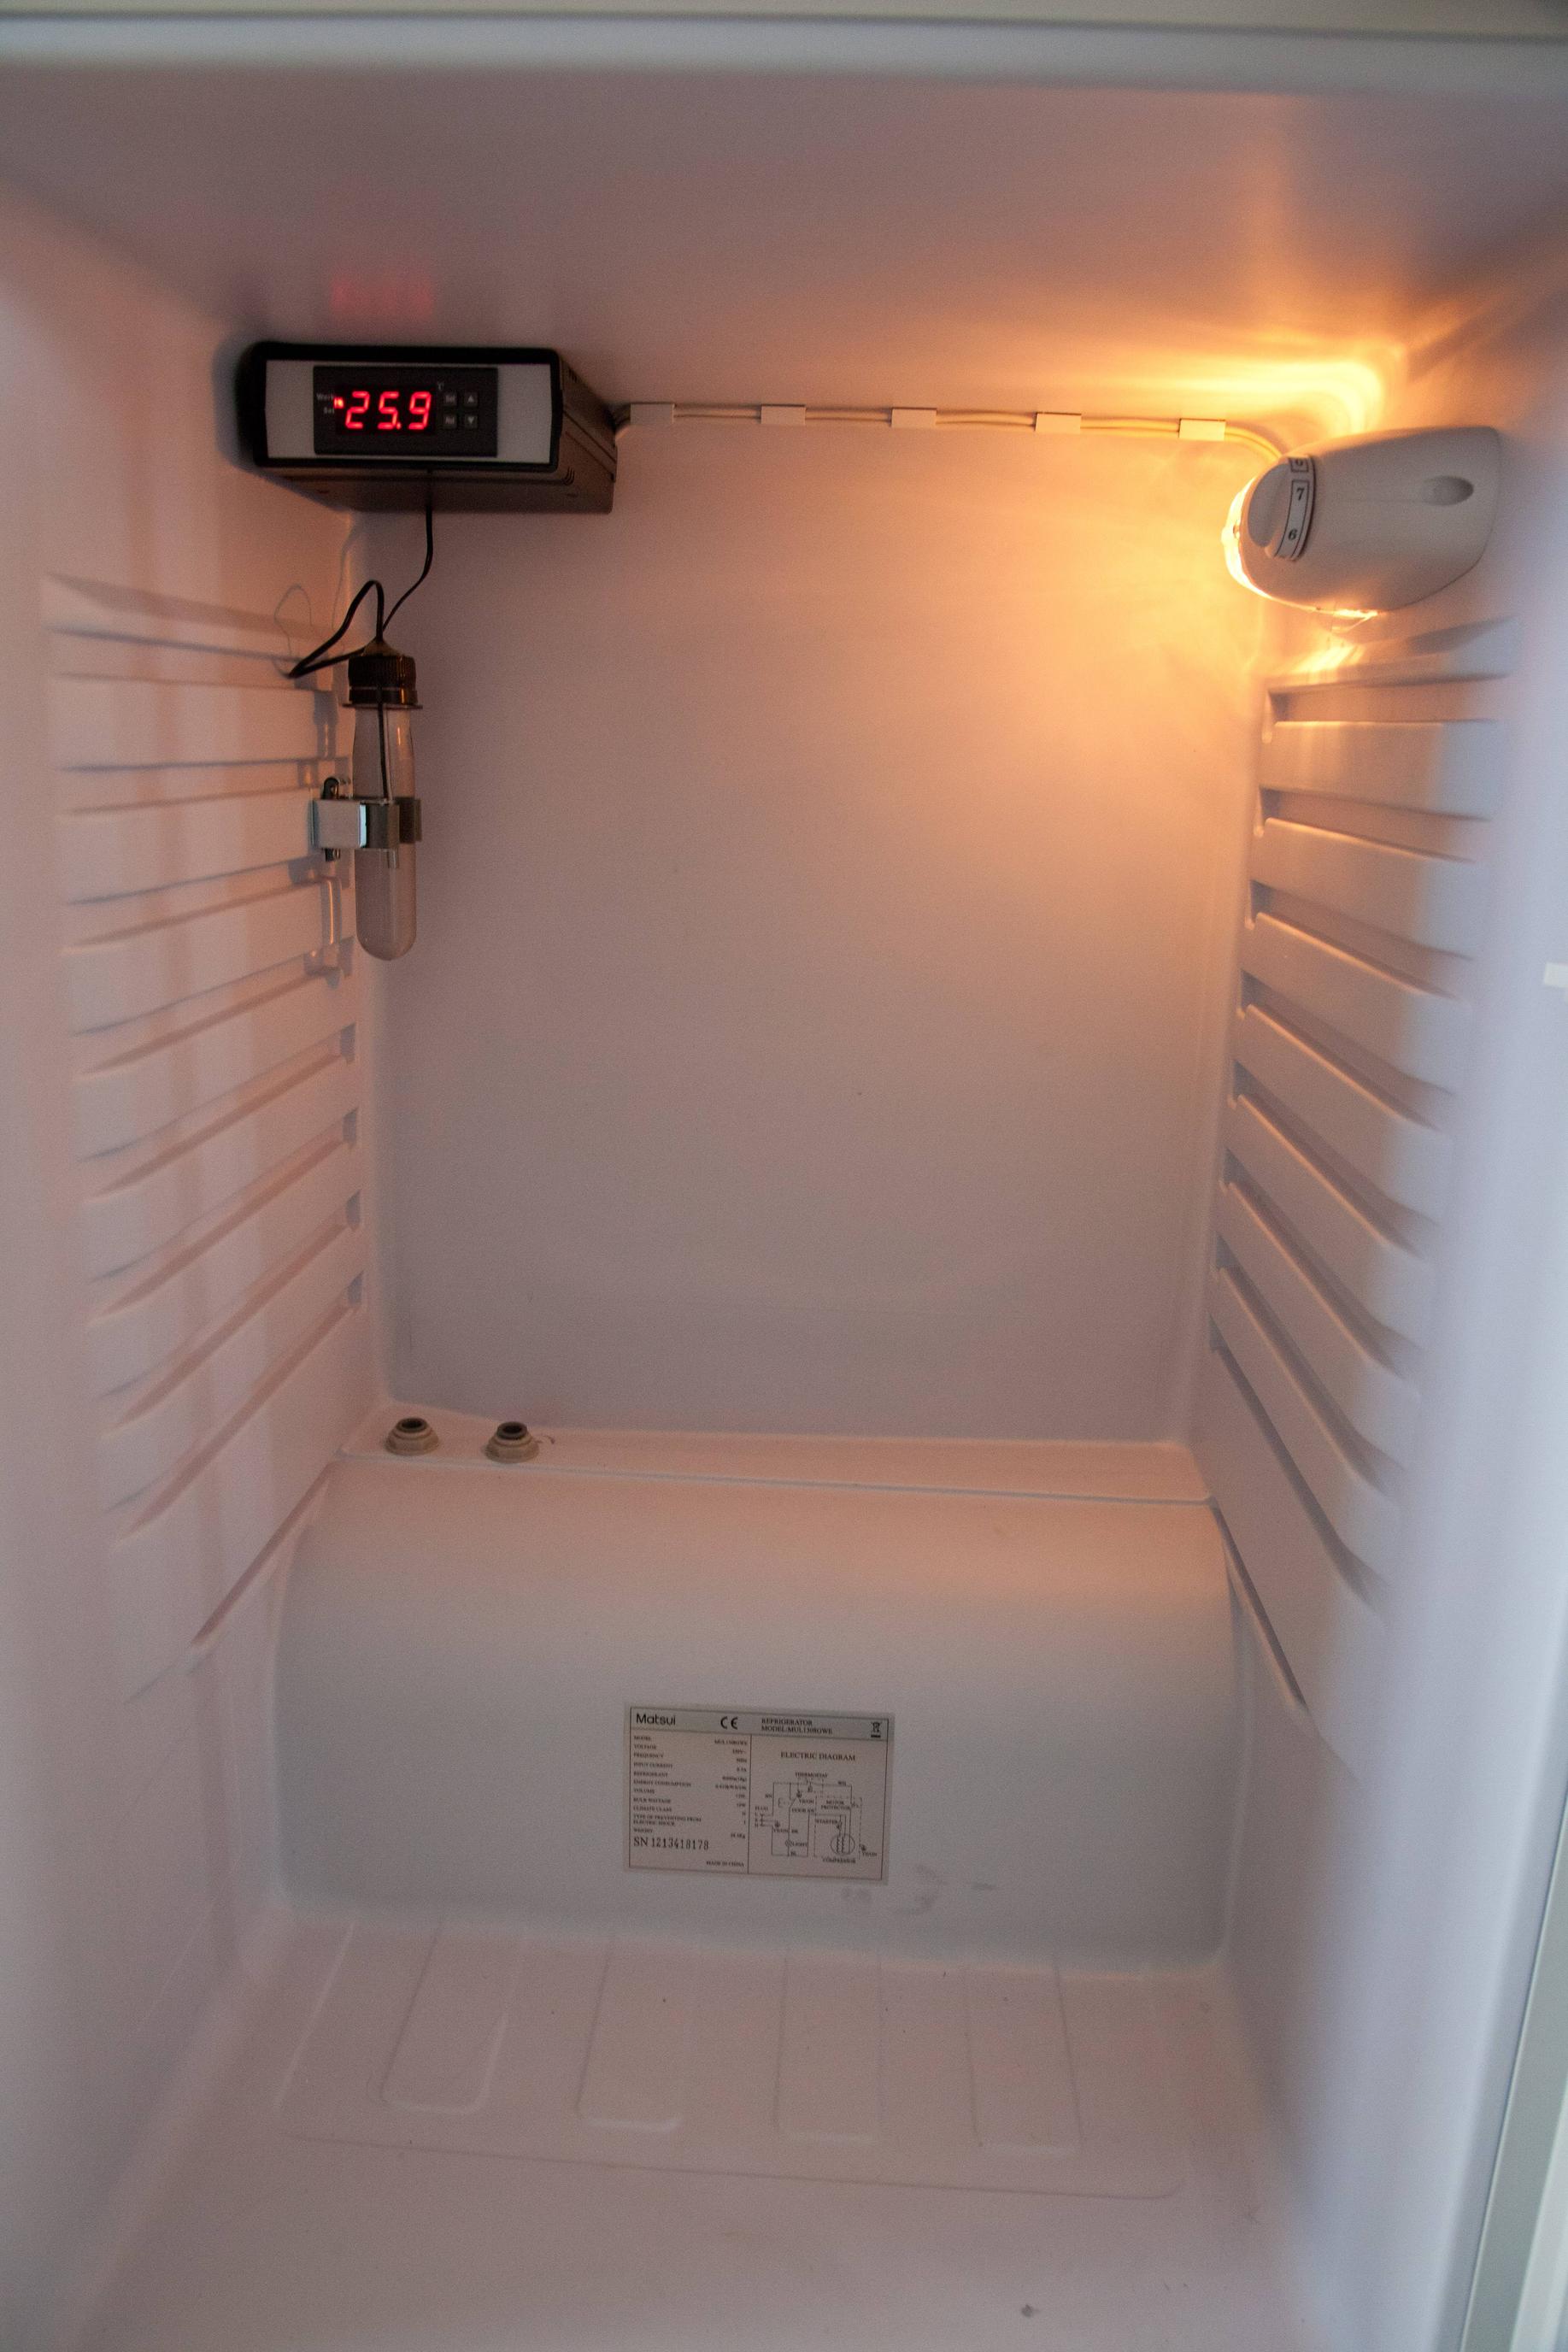
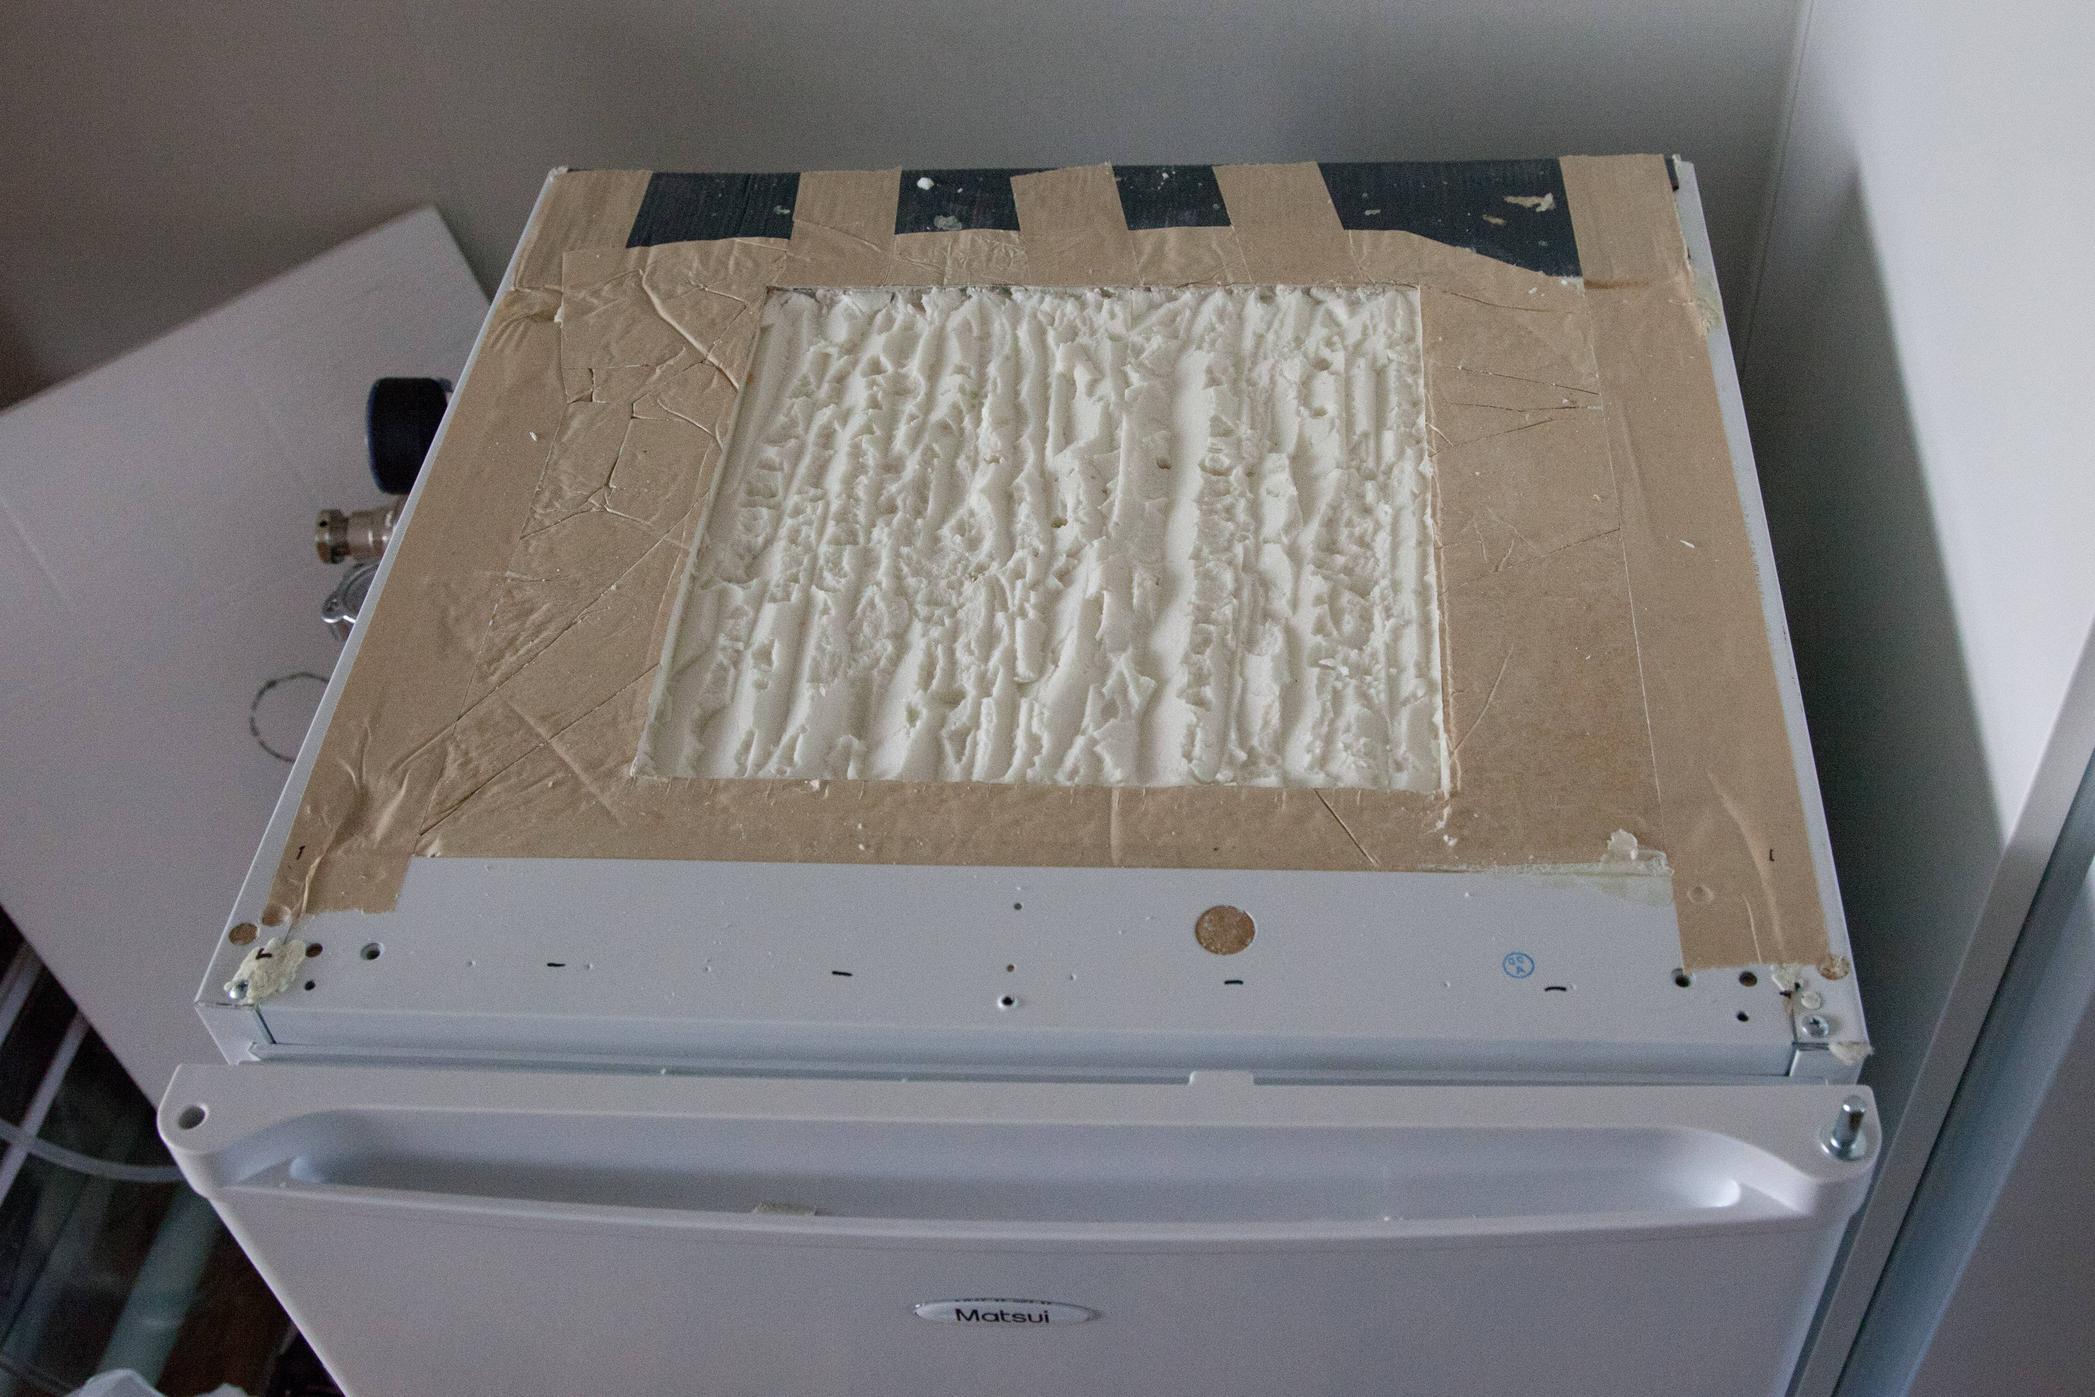
I got a Matsui MUL1308GWE. I measured it up in the shop and found I could get two kegs in side by side without modification to the door panel, excellent. Here's the fridge pre-op:
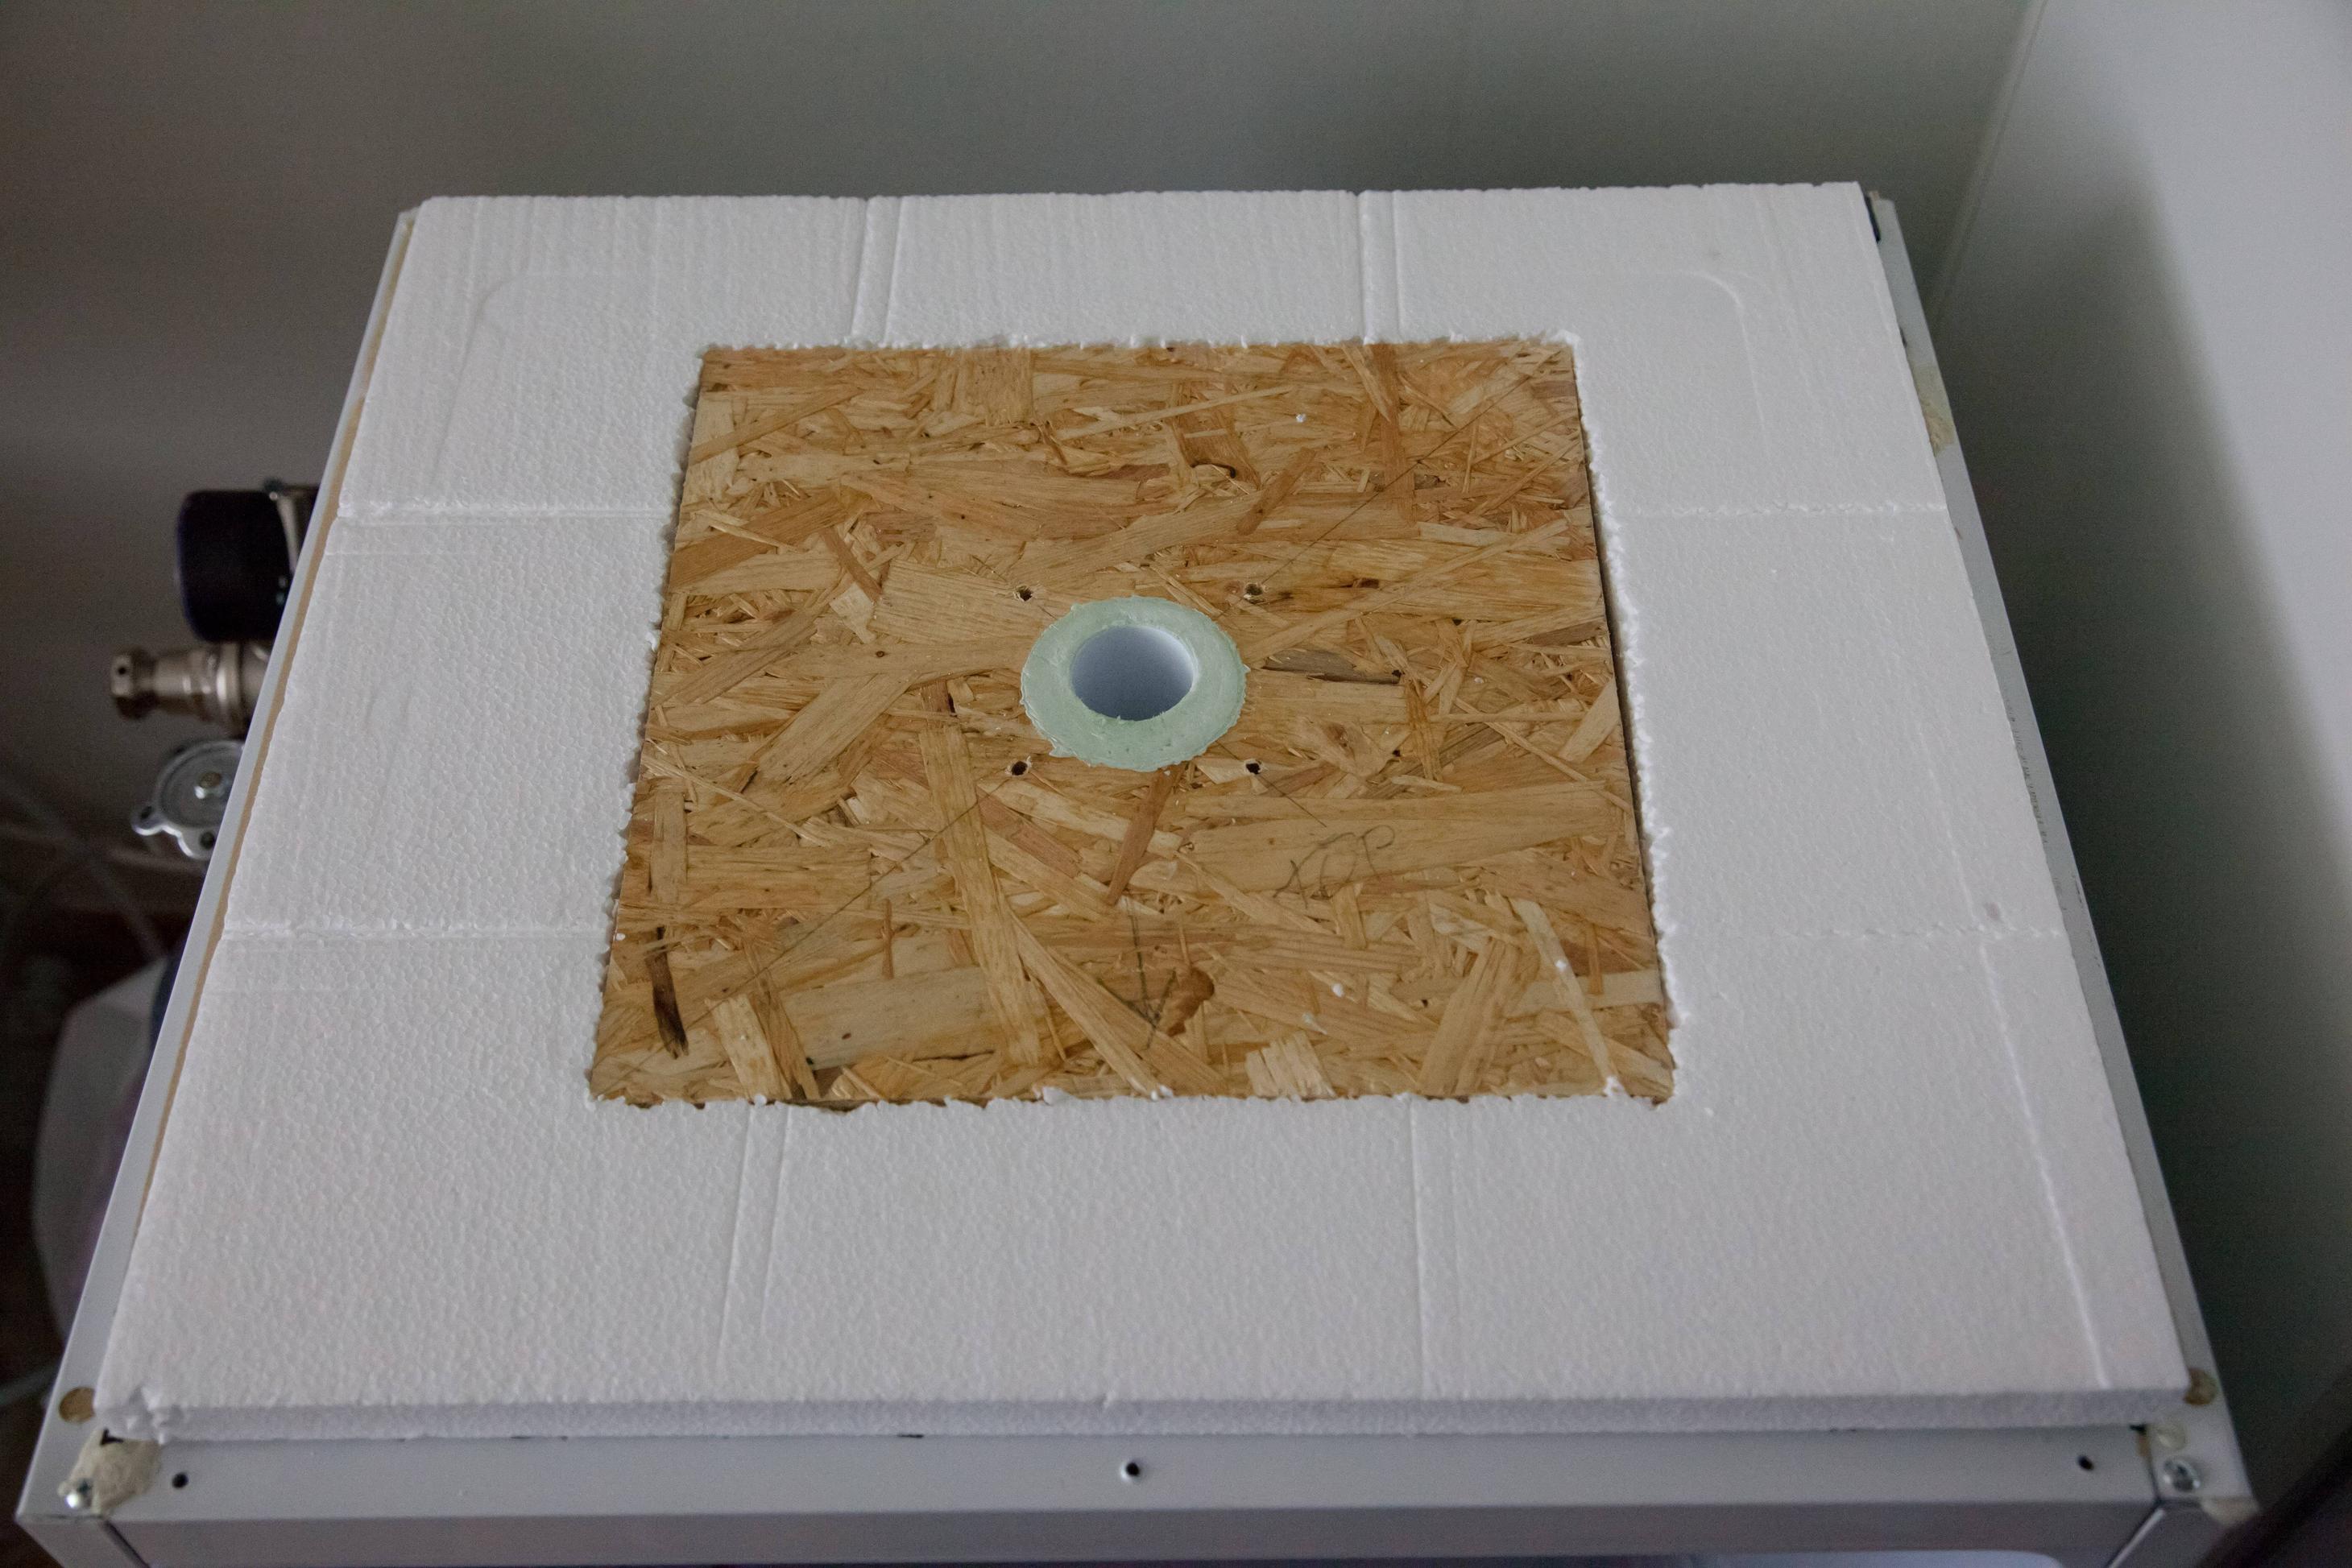
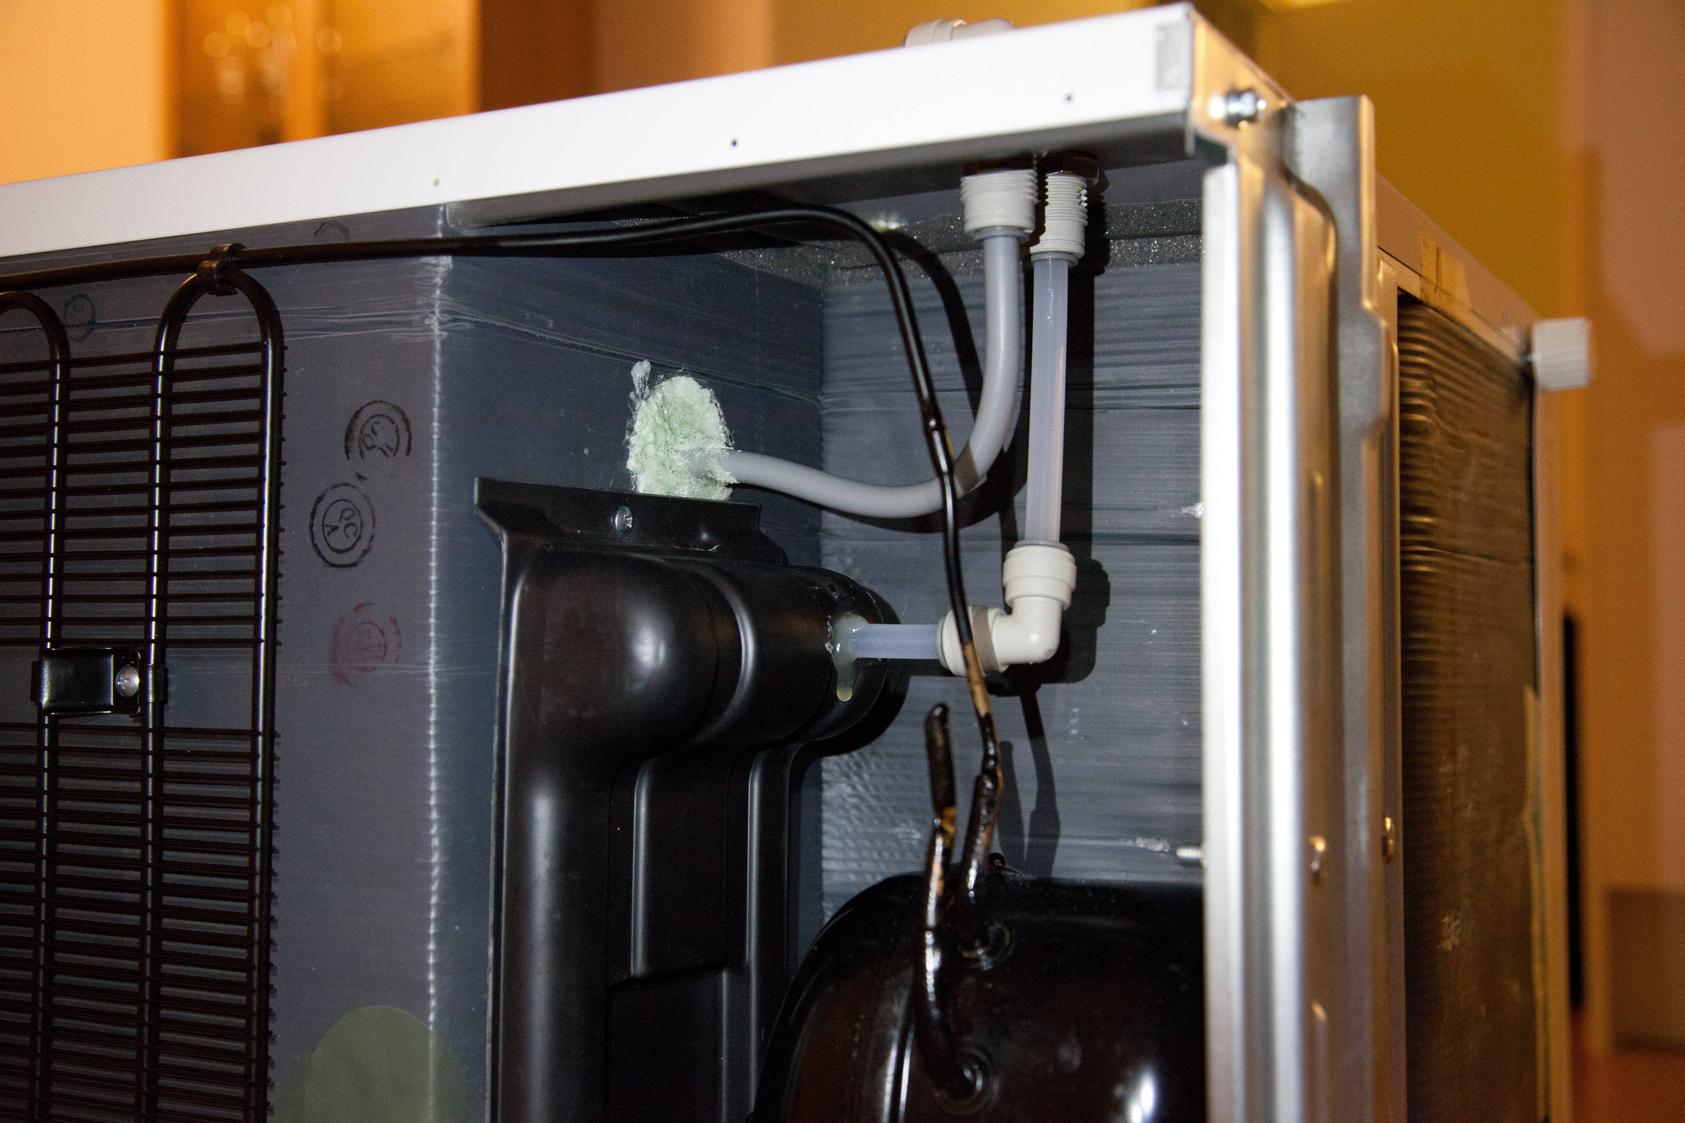
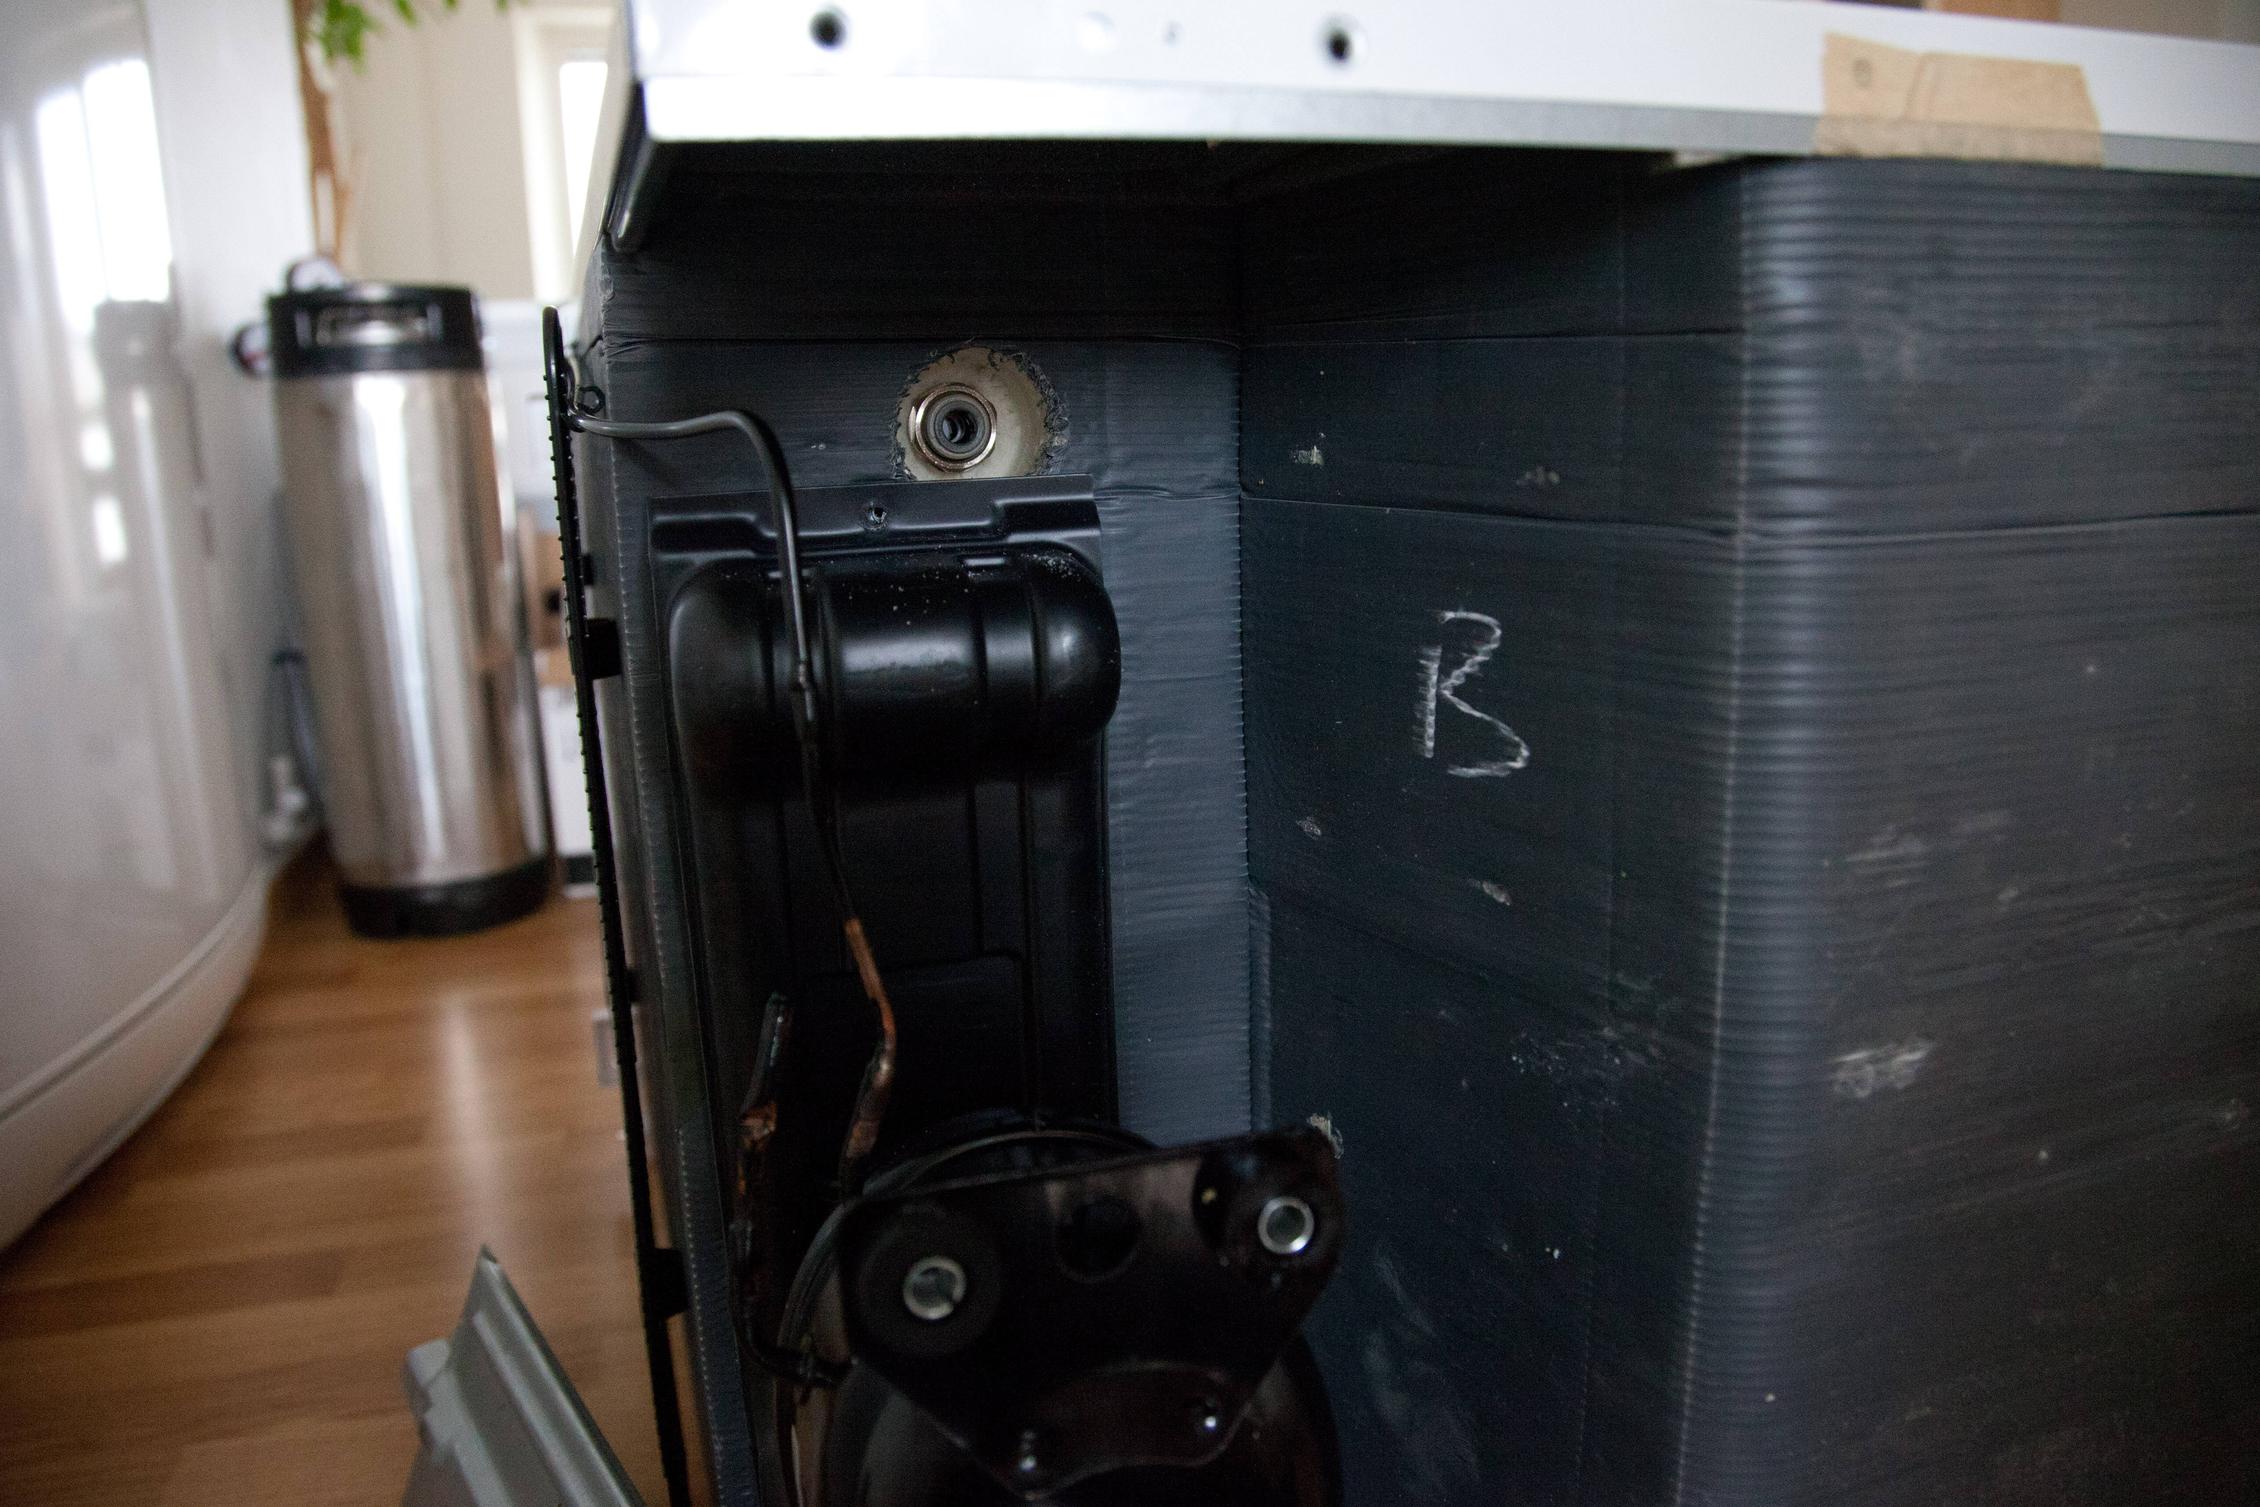
The first thing I tackled was also one of the easiest modifications. I have a 5kg CO2 tank which means I can't stand it inside the fridge, so I decided to provide a gas in port, I also decided to provide an extra port for beer out for when I choose to use my hand operated beer engine so I can keep the beer cool and pull the beer out through that port. I am using John guest fittings throughout as is common in Europe, especially in the UK, where I'm from originally.
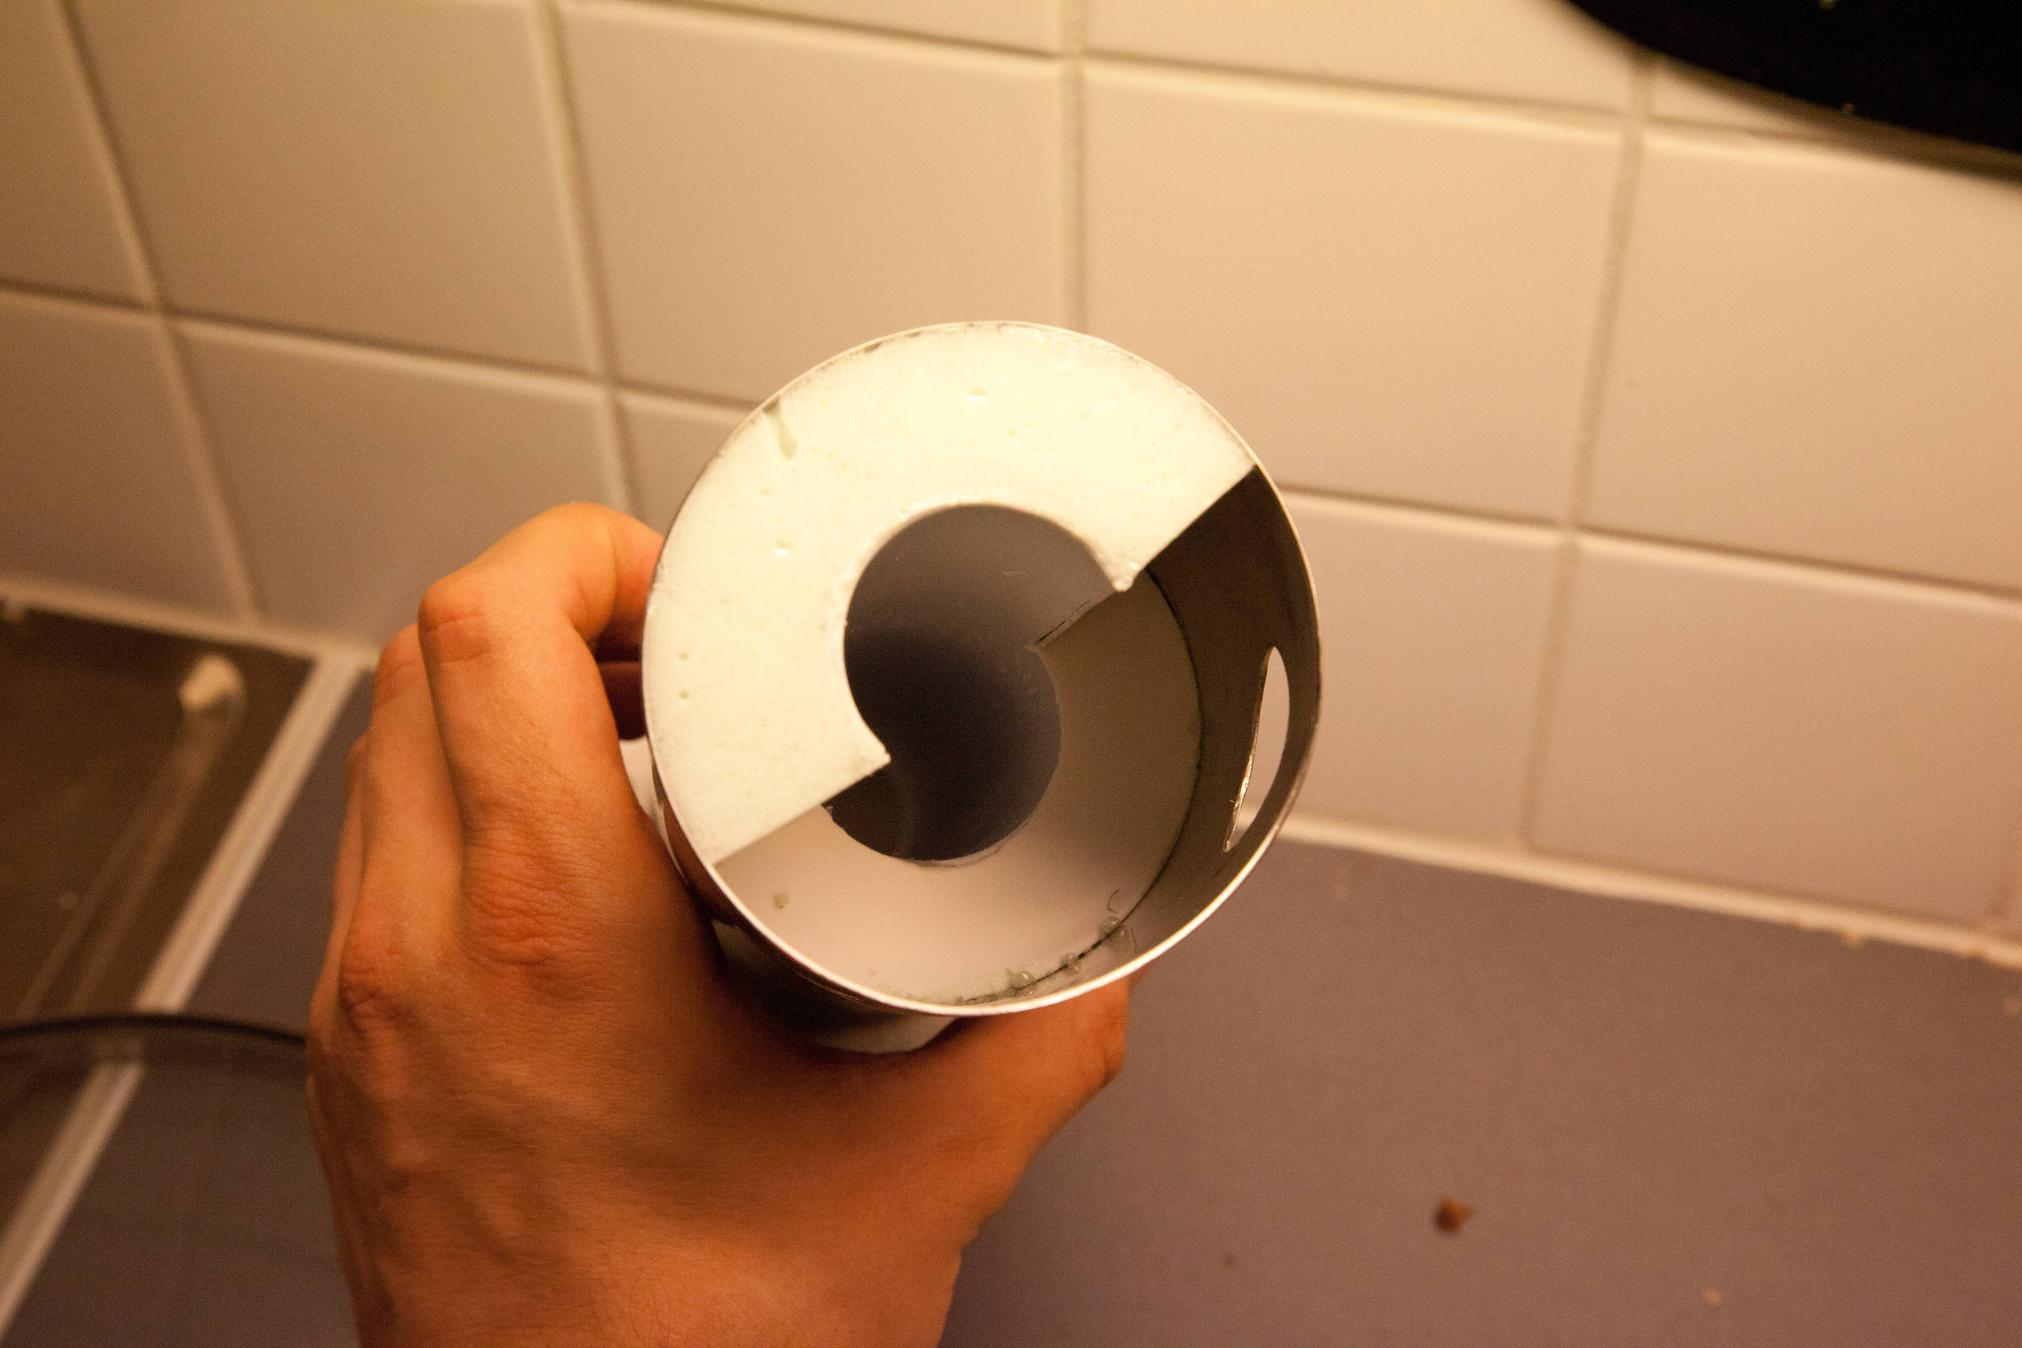
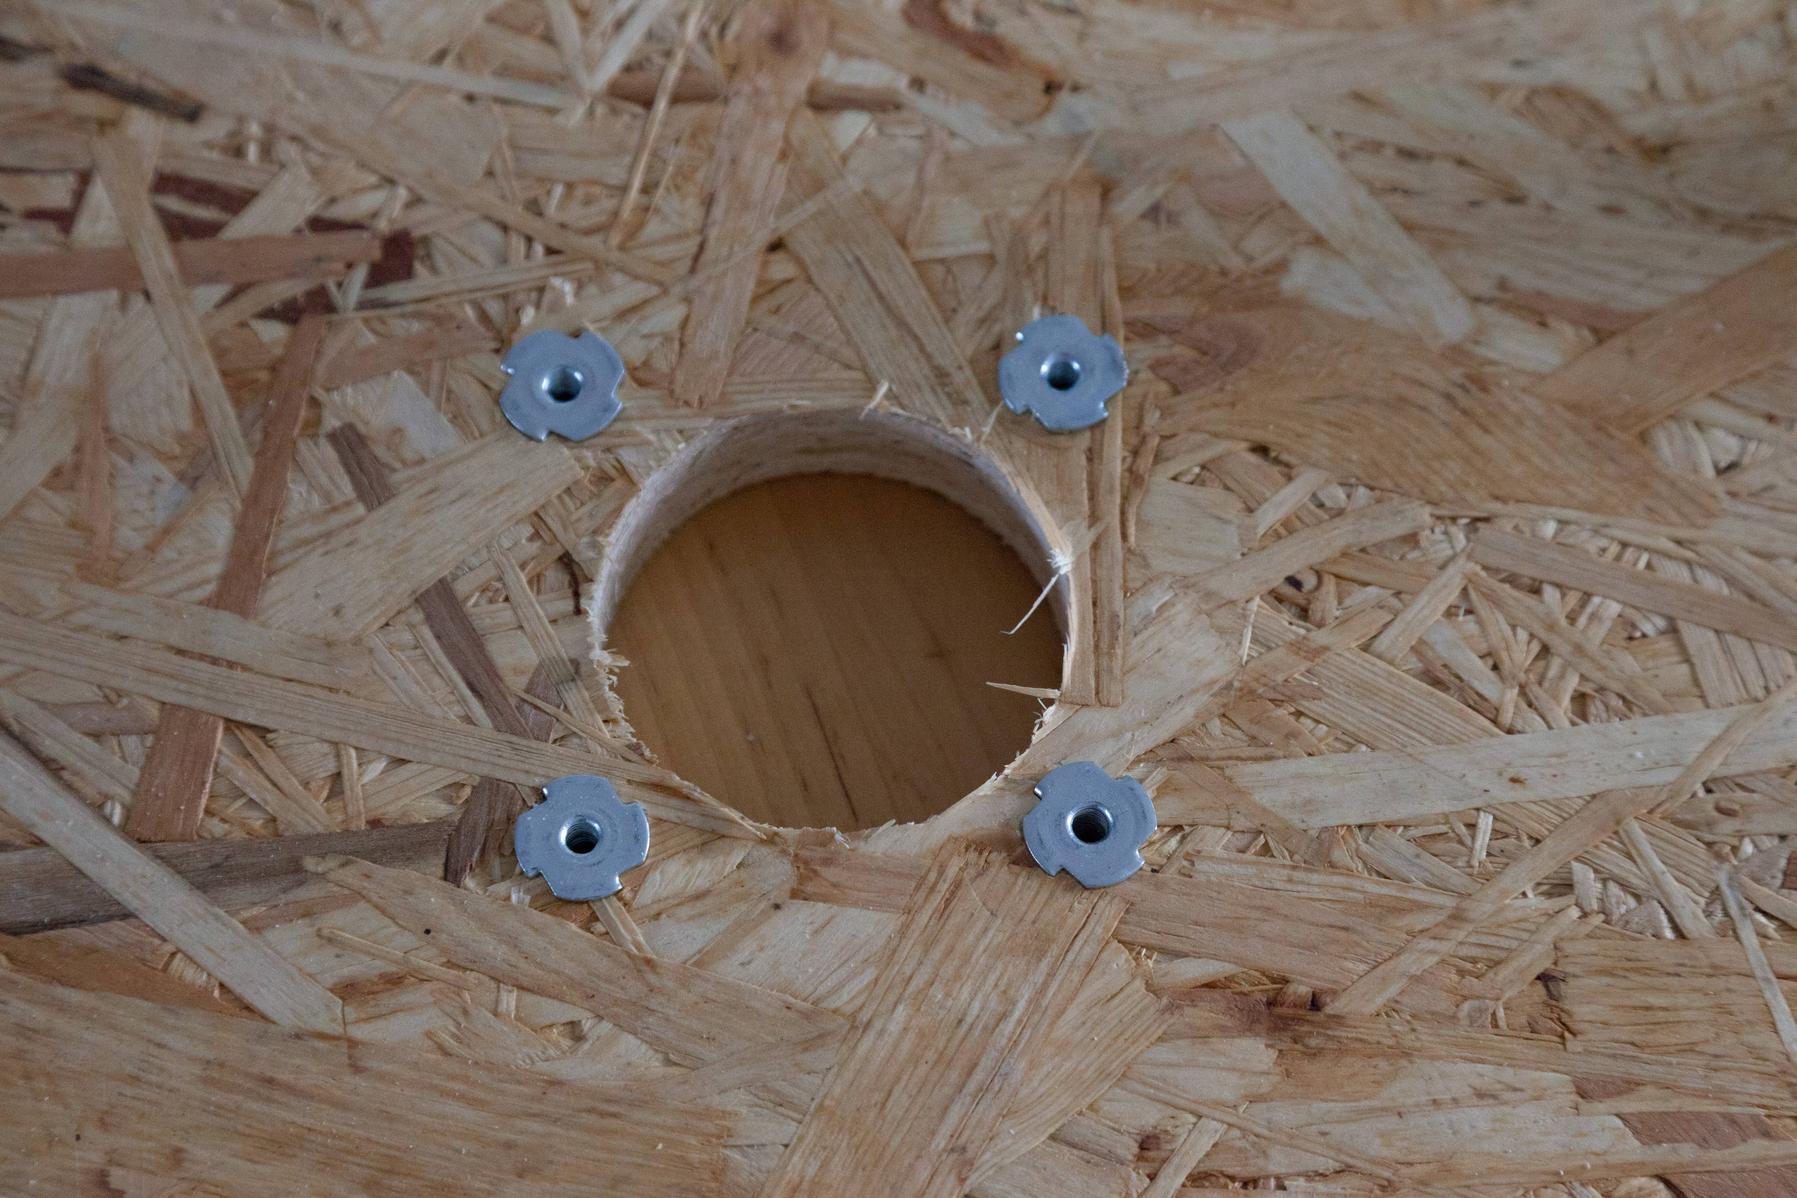
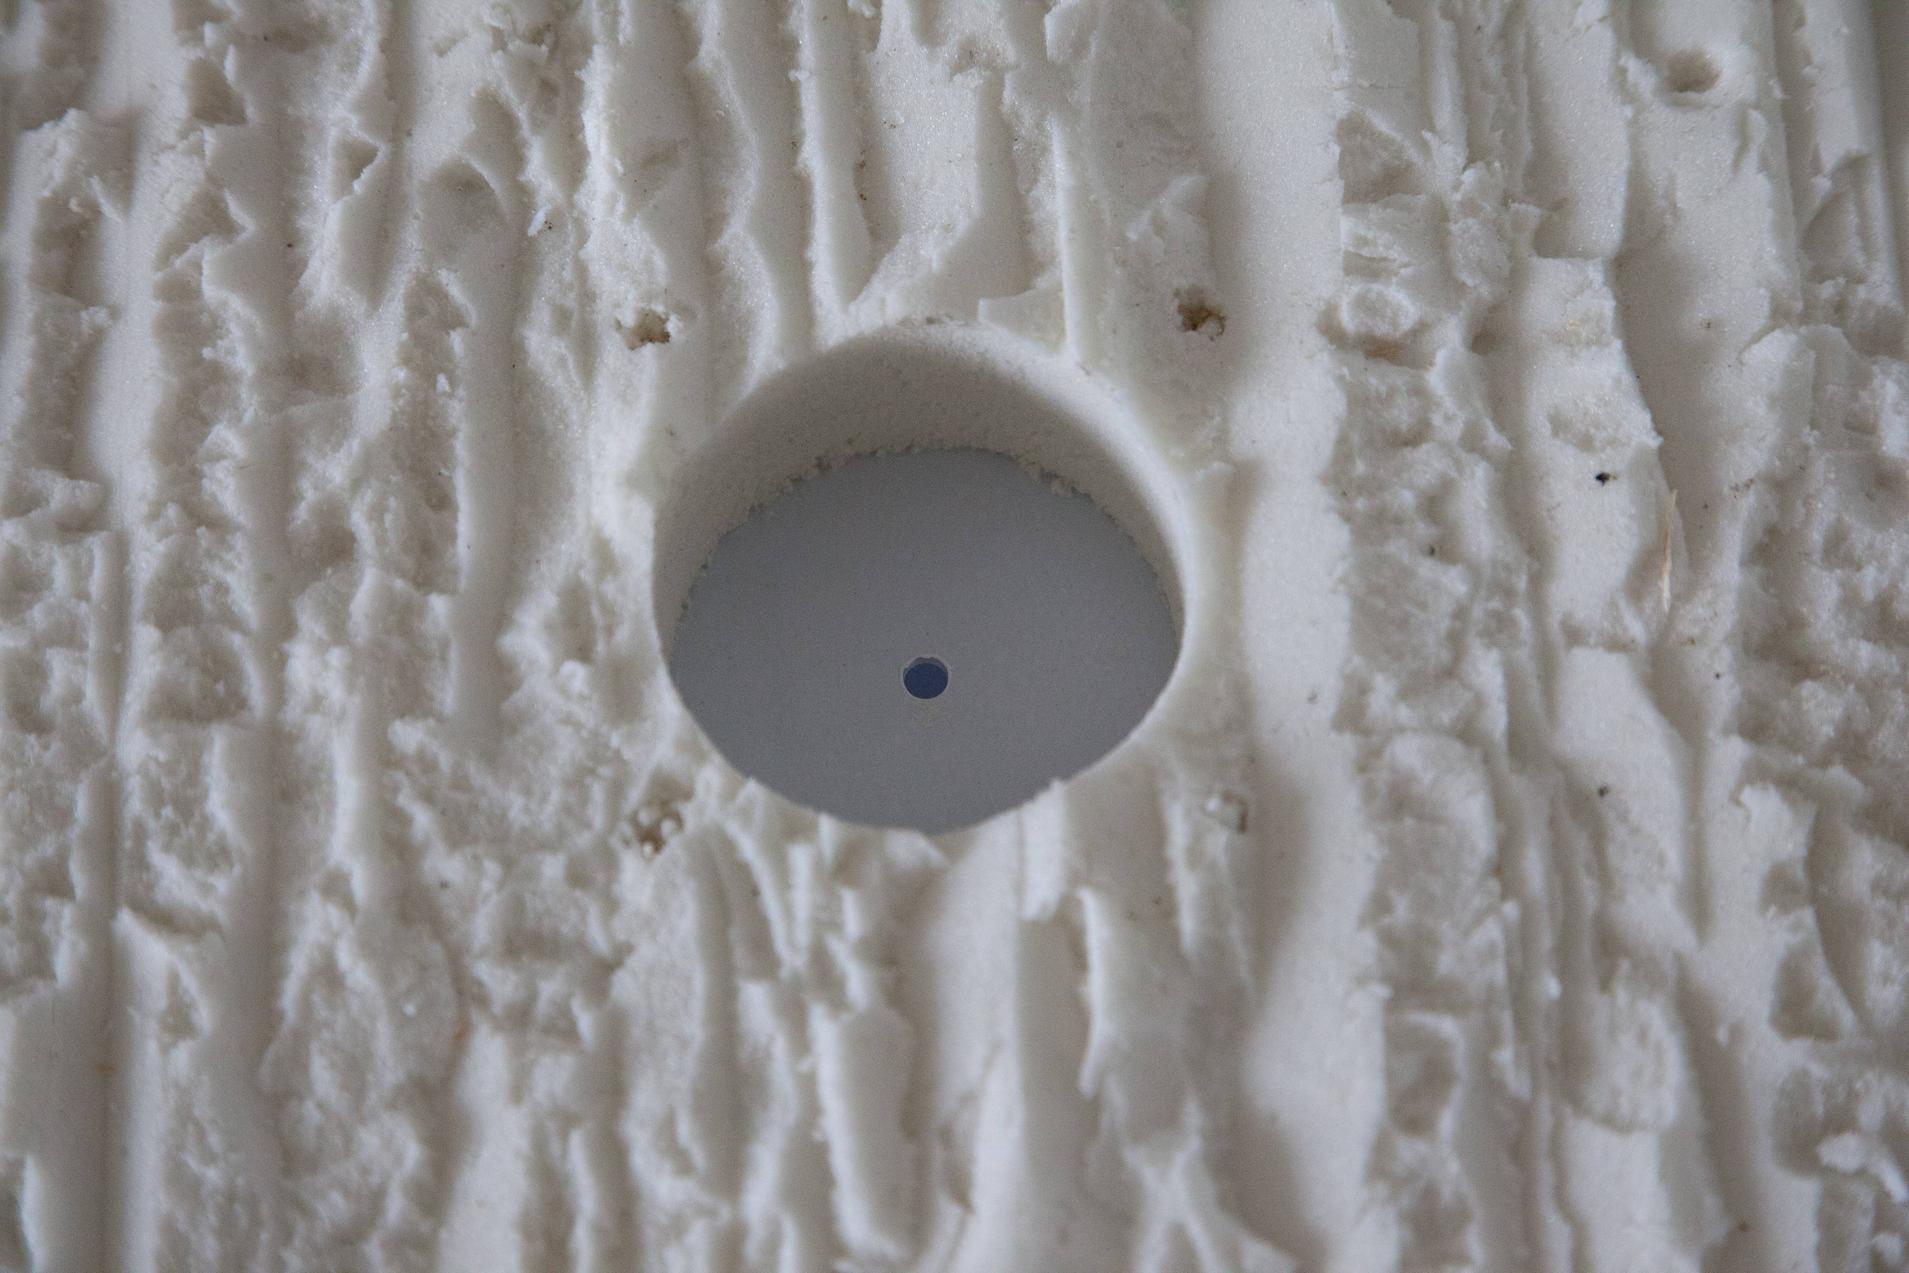
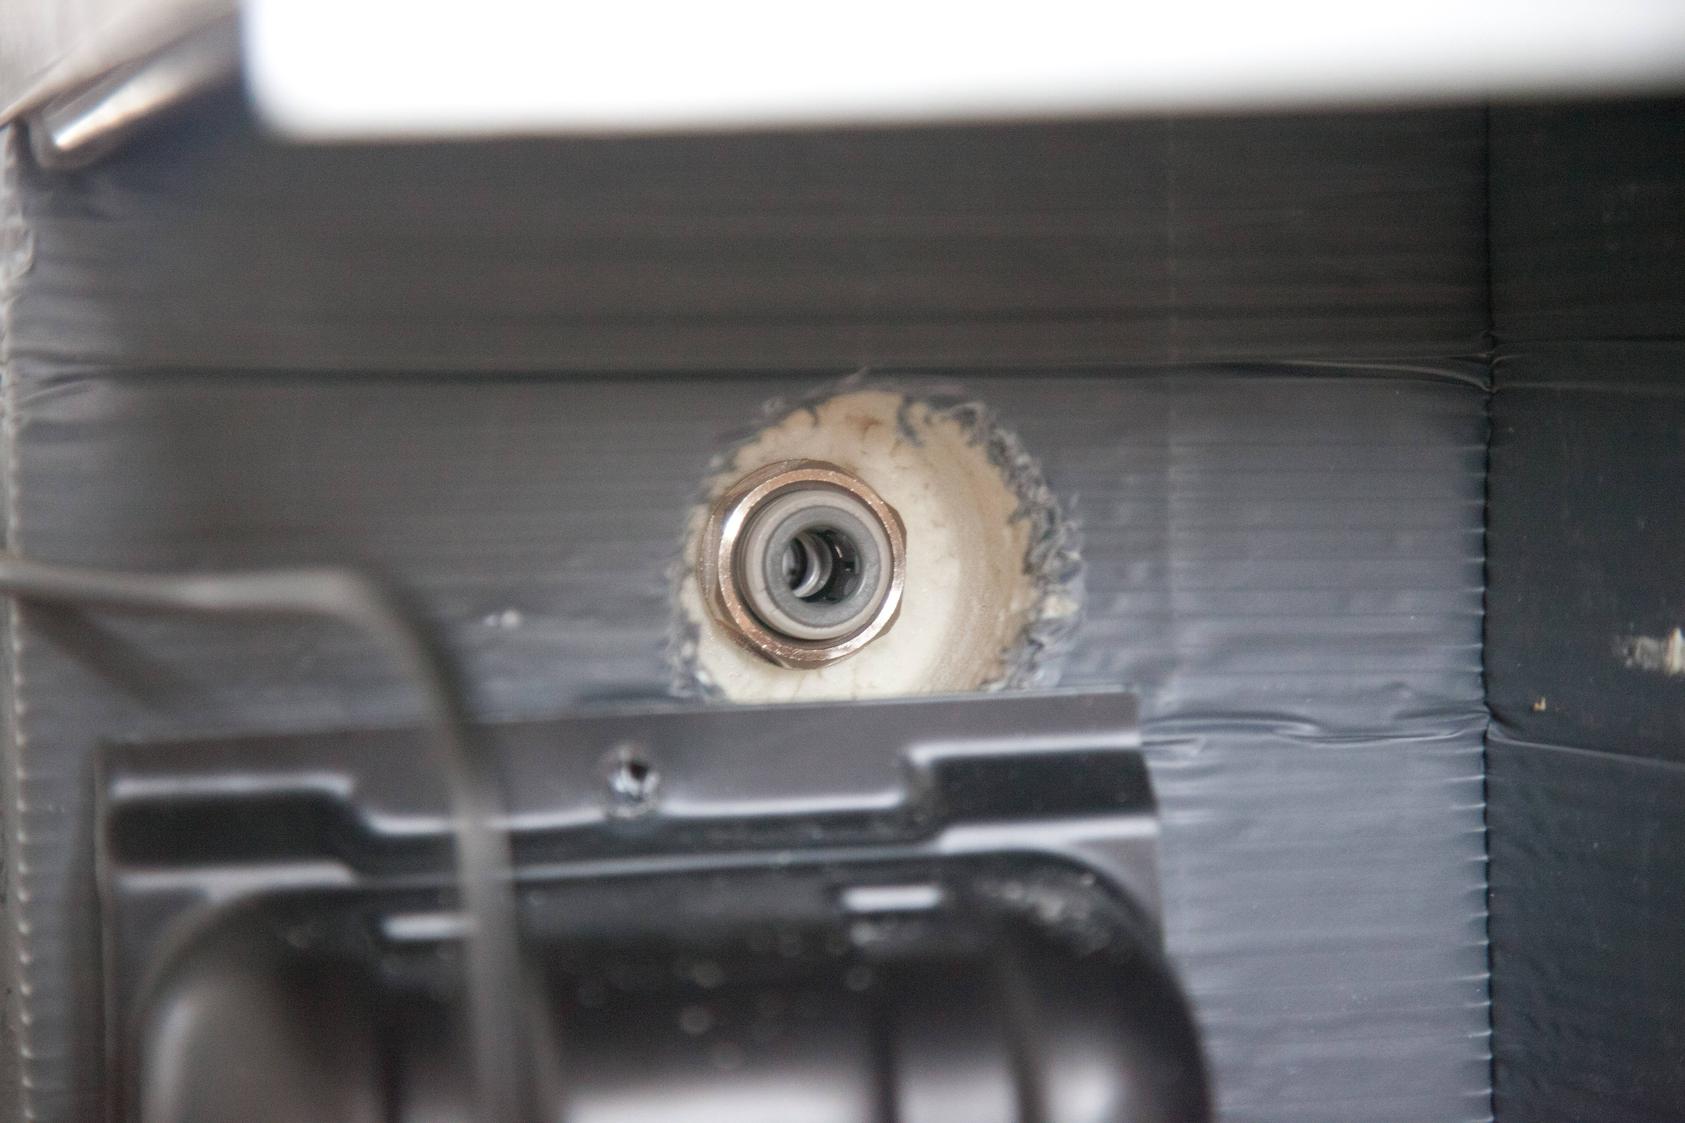
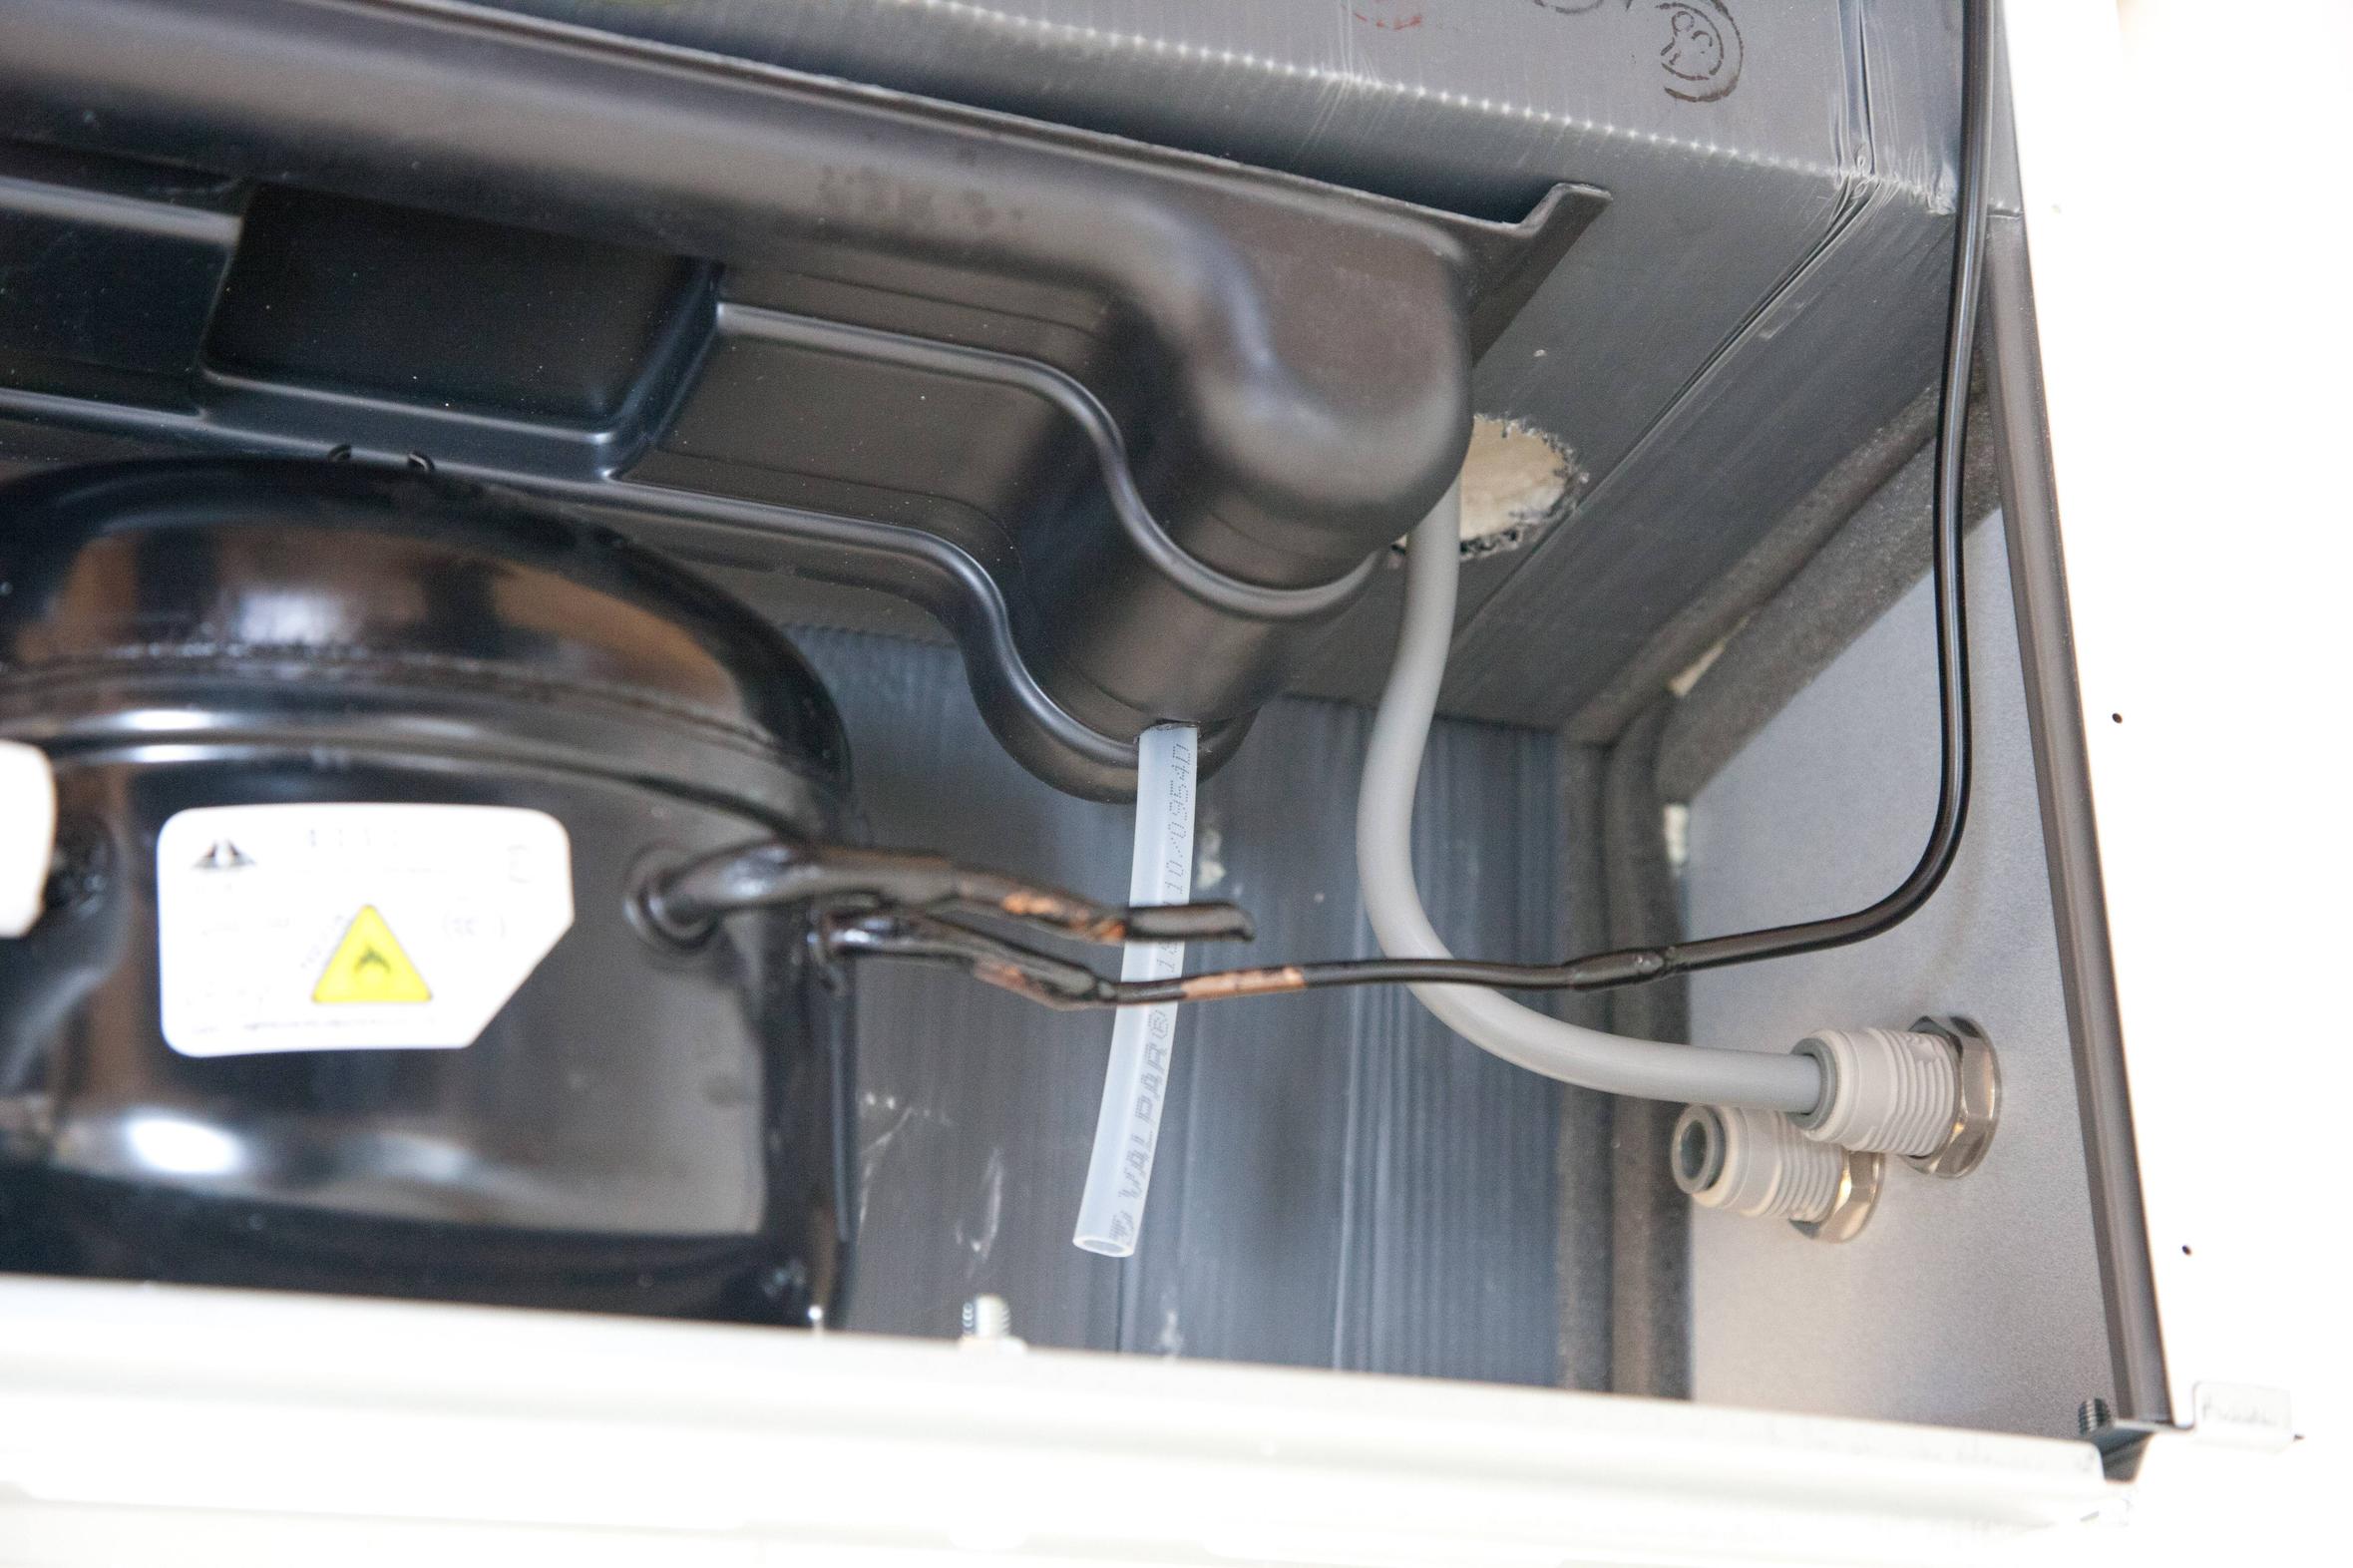
I used John Guest bulkhead fittings to take the line through the fridge wall at the top of the "hump" for the compressor and then out the side of the fridge. I drilled through from the inside to the width of the screw thread on the bulkhead connector then from the outside I widened the hole so I could screw on the lock nut.
These holes will later be filled back in with expanding foam but for now I'm leaving it as is until i've finished the project and confirmed it holds gas without leaks.
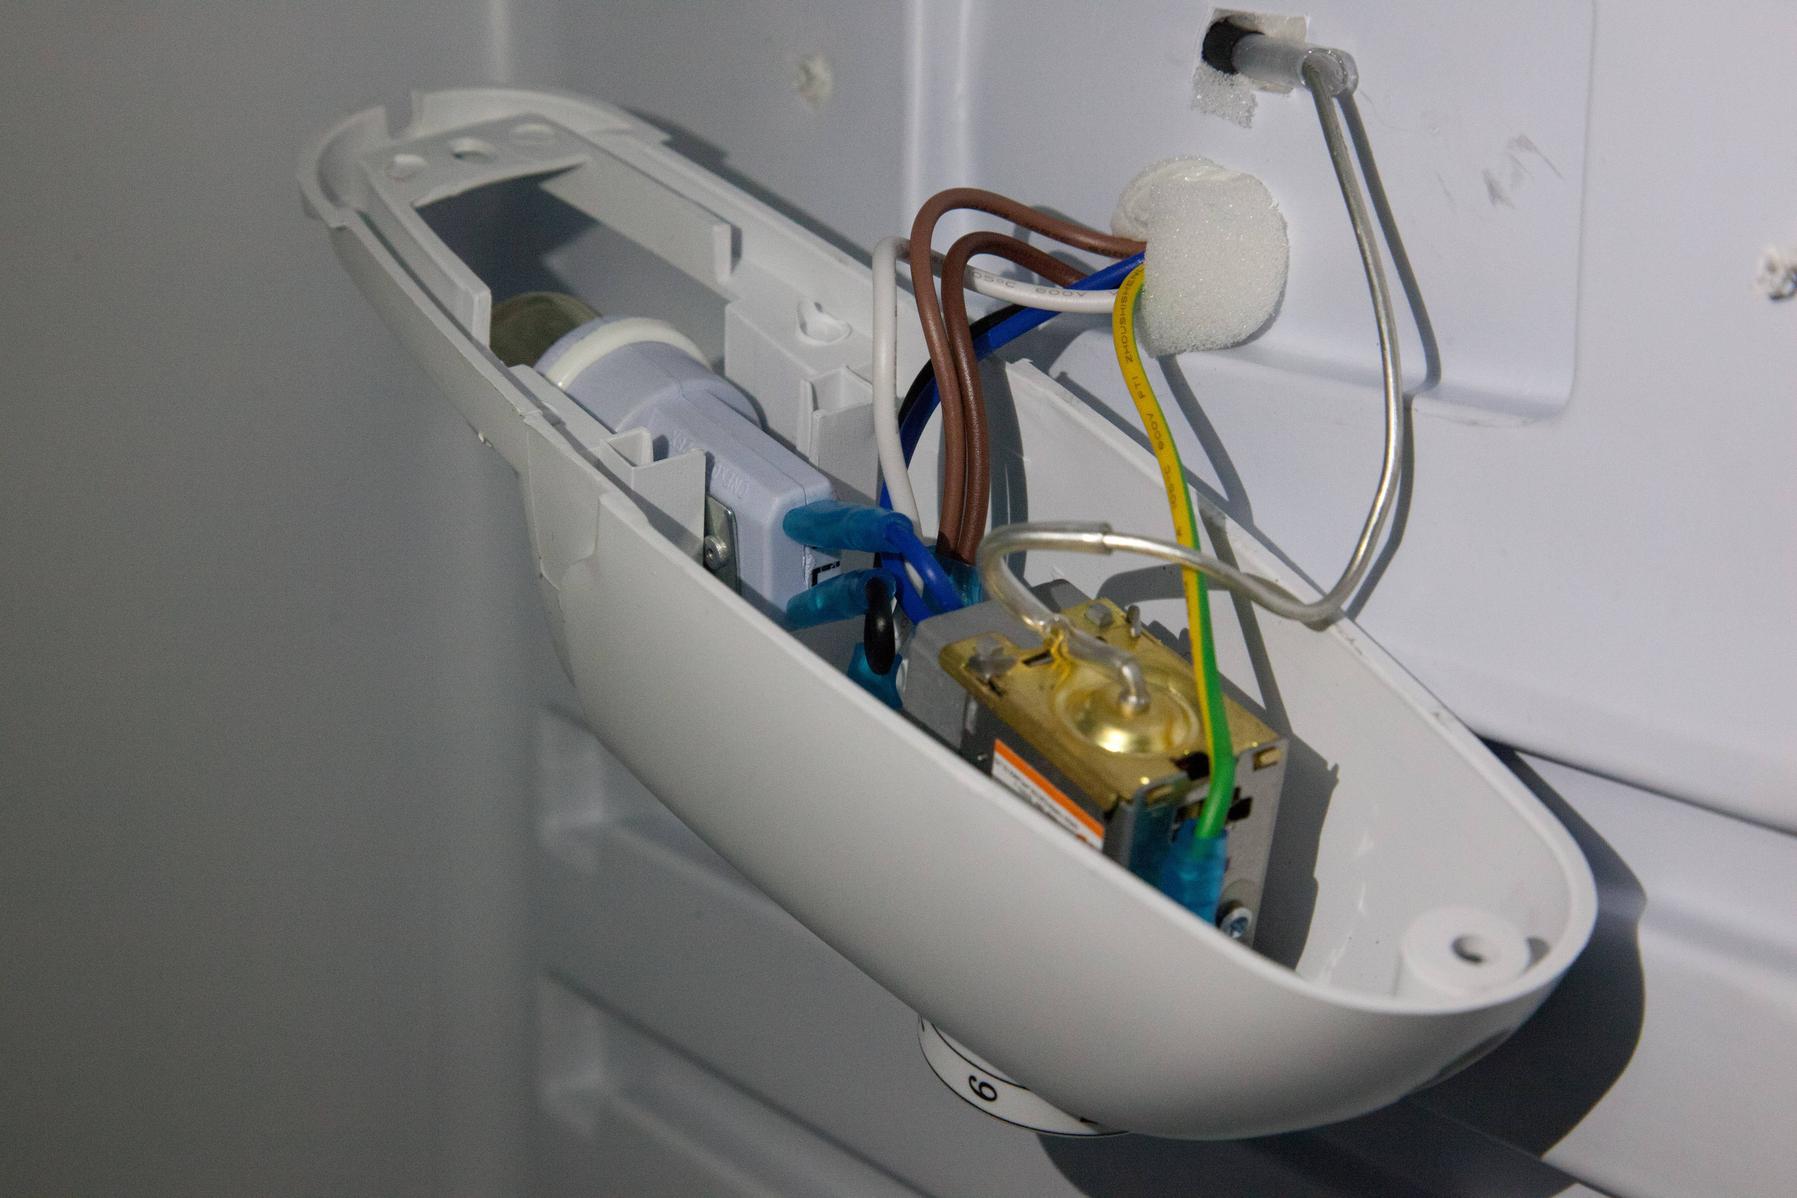
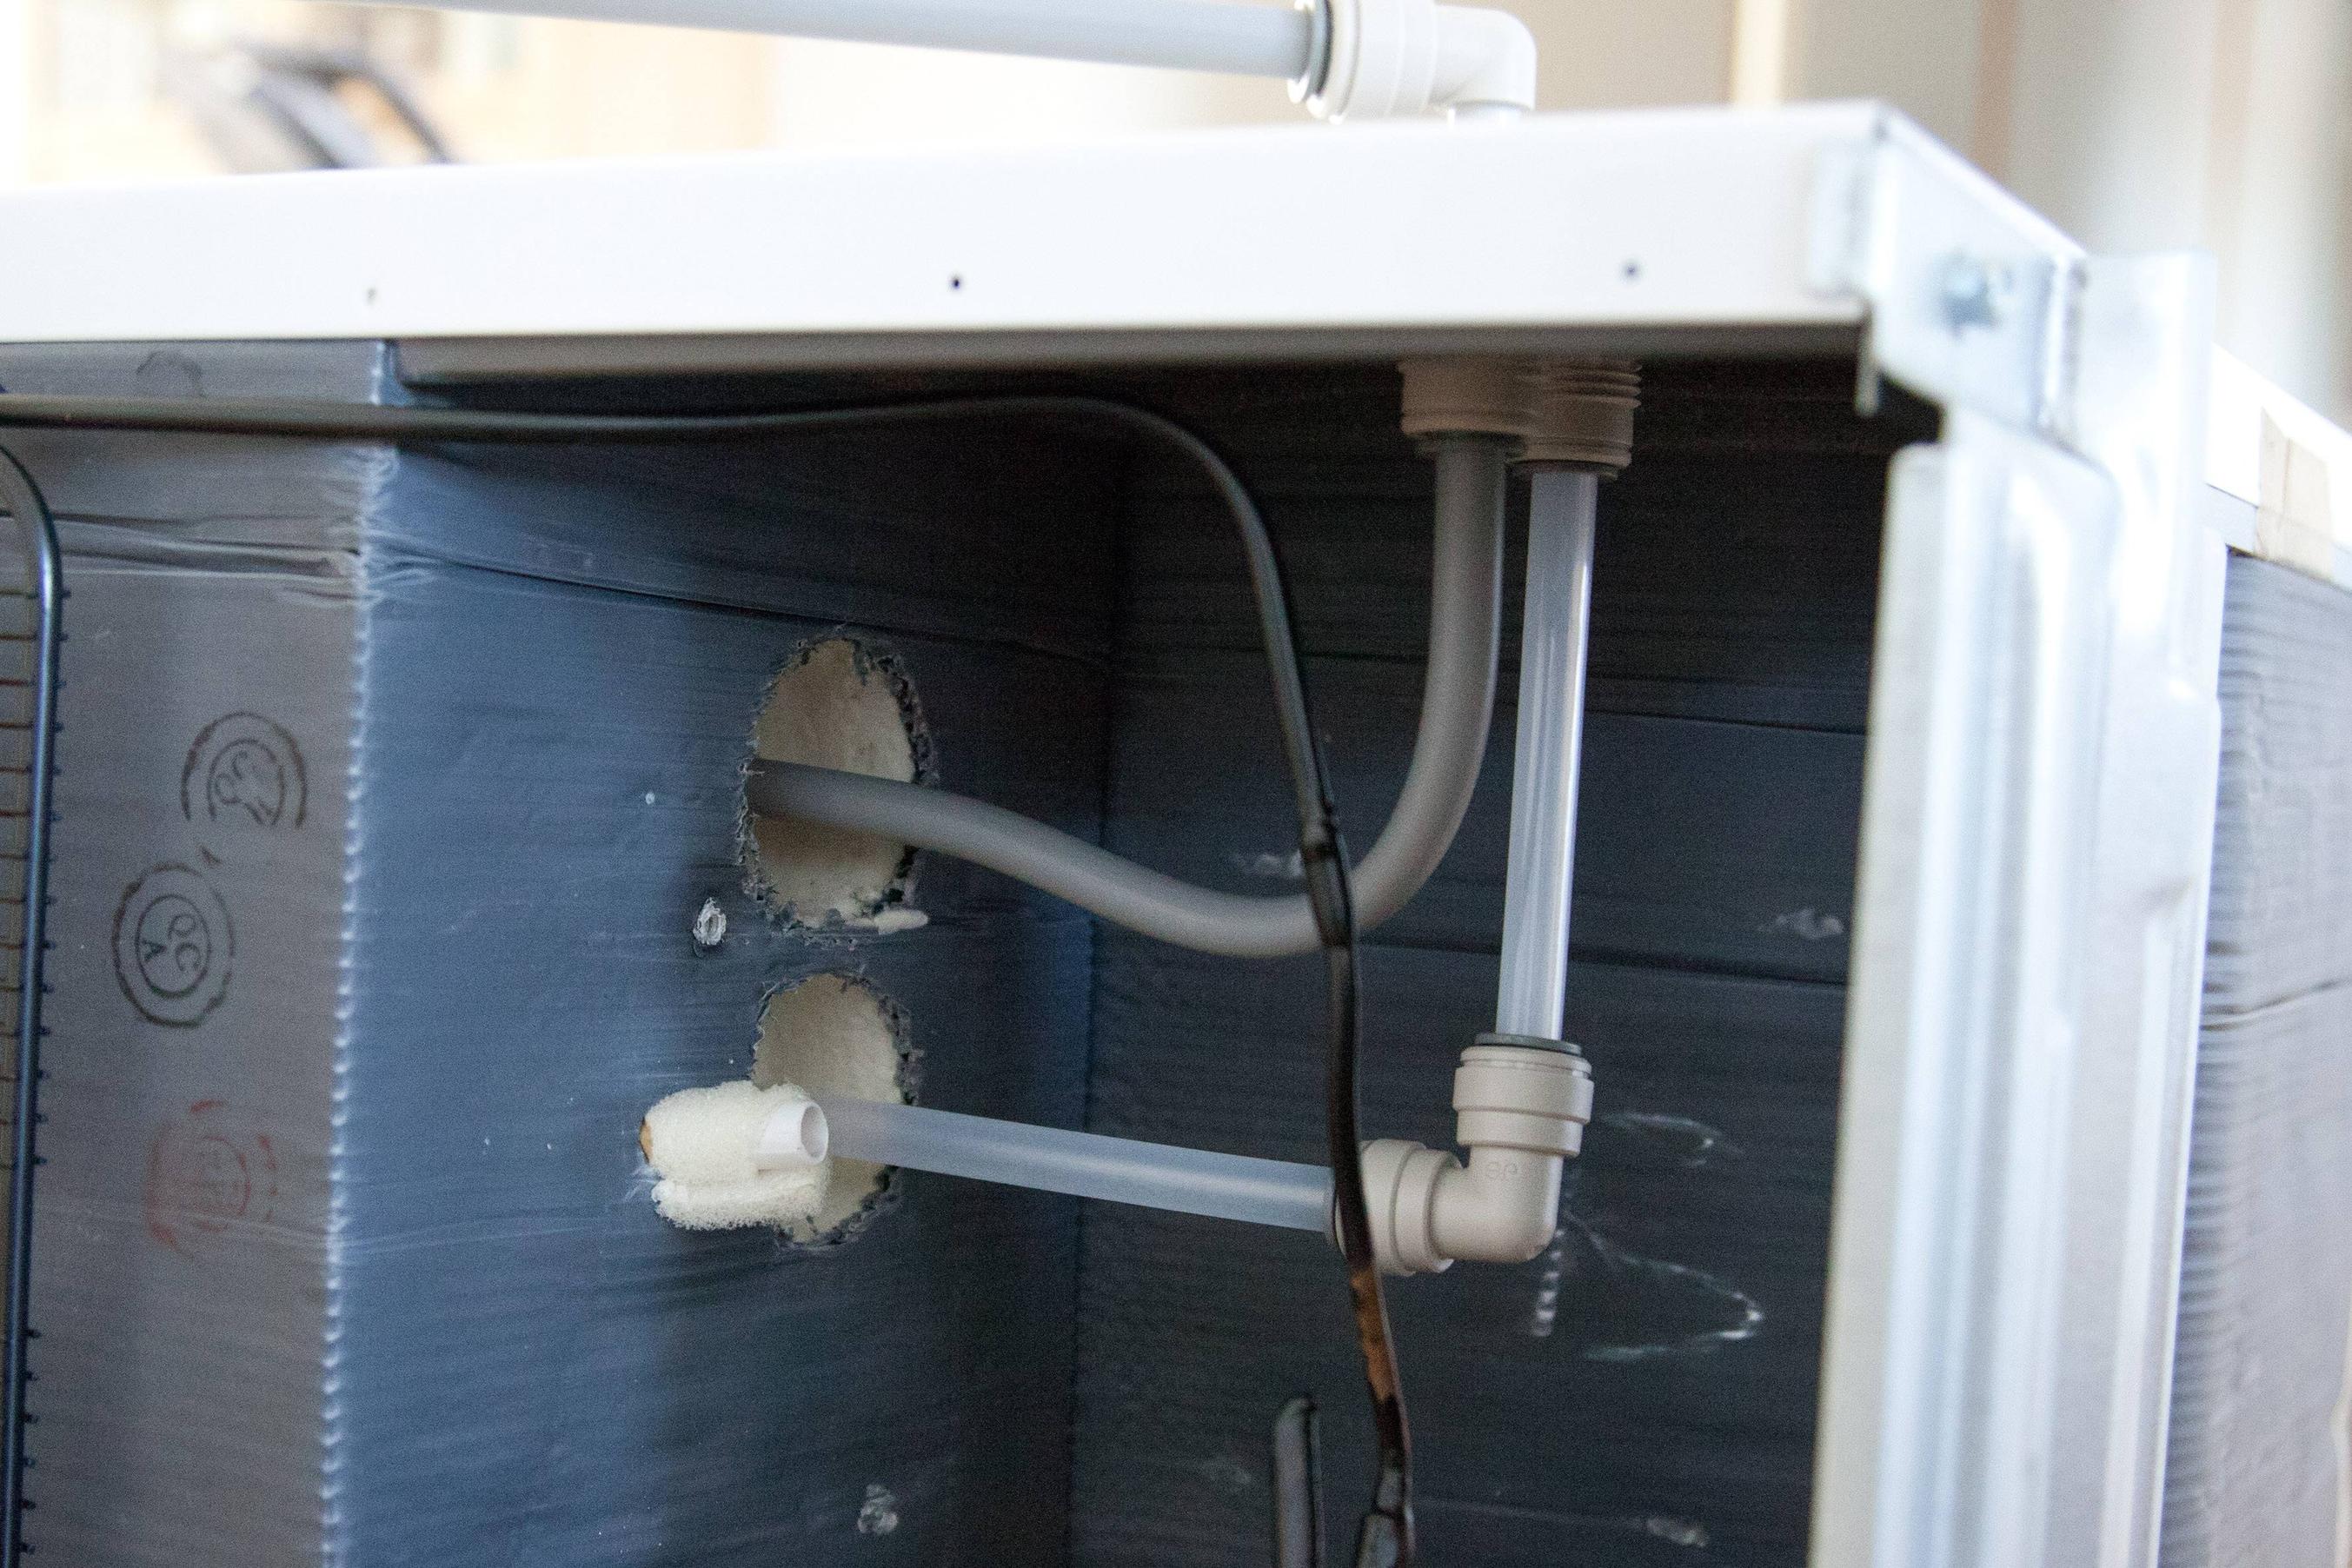
The second port is for the beer out, unfortunately the position of it is immediately next to the fridge condensation drain and actually exits the fridge right onto the drip tray from this drain.
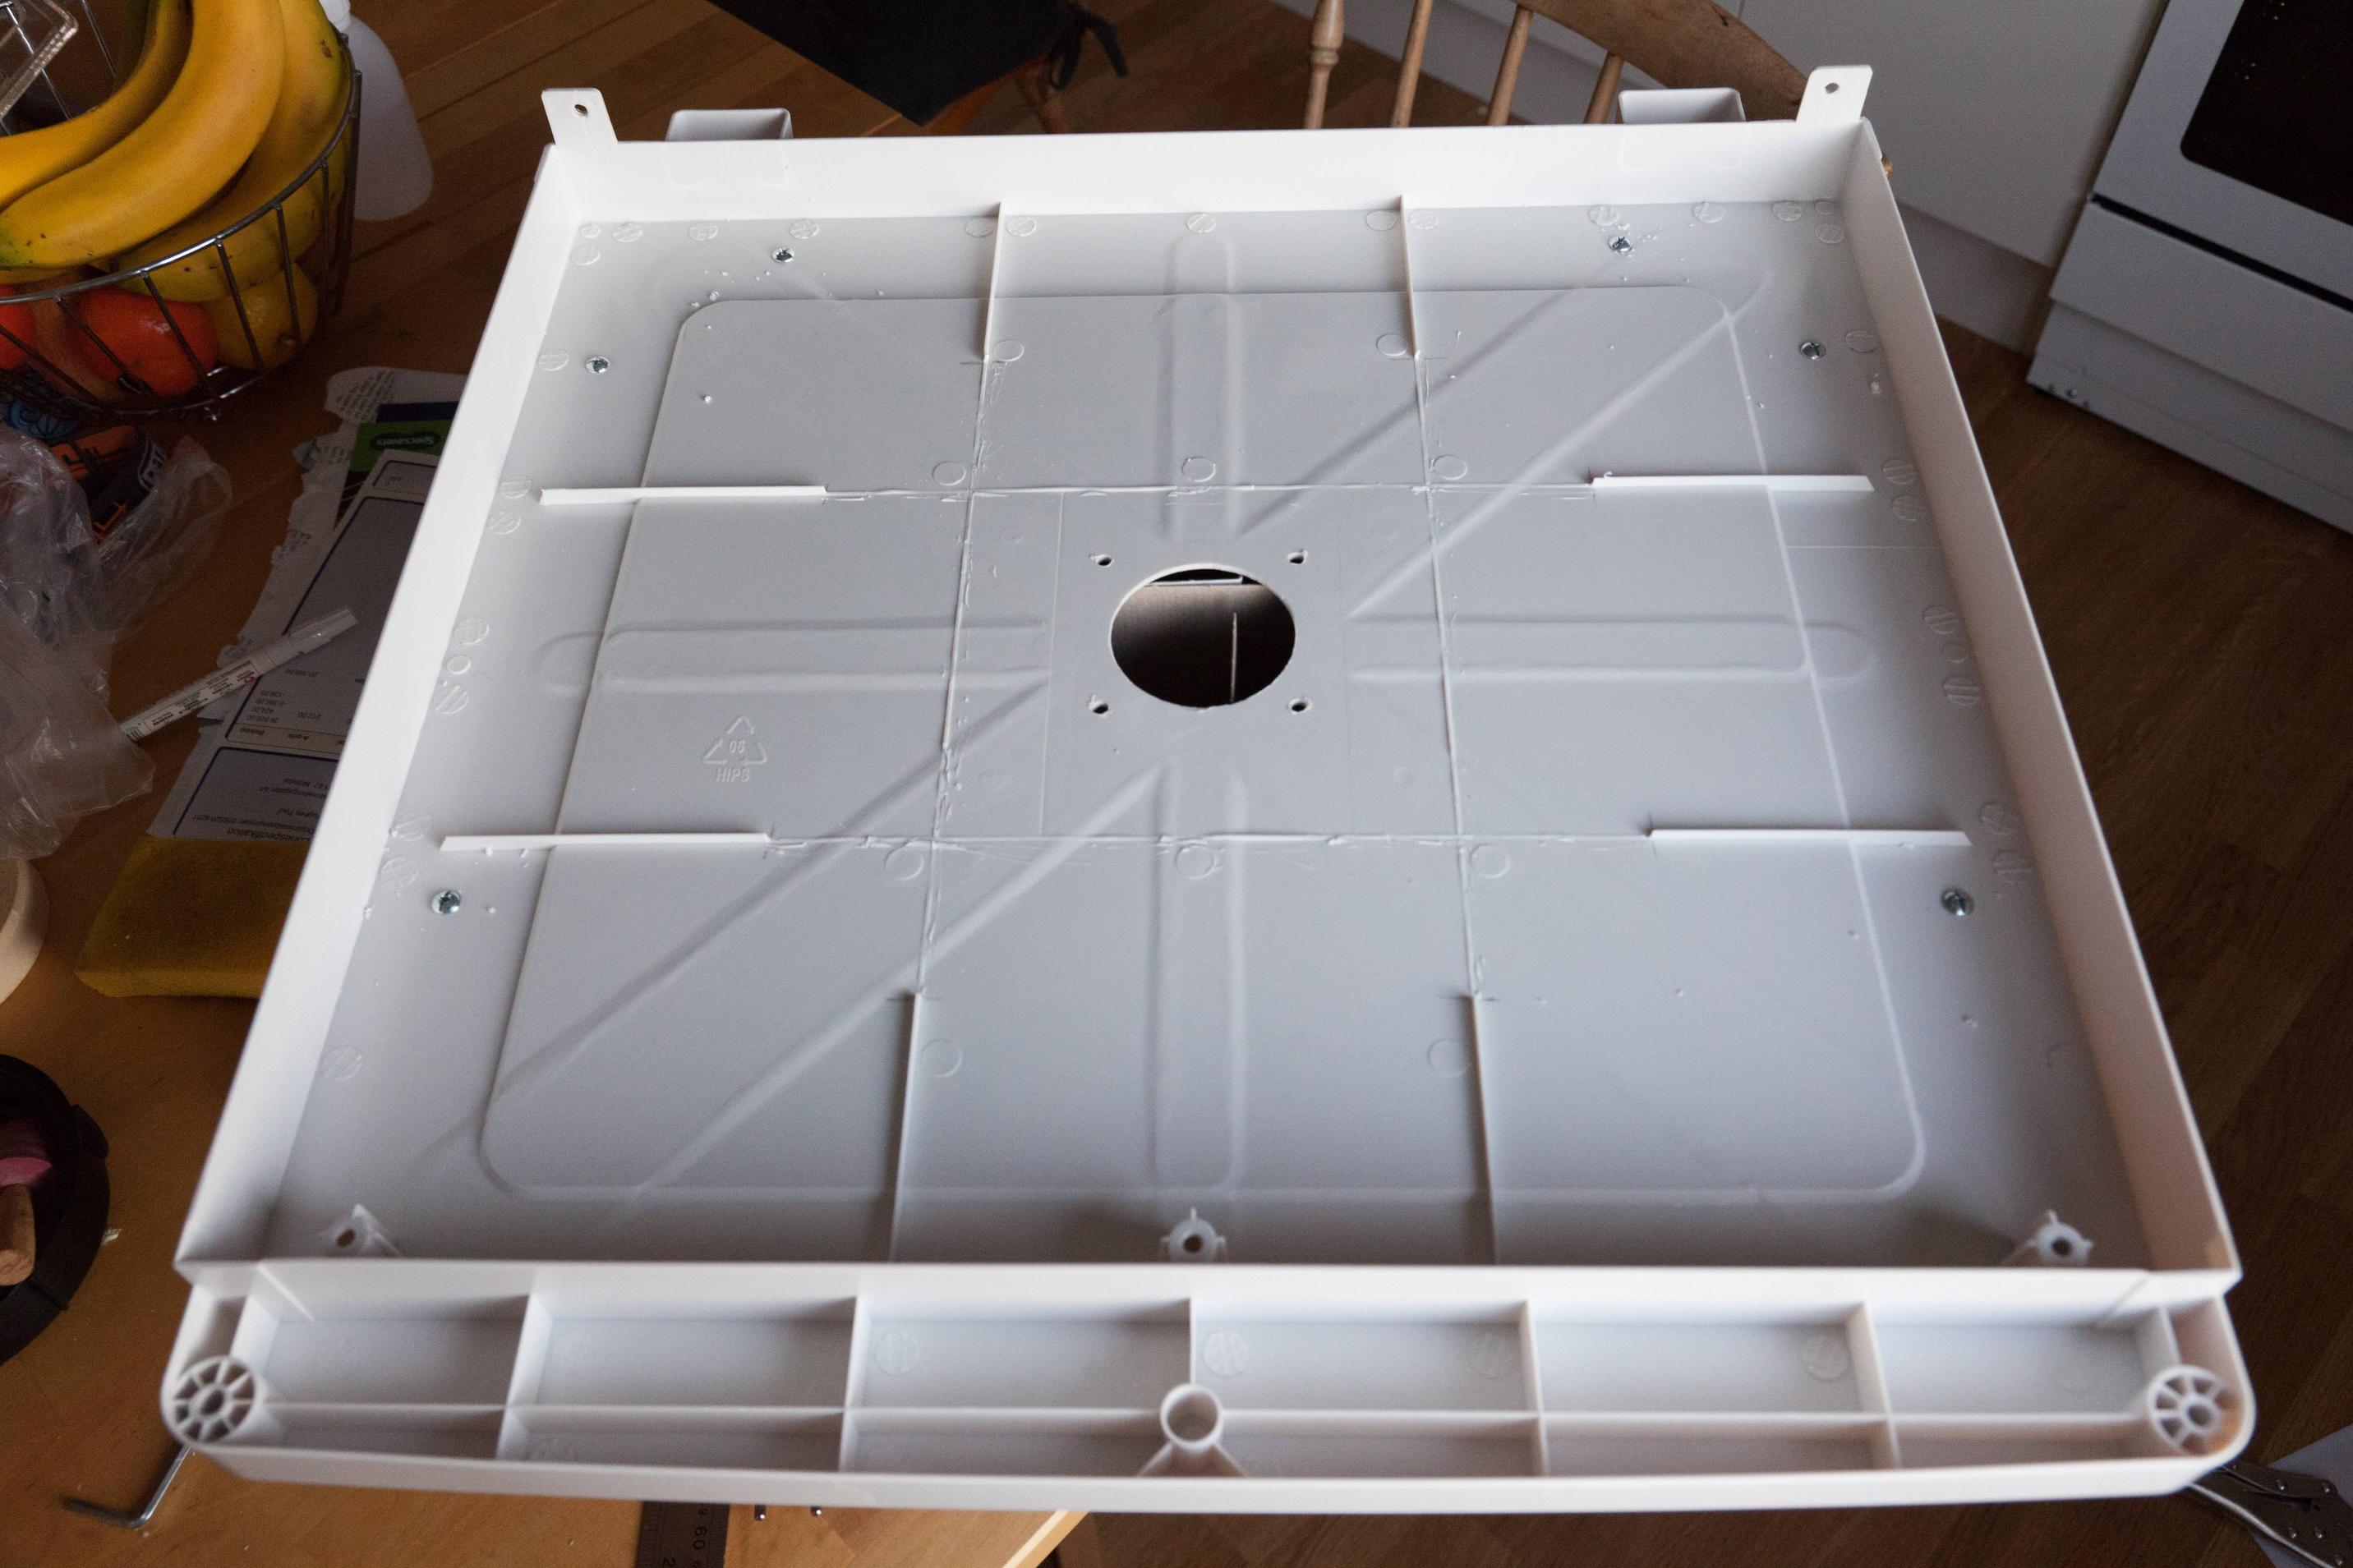
Here you can see the drip tray in place, obscuring the beer port. The solution is to drill the drip tray and run the pipe straight through and seal the gap between the drip tray and pipe, probably just with hot glue.
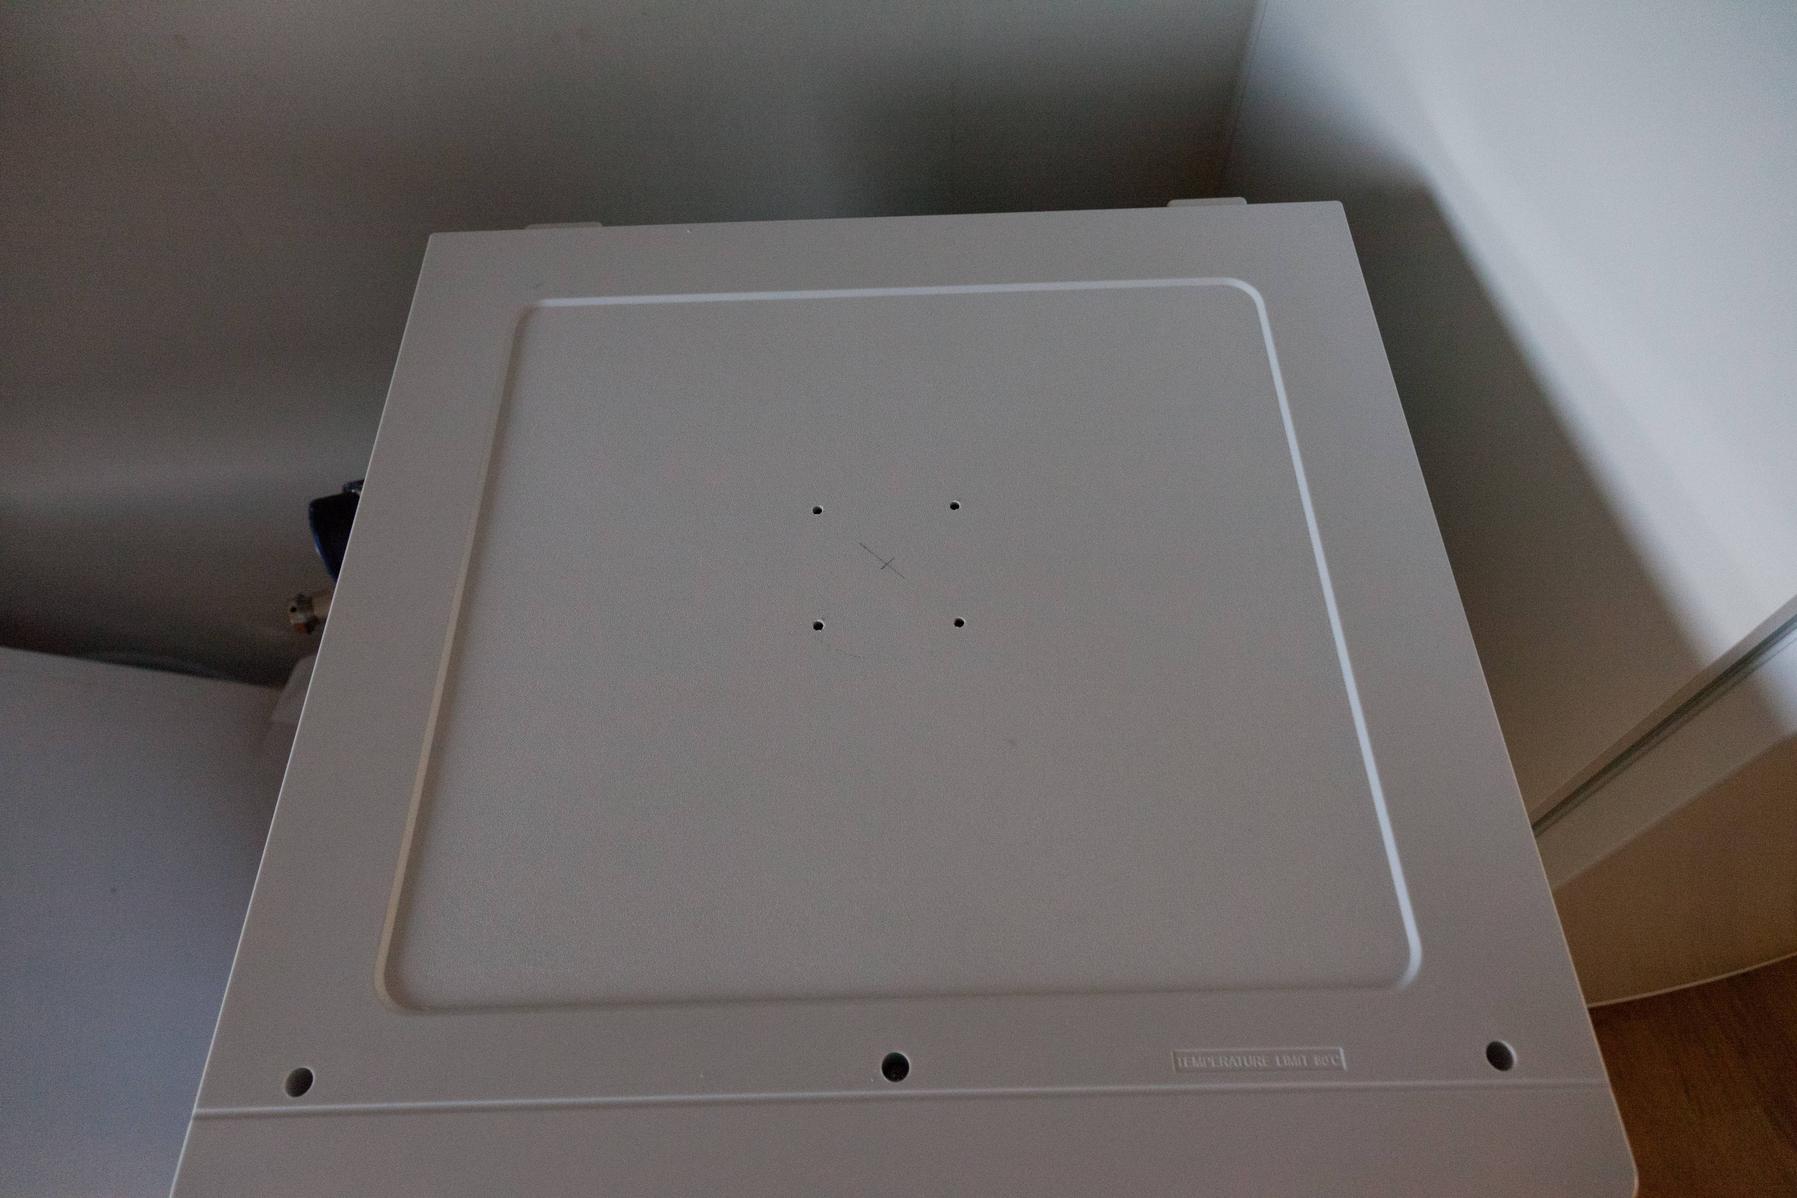
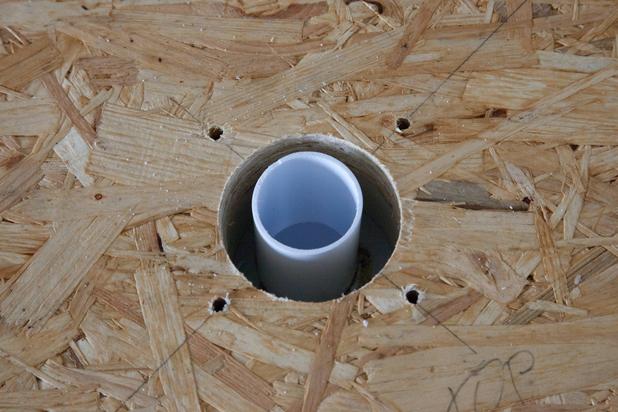
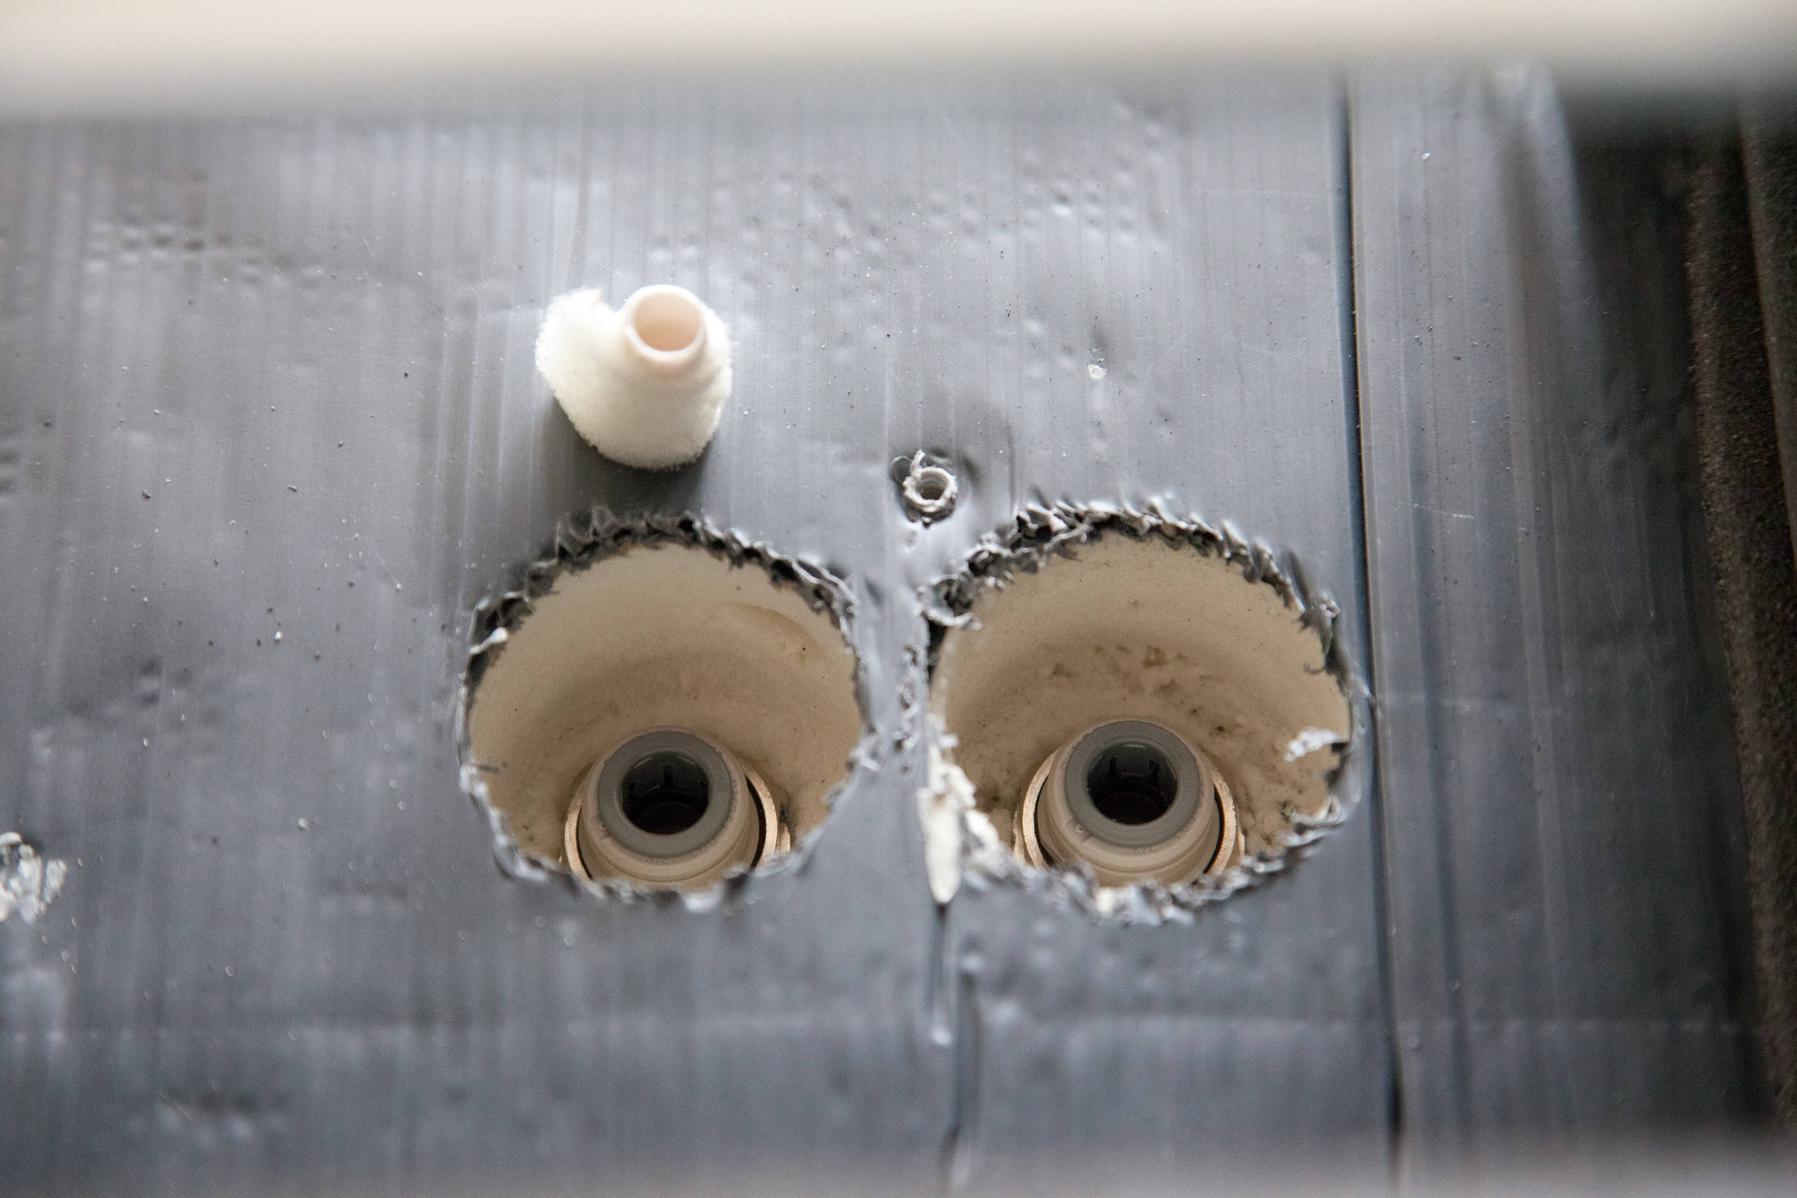
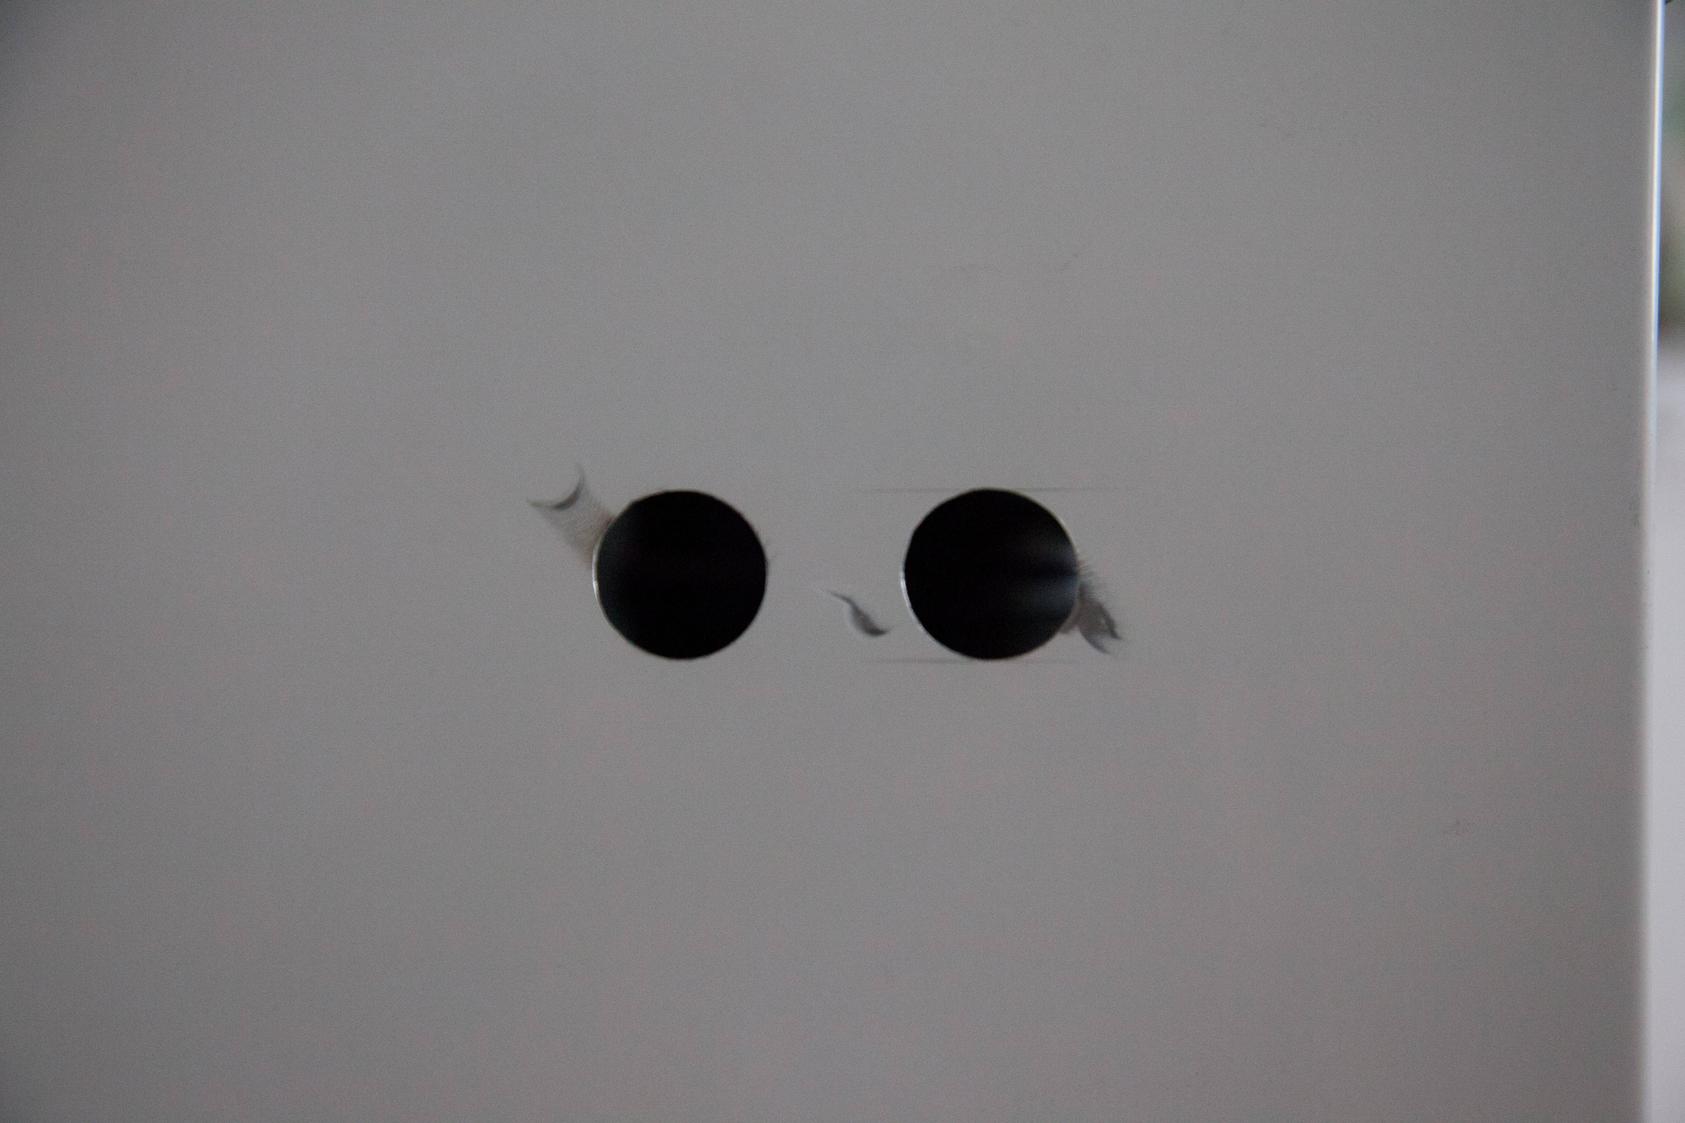
Next I drilled the holes in the side of the fridge in the back corner, I drilled to 10mm (the largest size the drill will take) and expended it them with a dremel, I was a little careless, I should have used masking tape as I usually would but I thought i'd be neat, I wasn't, and ended up scratching the paint, not to worry, I have a paint pen on its way which will easily fix those little scratches
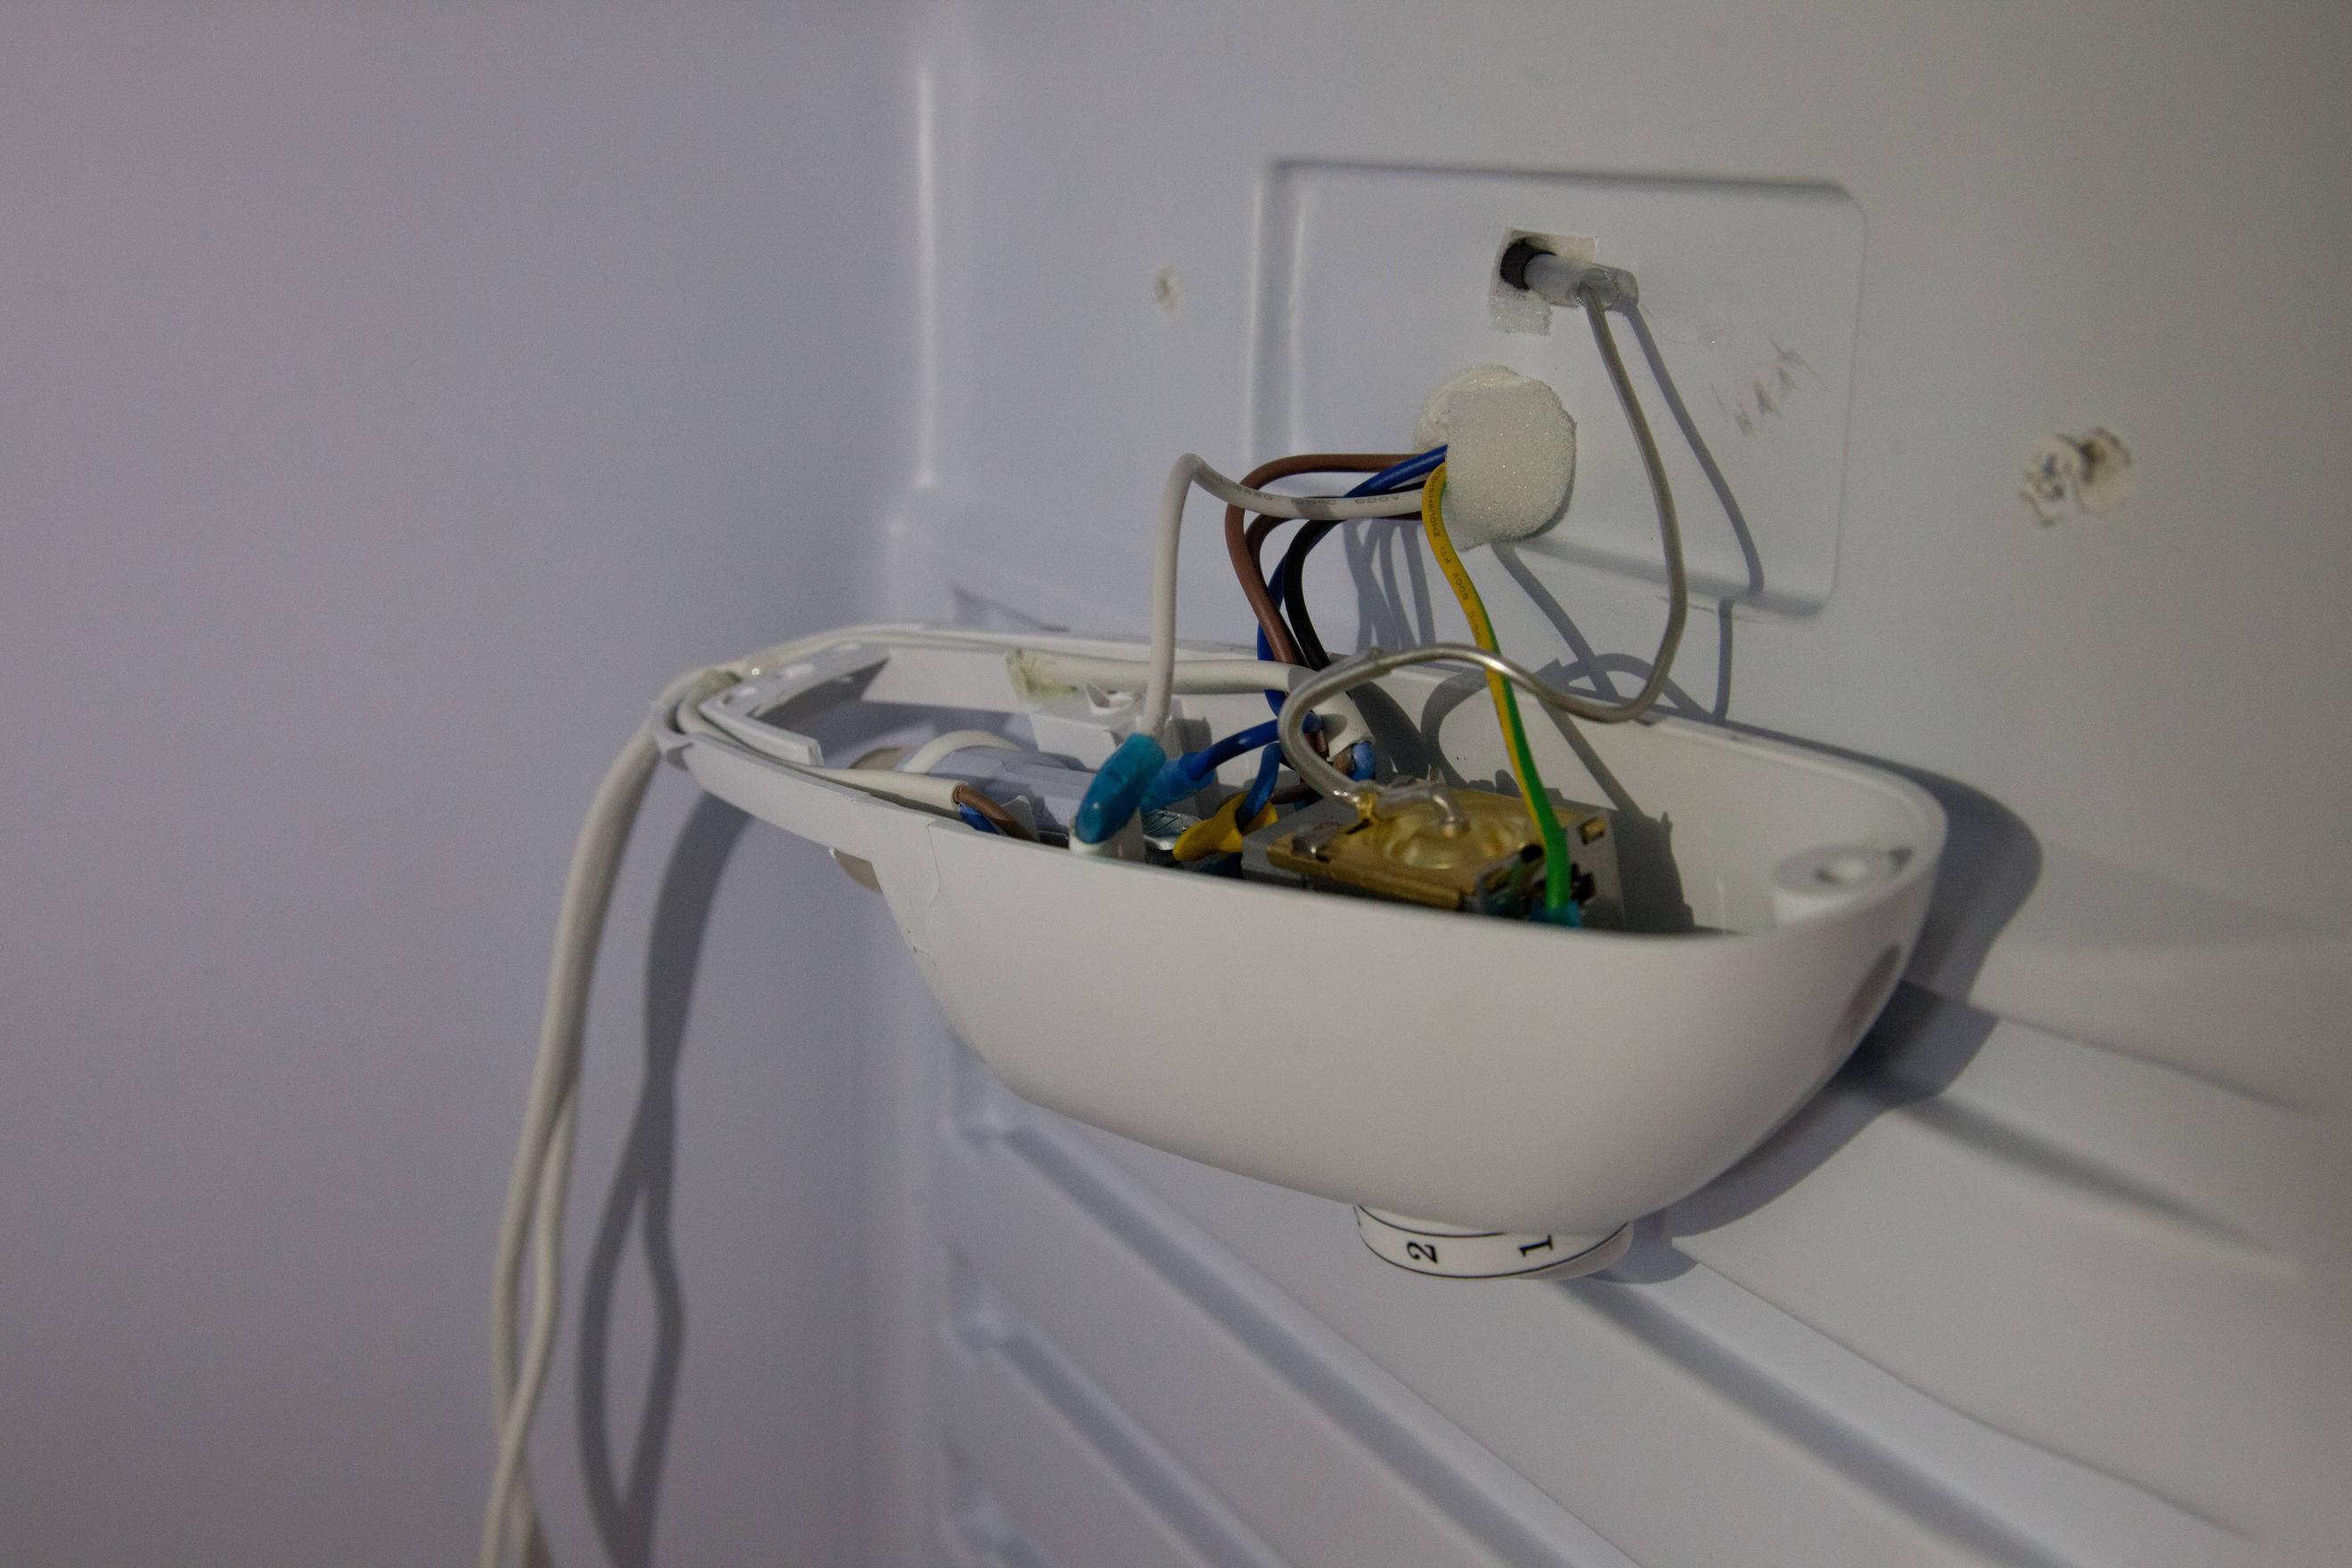
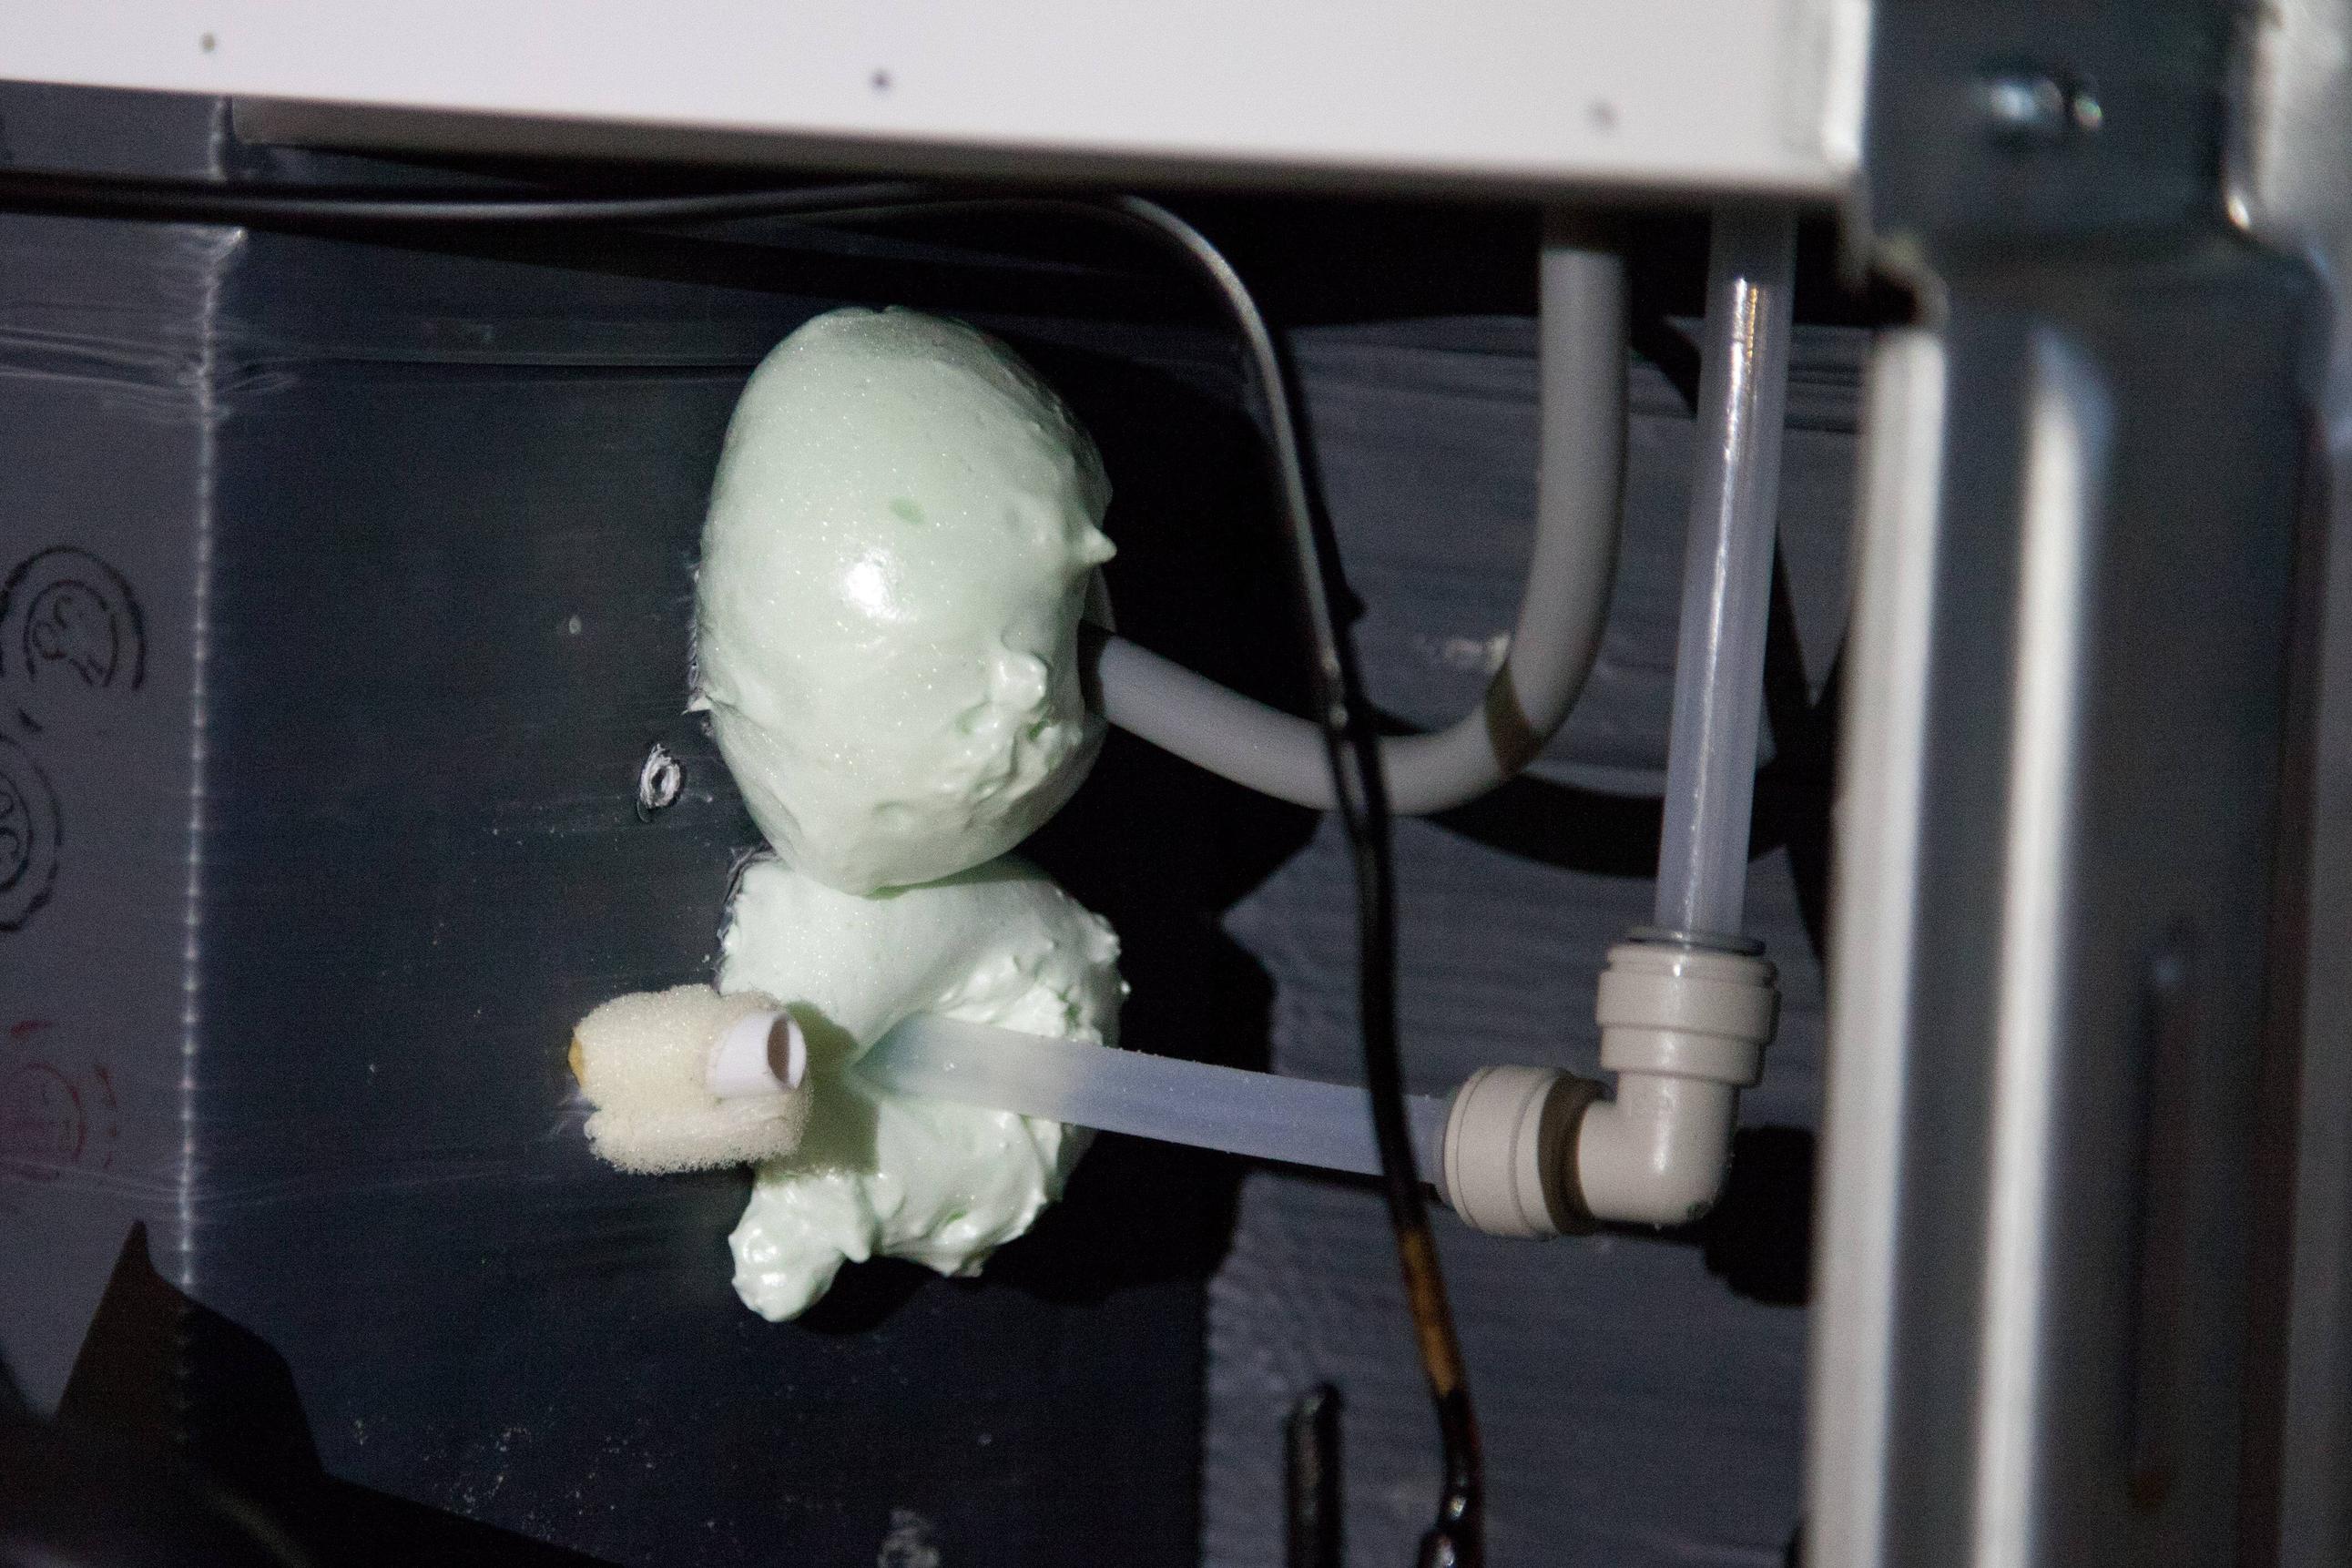
Here it is with the pipes in place, you can see the clear beer line poking through the drip tray and the grey gas line has been bent with heat to avoid kinking and is connected. I can't finish the beer line yet as I'm waiting for a 90 degree fitting to arrive, I don't want to bend the liquid line further than I have to, the slight compression of the gas line if perfectly acceptable.
Next up will be the insulation of the tower. Update to come soon
I opted to keep it cheap whilst still buying a new fridge. Unfortunately the choice of fridges in Sweden where I live is quite poor, especially for mini fridges, there are no stainless steel, black or silver painted fridge options at all. Luckily for me it will be standing next to our regular fridge and freezer in the kitchen, these are white so I guess it will fit in better, but it's not going to be the prettiest.
I got a Matsui MUL1308GWE. I measured it up in the shop and found I could get two kegs in side by side without modification to the door panel, excellent. Here's the fridge pre-op:
The first thing I tackled was also one of the easiest modifications. I have a 5kg CO2 tank which means I can't stand it inside the fridge, so I decided to provide a gas in port, I also decided to provide an extra port for beer out for when I choose to use my hand operated beer engine so I can keep the beer cool and pull the beer out through that port. I am using John guest fittings throughout as is common in Europe, especially in the UK, where I'm from originally.
I used John Guest bulkhead fittings to take the line through the fridge wall at the top of the "hump" for the compressor and then out the side of the fridge. I drilled through from the inside to the width of the screw thread on the bulkhead connector then from the outside I widened the hole so I could screw on the lock nut.
These holes will later be filled back in with expanding foam but for now I'm leaving it as is until i've finished the project and confirmed it holds gas without leaks.
The second port is for the beer out, unfortunately the position of it is immediately next to the fridge condensation drain and actually exits the fridge right onto the drip tray from this drain.
Here you can see the drip tray in place, obscuring the beer port. The solution is to drill the drip tray and run the pipe straight through and seal the gap between the drip tray and pipe, probably just with hot glue.
Next I drilled the holes in the side of the fridge in the back corner, I drilled to 10mm (the largest size the drill will take) and expended it them with a dremel, I was a little careless, I should have used masking tape as I usually would but I thought i'd be neat, I wasn't, and ended up scratching the paint, not to worry, I have a paint pen on its way which will easily fix those little scratches
Here it is with the pipes in place, you can see the clear beer line poking through the drip tray and the grey gas line has been bent with heat to avoid kinking and is connected. I can't finish the beer line yet as I'm waiting for a 90 degree fitting to arrive, I don't want to bend the liquid line further than I have to, the slight compression of the gas line if perfectly acceptable.
Next up will be the insulation of the tower. Update to come soon