
Epimetheus
Well-Known Member
Recently HD put copper tubing on sale, perhaps they were switching suppliers. Many people here took advantage of the low prices. So, what have you built with the tubing you got on sale?
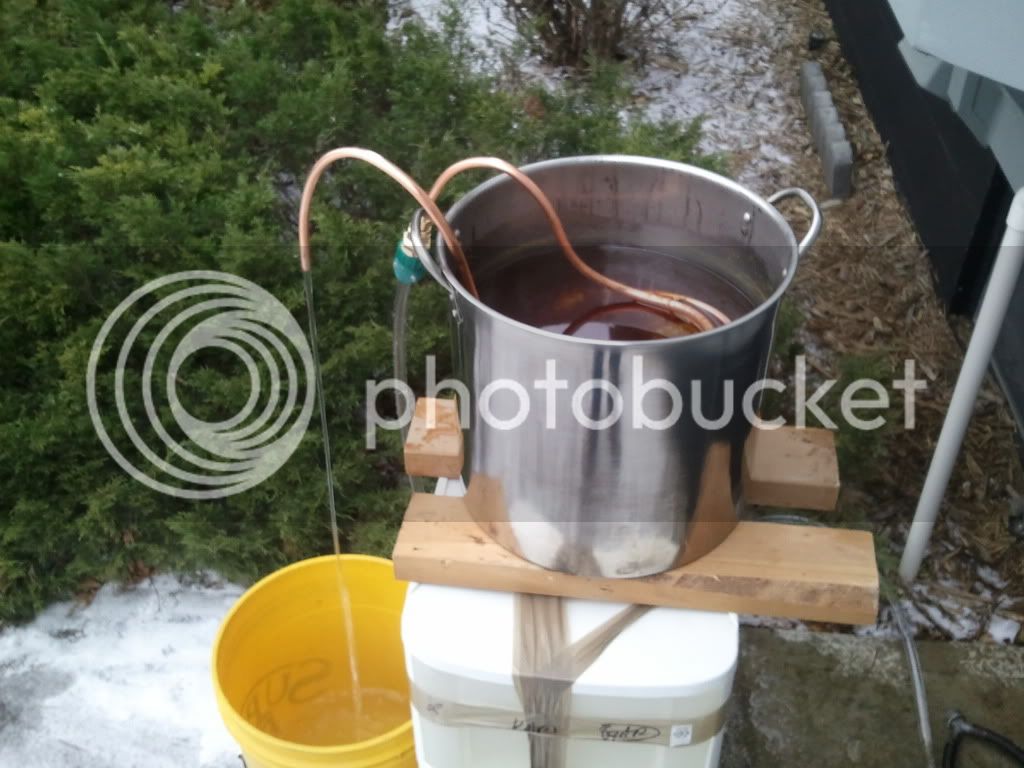
Here is my effort. It is 1/2" OD tubing, double coil, 22 ft per coil. The water flows through both at once, not sequentially, so the wort is exposed to more cold water. The ruler is 18 inches long, for proportion.

Inner coil was wound around a 6 5/8 inch diameter gallon bottle

Outer coil was wound the opposite directin around 8 7/8 inch dia. sonotube

Here they are nested

They were joined with 3/8" sweat fittings, T fittings join the coils. It is heavy! the outer coils were stitched together with 12 gauge electrical wire.
Here is my effort. It is 1/2" OD tubing, double coil, 22 ft per coil. The water flows through both at once, not sequentially, so the wort is exposed to more cold water. The ruler is 18 inches long, for proportion.
Inner coil was wound around a 6 5/8 inch diameter gallon bottle
Outer coil was wound the opposite directin around 8 7/8 inch dia. sonotube
Here they are nested
They were joined with 3/8" sweat fittings, T fittings join the coils. It is heavy! the outer coils were stitched together with 12 gauge electrical wire.


") How in the world do you get such pretty coils? Here are a couple of fugly pictures of my abomination IC. This is an example of what not to do. I wound both coils going the same direction and I had to splice the outer coil because it kinked. When I get the top finished, I will post more photos.
How in the world do you get such pretty coils? Here are a couple of fugly pictures of my abomination IC. This is an example of what not to do. I wound both coils going the same direction and I had to splice the outer coil because it kinked. When I get the top finished, I will post more photos. 


