• Please visit and share your knowledge at our sister communities:
  • If you have not, please join our official Homebrewing Facebook Group!

    Homebrewing Facebook Group

Upcoming DAR440BL Kegerator Build

Homebrew Talk

Help Support Homebrew Talk:

This site may earn a commission from merchant affiliate links, including eBay, Amazon, and others.
I actually have a control box I've built (but not yet wired up) using one of the eBay aquarium controllers so prevalent on these forums. Once I get it wired up, I'll let you know. Even if the probe end doesn't fit through the drip tube, however, it will be easy to just slip the bare wire end through and then clamp it into the box afterwards, so I don't foresee the need to drill further holes.

Note that it's also possible to drill out the drainage hole to widen it--I know I read about someone else doing that.
 
I'm not sure about that, but it looks like that is the case. I'd look around at other DAR440BL builds to see where others have drilled holes--a little Googling should yield pictures, and you can get some ideas as to safe locations in which to drill holes.
 
I actually have a control box I've built (but not yet wired up) using one of the eBay aquarium controllers so prevalent on these forums. Once I get it wired up, I'll let you know. Even if the probe end doesn't fit through the drip tube, however, it will be easy to just slip the bare wire end through and then clamp it into the box afterwards, so I don't foresee the need to drill further holes.

Note that it's also possible to drill out the drainage hole to widen it--I know I read about someone else doing that.

Finally got around to running a temp controller into the kegerator. I bought a Ranco controller and added a 3 outlet power strip cord. I used a dremel to slightly widen the bottom of the drip tube hole. I couldn't get a drill to the drip tube from inside, and it was to long to drill from the top with the dremel. I was able to from the back, but that wasn't very accessible either. I also ran the power cord to the tower fan through the drip tube. To fit both, I put the temp probe through first, then the fan wire.
 
So the only coils on this fridge are exposed on the back wall? No coils in the top and sides?

There are coils in the top and sides, do your homework carefully before drilling. The coils in the top are only in the front half, the rear half of the top is clear. So a tower can be mounted fairly easily.

Again, do your homework as manufacturers change things internally without notice. There are easy ways to determine coil locations, use them to make sure. Google 'Danby 440 kegerator conversion' and you'll find lots of resources along with what's here at HBT.

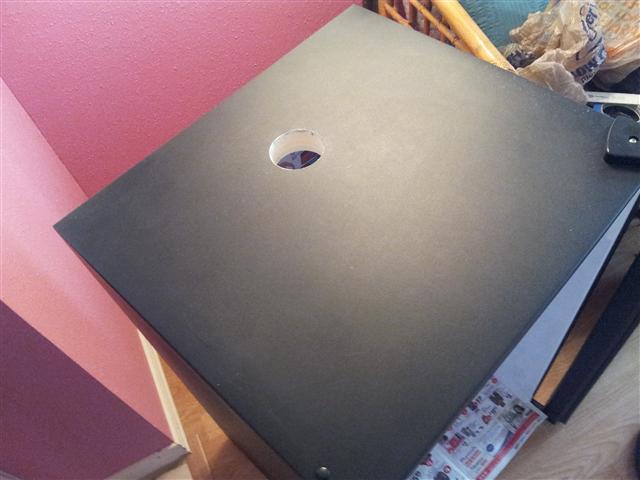
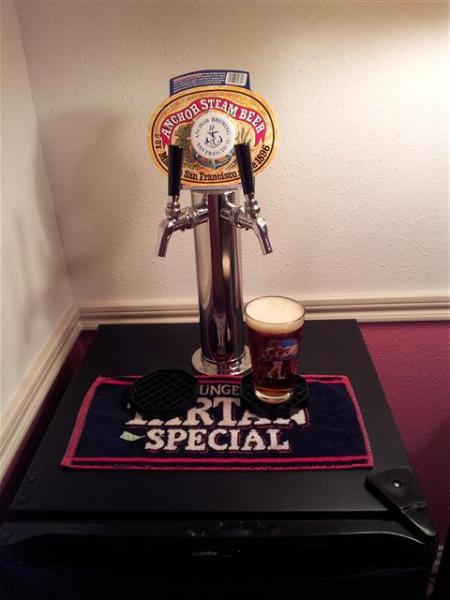
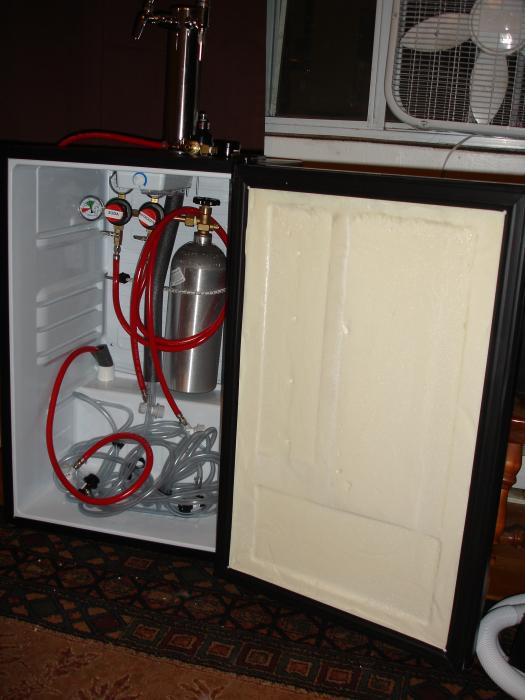
Here's a pic of mine with the hole drilled and after completion.

20120830_175051 (Small).jpg


20120831_202829 (Small).jpg
 
So I bought a Danby DAR 440bl and the door panel is glued in not screwed in. I was looking at it and thought I could cut out the panel leaving the channel for the door gasket. Then I was going to glue in a piece of plexiglass with silicone to cover the inside part of the door. Has anyone done this? I read that the panel provides rigidity to the door. I am just looking for a clean look when I am done.
 
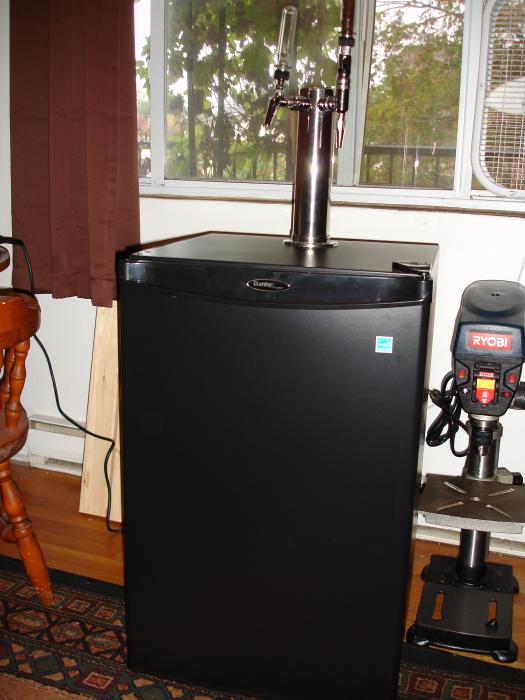
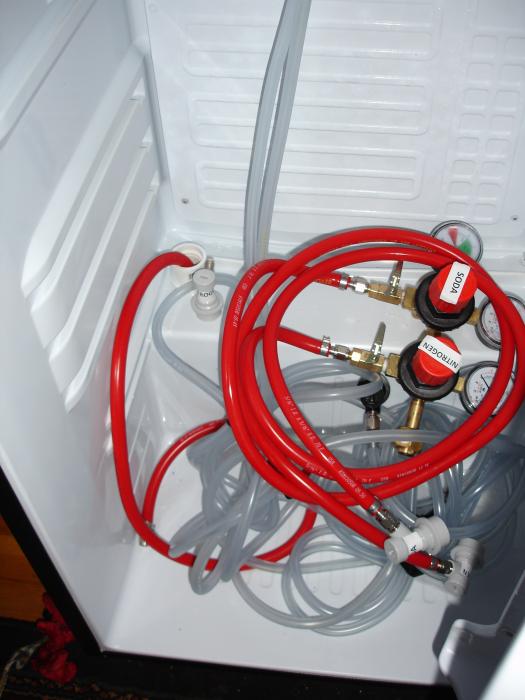
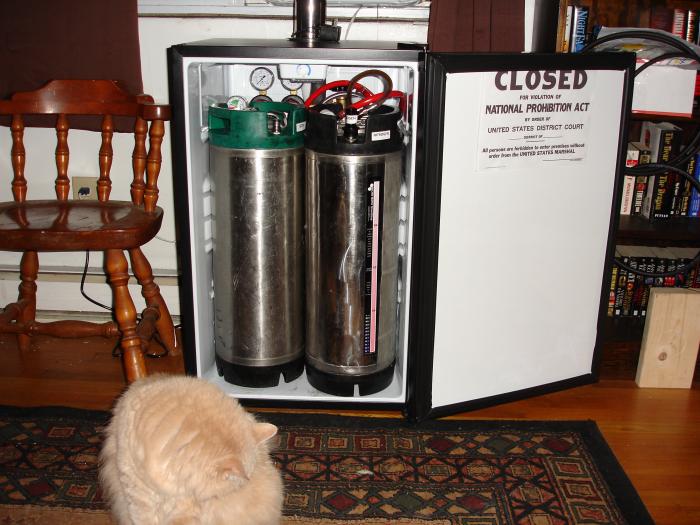
I just finished changing the new model Danby Designer DAR044A1BDD into a kegerator. Its very similar to the older model. You still have to cut the shelving off the doors. The inside seems to be a tighter fit for 2 corny kegs.

DSC00877.jpg


DSC00880.jpg


DSC00881.jpg


DSC00886.jpg
 
Nicely done! Looking good.

I guess I neglected to post pictures of the temperature control box I eventually wired up. It's a combination STC-1000 with hot and cold outlets on one side (using the cold only at this point), and two switches to control the two outlets on the other side independently. This lets me control the fan blower with one switch, and our balcony lighting with the other.

2013-10-14%2017.23.33.jpg


And for fun, here's some tap handles I made for my wedding a while back :D

2013-05-16%2020.43.13.jpg
 
Back
Top