yuval12321
Member
- Joined
- Nov 16, 2013
- Messages
- 14
- Reaction score
- 0
Hi,
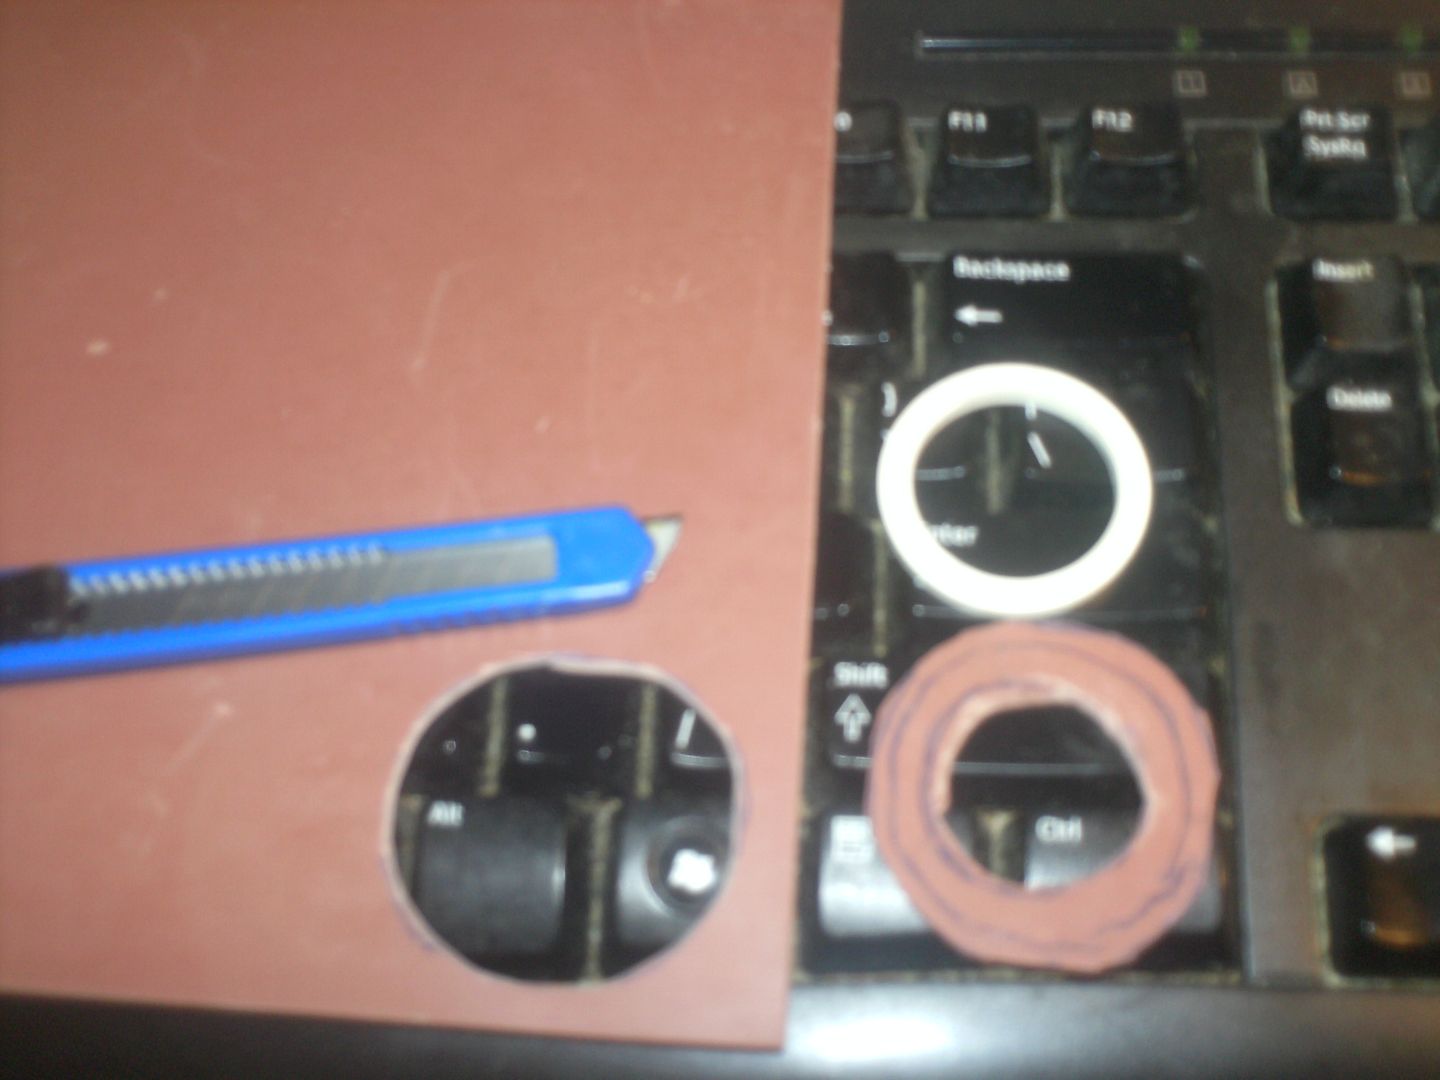
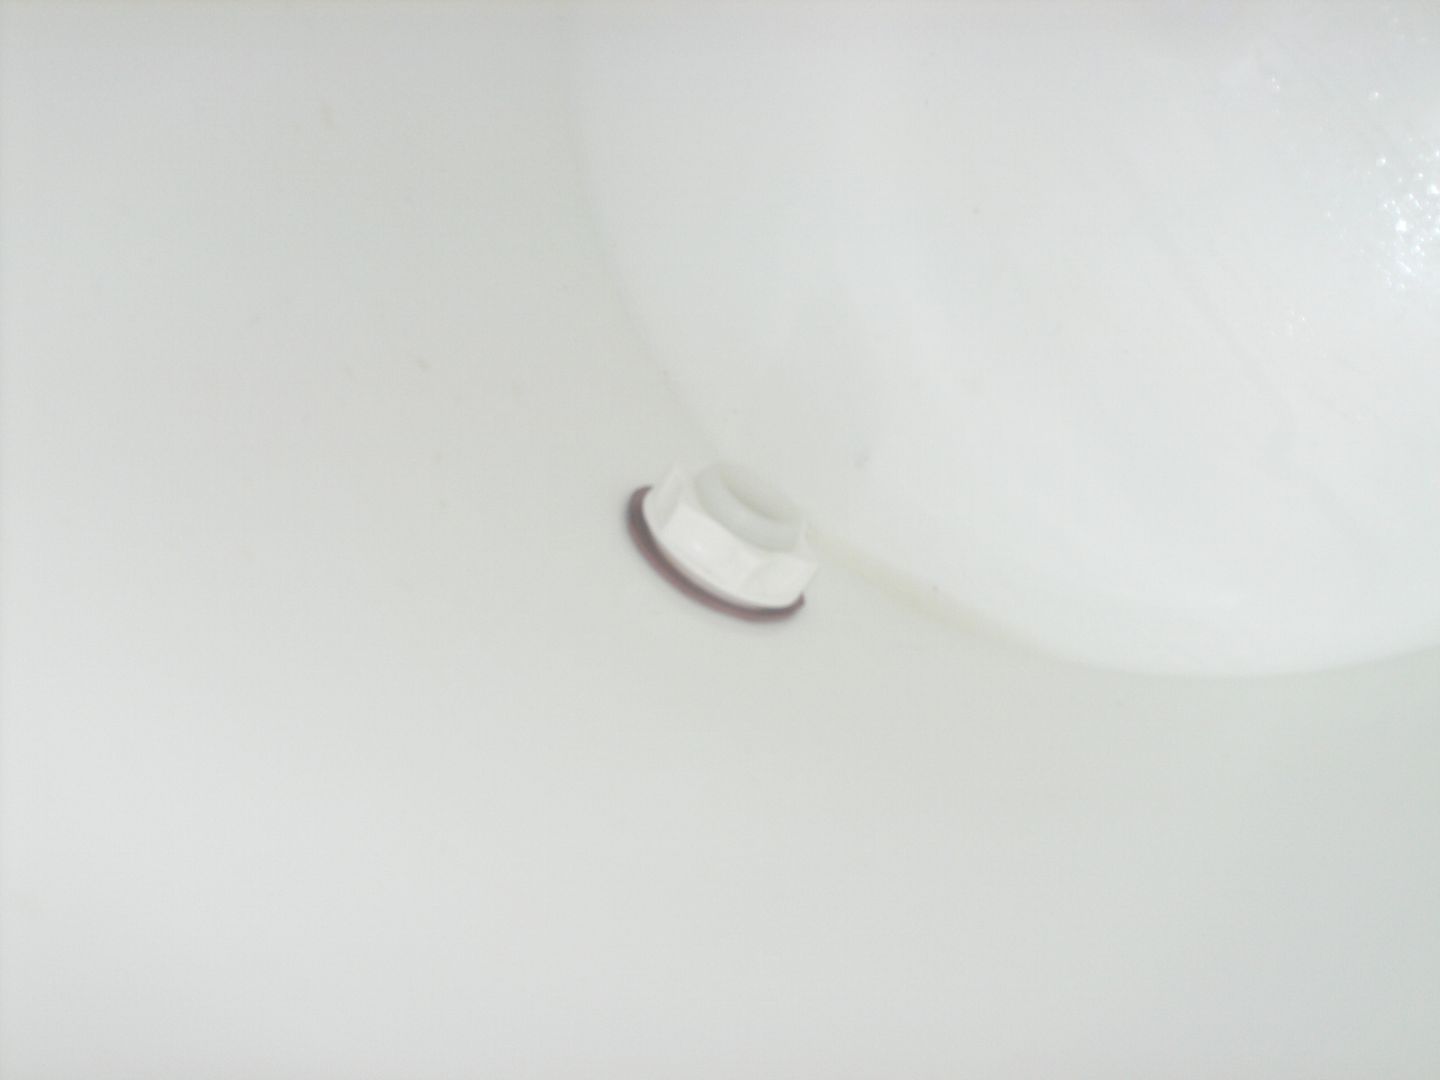
I have one rubber part in each spigot, so I usually use only one and put it in the outside of the fermenter, while the plastic part tightening it from inside. In the last batch I added another rubber part that I took from another spigot, so then I had one inside the fermenter and one outside, so it was tighter than before. (I had leaks before so I wanted it to be tighter) But then after 3 weeks, all the rubber part that was inside the fermenter was dyed by the beer and was less smooth, and I tried to clean it but failed (so it is still dyed in beer color). Is it normal? and another thing - when you use one rubber part, should you connect it to the spigot inside the fermenter or outside, like I did?
Thanks,
Yuval


