Crabnut
Active Member
Hey Quaffer, where did you source the lock nut you used? I am a long way from the east coast, but not that far from Snohomish, here in snowy (???) Renton.

Thanks, I've read through your thread and your build is awesome! Nice work. I'll be stealing ideas from you as I upgrade my system in the near future")

Hey Quaffer, where did you source the lock nut you used? I am a long way from the east coast, but not that far from Snohomish, here in snowy (???) Renton.
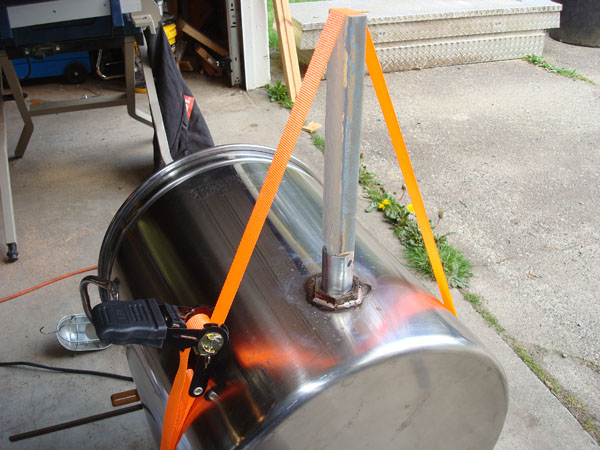
i have been using 1" couplings from bargain fittings, butt-soldered to kegs with great success. even though they are bigger, i think they are easier to solder than a lock nut. i'll take pics the next time i solder one, but basically cut your hole with a step drill bit, clean up the areas to be soldered with 220 grit sand paper, and solder away. the harris stay-clean (i think that's the stuff) works miracles.


![Craft A Brew - Safale S-04 Dry Yeast - Fermentis - English Ale Dry Yeast - For English and American Ales and Hard Apple Ciders - Ingredients for Home Brewing - Beer Making Supplies - [1 Pack]](https://m.media-amazon.com/images/I/41fVGNh6JfL._SL500_.jpg)


How has the durability of this solder been? It seems a lot like brazing and I wonder how the durability is compared having it welded?
What kind of solder did you go with this time?
The only difference between soldering and brazing as far as I know is temperature required. The filler material always has a lower melting point than the two materials being joined.
On my kettle, I used the dimple method with a 1" half coupler soldered in. The half coupler provided a perfect surface for a silicone o-ring to seal. I used a weatherproof box, almost identical to Kal's installation to cover the connection. It works great, hasn't leaked a drop.


