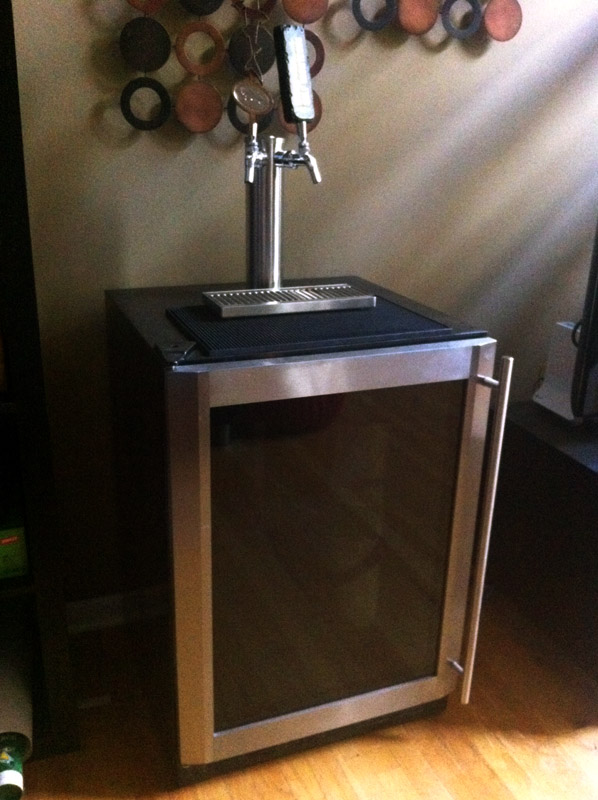
Whew, read them all. Many great ideas. I have about a 15cf chest freezer that will fit 6 cornys without the need for a collar. I'm wanting to do a LSU theme one. Not sure if I should build a coffin, put a collar on it or make one of those PVC bridges for the taps. How well do the PVC bridges work, and would there be a limit to the number of taps one could use on them, as long as the horizontal piece is long enough to accommodate the taps. I've all these ideas swarming in my mind. I also have a Darby Mini fridge at my store that I can jack and make two of them. I have 5 corneys now, all empty. 


![Craft A Brew - Safale S-04 Dry Yeast - Fermentis - English Ale Dry Yeast - For English and American Ales and Hard Apple Ciders - Ingredients for Home Brewing - Beer Making Supplies - [1 Pack]](https://m.media-amazon.com/images/I/41fVGNh6JfL._SL500_.jpg)