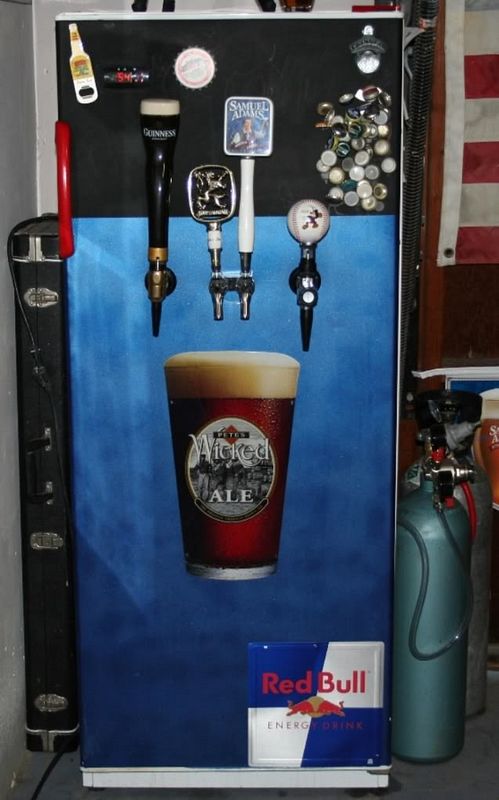
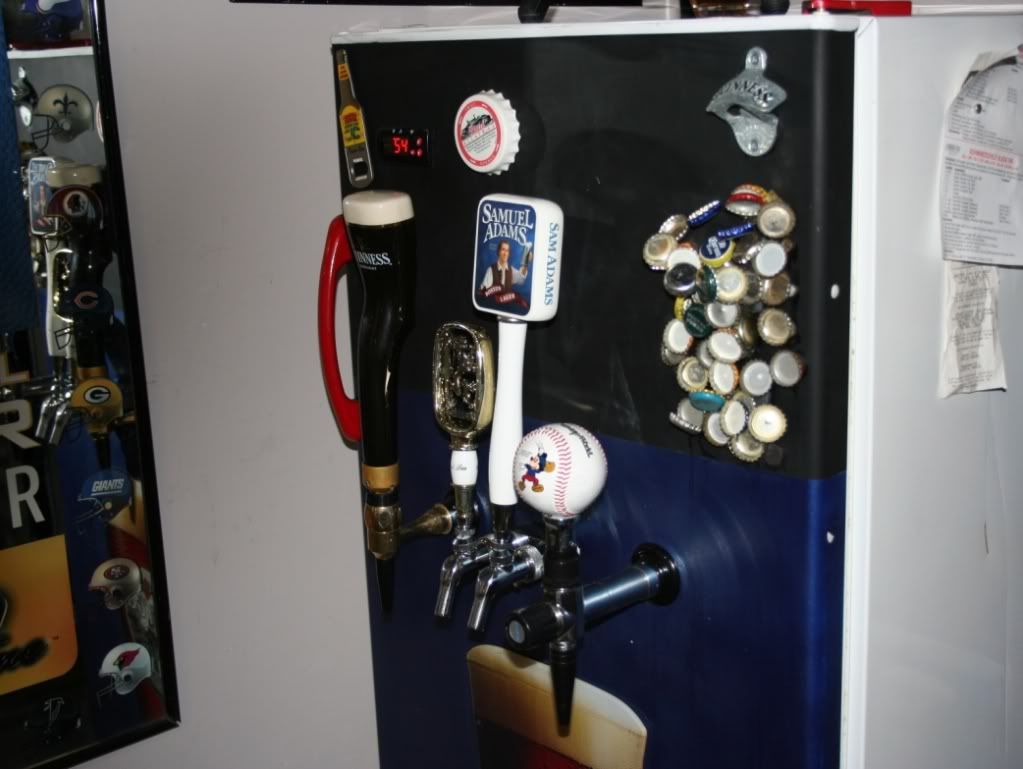
I used a box I picked up at Hobby Lobby. The box was $20 and the hardware was around $180. Not bad for a $200 4 tap tower.
That my friend is cool...I really like that box, great idea!

I used a box I picked up at Hobby Lobby. The box was $20 and the hardware was around $180. Not bad for a $200 4 tap tower.


@ electrichead... okay, after further examination, your tap handles are like icing on a really REALLY awesome cake... holy cow, man!
Love the little card holders. Where did you get those?
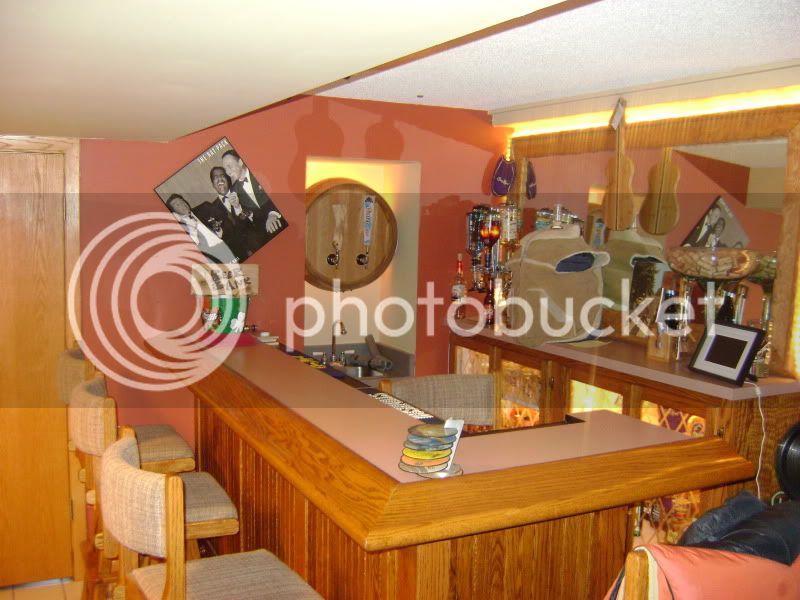
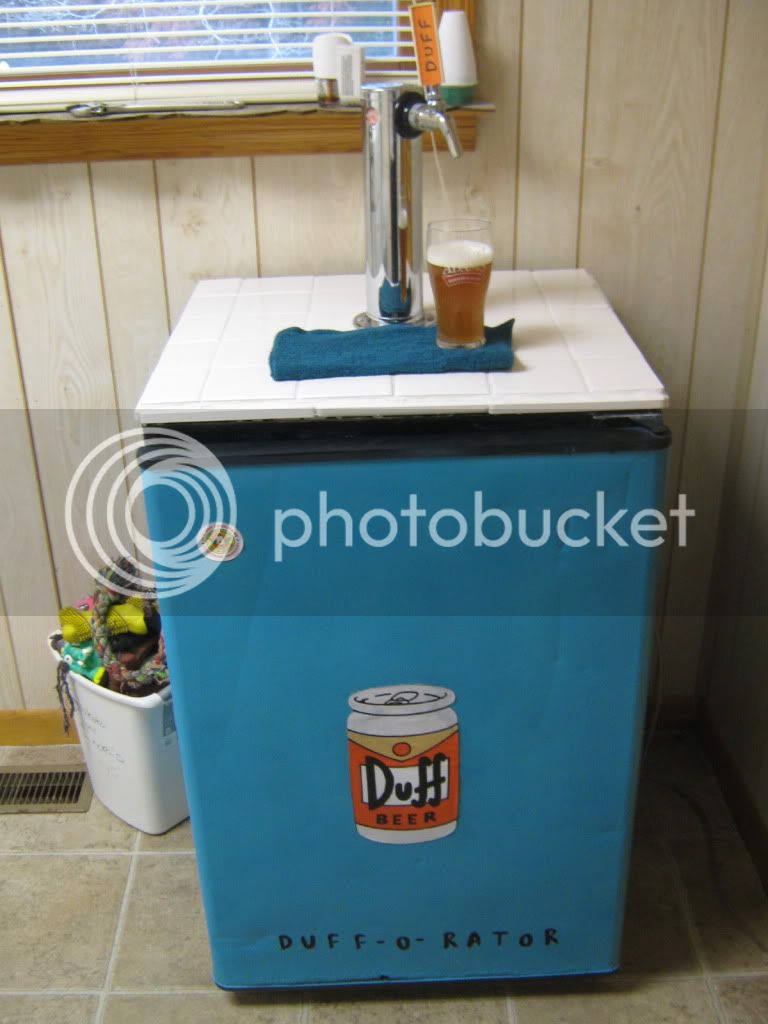
Finally finished

Dude, love these tap handles. Totally going to steal this idea
<innocent> By the way, what kind of rope did you use on those handles? </innocent>
Gus, that is utterly fantastic. Where did you learn how to build the bar itself? I am struggling finding much good information on the internet.
It is paracord. I get it from supplycaptain.com. Good prices, great selection of colors, and fast shipping. The black is a 5 bight 16 lead turks head, and the two color is a 4 bight 19 lead turks head.
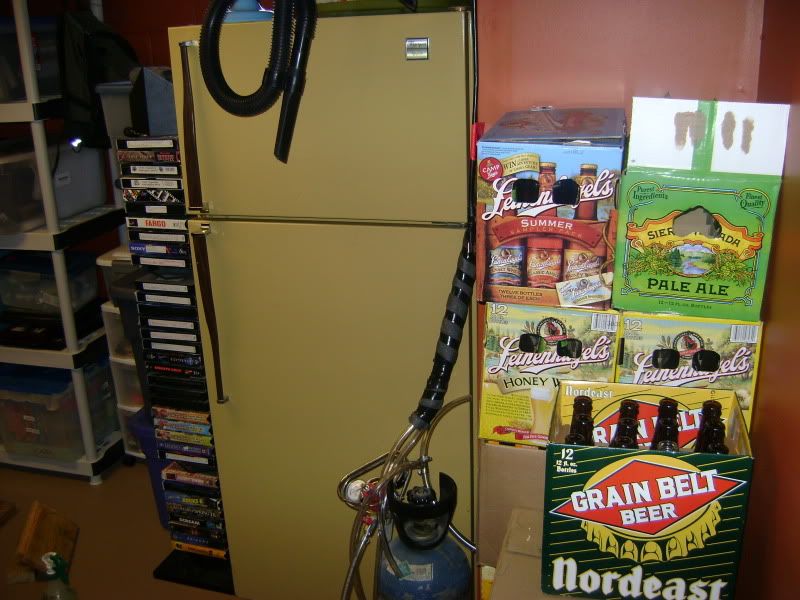
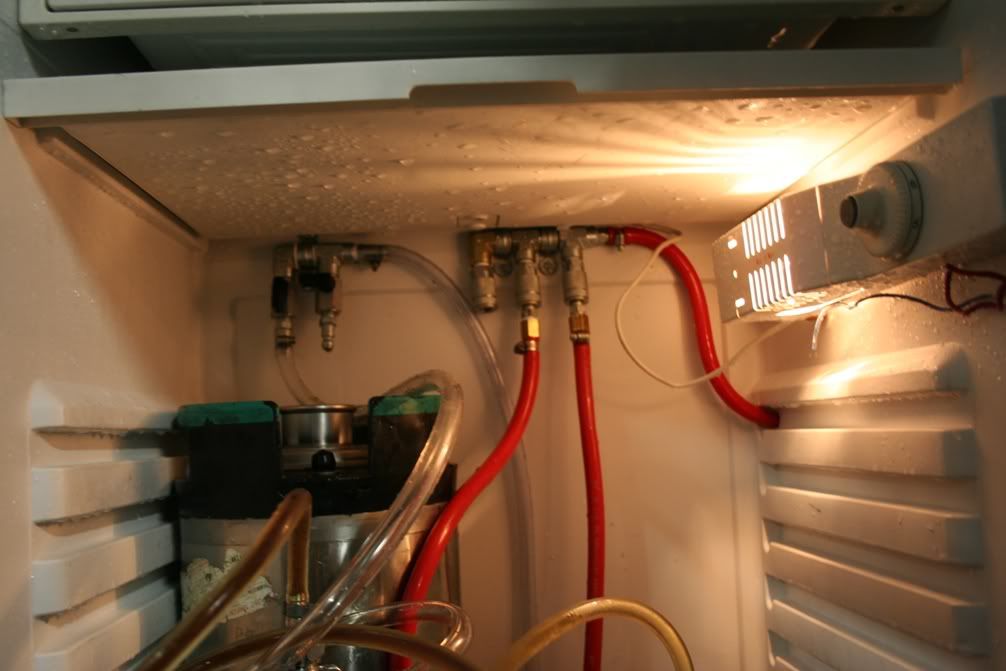
JNye - there is a freezer there but it's not two separate compartments, there is only one controller so i figured that the freezer temp controls the temp of the whole unit.Stanghead, I see you have a controller on your fridge, is there a freezer compartment, does it control the freezer too or did you bypass it? just wondering
Finally finished
It is good to know that in a beer emergency your tap handles can provide you with 20 feet of emergency cord!
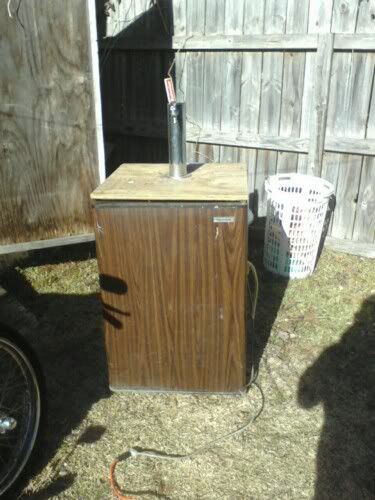
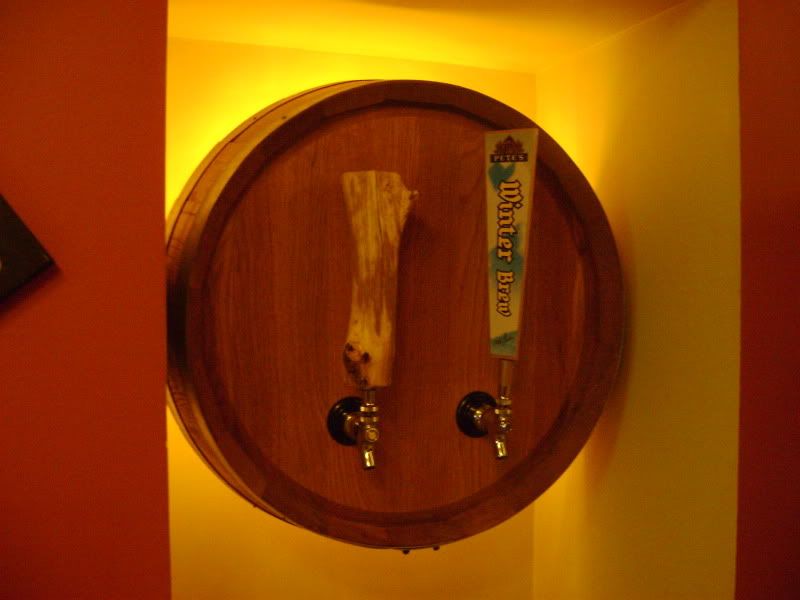
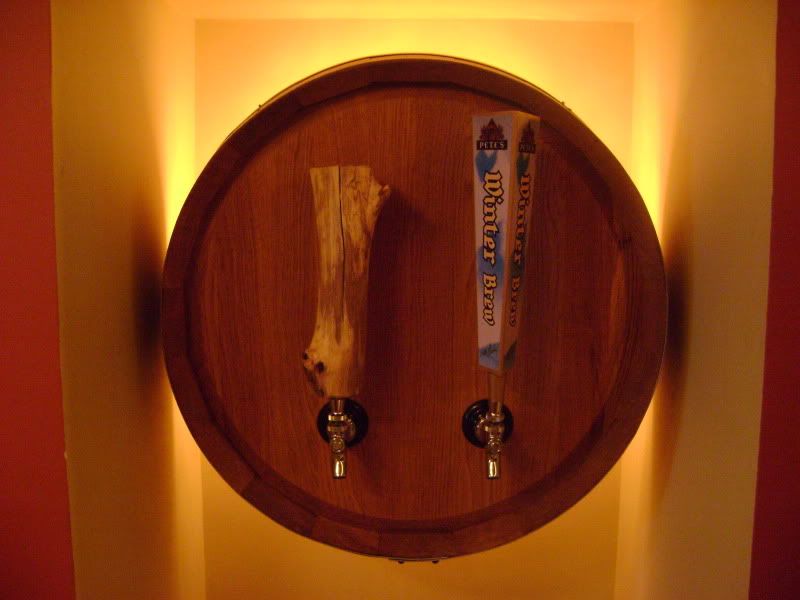
Banker said:Blueblood, How did you run the taps/lines through the lid? I'm getting a 14.8 cube Whilrpool and that looks like something I would like to do.
Dashingmad said:OMG I did it! I looked at every page! It took me about a week and that was me primarily looking at the pictures!
I just picked up a sweet fridge for $50 that will hold 9 corny kegs if you put the tanks outside or 6-7 cornies with everything internal. It's an all stainless steel comercial grade fridge or freezer (often called Milk fridge) as it is typically found in a school. They run about $1500 new so the lord was looking out for me here!
My plans are to start with 4 taps (1 being Nitro), build a top tower, and use all high quality parts like Perlick 525, 575, and all the stainless steel I can get. Hopefully high quality and low maintenance and I will only have to build it once. Everything comes in Wednesday.
Now I don't see guys talking about how much they spent and probably for good reason as I spent much more than I wanted to. The breakdown for the keg blueprint and price (even compared to LHBS prices) can be emailed to you if you want just let me know via personal message. In the end I spent about $1000 for everything including shipping and gas. I managed to save about 30% or $480 for buying online (instead of my LHBS) and about 42% or $700-750 if you include having to go out and buy a freezer/fridge for around $250-300.
As much as I love buying locally, it’s pretty hard to justify spending almost $500 more. The LHBS gets all my beer supply business anyway which let me say adds up quick too.
I will post WIP pics next week and I agree HBT needs to hand out awards as some of these kegerators are works of art! Thanks for all the ideas guys!


viiiwonder
we need more info on that temperature controller you have going on
-=jason=-


![Craft A Brew - Safale BE-256 Yeast - Fermentis - Belgian Ale Dry Yeast - For Belgian & Strong Ales - Ingredients for Home Brewing - Beer Making Supplies - [3 Pack]](https://m.media-amazon.com/images/I/51bcKEwQmWL._SL500_.jpg)


