Looks like the Eva Drys are breeding...
Cheers!")
No mold anywhere so far, it's paying off !

Looks like the Eva Drys are breeding...
Cheers!


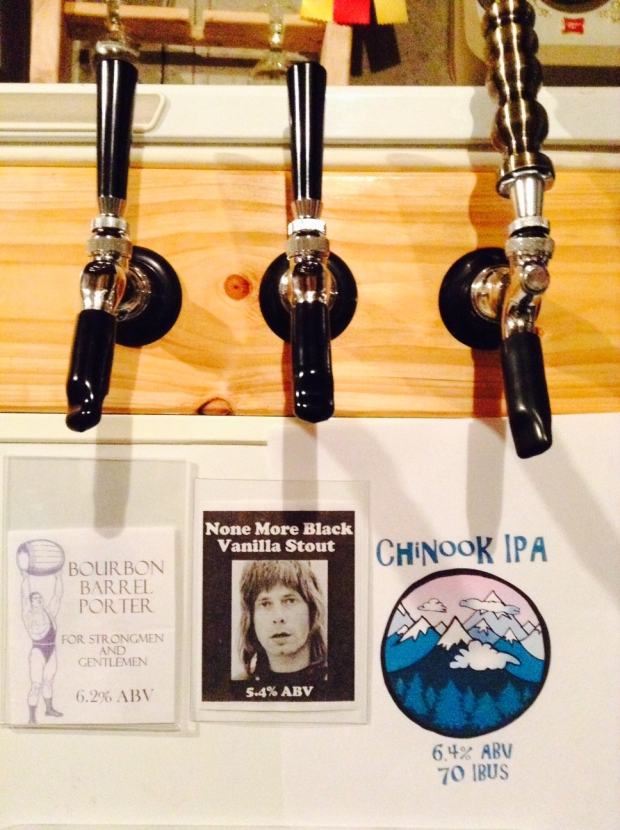
Here is mine, open. 19cf, 8 taps of goodness, enough room to store my yearly hop supply. Love it !


.jpg")


The lid sits on a 2x4 collar and there is a 2x8 veneer that extends above and below the 2x4.
<snip>
The lid is hinged to the collar, and the collar is just setting on the freezer with some weather stripping. The collar isn't attached to the freezer at all, and so far that hasn't been an issue.


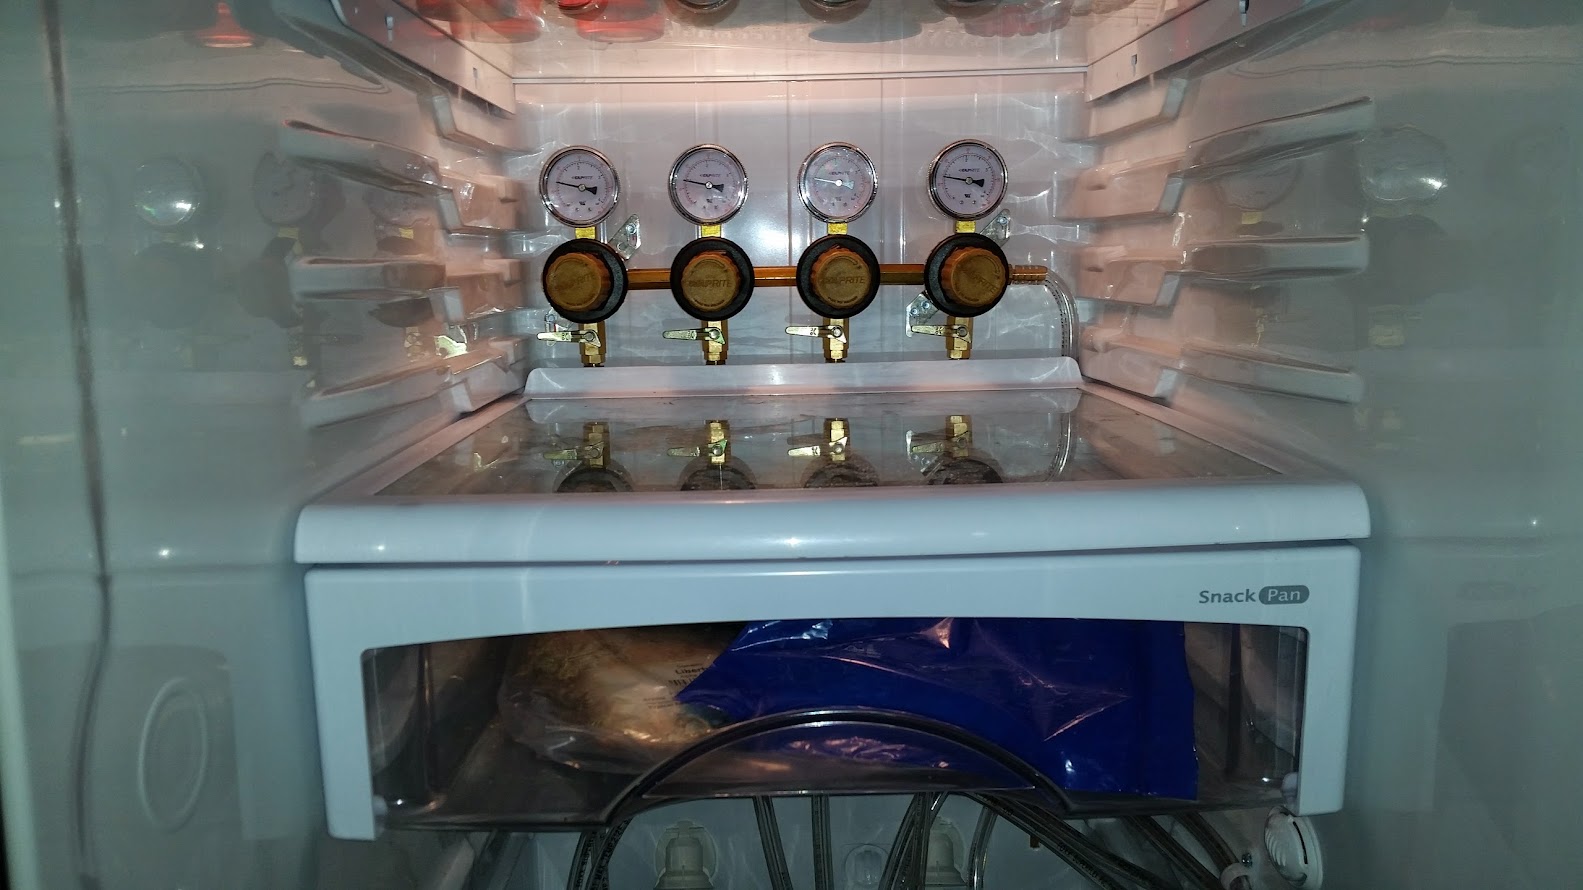
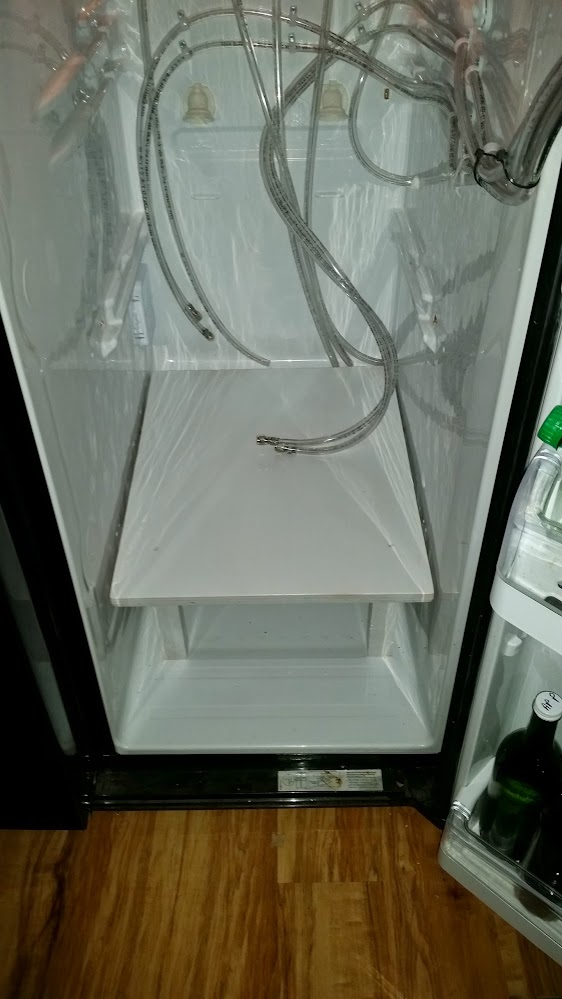
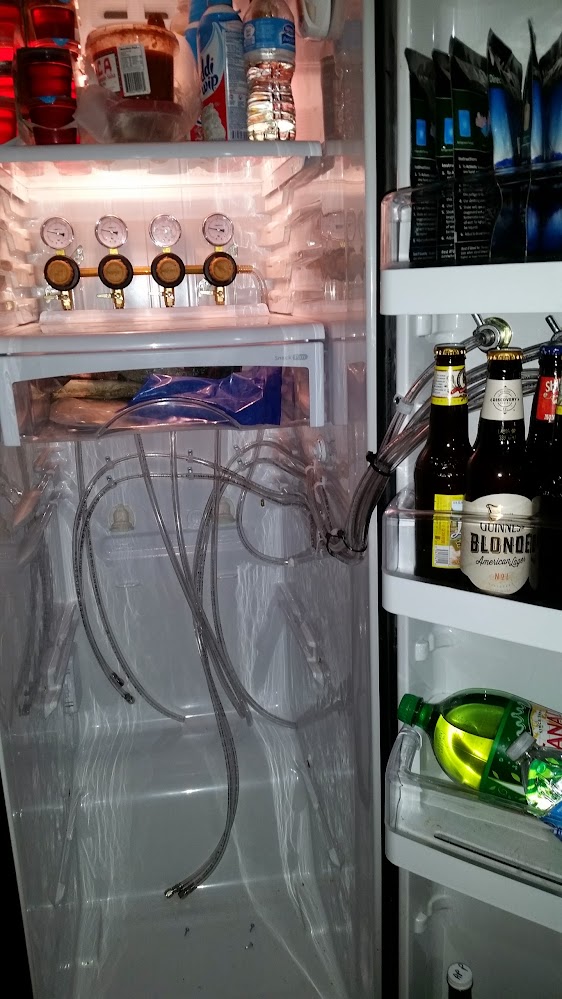
Just up graded from a two tap 5.0 cu ft Haier, to a four tap 7.3 cu ft Frigidaire system! Make my kitchen more bar like! My neighbors think I'm crazy!


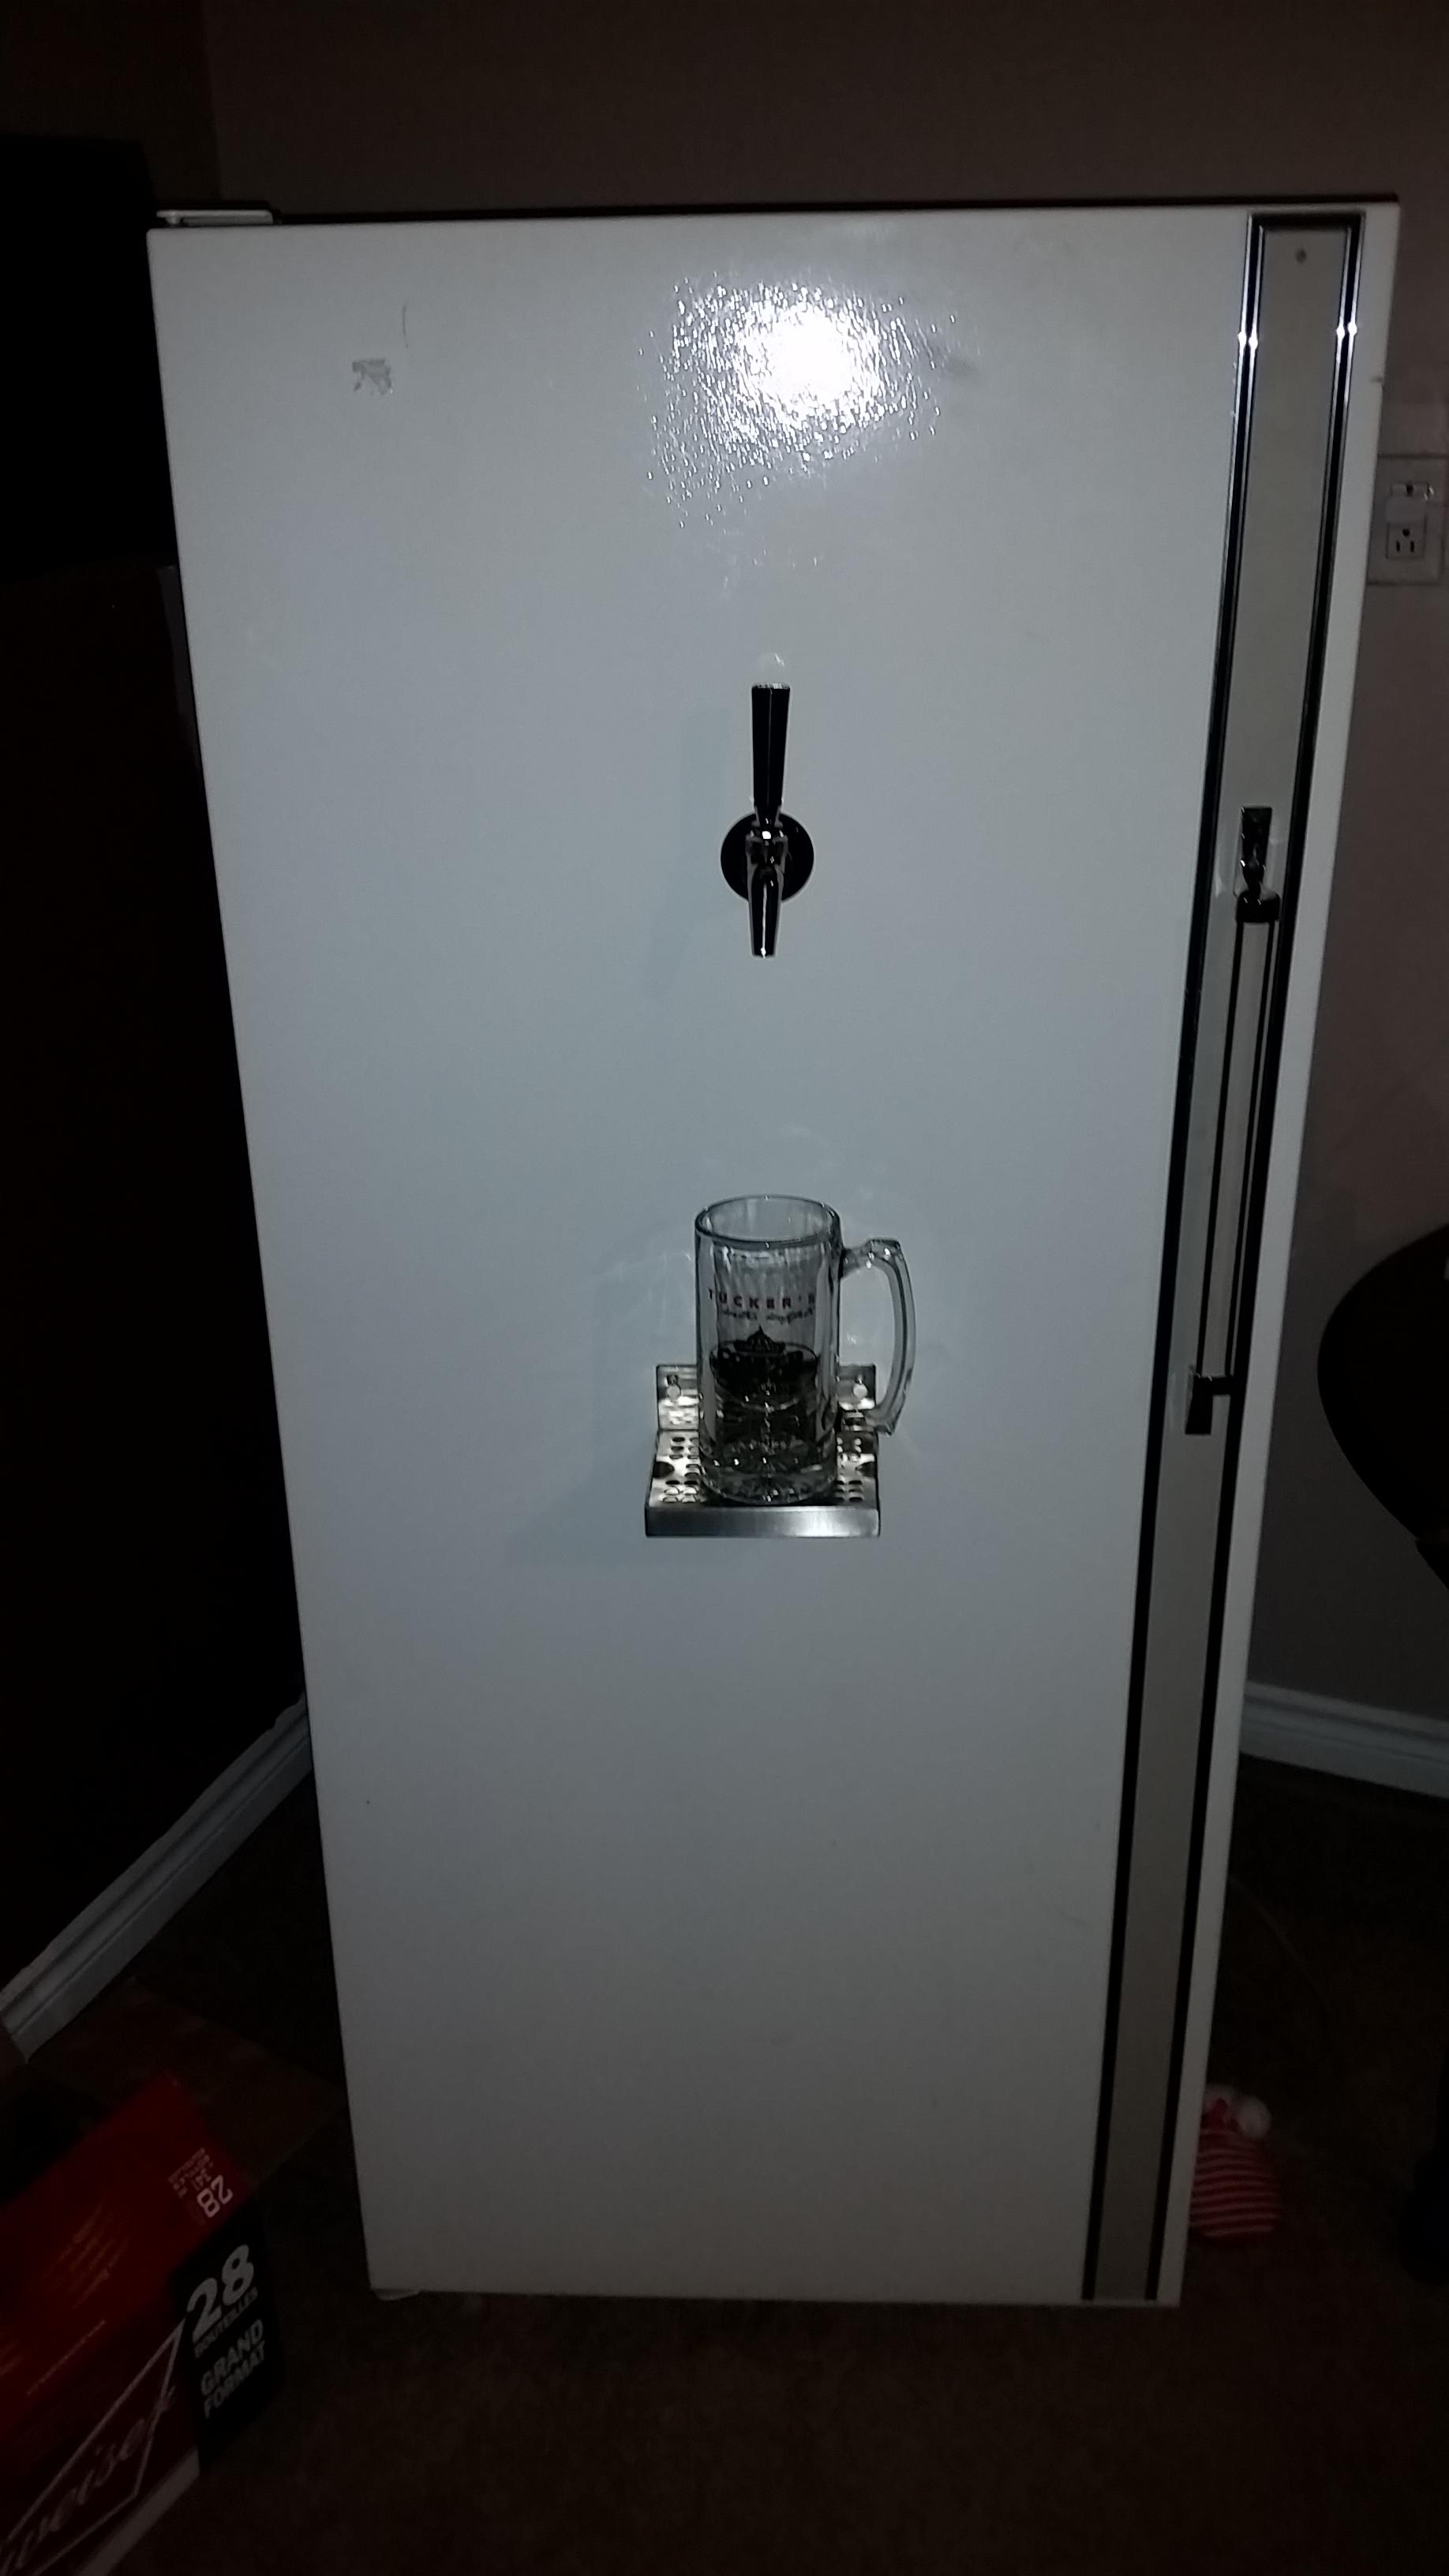
I finally get to join the fun. Mostly done. Have a little work still, but it's now usable!
Very "brave" going in through the side like that.


Just up graded from a two tap 5.0 cu ft Haier, to a four tap 7.3 cu ft Frigidaire system! Make my kitchen more bar like! My neighbors think I'm crazy!
now that i am not lurking anymore and i just finished the big one guess ill post up
What fridge is that?
Do the three remaining kegs (9 taps...) sit on top of the bottom layer?
Absolutely beautiful set up. Would love to do that for myself.


![Craft A Brew - Safale BE-256 Yeast - Fermentis - Belgian Ale Dry Yeast - For Belgian & Strong Ales - Ingredients for Home Brewing - Beer Making Supplies - [3 Pack]](https://m.media-amazon.com/images/I/51bcKEwQmWL._SL500_.jpg)