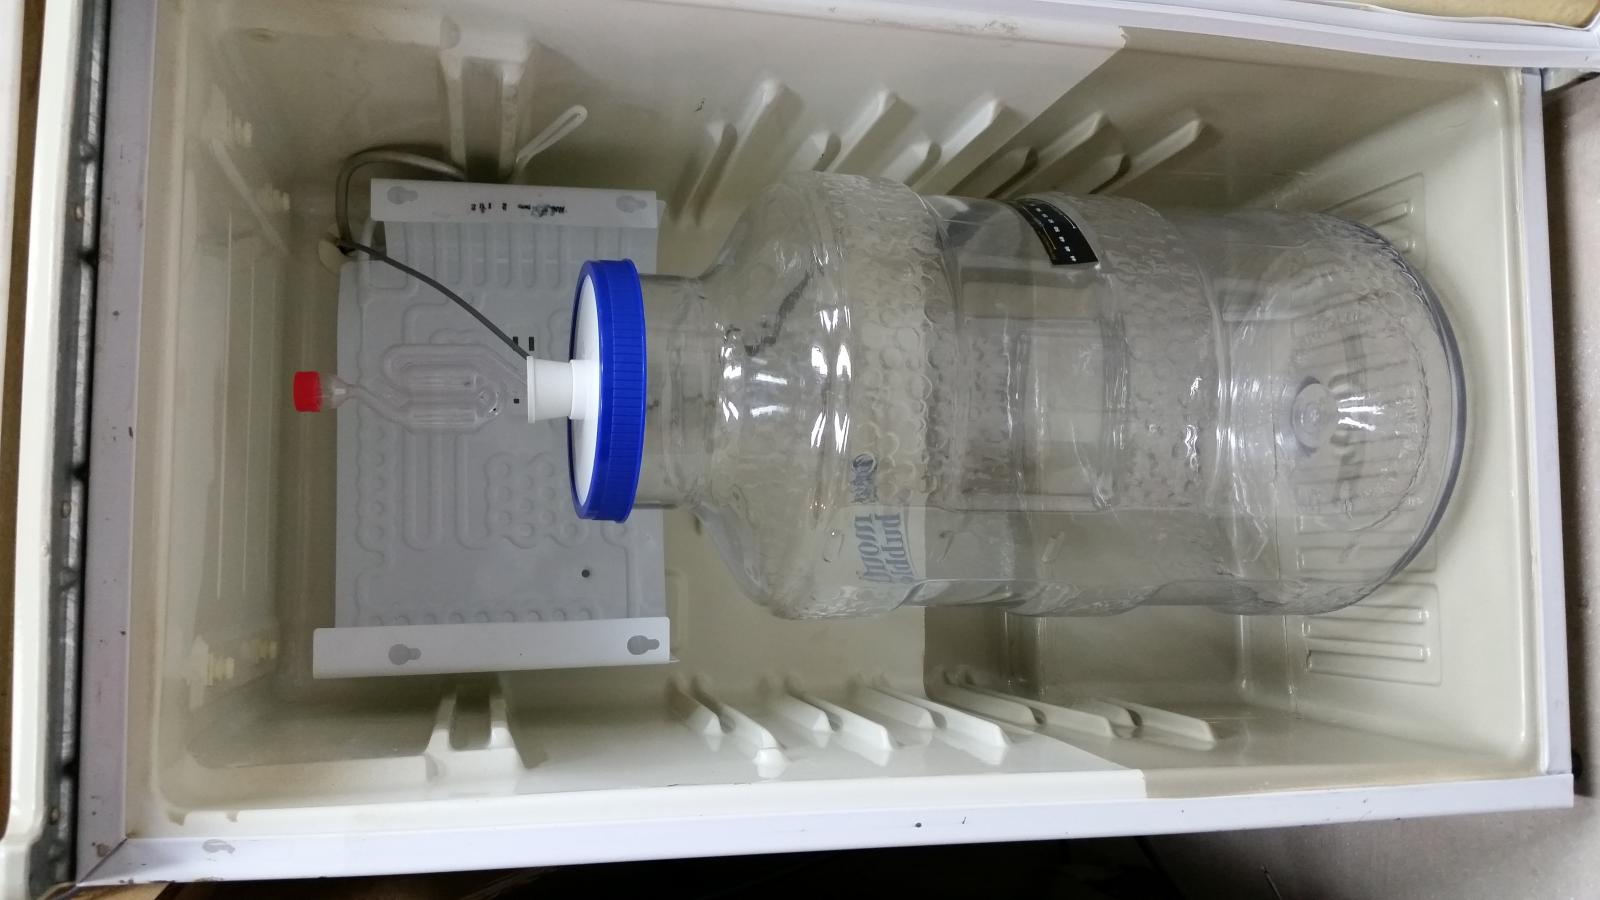
I finally finished my modification to a Sanyo fridge to be able to fit my 6.5 gal Big Mouth Bubbler; hopefully it's interesting enough to be worth sharing. First off, got a free Sanyo fridge. It wasn't very pretty, but it works. The main problem I had was even with the interior plastic parts of the door removed, I still had at least an inch of my carboy sticking out of the fridge. To turn a short post long (with pics below), I cut out a section of the inside of the fridge, moved the compressor back about 2 inches and made a new inside piece. Here's how it went:
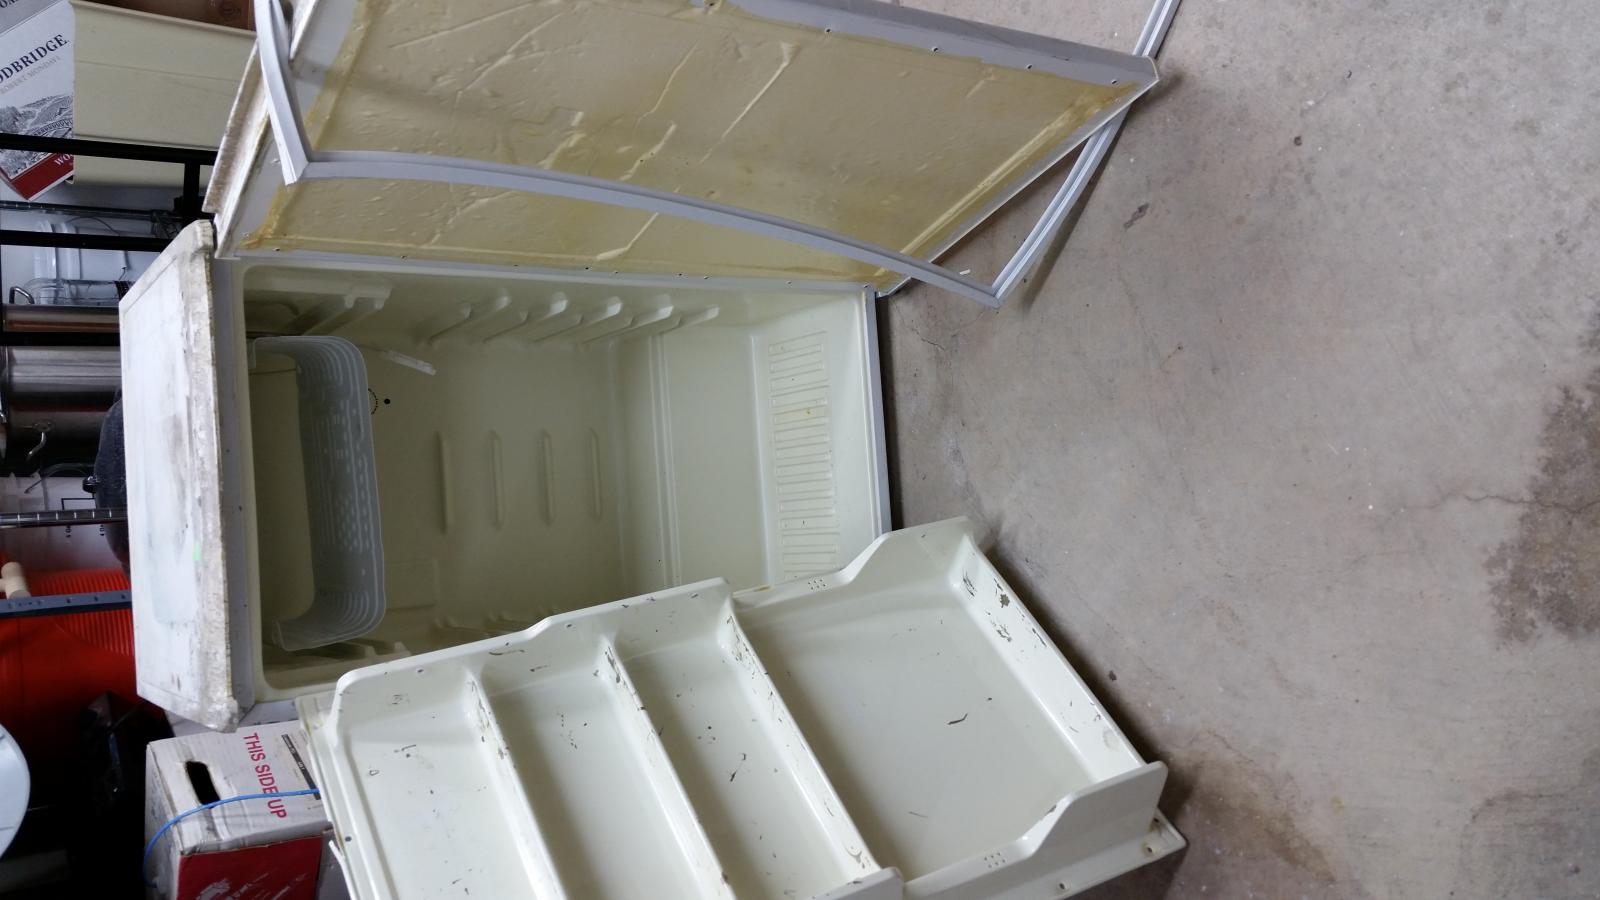
First, Fridge with door panel and seal removed:
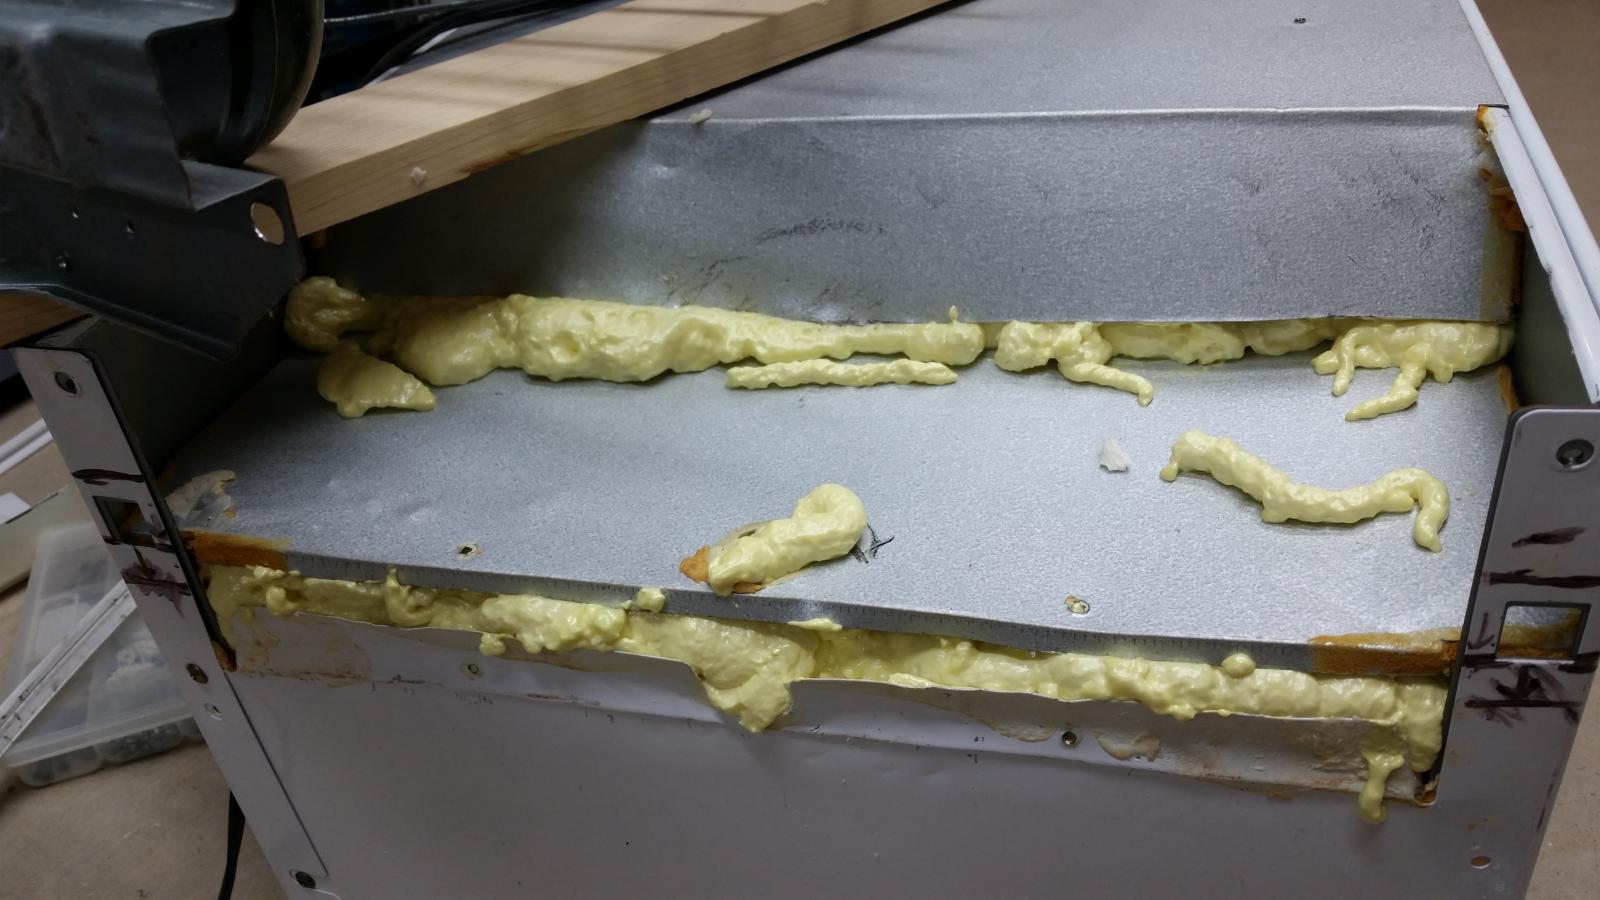
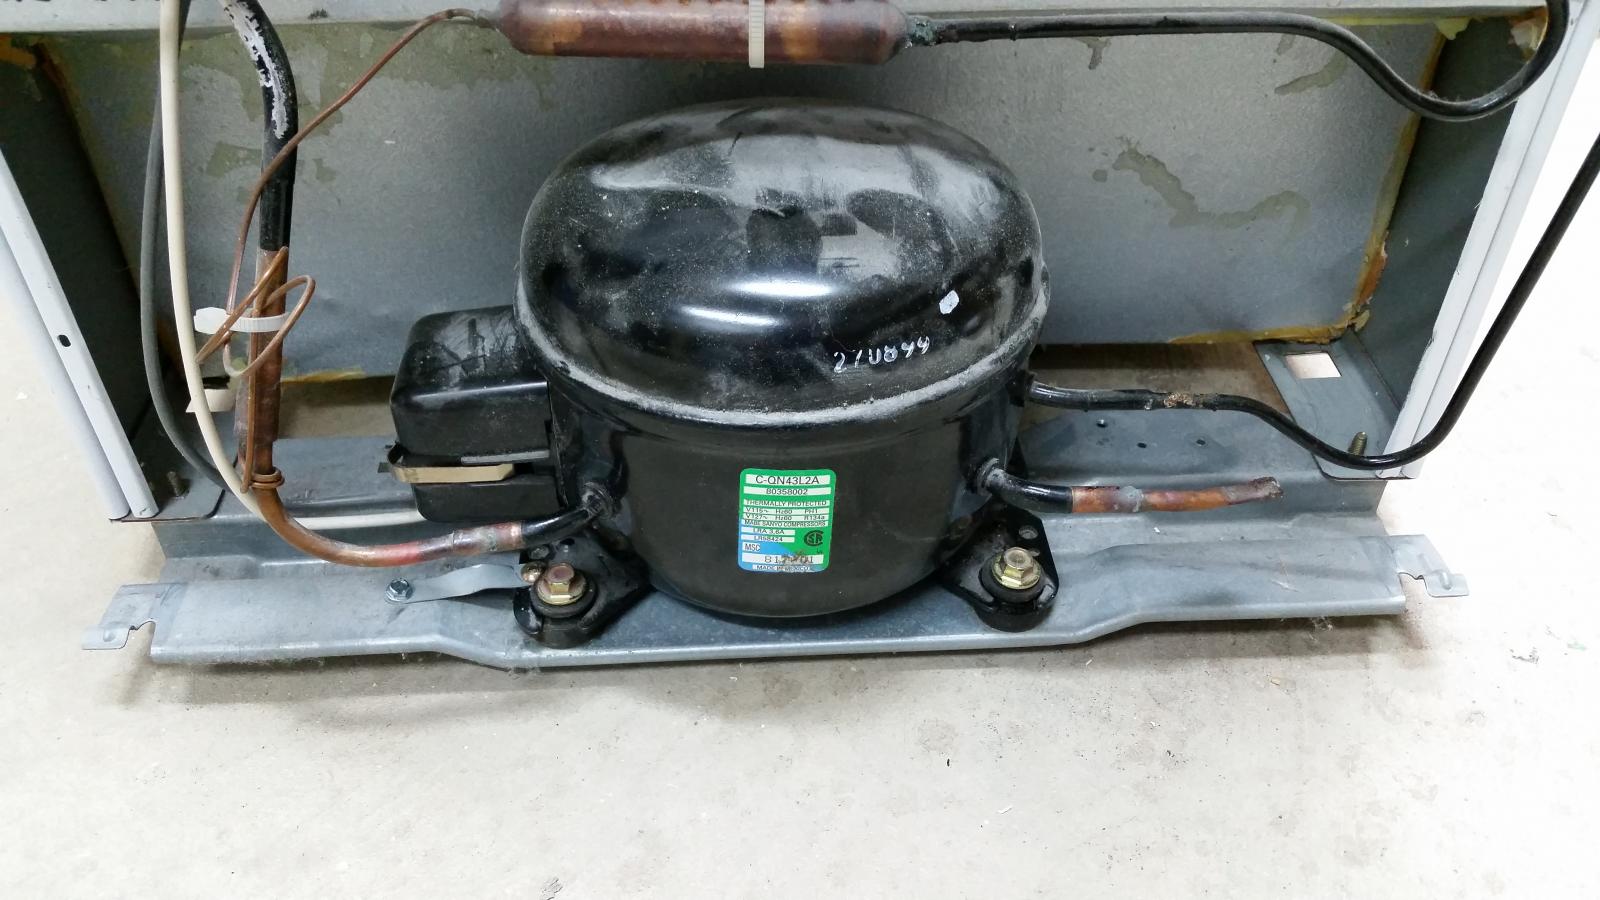
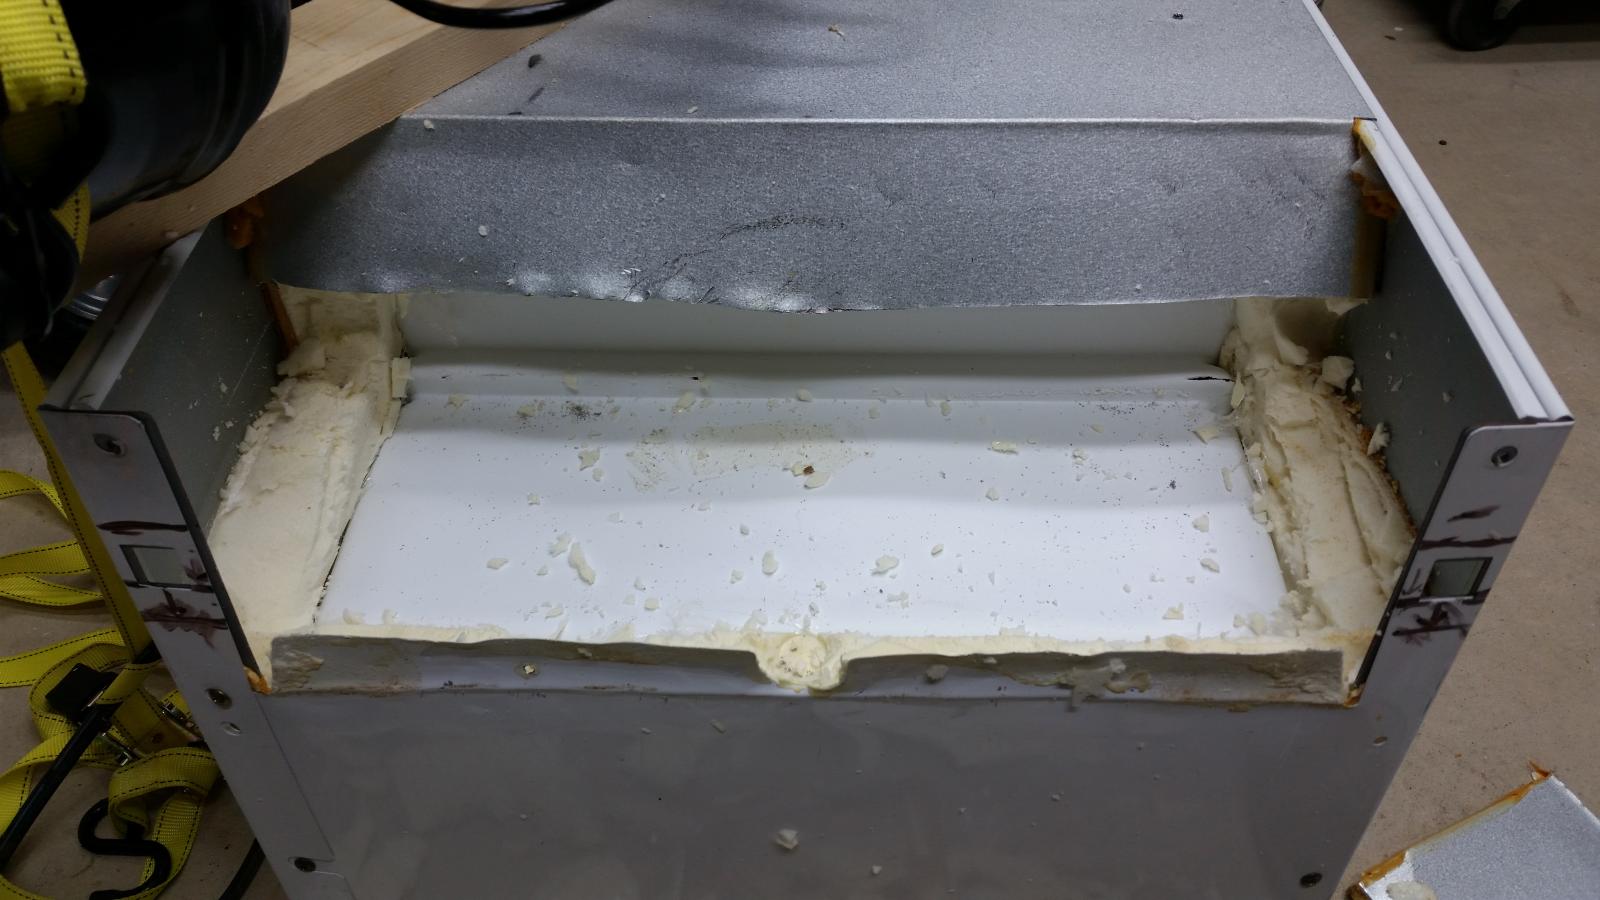
Second pic: I detached the compressor from the frame and cut out the sheet metal with a Dremel oscillating tool. It worked ok. I removed the insulation and cut back the sheet metal an additional 2 inches across the top. One thing I picked up from reading other threads on the topic is to make sure there is room for airflow for the compressor. Even with these changes that I made, theres about the same room around the compressor.
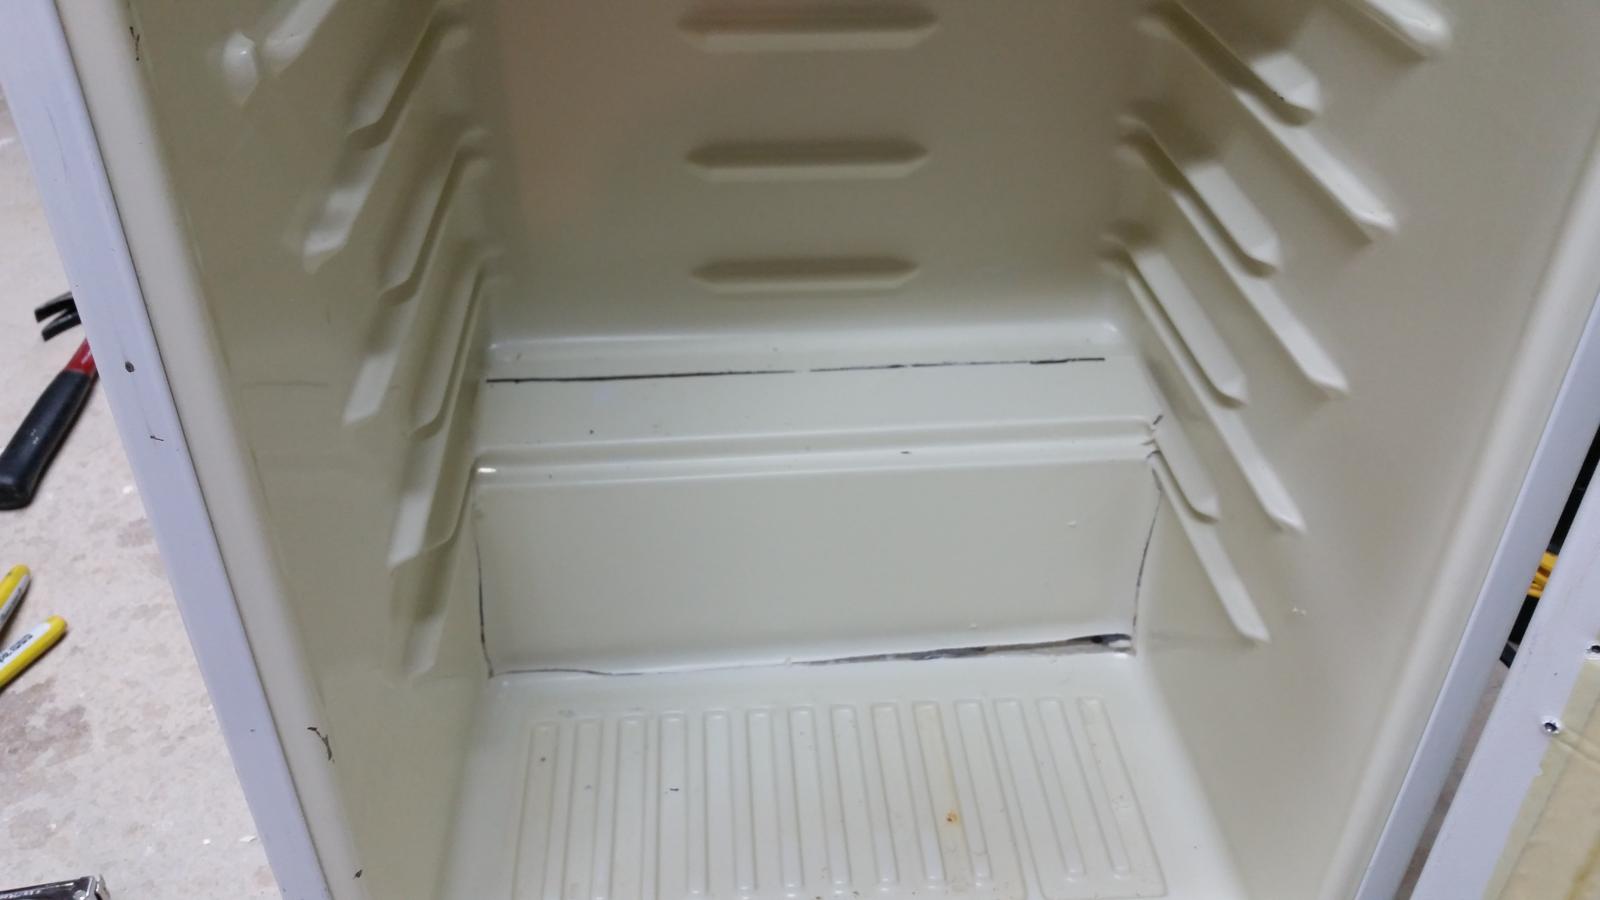
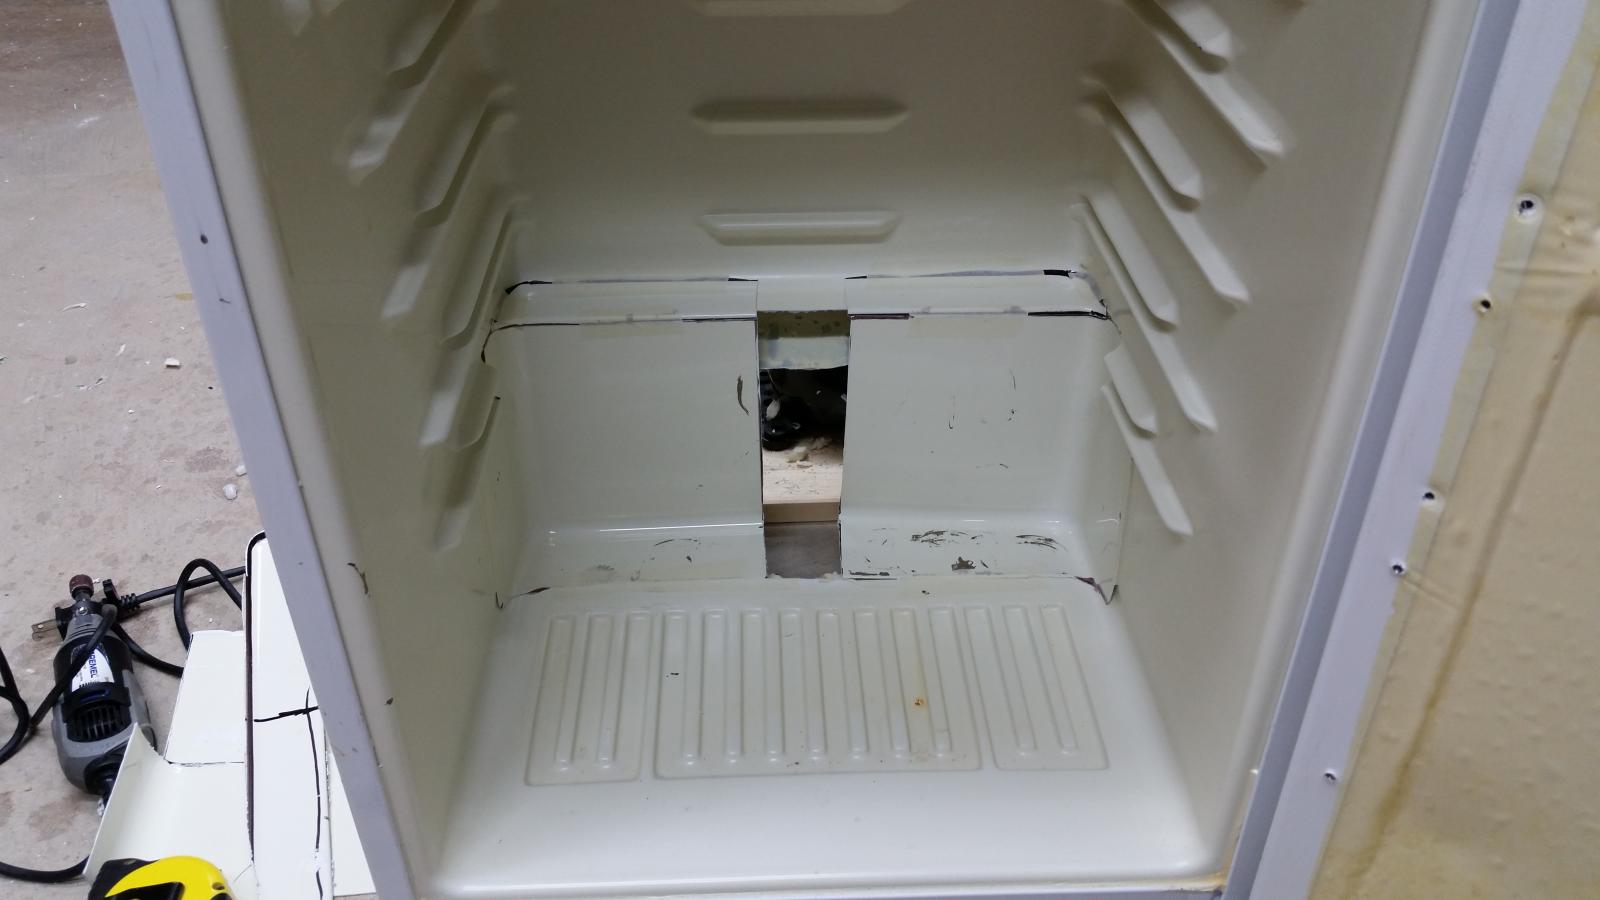
Third pic: I cut out the inside of the fridge to increase the capacity using the same dremel tool. It worked pretty well here.
Fourth pic: The plastic door was used to piece together the new shape inside. The corners had the right radius for the interior of the fridge. The only problem was that the door wasnt as wide so I had to stretch it with a few bits and pieces from the door. I glued it all together with outdoor sealant. The seams arent the prettiest, but its sealed up.


Last edited:


