
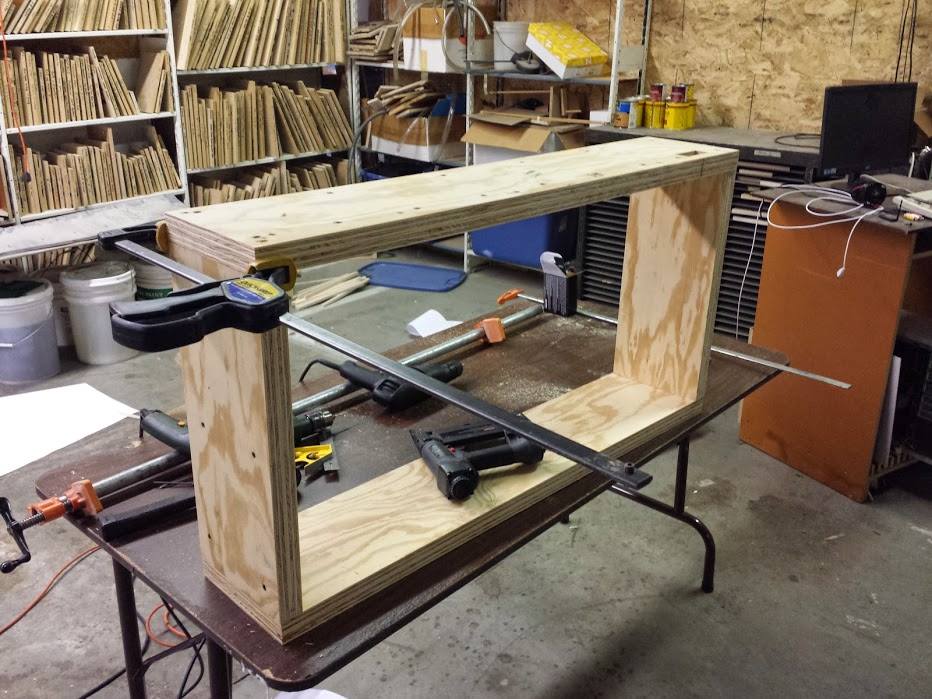
A friend of mine, Kerry, and I built the collar out of 3/4" BCX plywood rather than 2x8 boards as is usually done. There are a couple reasons for this: 1) I overdo everything and 2) it made it much easier to make the mounting hole for the STC-1000 temperature controller. Each side is two layers of plywood glued and screwed together while the corners are glued, nailed, and screwed. In other words, this is one solid mofo.
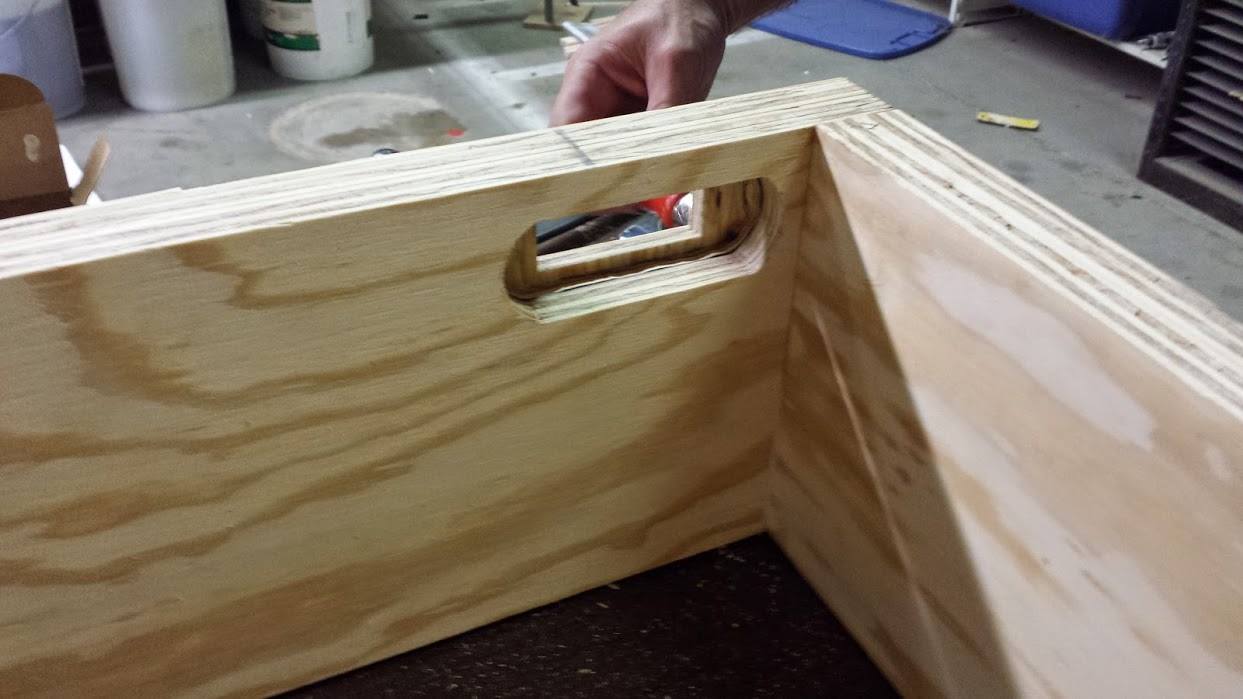
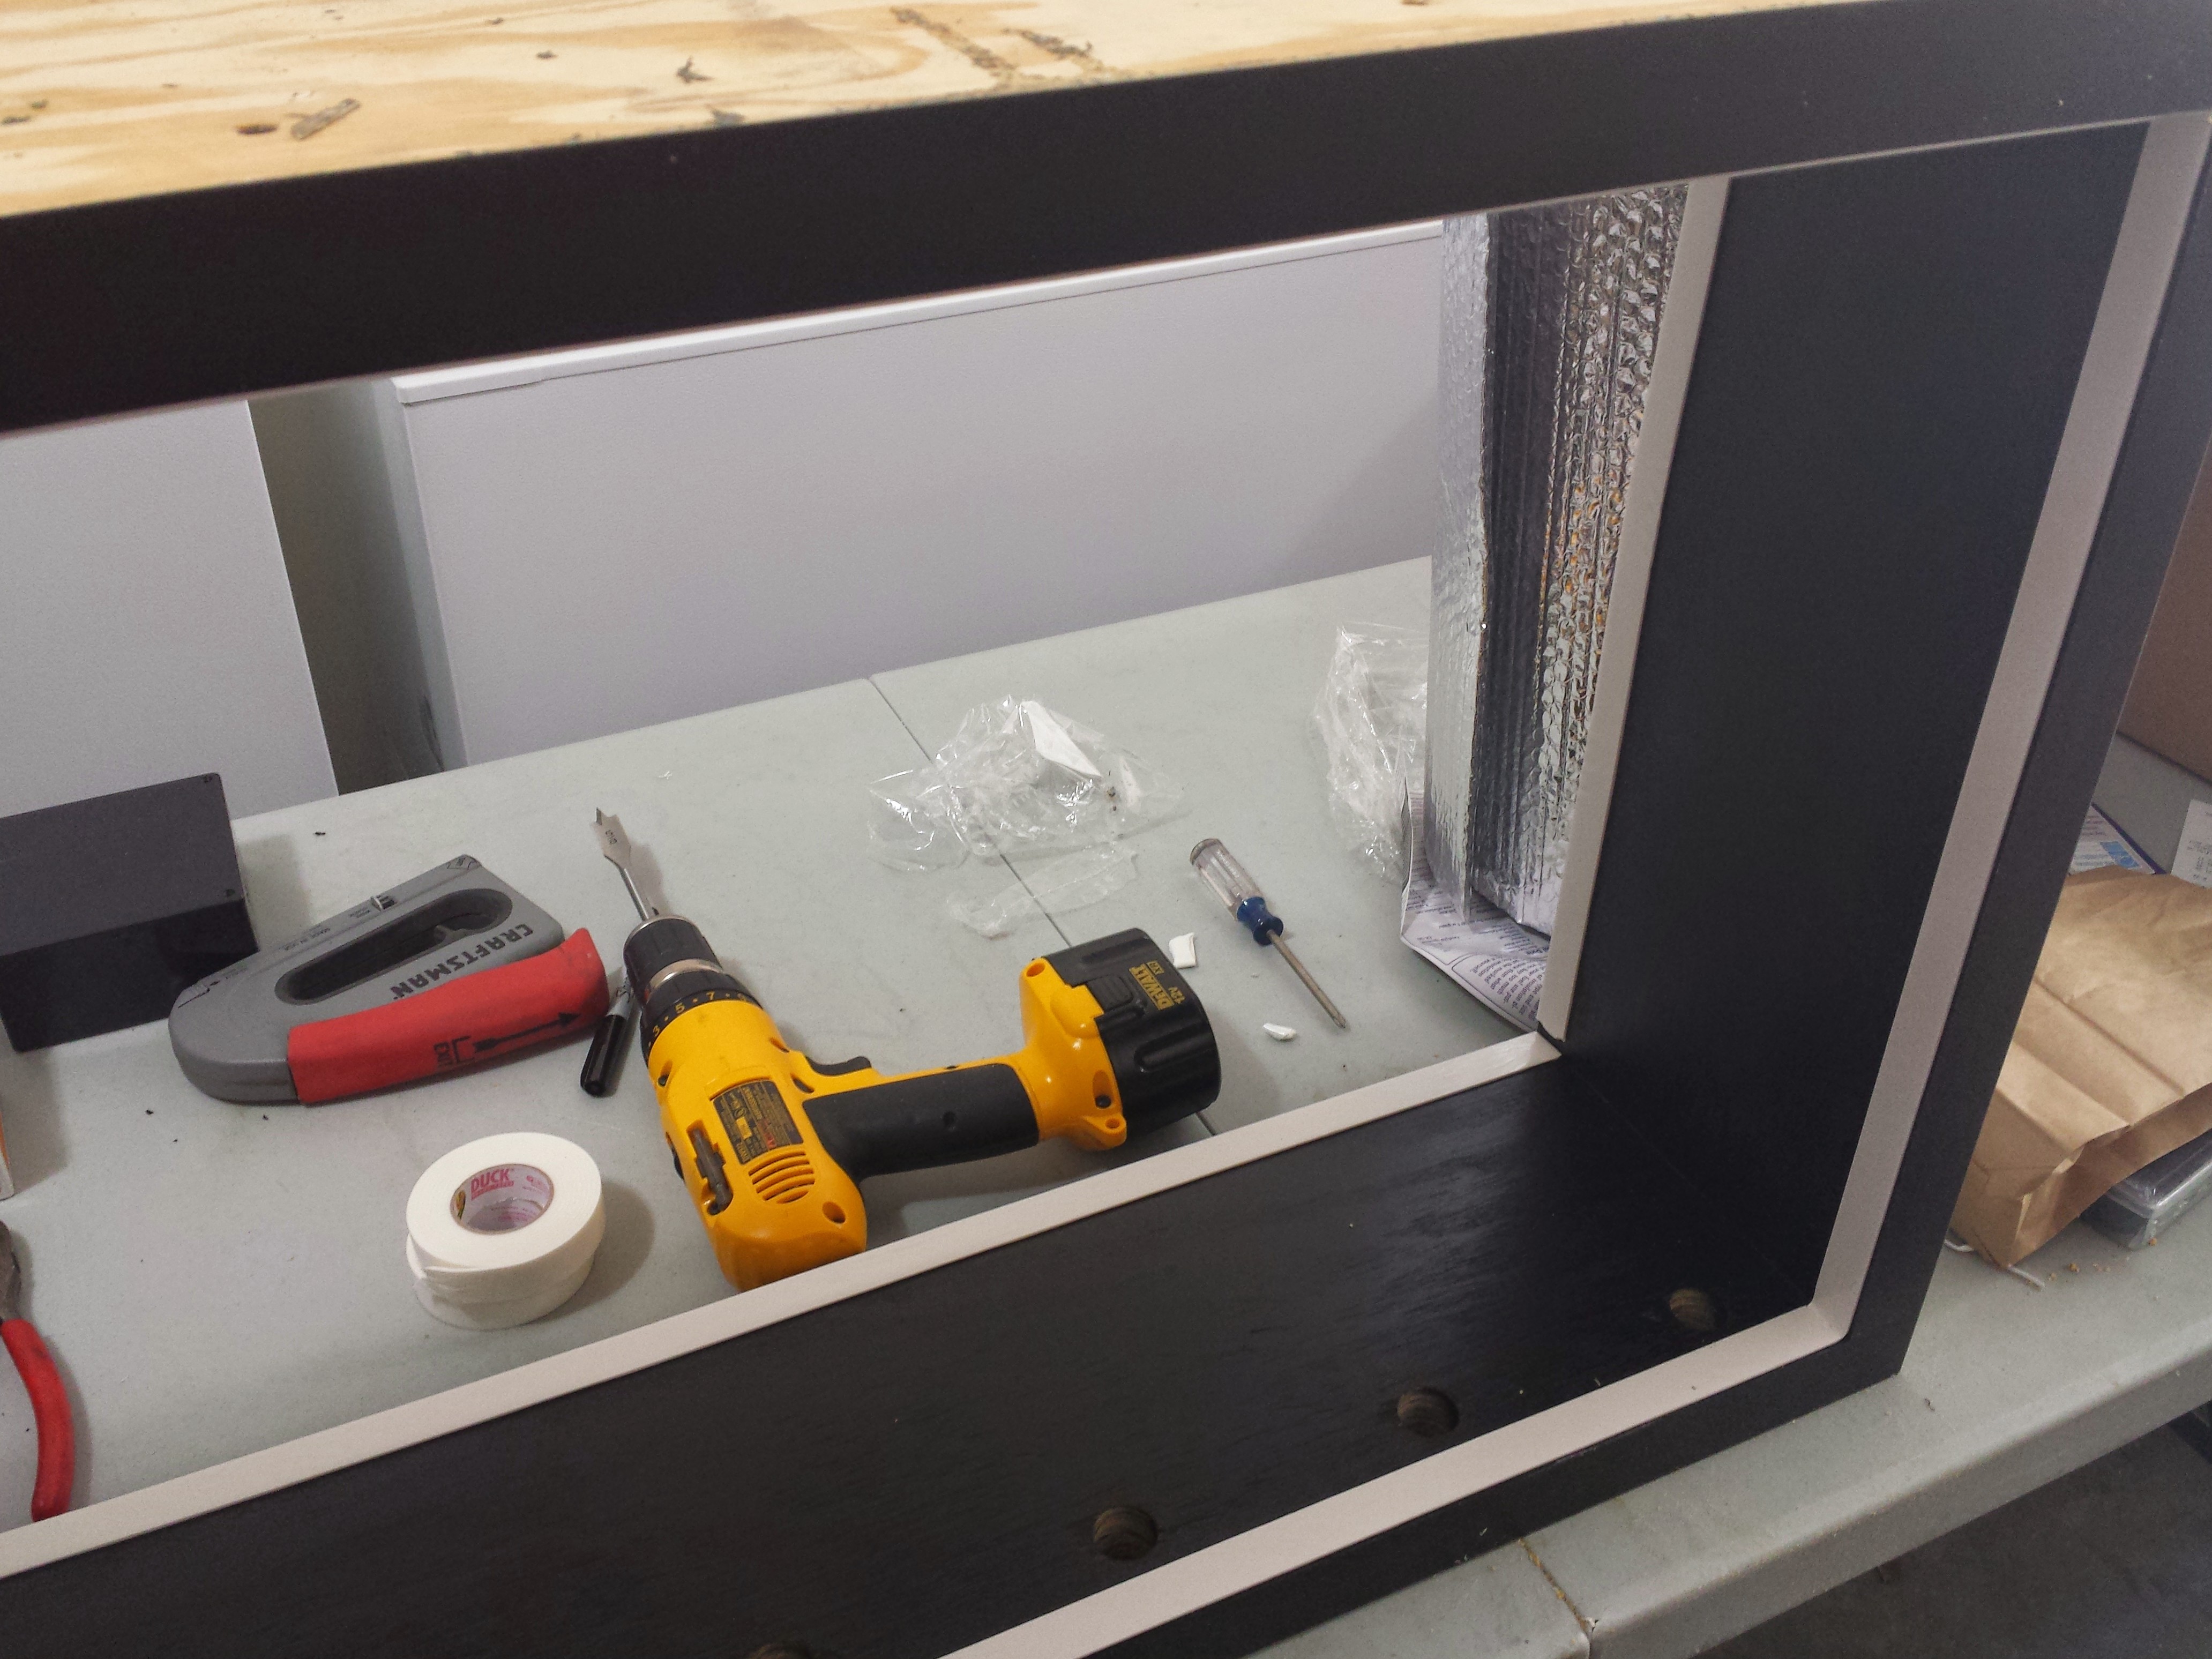
Here is the mounting hole for the STC-1000. We routed out the front layer first then used that as a template for the back piece and routed it out larger in order to grant easy access to the lock sliders that hold the controller into place. The back layer was then used as a template for the front layer to route out 1/4" of material to leave just 1/2" as the locks for the controller don't extend out much farther than that.
As we are going to laminate the front, sides, and top, we ensured the surfaces were completely smooth.
We laminated the top of the collar in black. This is to ensure the lid has a completely smooth surface to seal against and is also an excellent finishing touch that I rarely (if ever) see in other keezer builds.
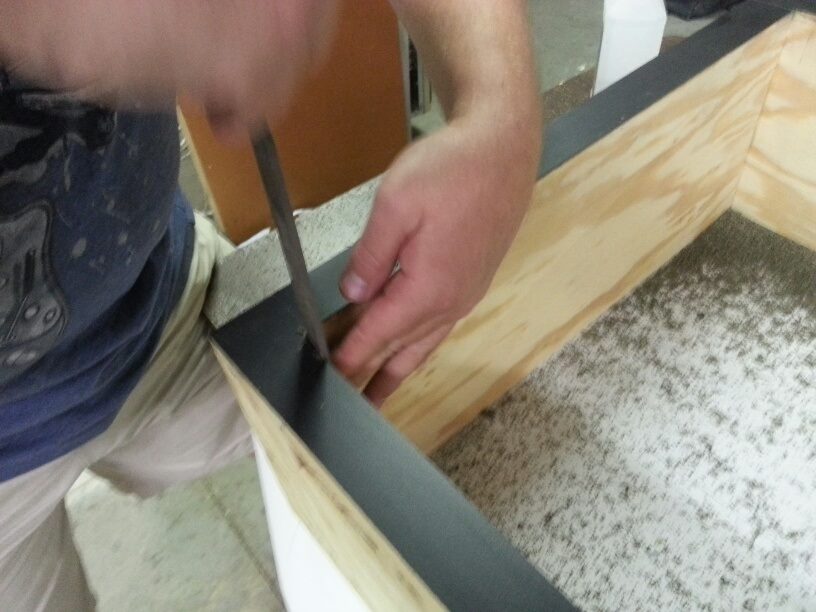
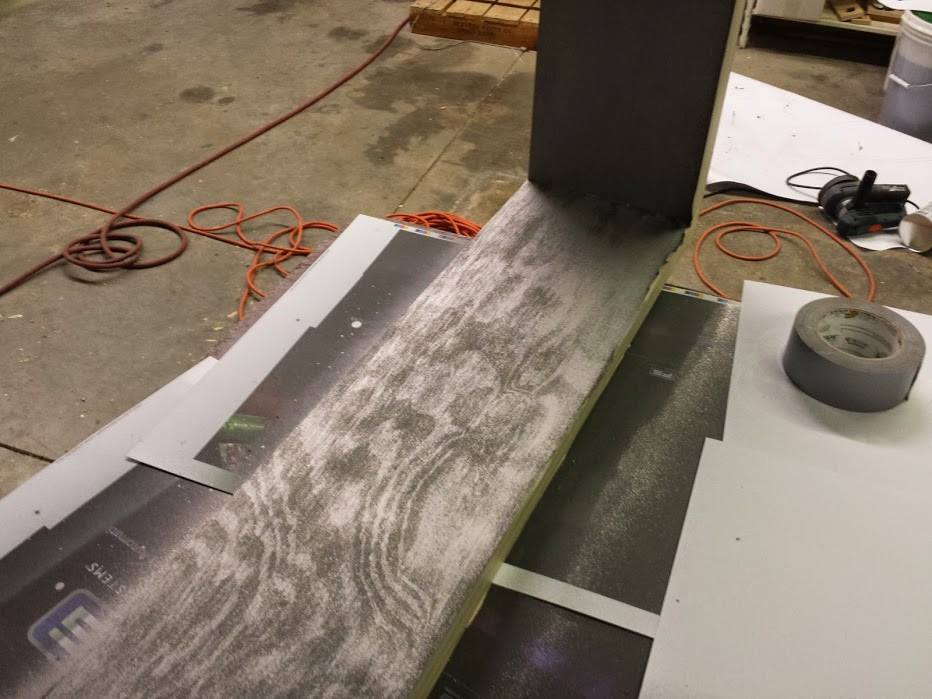
After routing the excess laminate off, the corners need to be squared out.
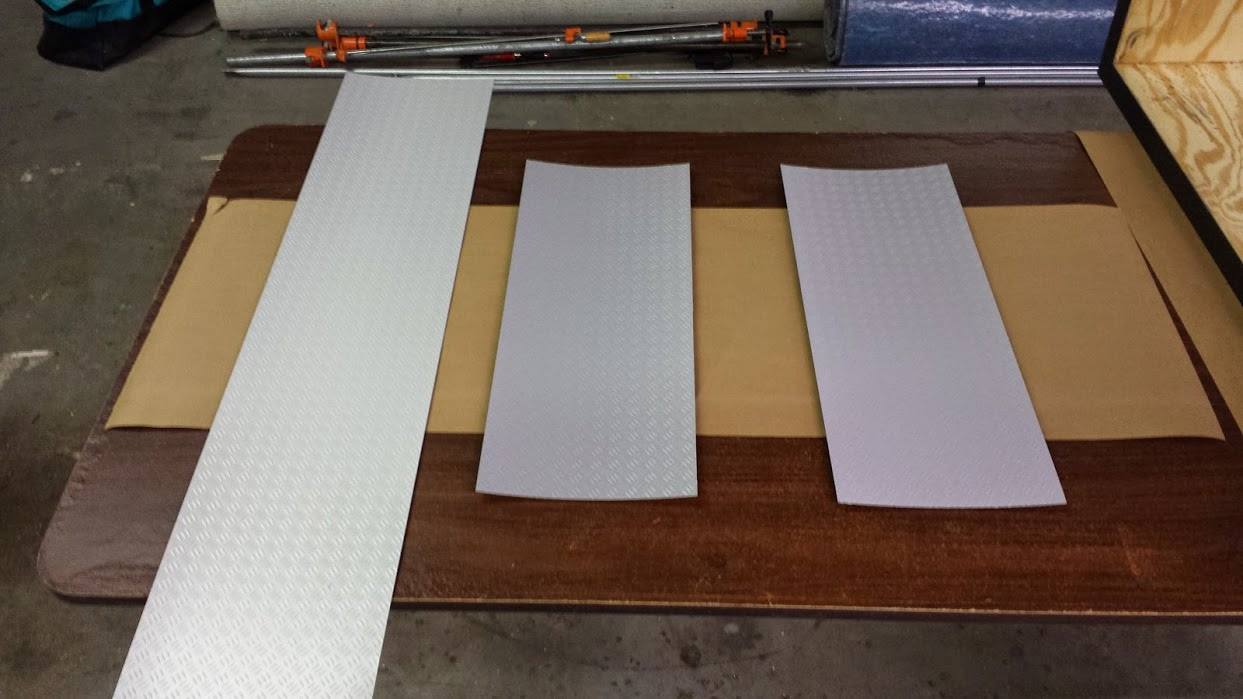
Here are the diamond-plate laminate pieces (that are actually metal) for the front and sides.
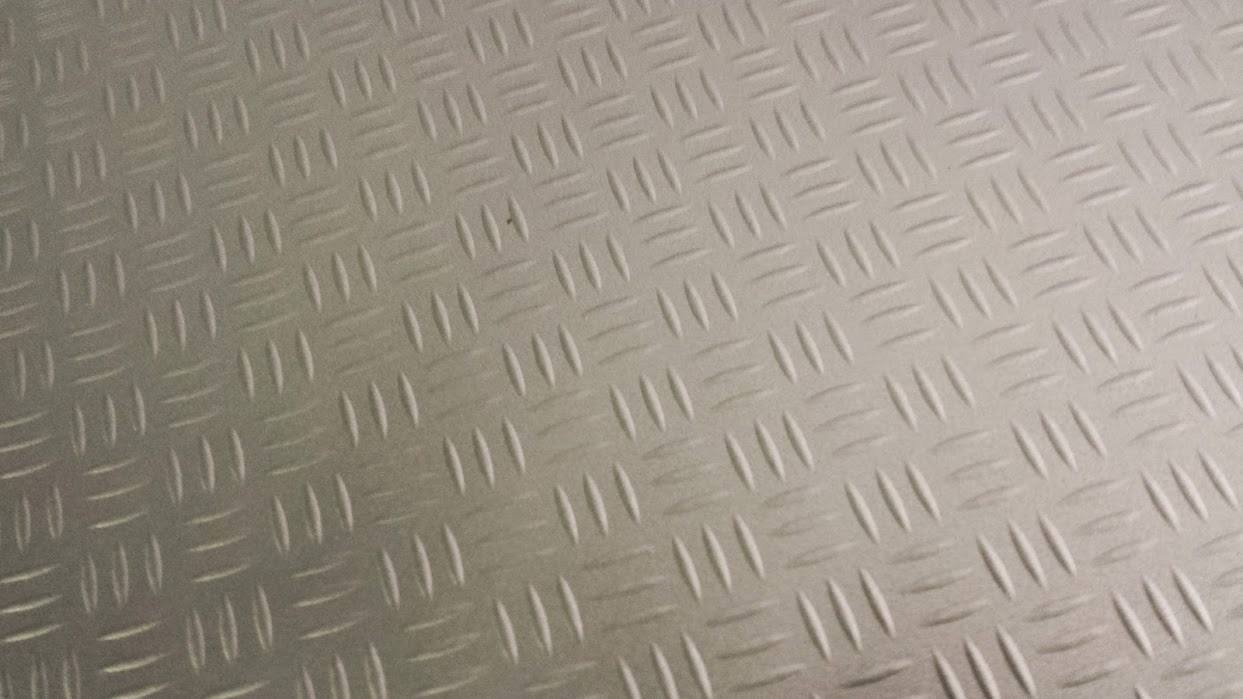
Here's a close-up of the diamond-plate.
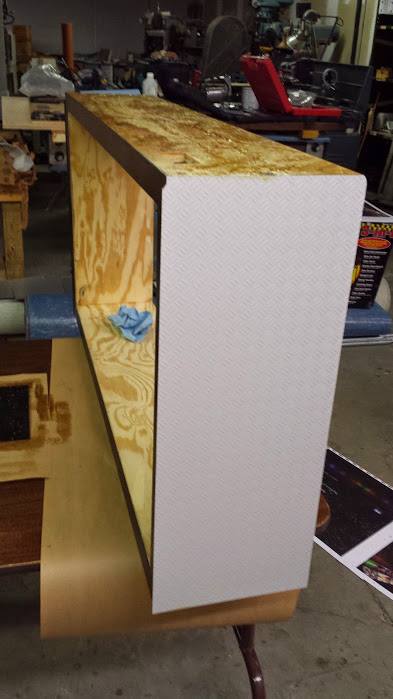
One side is on, but not routed yet.
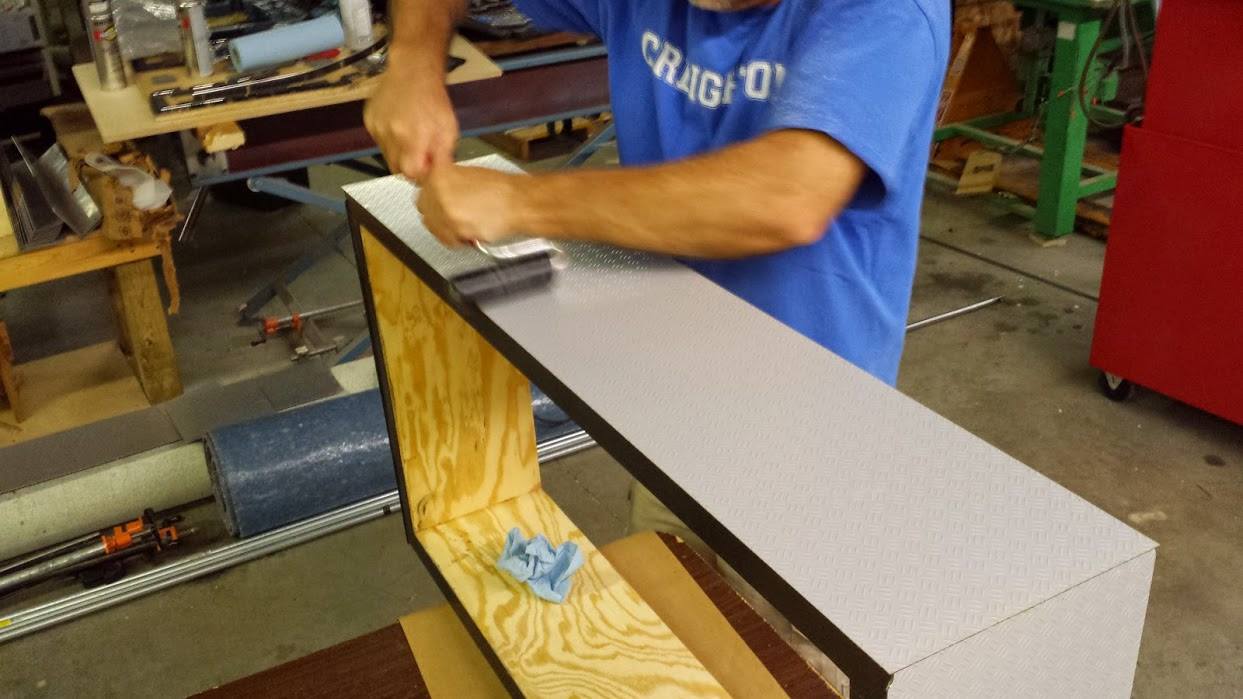
Kerry is rolling away on the top piece of diamond-plate laminate.
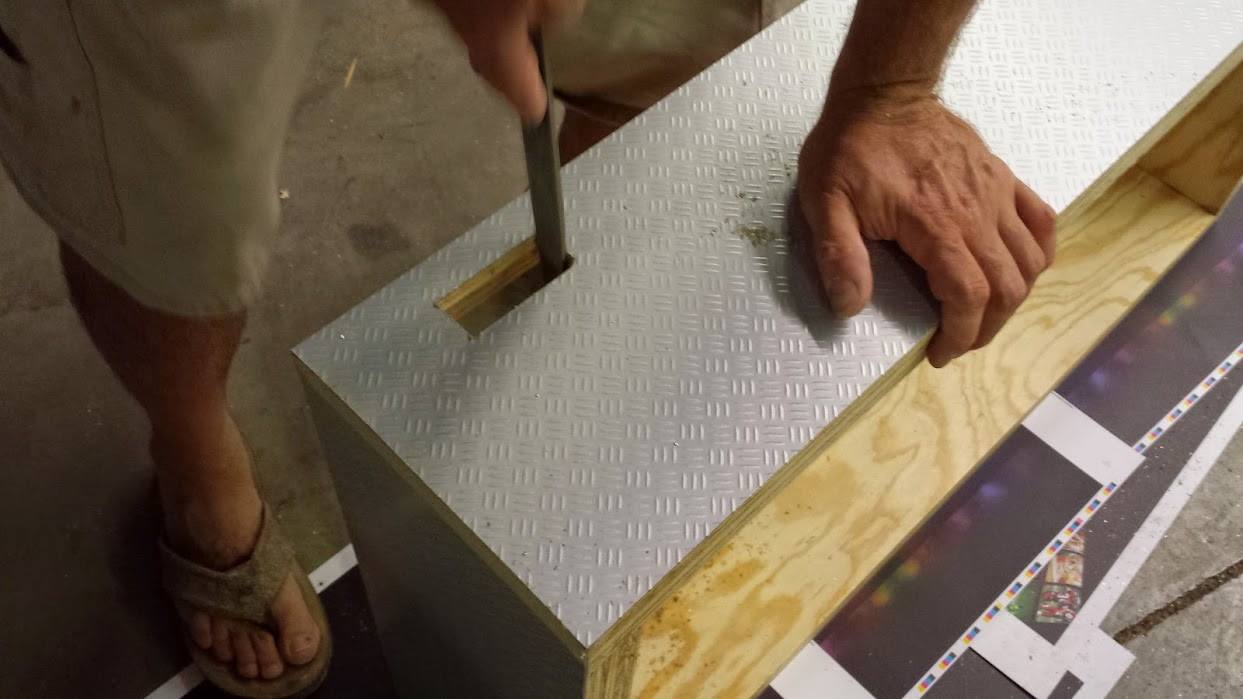
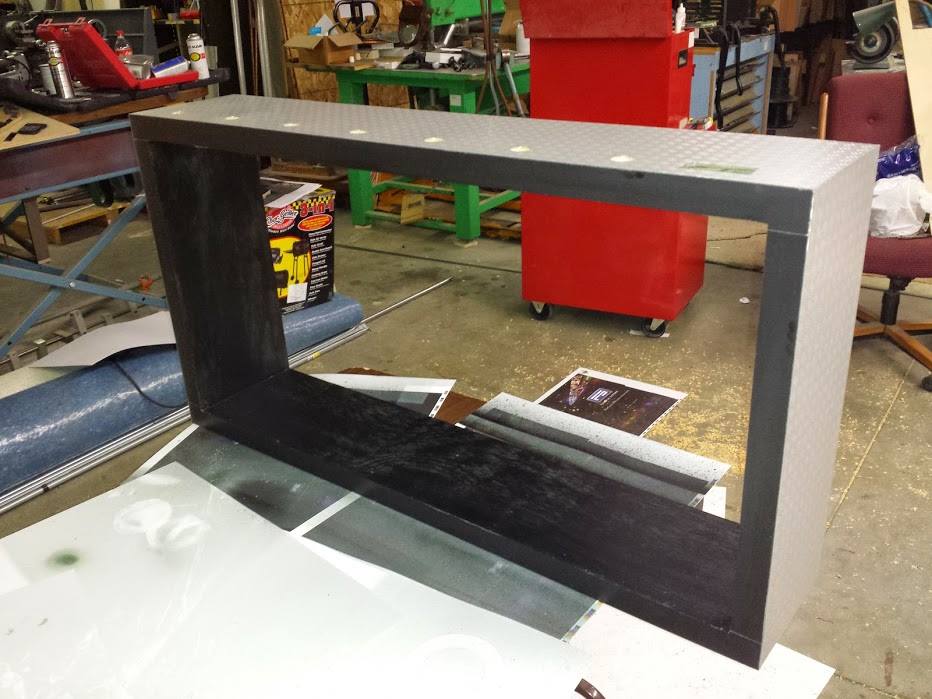
The laminate is all on and routed. Time to make some holes! First of course is the STC-1000 mounting hole which we routed out then filed the corners.
A perfect fit! The gluey mess on the left gets cleaned up later.

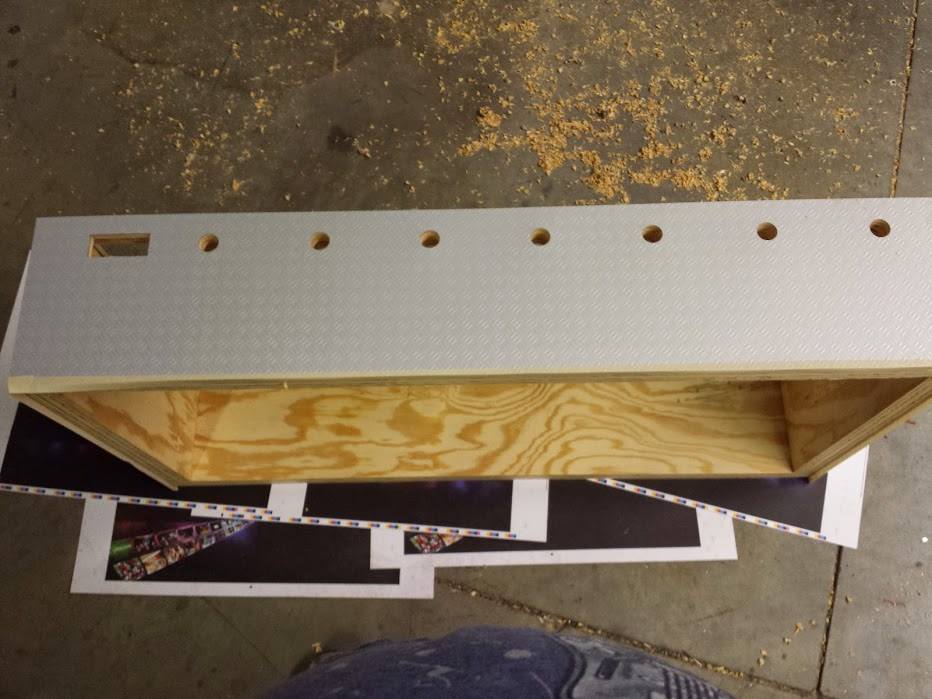
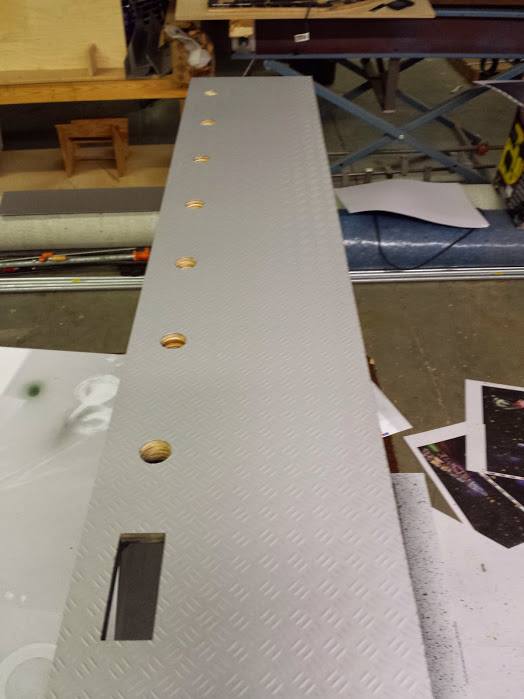
Next came the 7/8" holes for seven taps spaced 5" apart.
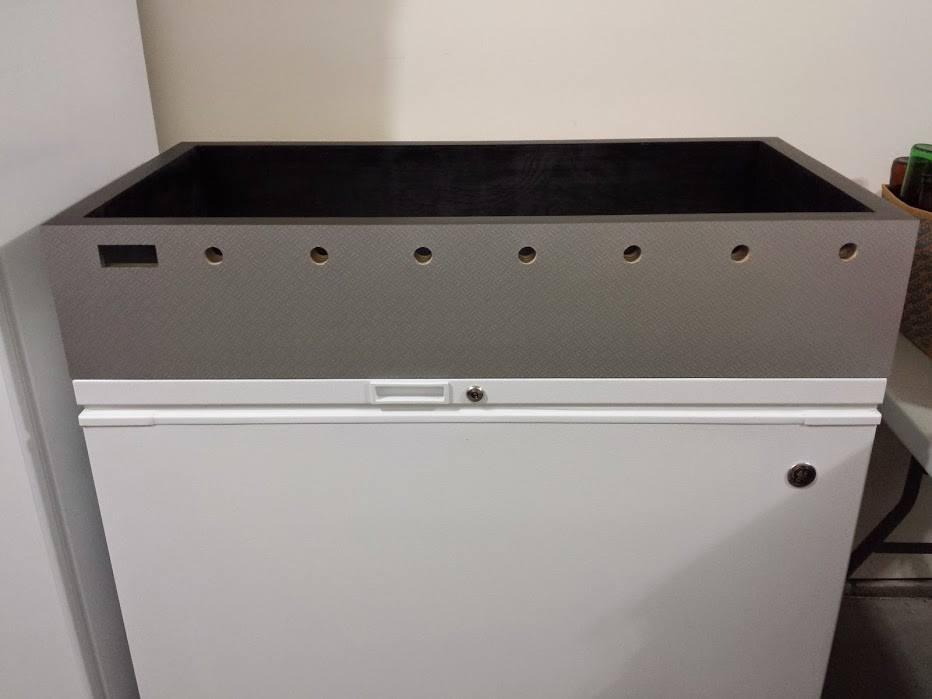
The wood is weather treated but to ensure it is completely sealed, we primed and painted the inside and bottom black. It also blends very well with the top laminate which is also black.
Painting is complete. Now it's time to clean off some of the gluey mess on the laminate.
The laminate is nice and clean now.
And here's the finished product sitting on its future home.
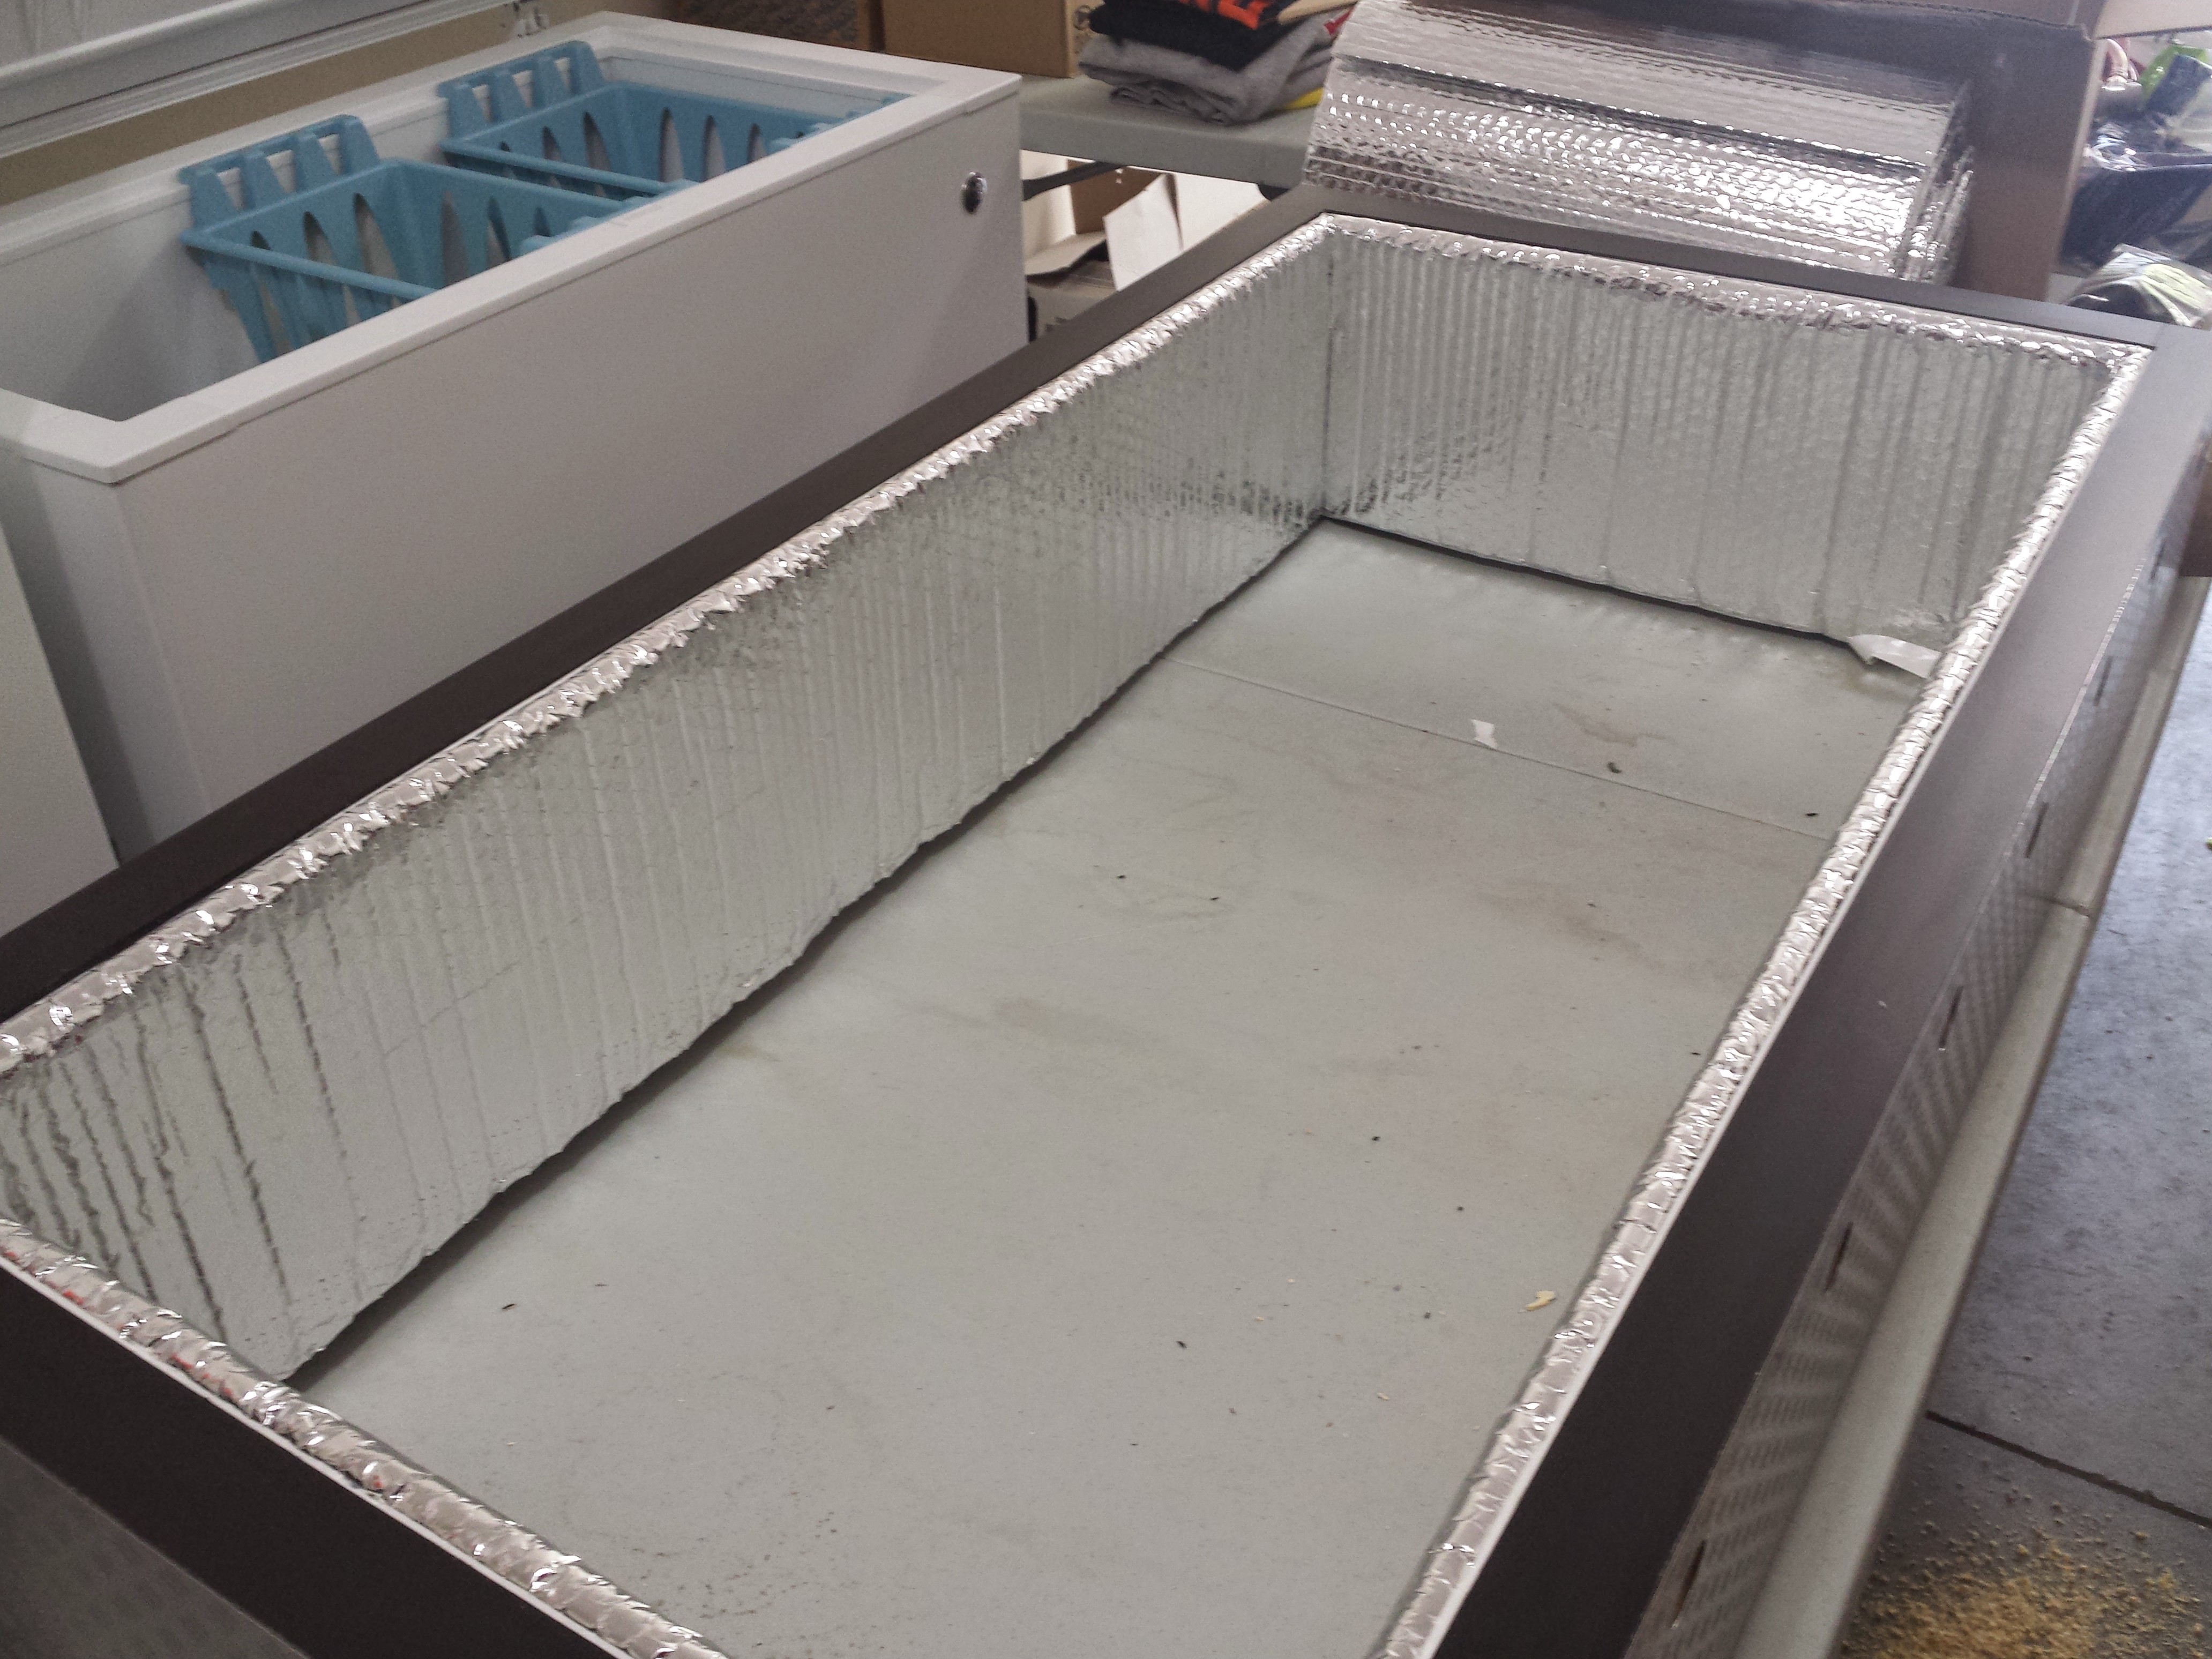
I added double sided tape to stick the insulation to. In hind sight, I should have placed them in about half an inch rather than right on the edge.
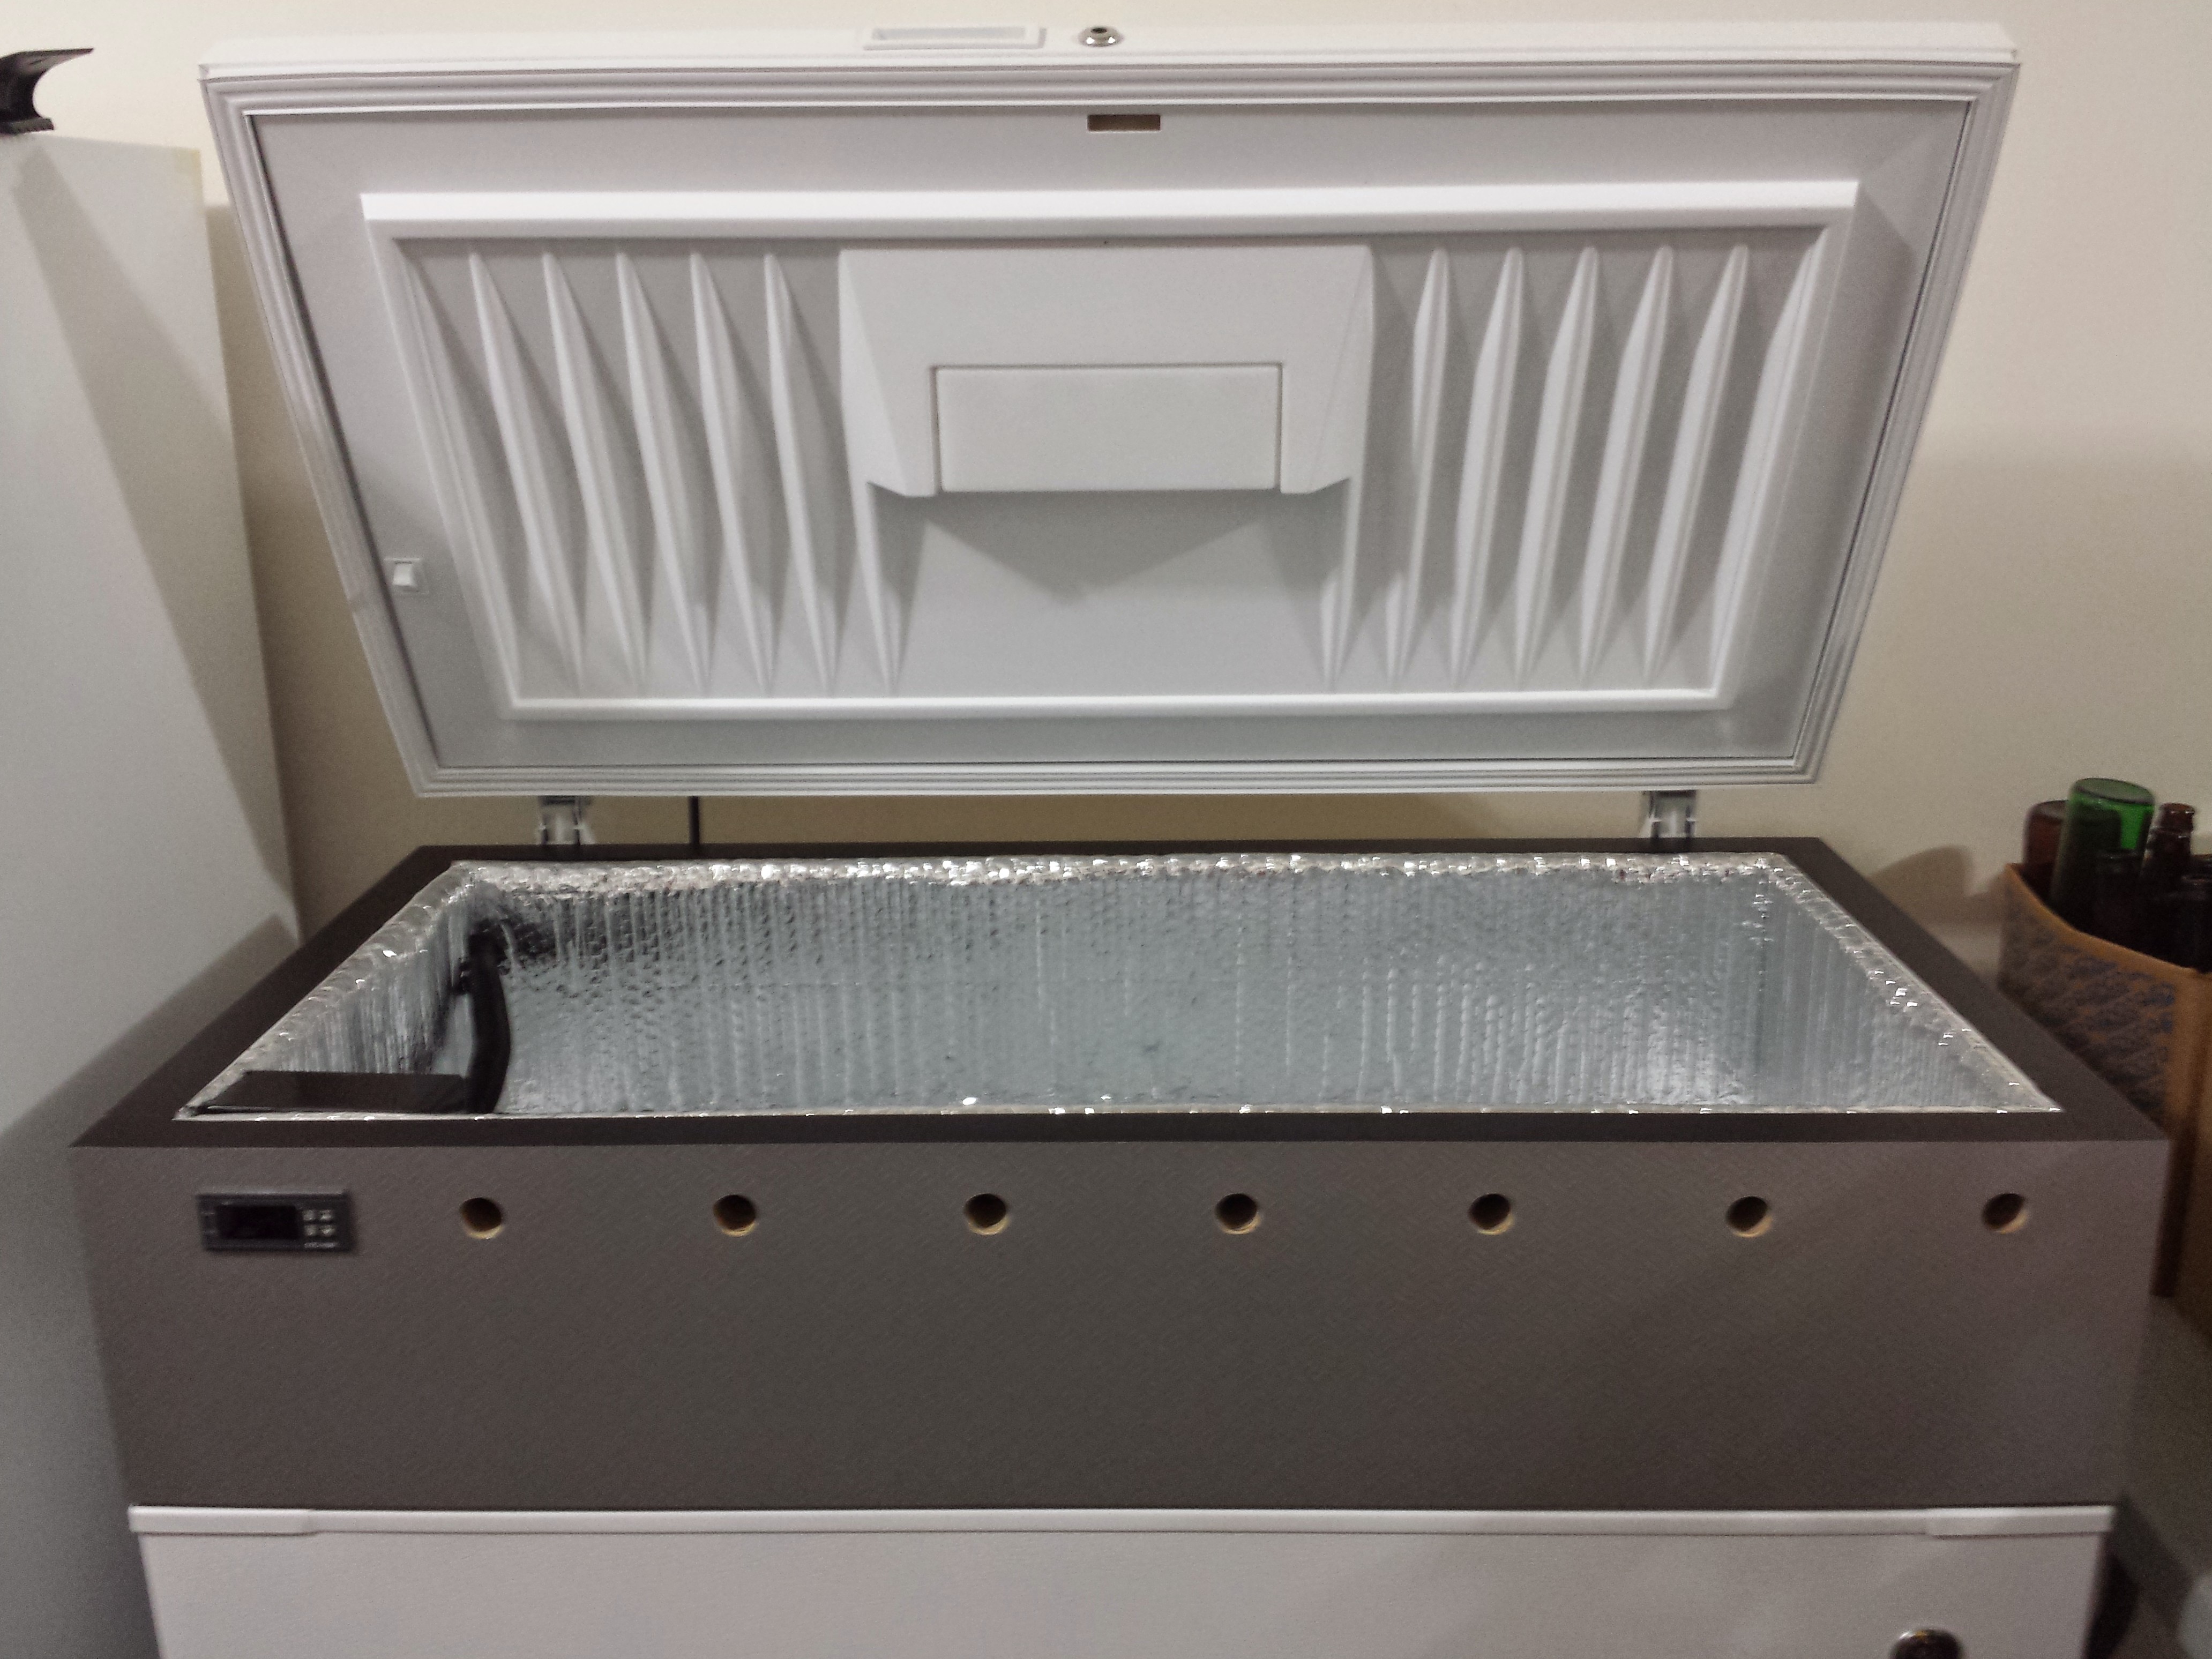
As the collar is eight inches tall, I simply used 16" Reflectix Insulation and folded it over. Double sided tape between the layers holds the fold.
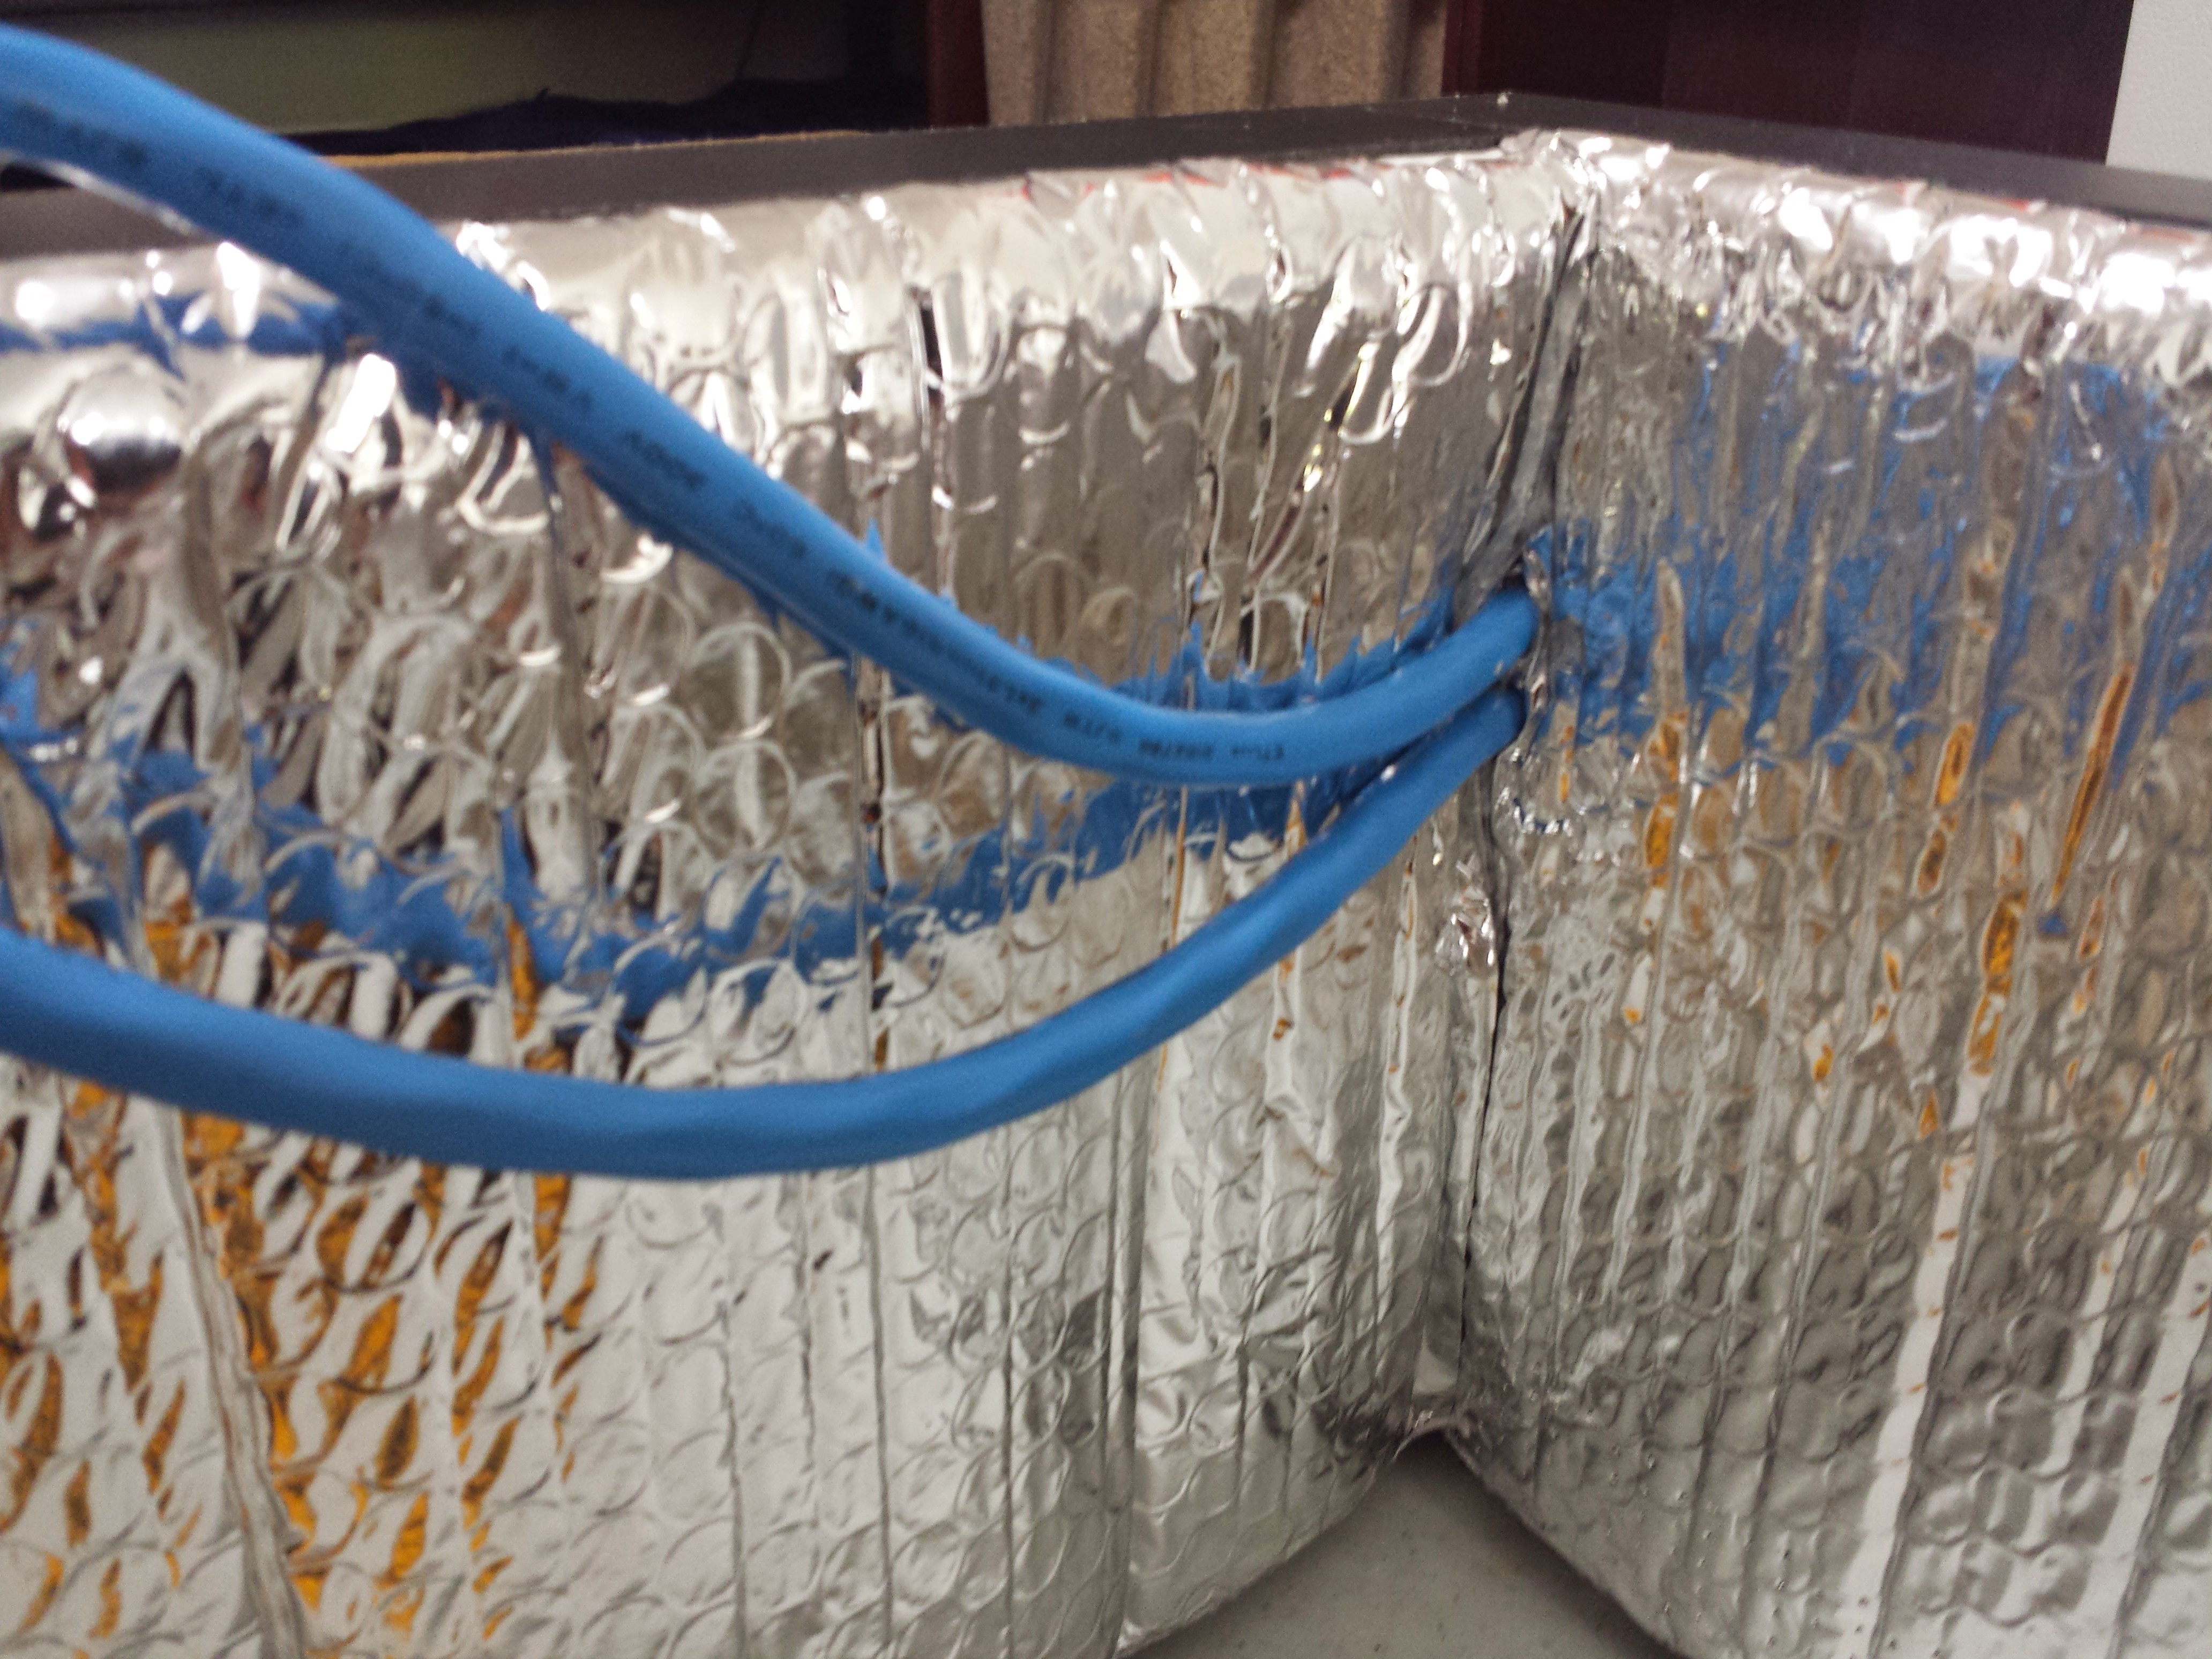
The electrical wires squeeze between the sides of insulation.
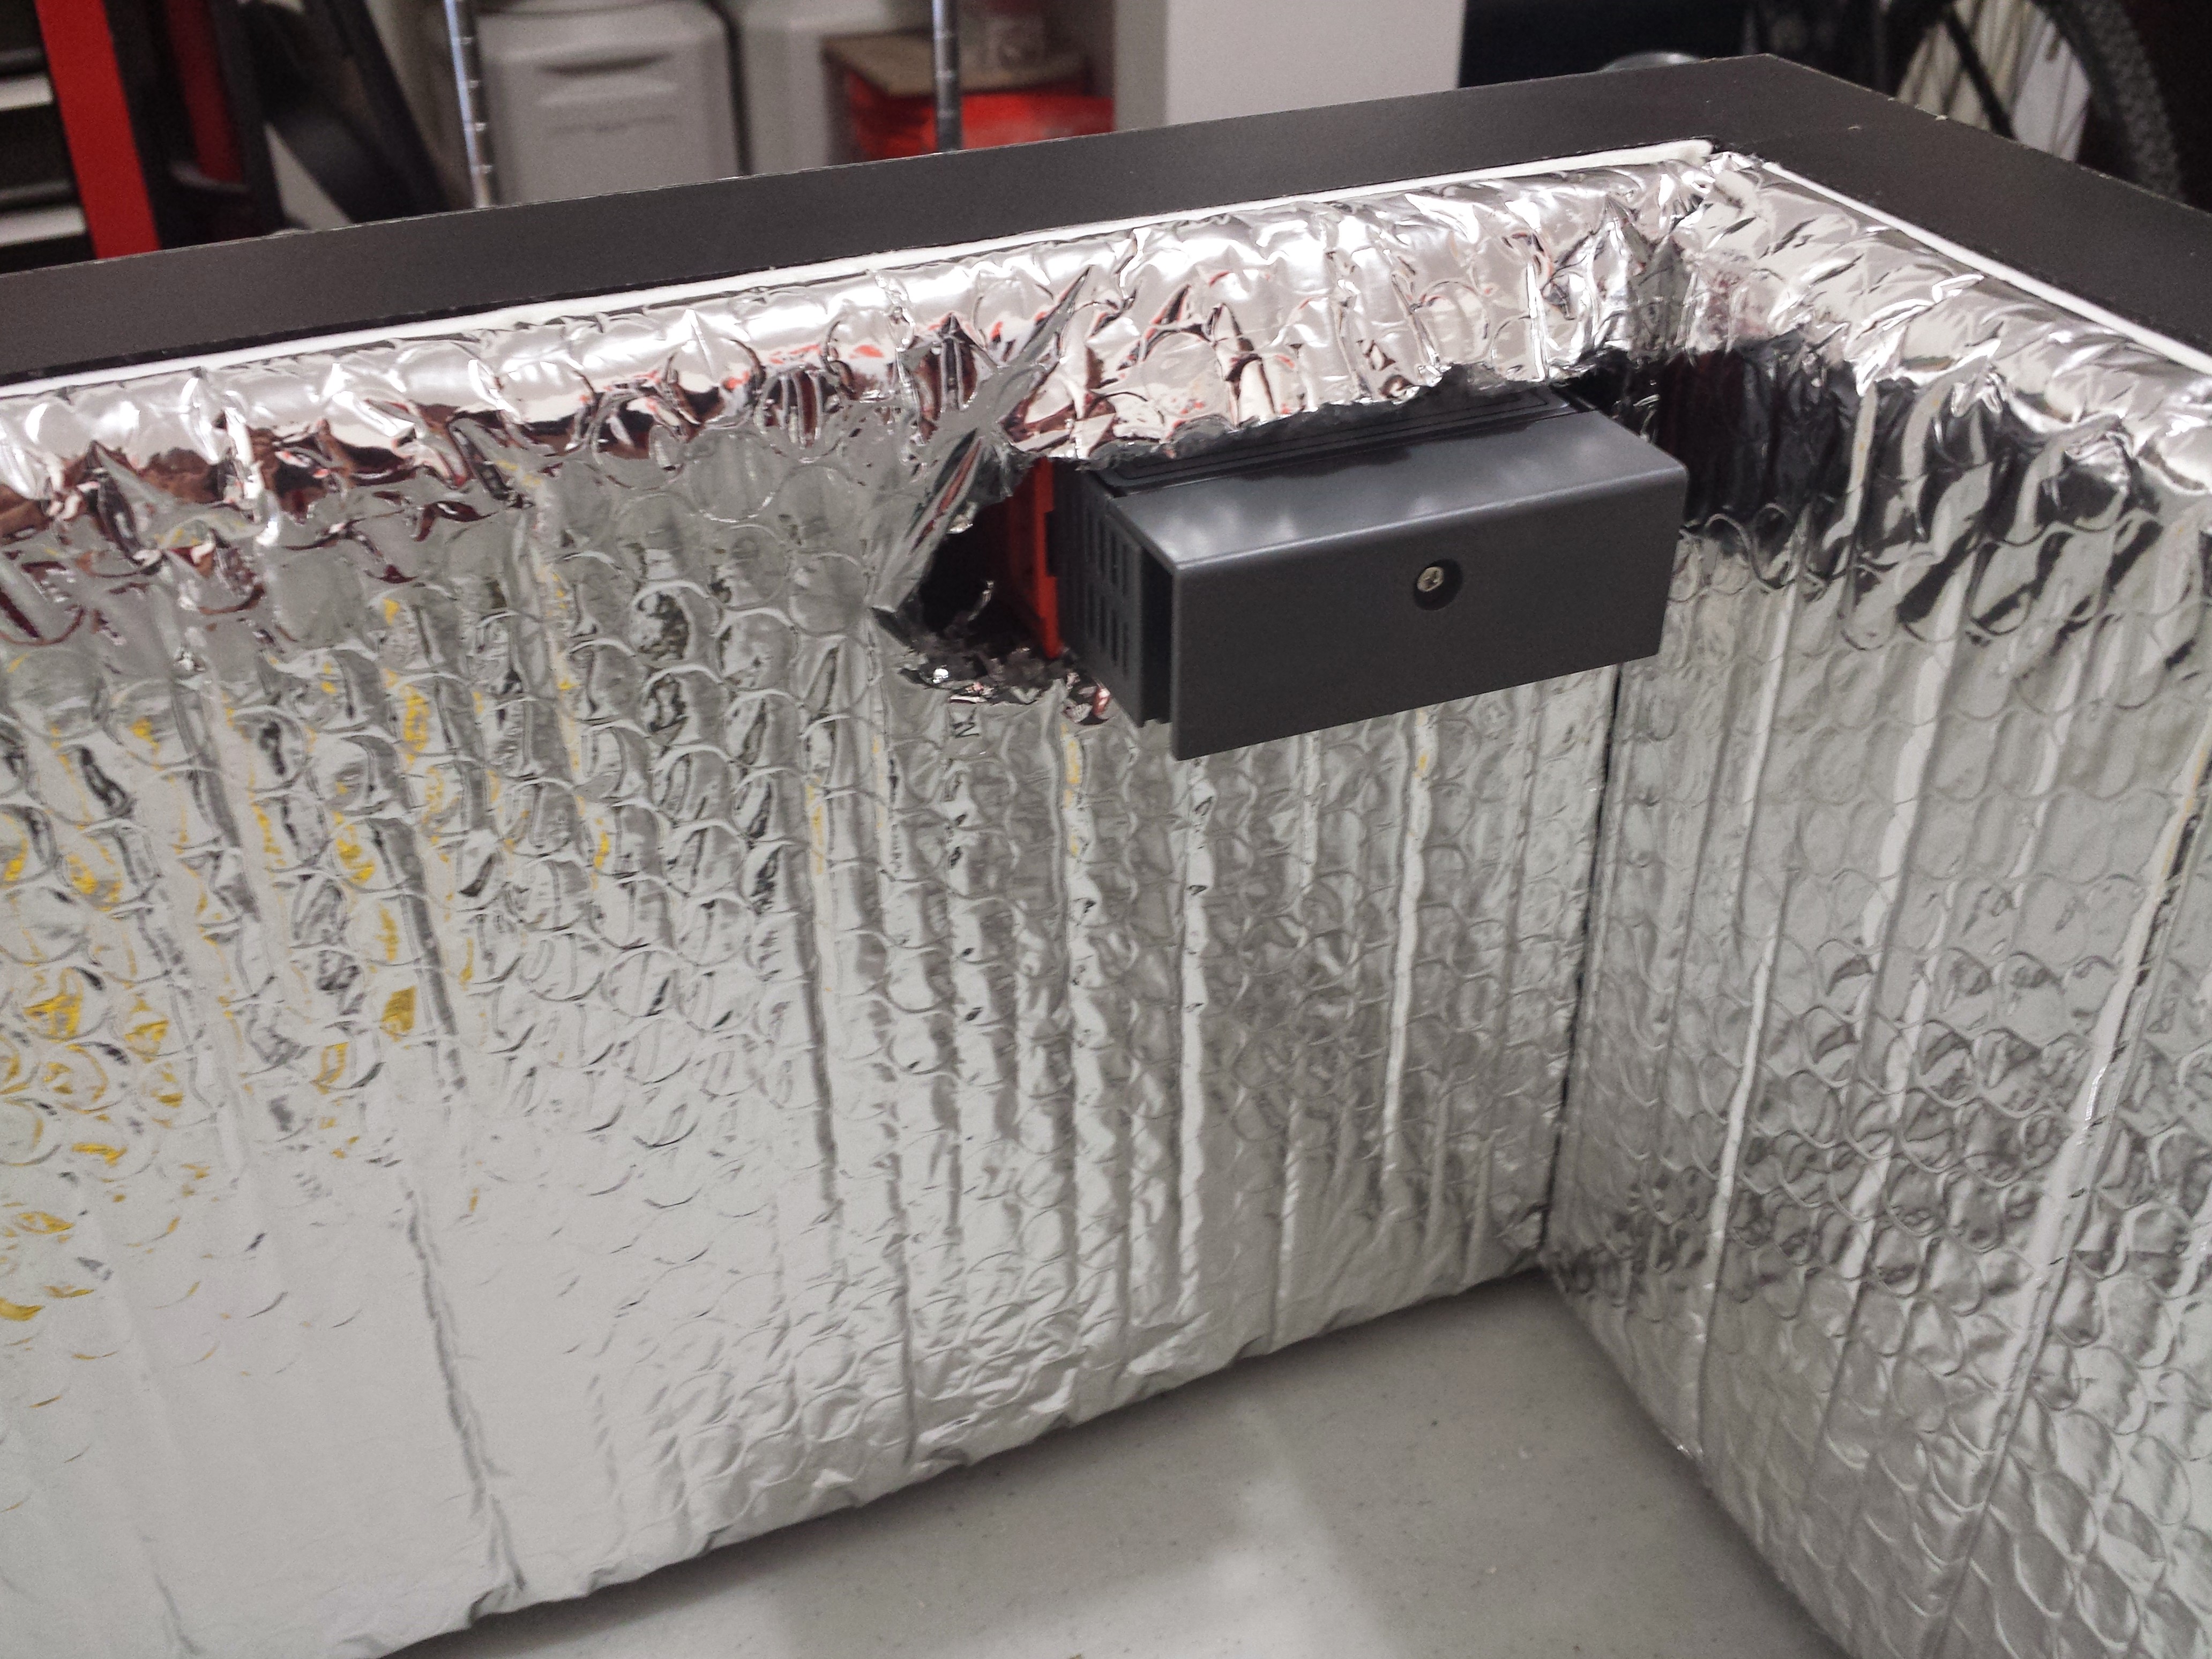
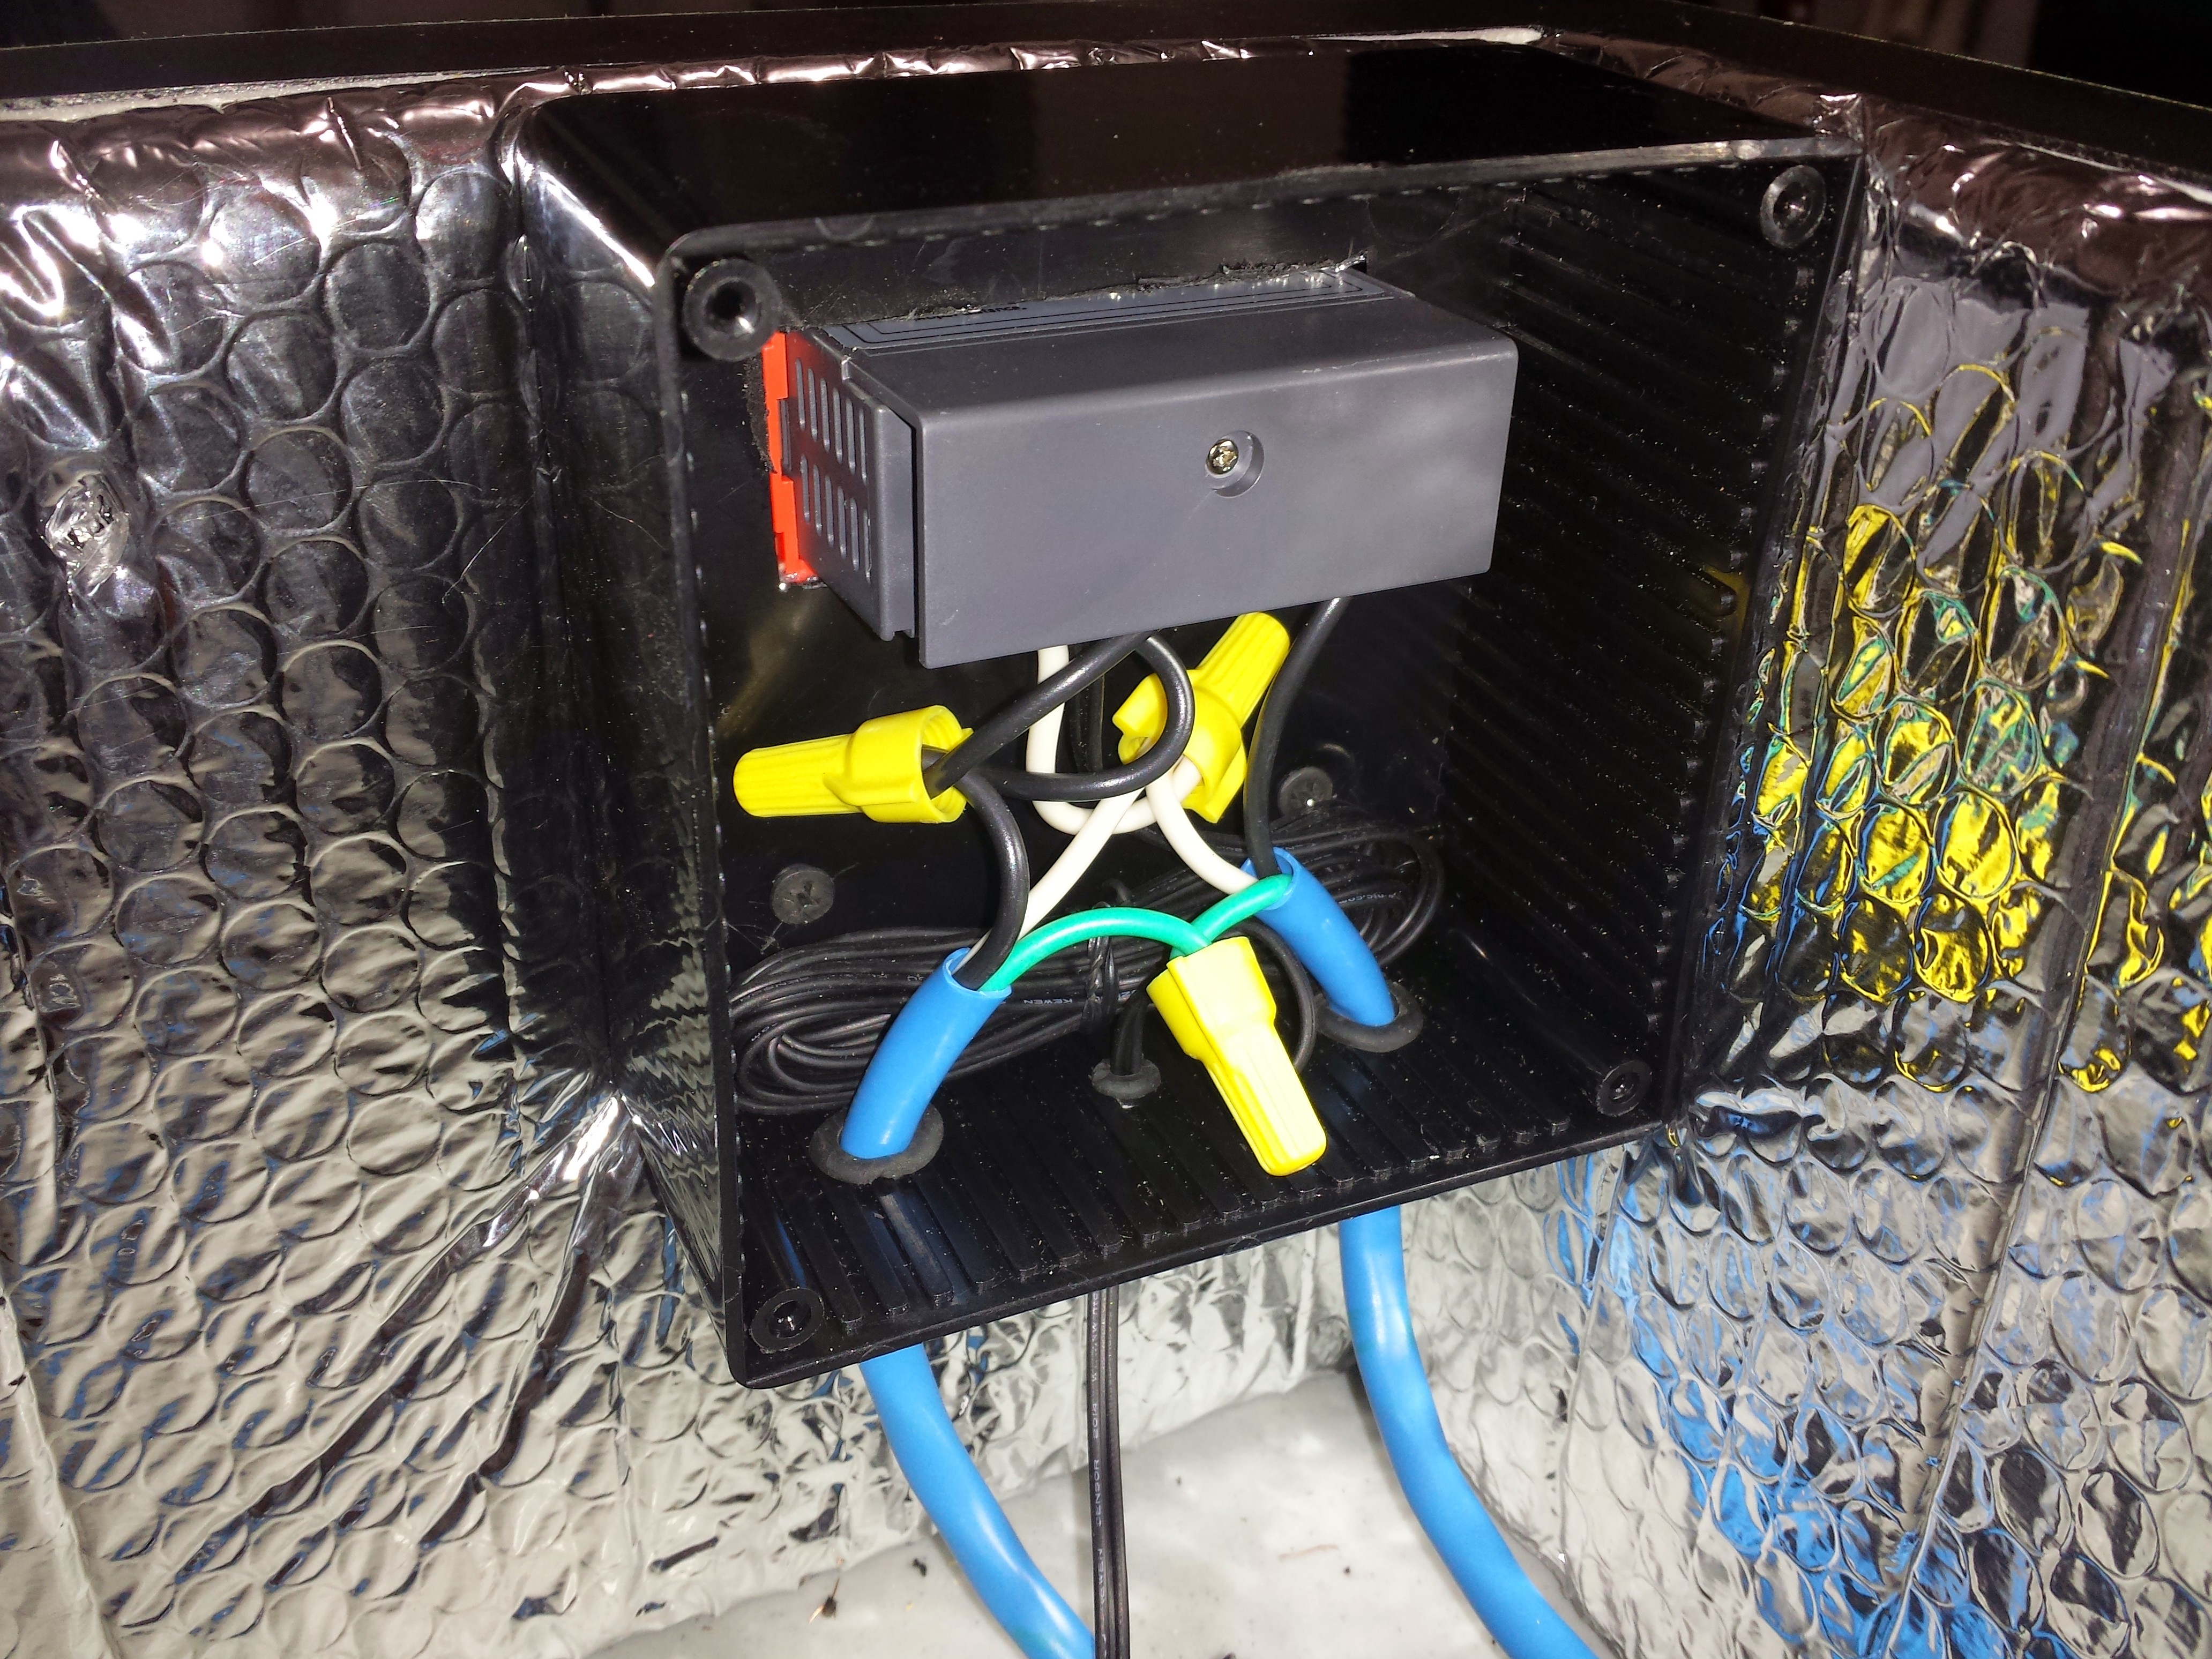
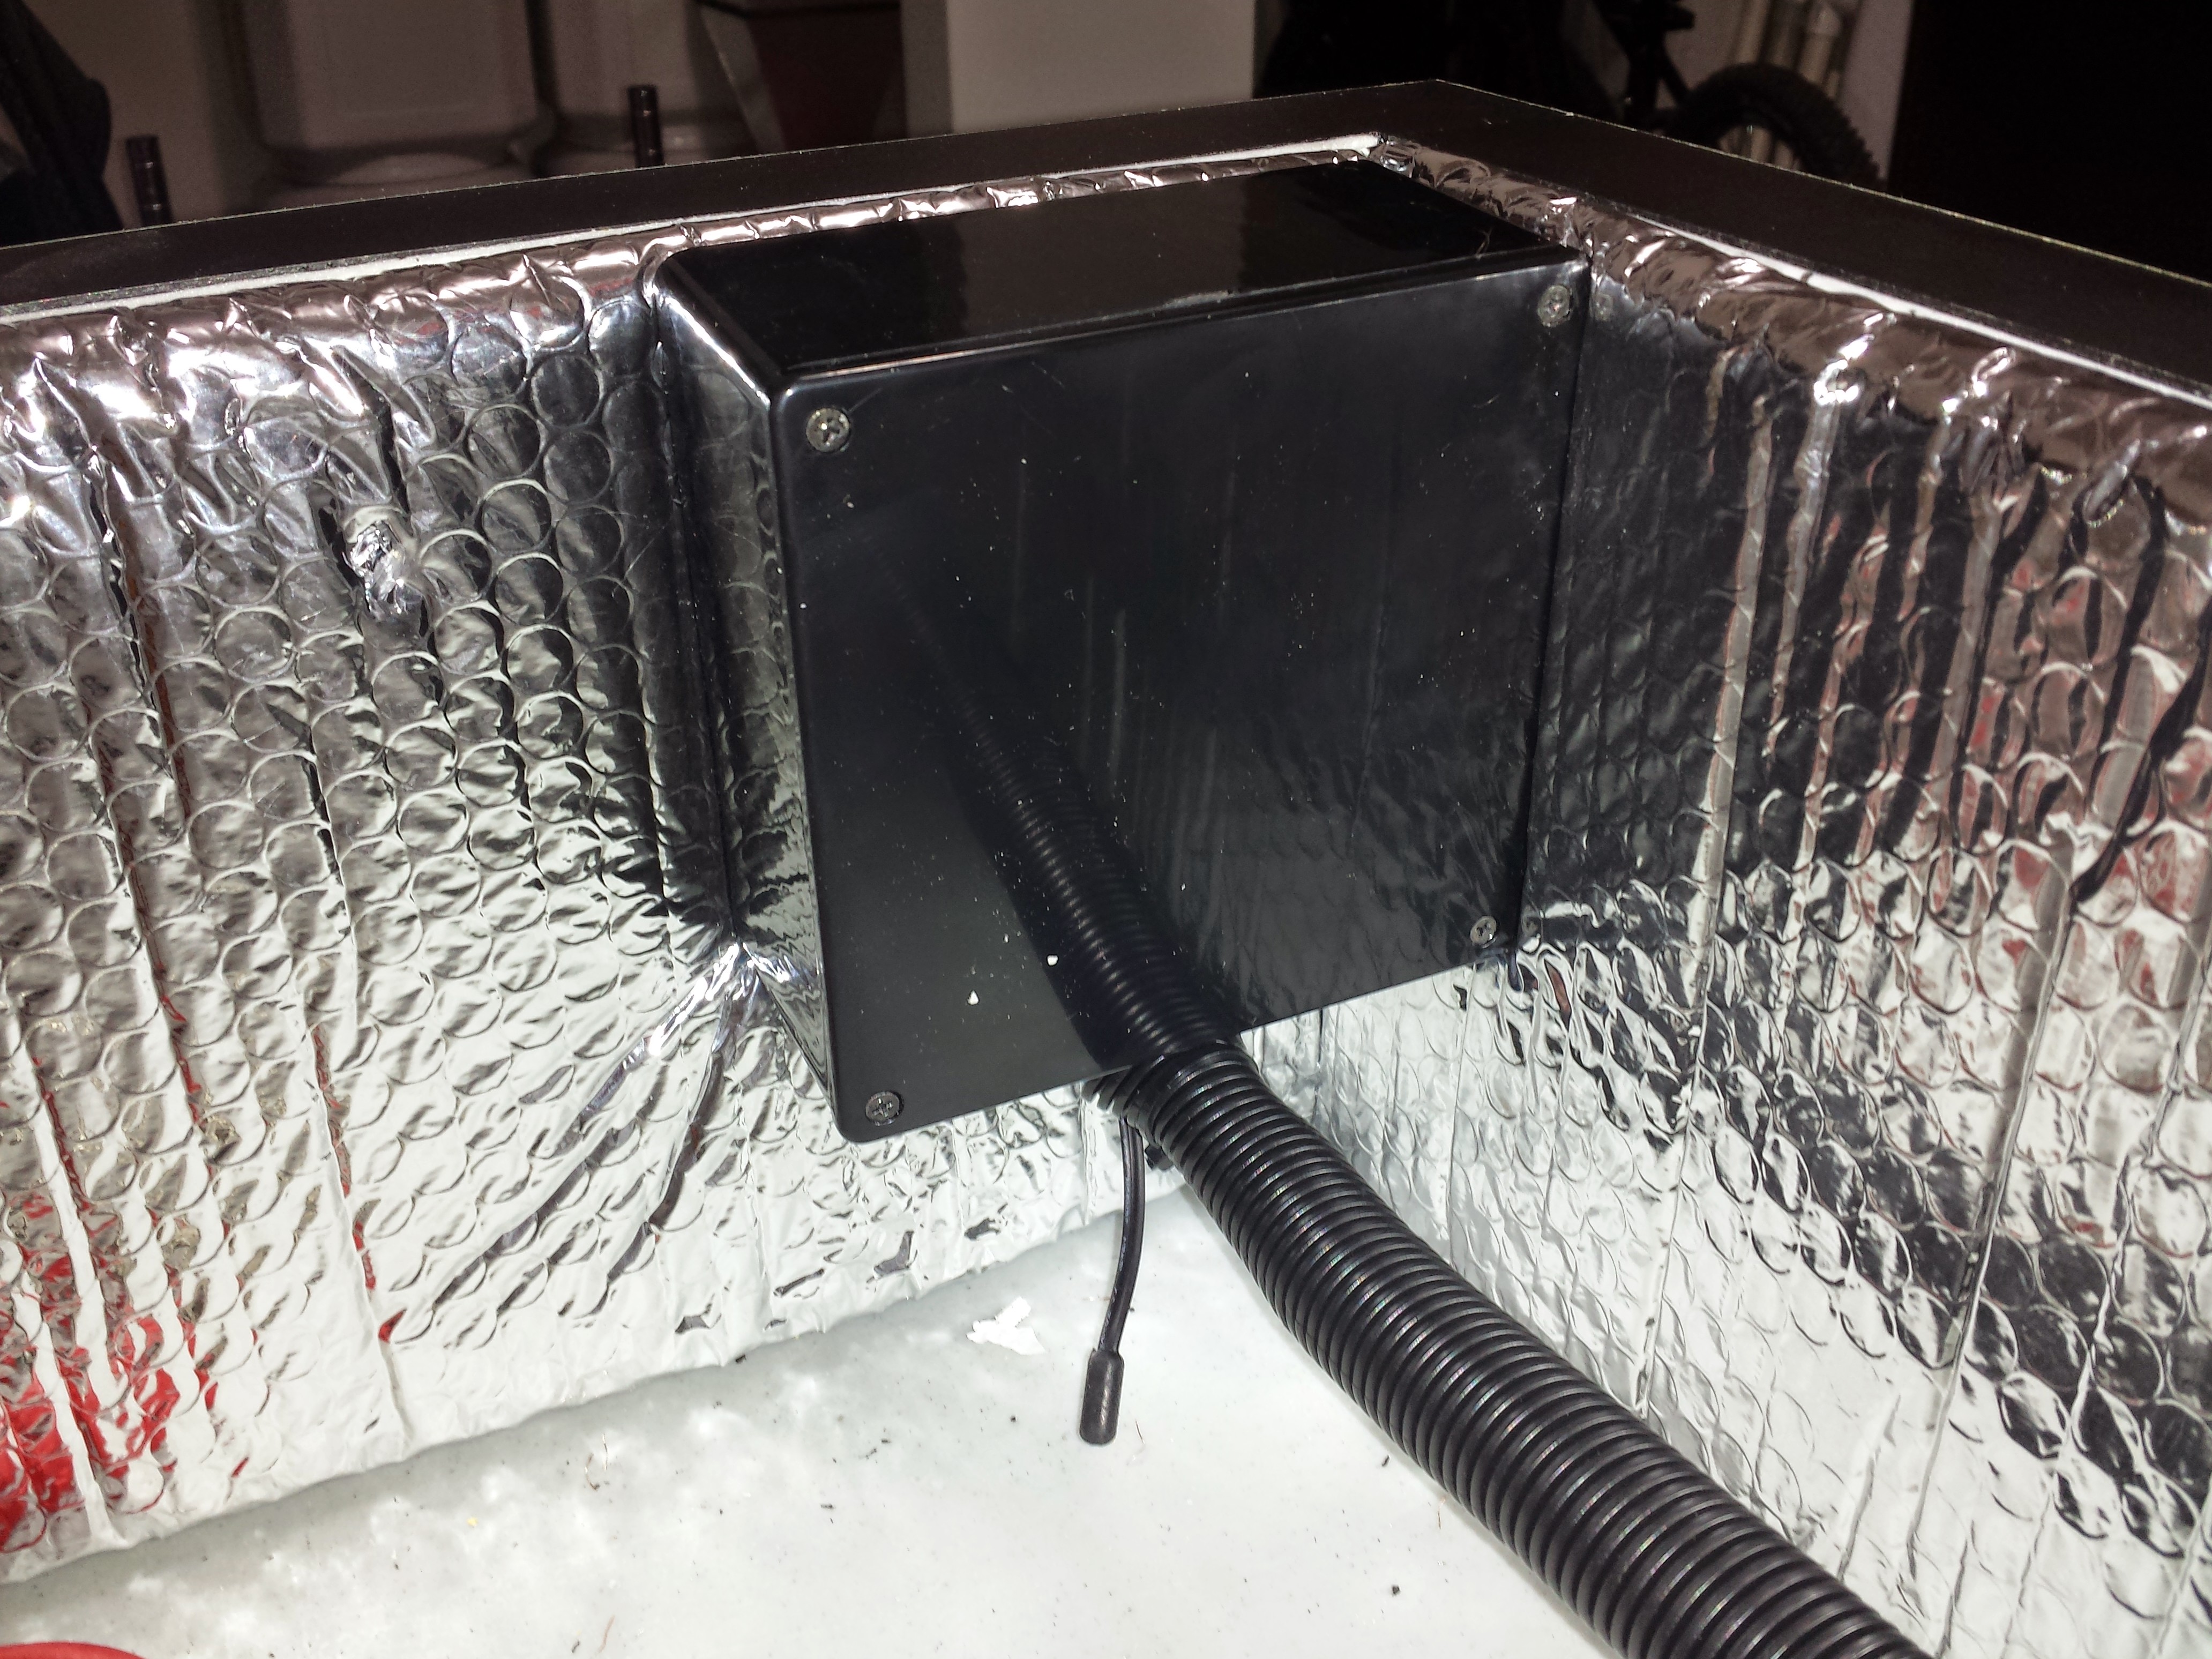
To prevent moisture from getting to the controller, I mounted a project box around it. I had to come back later and cut the hole bigger and move it down about an inch because I forgot to leave room for the drop in the lid. I then came back later and placed the probe in a liquid vial due to the ambient temperature swinging a lot more than liquid temperature and causing the beer to be too cold. Both of those changes are not pictured.

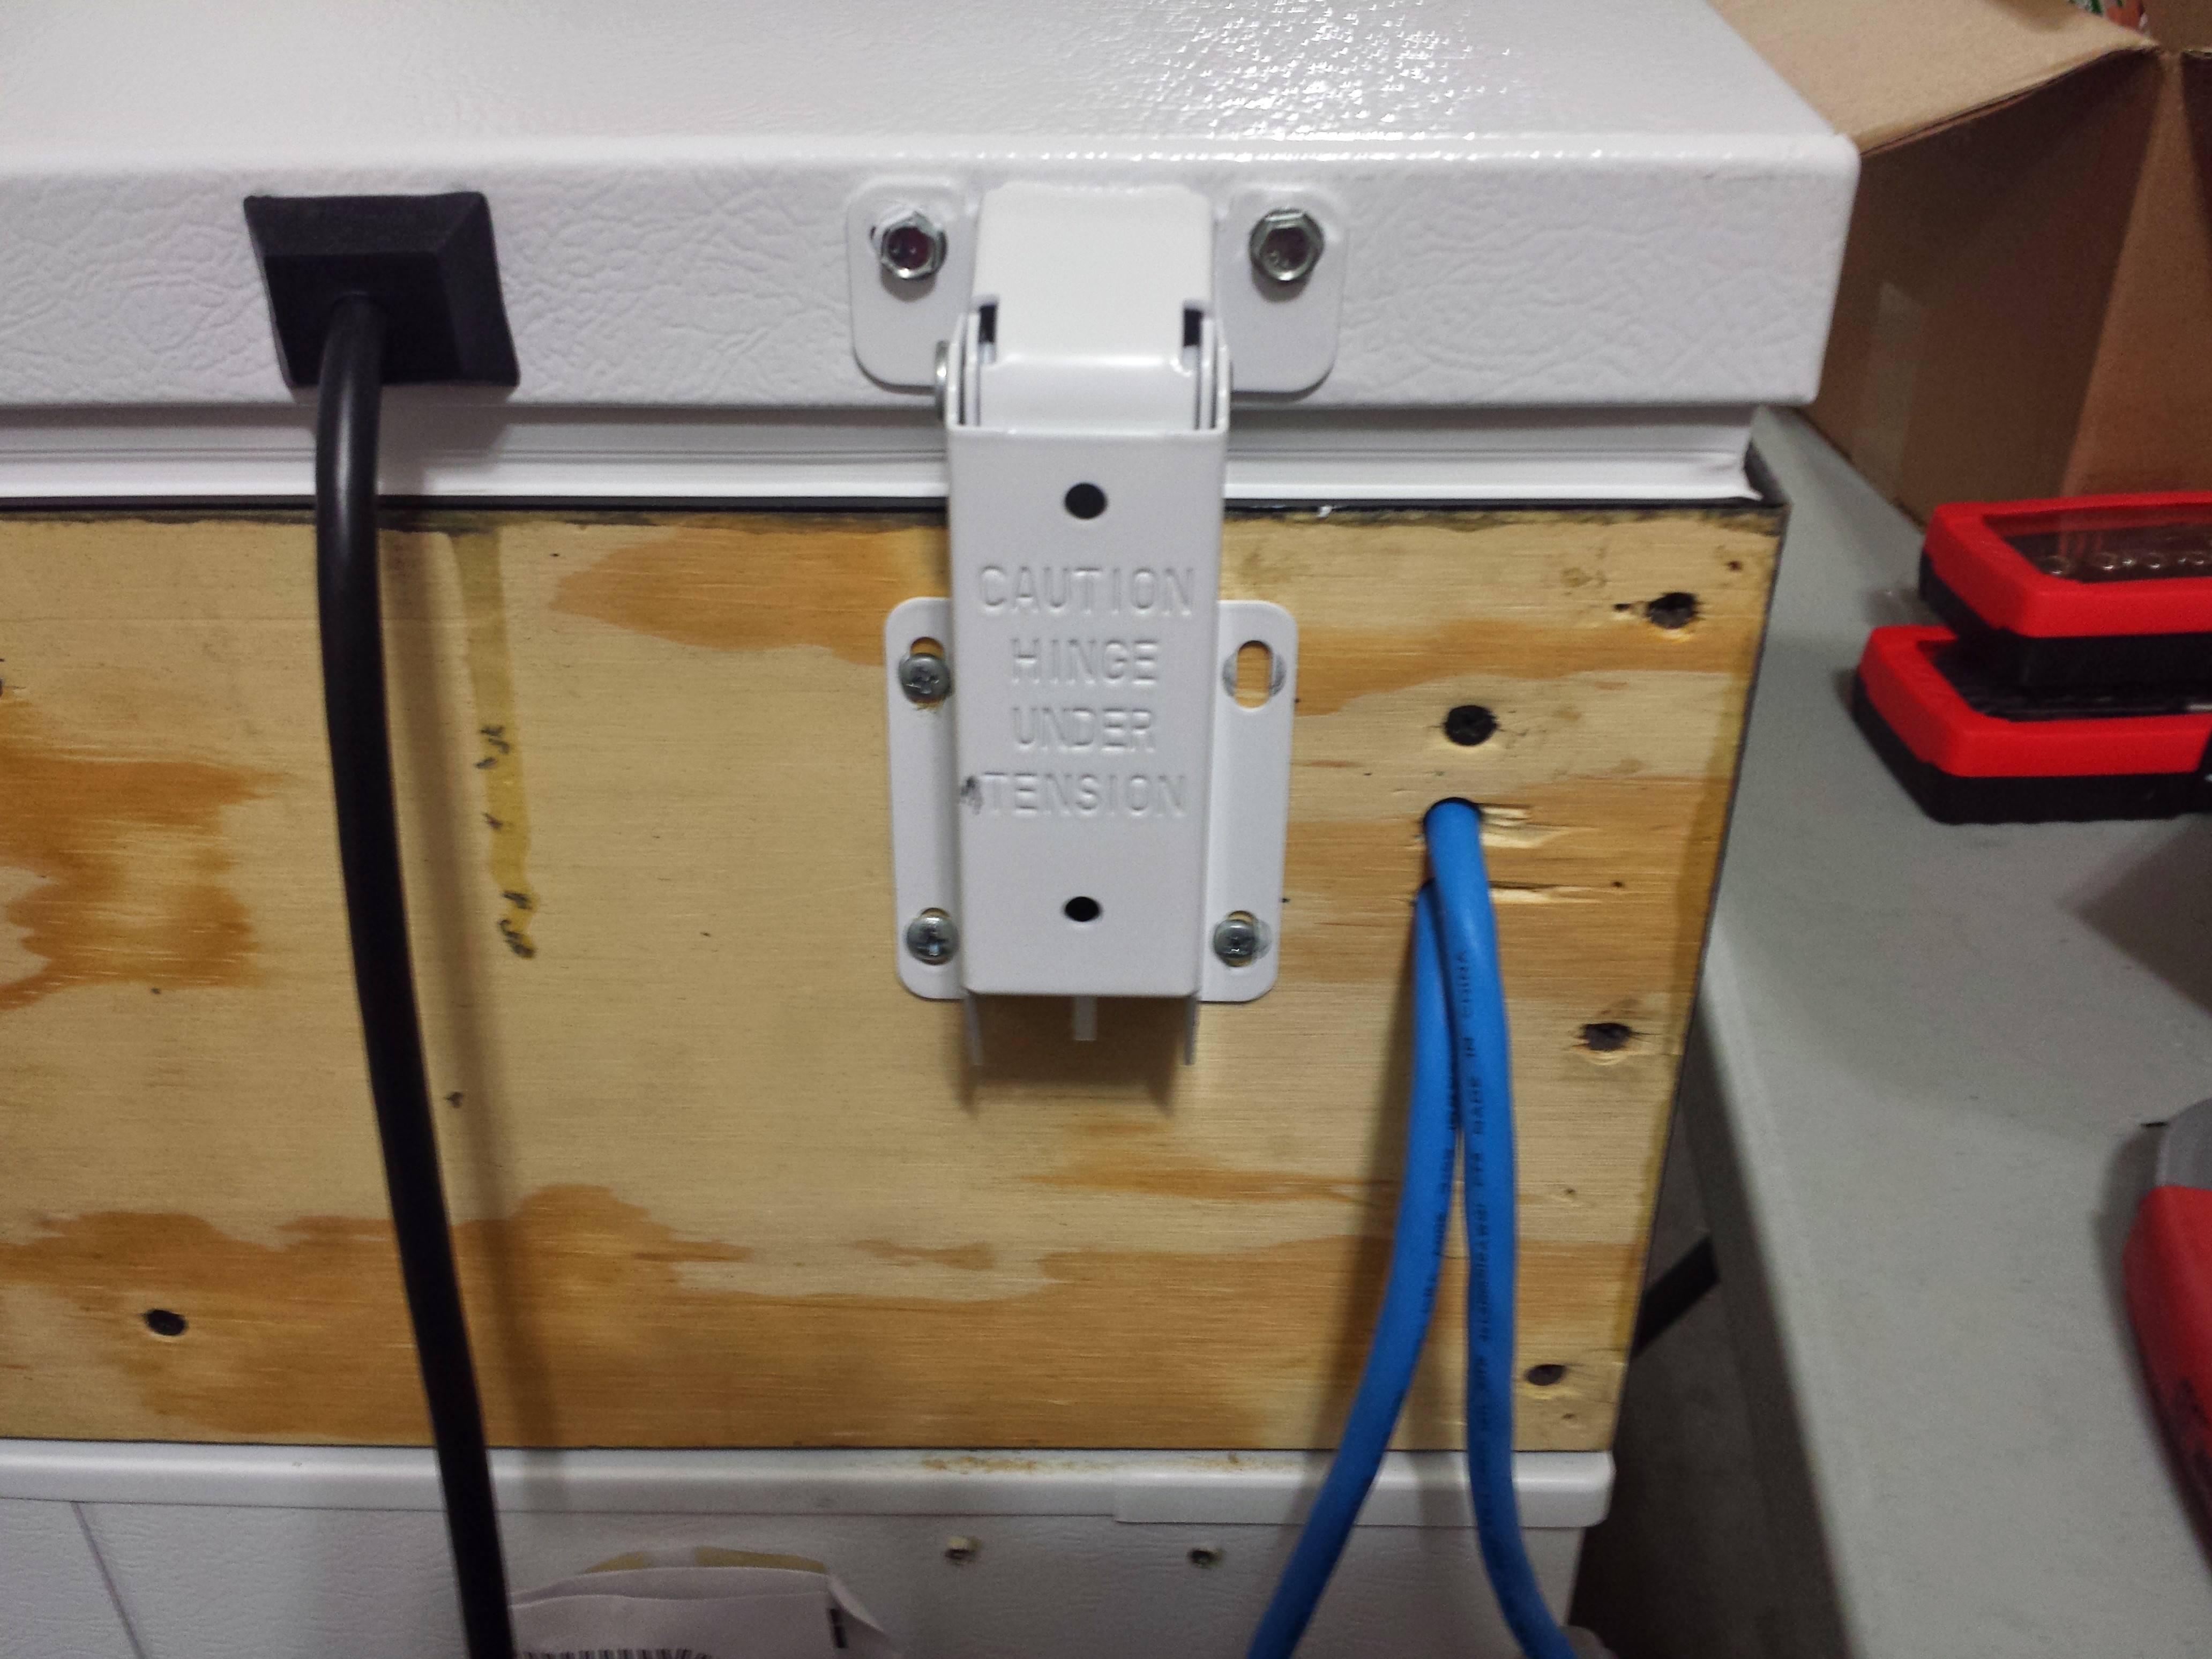
Moved the hinges up for the lid. And here's where I realized the project box was a bit too high. Oops! I ordered a new set of hinges and placed them where the old hinges were so the collar can be lifted as well. Those aren't pictured though.
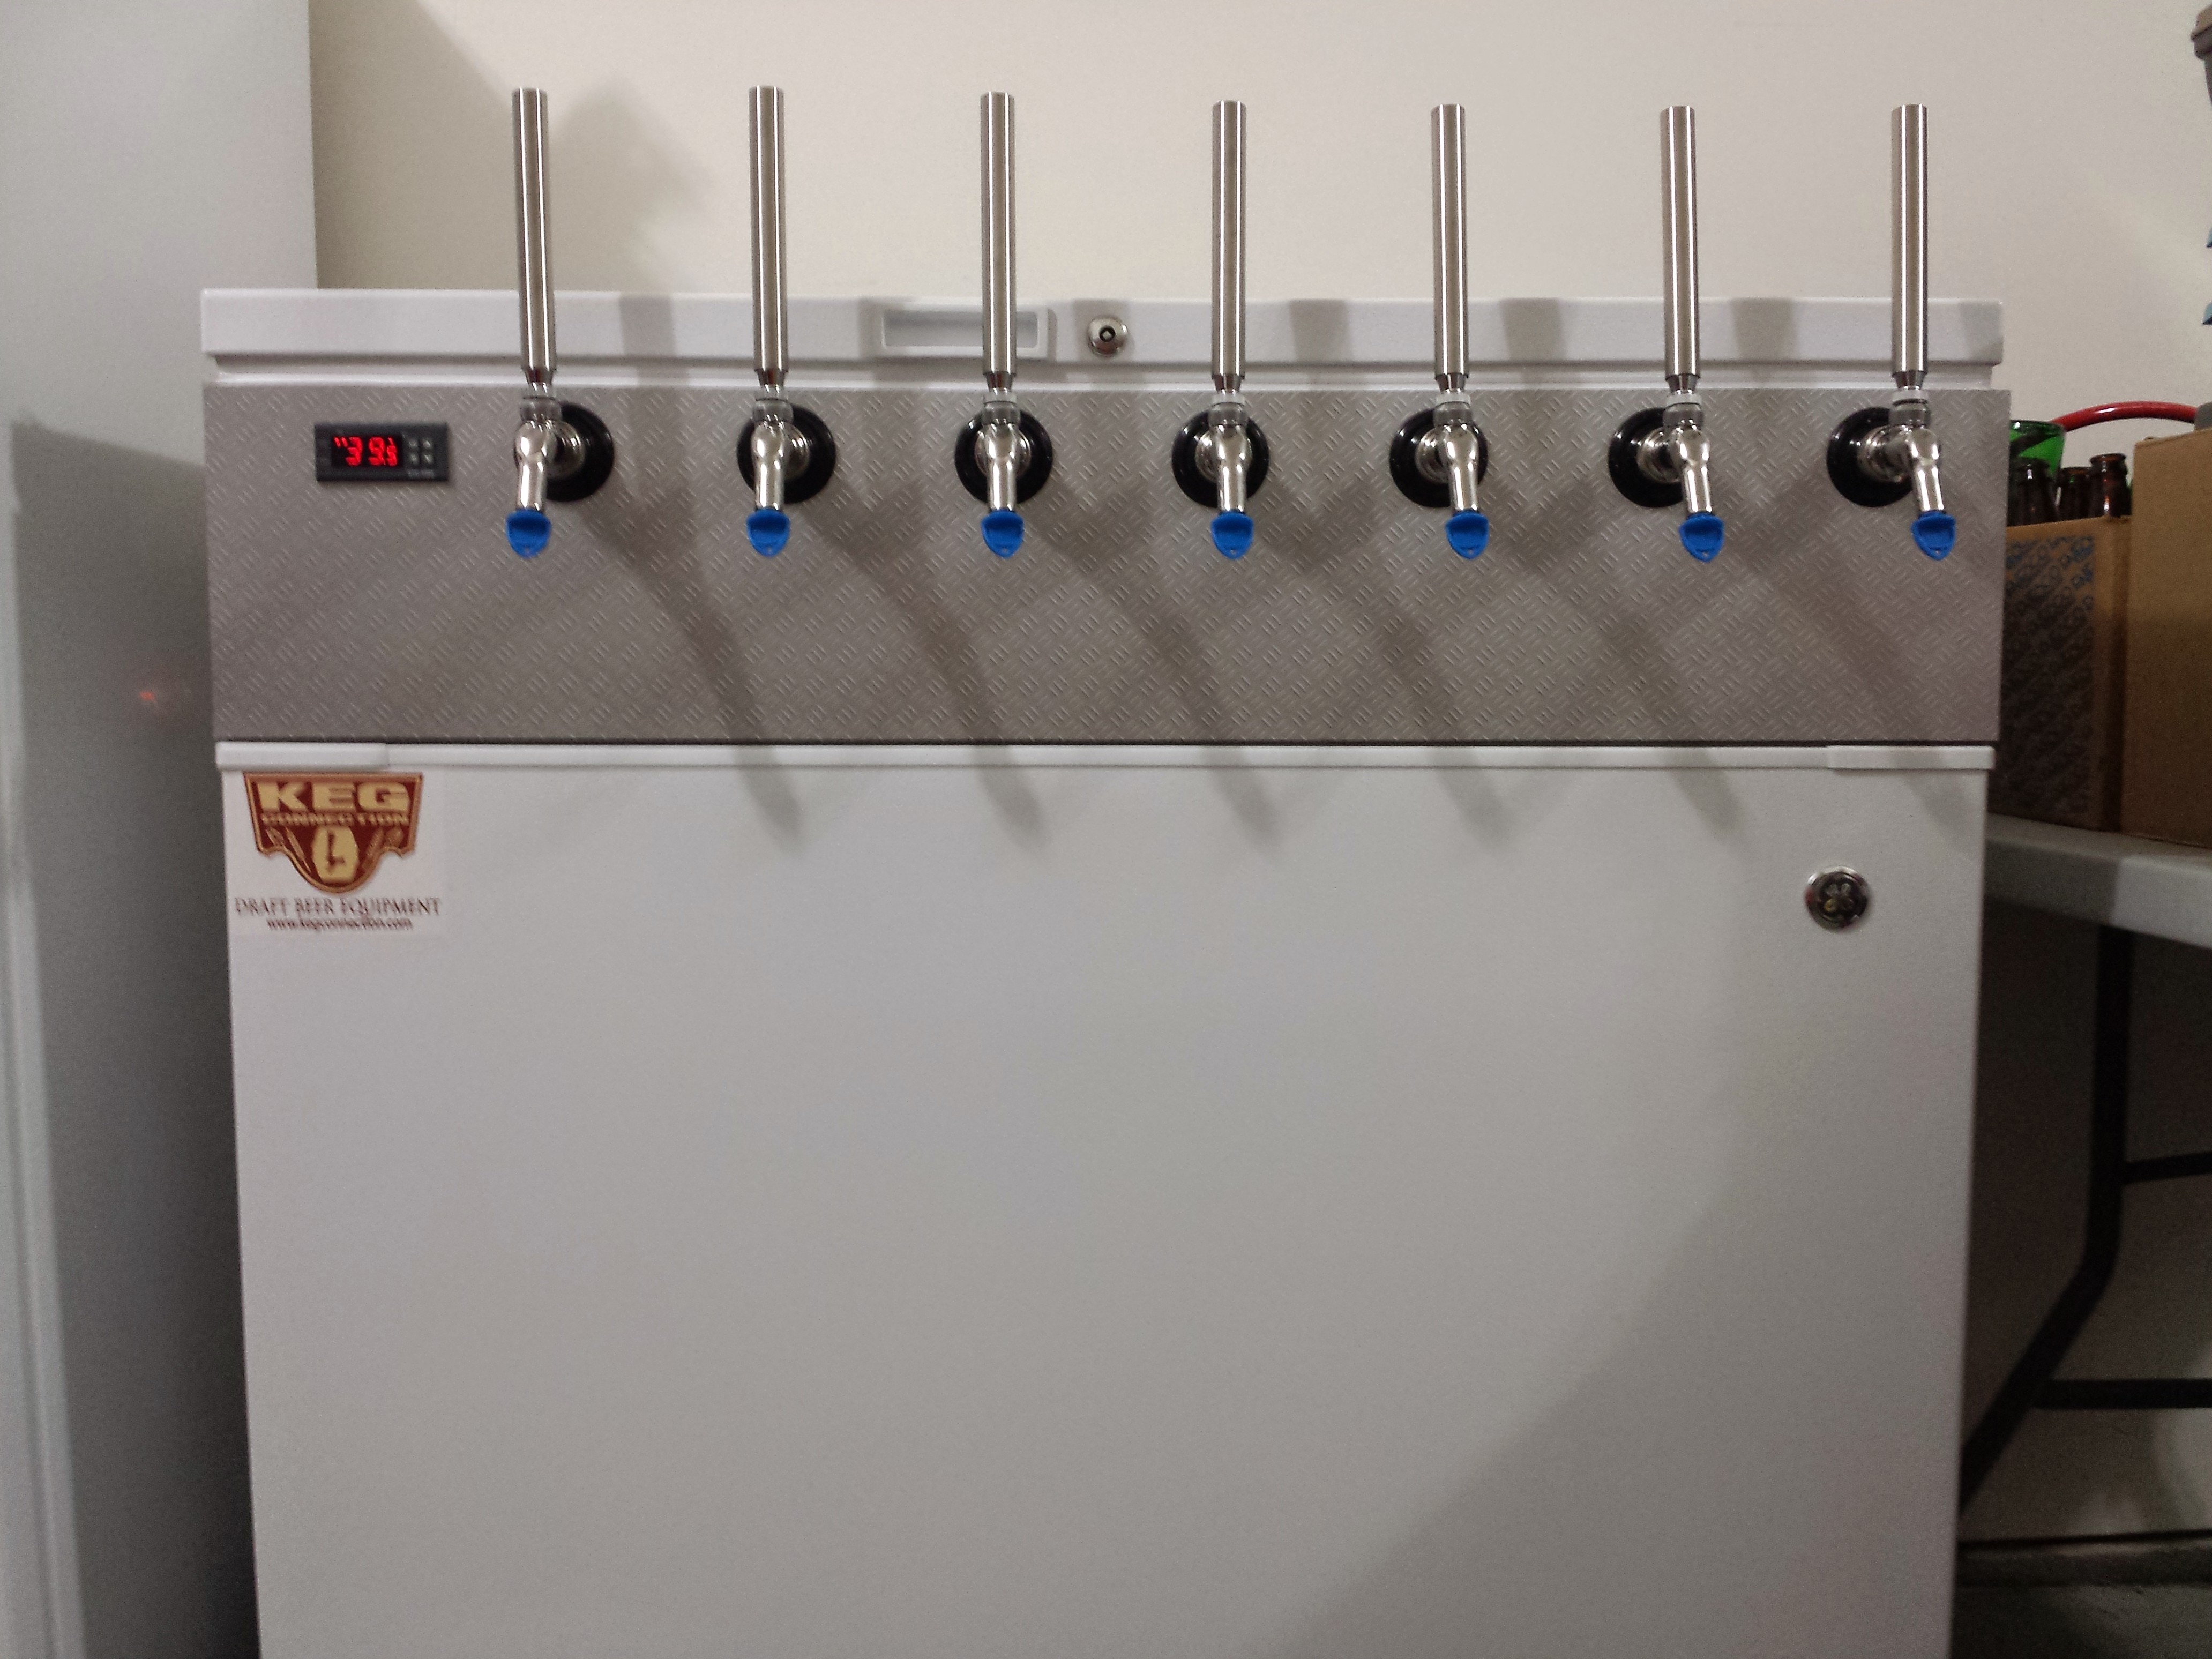
Three Perlick 575's and four 525's were added.
I haven't taken pictures of the gas setup yet, but it is installed and there's currently three kegs of beer already in this beast. I also plan to add a drip tray and put it up on wheels eventually.
Here is the mounting hole for the STC-1000. We routed out the front layer first then used that as a template for the back piece and routed it out larger in order to grant easy access to the lock sliders that hold the controller into place. The back layer was then used as a template for the front layer to route out 1/4" of material to leave just 1/2" as the locks for the controller don't extend out much farther than that.
As we are going to laminate the front, sides, and top, we ensured the surfaces were completely smooth.
We laminated the top of the collar in black. This is to ensure the lid has a completely smooth surface to seal against and is also an excellent finishing touch that I rarely (if ever) see in other keezer builds.
After routing the excess laminate off, the corners need to be squared out.
Here are the diamond-plate laminate pieces (that are actually metal) for the front and sides.
Here's a close-up of the diamond-plate.
One side is on, but not routed yet.
Kerry is rolling away on the top piece of diamond-plate laminate.
The laminate is all on and routed. Time to make some holes! First of course is the STC-1000 mounting hole which we routed out then filed the corners.
A perfect fit! The gluey mess on the left gets cleaned up later.
Next came the 7/8" holes for seven taps spaced 5" apart.
The wood is weather treated but to ensure it is completely sealed, we primed and painted the inside and bottom black. It also blends very well with the top laminate which is also black.
Painting is complete. Now it's time to clean off some of the gluey mess on the laminate.
The laminate is nice and clean now.
And here's the finished product sitting on its future home.
I added double sided tape to stick the insulation to. In hind sight, I should have placed them in about half an inch rather than right on the edge.
As the collar is eight inches tall, I simply used 16" Reflectix Insulation and folded it over. Double sided tape between the layers holds the fold.
The electrical wires squeeze between the sides of insulation.
To prevent moisture from getting to the controller, I mounted a project box around it. I had to come back later and cut the hole bigger and move it down about an inch because I forgot to leave room for the drop in the lid. I then came back later and placed the probe in a liquid vial due to the ambient temperature swinging a lot more than liquid temperature and causing the beer to be too cold. Both of those changes are not pictured.
Moved the hinges up for the lid. And here's where I realized the project box was a bit too high. Oops! I ordered a new set of hinges and placed them where the old hinges were so the collar can be lifted as well. Those aren't pictured though.
Three Perlick 575's and four 525's were added.
I haven't taken pictures of the gas setup yet, but it is installed and there's currently three kegs of beer already in this beast. I also plan to add a drip tray and put it up on wheels eventually.


