• Please visit and share your knowledge at our sister communities:
  • If you have not, please join our official Homebrewing Facebook Group!

    Homebrewing Facebook Group

Process flow with new to me X3 conical and Max2 Glycol chiller

Homebrew Talk

Help Support Homebrew Talk:

This site may earn a commission from merchant affiliate links, including eBay, Amazon, and others.

jwill911

Supporting Member
HBT Supporter
Joined
Mar 12, 2021
Messages
201
Reaction score
603
So my X3 conical, IceMaster Max2 and lots of accessories arrived. I've been busy getting familiar with the pieces, cleaning/sanitizing/pressure/leak testing.
Now I have questions related to work flow. I'm coming from a Fermzilla conical/w/jacket, TempTwister, 10 gal Igloo cooler with pump and frozen water bottles, and Inkbird controller, and Fermwrap, which gave me pretty damn good temp control.
Now with a Glycol chiller, and a thermowell I understand how the Glycol chiller monitors the fermenter temp. But I confused about how the Fermwrap integrated into the temp control mix. Should I buy another thermowell for the Inkbird probe?
I had a pretty good handle on temp control although a little crude, but very effective. I now need to rethink my whole process. I'm sure some of you have this figured out.
Thanks in advance for sharing.
John
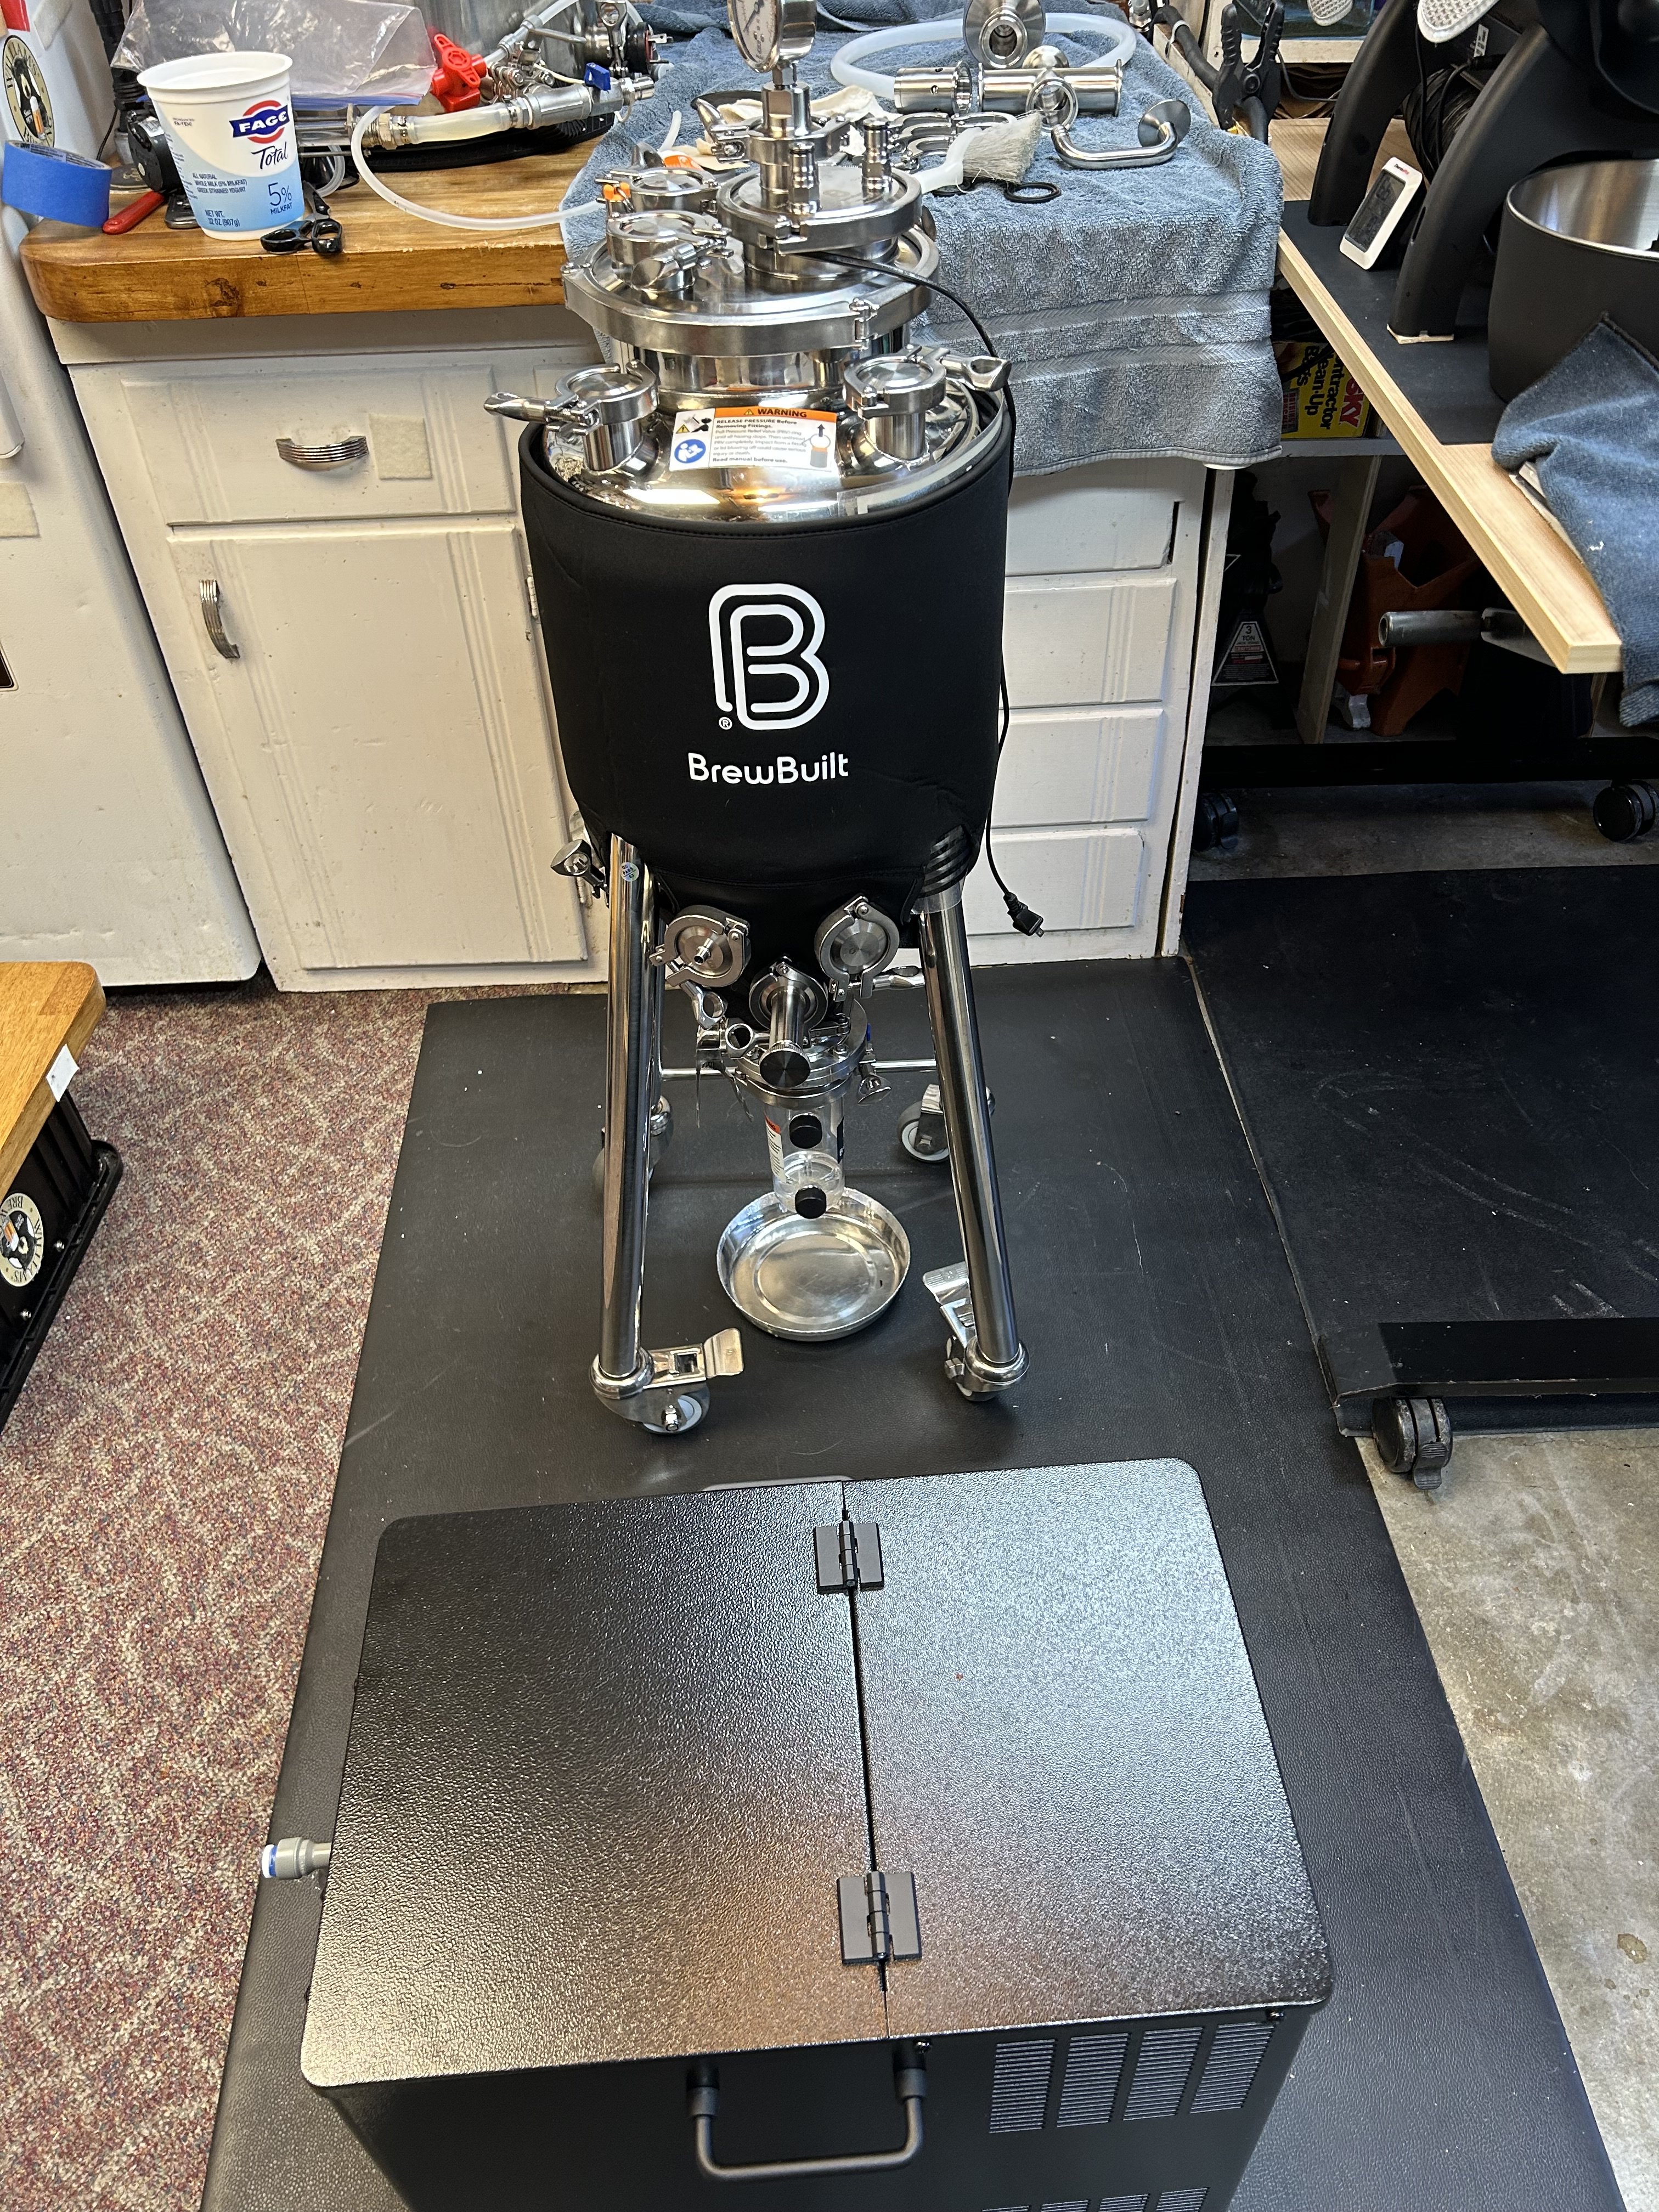
picture just for grins
 

Attachments

  • IMG_6218.jpg
    IMG_6218.jpg
    3.1 MB
For cooling a pump in the glycol should be plugged into the inkbird. For heating, plug your ferm wrap into the same inkbird but the heat outlet. Only one thermowell and probe needed. Congrats on your purchase.
 
I'm not sure if it is just Brewbuilts Max2 and Max4, but some glycol chillers just have temp controllers that work the cooling side. I went with the 100 from Brewbuilt which had no pumps and no temperature controller other than for the glycol reservoir. I put stick on heating wraps and have several different brands/models for heating cooling, all wifi. You could go with a heating stick vs a wrap, not sure of pros and cons. My heating wraps are cone shaped, would that sit below the jacket? I think I've seen a hack possible for the Max2 for adding heating. A second thermowell is an option, but that's already about $20 or so plus a second controller. I'm not sure how the included pump is wired in either to say use a dual heating and cooling controller.
 
You have two options for heating.

1. Push an inkbird temp probe into the thermowell and run the heat wrap off the inkbird heating outlet. Then stuff the Max2 probe in behind that and let it deal with the gylcol cooling. (pro: no modifications needed. con: having to manage temp targets across two different controllers. If you're not careful, they might actually fight by heating and cooling at the same time if you don't set things carefully).

2. Make a simple modification to the MAX2 that will allow the internal controller to handle both heating and cooling. The built in controllers already have heating and cooling functions in the software. It also has both heating and cooling relay contacts but for some completely unknown reason the heating relays have nothing connected. You can run an extension cord into the unit and connect one of the conductors to the relay contacts and boom, heating.
Thanks for the information. Do you have a schematic/connection diagram?
 
My understanding is the icemaster 2 is the same as Kegland G20. Here are the instructions from Kegland, page 10 is a rough drawing https://kegland.com.au/cdn/shop/files/Instruction_Manual_IceMaster_G20.1.pdf?v=11749494607452236454. It's my understanding you have two spade connectors and relay that is either open or closed between them. You hook hot to the in and the out to your heating. Neural and ground do not run through the controller and go directly from the mains to the heat paid, but I am not electrician, so make sure you understand what you are doing before you try any of this. Also here is a youtube video . Haven't tried yet, but this is my understanding of how to use the heating portion on this units.
 
My understanding is the icemaster 2 is the same as Kegland G20. Here are the instructions from Kegland, page 10 is a rough drawing https://kegland.com.au/cdn/shop/files/Instruction_Manual_IceMaster_G20.1.pdf?v=11749494607452236454. It's my understanding you have two spade connectors and relay that is either open or closed between them. You hook hot to the in and the out to your heating. Neural and ground do not run through the controller and go directly from the mains to the heat paid, but I am not electrician, so make sure you understand what you are doing before you try any of this. Also here is a youtube video . Haven't tried yet, but this is my understanding of how to use the heating portion on this units.

Thanks! I’ll take a look. I’m taking it slow, just testing it now, doing a dry run till I understand how it operates, then I’ll work on that. I appreciate the info.
 
When you look on the back of the controllers themselves, you'll see exactly two blade terminals with no connectors on them. That's the heating relay dry contacts. If you run an extension cord in you'd just remove a little of the outer jacket insulation, find the black wire and cut it. Crimp on a socket to each end of the cut black wire and push them on to the blades on the controller. They are interchangeable. In other words, the relay touches the black wires together to energize the heater and when it's arm enough the relay disconnects the hot for a while. You are not stealing power from the Max2 for powering the heaters. That comes in on the extension cord. The controller is just being a switch. You're not even forced to make any mods to the unit itself unless you drill holes (not needed)

1753850886131.png
 
When you look on the back of the controllers themselves, you'll see exactly two blade terminals with no connectors on them. That's the heating relay dry contacts. If you run an extension cord in you'd just remove a little of the outer jacket insulation, find the black wire and cut it. Crimp on a socket to each end of the cut black wire and push them on to the blades on the controller. They are interchangeable. In other words, the relay touches the black wires together to energize the heater and when it's arm enough the relay disconnects the hot for a while. You are not stealing power from the Max2 for powering the heaters. That comes in on the extension cord. The controller is just being a switch. You're not even forced to make any mods to the unit itself unless you drill holes (not needed)

View attachment 881127
Hi Bobby,
Thanks for the info. I may tackle this after I get a chance to use it a bit.
Happy trails brewing member posted a link to a YouTube video and Kegland's wiring diagram. Have you seen either of them?
Thanks again for everything. I might brew something later this week with my new toys.
 
OK, now I am remembering a little more. These Brewbuilt and Kegland glycol chillers are built in China. The Max2 (Brewbuilt) and G20. (Kegland) have similar base glycol units as do the Max4, 100 (Brewbuilt) and G40. (Kegland) units. I don't know the exact relationship of Kegland and Brewbuilt in the supply chain here, (parent or sibling) but Kegland sells these for use as "ice banks" which is just like a jockey box except they get used in bars and restaurants. The glycol and compressor unit is an upgrade over ice. Apparently an ice bank is a common serving method there, so the heating part of the controller is more along the lines of an afterthought or included because it was built into the controller component already. Those boxy heating cooling temperature controllers are pretty cheap to buy. I would guess that the lion's share of these are sold primarily for serving and for homebrewing second.

My unit, the 100, is sold as a G40.something and has 10 ports. Eight are for beer in and out through coils and one pair to provide cooling to a flooded font. The coils aren't added in but the ports are still grouped for beer and separately for the flooded font but unlabelled as they normally are for the G40. It was baffling at first as to why there were 10 ports when the unit has the same dimensions as the Max4, which is set up for 4 fermenters. I have considered running a line to my keezer bar but it would be a very awkward and difficult run.
 
Hi Bobby,
Thanks for the info. I may tackle this after I get a chance to use it a bit.
Happy trails brewing member posted a link to a YouTube video and Kegland's wiring diagram. Have you seen either of them?
Thanks again for everything. I might brew something later this week with my new toys.

Nothing wrong with the way the guy in the video did it. I've done the conversion 10 different ways. I've cut the square holes for mounted outlets, it's just a major pain. I've also just run a cord in and a cord out basically an extension cord folded in half where the fold is right at the back of the controller where I cut it open and put the terminals on to the black conductor.
 
If I was going to do the mod, I would run a cord in to bring power to both controllers and two cords out one for each heater and make all the connections inside the chiller. I wouldn’t go through the effort to make holes for the outlets. It looks nice if done correctly, but easy to do wrong and make it look messy, and extra work to do either way. Just make sure any wire and connectors are rated for the heaters you are running. Meaning if run power in to both controllers with one wire, the wire needs to be able to carry the amp draw if both controllers were heating at the same time. This will change based on the heater being used, so build some extra in incase you change later. Again, I’m no electrician, so either you need to know what you are doing, or consult with someone that does to ensure you don’t create something unsafe, and could burn your house down.
 
Back
Top