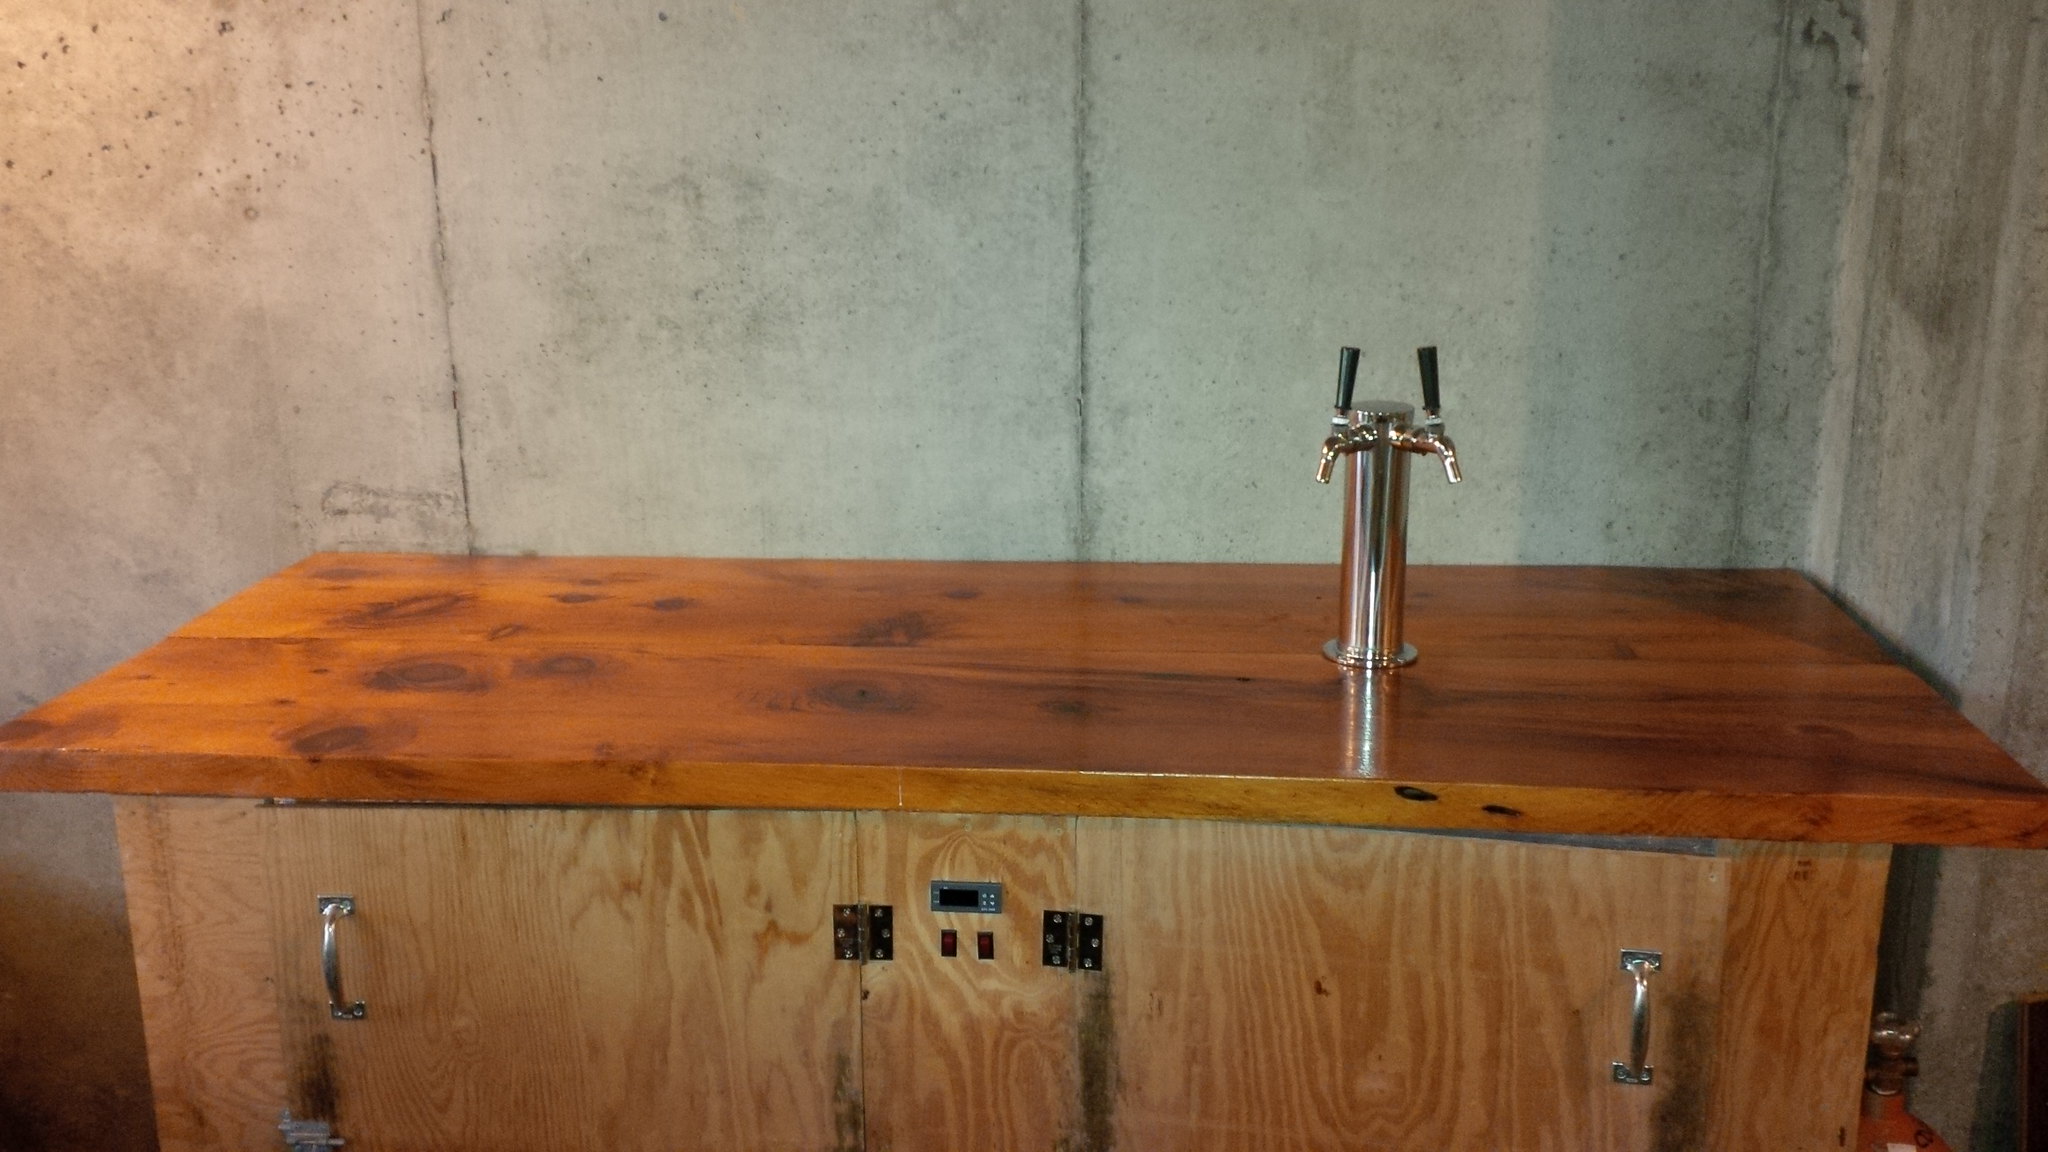
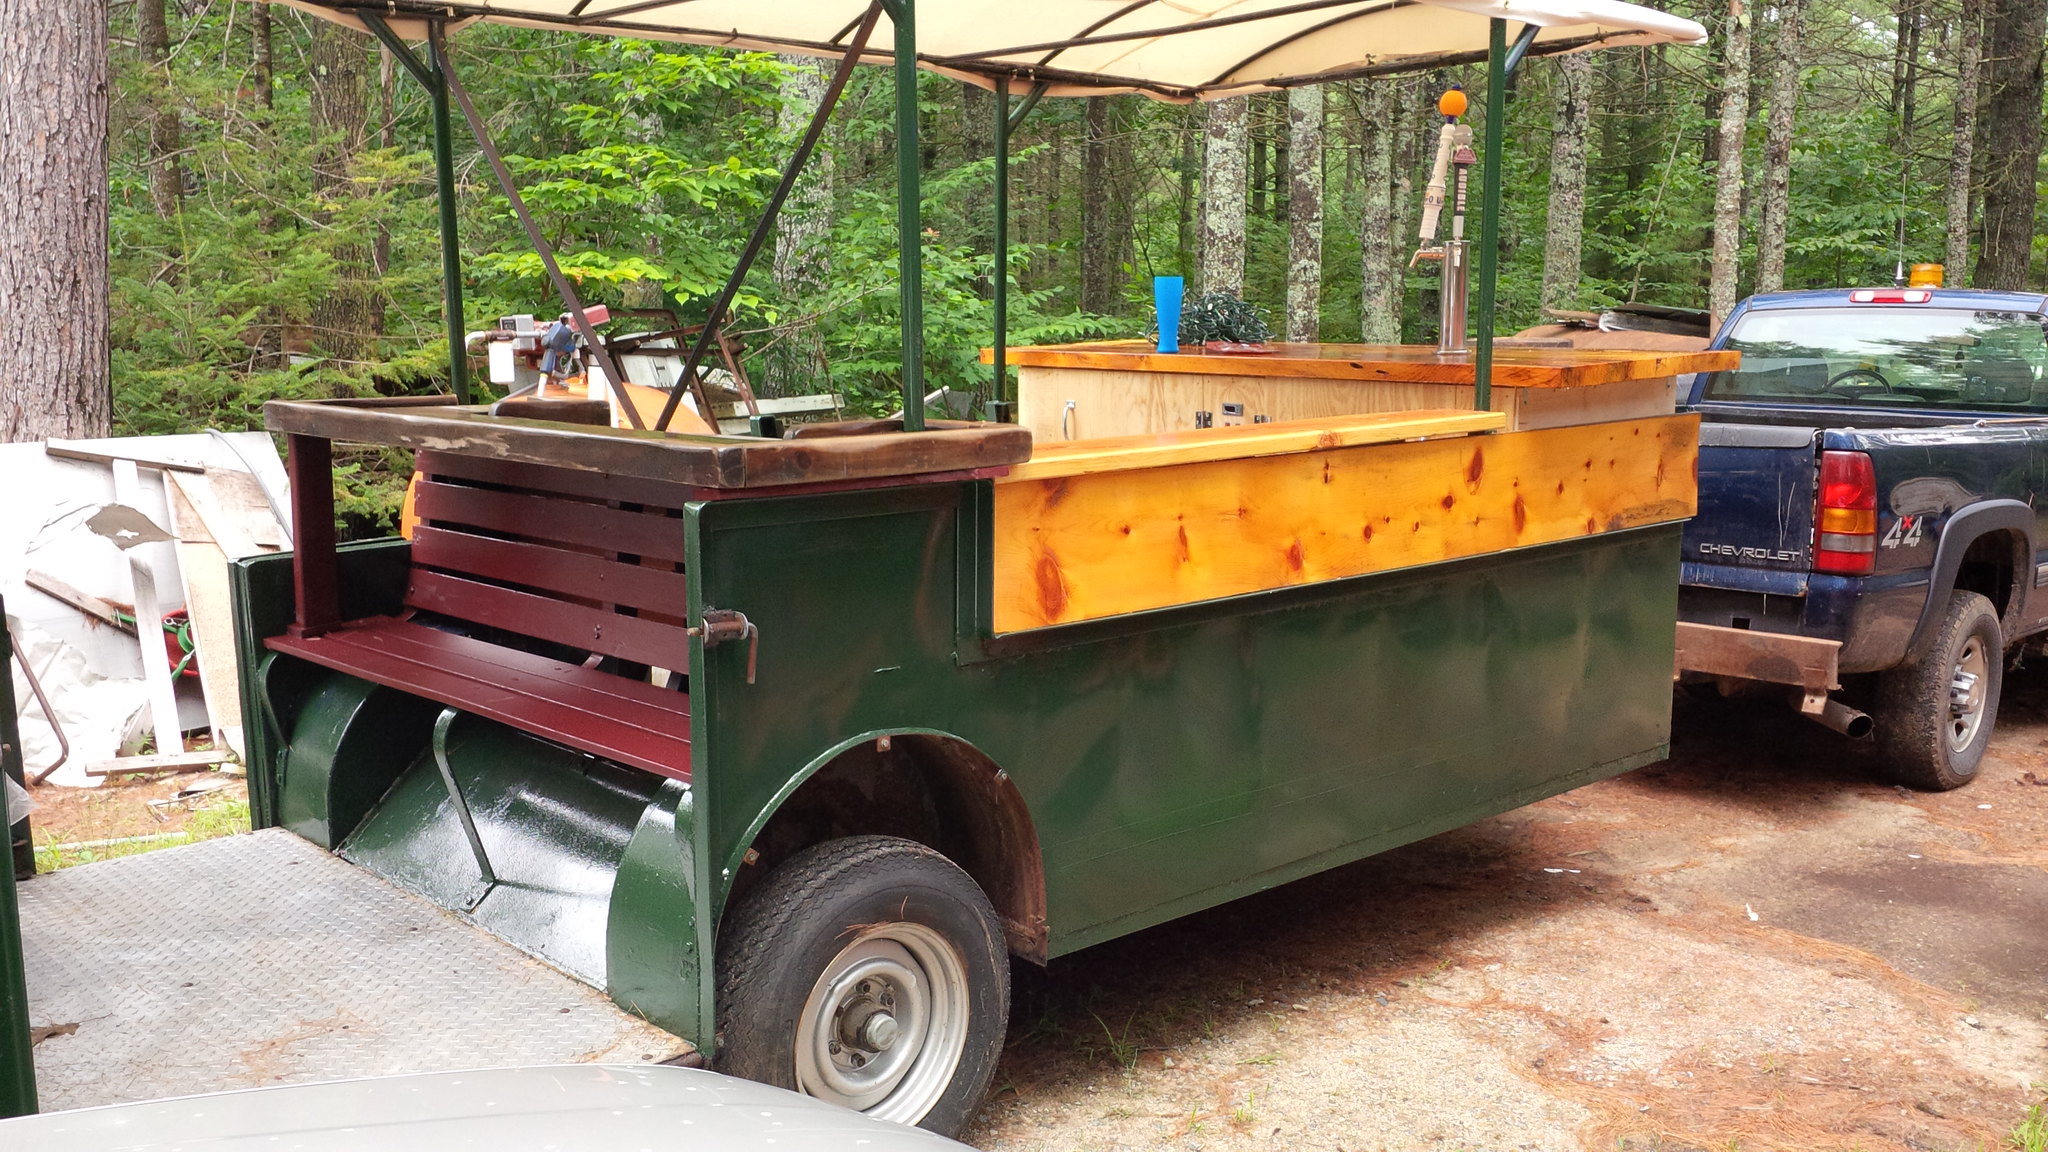
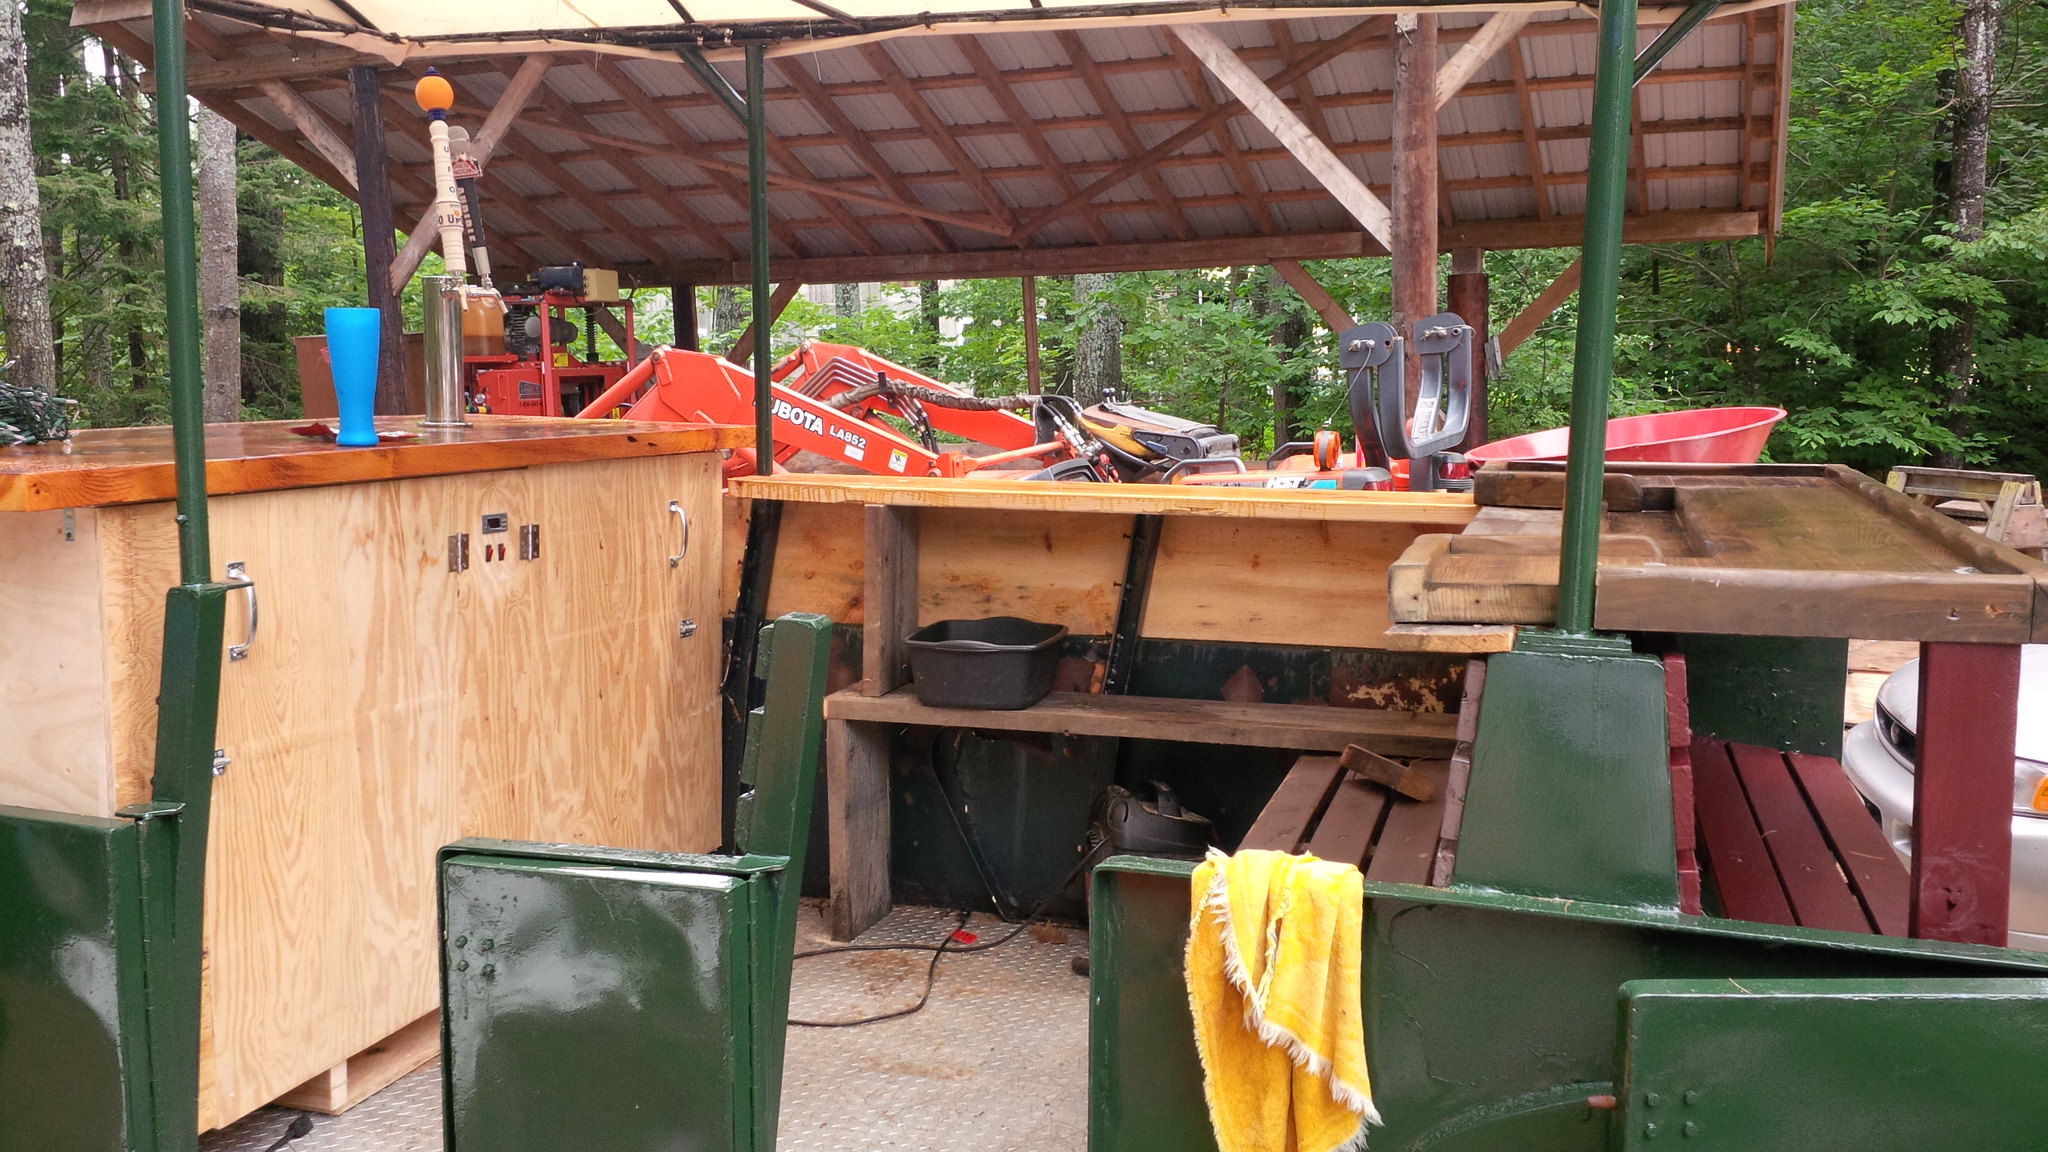
Well I posted the finished (for the moment) picture in the show us your kegerator thread and said that I would post some build pictures in a new thread so here they are. As it turns out once I got into the project I did not take nearly as many pictures as I intended to so if anyone has any questions about seemingly missing steps I will do my best to answer them. Here's the link to the full album since I did not include all the pictures I had. (https://flic.kr/s/aHsjZ73vxa)
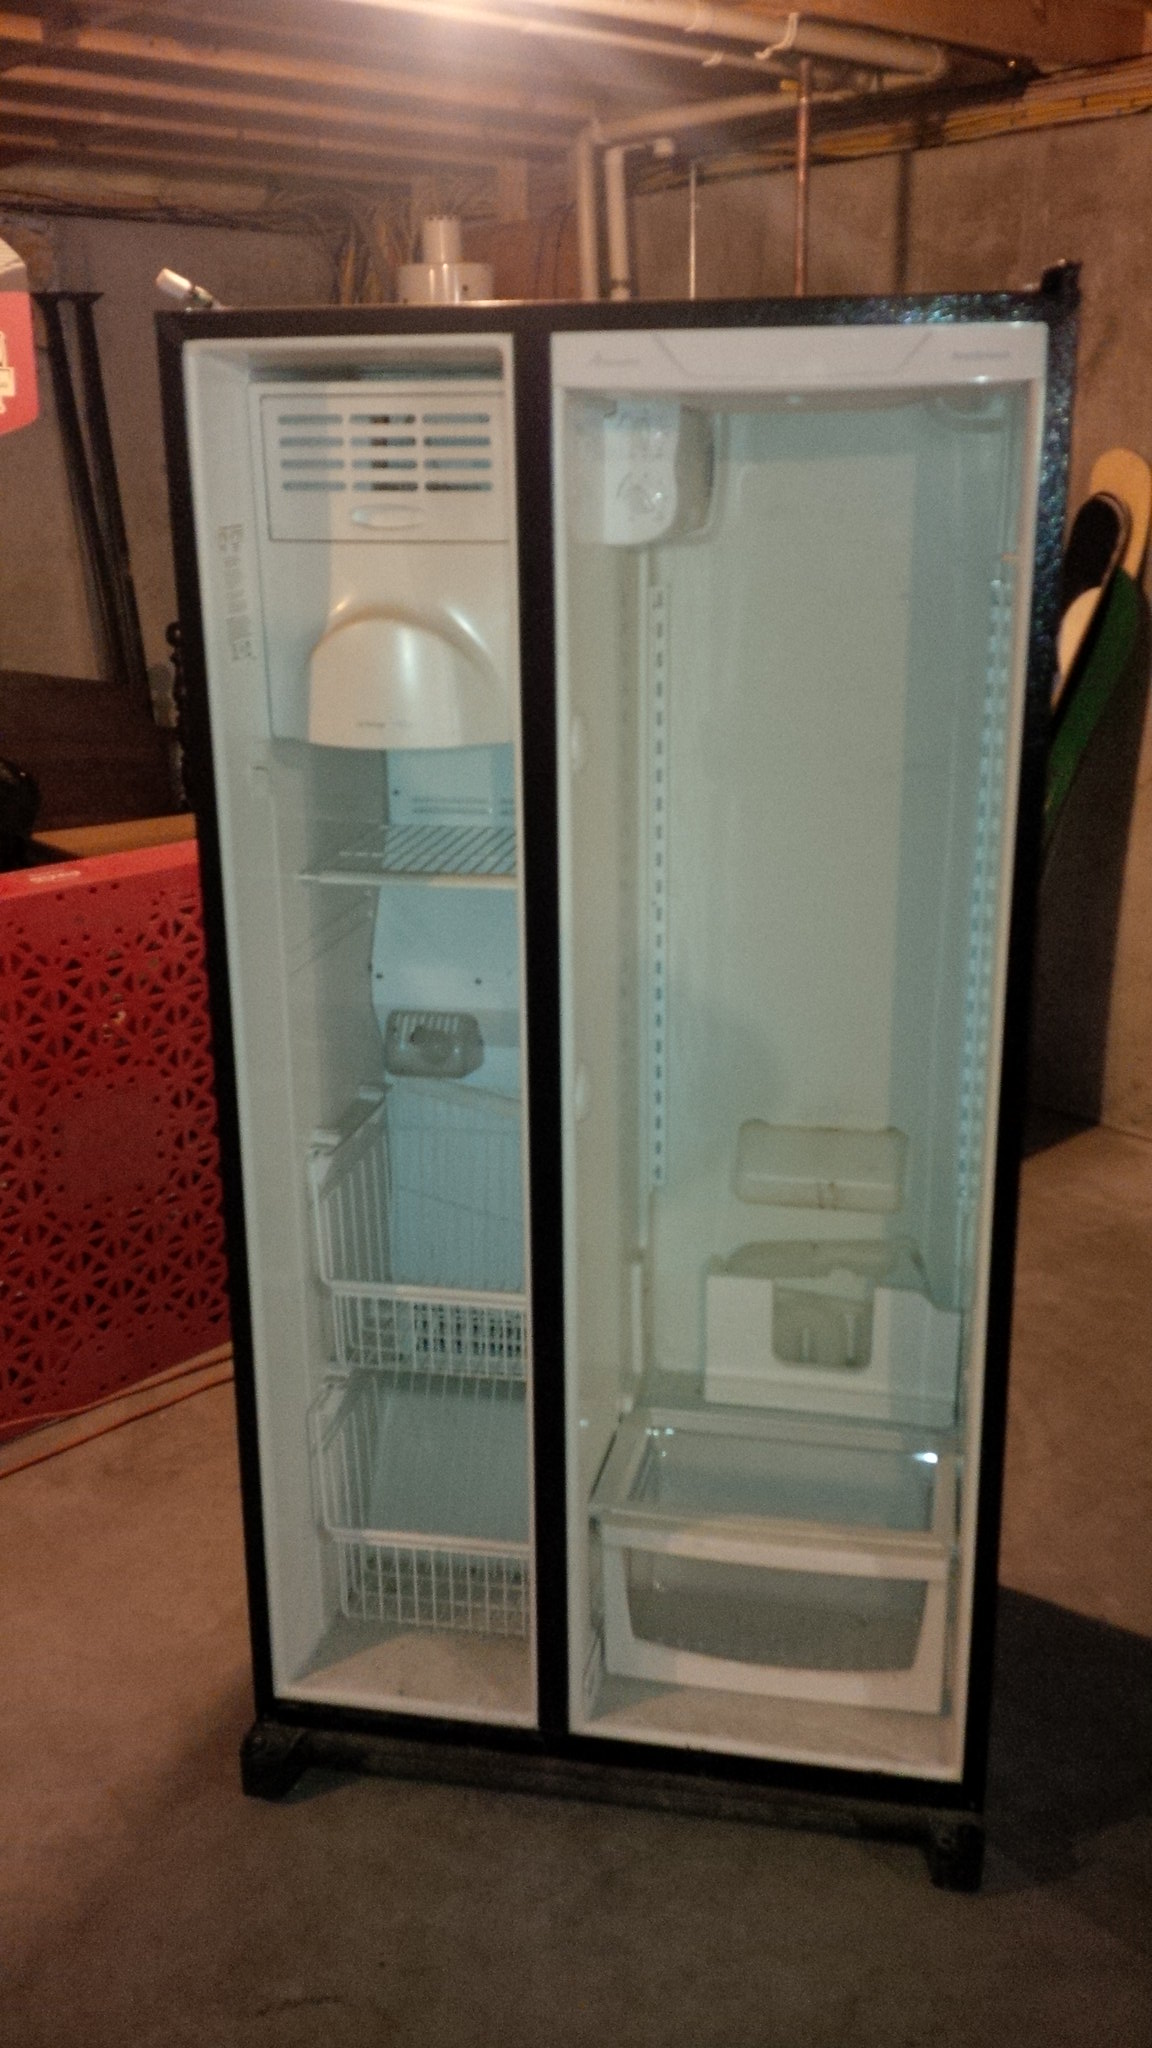
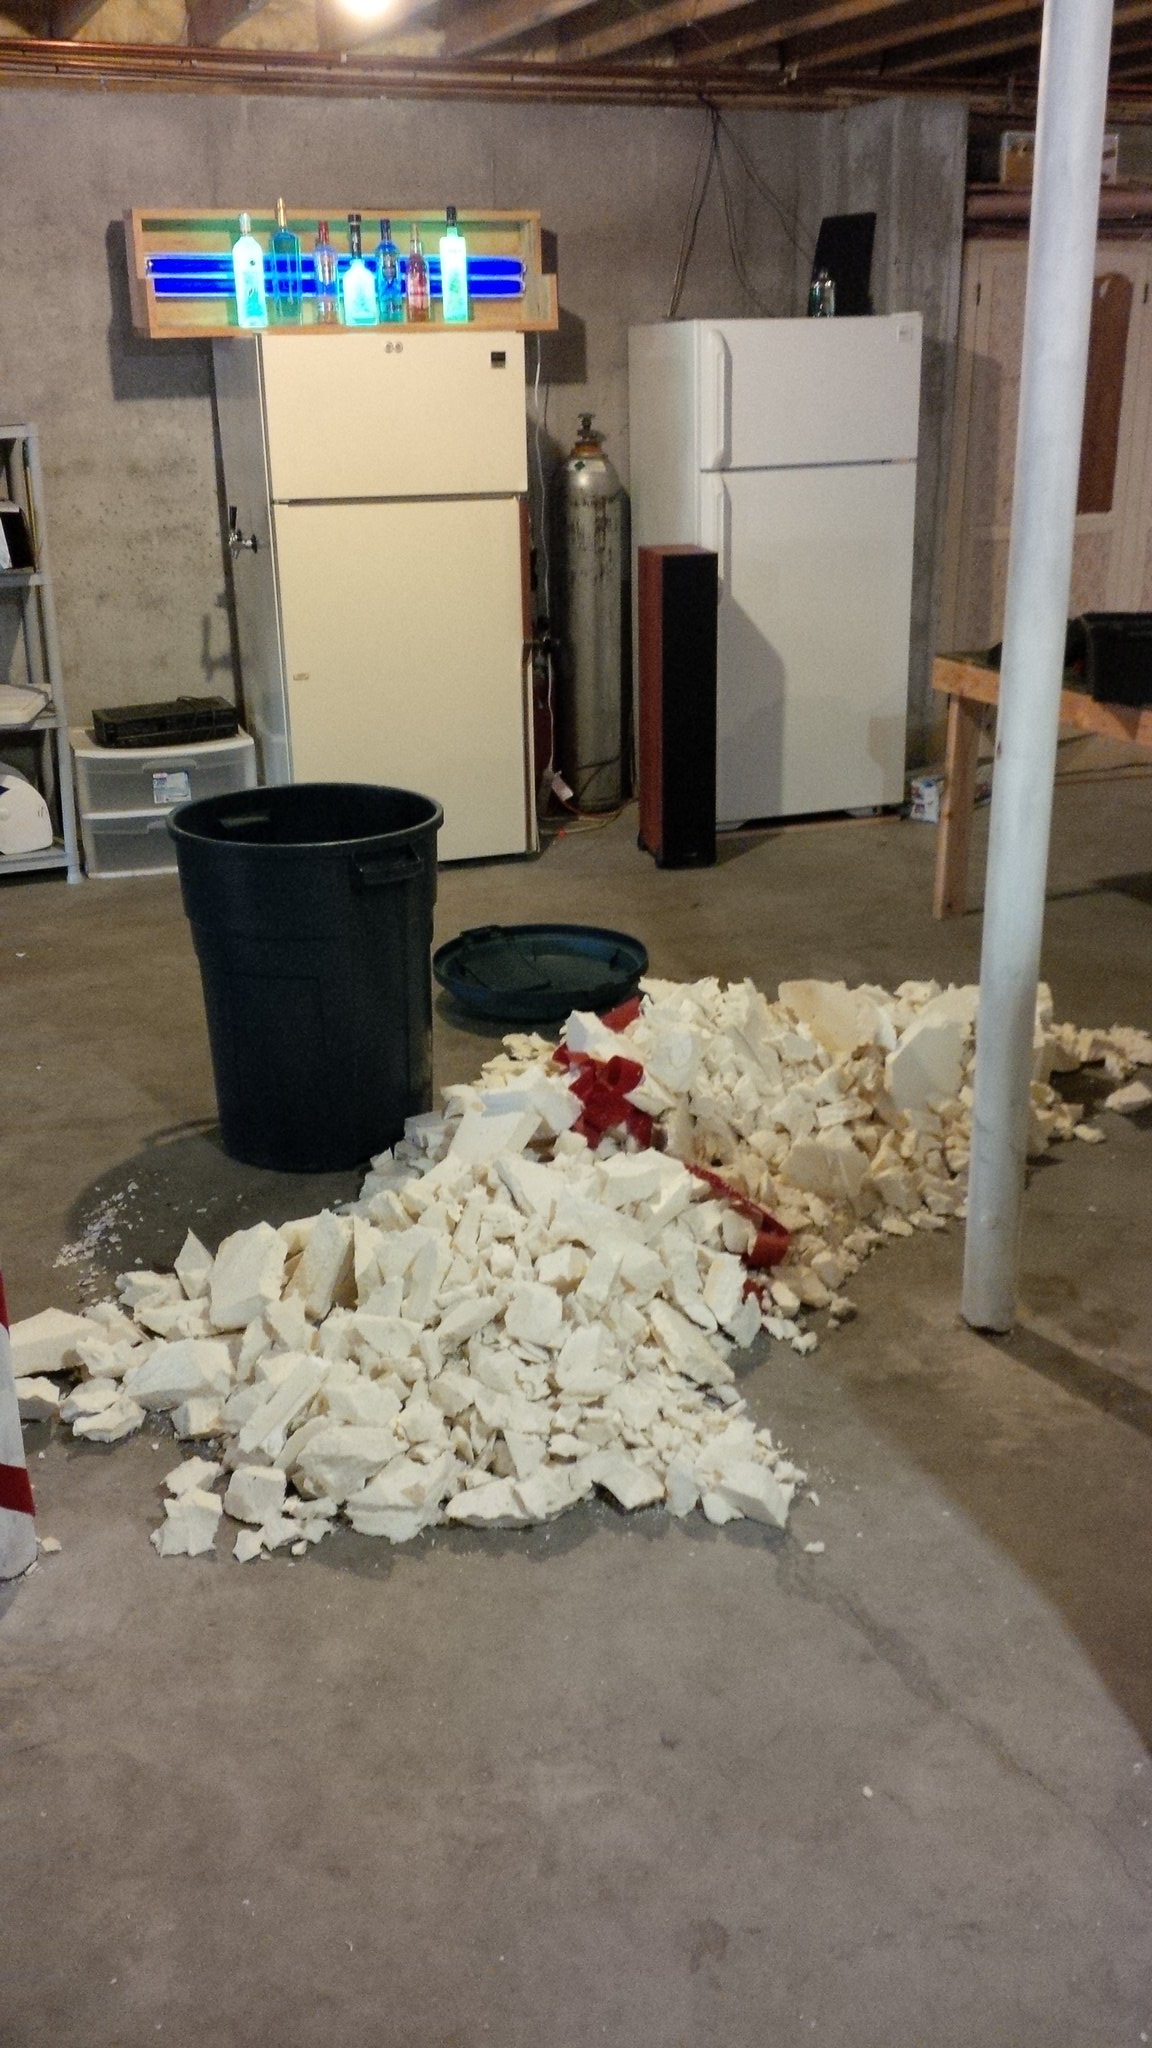
So first things first, I had this refrigerator sitting in my basement. The previous owner had been foreclosed on and decided to take the doors with him but leave the rest of the refrigerator...
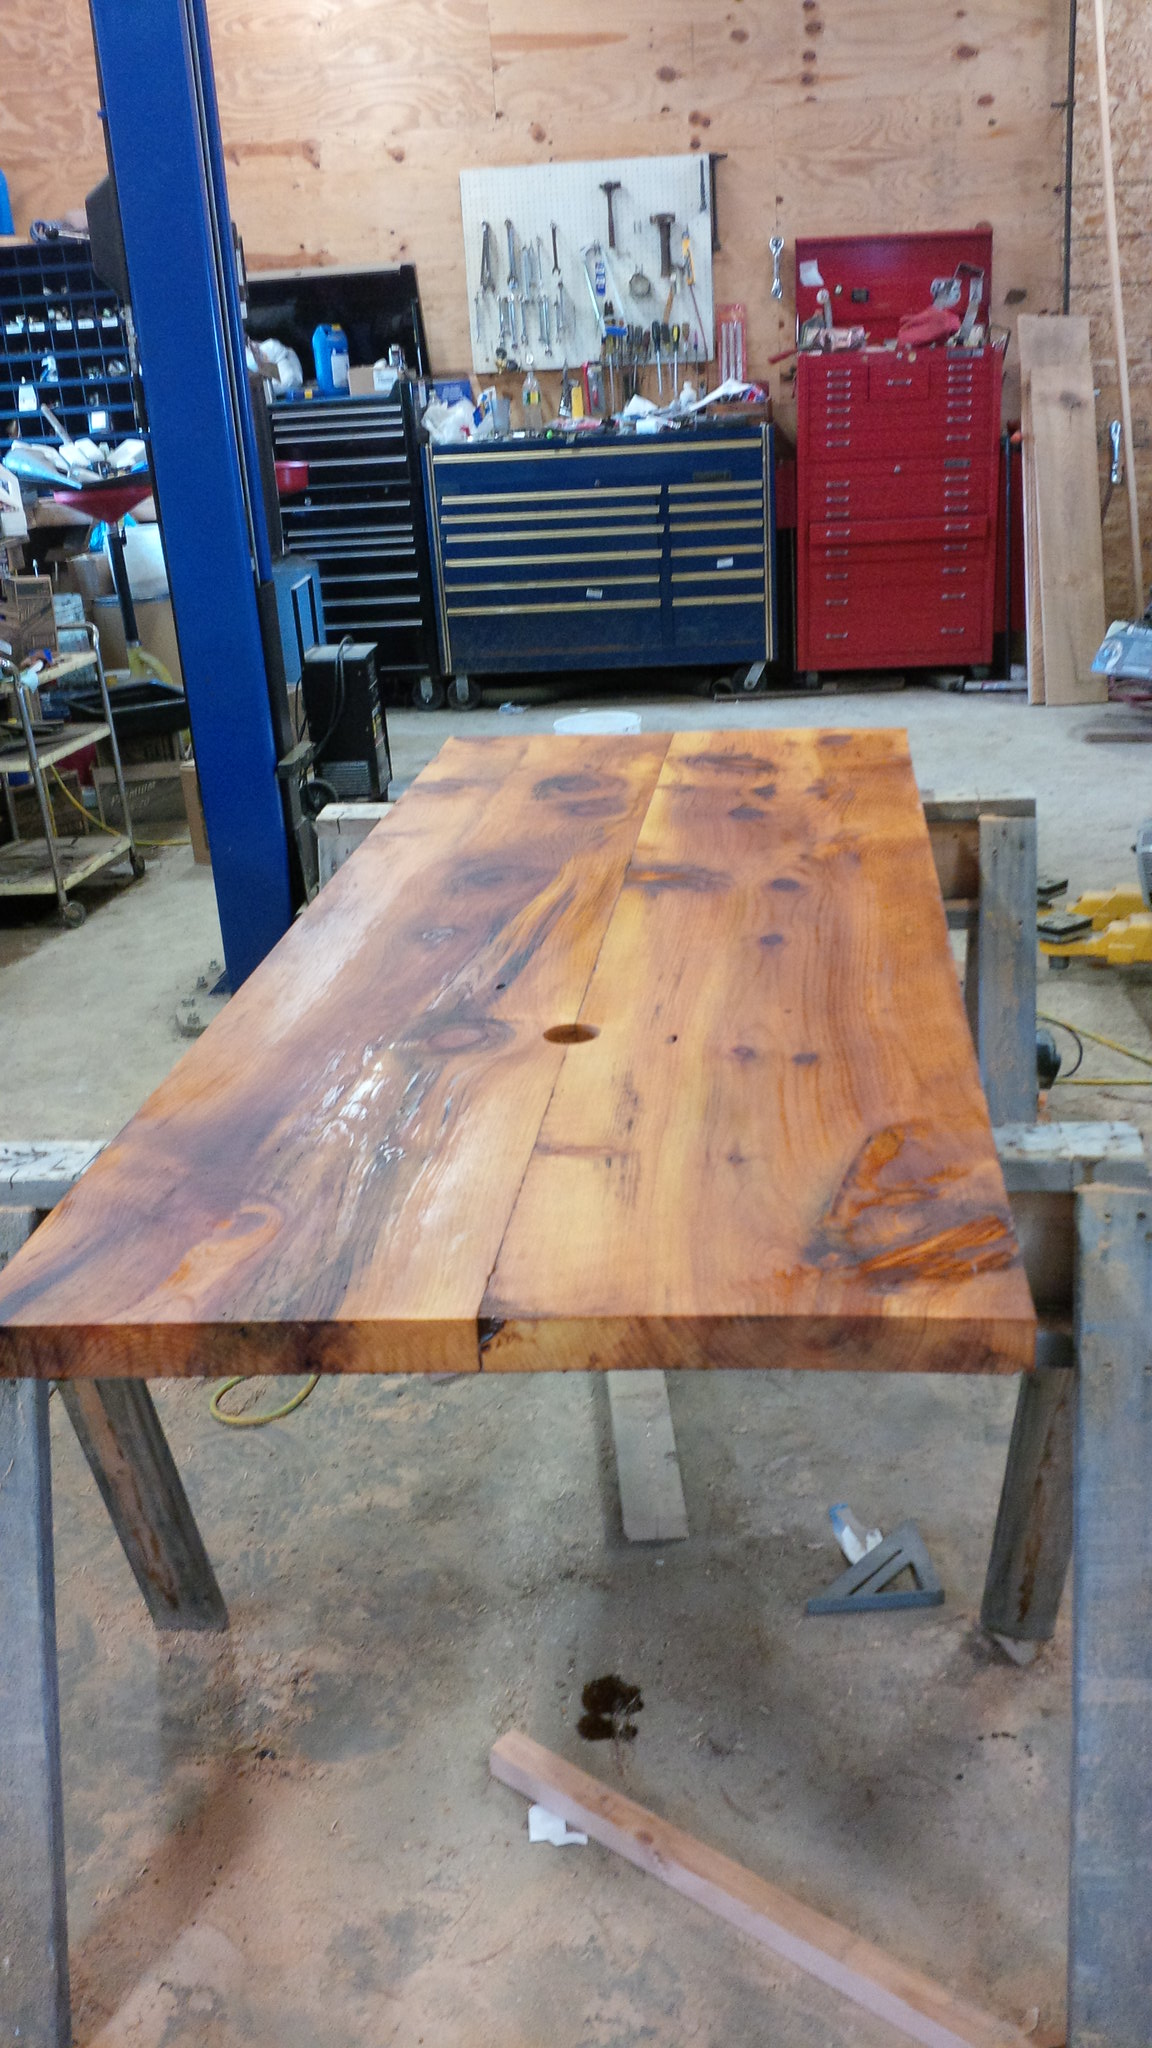
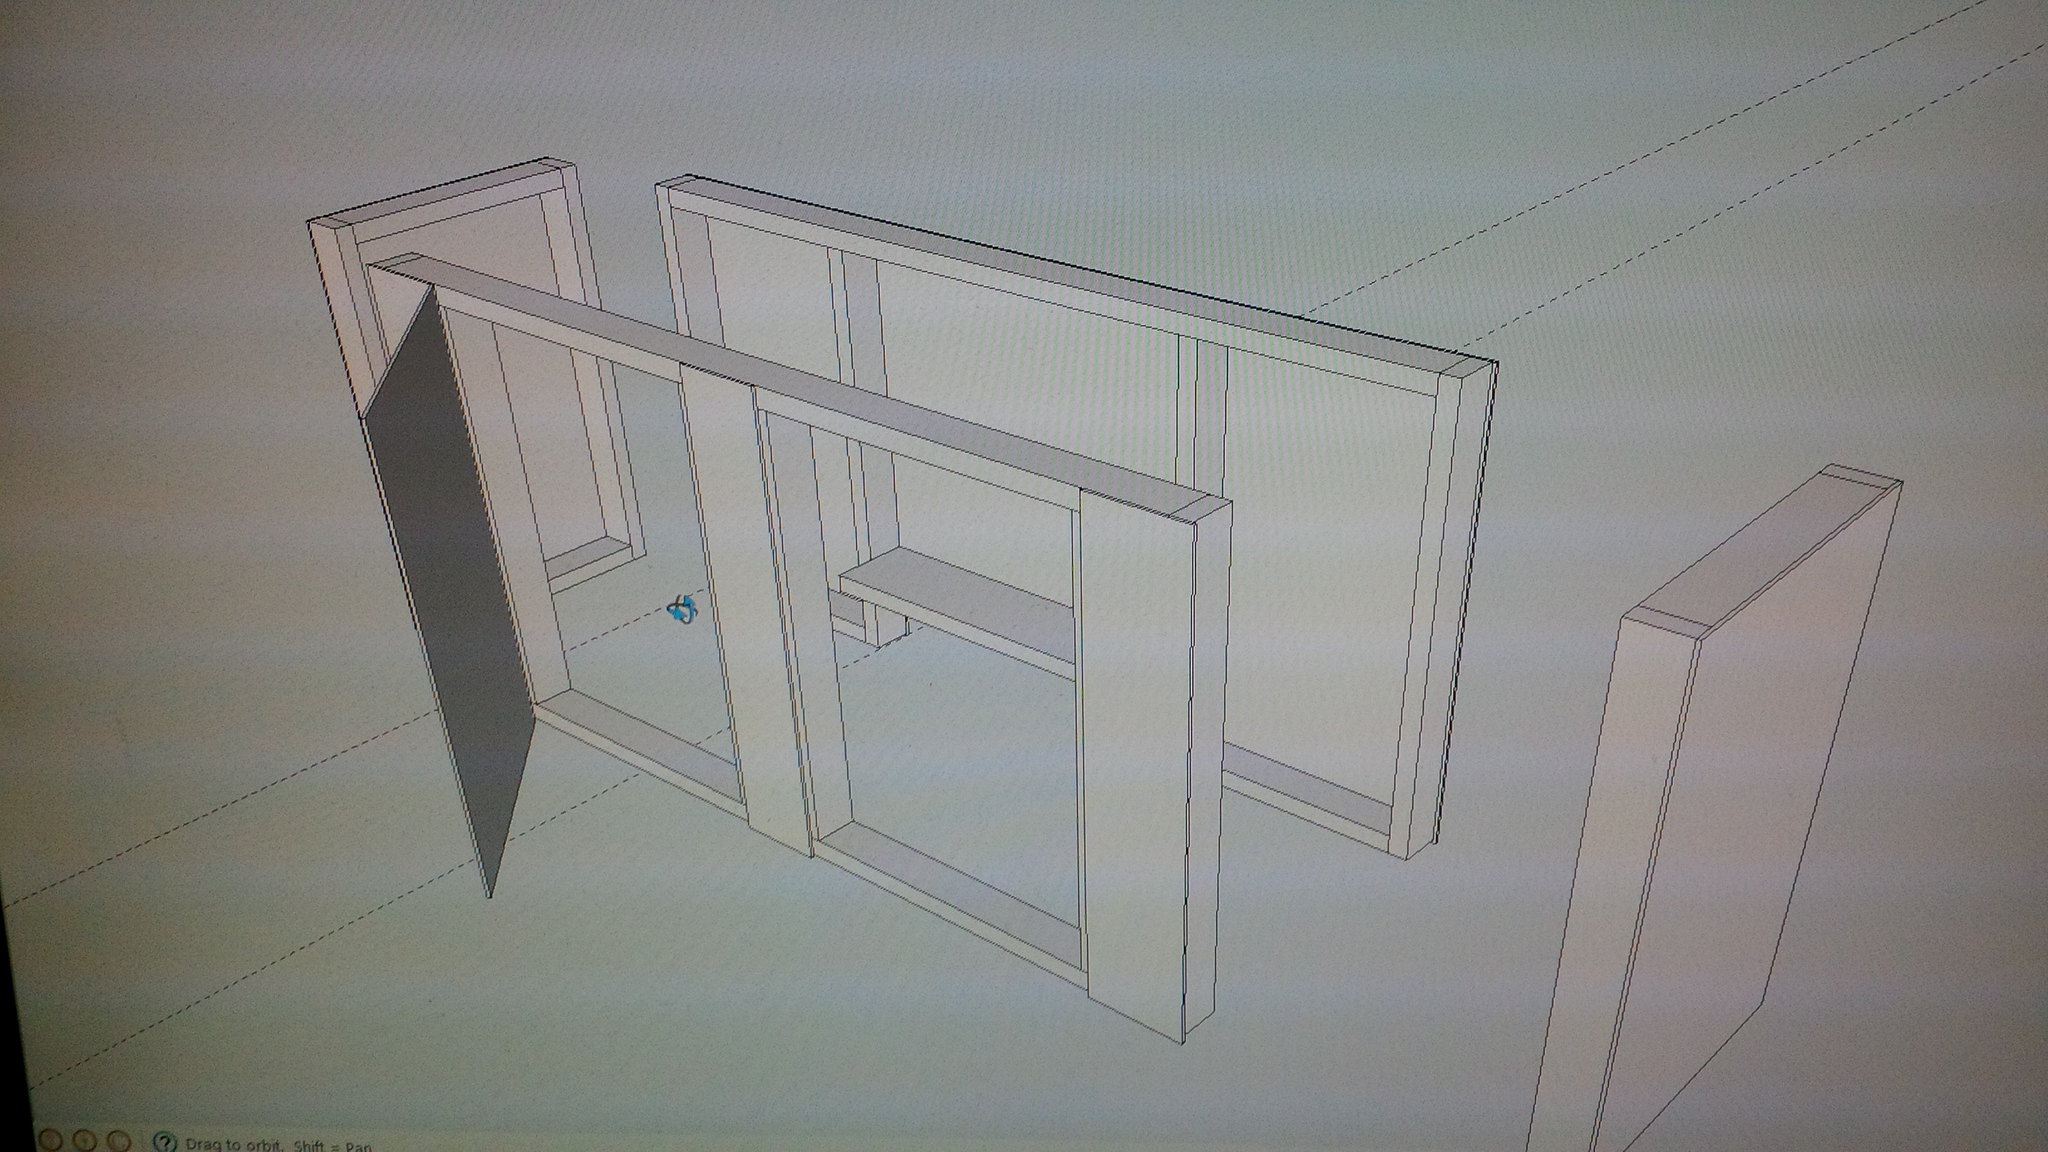
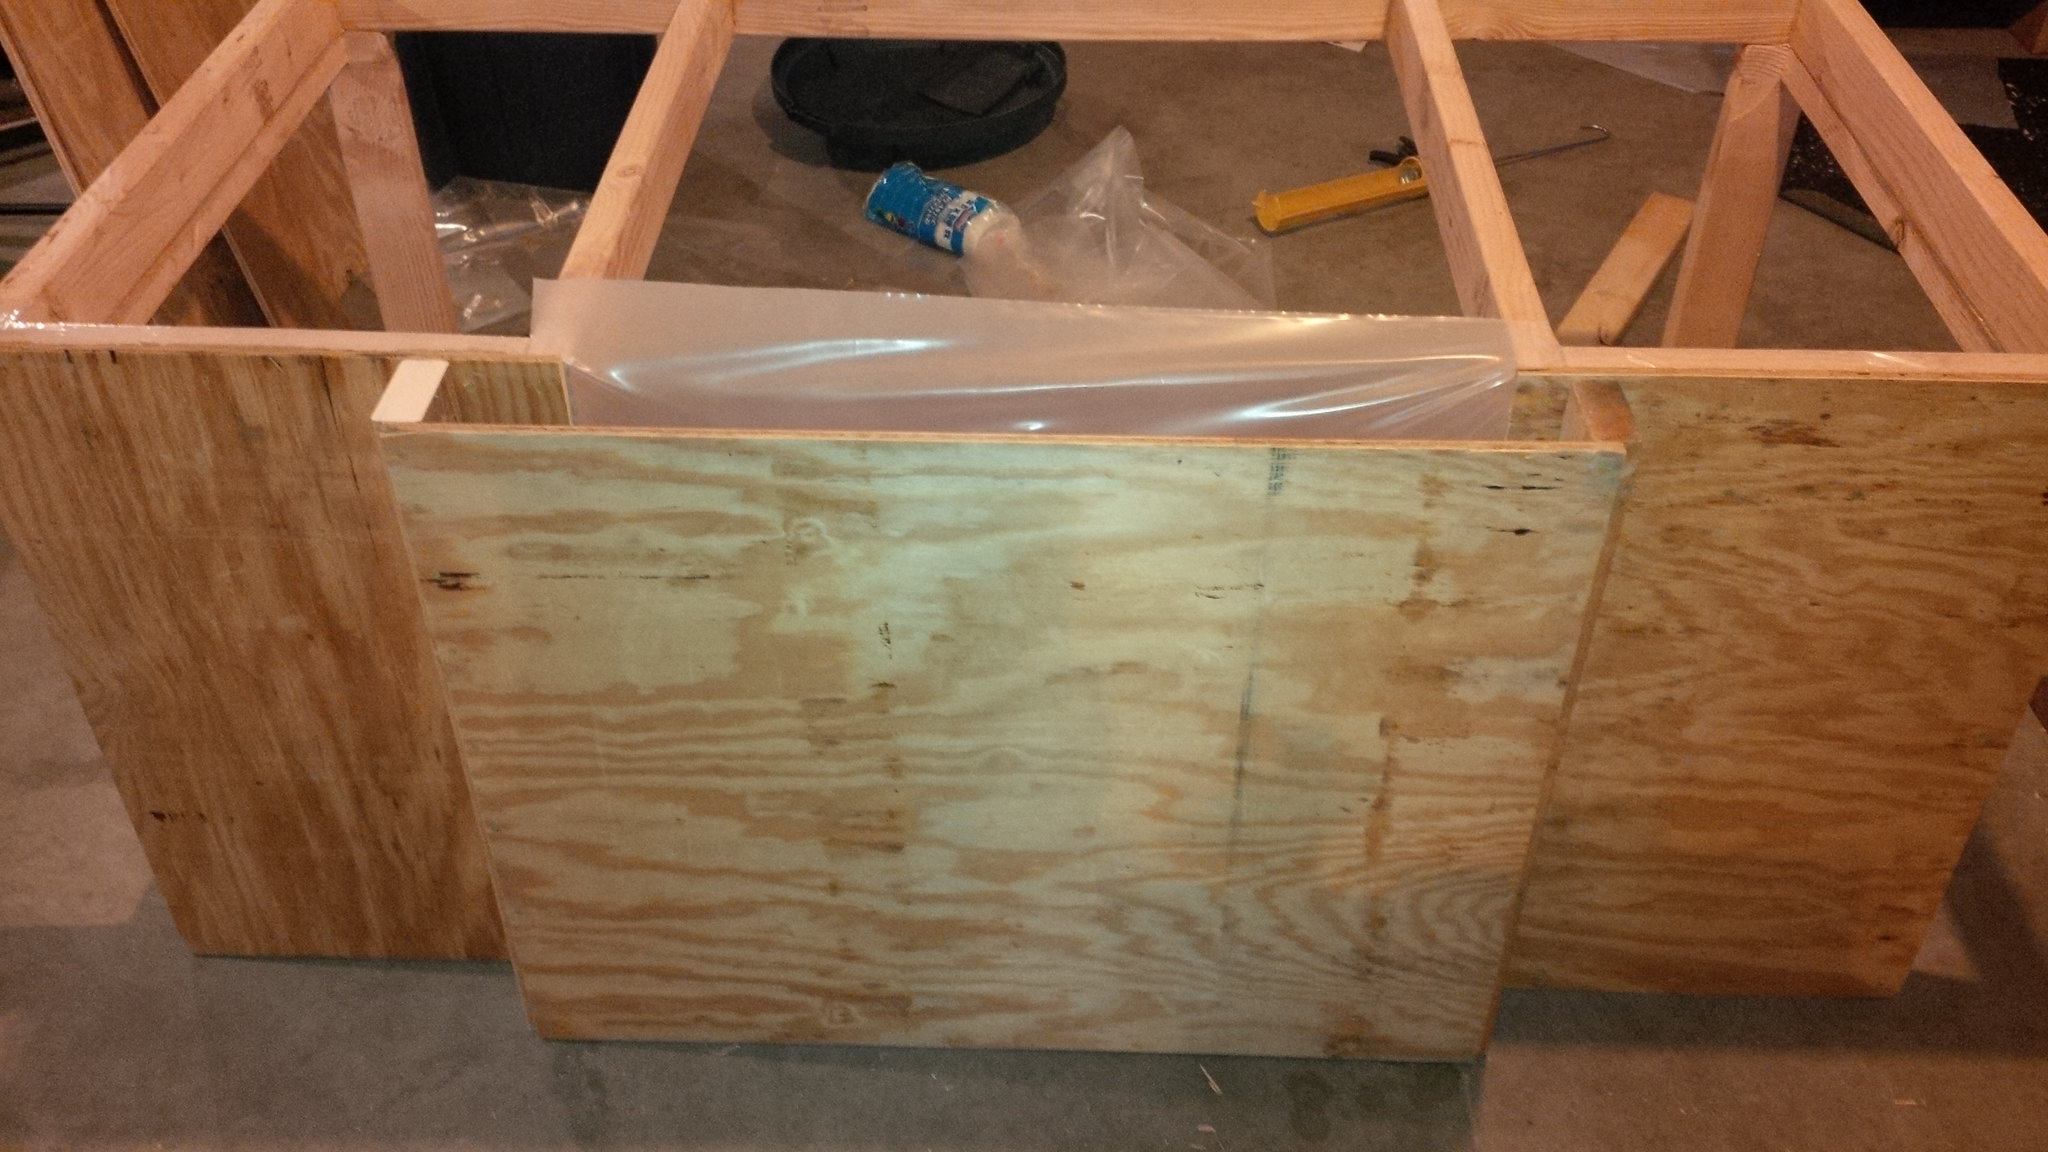
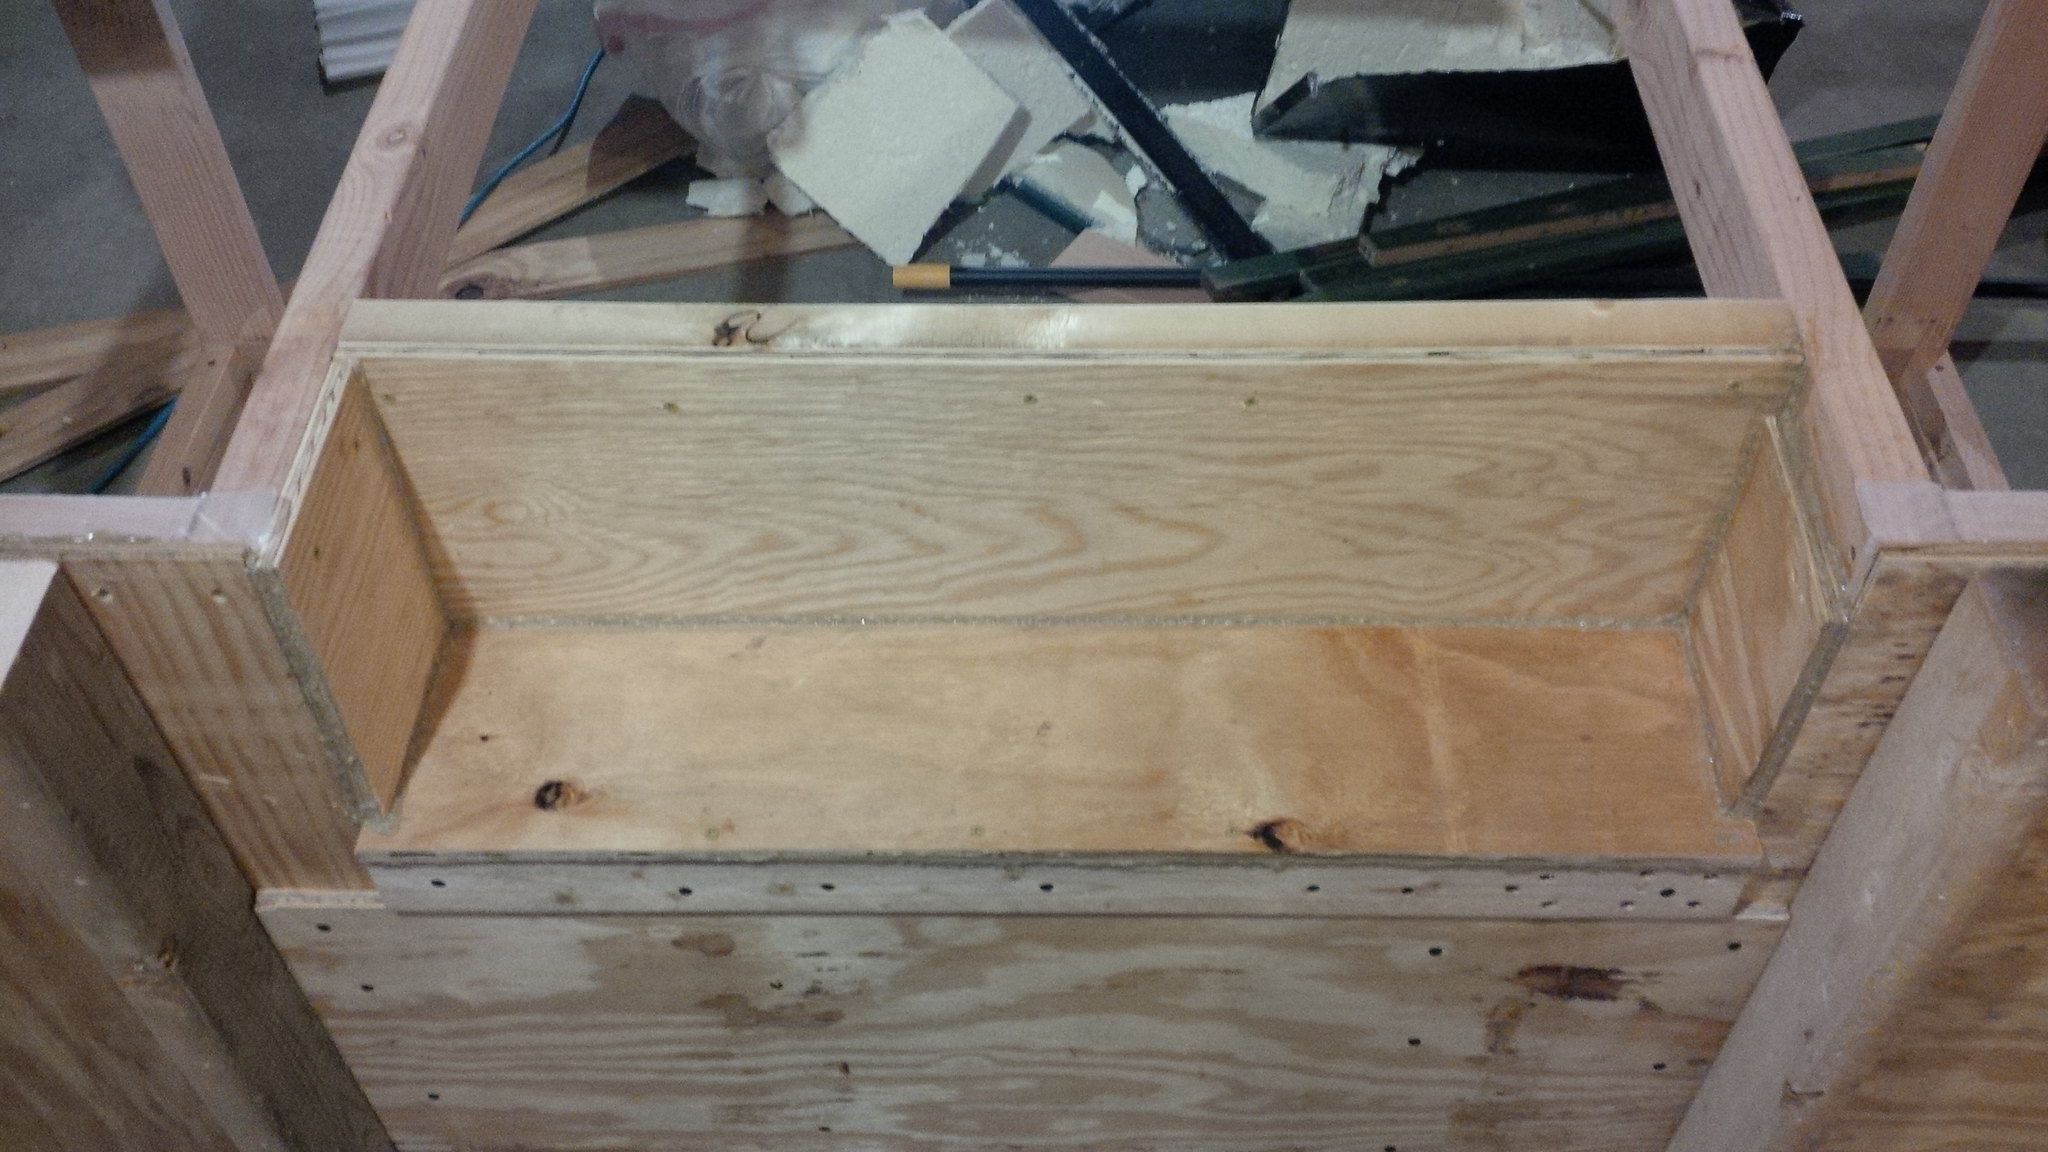
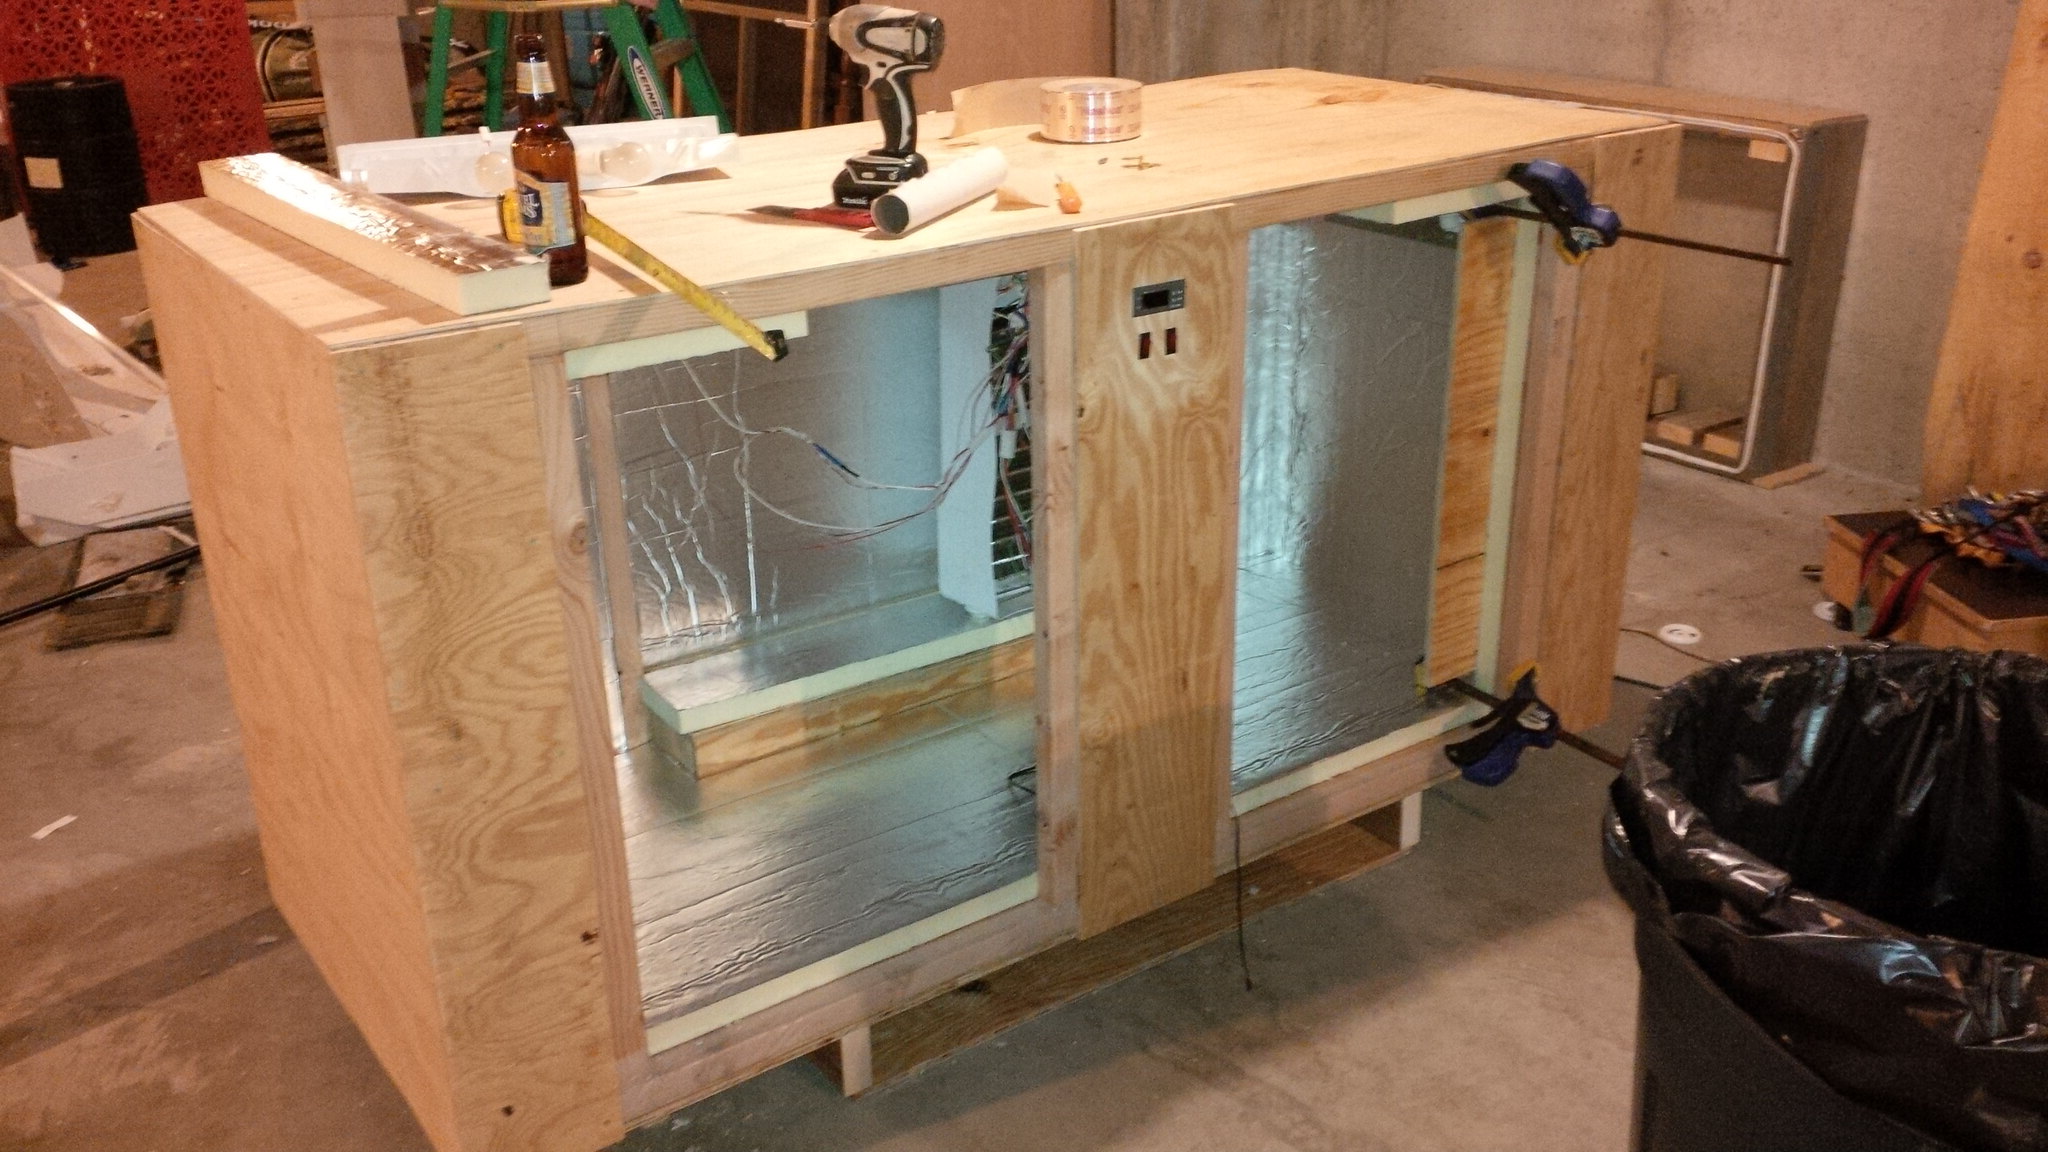
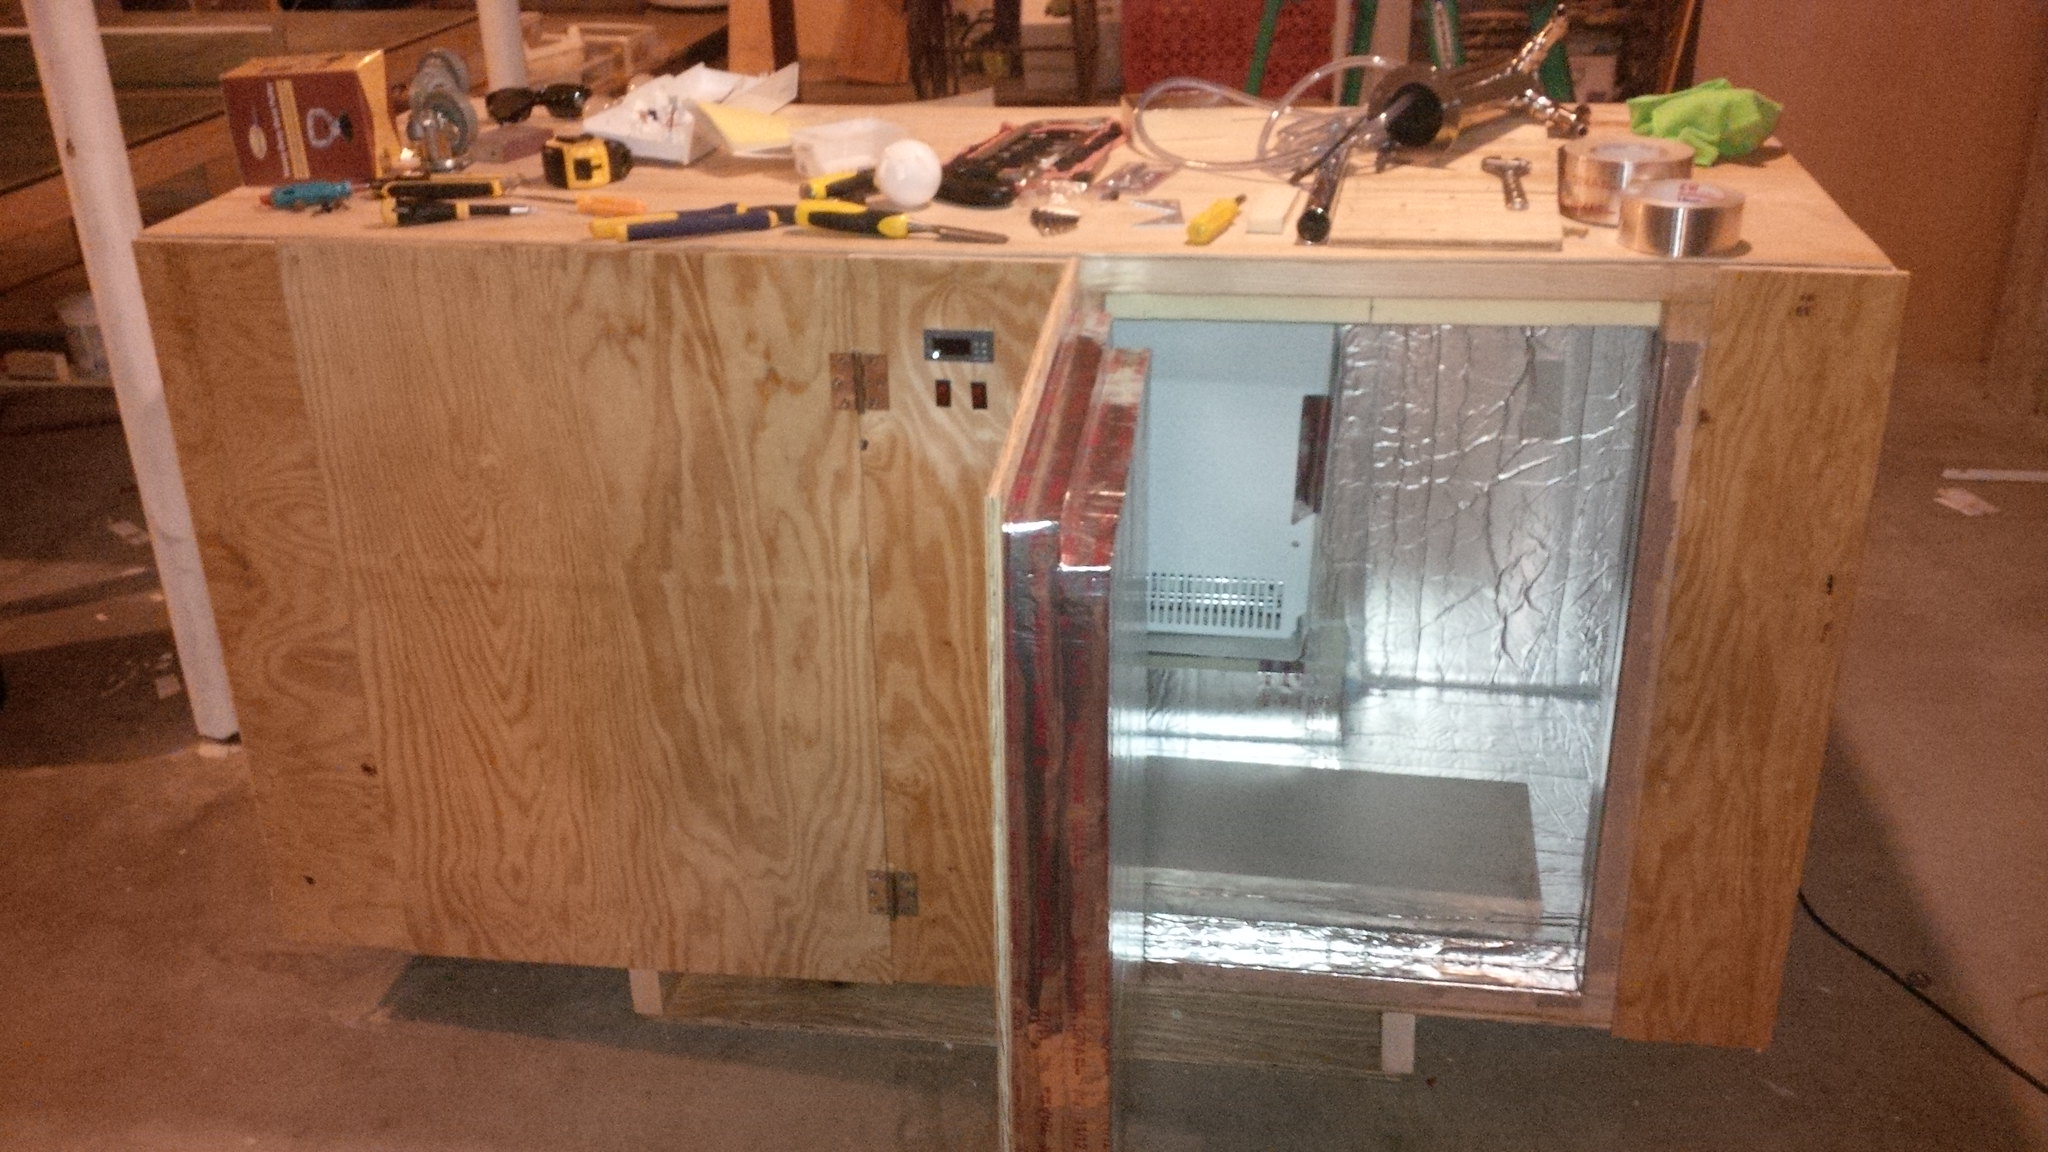
I had been playing around with design ideas and although I had seen the side by side kegerator builds I wanted something that functioned a bit more like a bar. Something more along the lines of this (somewhat exploded view)
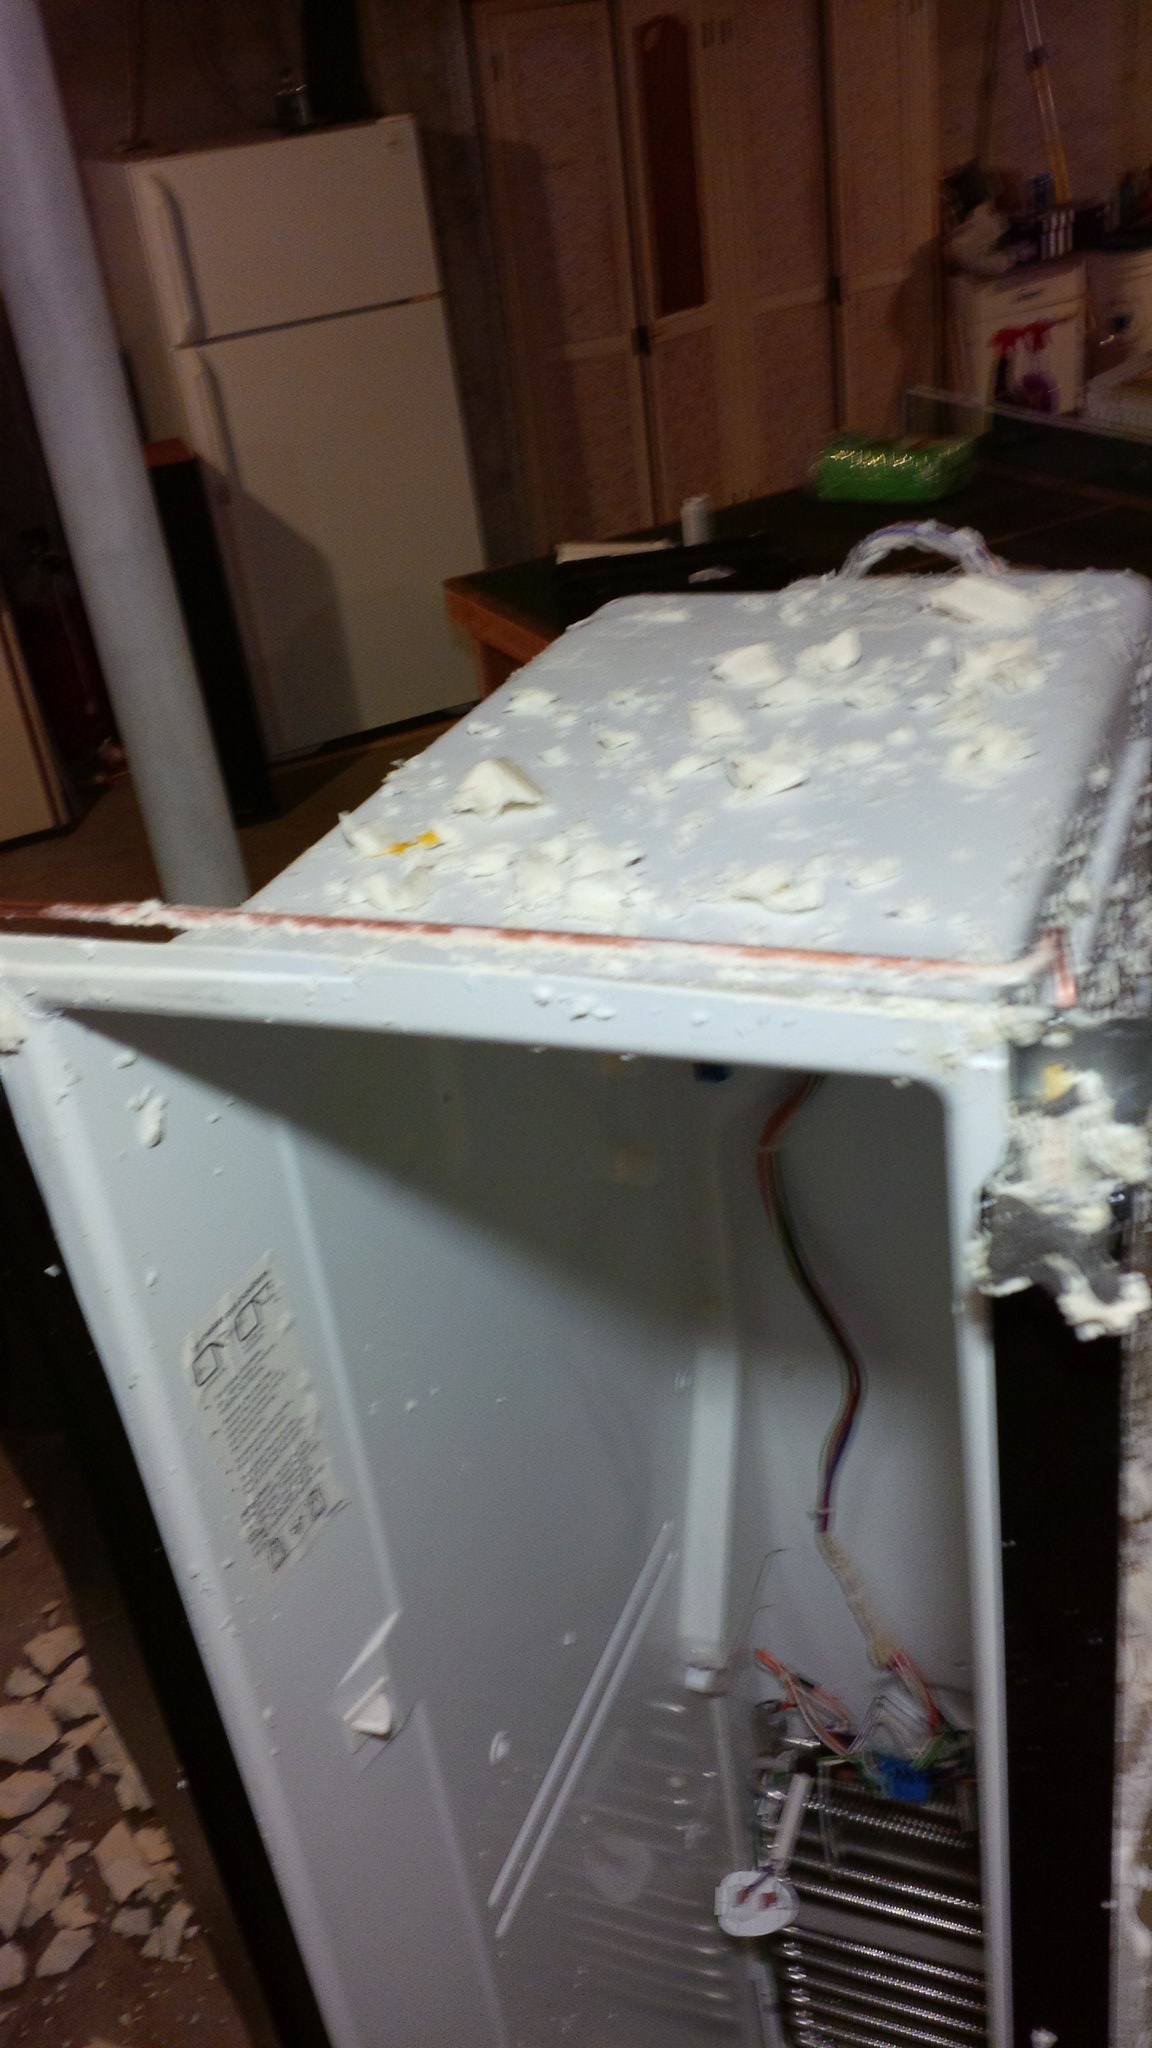
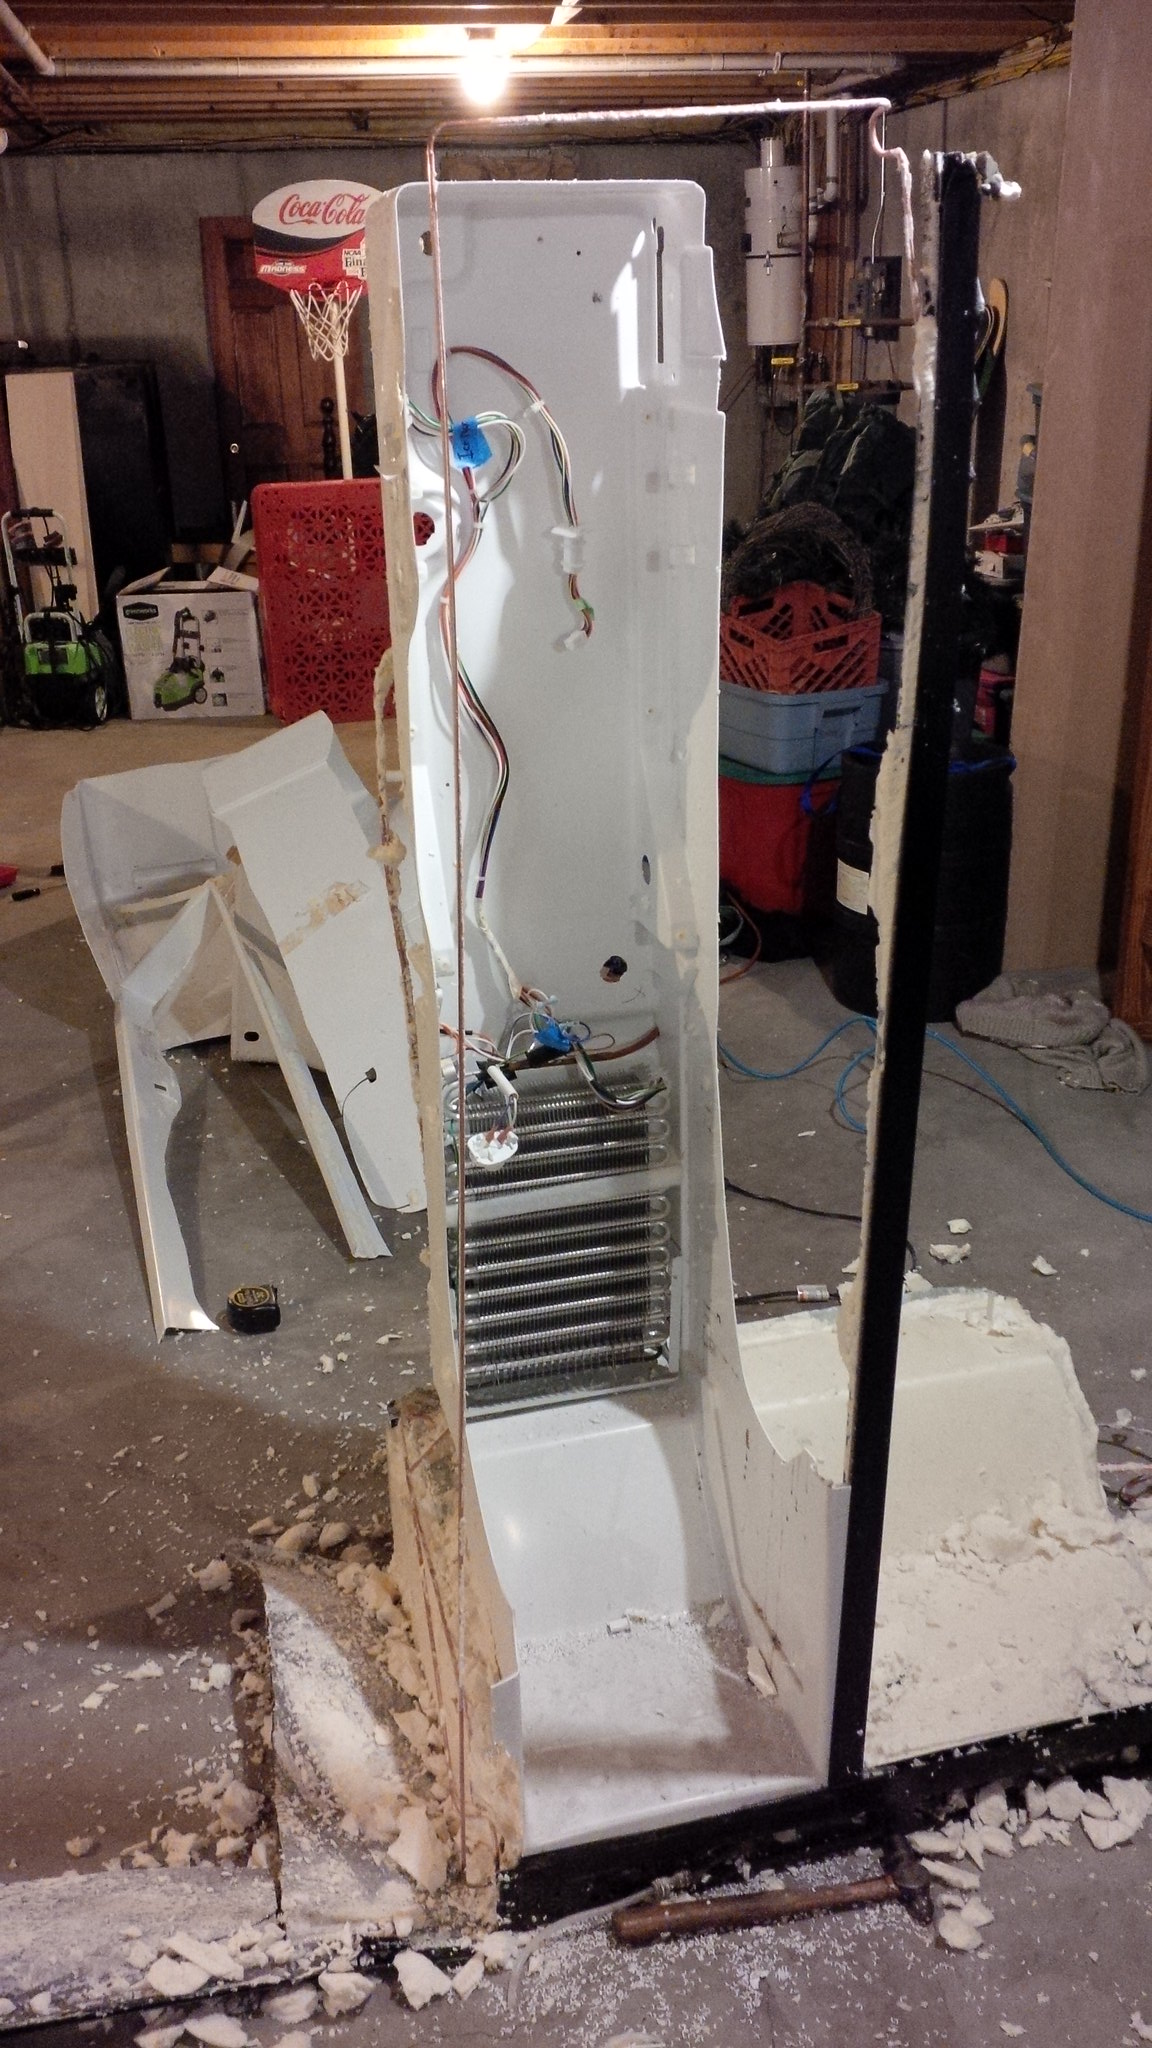
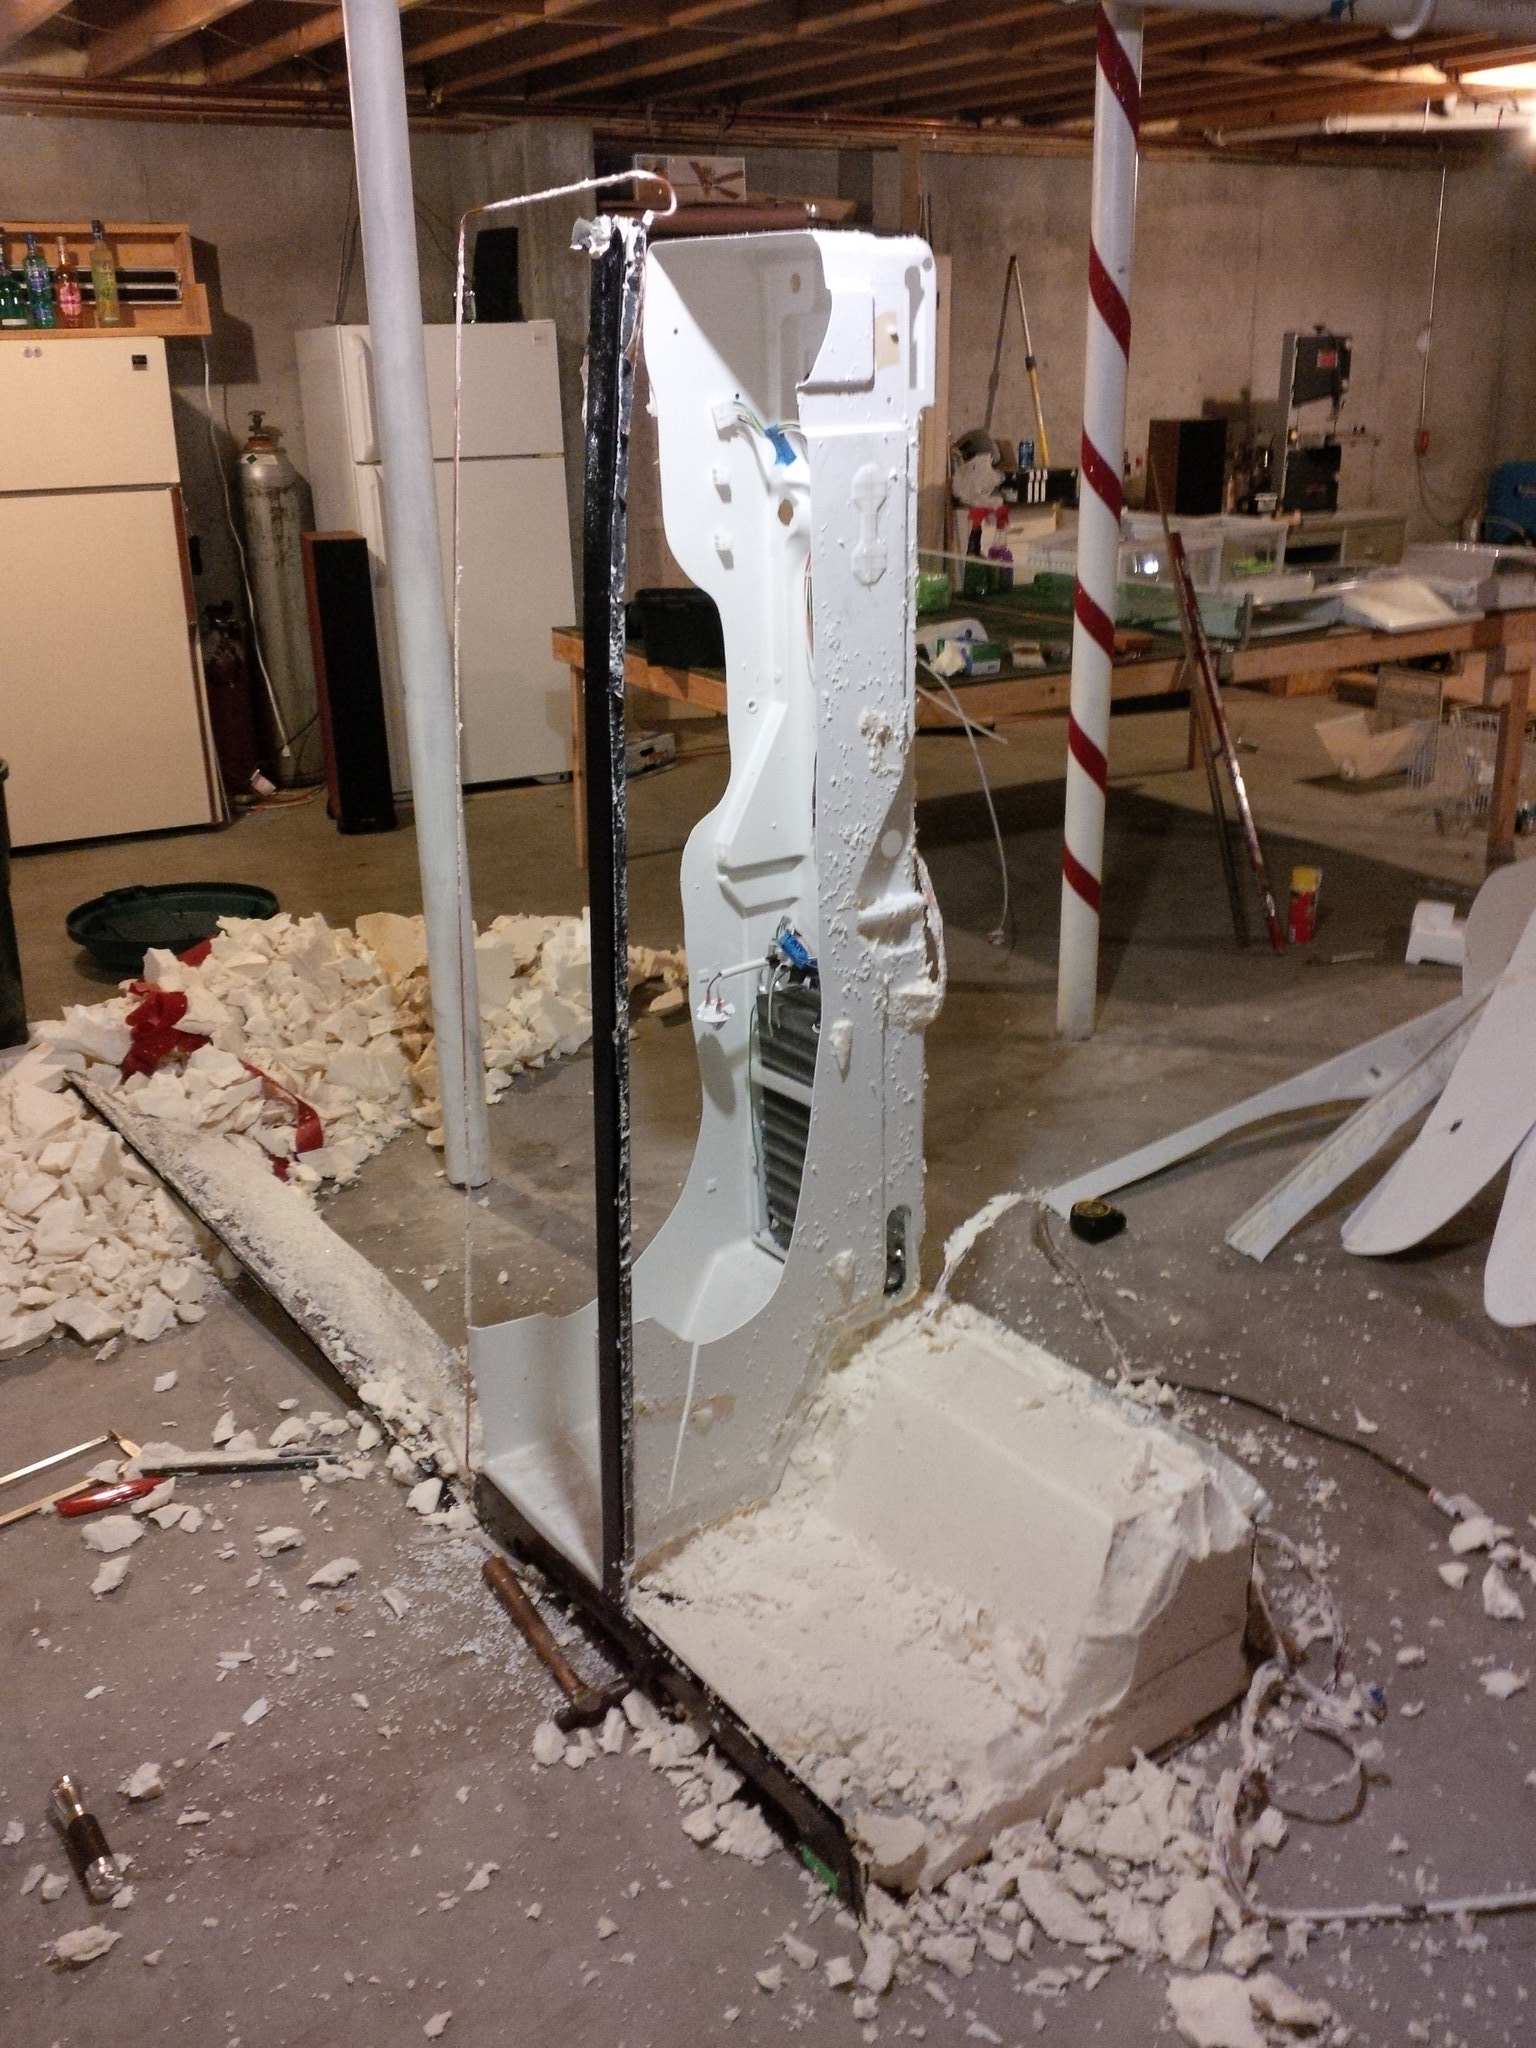
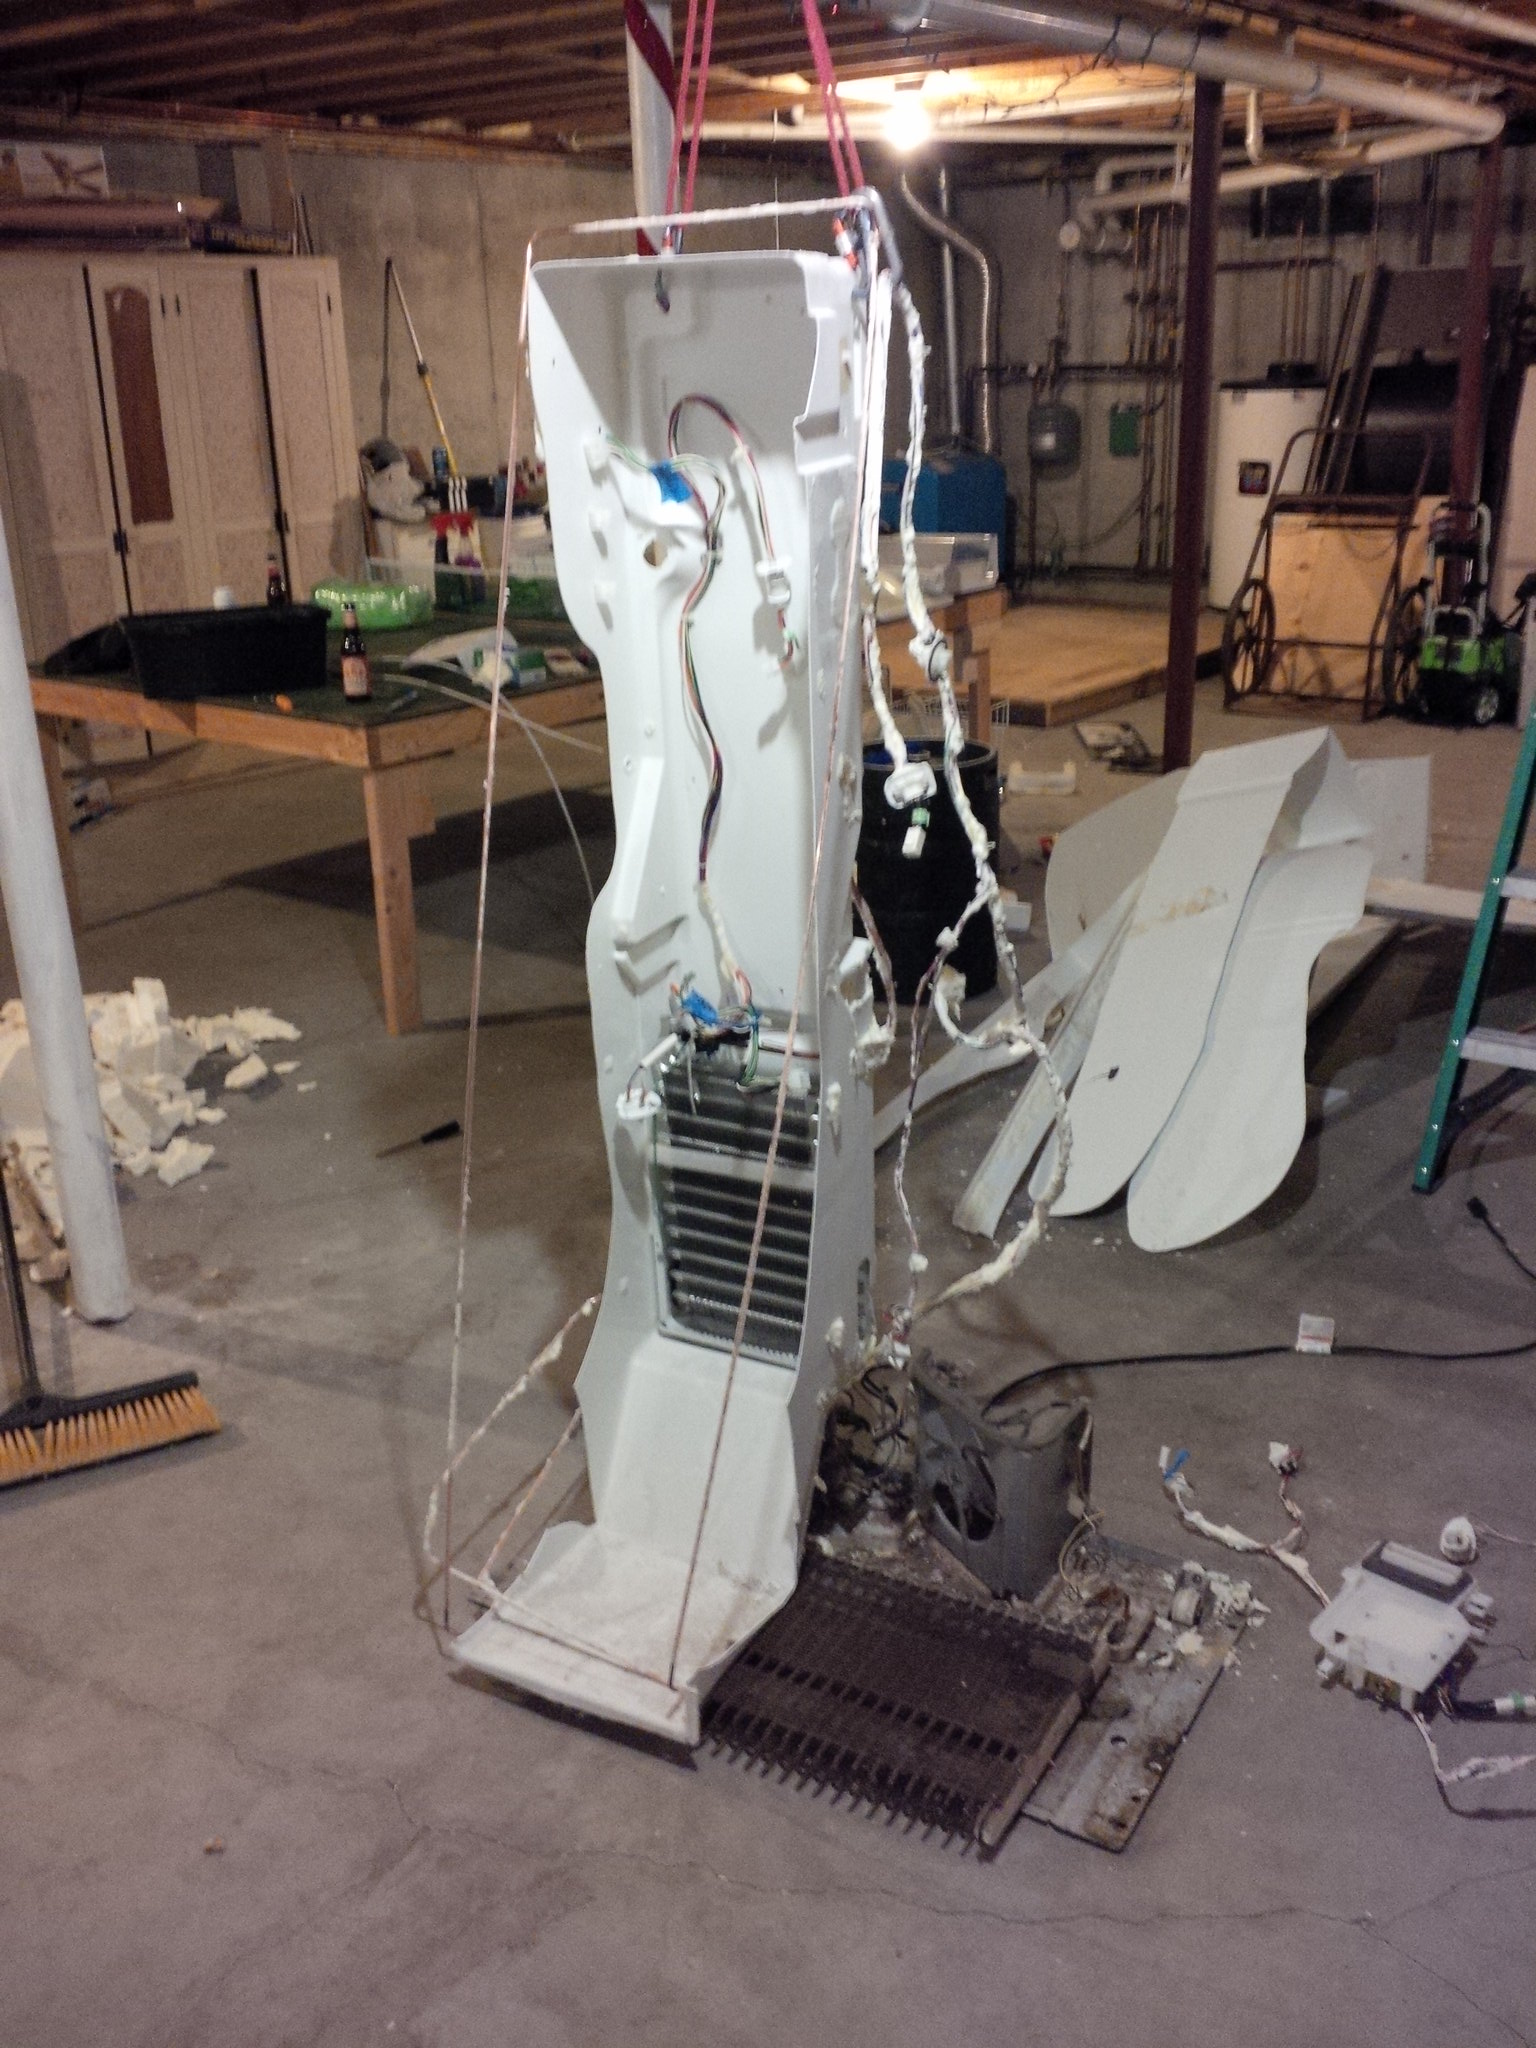
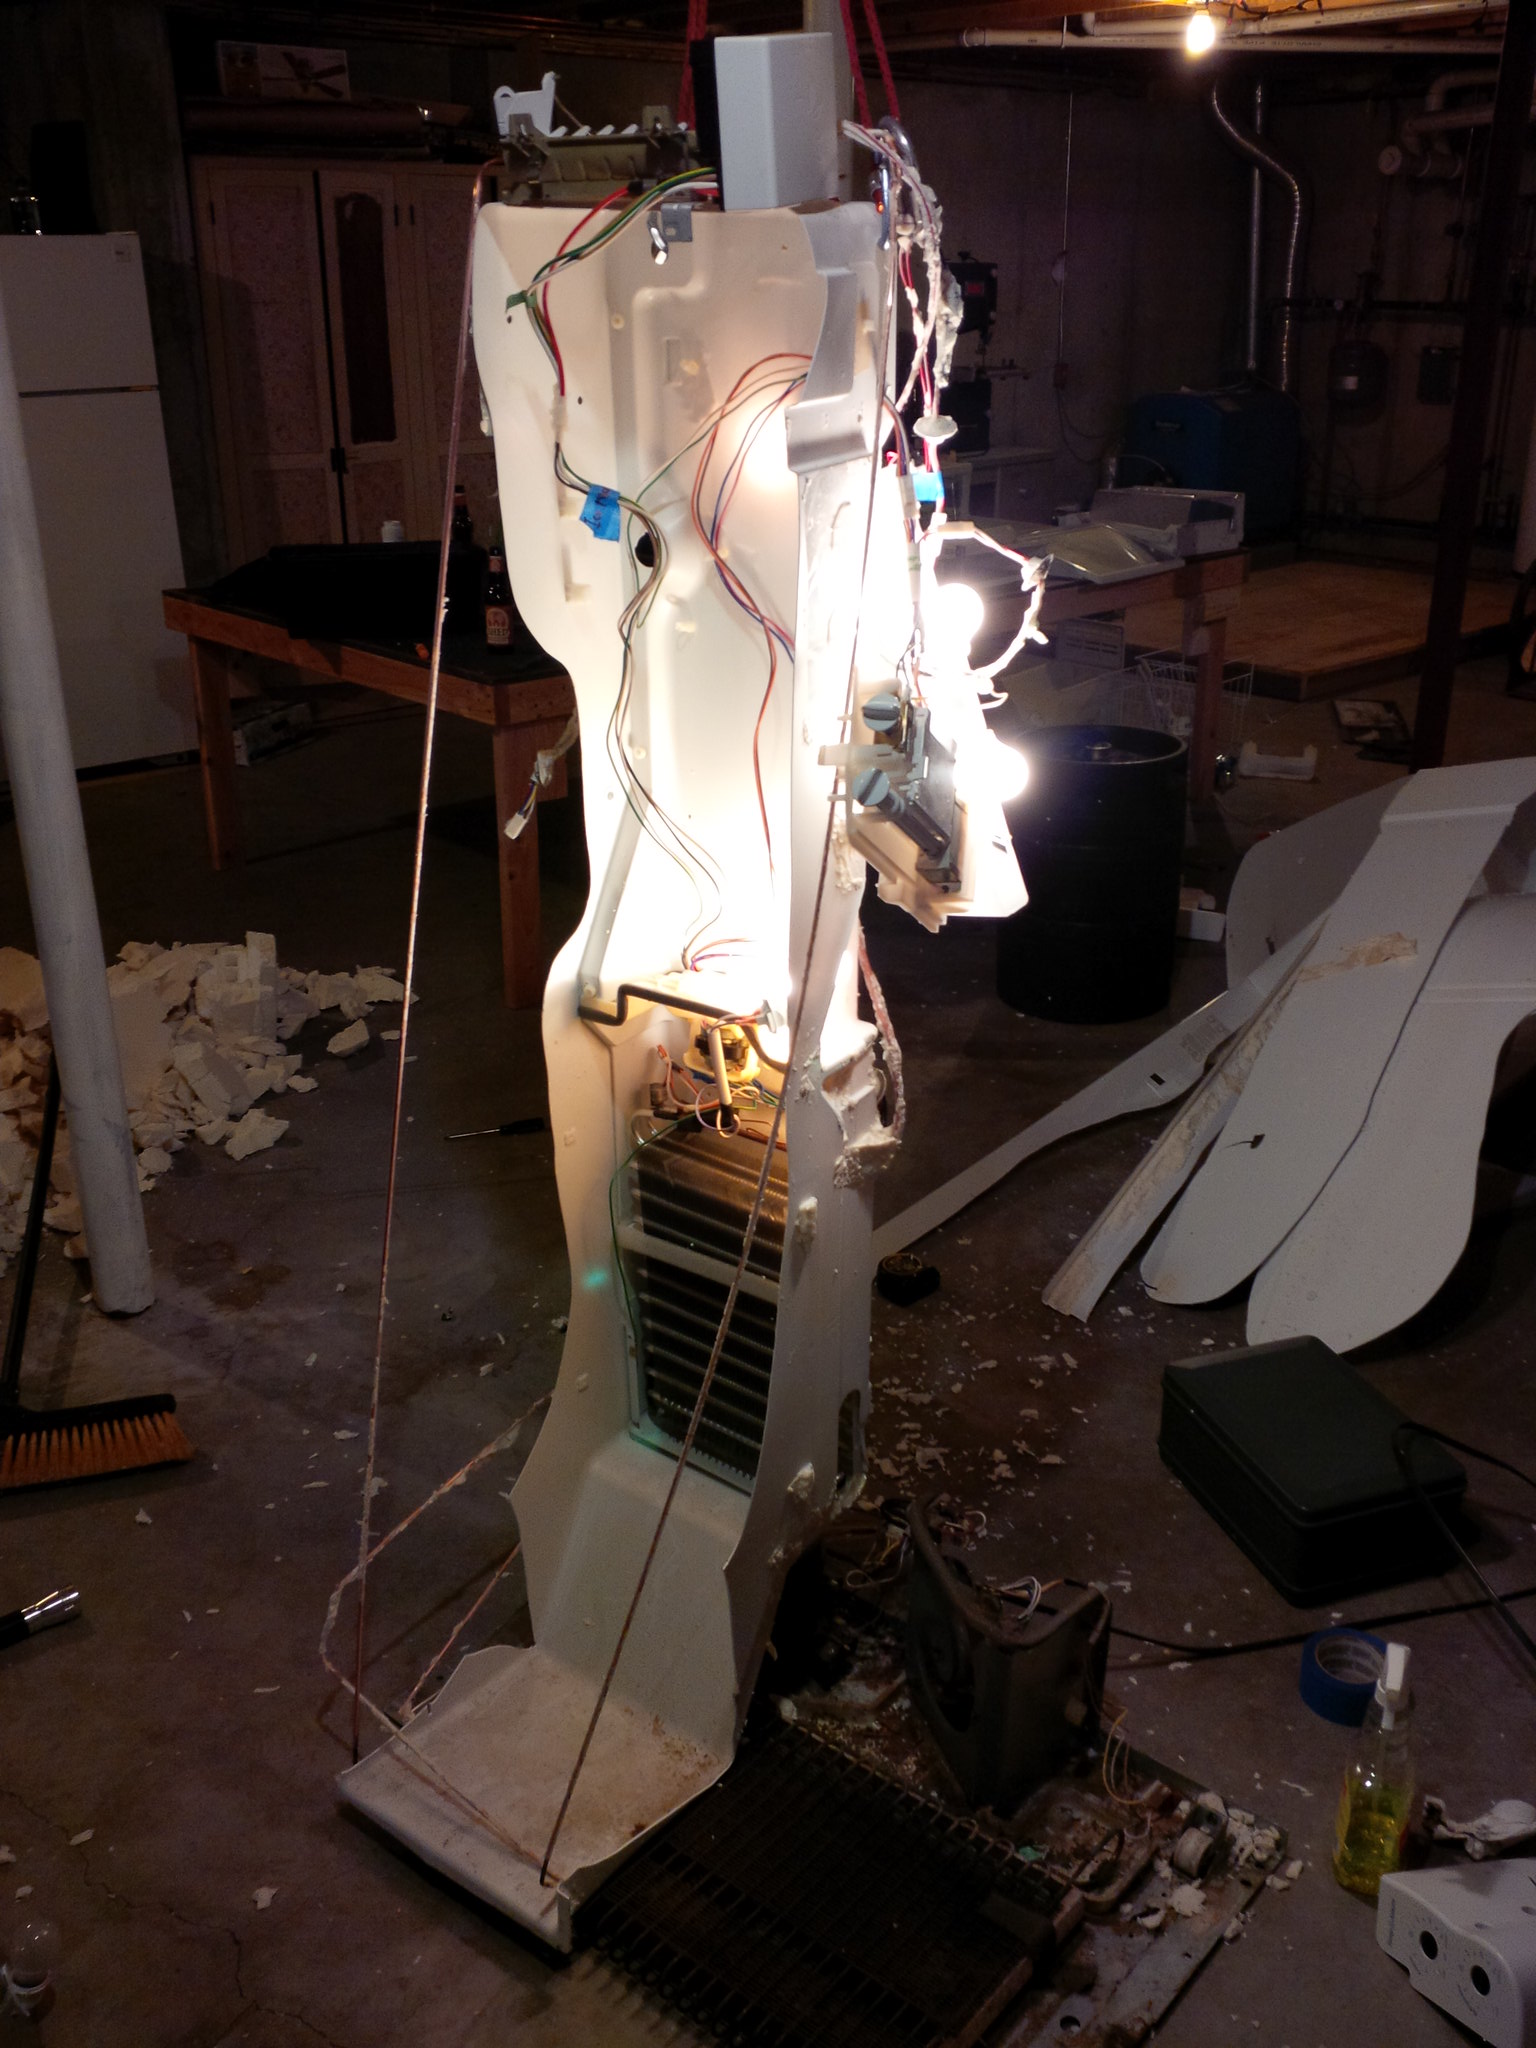
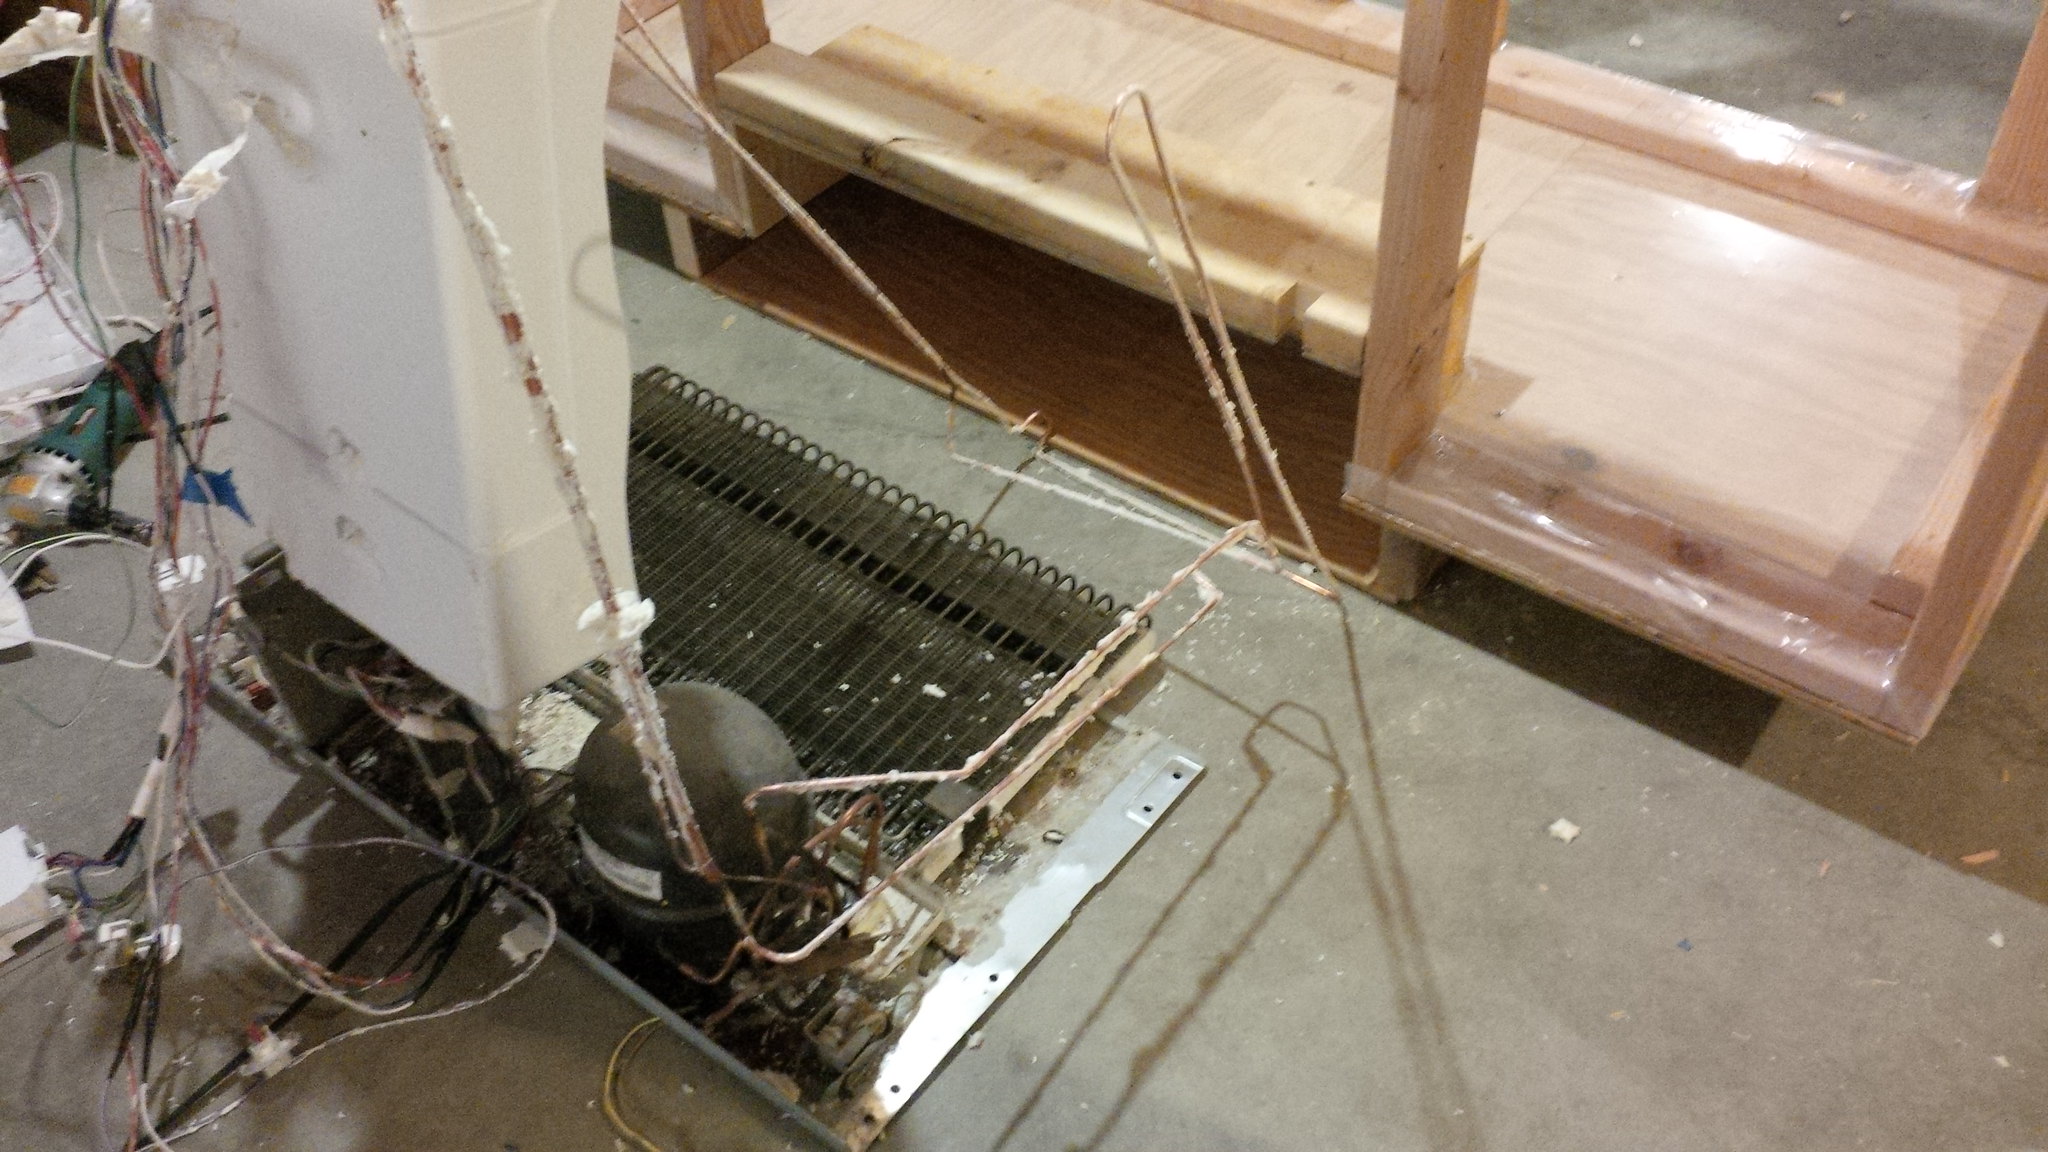
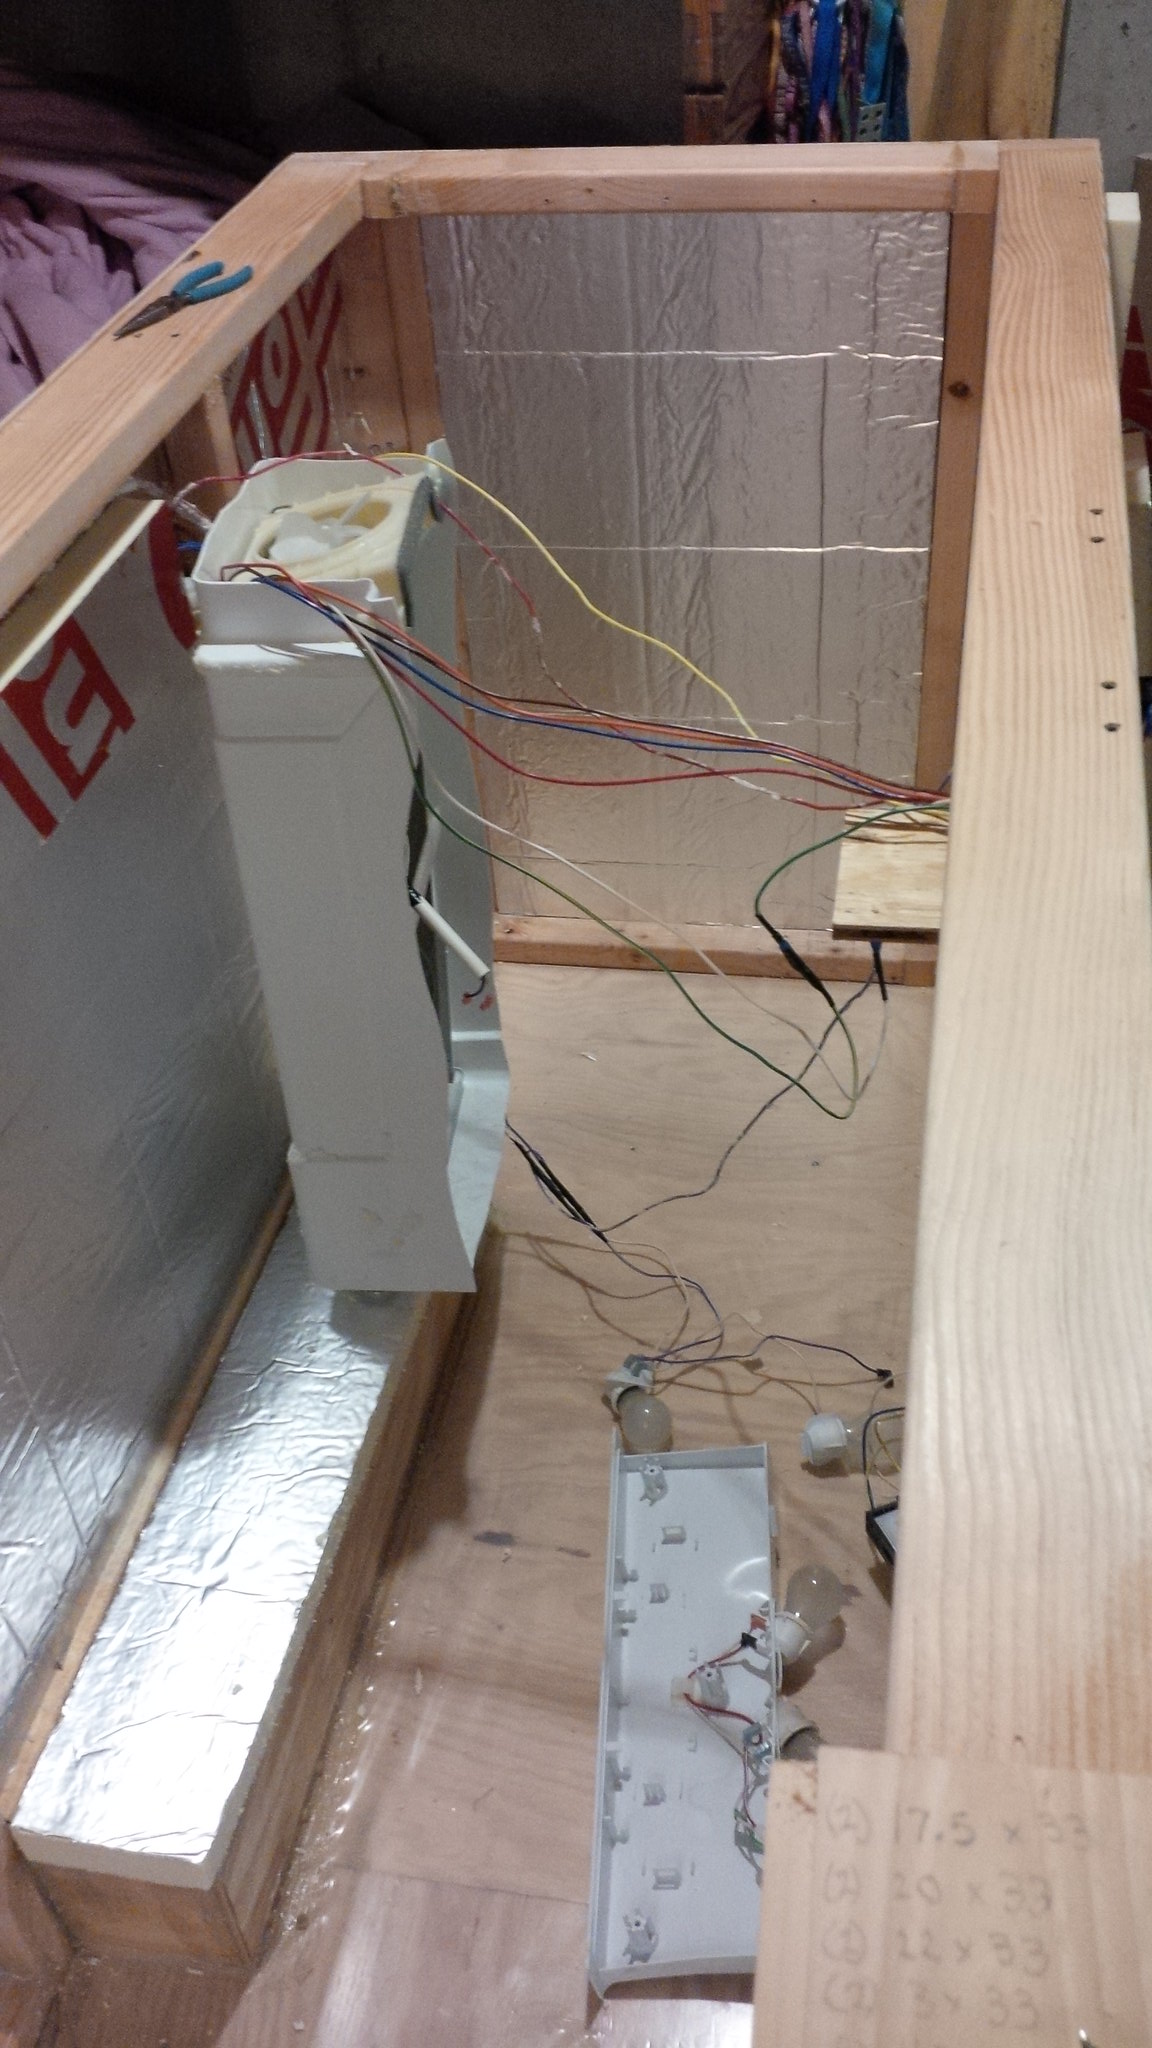
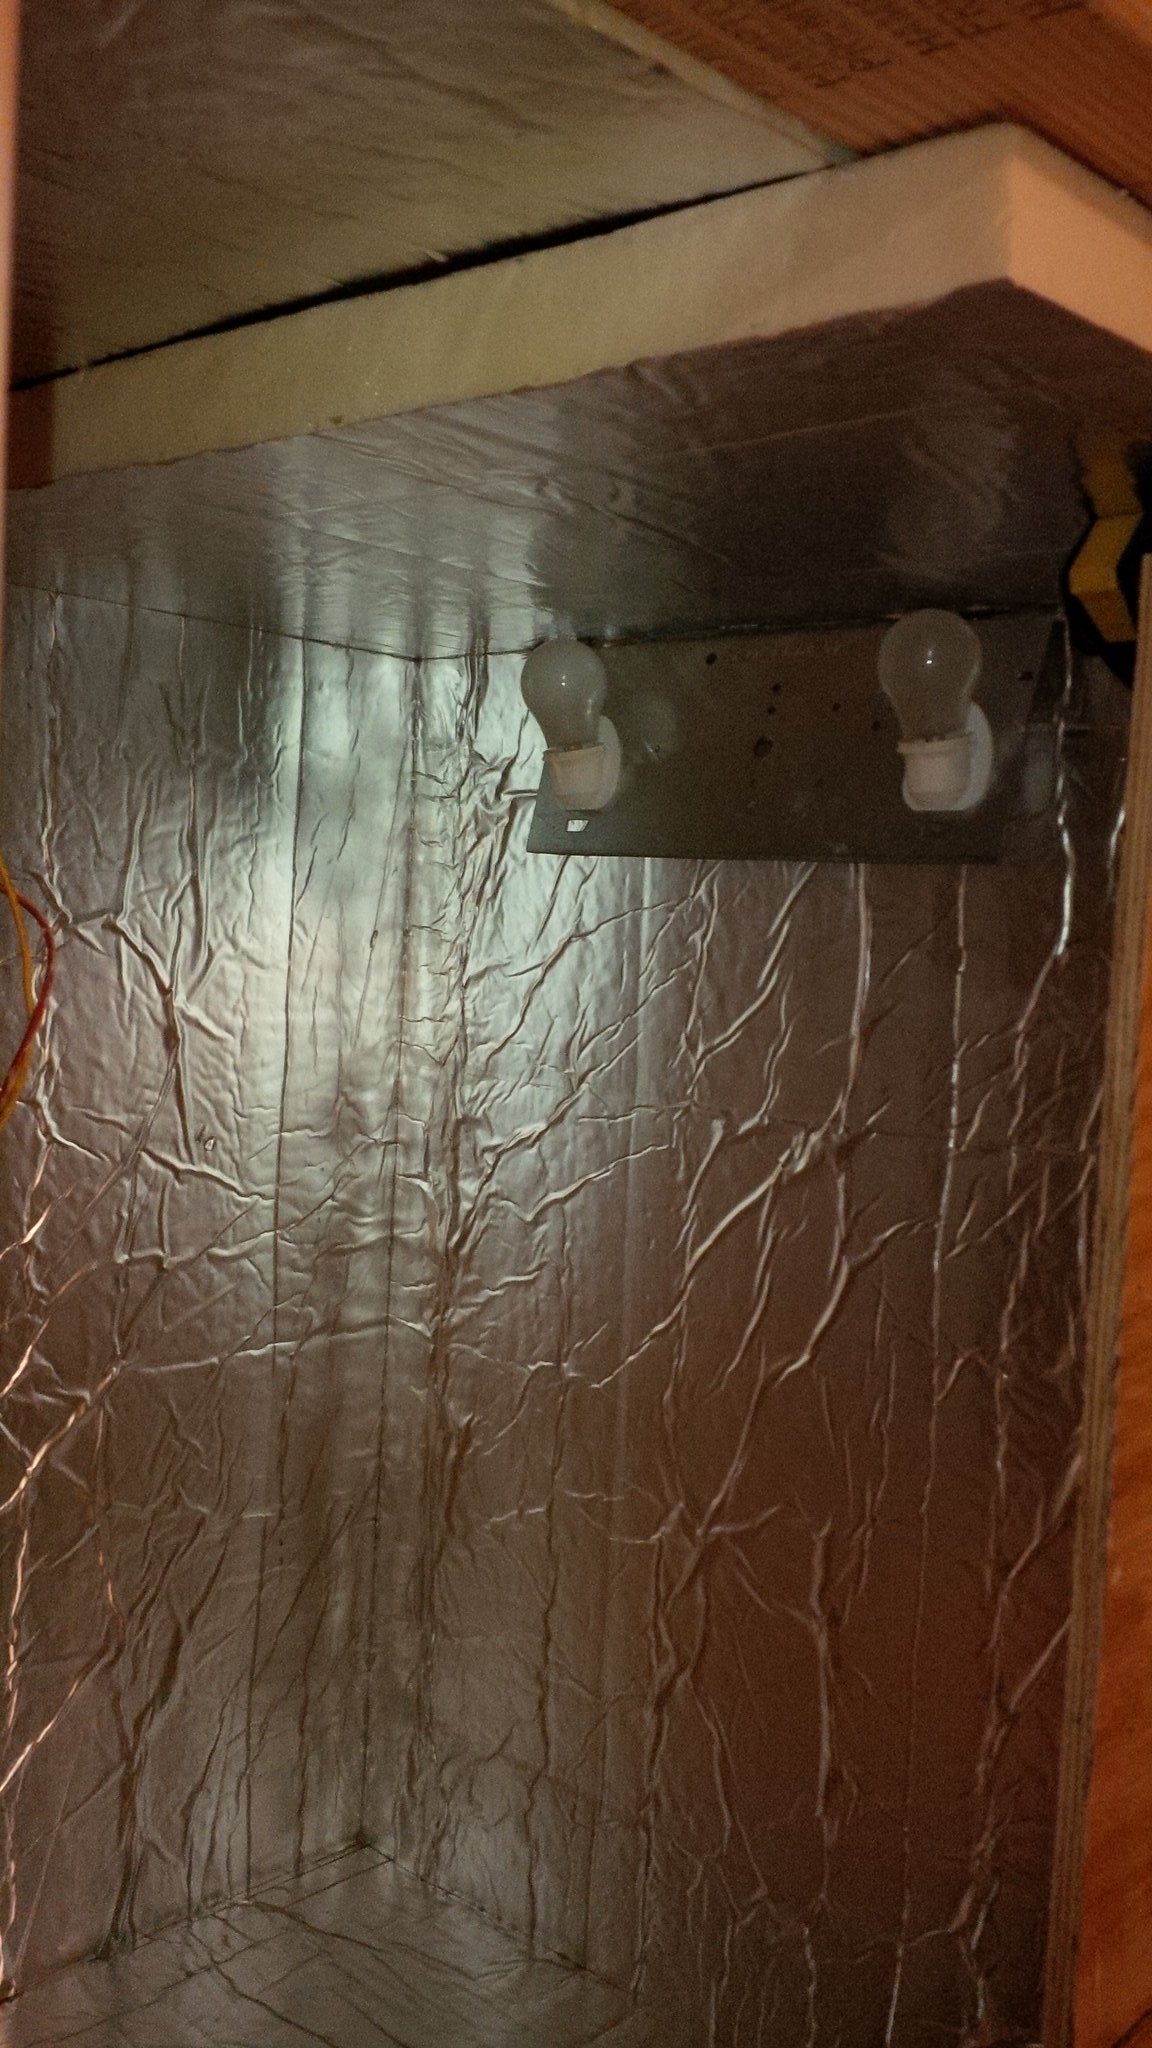
So I started disassembling the fridge, which led to my first "ah ha" moment in which I realized that there is only one cooling unit in most (all?) fridge/freezer units which is located in the freezer and the fridge side just circulates air from the freezer. Anyways here's a picture of the cooling coil.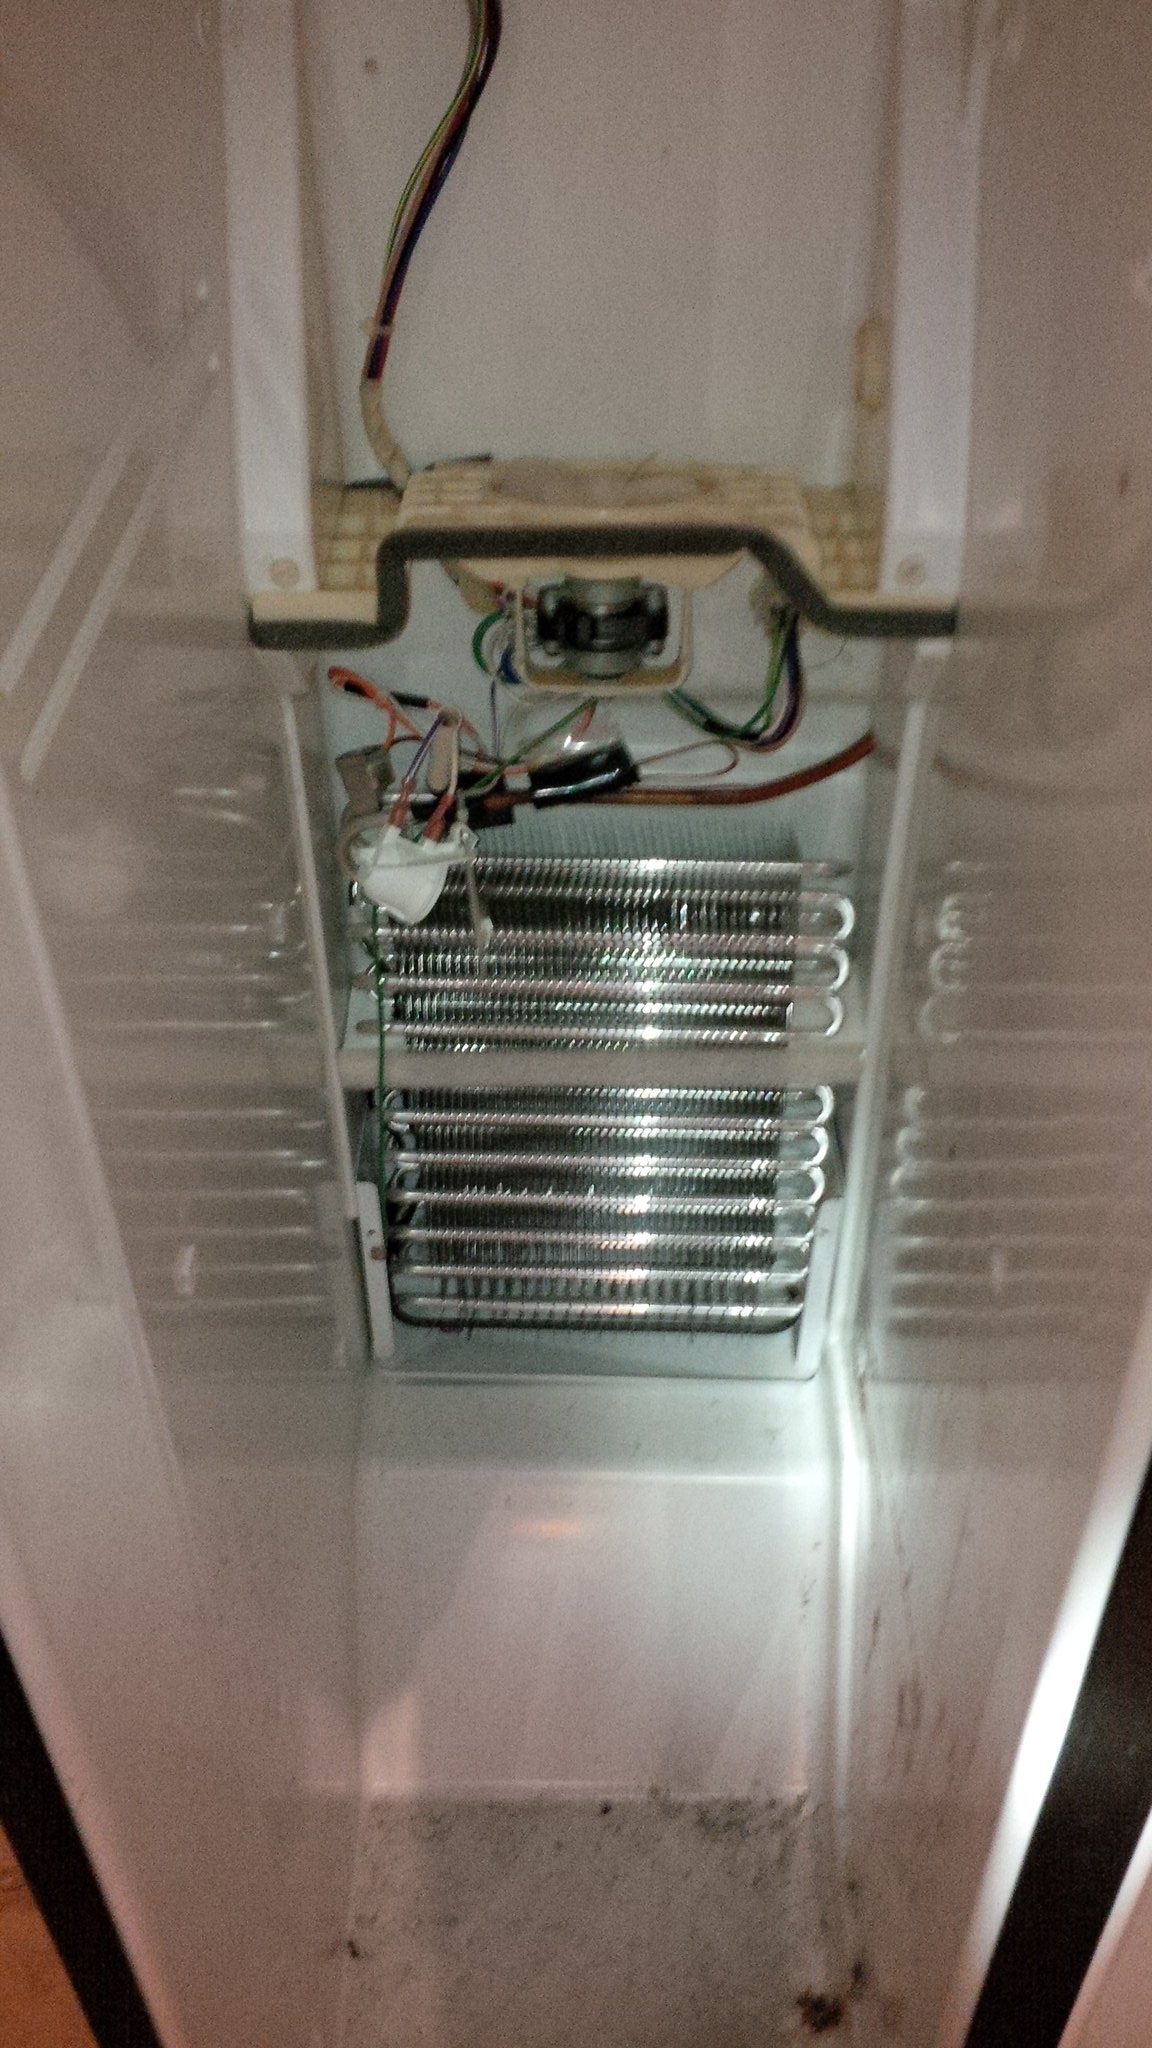
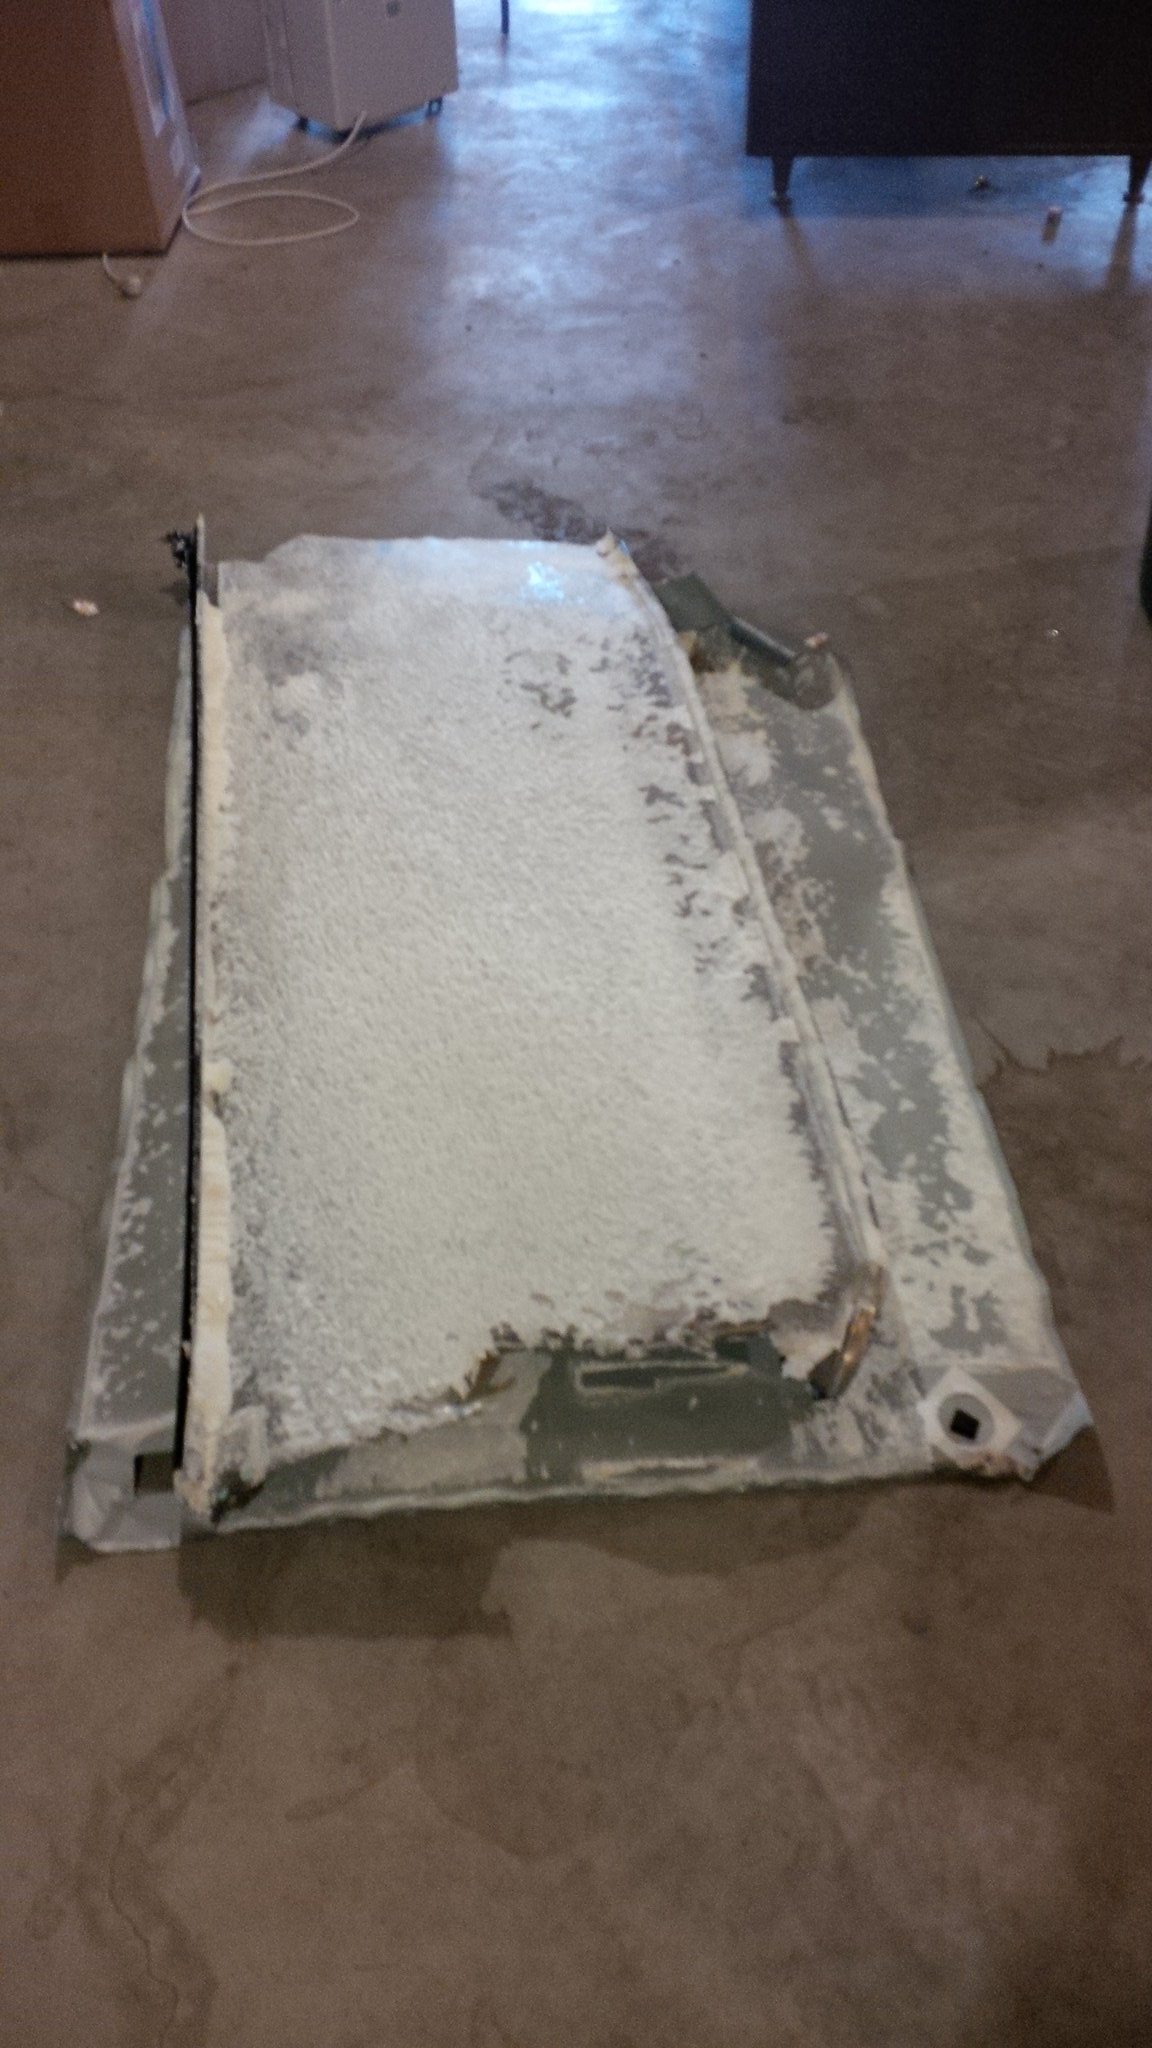
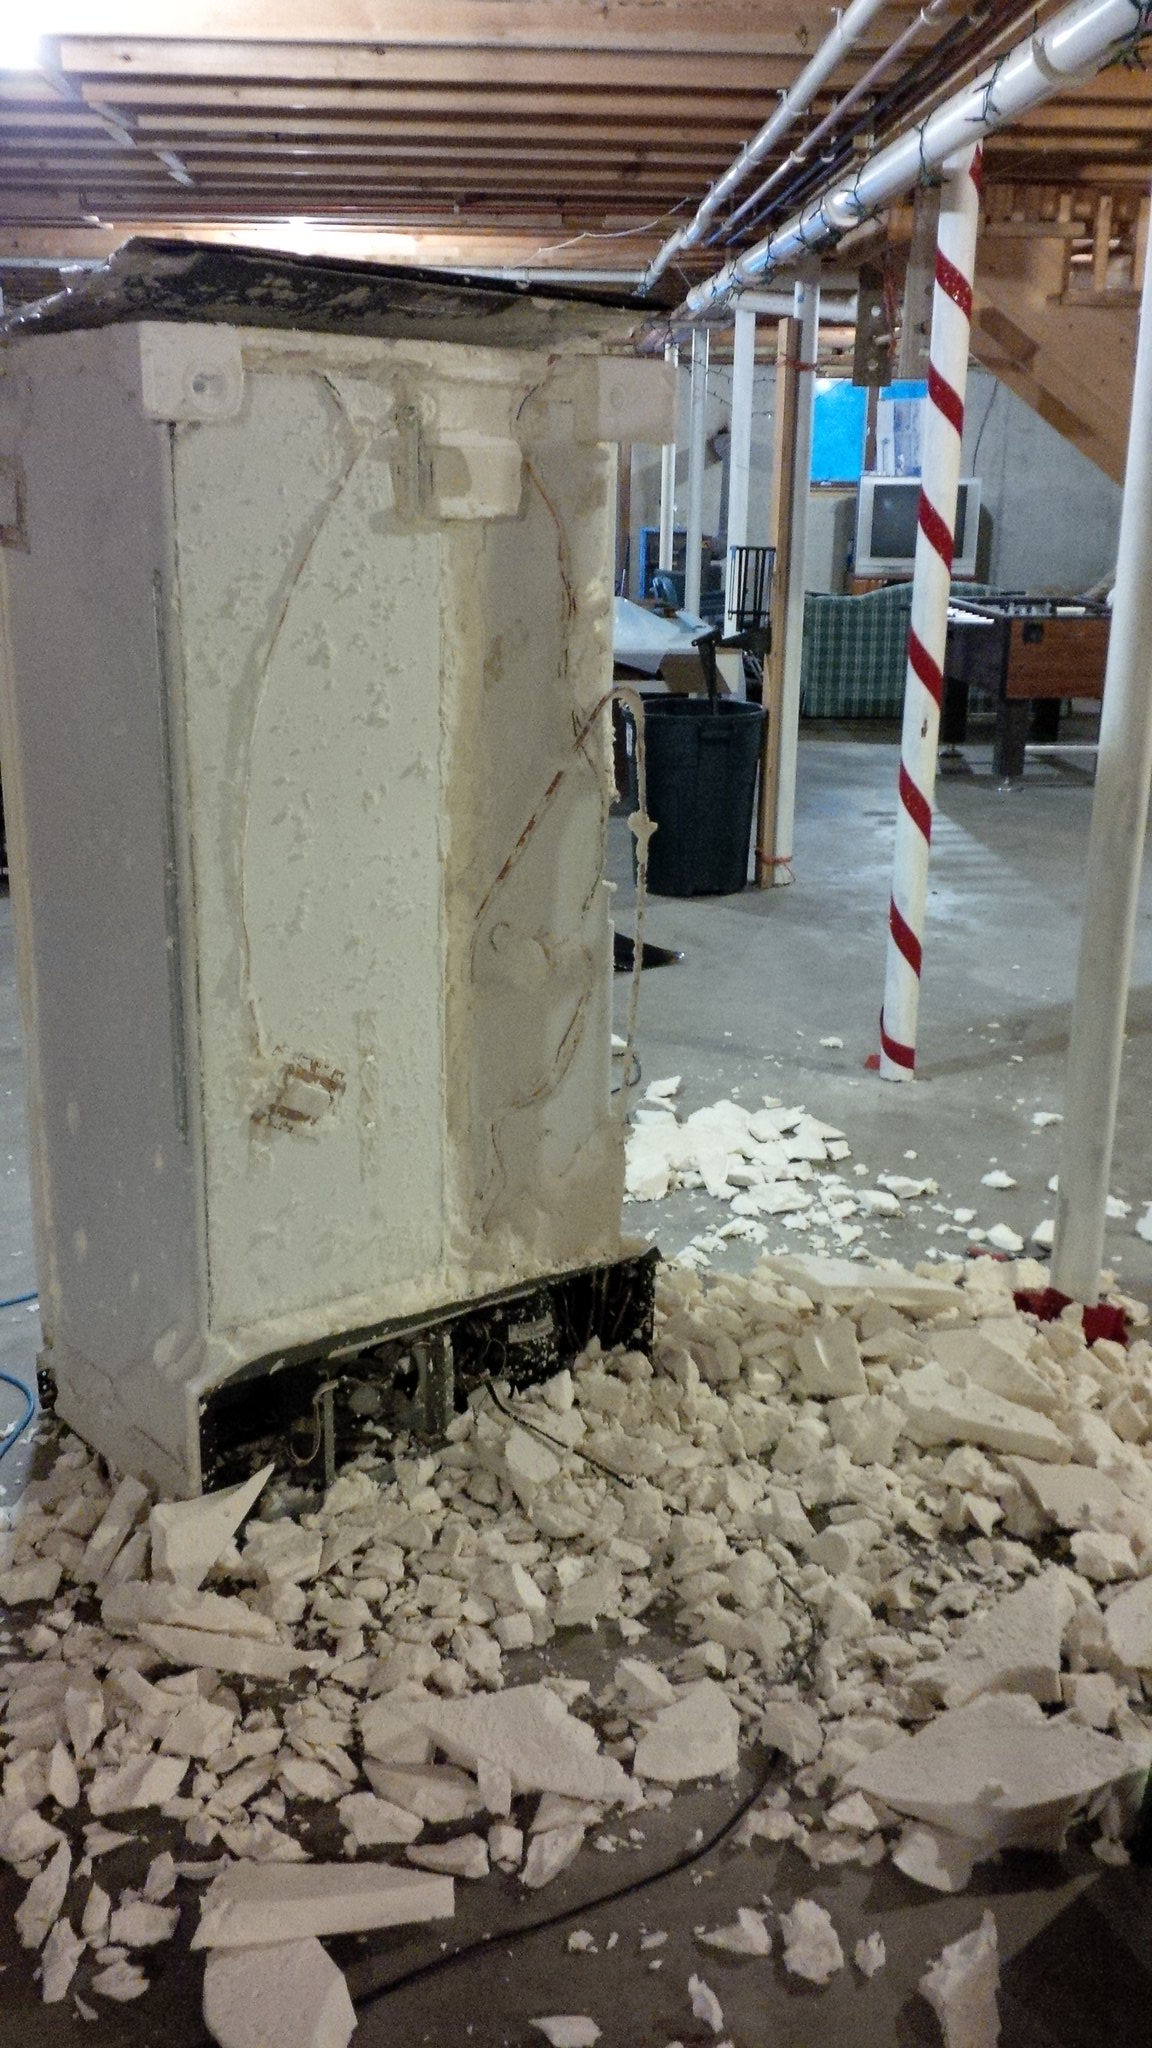
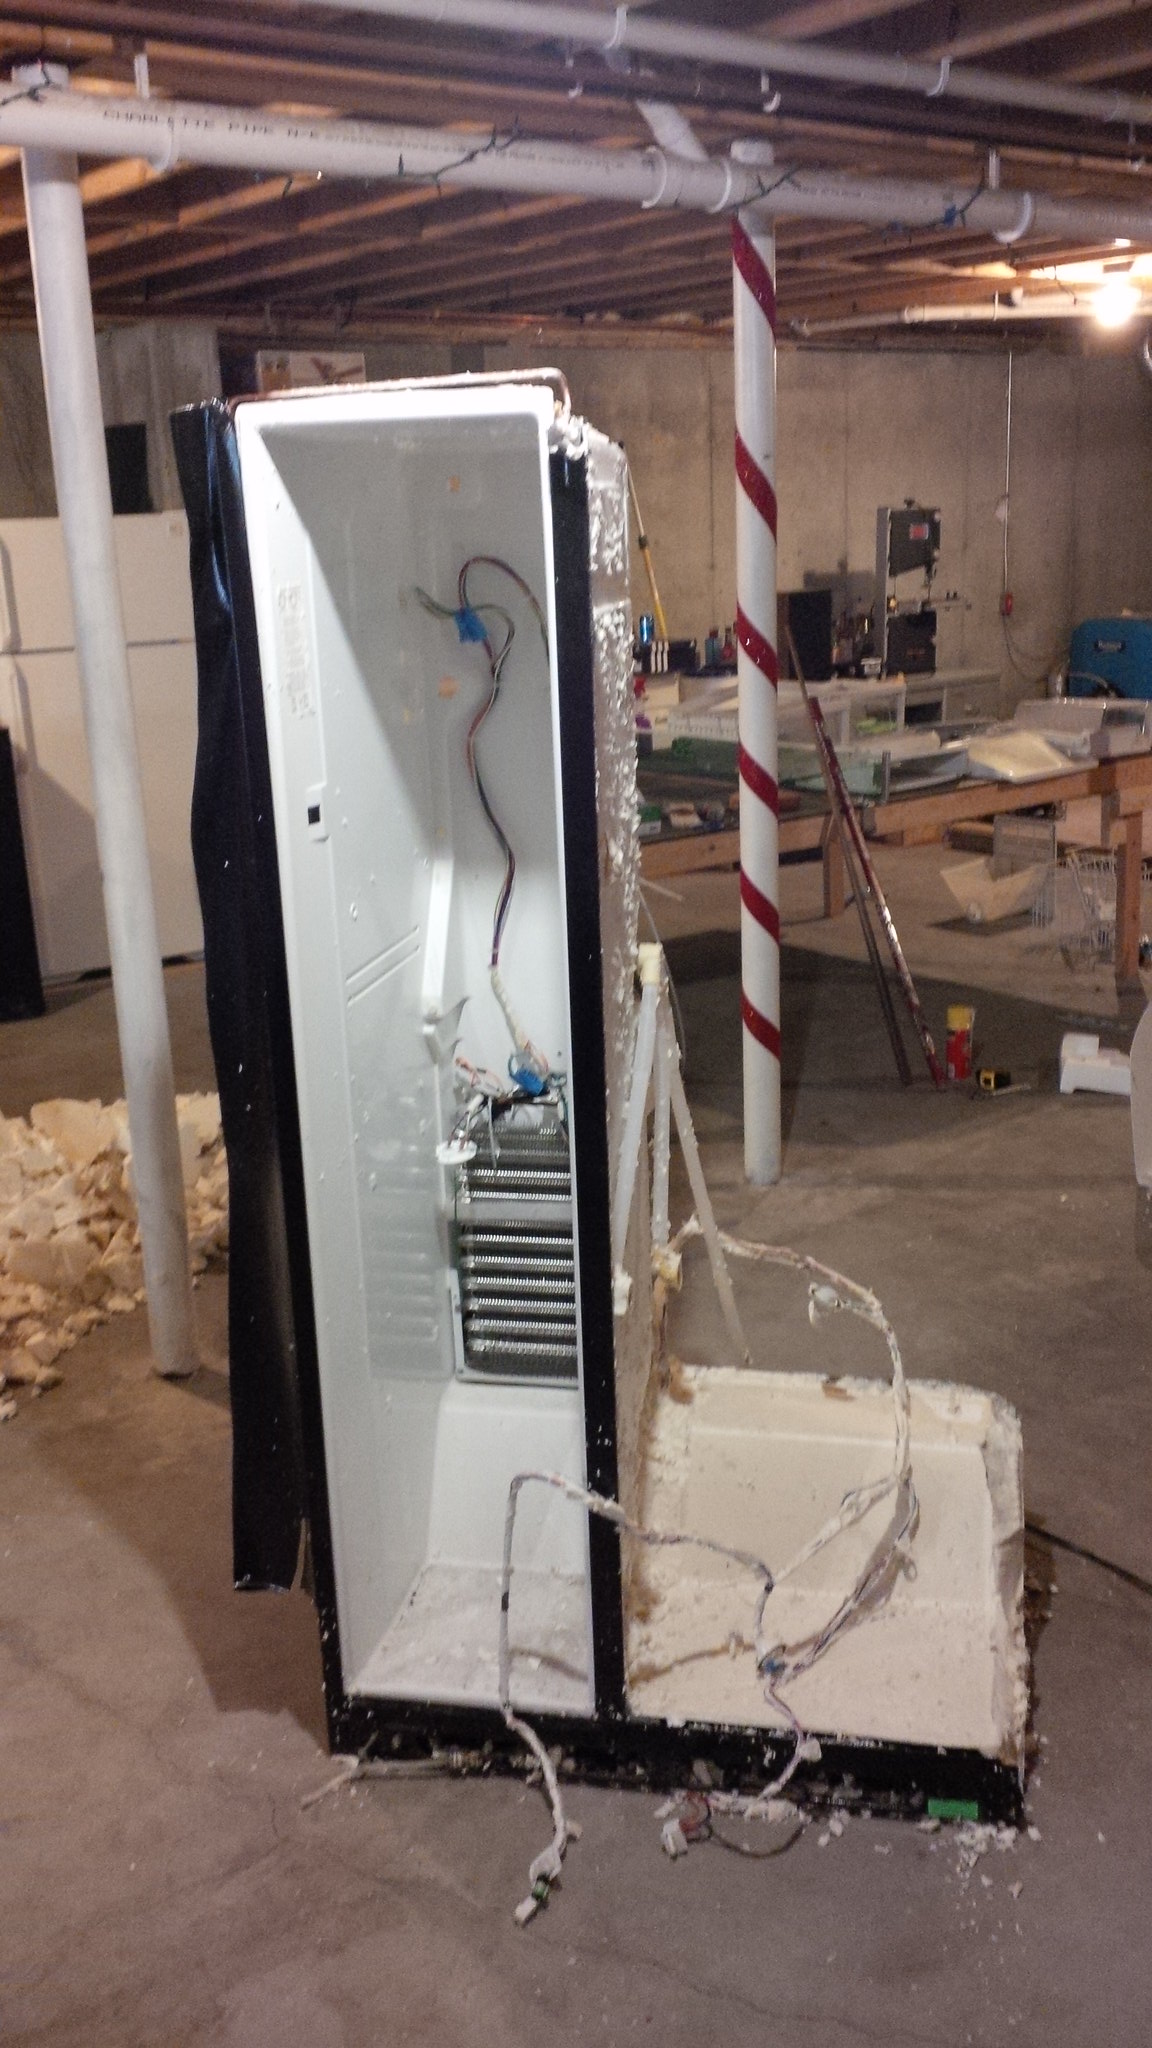
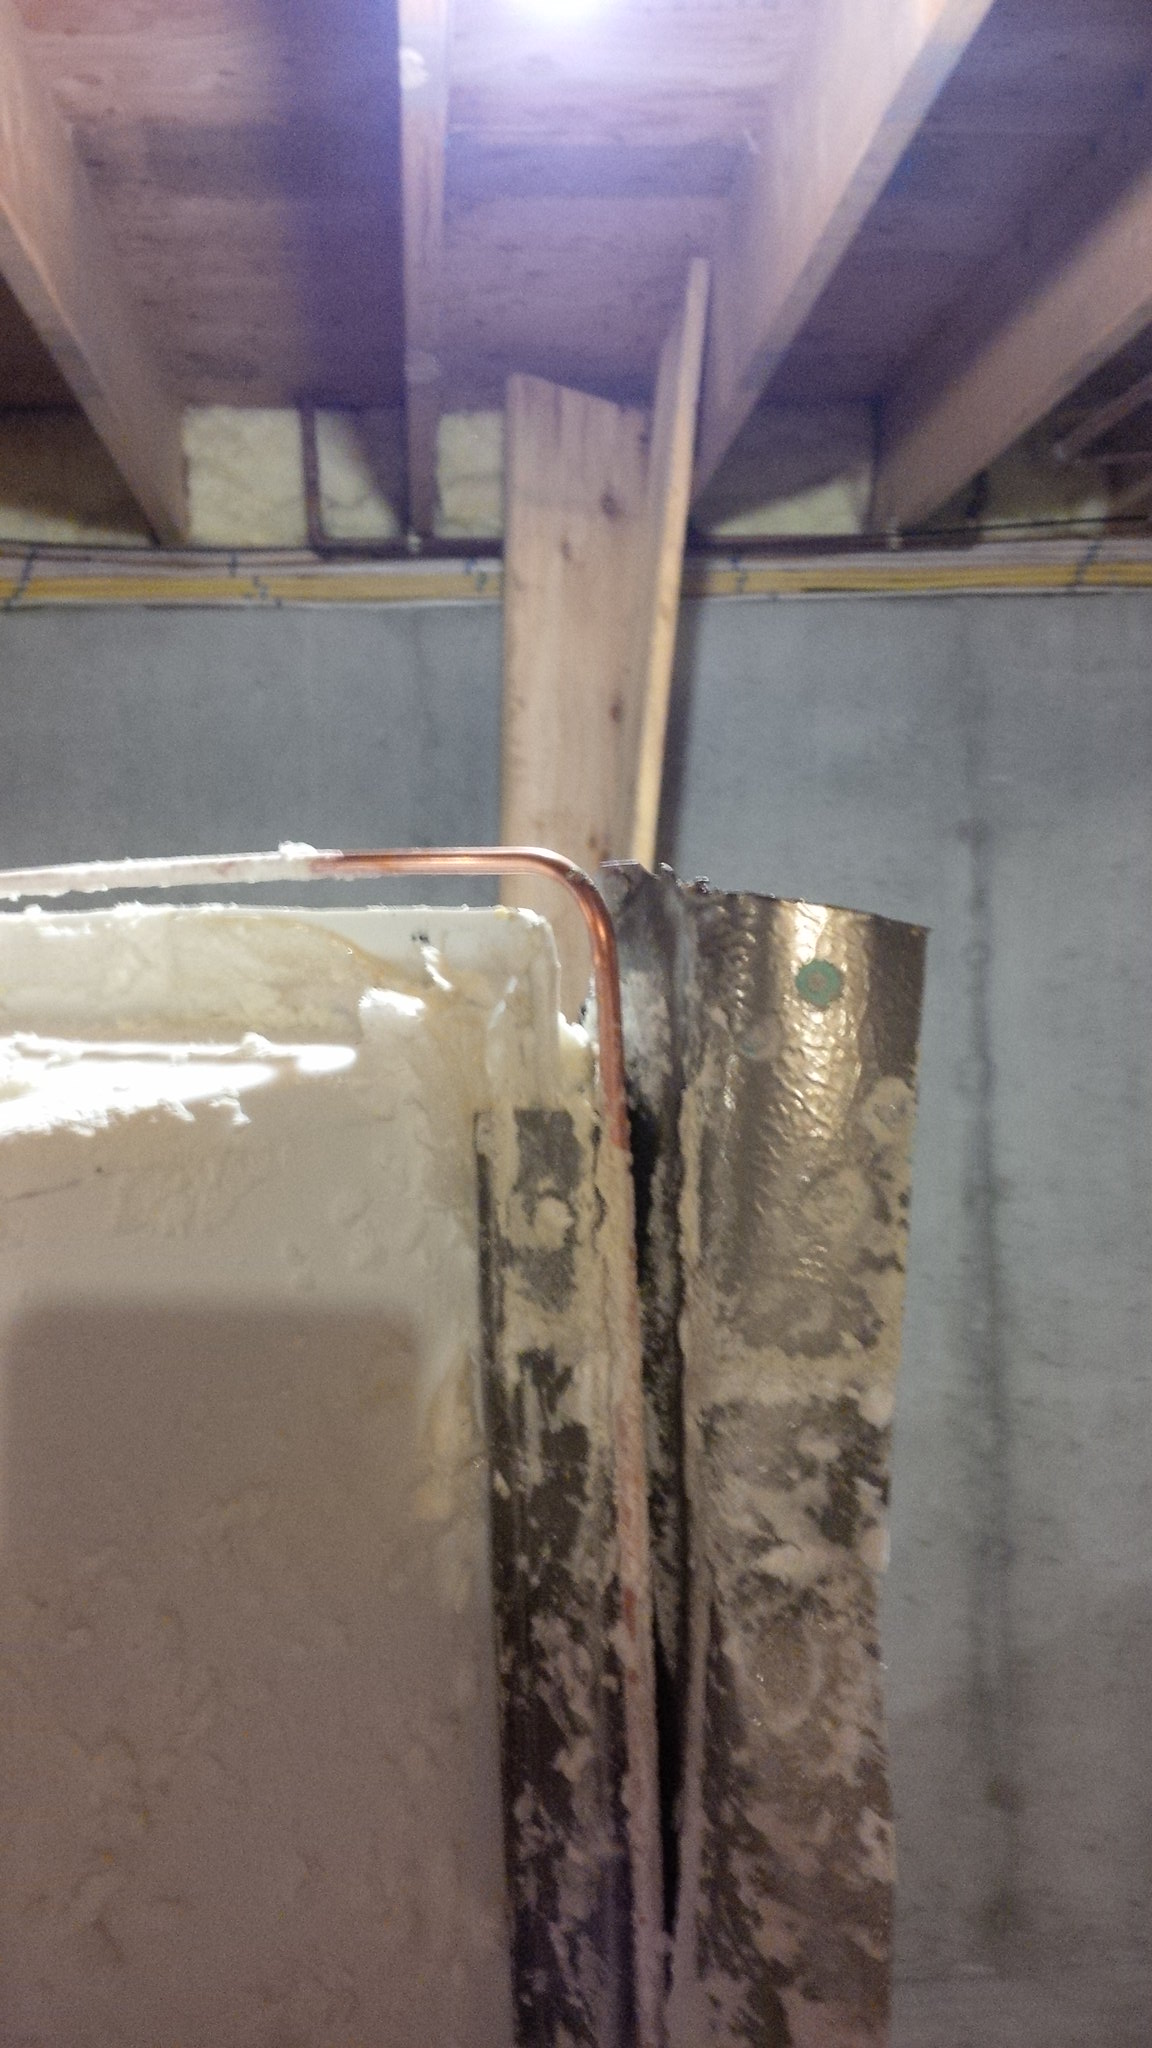
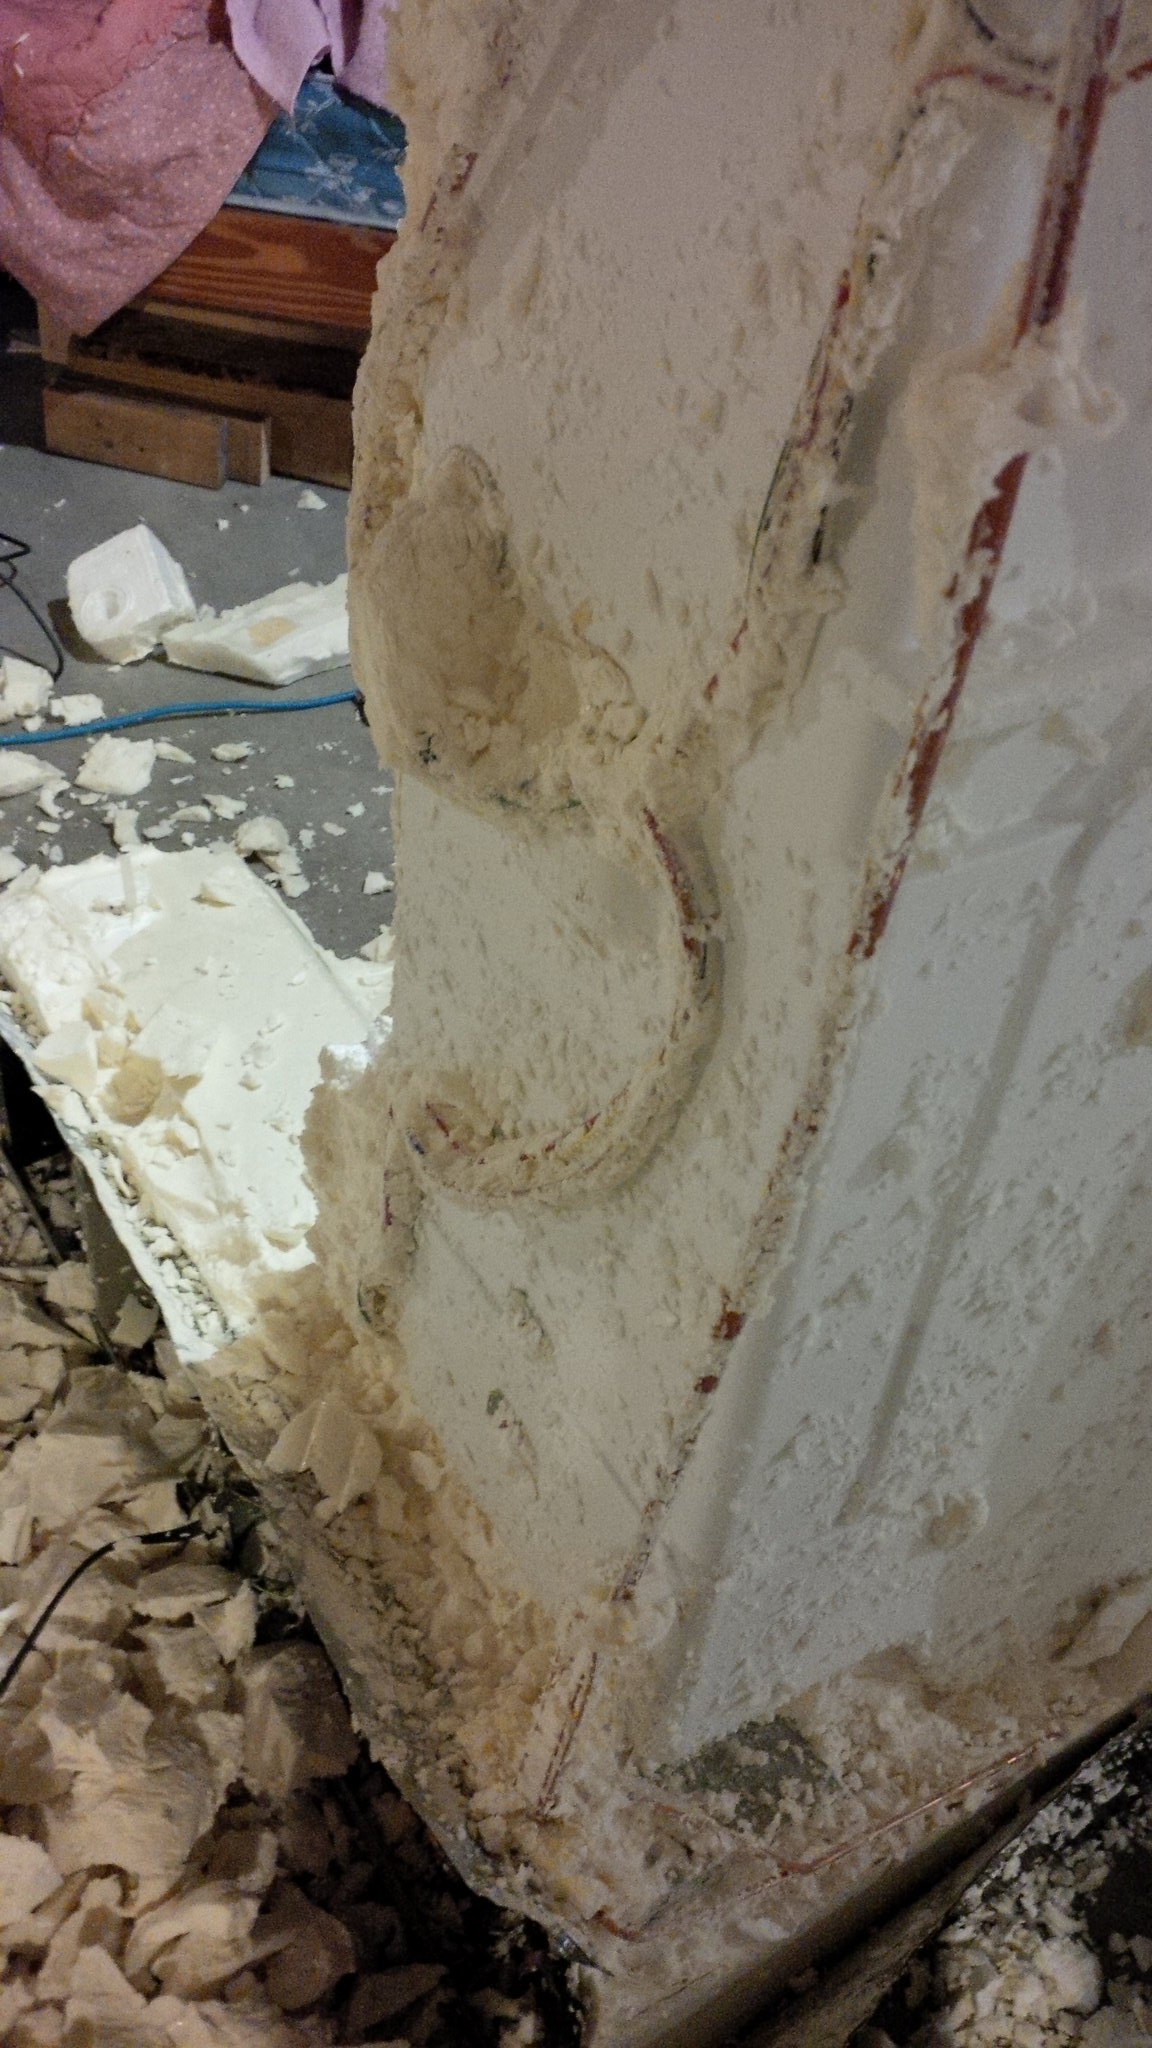
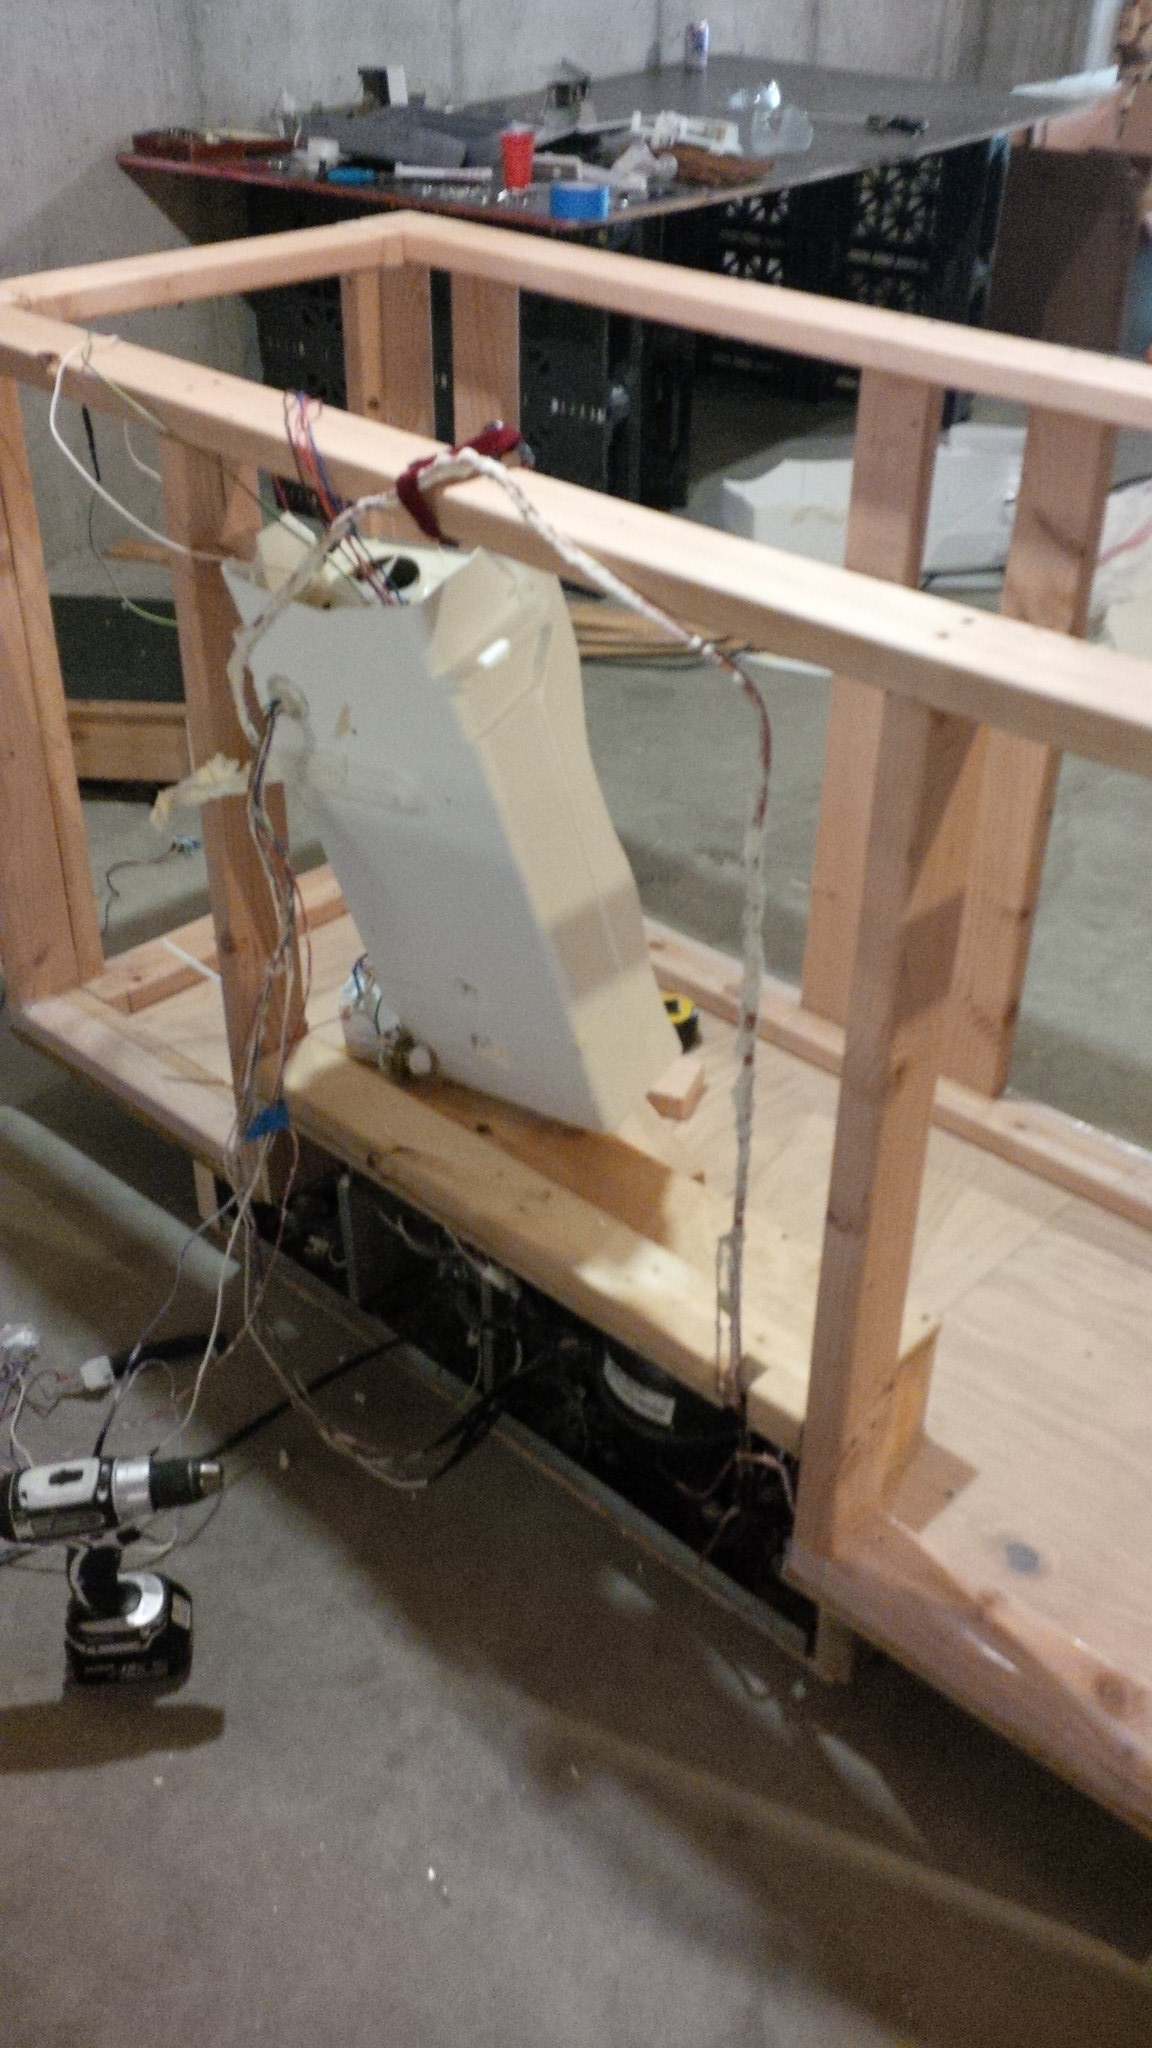
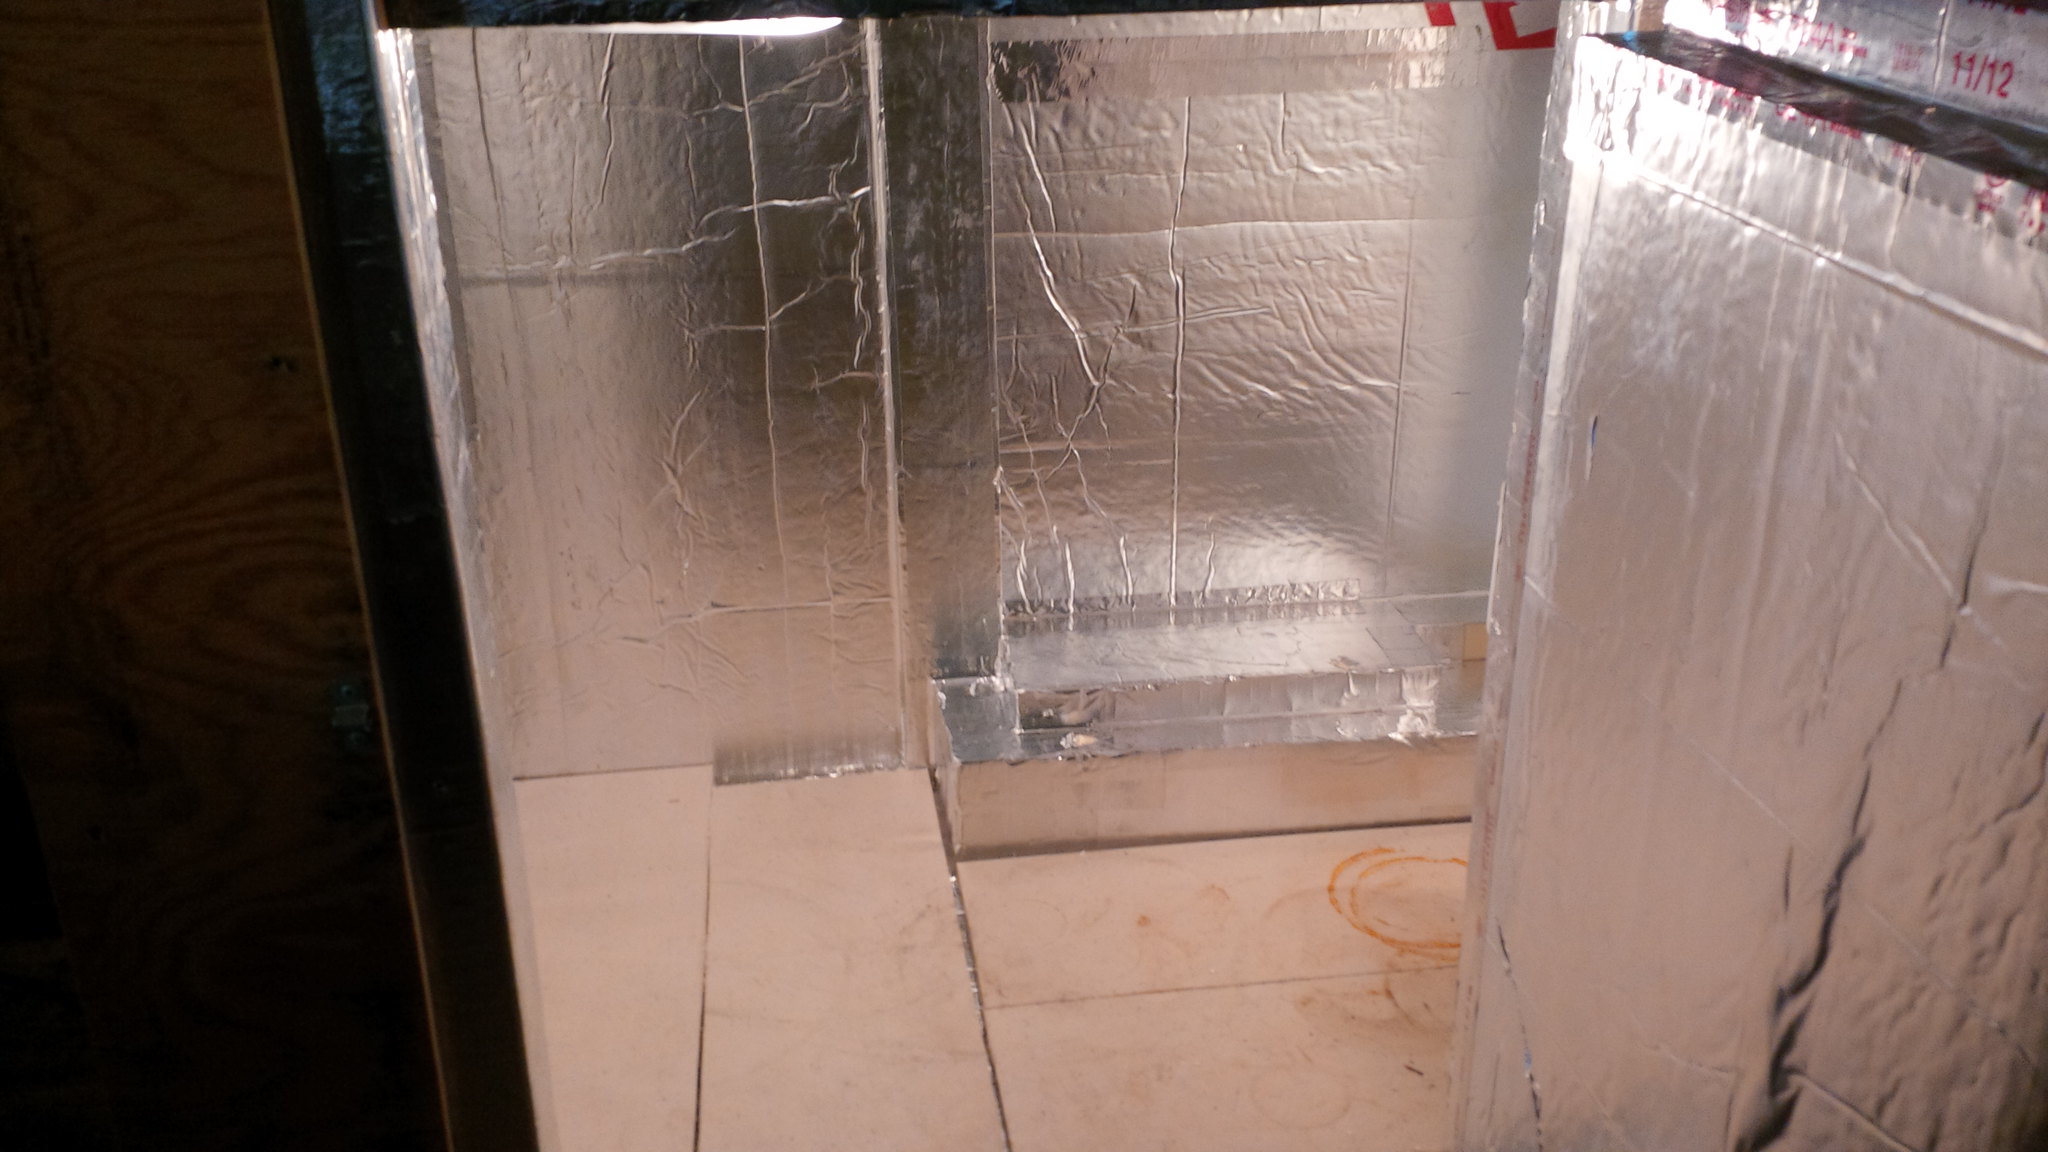
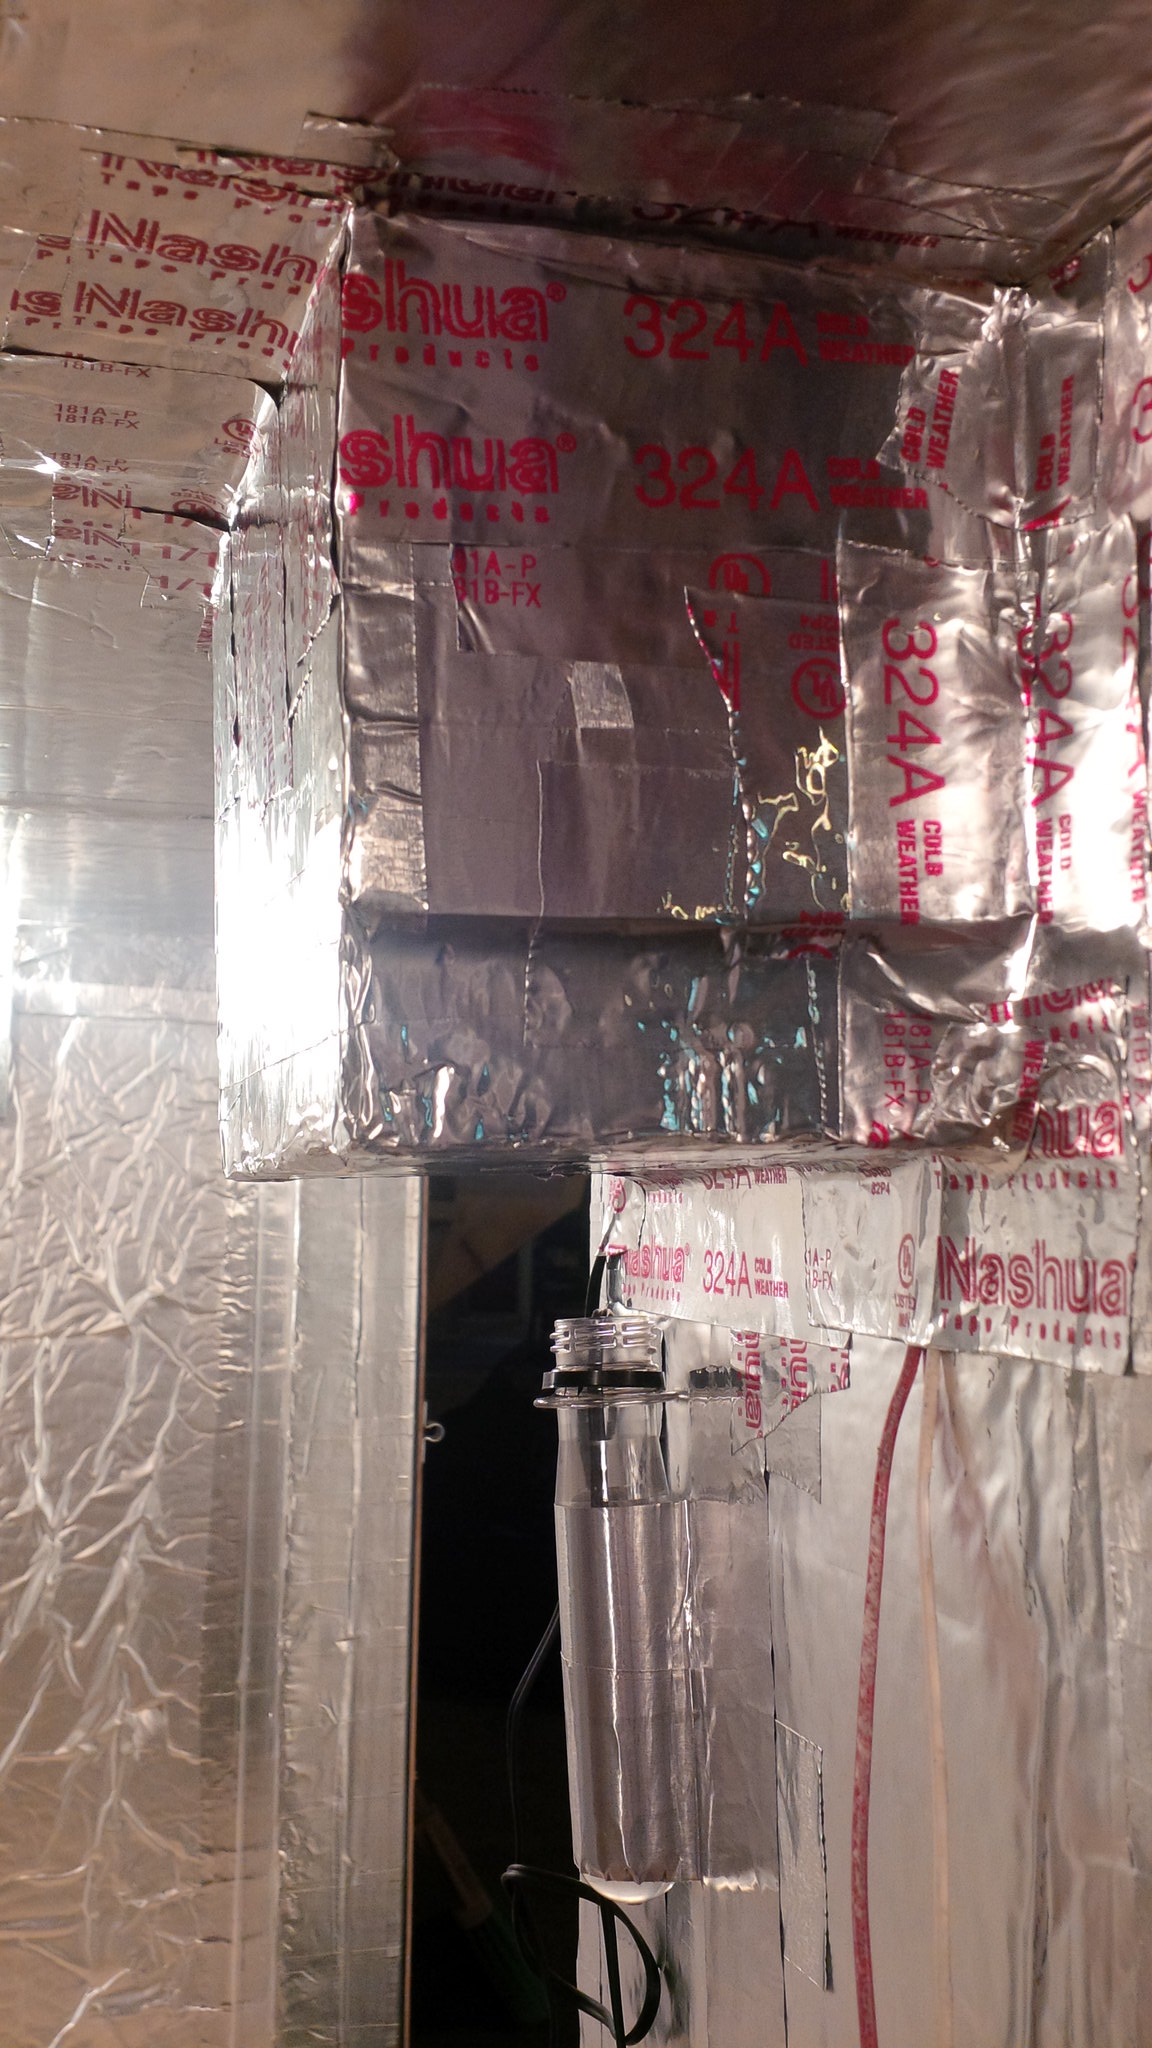
At this point I removed the metal sides and most of the insulation with a putty knife and a nibbler. I was very careful to make sure I did not cut any coolant or electrical lines.
 [/url]
So first things first, I had this refrigerator sitting in my basement. The previous owner had been foreclosed on and decided to take the doors with him but leave the rest of the refrigerator...
I had been playing around with design ideas and although I had seen the side by side kegerator builds I wanted something that functioned a bit more like a bar. Something more along the lines of this (somewhat exploded view)
So I started disassembling the fridge, which led to my first "ah ha" moment in which I realized that there is only one cooling unit in most (all?) fridge/freezer units which is located in the freezer and the fridge side just circulates air from the freezer. Anyways here's a picture of the cooling coil.
At this point I removed the metal sides and most of the insulation with a putty knife and a nibbler. I was very careful to make sure I did not cut any coolant or electrical lines.


![Craft A Brew - Safale S-04 Dry Yeast - Fermentis - English Ale Dry Yeast - For English and American Ales and Hard Apple Ciders - Ingredients for Home Brewing - Beer Making Supplies - [1 Pack]](https://m.media-amazon.com/images/I/41fVGNh6JfL._SL500_.jpg)