Thanks Trevor. I didn't want to share the information until I was certain that it was correct, but per Justin Hart's suggestion via Facebook, I actually ordered a
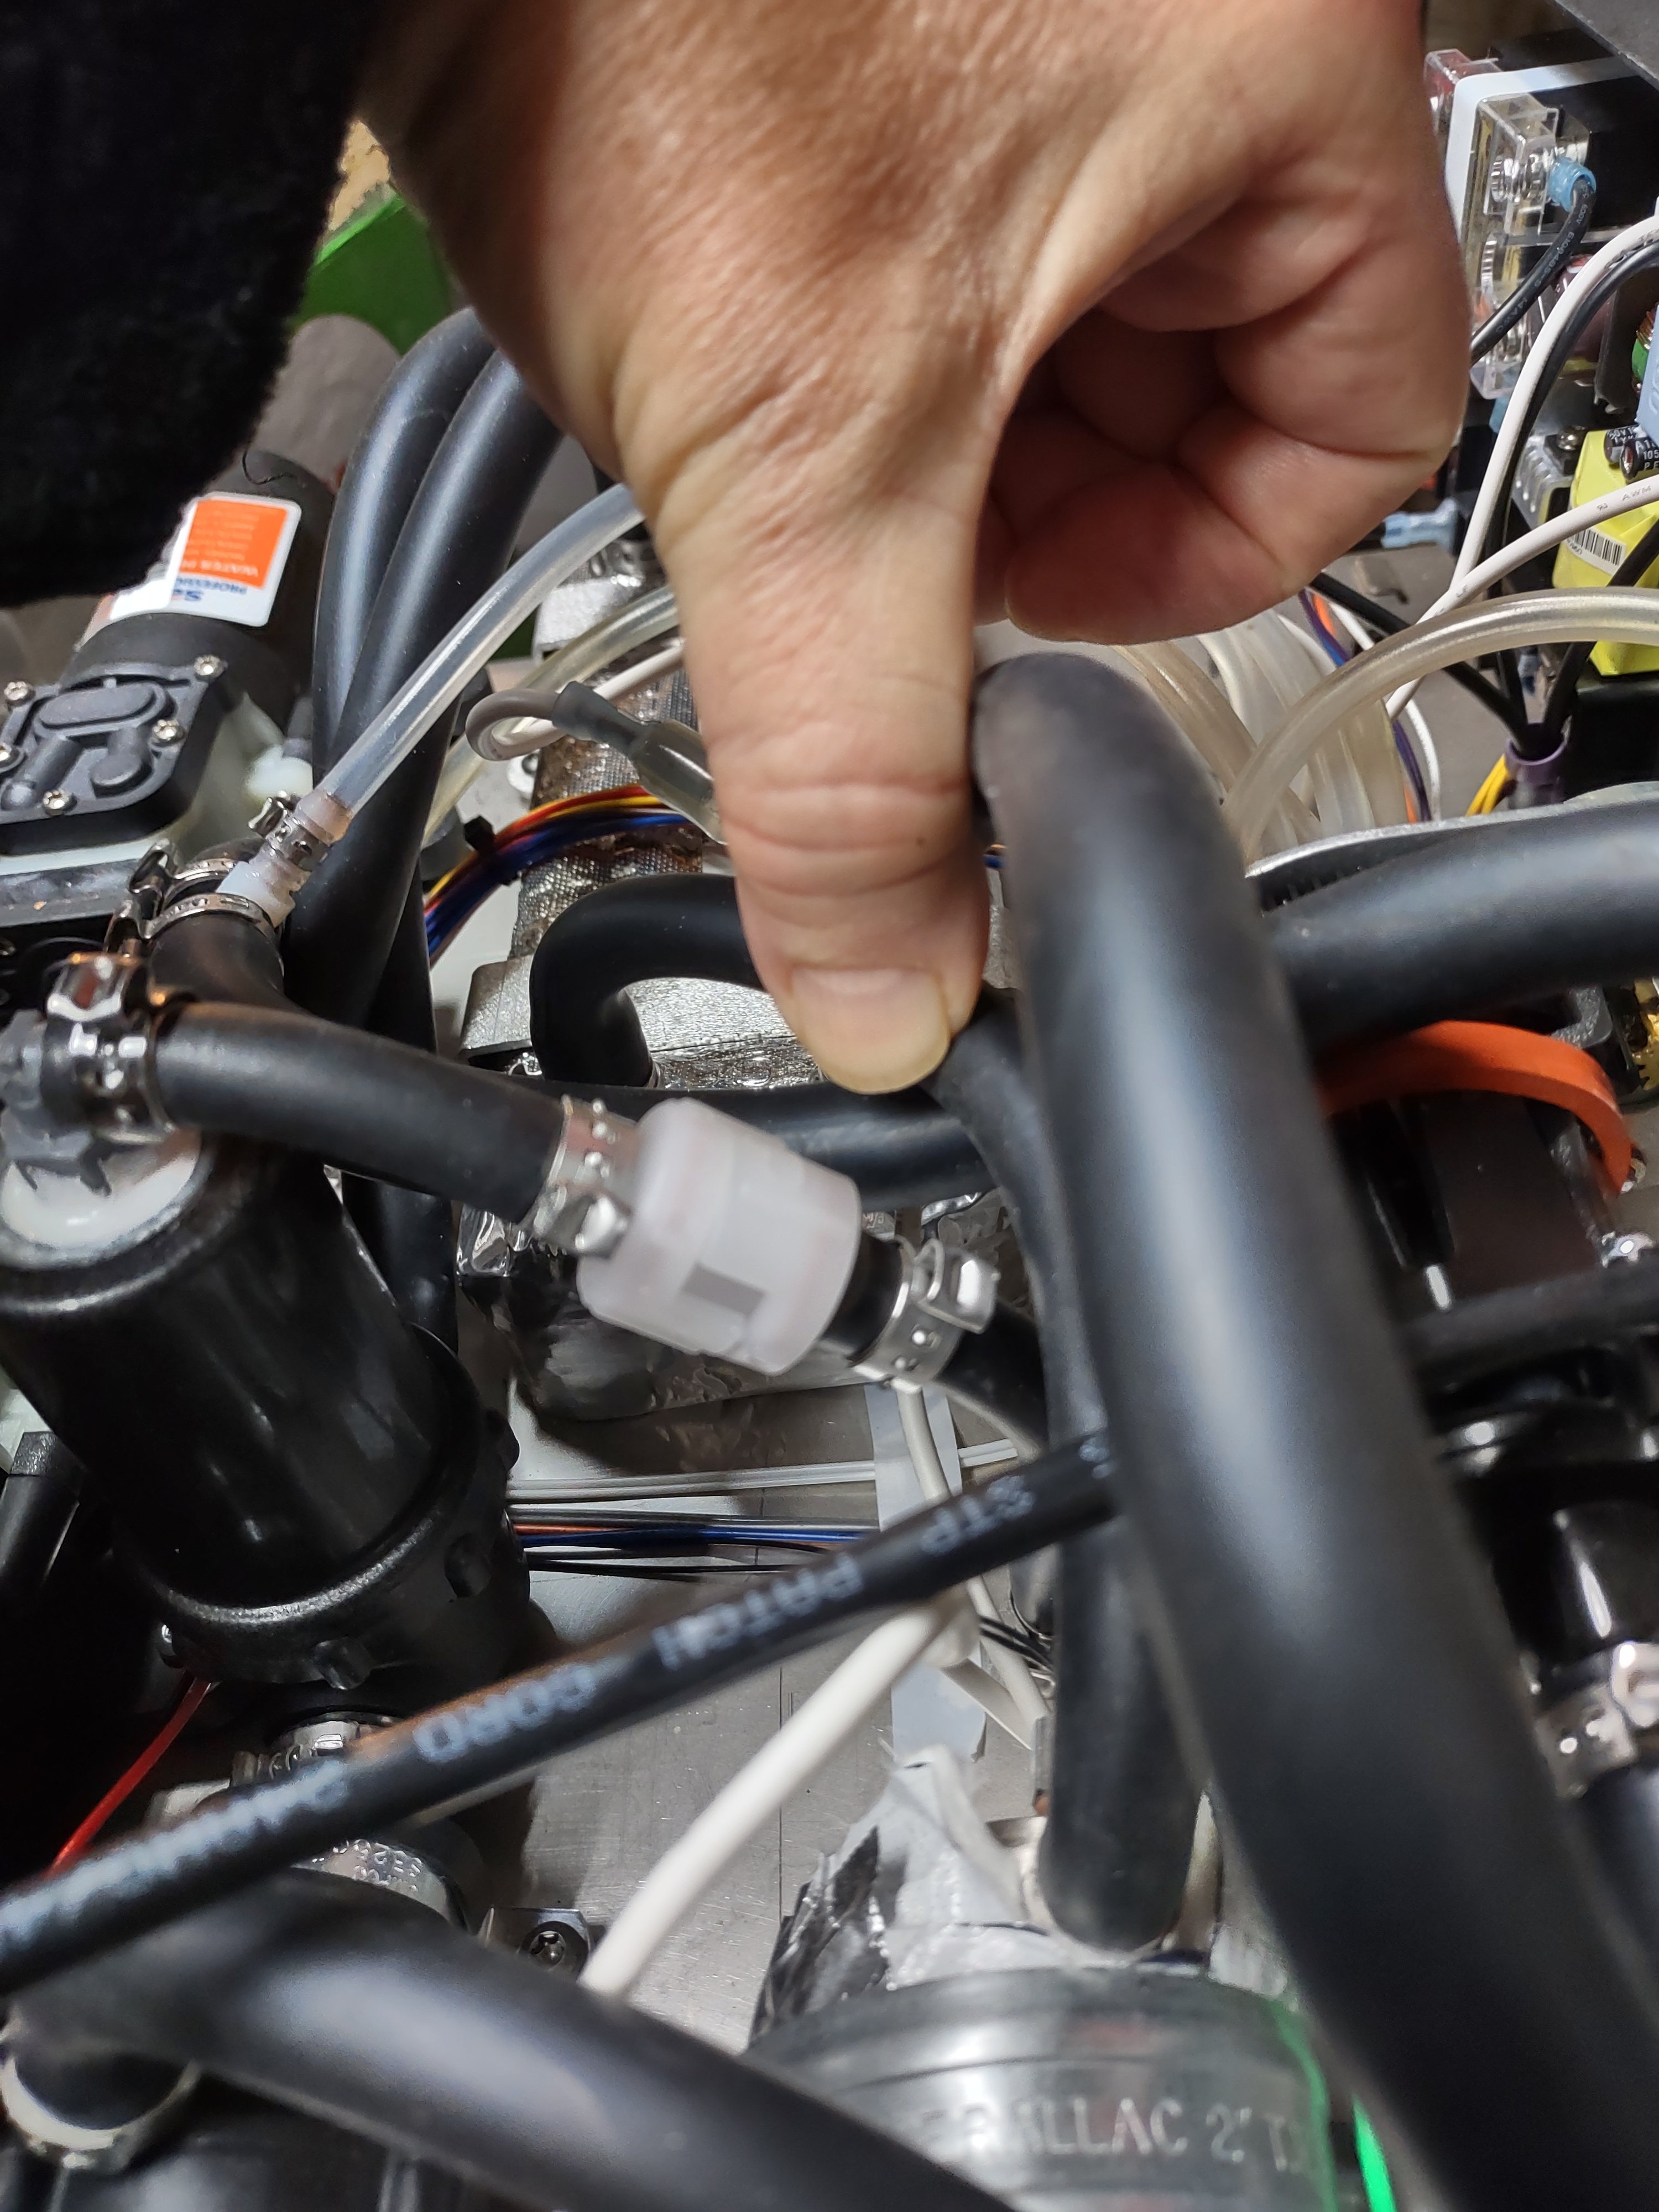
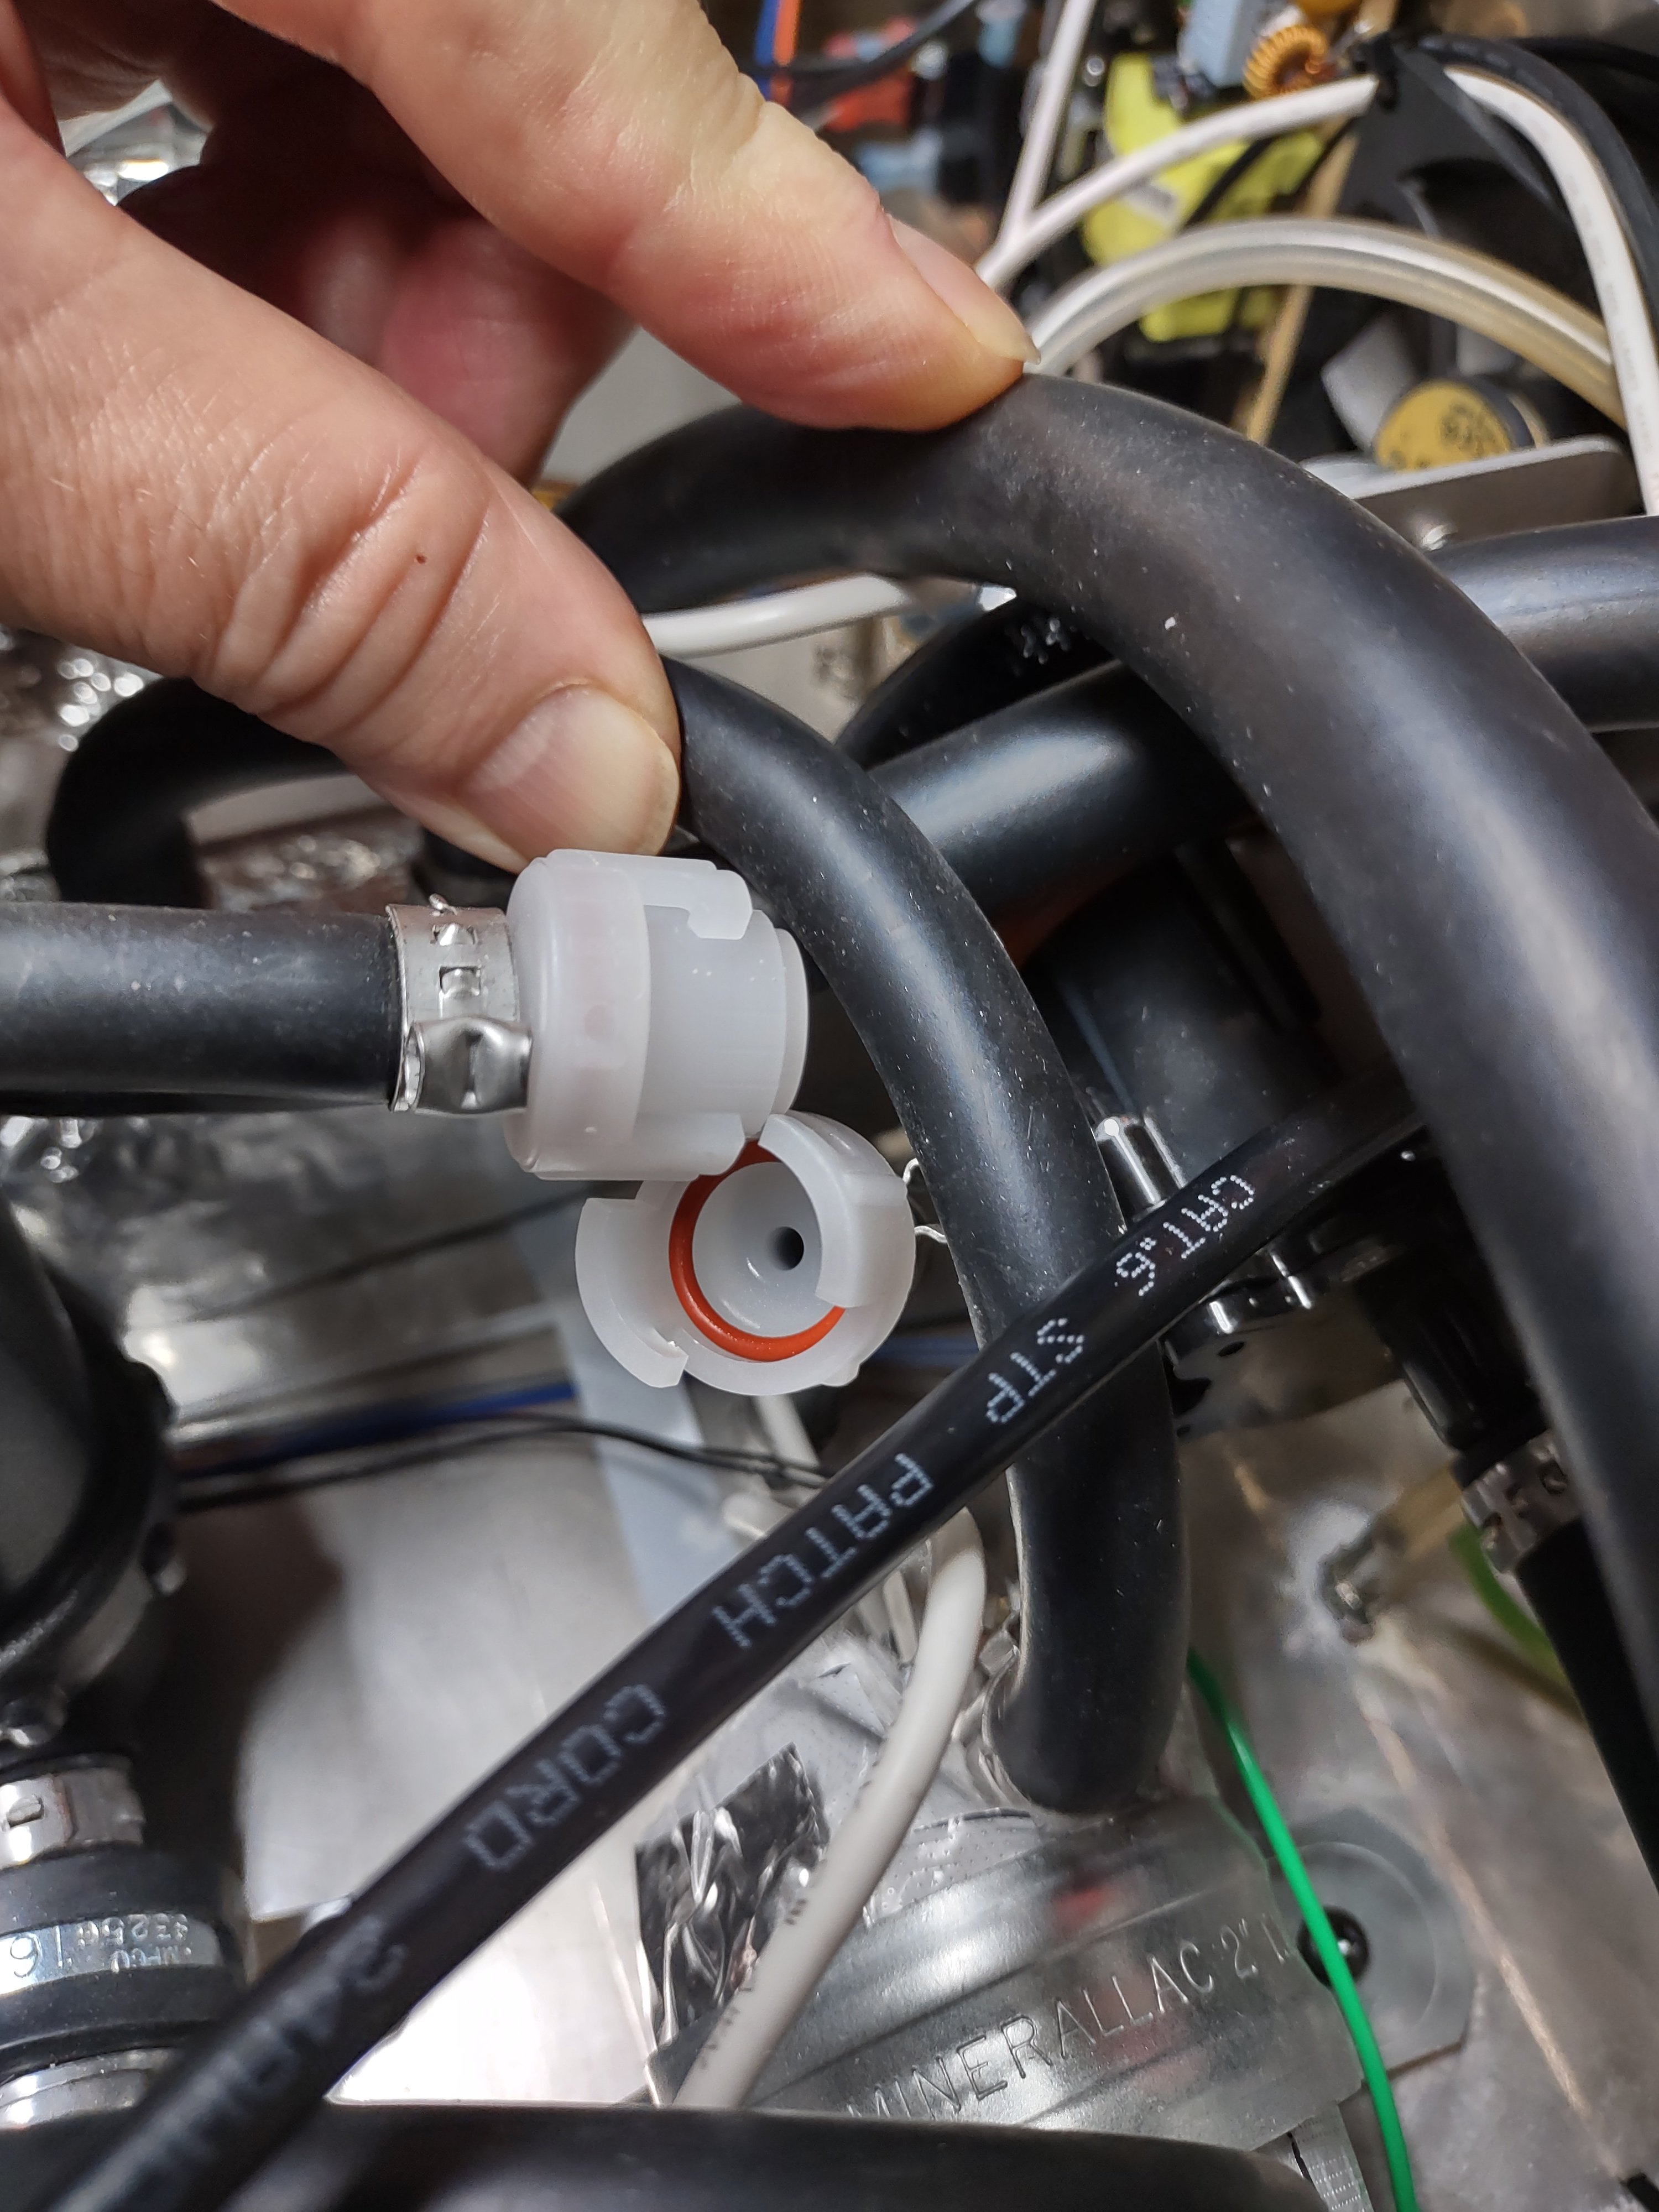
strainer on Amazon, which was the least expensive option. Since it was only the section with the barbs that I needed, the bowl material was unimportant to me. Justin gave me great advice. It did fit perfectly and my Z1 is back in business. He warned that while there is no problem using the clear bowls on the external filter, they would melt if used in the HEX loop. I'm not sure why that would be, since I expect that the temperatures would be very similar, but Justin has been right about everything else, so I'm not going to doubt him here.
I made one other modification at Justin's suggestion. I flipped the heat exchanger on its edge with the wort ports on the bottom. He believes that this will help to better drain the system of wort, preventing beer stone buildup. I supported the heat exchanger with a piece of angle aluminum screwed into two of the four fittings previously occupied by the HEX clamp screws. I used nylon ties to secure the heat exchanger to this little bridge. I used a removable clamp for one of the water/glycol connections in order to make future top-ups easier.
By the way, you may notice a big gob of red-orange silicone on top of the aforementioned strainer. In my attempts to correct the leak in the strainer, I had tightened the cap on the housing. This resulted in the barb on the top turning 45 degrees, forcing me to reposition it. Picobrew had used a clear silicone, which I needed to remove to reposition the barb. So, I used some red, food-safe, high temperature RTV silicone to re-seal it.
I am unsure whether this modification will be possible on the models with the large boiler. There's not a lot of extra room for rerouting hoses in those. One of my three Zs has the large boiler. I think I'll just be extra careful to run cleaning cycles after every batch.
View attachment 734778


![Craft A Brew - Safale S-04 Dry Yeast - Fermentis - English Ale Dry Yeast - For English and American Ales and Hard Apple Ciders - Ingredients for Home Brewing - Beer Making Supplies - [1 Pack]](https://m.media-amazon.com/images/I/41fVGNh6JfL._SL500_.jpg)