You are using an out of date browser. It may not display this or other websites correctly.
You should upgrade or use an alternative browser.
You should upgrade or use an alternative browser.
New Keezer - thank you all!
- Thread starter DBC
- Start date

Help Support Homebrew Talk - Beer, Wine, Mead, & Cider Brewing Discussion Forum:
This site may earn a commission from merchant affiliate
links, including eBay, Amazon, and others.
Simple, elegant, I like it! I'm going to start kegging with something similar later this summer. Nice work! I especially like that you insulated the collar with foam, it seems nuts not to do this.
Nice build!
I built a 4 keg one identical to this minus the foam. I would like to insulate mine but havnt yet due to laziness. However i do not notice a difference between the outside temp of the wood and the body of the freezer so not sure if its even worth it. Collar is made of 2x8 wrapped with 1/4 in thick maple.
Will I notice the compressor running less if I insulate? Thoughts?
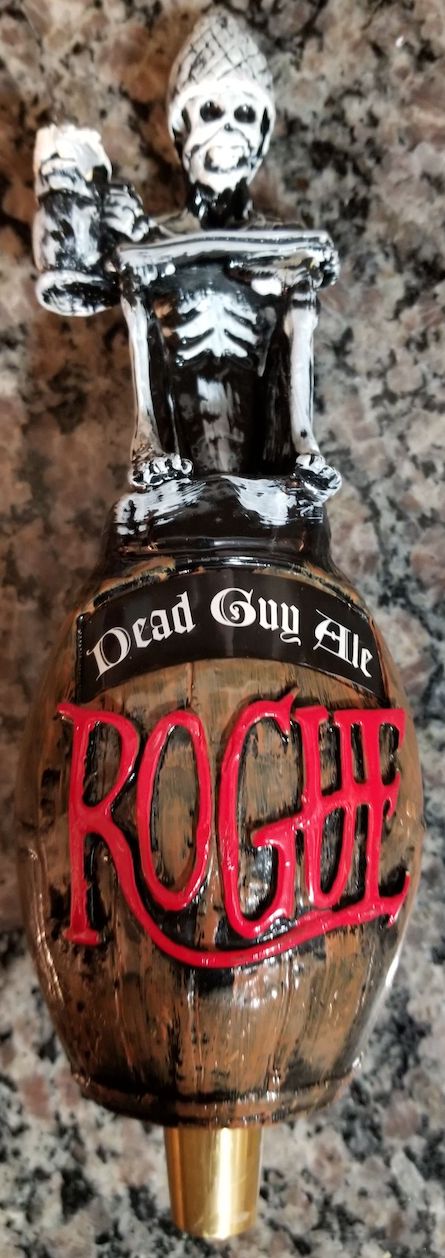
Nice and simple. I have one in the works right now. Got to love the "Dead Guy Ale" tap handle. Contact the brewery and they will send you the missing handle stickers.

You can do a search the web but wood is a VERY poor insulator. Install some foam and a small fan to circulate the air inside.

......Will I notice the compressor running less if I insulate? Thoughts?
You can do a search the web but wood is a VERY poor insulator. Install some foam and a small fan to circulate the air inside.
Insulating it definitely helped and it was very easy to do. I used 3/4 inch foam insulation boards I found at Lowes and put them in with construction adhesive. All in that part of the project took 20 minutes.
I also added a dehumidifier because I noticed s lot of condensation.
I also added a dehumidifier because I noticed s lot of condensation.
Thanks!Simple, elegant, I like it! I'm going to start kegging with something similar later this summer. Nice work! I especially like that you insulated the collar with foam, it seems nuts not to do this.
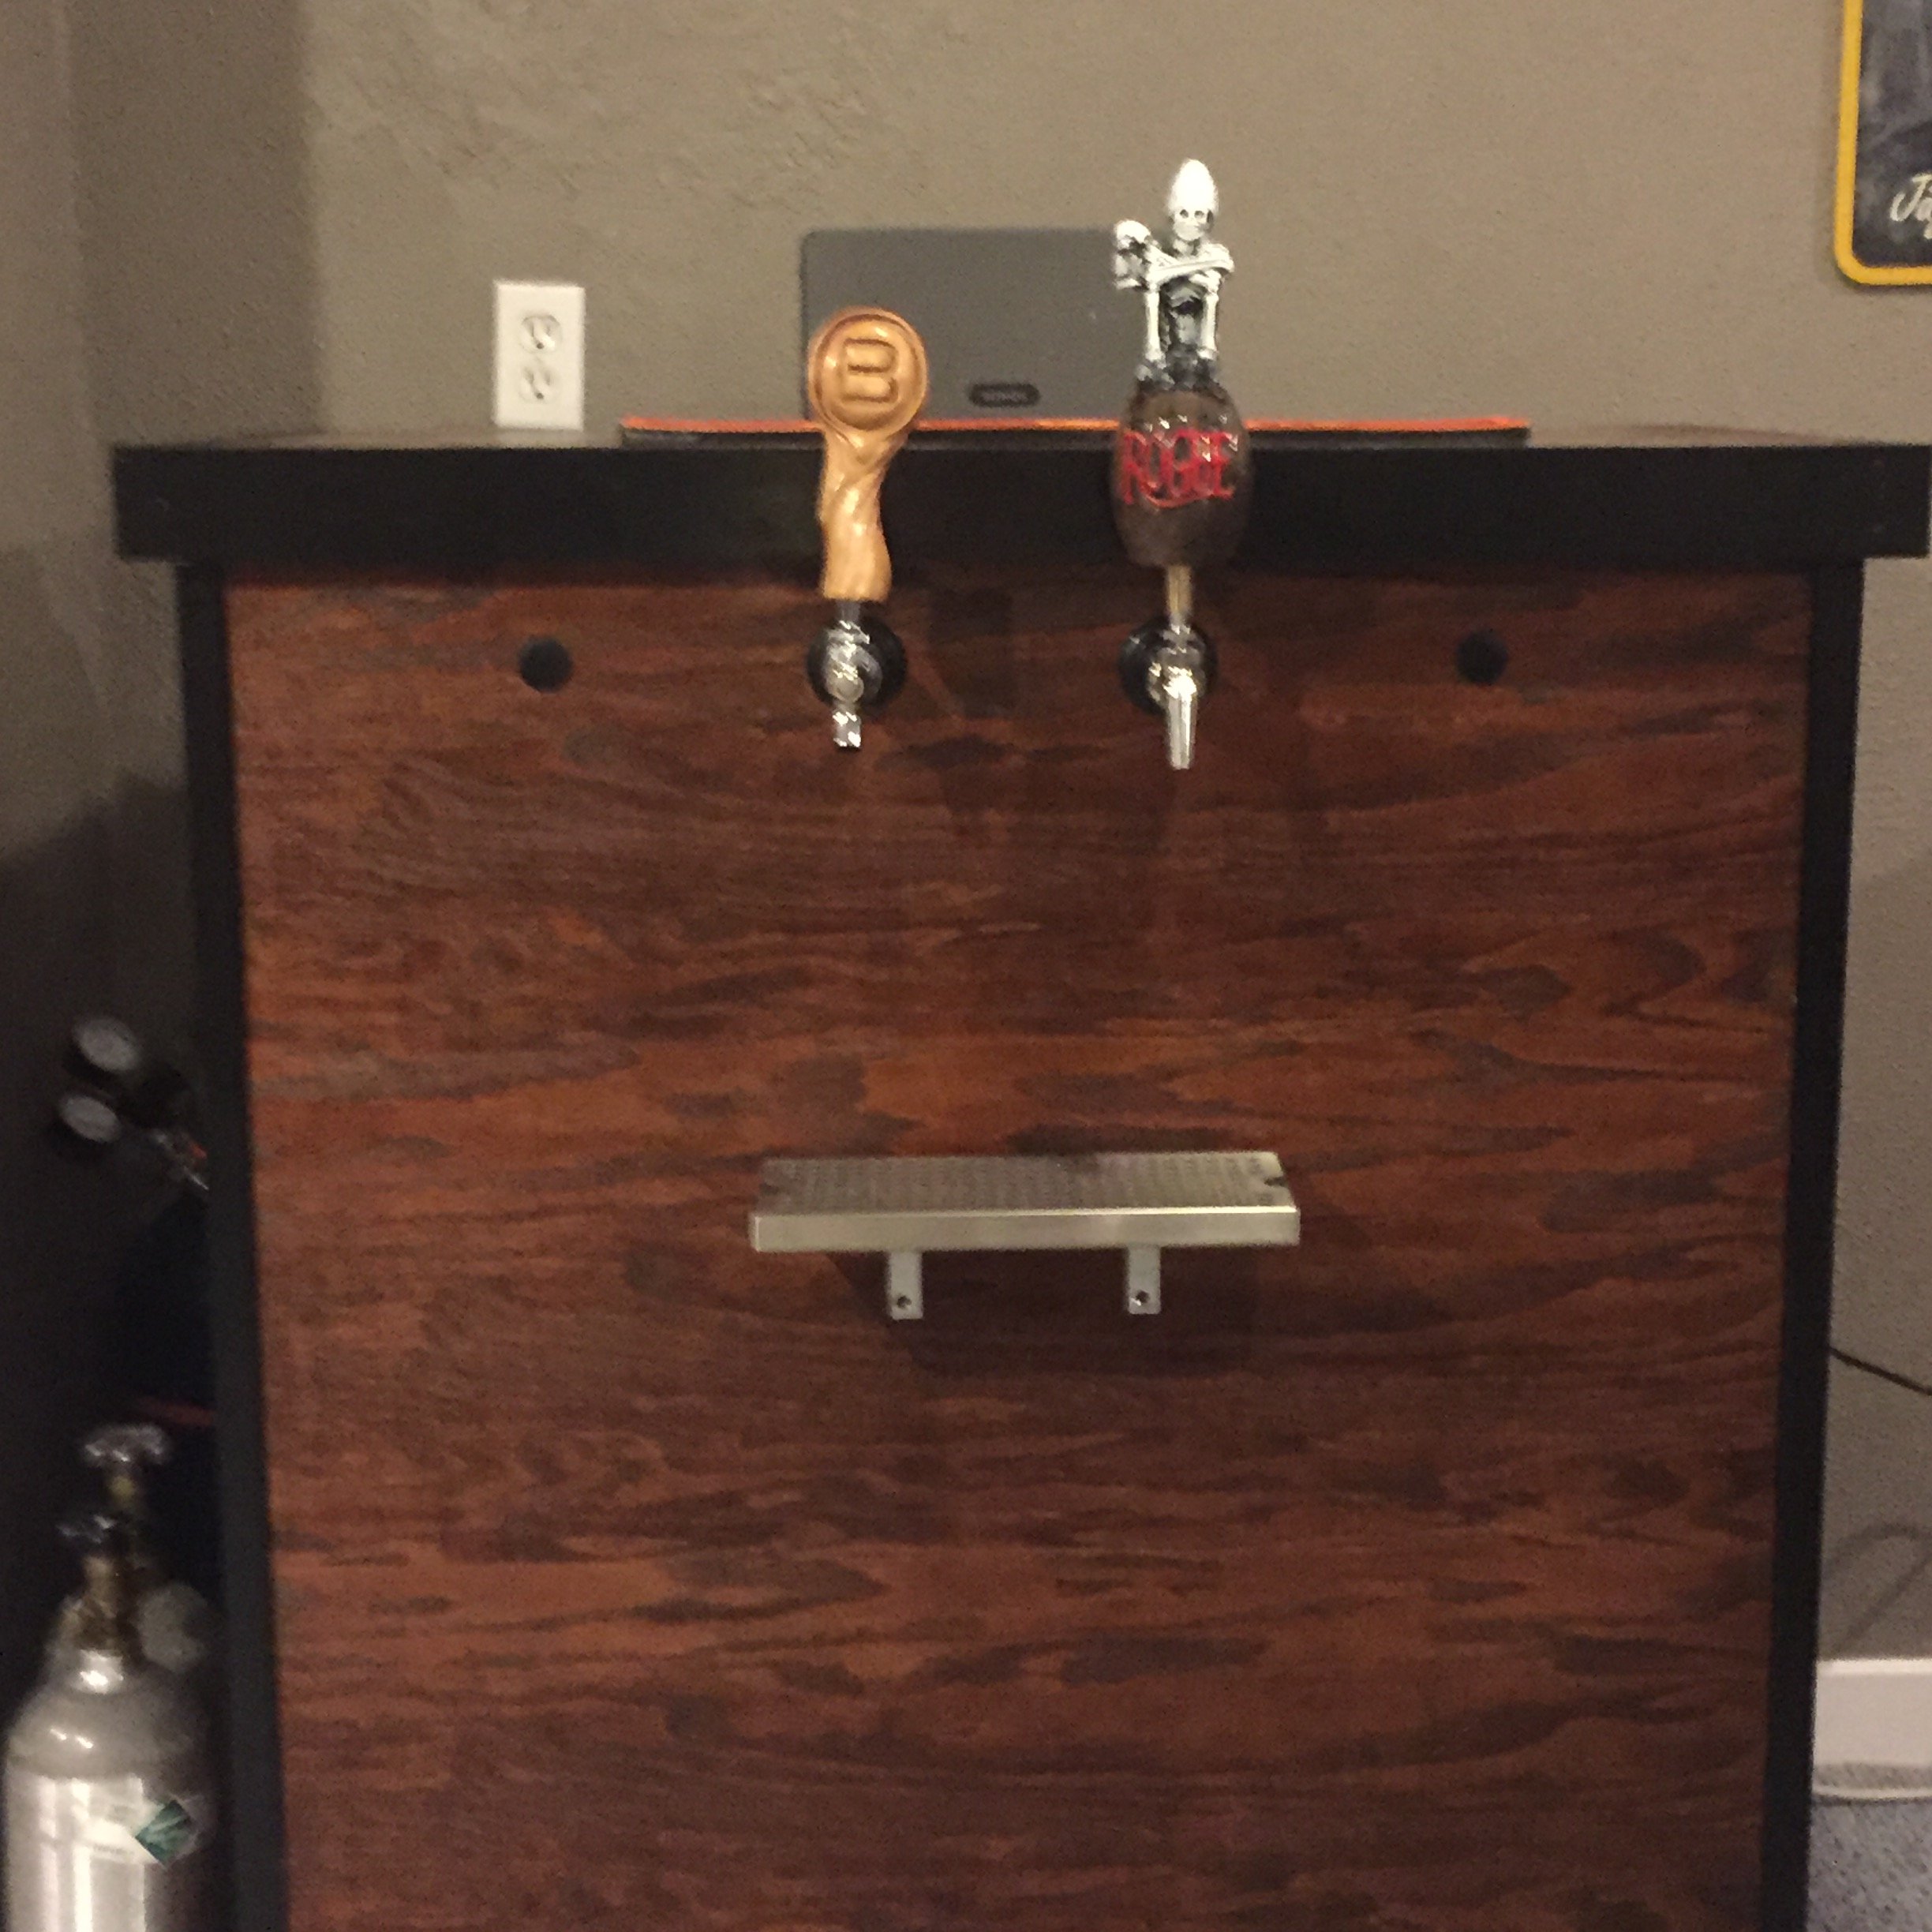
Sure. It started as a 7.1 cu ft freezer. I made a collar from 2x12’s and then wrapped the entire thing in 1/4 red oak plywood to match the bar that I built a couple of years ago. The plywood is held to the freezer with construction adhesive since I couldn’t use screws. To make sure I had adequate airflow I removed the standard screen on the side of the freezer and replaced it with decorative black mesh. This looks nicer and provide a lot more ventilation.Hey @DBC can you share some details on that freezer? How many ball locks can you get in there?
I insulated the collar with 3/4” foam boards and then used spray foam insulation to fill any gaps. In order to use my existing tap handles I needed to make spacers to go between the face of the unit and the faucets. I painted a 1” piece of 1” pvc pipe black and ran the shank through that before going into the unit. This took the faucets far enough away from the lid that I can use whatever tap handle I want. To make sure I had enough length I used 5” shanks.
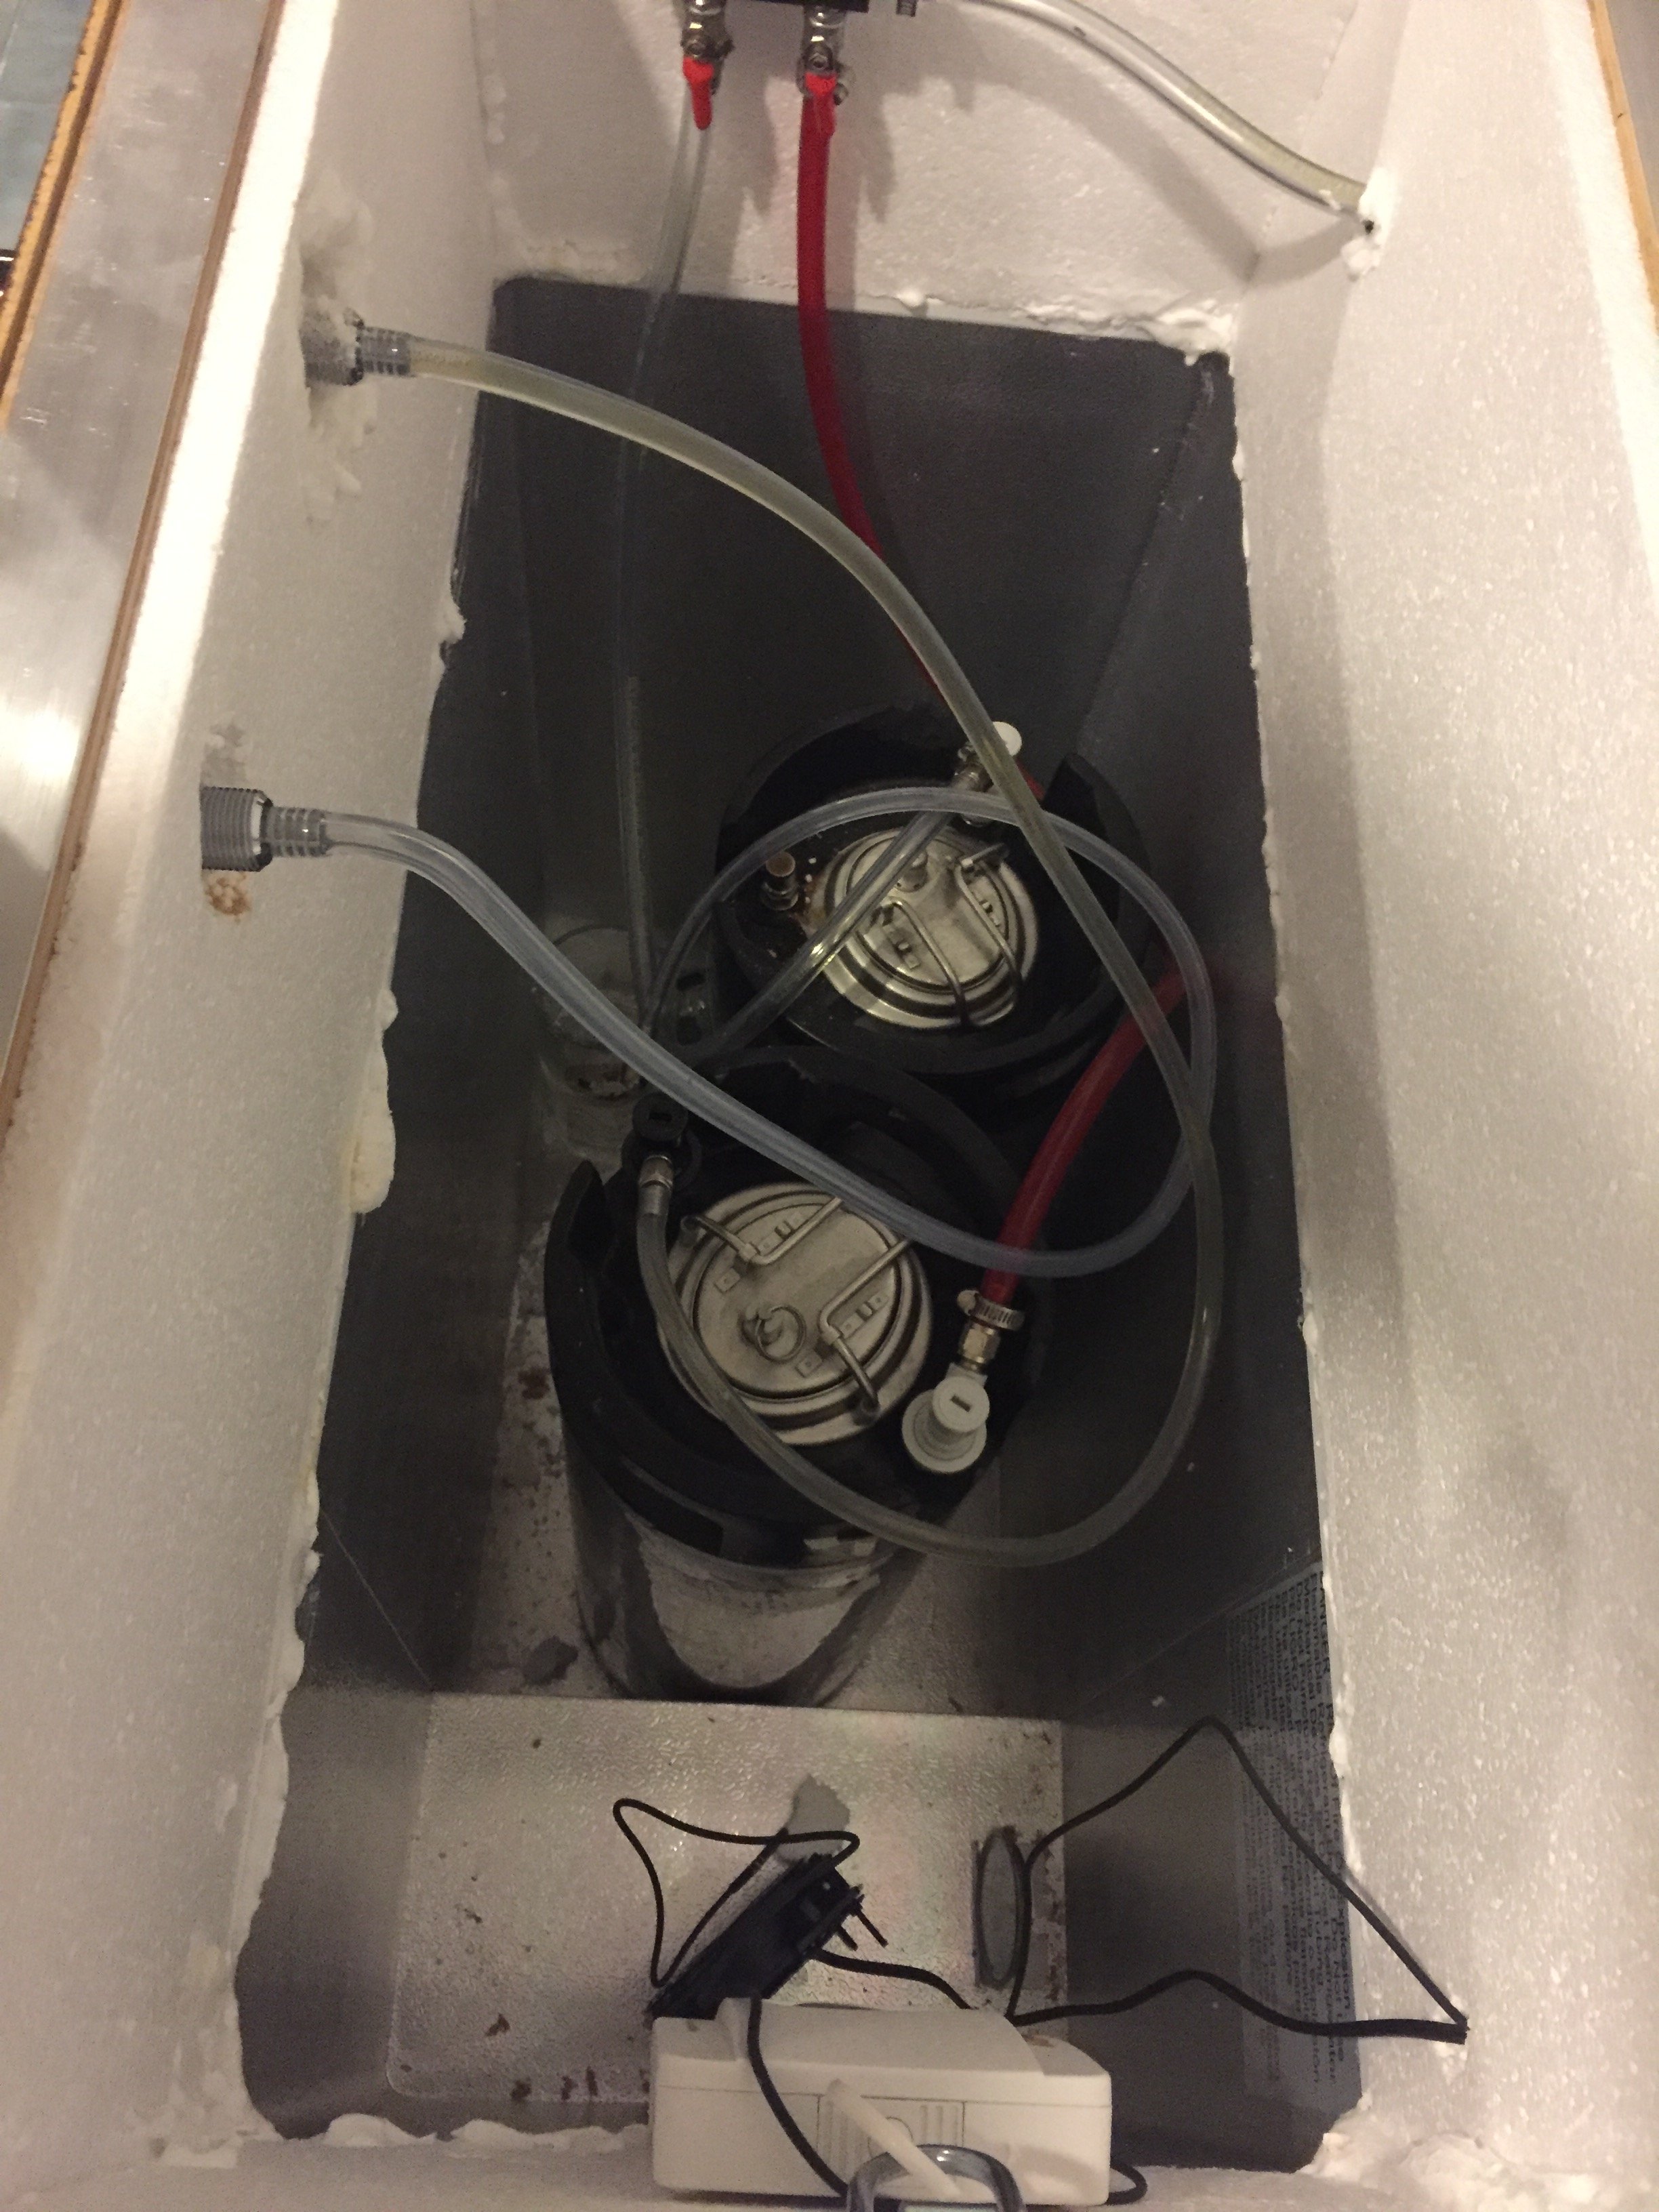
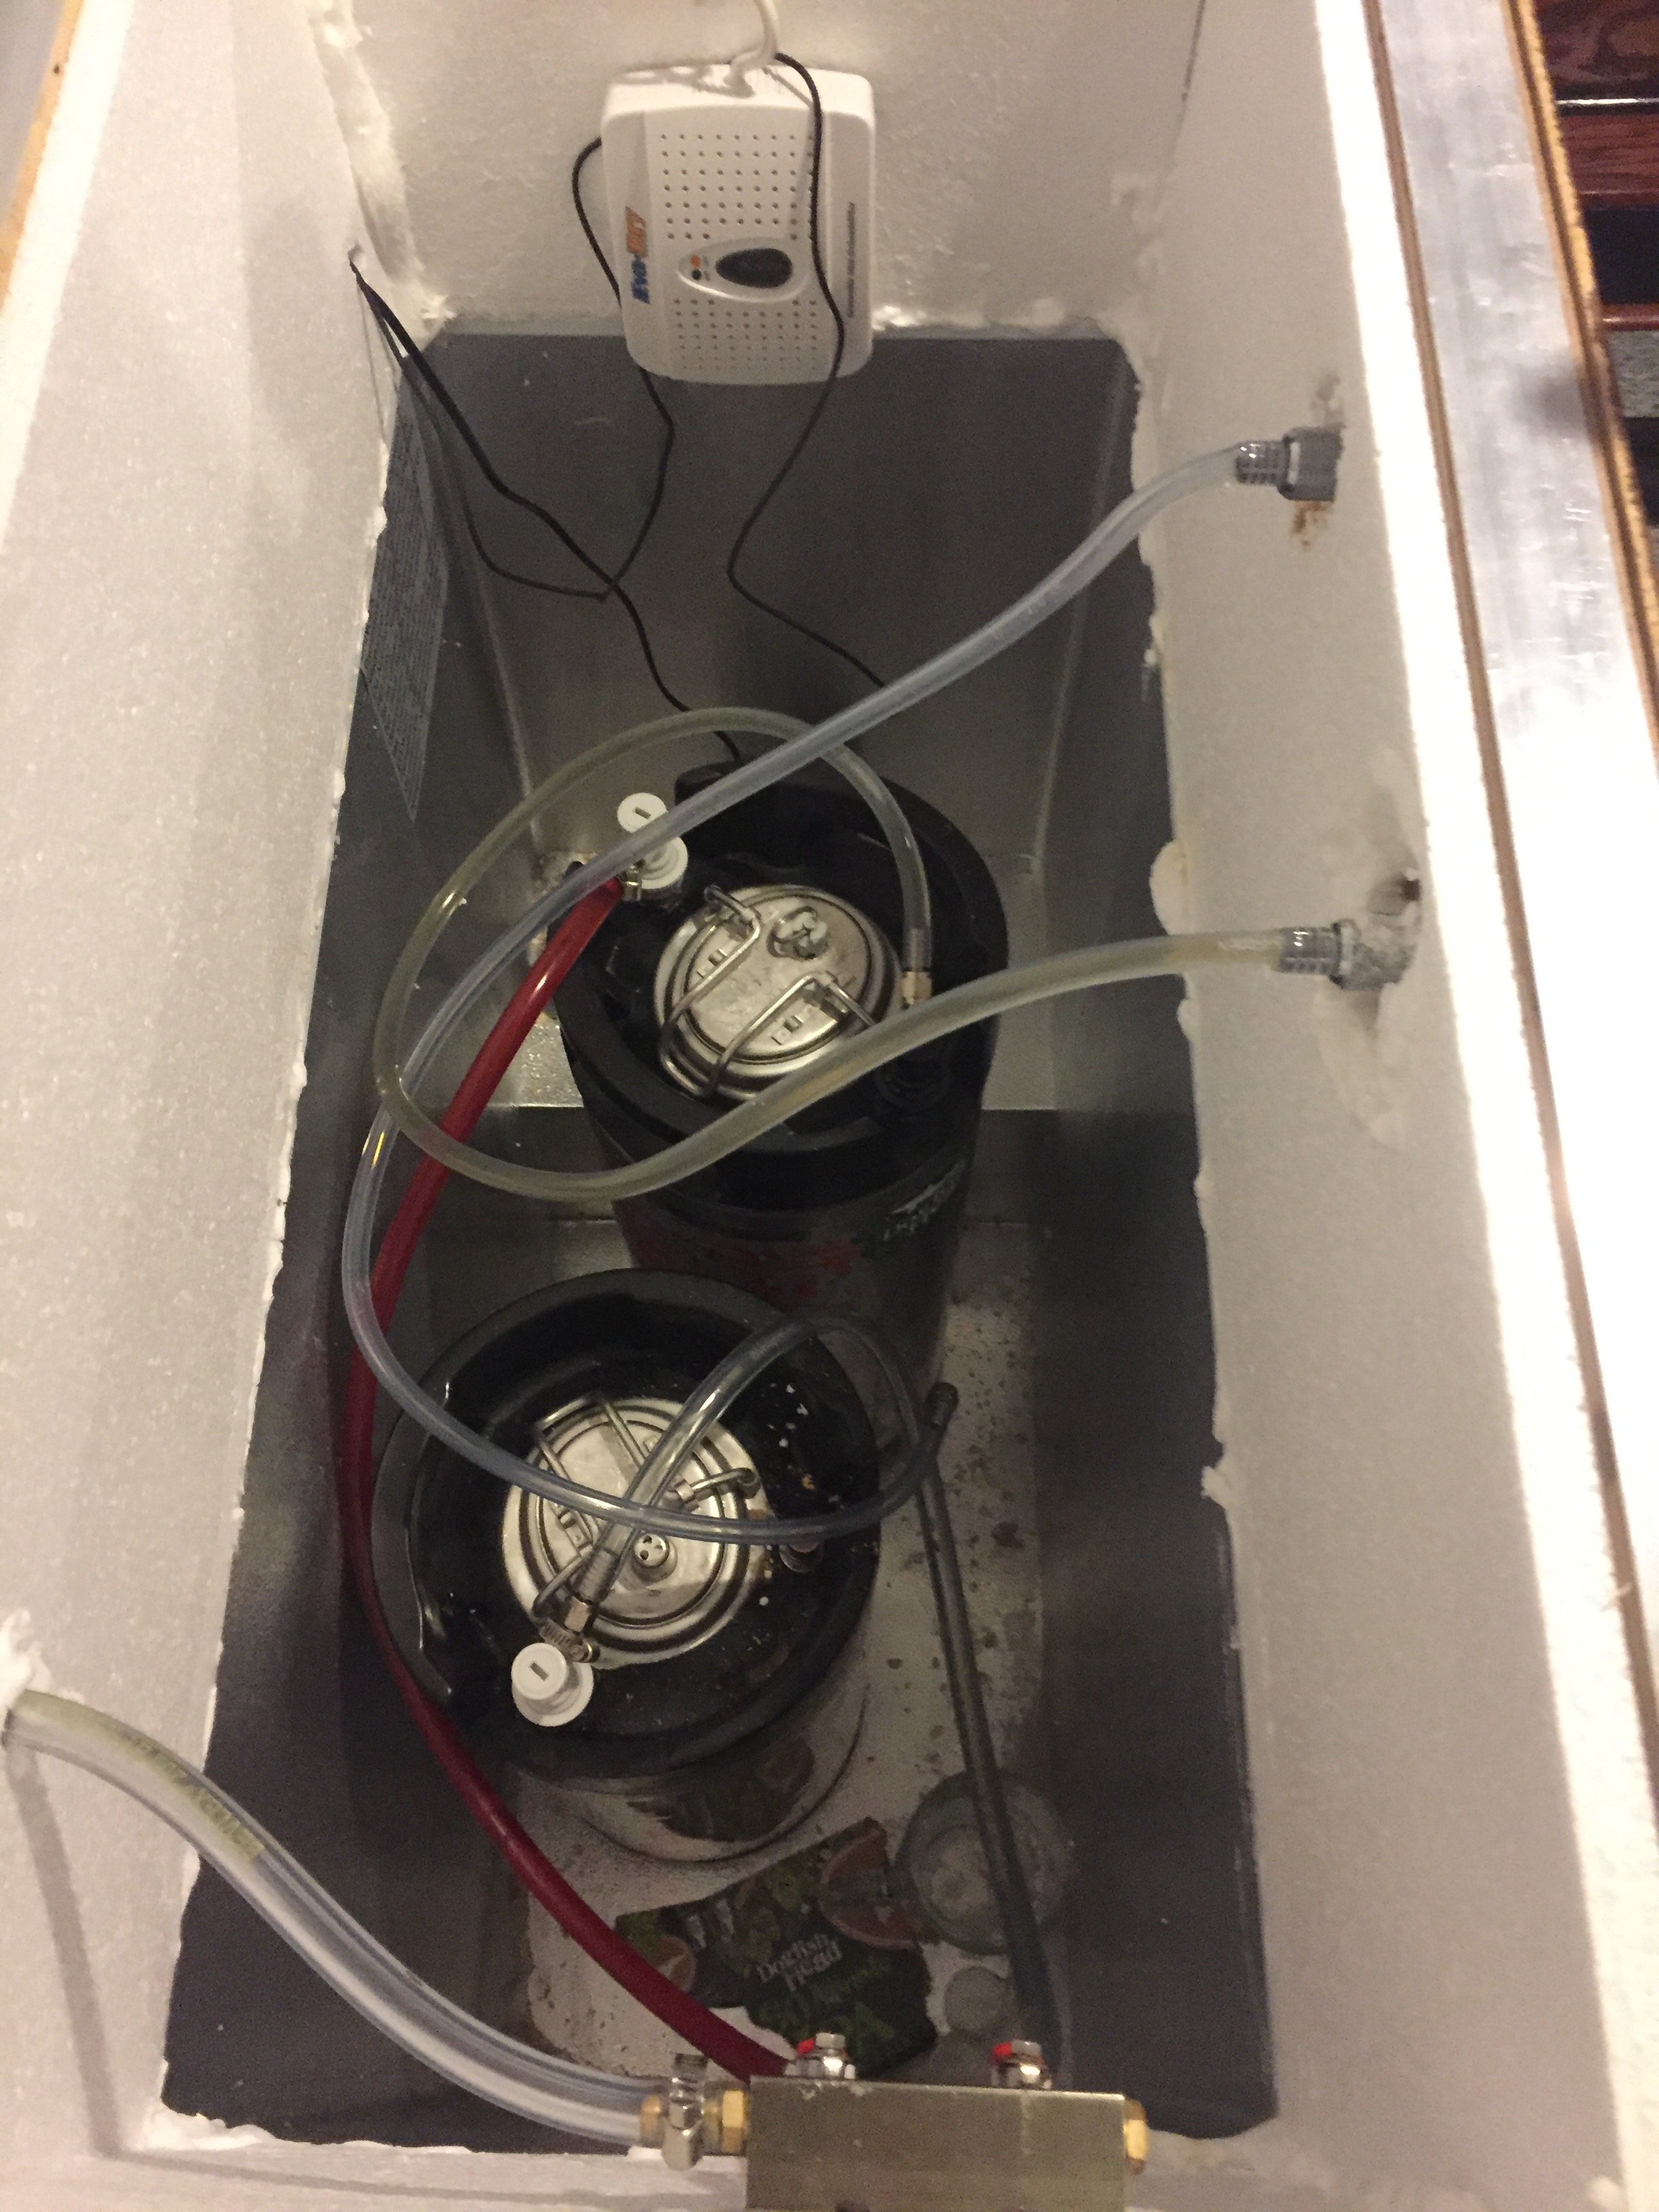
The unit will hold 5 kegs (4 on the floor of the until and 1 on the motor housing. Only 2 of the 4 taps are currently installed but the holes are there when I want to expand. By making the collar from 2x12’s I was able to put the taps higher so it is easier to pour and I can put my Fast Ferment conical inside if I decide to use it as a fermentation chamber.
I am using an Ink Bird temperature controller which I mounted to a swinging plate on the backside of the unit. Inside is an AC Infinity computer/project fan and a Ever Dry Renewable dehumidifier. I use a large gas can and wanted to keep that outside of the until so I put a hole in the back of the collar to run the gas into the unit. Once inside, the gas hose connects to a small manifold that allows me to pressurize 2 kegs at the same time. I will eventually upgrade that so I can control the pressure on each keg individually but that is a project for another day (SWMBO is already pissed about the time and money that went into what I pitched as a “simply project”).
I used gorilla glue to mount 2 L-brackets on the front of the unit and put magnetic tape on the top of them to secure a stainless steel drip tray. When I expand to 4 taps I will need a larger drip tray but that is also for another day. See comment above about SWMBO.
So far everything has worked great! Thanks again to everyone here for the input! Now onto making another tap handle!
Insulating it definitely helped and it was very easy to do. I used 3/4 inch foam insulation boards I found at Lowes and put them in with construction adhesive. All in that part of the project took 20 minutes.
I also added a dehumidifier because I noticed s lot of condensation.
You might check for the seal of the lid and/or where the collar meets the freezer mouth...and anywhere that you may have imperfect joints.
I had a keezer in which I had puddles of condensation; it eventually died and I bought a new one, made a new collar. No condensation at all, period. I'm pretty certain this is due to my having made a better seal between lid and collar and where the corner joints seal together.
Check especially that the keezer lid fits squarely and tightly. You can check this by closing the lid on a dollar bill and seeing if there is resistance to pulling it out.
Mic Carp
Loud Mic
Perfect,View attachment 619062 View attachment 619063 View attachment 619064 View attachment 619065 i just finished building my keezer - with a lot of help from the forums!
I like how you covered the entire front to make it look like a piece of furniture. that'ss my plan. I'll use this photo to impress upon the girlfriend the importance of having ndoor beer too.
To make sure I had adequate airflow I removed the standard screen on the side of the freezer and replaced it with decorative black mesh. This looks nicer and provide a lot more ventilation.
Could you add a picture showing this?
Nice build congrats!


