OP
OP

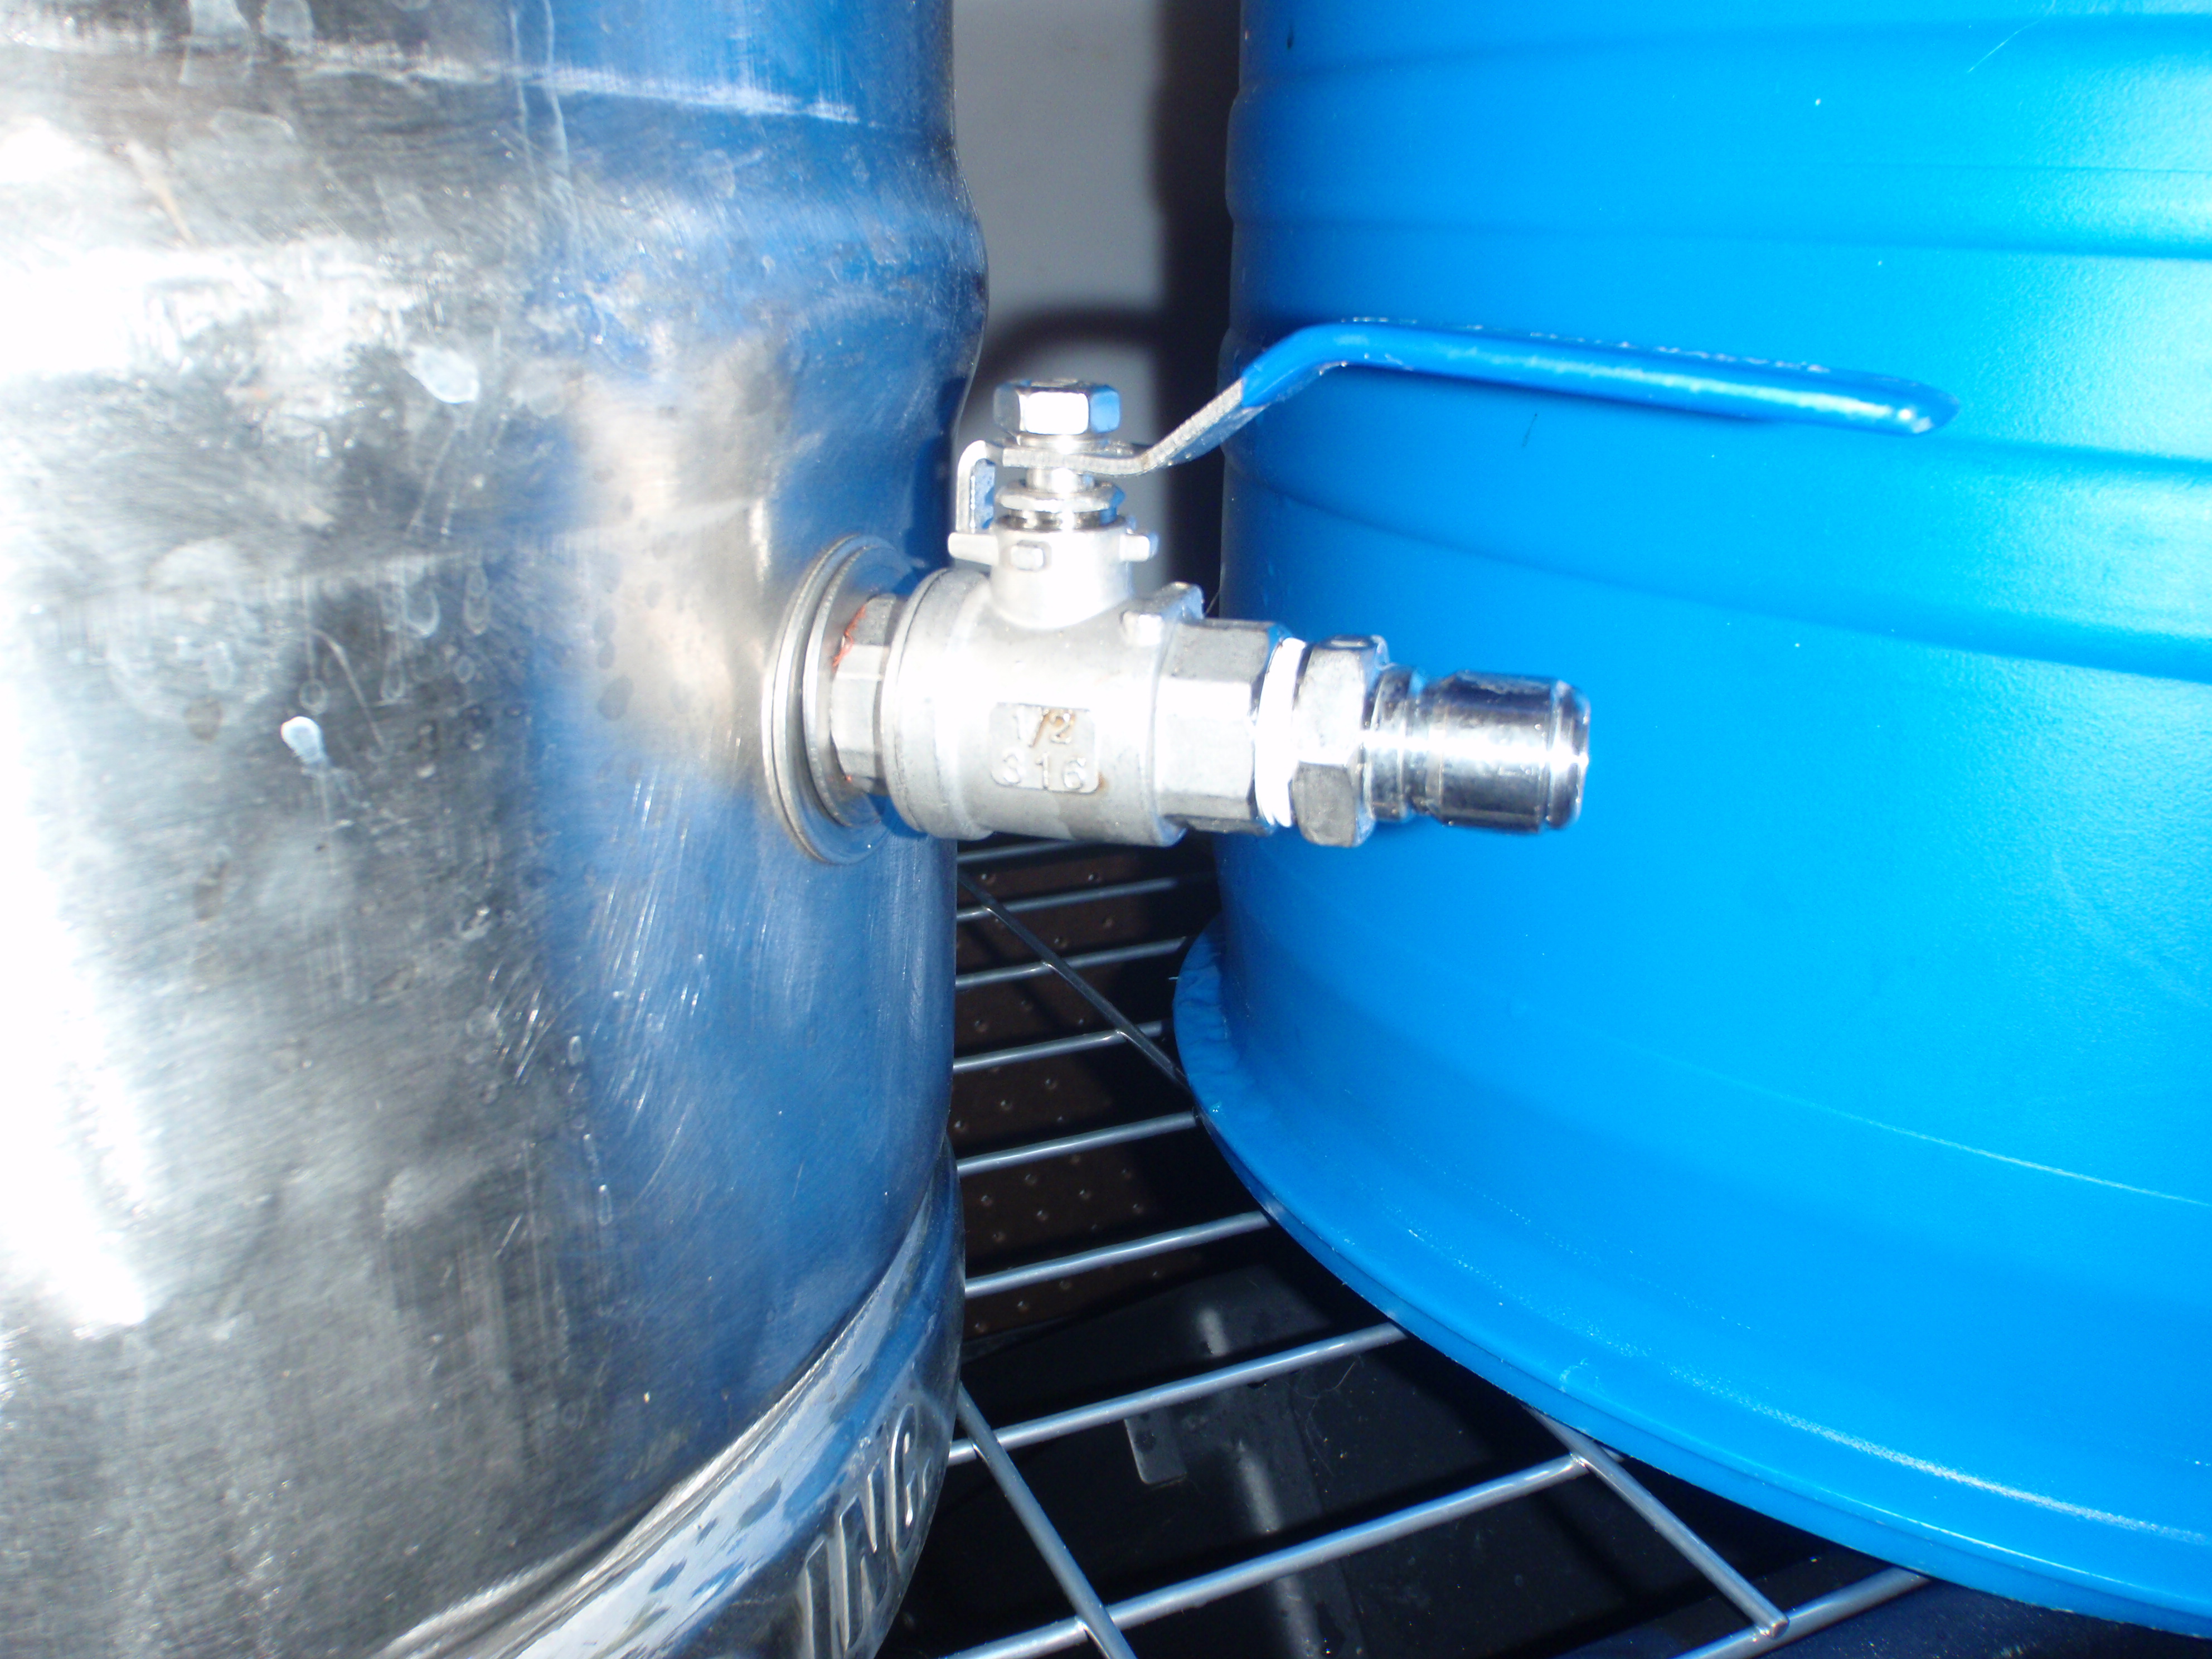
First off, I wish I had done the kegs inverted--just a much cleaner/more efficient drain process for cleaning....but I didn't.
What do you mean by "inverted"? I'm going to be putting a coil in my keg soon too.
Some guys turn the kegs upside down and cut the bottom instead of the top. .. Then they install a clamped fitting on the existing 2" Sankey fitting as a drain instead of a dip tube through the side.
You can't do it with propane burners but with electric elements it is possible and makes cleaning them in-place MUCH easier.
Don't disconnect them. Make how you clean part of the design. That's what I did. Nothing in my boil kettle is unplugged to clean it. It's simply tilted sideways into sink right besideand then sprayed clean while I wipe with a sponge.3) Think hard about the power cable design. Even though Kal's design is great for keeping water out of your electricity where the cable meets the element, having a long (heavy) black cable hanging off of it really is a pain. I'm not sure what the solution would have been, but there has to be another way that would make cleaning them easier. I also almost had a problem with temp probe cable lengths but ordered the whatever deluxe ones and they were long enough.
let me know if you want to sell the wrong ones. I think I could use them send me a pm with some pics of them if possible. Good luck with the rest of the build. I completed a much simpler 1 pid control panel for a herms setup. Also if you want I could find the name of the Chinese eBay seller I used to buy lights and switches, I had tracking from china and only took 10 days to NY.


Don't disconnect them. Make how you clean part of the design. That's what I did. Nothing in my boil kettle is unplugged to clean it. It's simply tilted sideways into sink right besideand then sprayed clean while I wipe with a sponge.
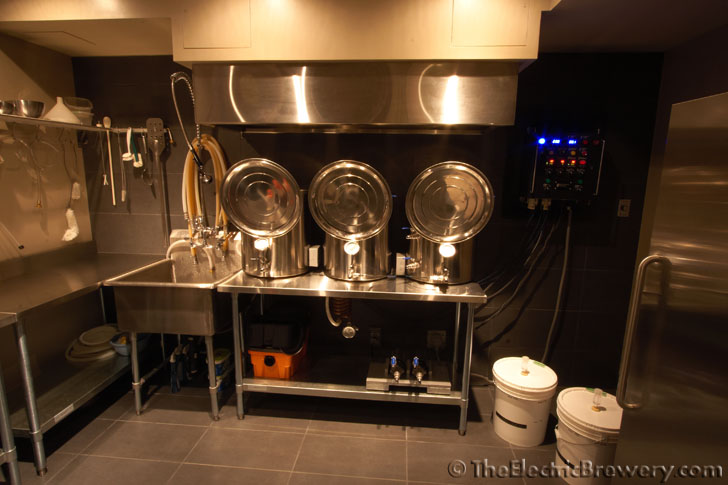
The Layout was done like this on purpose to make cleaning the easiest possible. The HLT never gets disconnected as it never needs to get cleaned.
The MLT gets the temp probe disconnected and it's cleaned on the left of the sink (tilted into the sink) while boiling.
Kal
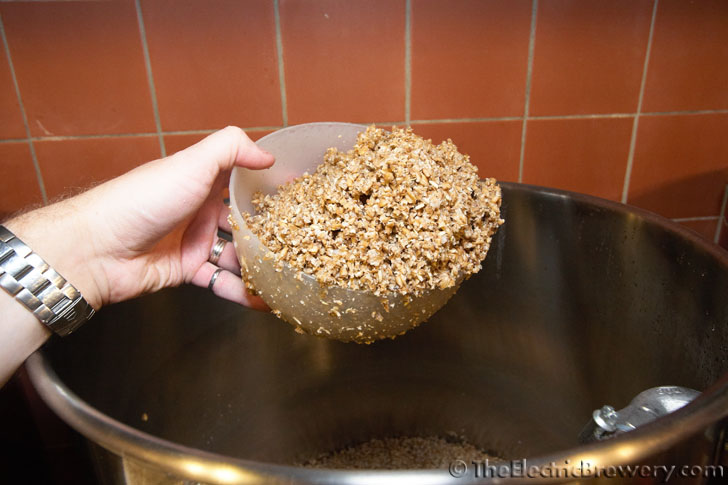
emjay said:How do you clean and deal with the spent grain?
How do you clean and deal with the spent grain?


![Craft A Brew - Safale BE-256 Yeast - Fermentis - Belgian Ale Dry Yeast - For Belgian & Strong Ales - Ingredients for Home Brewing - Beer Making Supplies - [3 Pack]](https://m.media-amazon.com/images/I/51bcKEwQmWL._SL500_.jpg)


