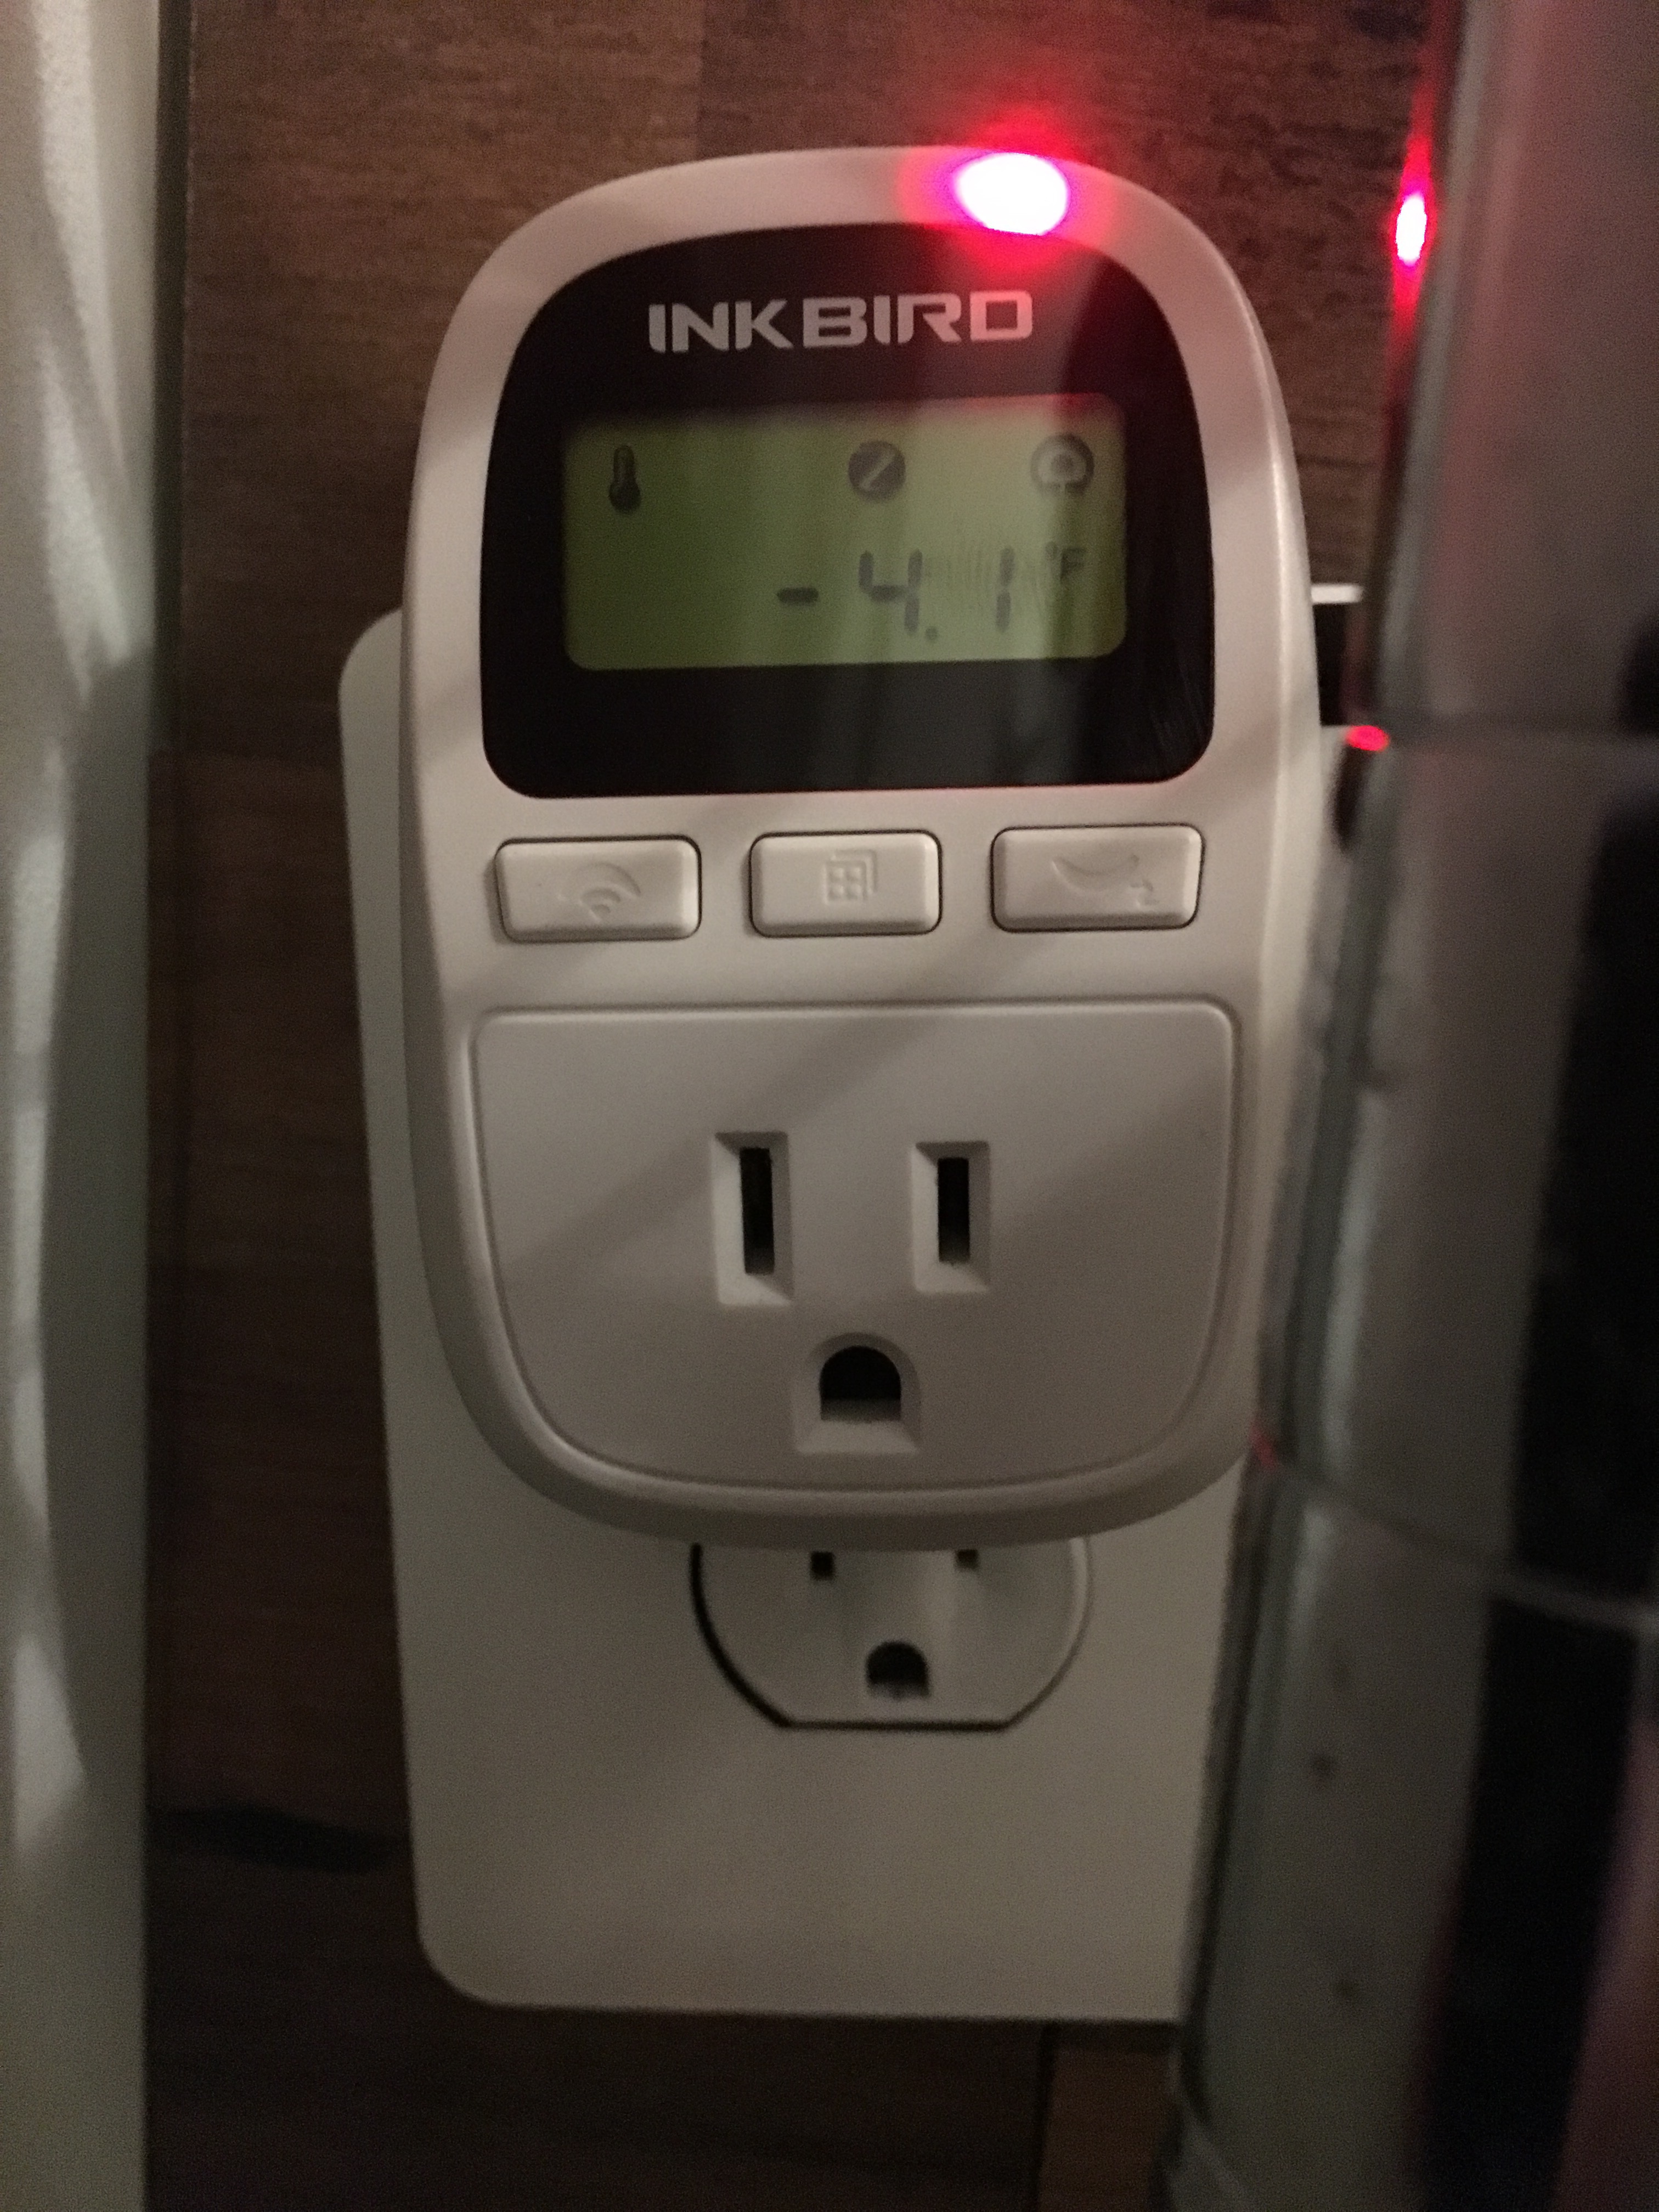
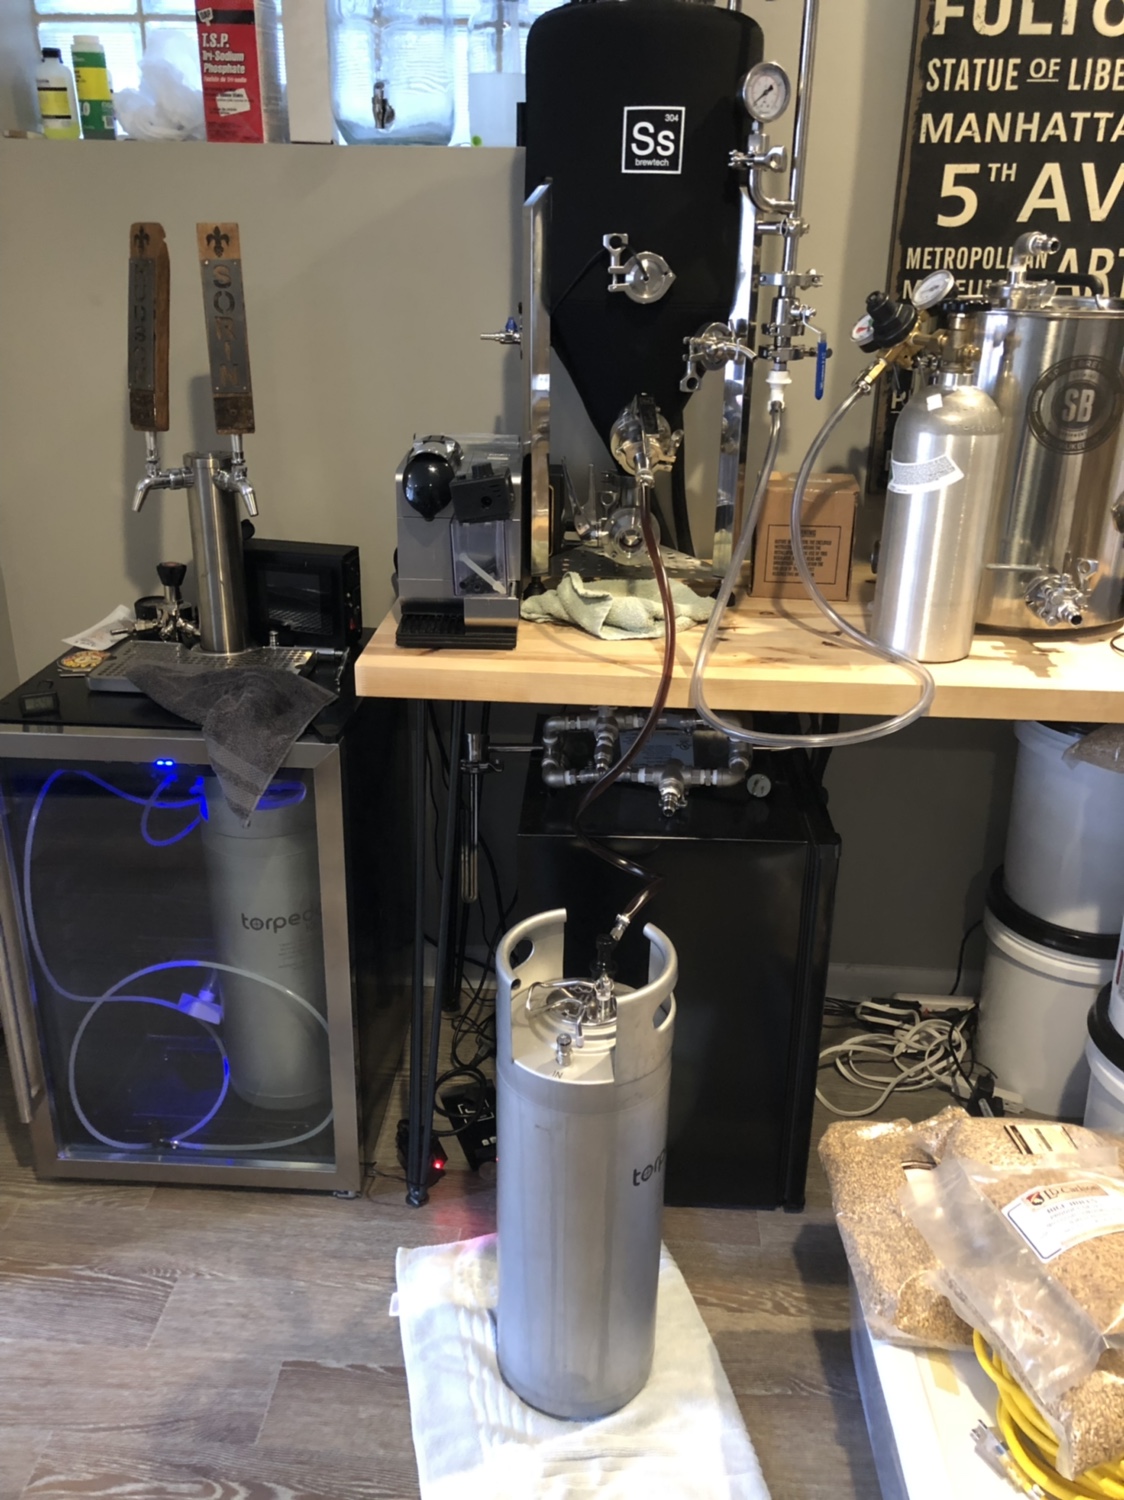
I would say it works extremely well actually. (Probe submerged in glycol mix)


I may have missed in the thread but how does this work in a garage with where the temps could reach 90 degrees. Can a small mini fridge keep a 5.5gallom batch 62-68degrees?
Thats just a small dorm style fridge right? The half size ones?I would say it works extremely well actually. (Probe submerged in glycol mix)
View attachment 581856


Good info. I awoke to my chiller overflowing after 2.5 years of running. It gained about .5 to 1 gallon in that time frame. Freaked me out for a bit.I have a question and an observation. My question is for the OP... @Metzen, how have you dealt with condensation forming on the outside of your glycol reservoir?
I may be able to help answer @jturman35 about garages. I'm in South Florida, my garage door faces South, and my chiller is about 3' away from the door. Not sure if it could get any hotter or muggier in the middle of the summer. Right now, I have 15 gallons of beer spread across two 60-liter Speidel fermenters in a DIY 30 cu ft. ferm chamber, and my compressor is kicking in once every three hours to maintain the beer at 65℉ during a diacetyl rest. In a couple of days, I start lowering the temp to lager range, so I expect it will start cycling more. The more you insulate the reservoir, fermenters, and hoses from ambient air, the less effect the ambient conditions will have on your system.
My observation is one I didn't expect: My reservoir has been filling itself up. It turns out that propylene glycol is hygroscopic, and it has been drinking in moisture from the ambient air. Lots of moisture.
When I started looking into it, I found out that most commercial glycol systems are closed loop, preventing contamination from ambient air. I guess what I need to do is figure out how to seal off the reservoir from the rest of the world.
I'm transitioning from a fermentation chamber to a glycol cooling system using a converted mini fridge with a freezer compartment as a chill source. I had read a few comments on this approach on these forums but nothing that provided much detail on build or examples. I'll keep this thread updated as I test my first brew and make observations.
View attachment 406815
View attachment 406816
View attachment 406817
View attachment 406818
View attachment 406819
View attachment 406820
View attachment 406821
My ferm chamber worked perfectly fine, but let's start with a few key reasons for the transition to glycol:
1) Wanting to ferment more than one batch at different temps at the same time (i.e. Ferment, cold crash, or lager different batches at the same time)
2) Lack of space in my "brewery" (term used very loosely) and unwillingness to buy multiple fridges to handle more than one vessel
So a glycol based solution was appealing. However, I only brew small batches (usually 5 gal, rarely 10 gal) and spending $1k or more for a chiller would never get approved by the Mrs.
I considered a few DIY options:
(i) AC unit conversion - documented in depth across this forum - seemed a bit clunky and wouldn't fit well in the closet (see photo above) in which I planned to keep my fermenters. I also planned to stack Brew Buckets and this wouldn't have been an a very sturdy base for this
(ii) Chest freezer with glycol reservoir - never liked the idea of relying on air or surface contact between a freezer and the reservoir as a heat transfer medium
(iii) Water chiller or aquarium chiller - concerned that they wouldn't provide enough cooling to lager or crash chill
(iv) Mini fridge, immersing the freezer compartment in the glycol/water solution - decided to go this route (more info on how it works below)
The benefits of the mini fridge are:
(a) self-contained chiller that I could store in a living space if needed (with a decent mini fridge and blingy vessel to sit on top, you can turn this into a conversation piece IMHO)
(b) can stack my ss brewtech buckets on top of fridge
(c) super cheap as the mini fridge cost me $60 with incremental cost of an ink bird temp controller, barb fittings, a container to hold the glycol, etc. All in was about $120 excluding the BrewBucket cost and accessories given these items are required regardless of the type of chiller
Basic components/concept of this system (for those less familiar with glycol chilling):
- The freezer compartment of the mini fridge cools the glycol by being immersed directly in the glycol reservoir and solution
- Ink bird or other temp controller reads the temperature of the glycol and turns the fridge on and off to keep the glycol at a set temp (this is independent of the fermentation controller that will control your fermentation temperature, see below)
- Your fermenter will need an immersion coil, a glycol or cooling jacket, or some other way of getting the chilled glycol running through or around the wort to cool it down. I use the ss brewtech FTSs for my brew bucket that has an immersion coil dropped from the fermenter lid into the wort.
- You will need a fermentation controller (I am using the SS brewtech FTSs that goes with my brew bucket, but any is fine) that reads the temp of your fermenting beer and toggles a pump on and off that sends the chilled glycol to the immersion coil, cooling jacket, etc. when the fermenting wort needs to be cooled. The pump sits in the glycol reservoir in the mini fridge and sends the glycol through tubing running out of the fridge to to the fermenter.
Parts for my build:
- Haier 2.7cf fridge (HC27SG42RB) (bought an open box with minor external damage during a sale - $60)
- Polycarbonate container (to be used as glycol reservoir) rated for freezing temps with a minimum 9.5" width, max 12" height, max 12" length
- Ink bird or other temp controller
- 2 x 1.5" 1/4 MIP nipple fitting
- 3 x 3/8" barb to 1/4 MIP fitting
- 3 x 1/4 FIP to 1/4 FIP elbow fitting
- 1 x 1/4 FIP to 3/8 MIP fitting
- 1 x 3/8 barb to 3/8 FIP fitting
- 3/8 ID 1/2 OD vinyl tubing
- 4+ clamps to secure tubing to barbs
- optional but recommended: quick disconnects for tubing (on order for my setup)
- 4 x 7/16" ID neoprene washer
- 4 x 5/8" ID metal washer
DISCLAIMER: FOLLOWING THE BELOW WILL VOID ANY WARRANTY ON YOUR FRIDGE. I ALSO HAVE ONLY TRIED THIS AND AM STILL TESTING ON MY OWN FRIDGE. I'M NO PRO AND HOLD NO RESPONSIBILITY IF YOU BREAK THE FRIDGE, SPRAY GLYCOL EVERYWHERE, DAMAGE SOMETHING ELSE IN THE PROCESS, OR THIS JUST DOESN'T WORK FOR YOUR SETUP.
Build steps:
1. Unscrew and remove the plastic freezer compartment door.
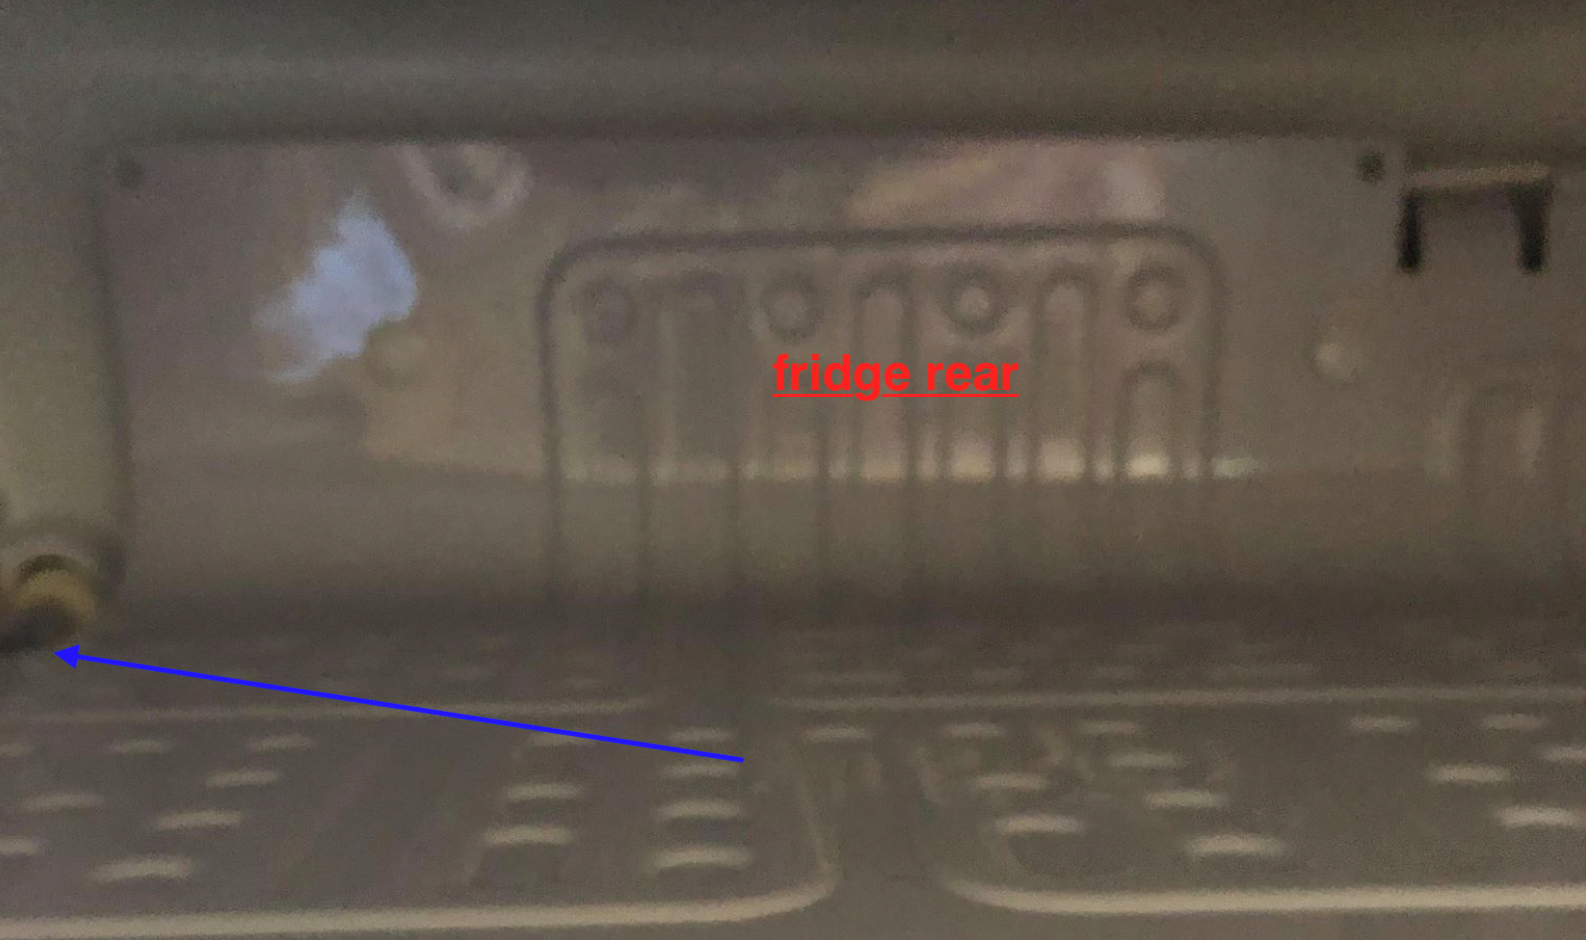
2. Unscrew from the roof of the fridge one side of the freezer compartment farthest away from the coolant line (middle of the fridge in my unit, coolant line is back right corner).
3. Once freezer compartment is connected by only one side, SLOWLY and CAREFULLY bend and straighten the freezer compartment down against the side wall of the fridge. DO NOT CRIMP OR KINK ANY COOLANT LINES INCLUDING THE LINE FEEDING THE FREEZER COMPARTMENT. You can bend the compartment easily by sticking a few fingers or a cylindrical object between the bottom corner of the freezer compartment and the side wall of the fridge to use as leverage/support. Just go slow.
4. Remove the thermo probe of the fridge's thermostat from the freezer compartment (usually connected with a metal clip to the bottom of the freezer compartment)
5. Position your flattened freezer compartment into your glycol reservoir. Secure your reservoir in the fridge.
6. Drill two holes into the fridge where there are no coolant lines or other obstructions (I used the door as there is usually no obstruction there in most if not all mini fridges). I drilled 5/8" holes that fit my 1/4 MIP nipple fitting. My door was 1.25" deep (at its shallowest point in the top shelf on the door - avoid the plastic structures of the door that jut out to form shelves and can dispensers) so a 1.5" length nipple worked well.
7. Feed a 1/4 MIP 1.5" long nipple through each hole and add a neoprene and metal washer to each side (neoprene closest to the fridge to provide insulation) before attaching your barbed fittings.
8. Attach and cut vinyl tubing to length both inside the fridge to reach bottom of glycol reservoir and outside fridge to connect to fermenter.
9. Drop the pump connected to your fermentation controller (whichever you use) into the reservoir and ensure it is connected to the outlet tubing/fitting leaving through the fridge wall.
10. Fill your glycol reservoir with 33% glycol (~1 gallon) and 66% distilled water (~2 gallons) assuming your reservoir can hold 12 quarts or more. There are other posts on proper concentration of glycol you can reference.
11. Drop your ink bird or other temp controller temp probe into the bottom of the reservoir.
12. Plug the fridge into your ink bird or temp controller. I feed the ink bird wires through the top of the fridge door near the hinge.
13. Ensure the fridge's thermostat is set to a moderately cold setting (try not to overwork the compressor during the initial cooling of the glycol) and reposition the fridge's thermostat probe back into the flattened freezer compartment.
14. Set the ink bird or your temp controller to a level 15-20 degrees F below your target temp so that the glycol is chilled to 15-20 degrees below target.
15. Let the ink bird or temp controller maintain glycol temps while your fermentation controller toggled the pump on and off when cooling is needed.
My main concern with the mini fridge was whether it would provide enough cooling for lagering and crash chilling.
As a first test, I brought the glycol down to 10-15 degrees without much of an issue. The fridge was warm to the touch on both sides as expected but not overly hot. The key is not to overwork the compressor when the 3 gallons of glycol/water are first added. Ramp temps up slowly. Once you are in range, I found that the temp is maintained quite well. I was pleasantly surprised with how efficiently the mini fridge cooled. I ran an external loop of tubing between the inlet and outlet ports without insulation just to test the effect of heat loss while running the pump. The fridge and ink bird seemed to keep up just fine.
The next test is to chill 5 gallons of wort/water running through my SS Brewtech Brew Bucket. I also have a batch completing primary in my ferm chamber now. I plan to attempt a crash chill in the next couple weeks. Will report back soon.
Pending additions/changes to the system:
- Quick disconnects with valve shutoff to enable easy detachment and reattachment of glycol lines to the fermenter
- Insulation for the fittings and other areas of potential heat transfer (this is super critical when using a system not designed for glycol chilling as any heat transfer not from the wort will significantly impact efficiency)
- Door clamp/lock to ensure the fridge door doesn't pop open while in use. I have found that the vinyl tubing I use slightly straightens when cooled and puts outward pressure on the door given the lines feed through the door. I don't want it popping open unintentionally.
Would appreciate feedback or suggestions if anyone has them!!
Cheers
M
I’m about to embark on this project - I’ve got a Magic Chef 4.4 cu ft fridge and I’ve purchased all of the necessary hardware.
It’s been a couple of years since this build and I’m wondering what works well and what you might do differently?
Can you reach primary lagering temps in the 40s/50s? Lower?
What’s the largest volume of beer you’ve fermented with this?
Thanks for the inspiration!
Hey all. Sorry to bump an old post. New to the forum and newish to brewing. Looking to get a bit more serious and start temp controlling during fermentation.
I’ve got a mini fridge and have started planning out this build. My question is, would it hurt anything to submerge the fridges stock temperature probe that’s connected to the freezer compartment? Or would it be better to disconnect it and leave it outside of the glycol mixture?
Thanks for this idea! Much cheaper and simpler than other options.


So far so good! Ill send pics to this thread later on in the event it can help someone in the future with this.It's all very scary no matter how it's sliced. I have seen it done successfully here on HBT, and have read of fails as well (not many though), so extreme care is the only recommendation I have...
Cheers!
I did my own spin on this. I got a hold of an upright freezer for a measly 80 bucks. This upright freezer had the coils between the drawers and I was able to bend the middle one down into the drawer, fill it with glycol and use it for a glycol chiller.
I did a writeup on this on reddit:
It worked rather well, much better than expected. I was able to drop the temperature of the water in my chronical from 23 degrees celsius to 4.5 degrees celsius is 12 hours, and the freezer was not even running all the time...