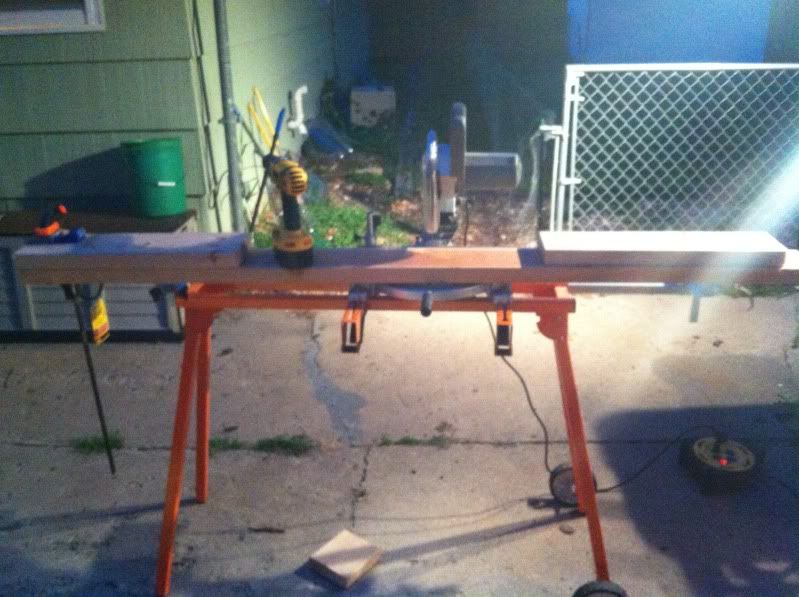
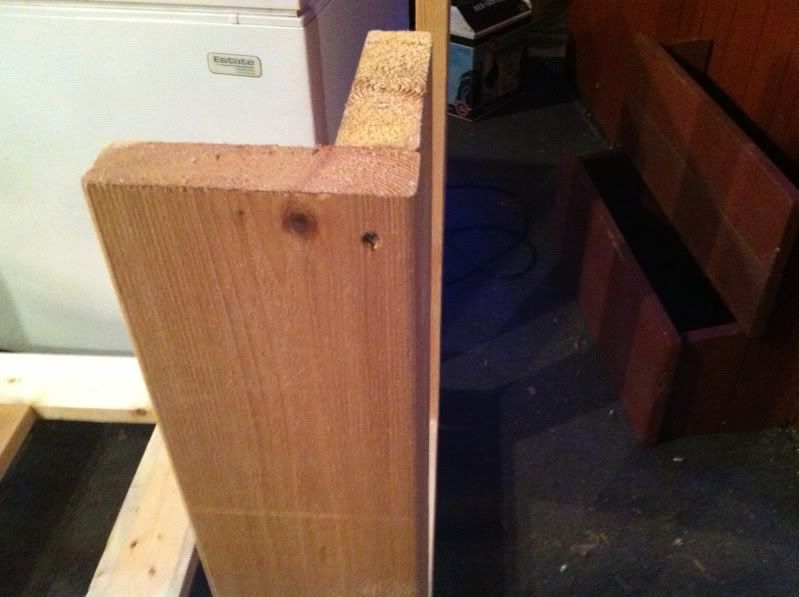
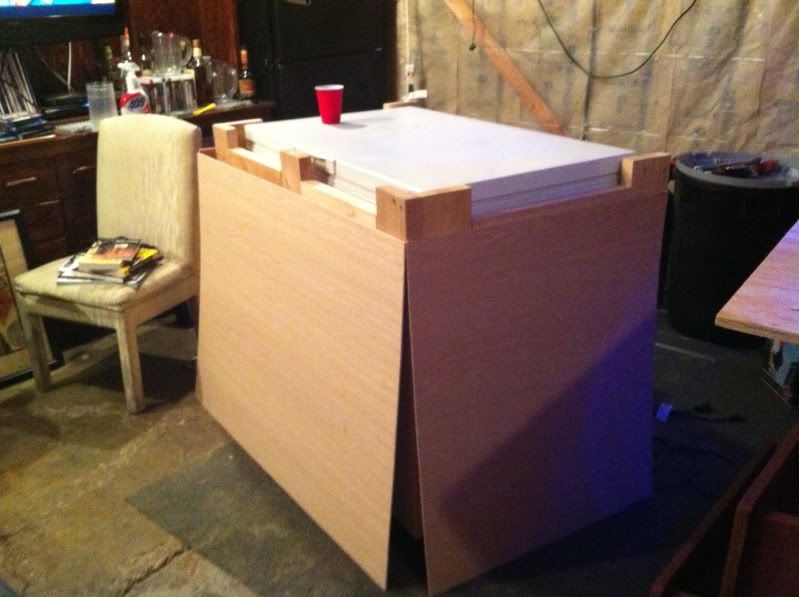
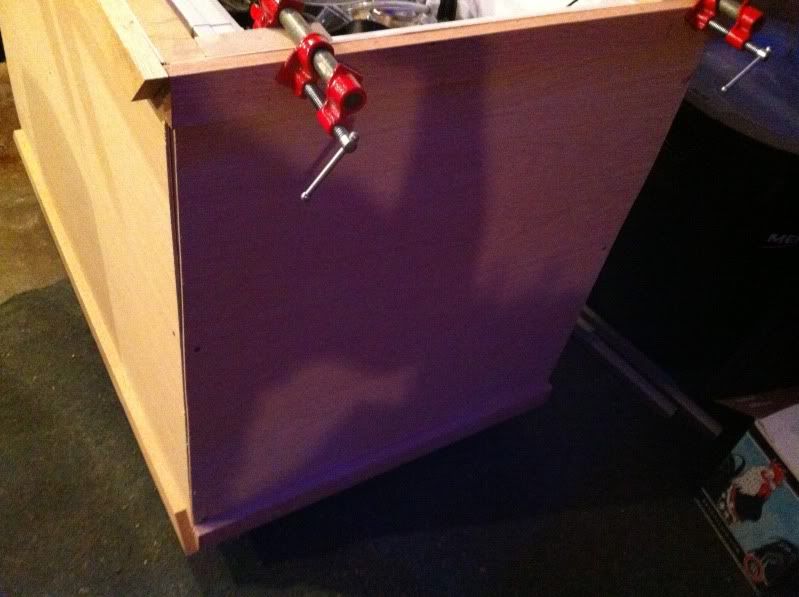
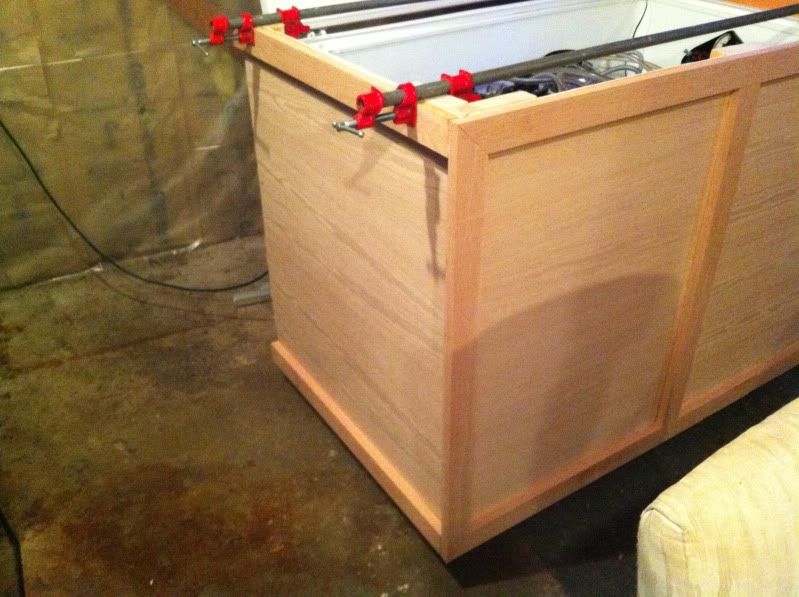
started adding the oak trim. I ripped the boards down from roughly 1x12's to about 2.5" each, miter cut the corners of the front at 45 degrees, sides are just butt joints
there was some bowing in the front and sides at the top, which is why I used clamps and some liquid nails to keep them together before I used 2" finishing nails to tag them together.
View from the front
showing that I am using some liquid nails as additional support.
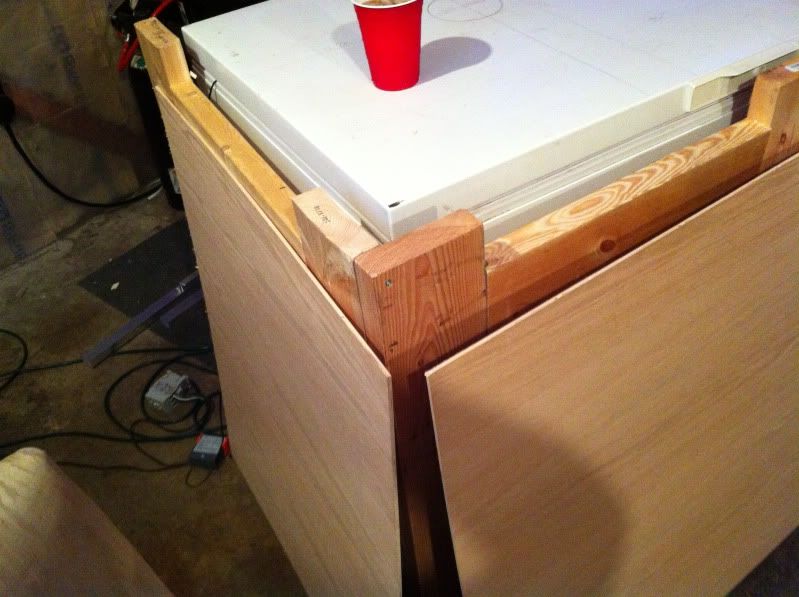
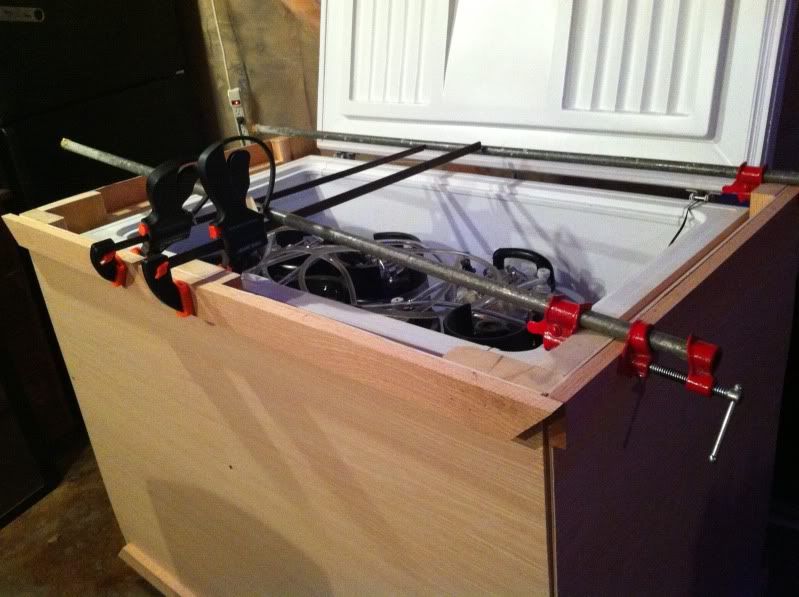
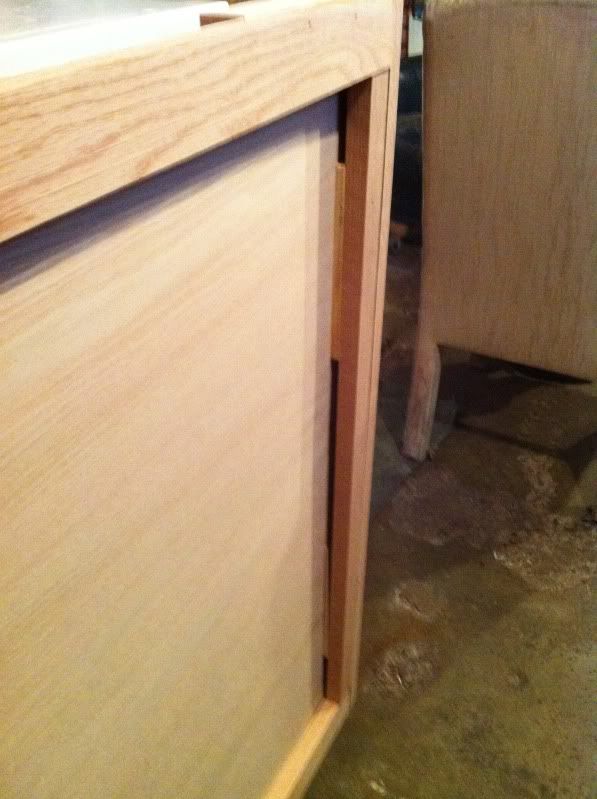
started on the left side
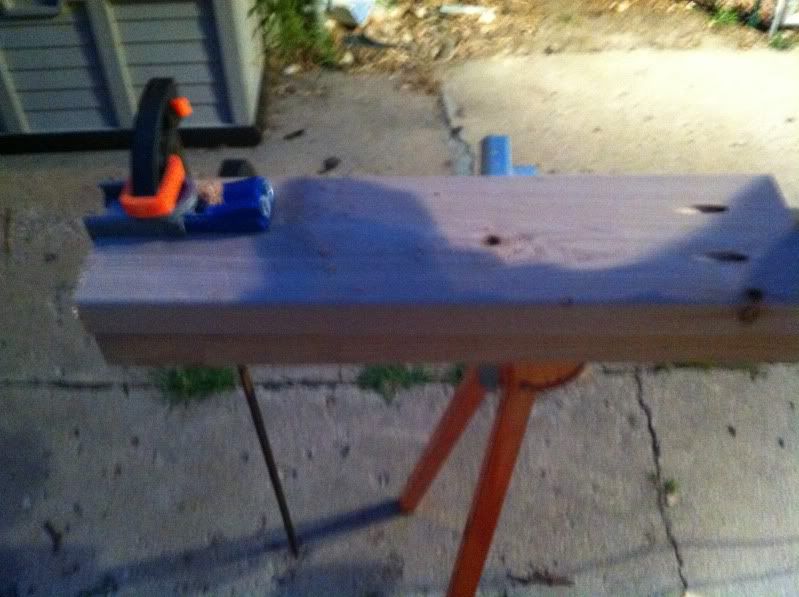
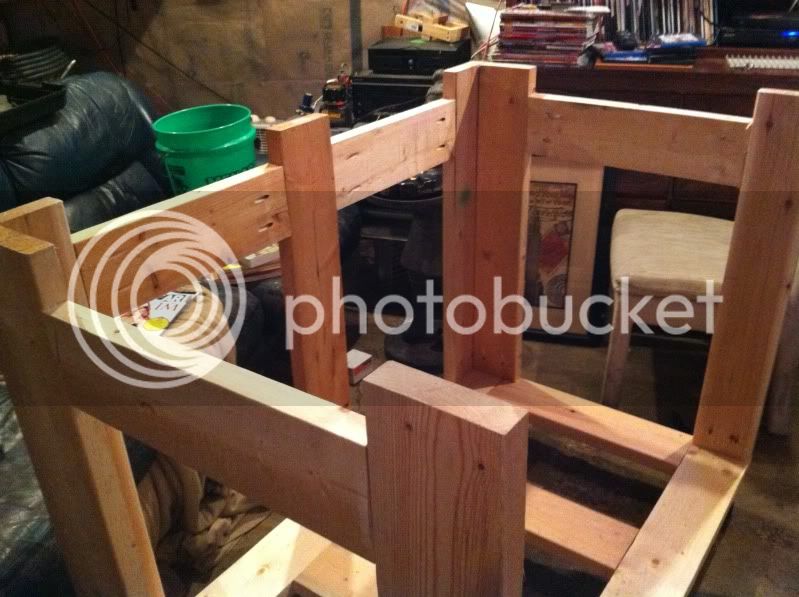
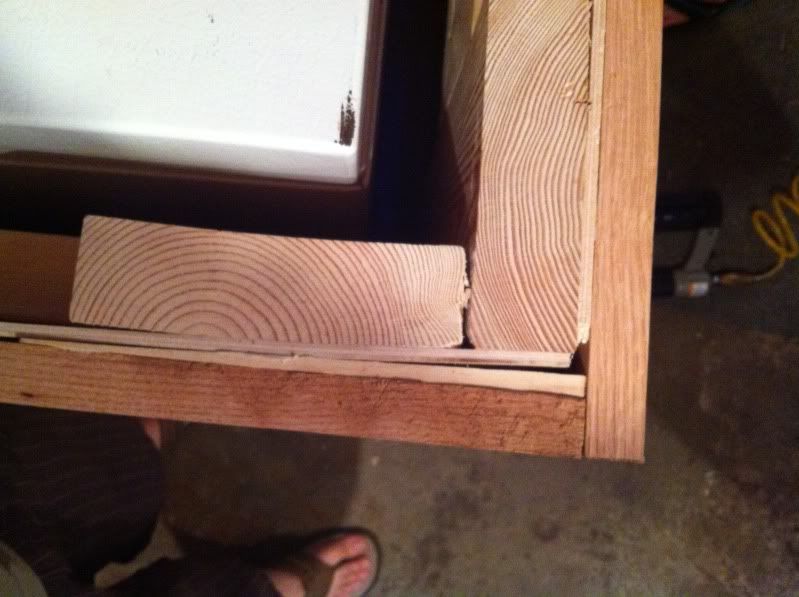
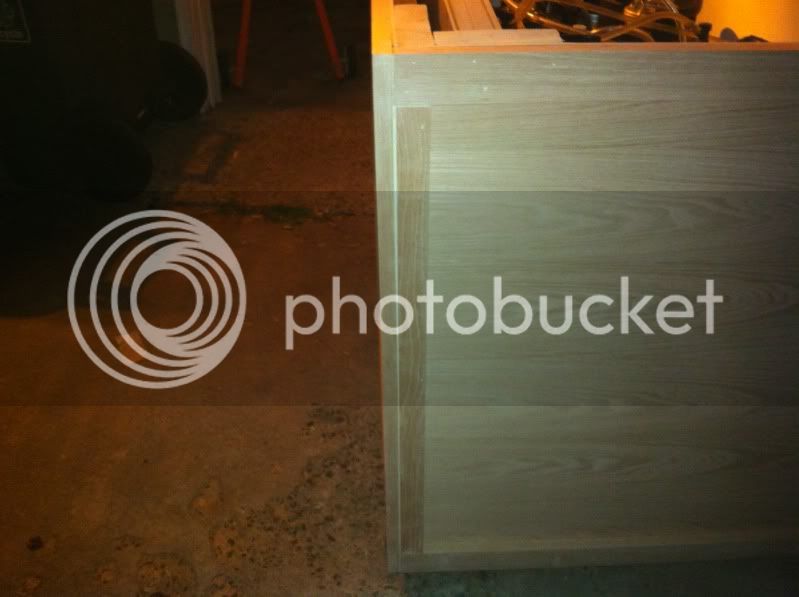
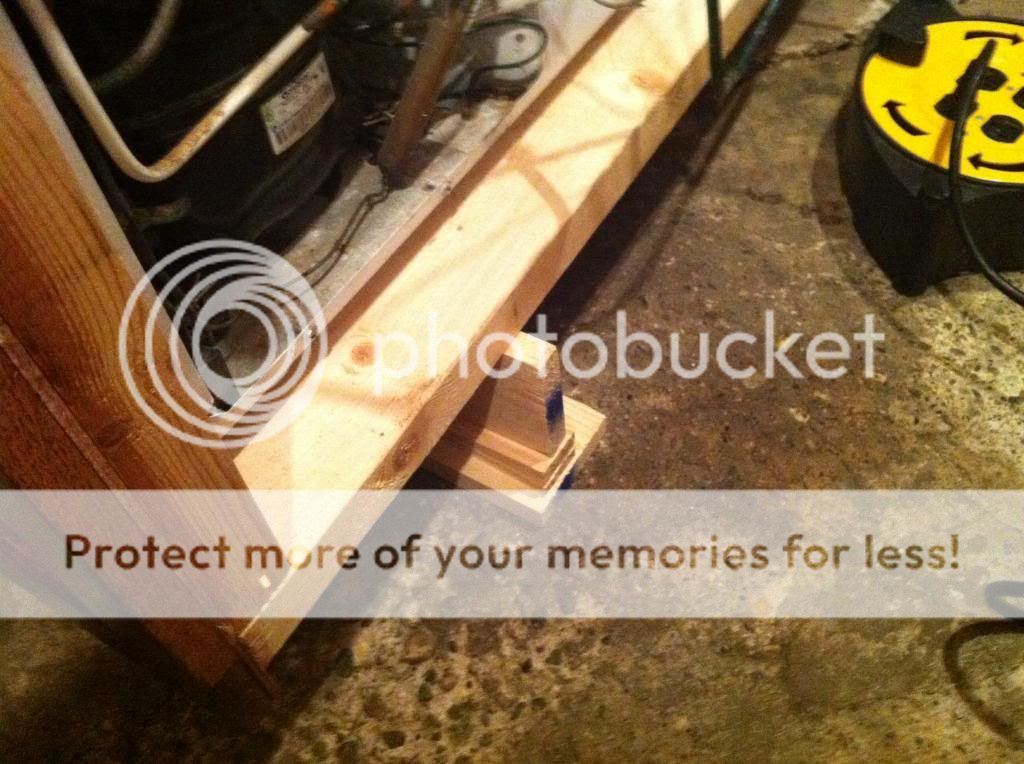
remember when I said to use true boards... apparently I didn't listen to my own advice. My corner piece is bowed and I had to put a shim inbetween the boards to ensure the outsides were together, I also had to cut the front a little longer to compensate for this.
I also had to shim the vertical board, but no one will see from this angle so I am not concerned.
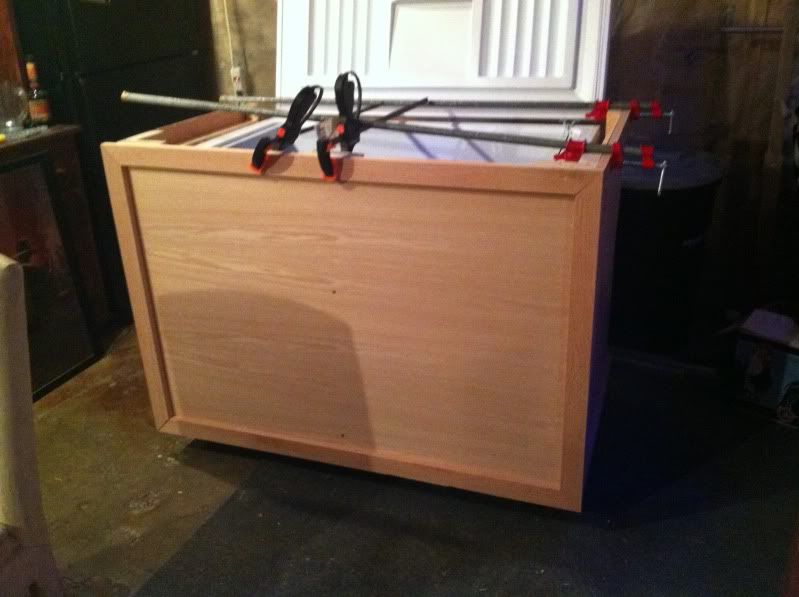
made this piece a bit thinner so the total width would match up since a portion of the width is made up from the front board it is joining up to.
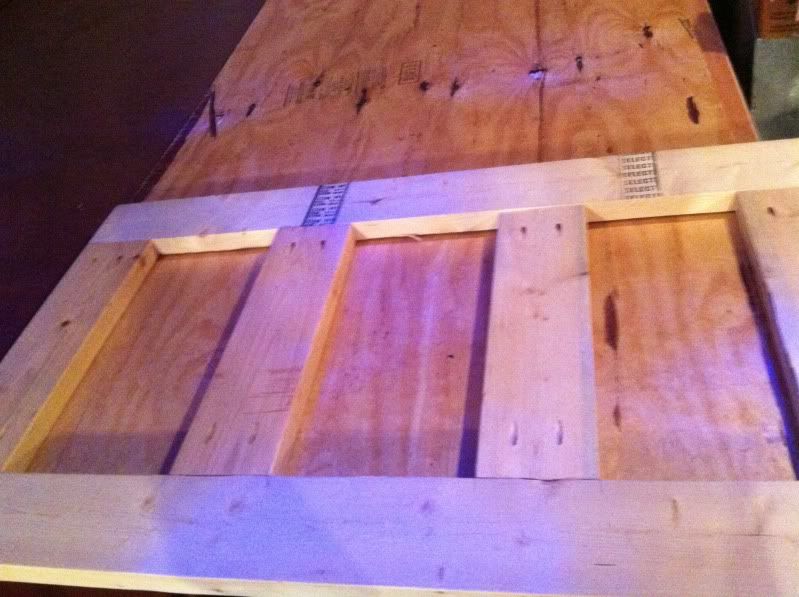
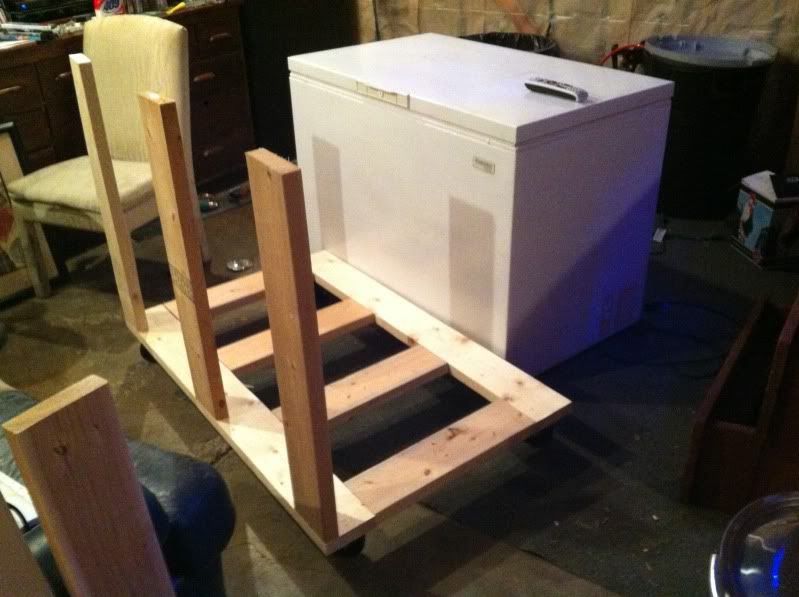
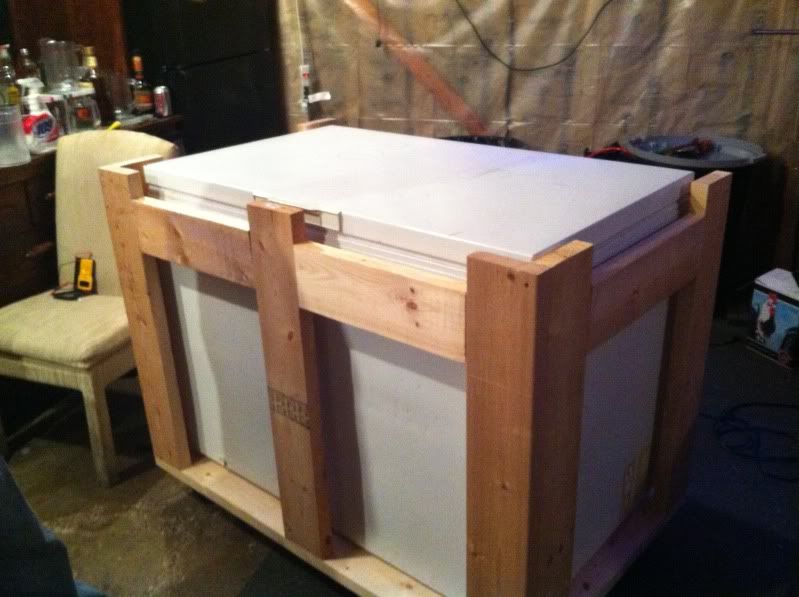
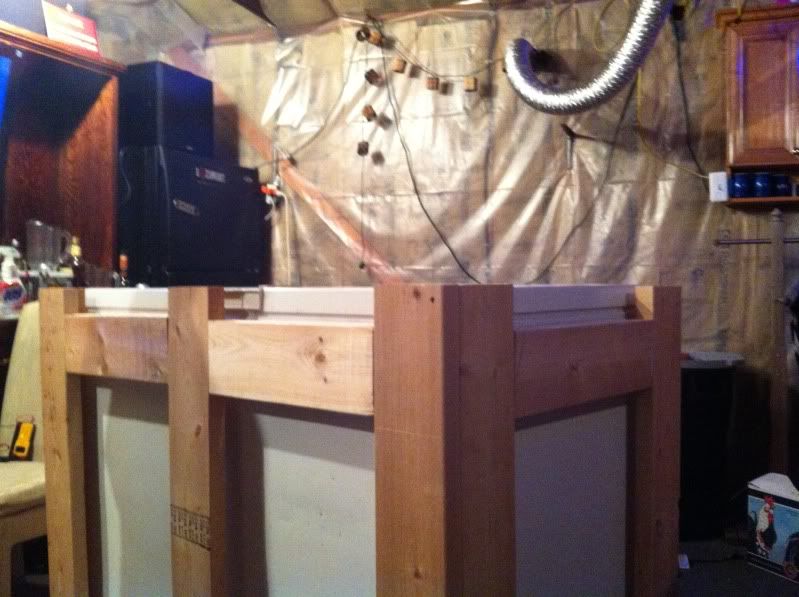
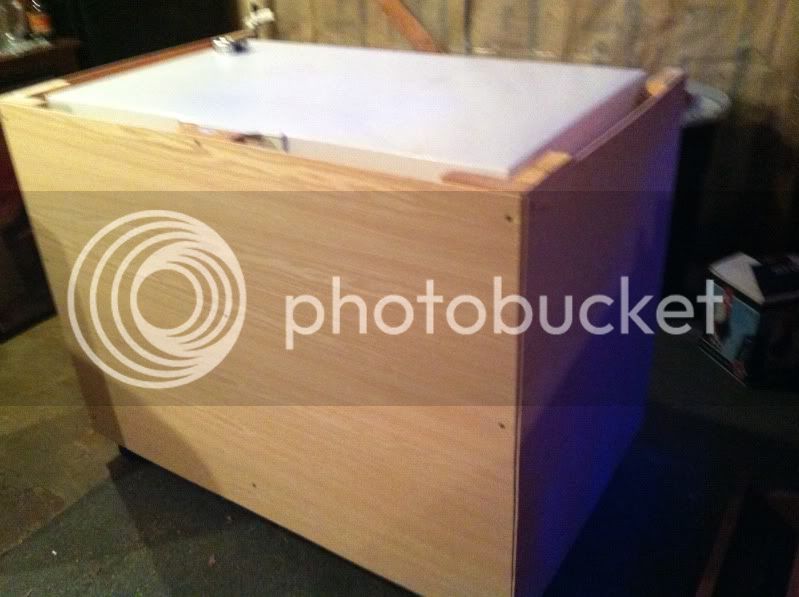
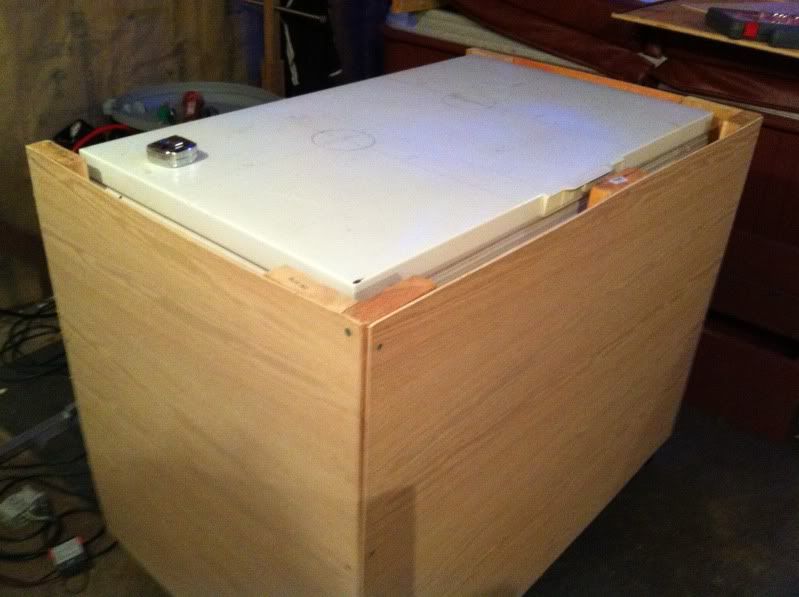
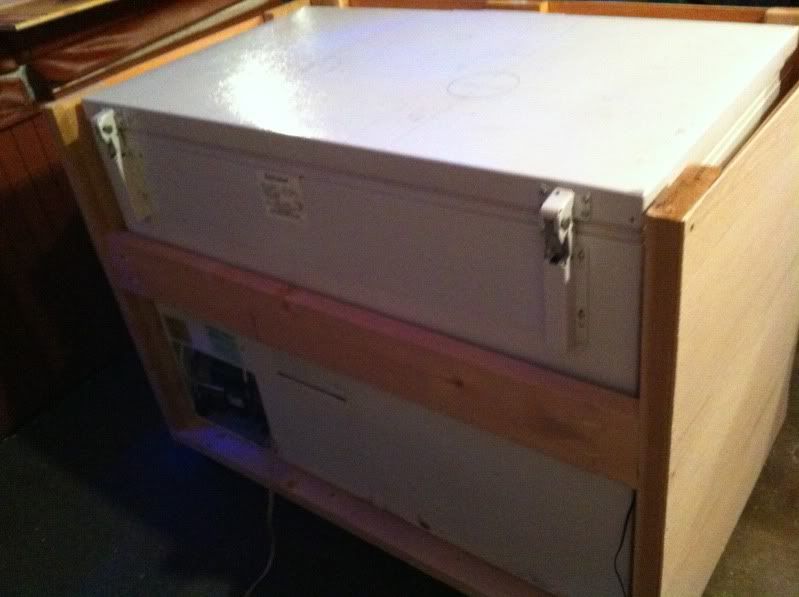
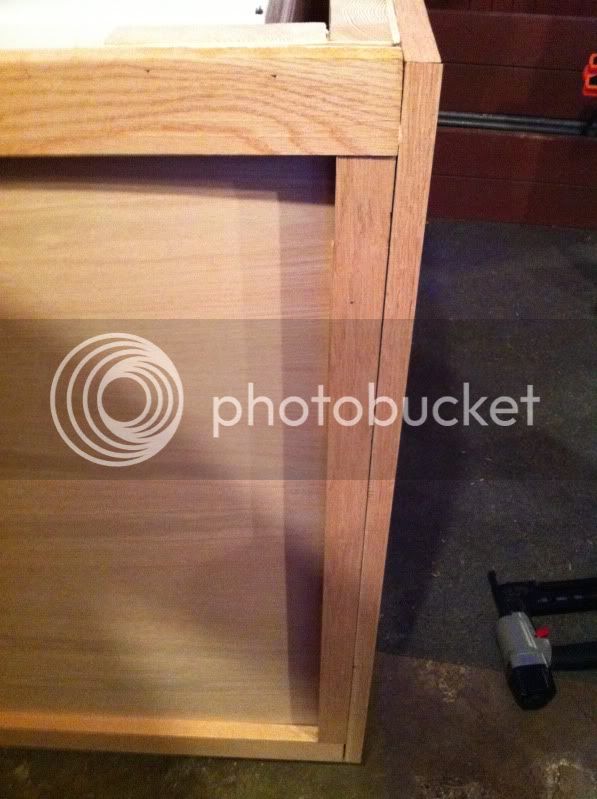
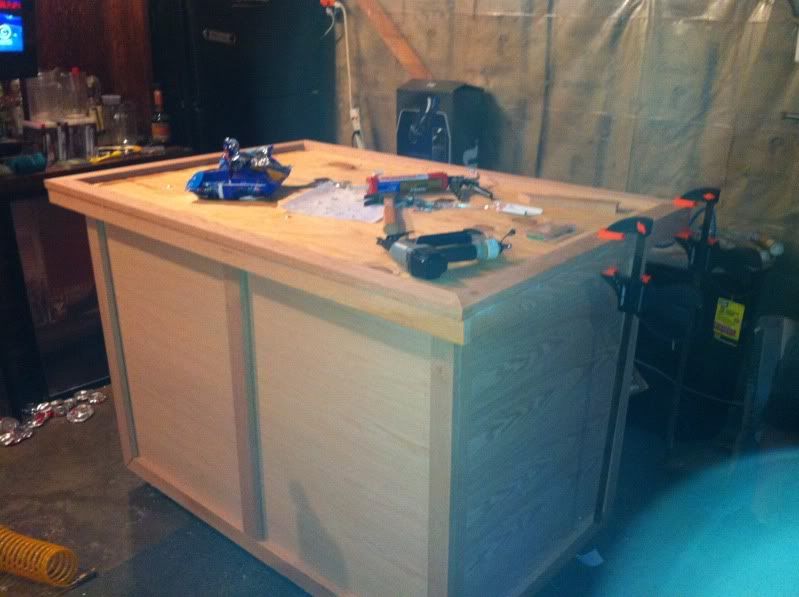
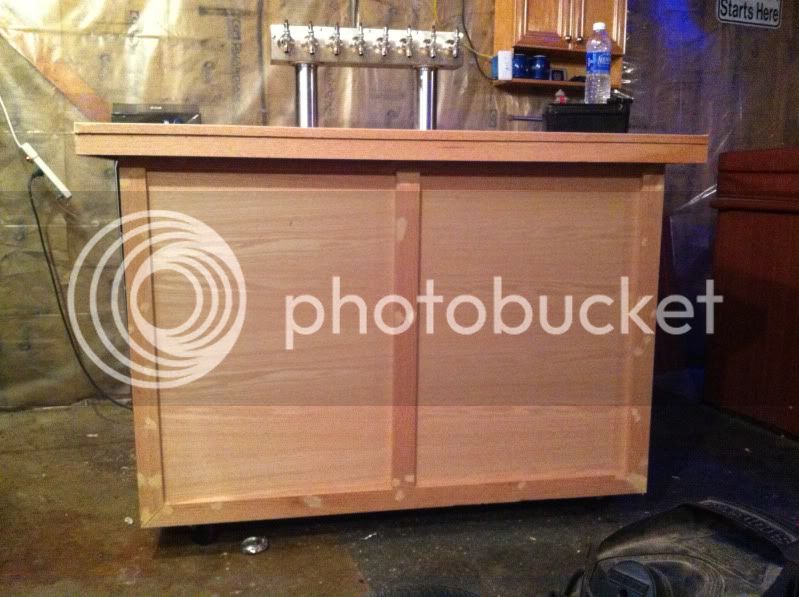
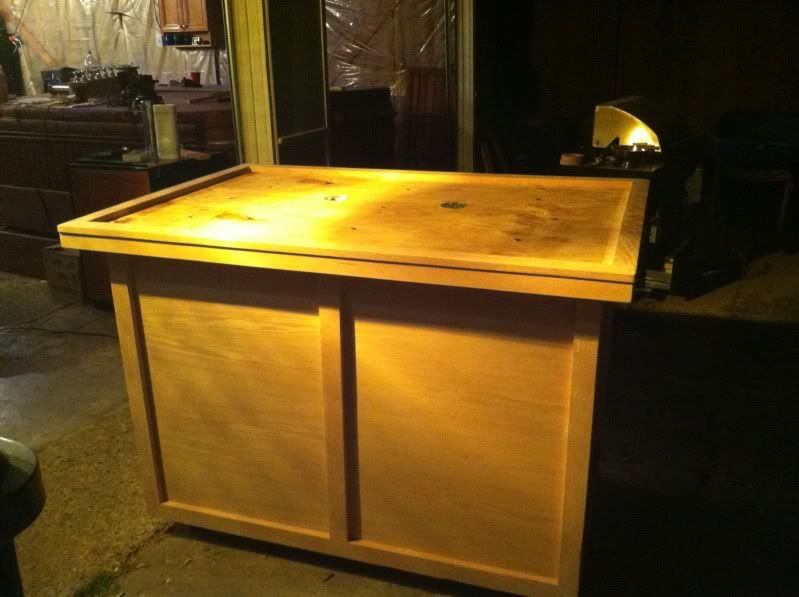
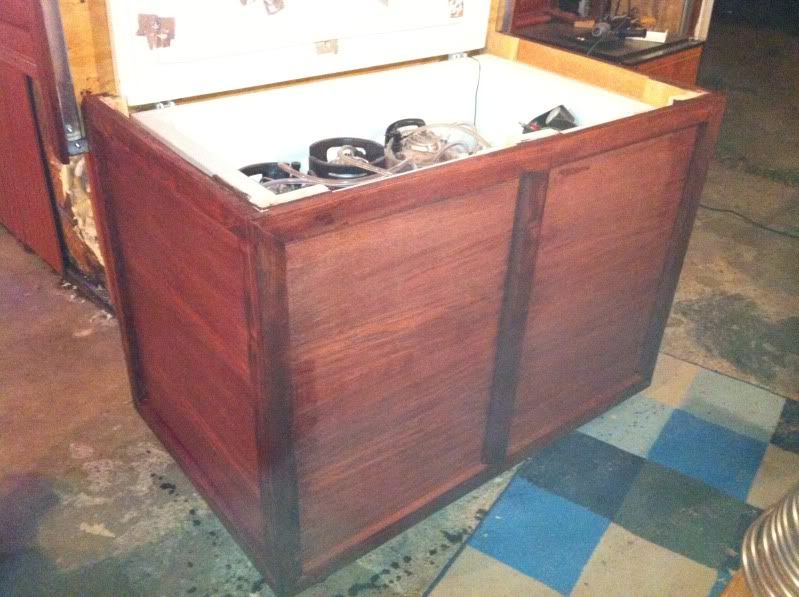
finished base (before filler, sanding, staining and what-not)
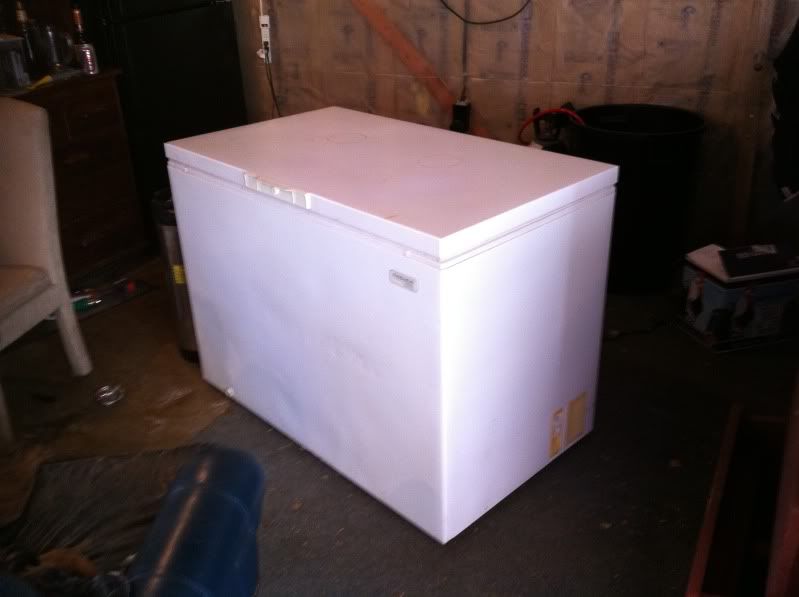
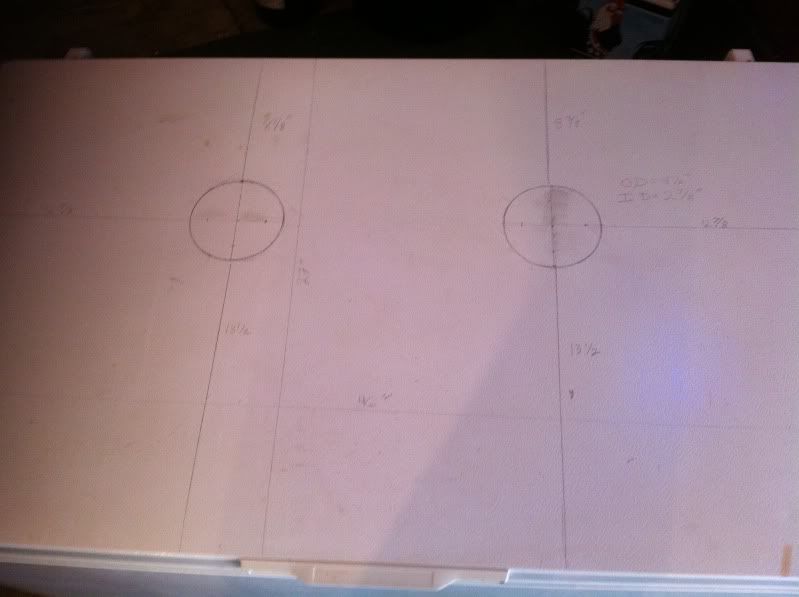
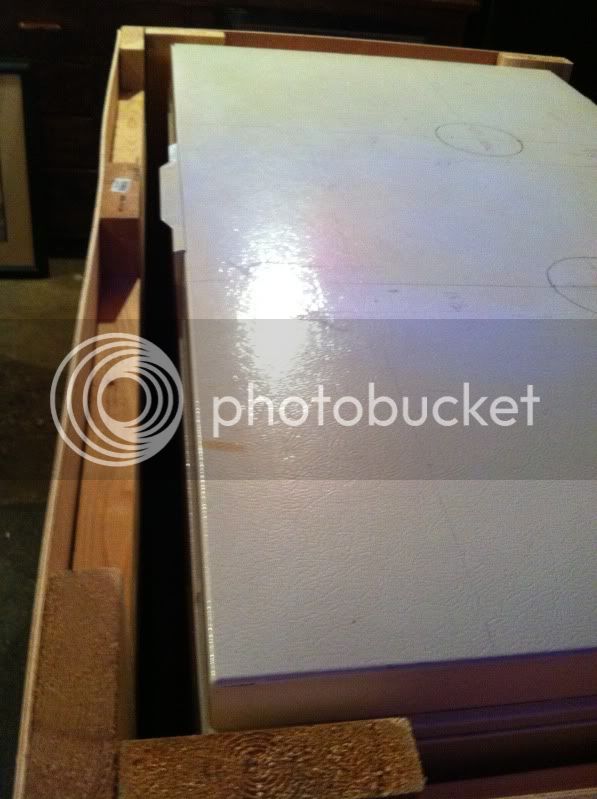
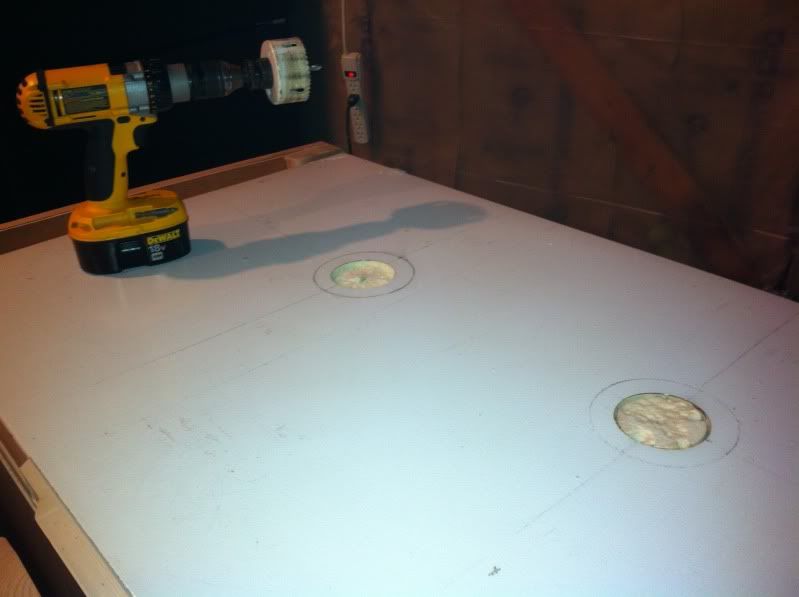
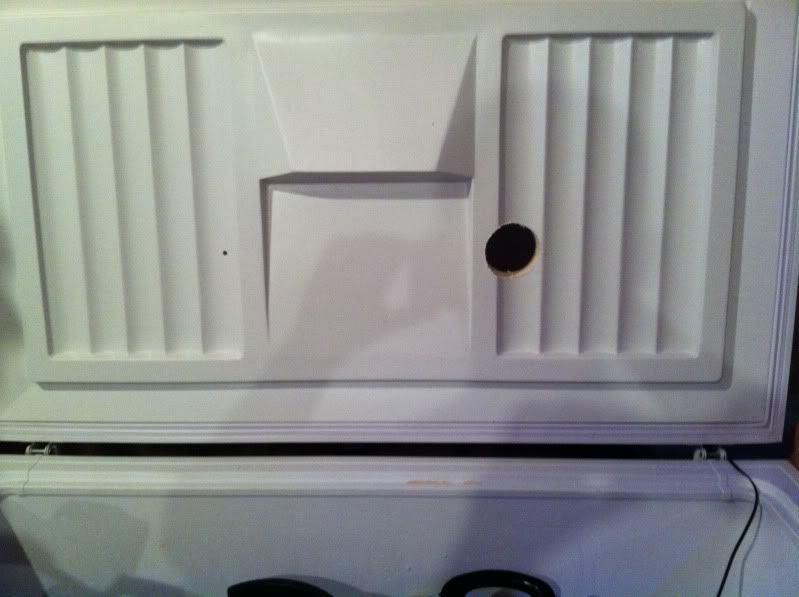
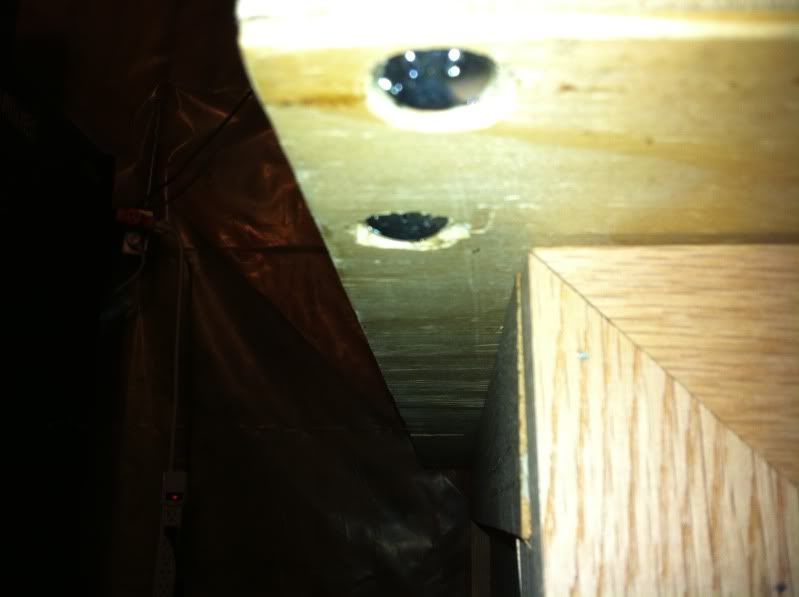
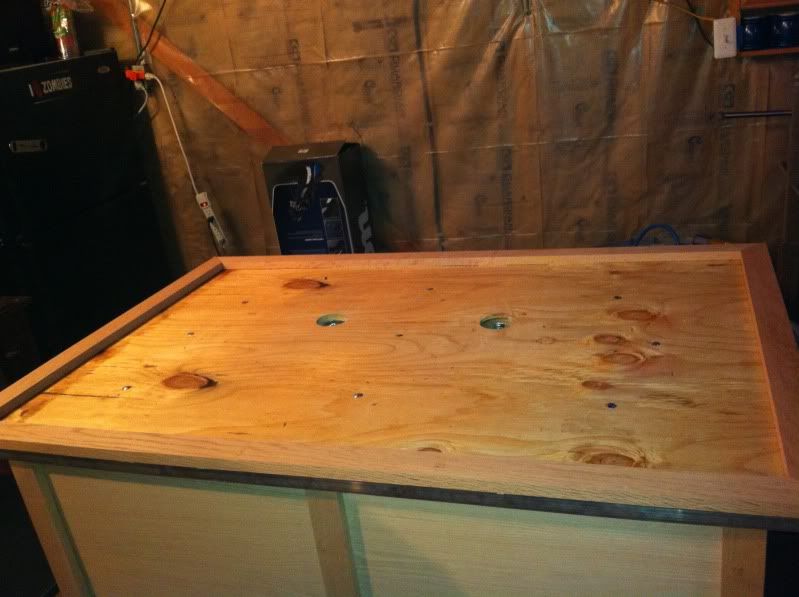
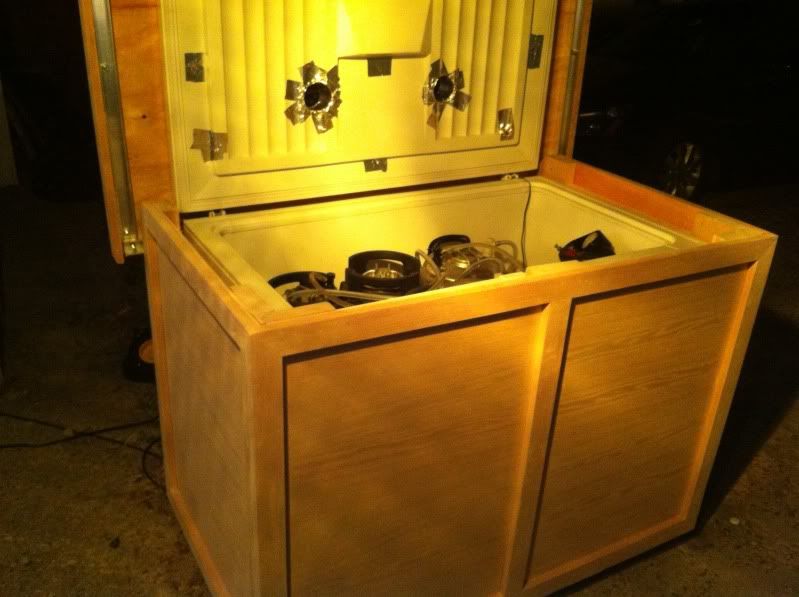
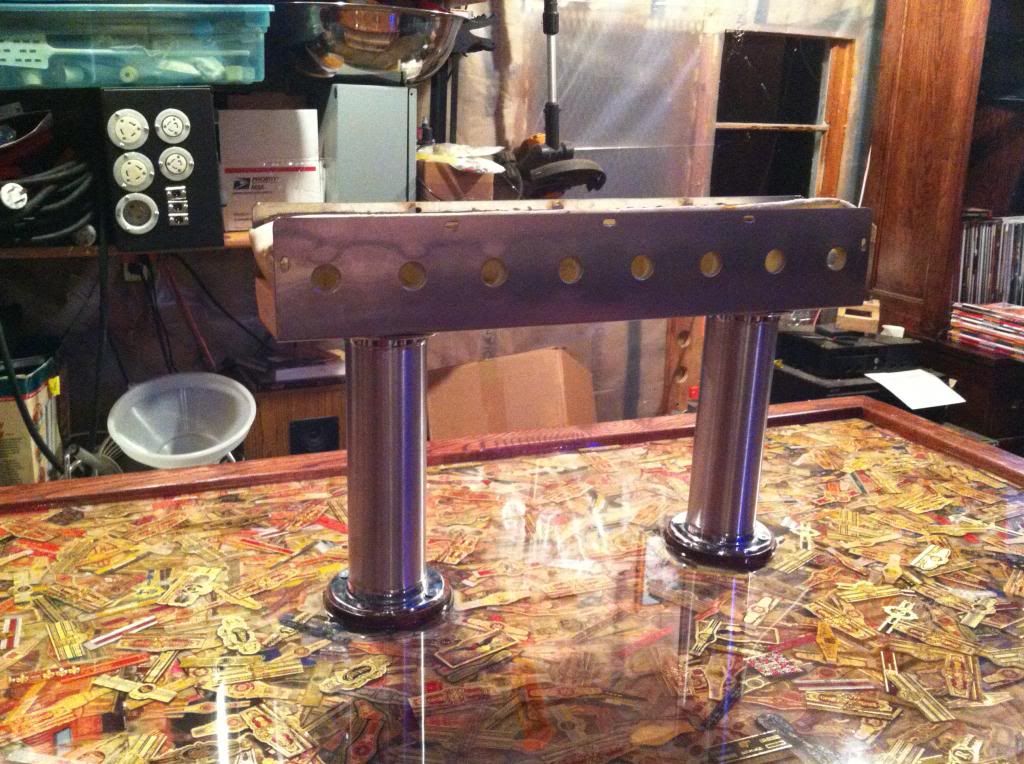
We tried taking the top off, but found that the inside had styrafoam inside instead of fiberglass insullation, therefore I didn't need to pop it off. We started drilling holes!
We drilled from the top down, got through the metal, used a longer drill bit to break through the plastic, then cut up from the inside for clean cuts.
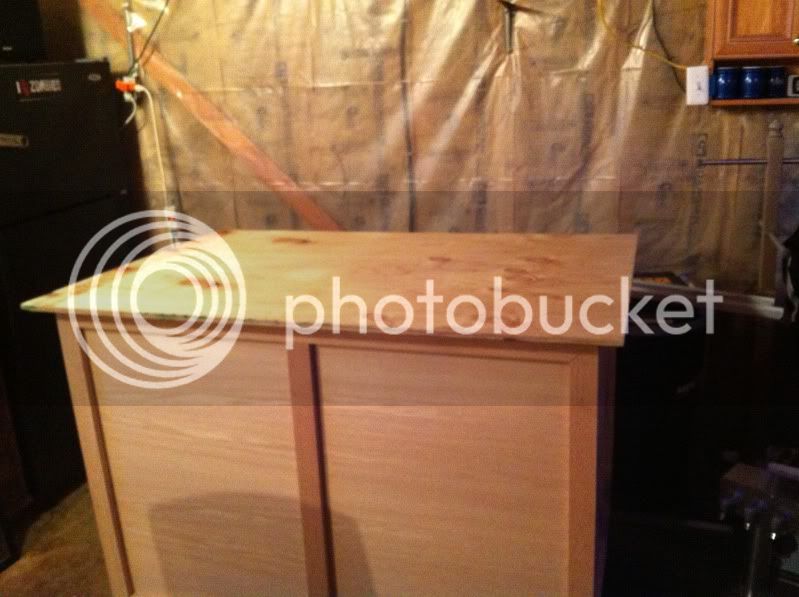
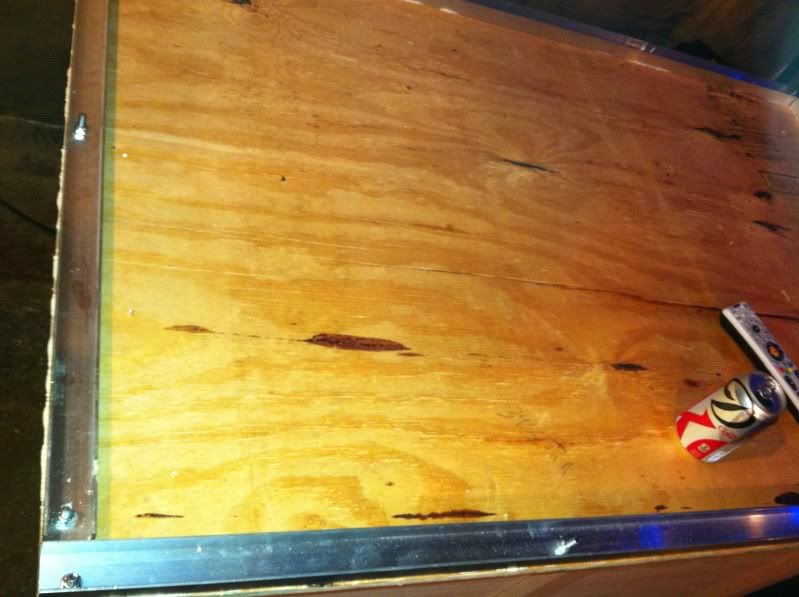
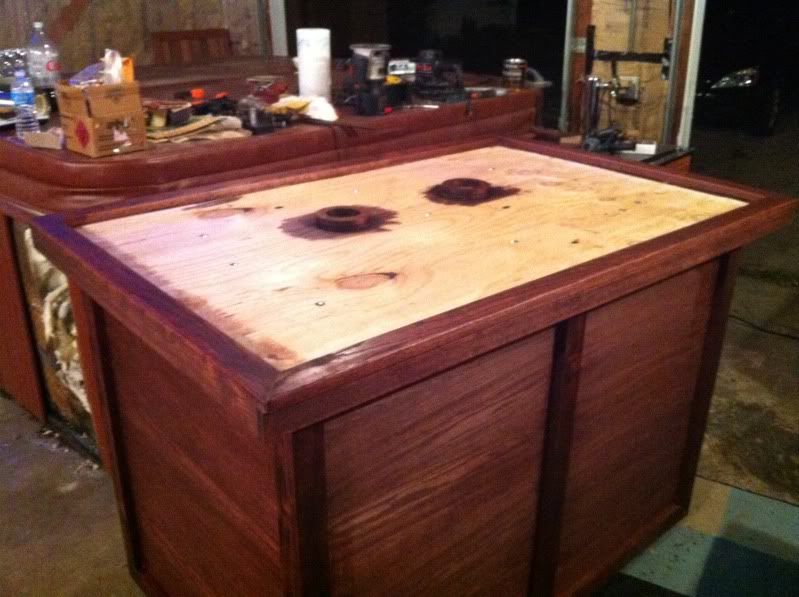
A picture of the top piece of wood cut to size
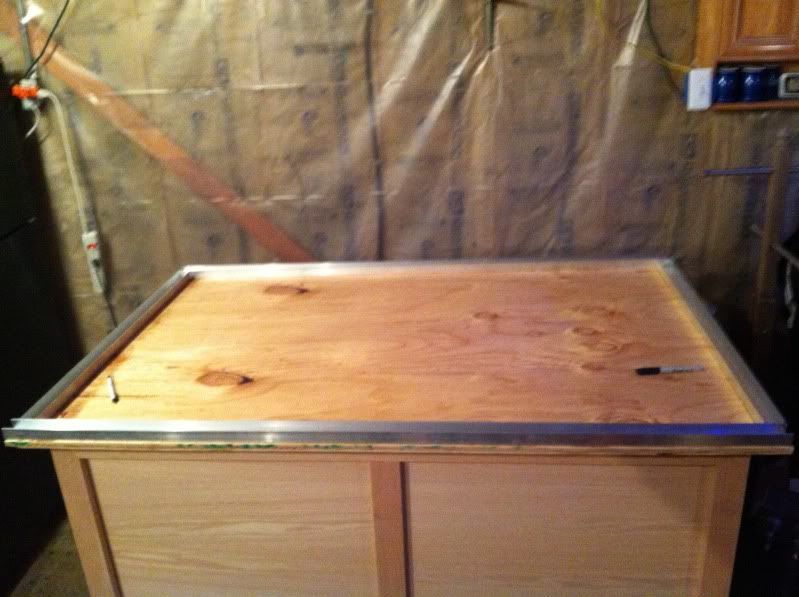
I also cut down the aluminum U channel and set on top board for illustration. I decided to use U channel to add rigidity to the board. Since I am planning on using an epoxy topper, I didn't want any flex in the top. I figure with lots of lag bolts attaching it to the top of the freezer, and U channel surrounding the device, there wouldn't be much room for the top board to flex and pop off the epoxy top.
I realized this would be an easier way to attach, so I flipped the top board onto its back and started installing the Aluminum U Channel. To do this I pre-drilled holes for the lag bolts, cleaned up the mess, used some liquid nails, pre-drilled a sink hole on the opposite side so the heads would sink in, and started going to town.
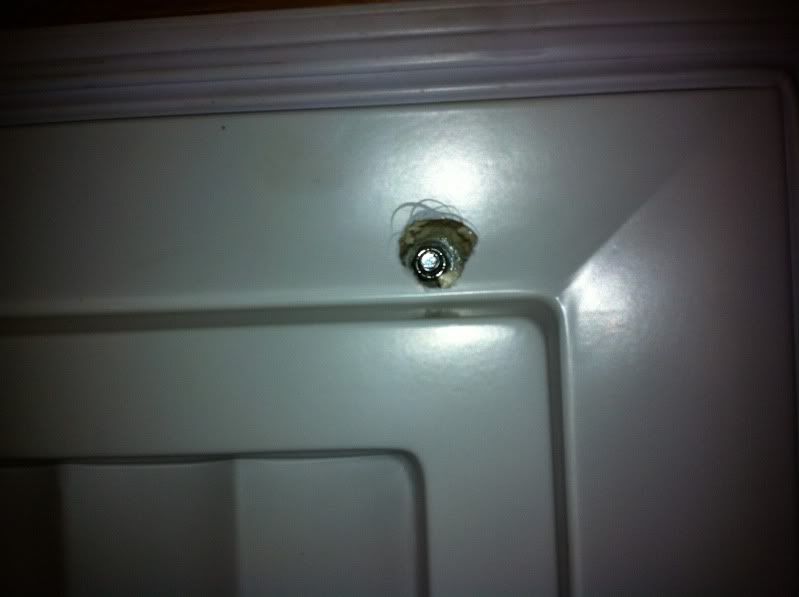
here is a shot of the sunk in heads
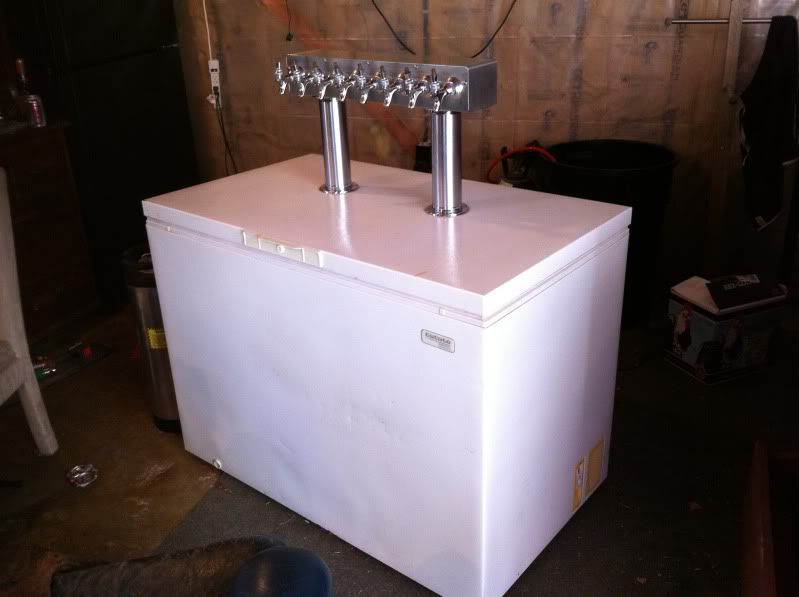
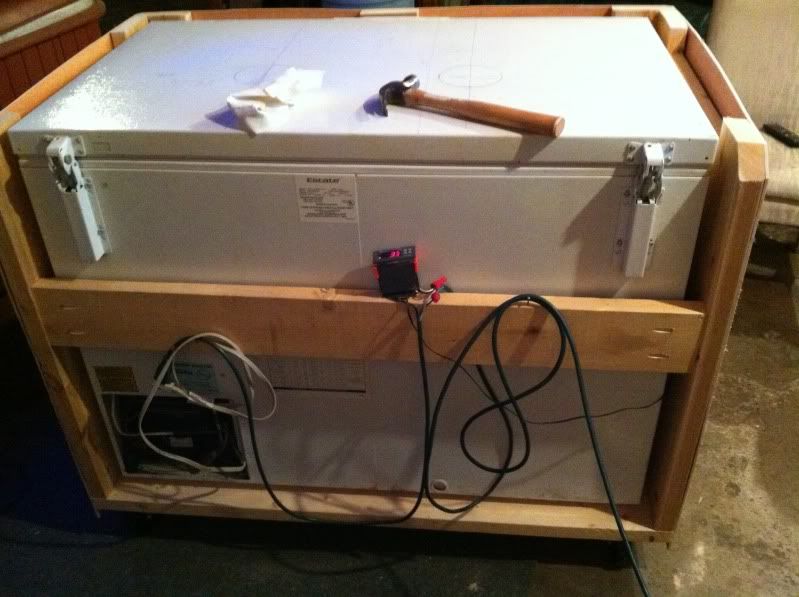
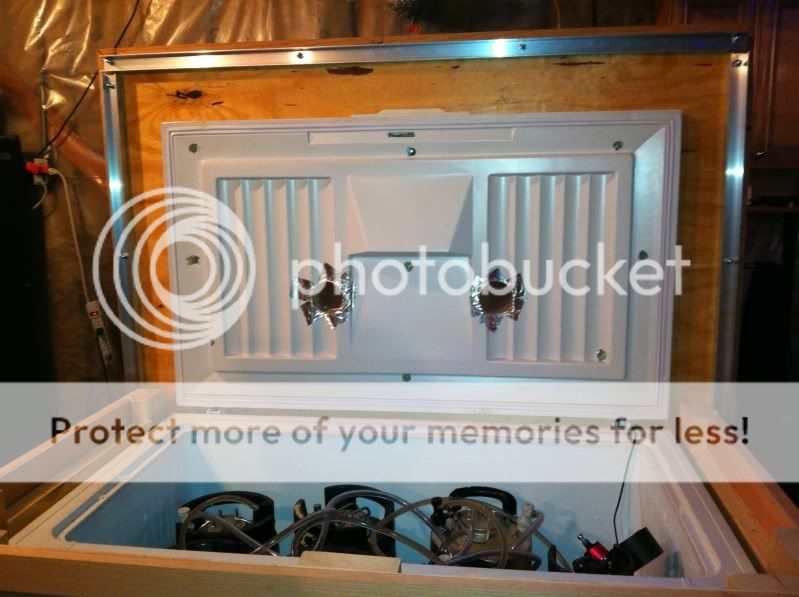
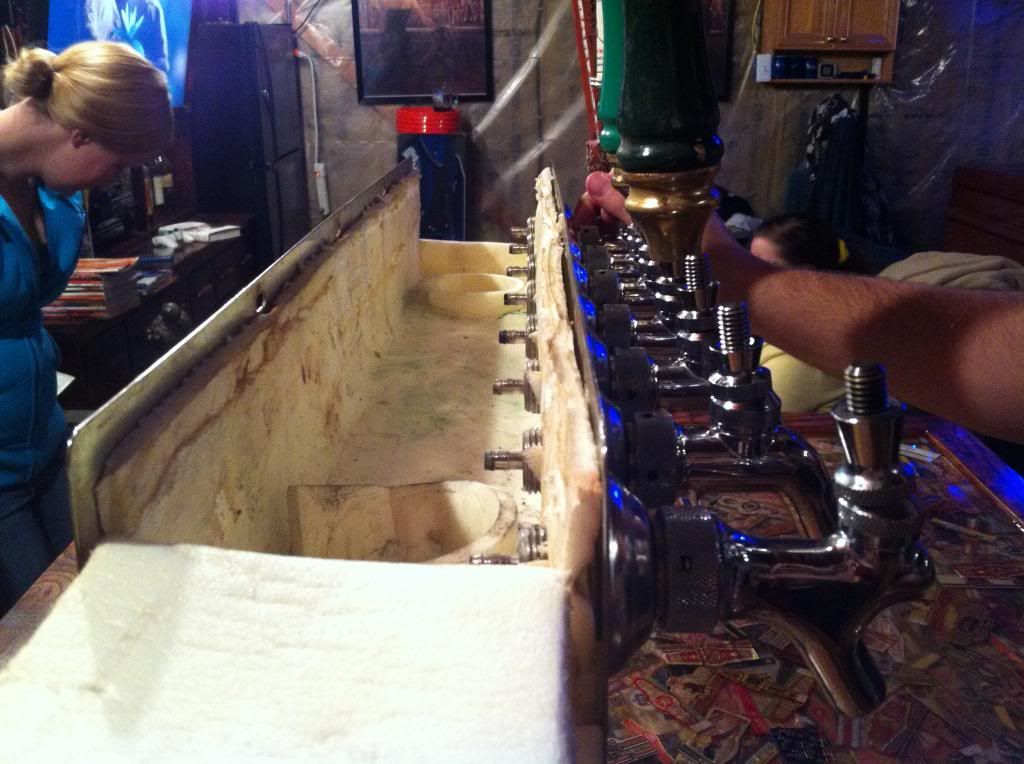
attached the top to the lid
To do this we drilled holes, then drilled a larger hole through the lid to allow for us to screw up the bolts. a few pics ago I showed that I had countersunk the bolts on the aluminum u channel, that proved to be unnecessary, as if using a drill to tighten the bolts, they sink in quite nice on their own
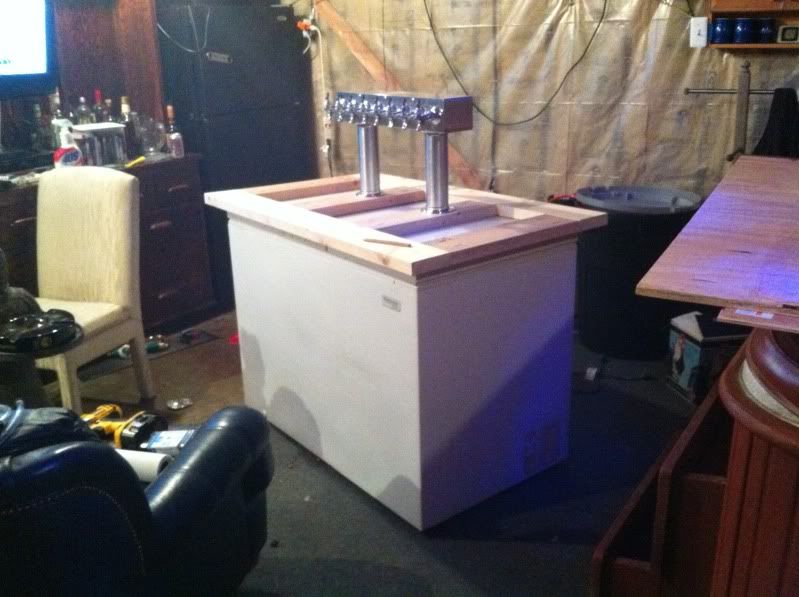
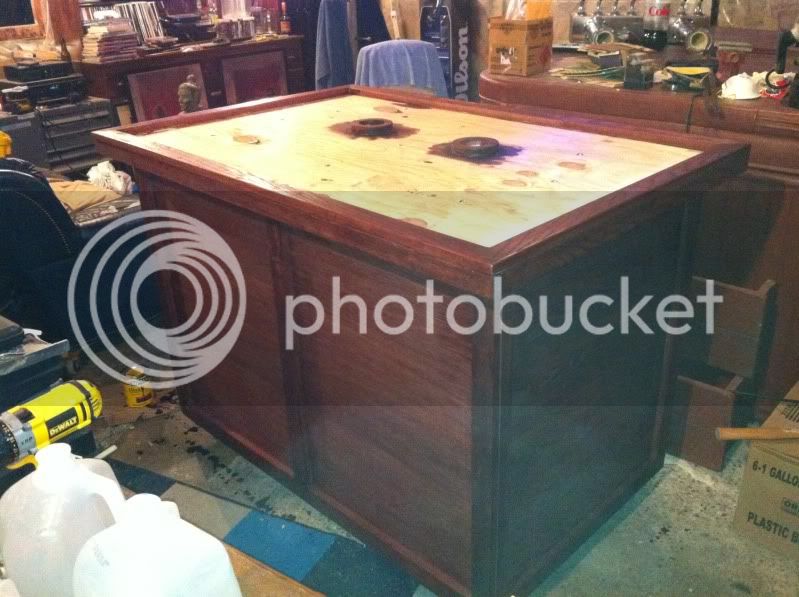
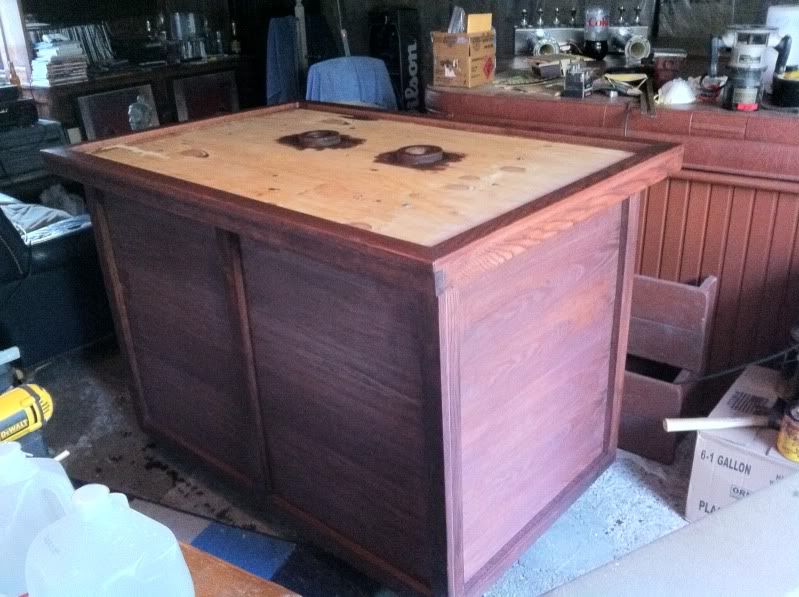
top in place with wood surround cut to size, just tacked in place for the time to ensure a good fit
We used more liquid nails to attache the top surround and perpendicular boards that hide the U channel. We also tacked with a finishing nailer.
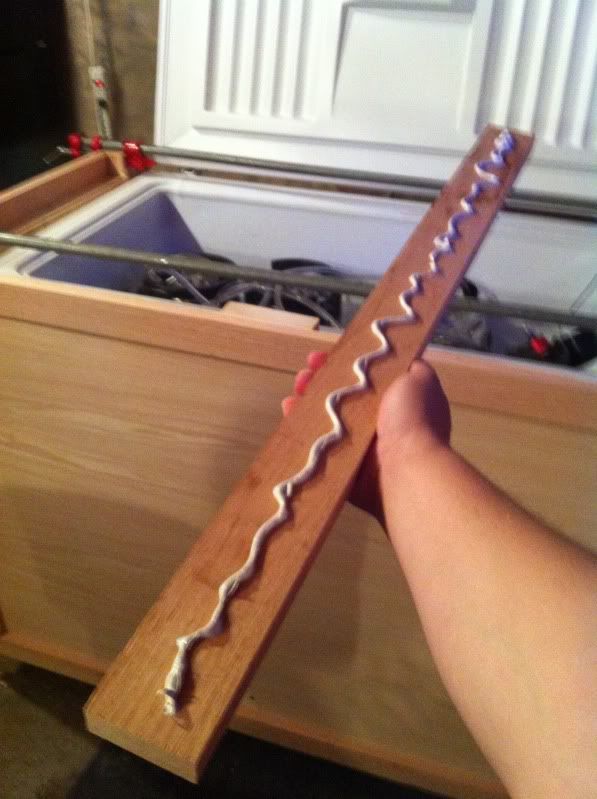
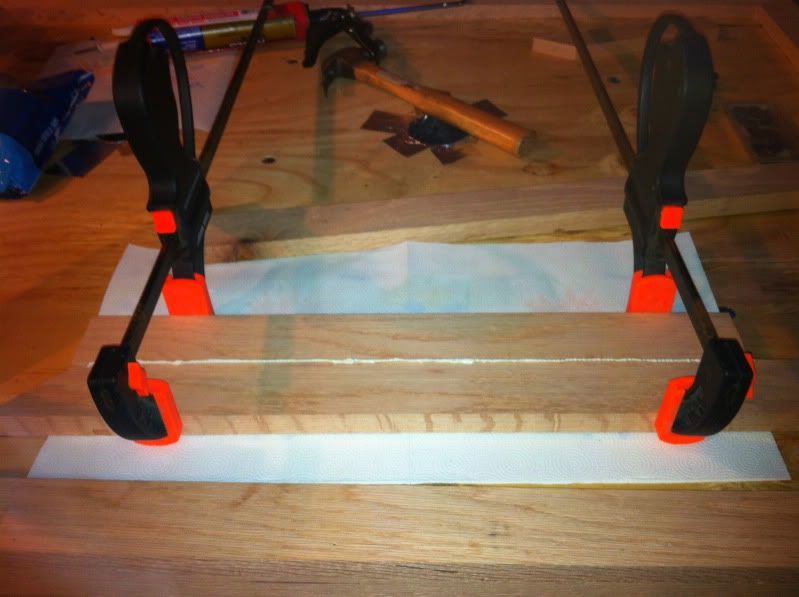
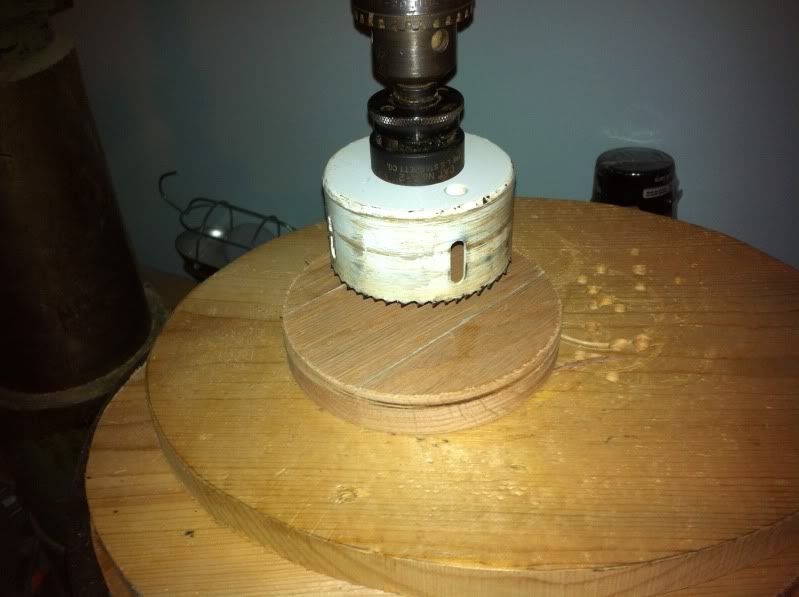
Gluing scrap boards together so we can make a riser for the tap system so it doesn't sit in the epoxy, glued 3 together in total
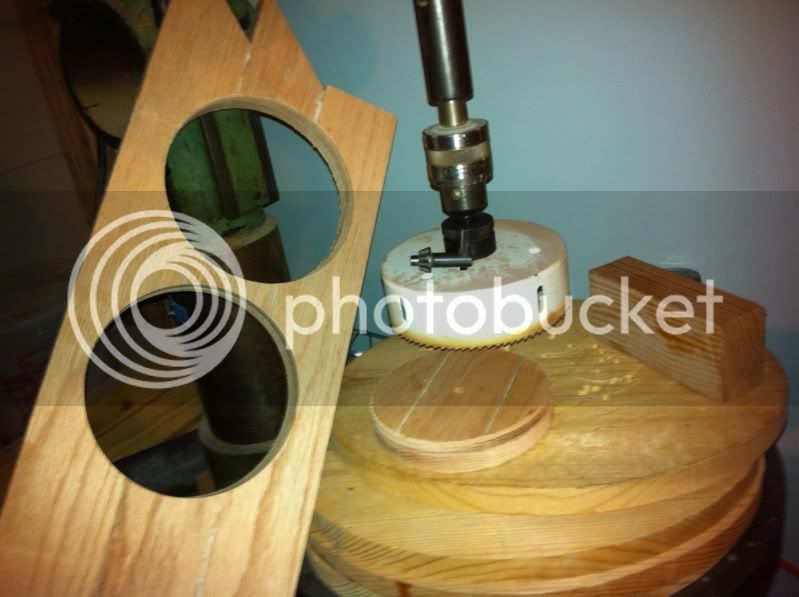
We used a drill press to cut the larger circles out of our glued together scrap boards
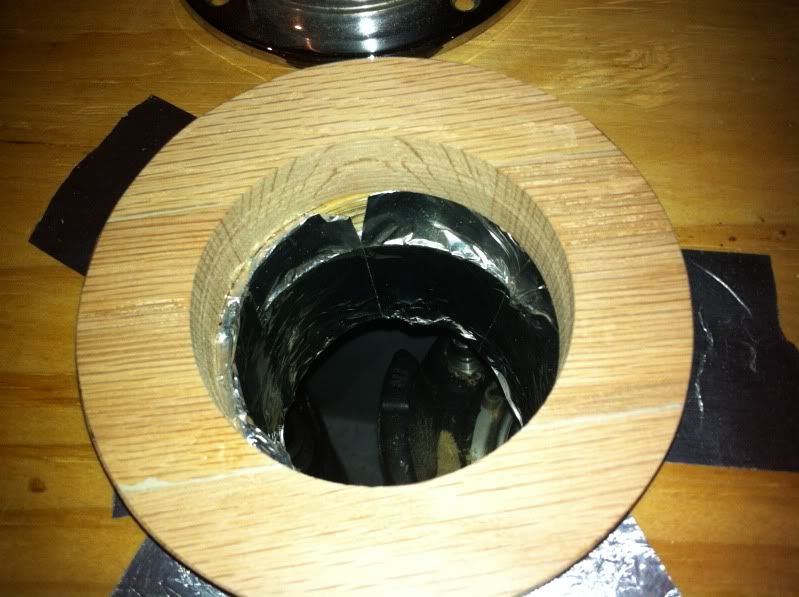
Then used the same pilot hole to cut the 3" circle out of the center
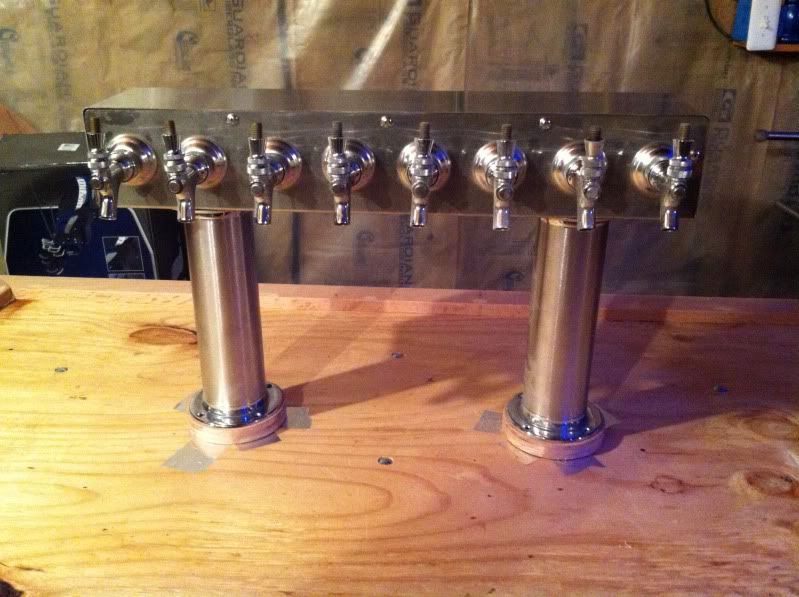
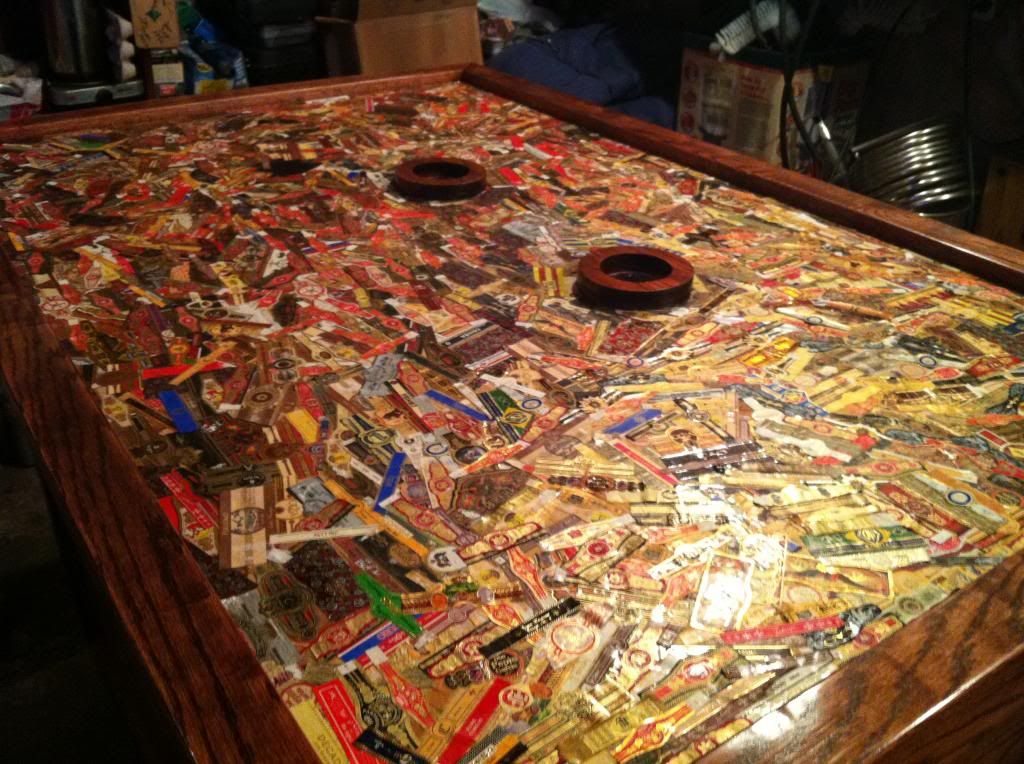
Which left us with a nice riser to set the tap on


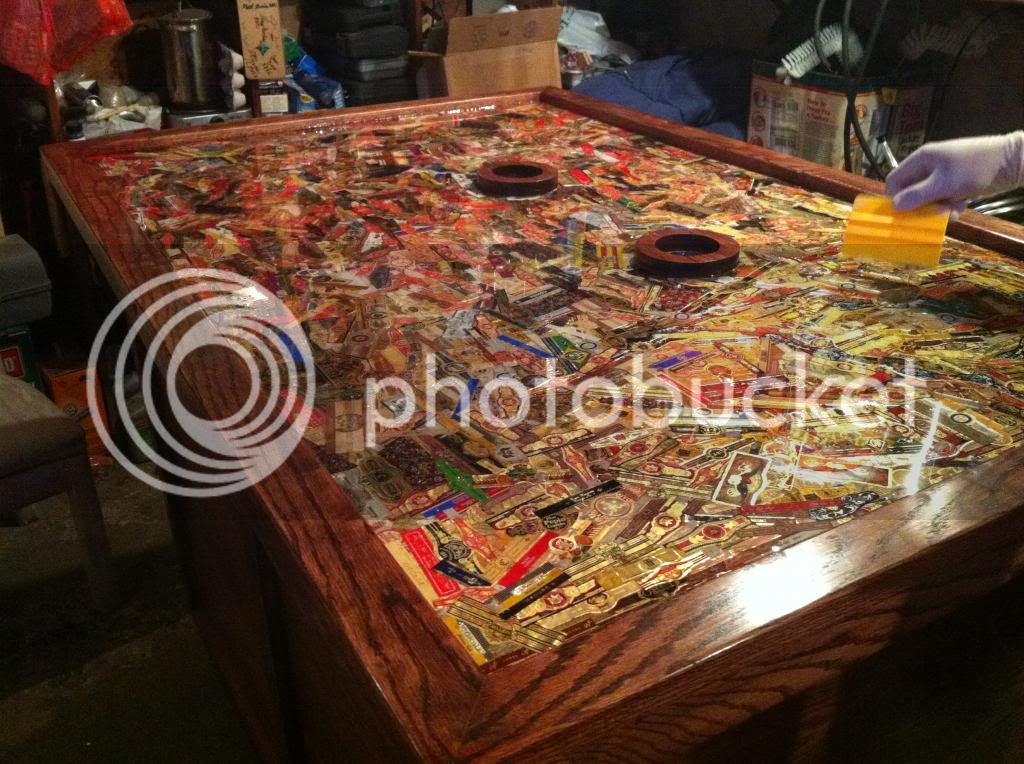
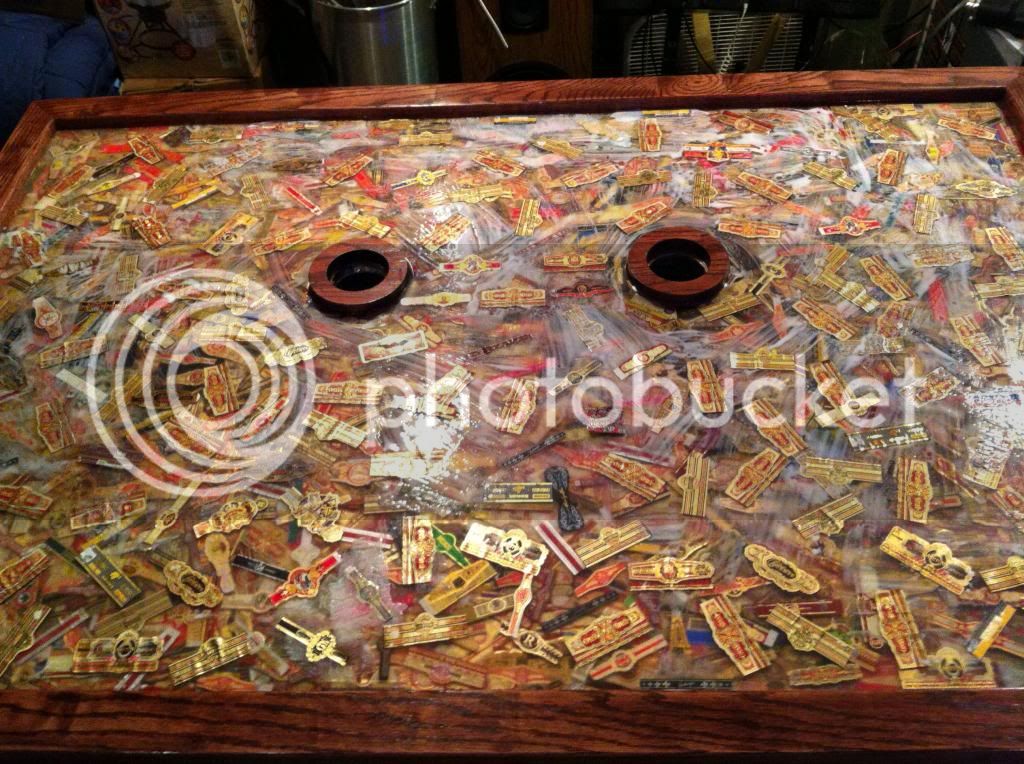


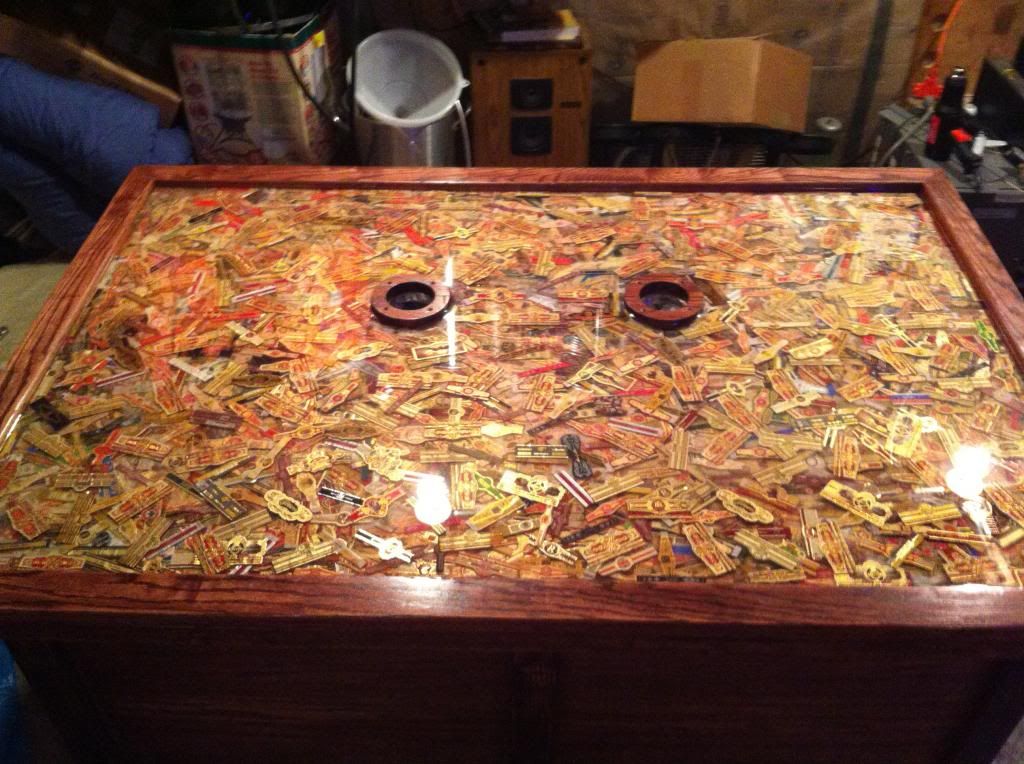


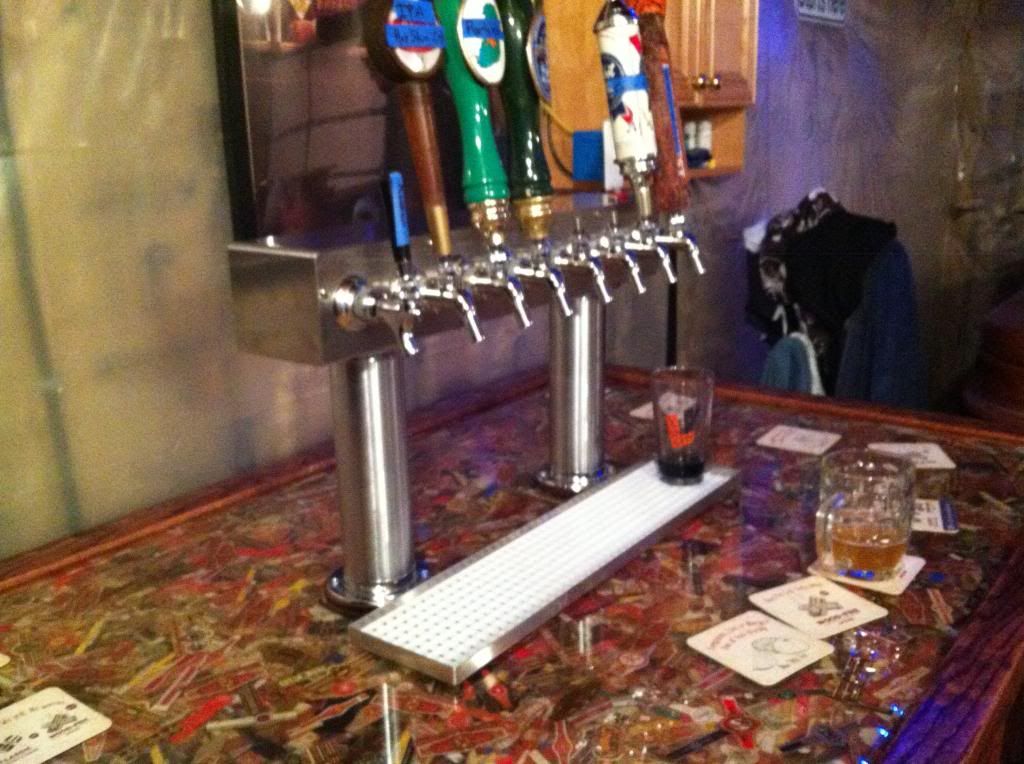

")


