• Please visit and share your knowledge at our sister communities:
  • If you have not, please join our official Homebrewing Facebook Group!

    Homebrewing Facebook Group

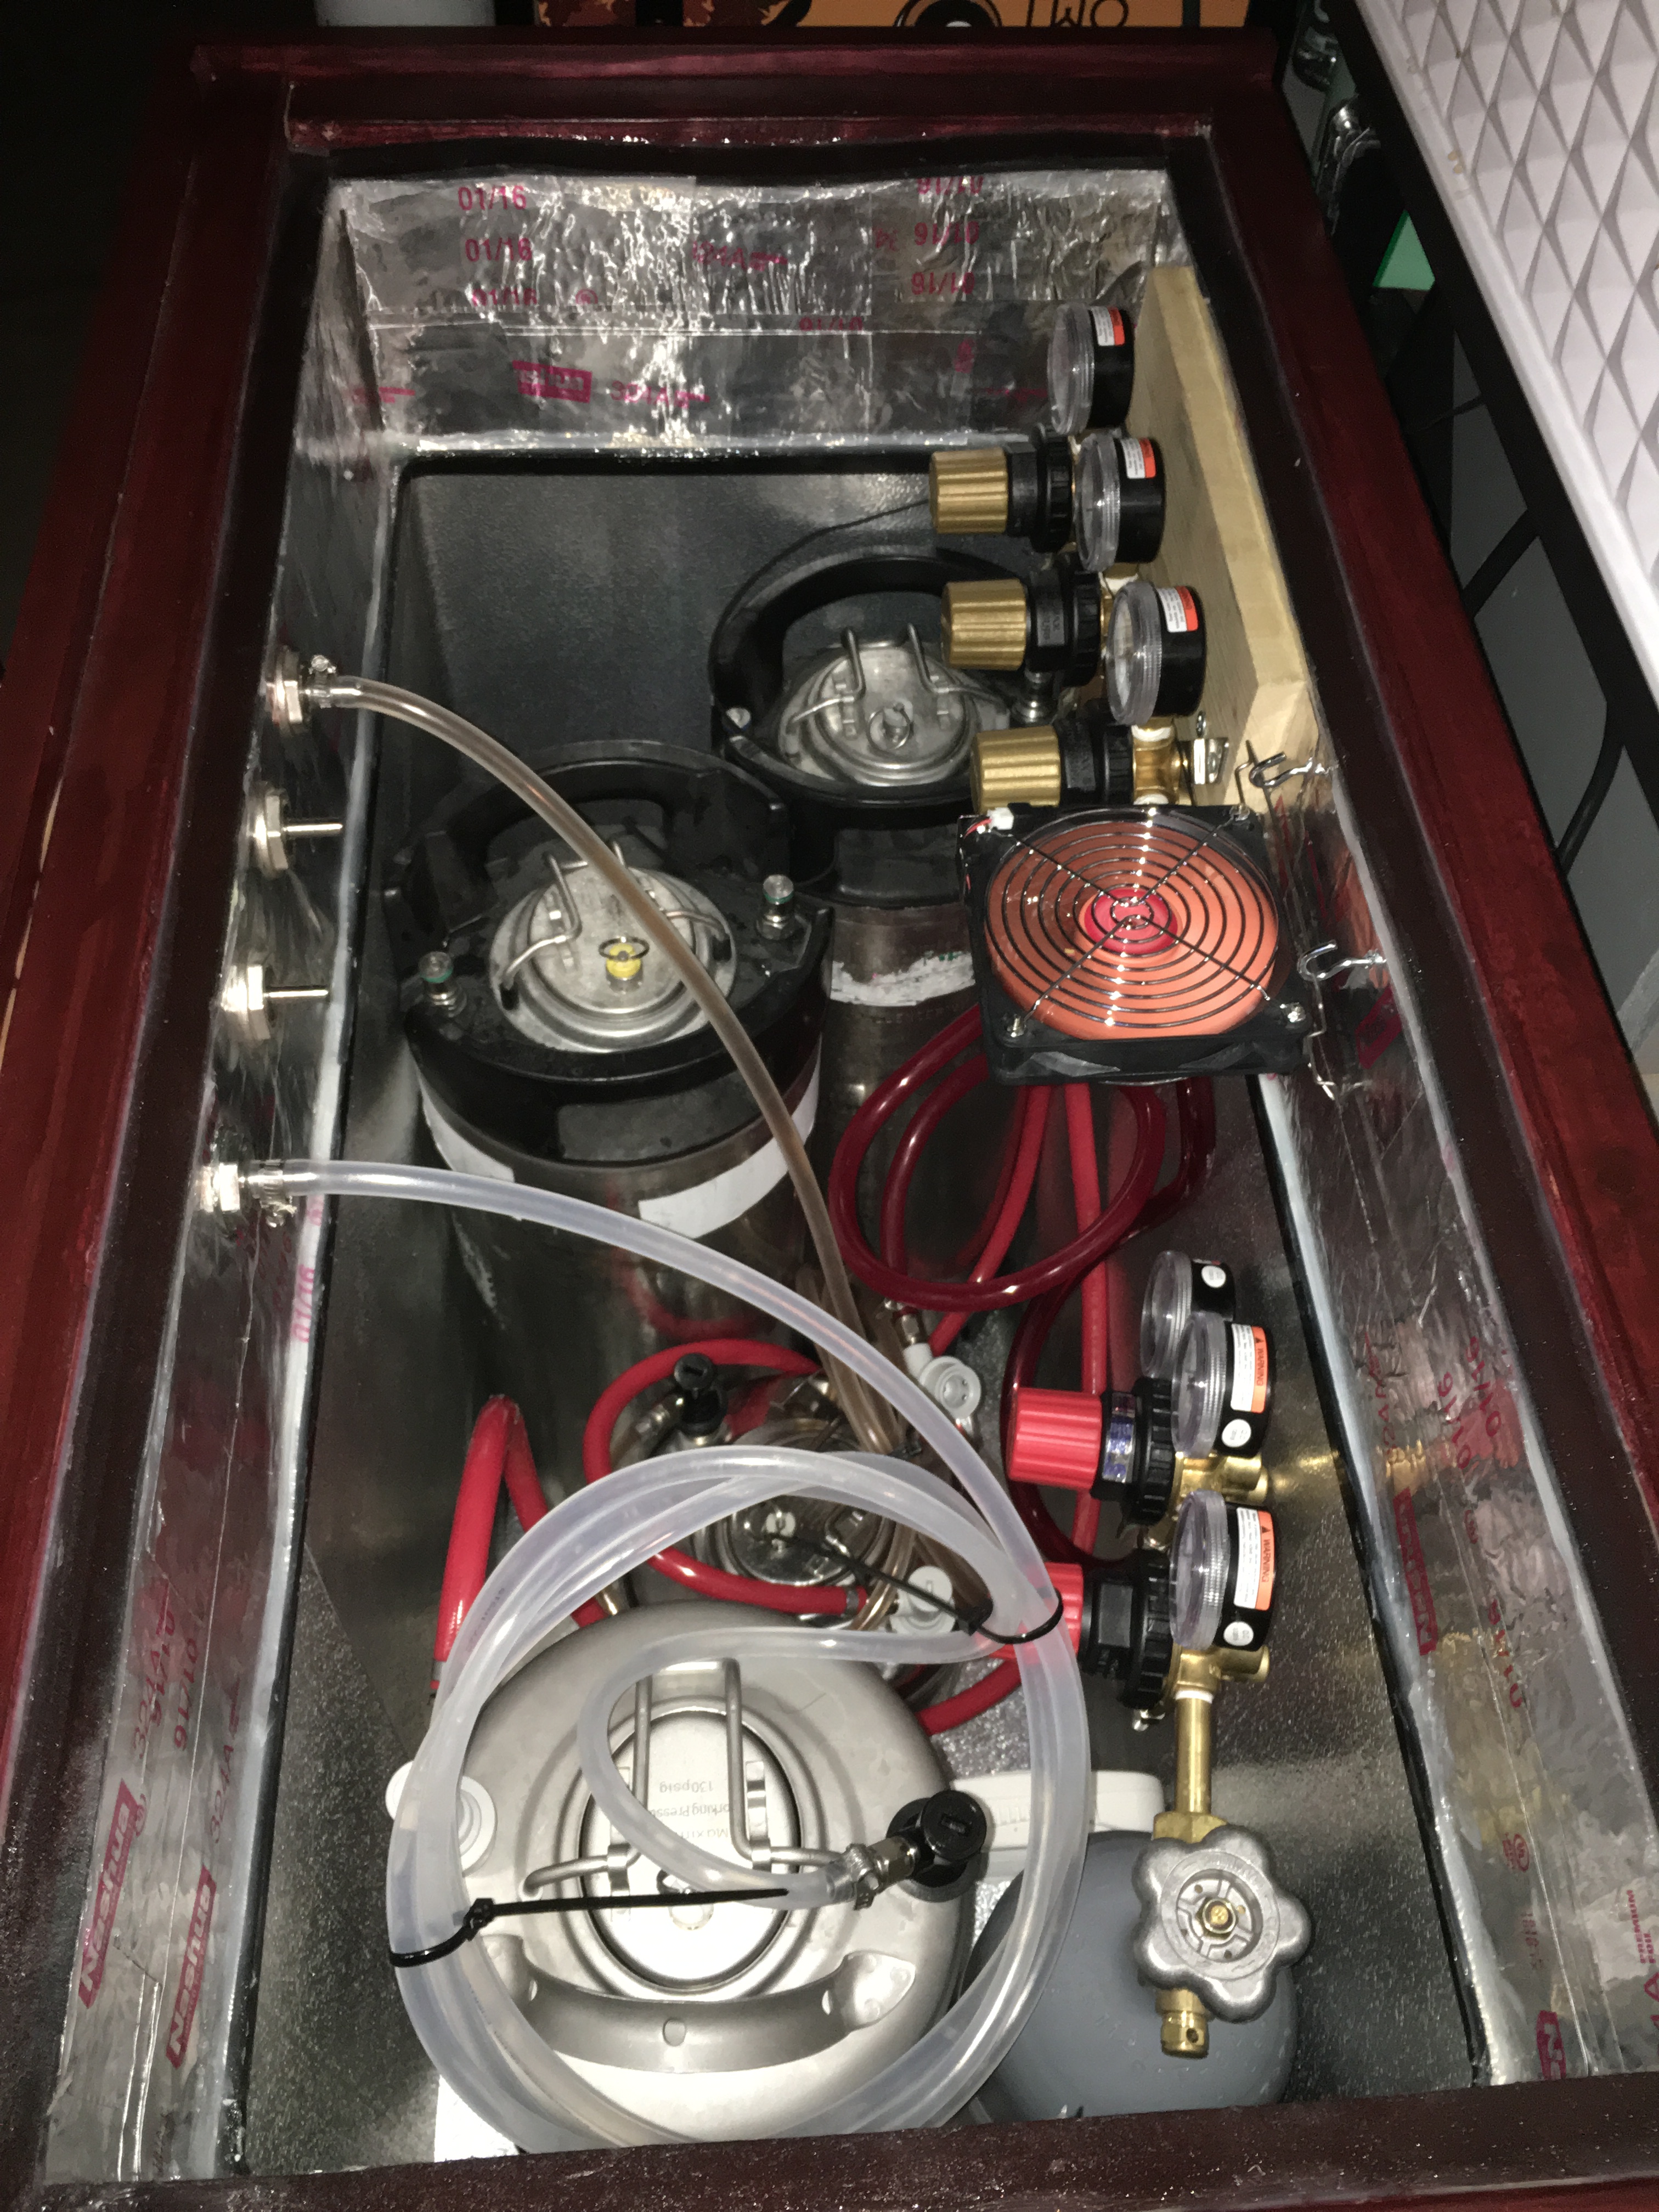
Keezer Collar - Sealing Wood That's Inside Keezer?

Homebrew Talk

Help Support Homebrew Talk:

This site may earn a commission from merchant affiliate links, including eBay, Amazon, and others.
I must admit I cheated and sanded with 400 and applied 2nd coat at 20 hours. Turned out good though. It wasn't tacky at all. I brought it in the house last night.
I won't tell if you won't. As long as the surface turns whitish as you sand it's hard enough. If it pills up it needs more time.

I watched a vid of a pro putting a bunch of coats on in 3 hour intervals so I figured 20 would be ok.
Yeah and that's fine for most things. There is a difference between a finish done by a guy for someone else, and the finish you want on furniture you made for yourself. Coat then sand is best, but like all things there are shortcuts. I'm not sure how you could sand in between with a three hour wait unless you used drying lamps, so that's gonna be a sub-optimal finish.

How about Marine Varnish?
This is a varnish. Marine varnishes adds things which we do not need, and often contain UV blockers which act like pigment which make them less desirable for interior furniture use. For outdoor furniture it might be appropriate but not for interior.
 
For a wiped finish, that is really nice! I used conversion varnish on my bar and Keezer, but would consider this for future small projects. Thank you lbussey for the product info.
 
Yeah not the best pic. I am very glad I went with this stain and top coat. I really like it as does the SWMBO.

I made a couple mistakes applying it that gave me a couple of spots that are a little lighter but no big deal.

These products would be my first choice again. Really brings out the wood grain.
 
Excellent, love it when a plan works out.

Yes that gel stain does have to dry well before going over the top, and if it's not wiped off completely and evenly it can get like that. One more complicated but consistent way to do it is to use a dye stain first, followed by a sealer (seal-a-cell), followed by gel stain to fill the pores, followed by the arm-r-seal. That's what I did on the table. Definitely adds some time to the project. :)

The biggest problem you will have now is you have developed a taste for a nicer finish. :D
 
Moisture exposure isn't something that I would really be worried about because the moisture level really isn't all that high. The only time that the wood would come under worrisome amounts of moisture is if there's a leak in the seal. However, if you really want to water proof it I would say UGL drylok... one coat super thin, two 'normal' coats. A little goes a long way. Another, cheaper alternative is some oil-based deck stain. If it can stand up to years of Portland rain, I'm sure it can handles a keezer.
 
Moisture exposure isn't something that I would really be worried about because the moisture level really isn't all that high.
Moisture levels (humidity) are 100% in a chilled system in contact with outside air.

Another, cheaper alternative is some oil-based deck stain. If it can stand up to years of Portland rain, I'm sure it can handles a keezer.
Your deck is in the open with open air flowing about it. If moisture gets to the wood here where we intend for it NOT to get, by default it is in a somewhat secluded area and not likely to dry well.
 
Moisture levels (humidity) are 100% in a chilled system in contact with outside air.


Your deck is in the open with open air flowing about it. If moisture gets to the wood here where we intend for it NOT to get, by default it is in a somewhat secluded area and not likely to dry well.

In outside air, sure. Don't leave the door open. Otherwise the average humidity of a fridge hovers around 40 - 50%.

Deck or fridge, sealer is sealer. If moisture does get on the wood it is likely to dry very fast because of the low humidity levels of the fridge.
 
A fridge may be about 52%, since it has the freezer area to lower the RH. Since we are talking about a freezer, the RH can be assumed to be 100% at all times; freezers do not have circulation. It will also provide a condensing surface if the collar is not sealed, since warm, moist air will come into contact with the cold surface.
 
What's in the way - CO2 stuff? Can you relo that to the middle or something?

Edit: Oh I see ... sorry coffee did not kick in yet. Chamfer won't be too bad. Just more work when you thought you were done.
 
Yep. [emoji20]

Chamfer might be too tricky to get straight. Might just lop off an inch or so. I cut the foam with a circular saw and got a wonderful edge. Oh well.
 
You can try a chamfer and then if it does not work, cut the rest off. I would be tempted to try a coping saw or something similar.

I was just reminded WHY I need to do this. I have a smaller freezer I use for a ferm chamber. I put a carboy out there to cold crash and it's too tall. I put a buncha planks across around the ferm lock and put a blanket over the top. Not pretty but it will hold till I get back from Austin.
 
OMG!!! I finished foil taping the collar, set it on the Keezer and went to put the lid on only to learn I didn't account for the protrusion in the lid in my foam board!!! [emoji37]

I'm going to have to try to slice a chamfer around the edge or lop off the top inch or so. OMG!!

View attachment 345691

I had the same issue. It's hard to tell from this picture but I just used a straight edge and blade and cut down 3/4" all the way around. Then I siliconed weather stripping on top of the insulation. This allowed the lid to close and the weather stripping provides a better sealer than the lid sitting on the foam board.

img_2159-67017.jpg
 

Latest posts

Back
Top