• Please visit and share your knowledge at our sister communities:
  • If you have not, please join our official Homebrewing Facebook Group!

    Homebrewing Facebook Group

Keezer "4our"

Homebrew Talk

Help Support Homebrew Talk:

This site may earn a commission from merchant affiliate links, including eBay, Amazon, and others.

cowboy1

Well-Known Member
Joined
Mar 15, 2014
Messages
125
Reaction score
6
Location
Richmond
I wanted to post my Keezer build here at HBT since this is where I have gained the knowledge to take on this project with limited woodworking skill or the tools. This is a copy of futzwash's Keezer "5ive" with a few difference to make it my own. I appreciate all he has posted and any feedback, help, and constructive criticism on my Keezer journey.

Thanks,

David

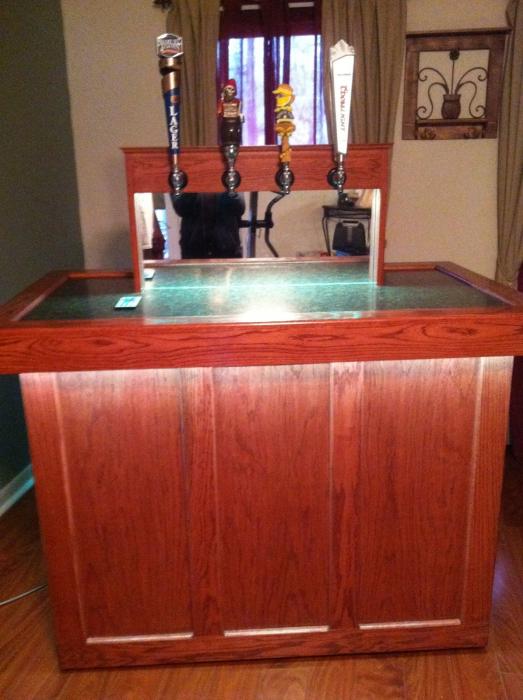
Finished:

finished.jpg
 
This project began last weekend. Just posting some pictures from then until today, any input is greatly appreciated.

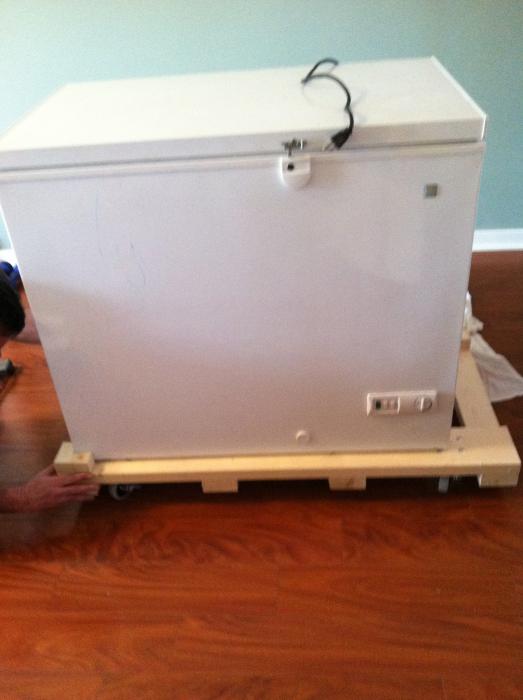
Freezer - GE model FCM7DSBWH 7.0 cu.ft.
I can fit 4 homebrew kegs that my local homebrew shop sells 8-1/2" diameter.
I might end up having a commercial keg in there for friends whose taste buds haven't developed yet. I think it will be close on 4 if I put 1 of those in there.

Needs to be able to move on hardwood floors.
Needs to be sturdy enough for a moving to another house.
Needs to be able to disassemble if the freezer were to go out.
Needs to be able to pour the perfect beer when I want a liquid refreshment!:rockin:

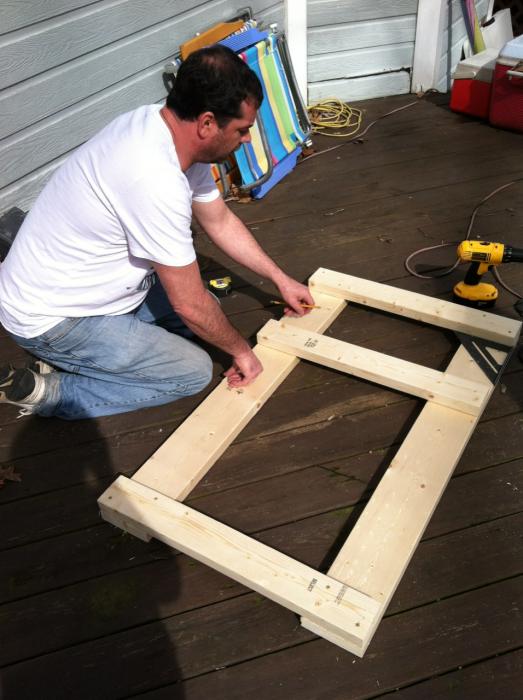
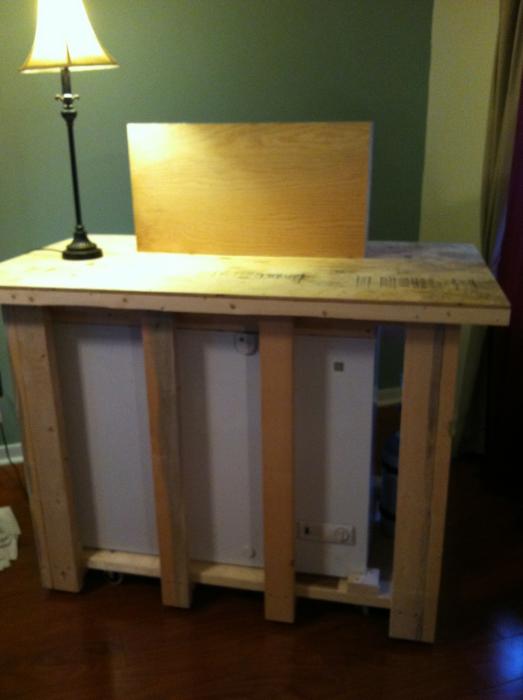
Lets start at the beginning framing the rolling base:
Tried to upload pictures and only see option to link... any help please?
Pictures on my computer.
Not going to delete the previous texts, hopefully I can figure out something to get pictures going.
Any assistance appreciated in helping getting my pics uploaded.


Regards,
:mug:
David
 
Click Reply, then scroll down to the Additional Options pane, then find the Manage Attachments button and click it. A pop-up panel will let you Choose Files (up to five per post) from your very own system, then Upload them as Attachments.

Pictures you upload will all appear at the bottom of the post in the order that you uploaded them...

Cheers!
 
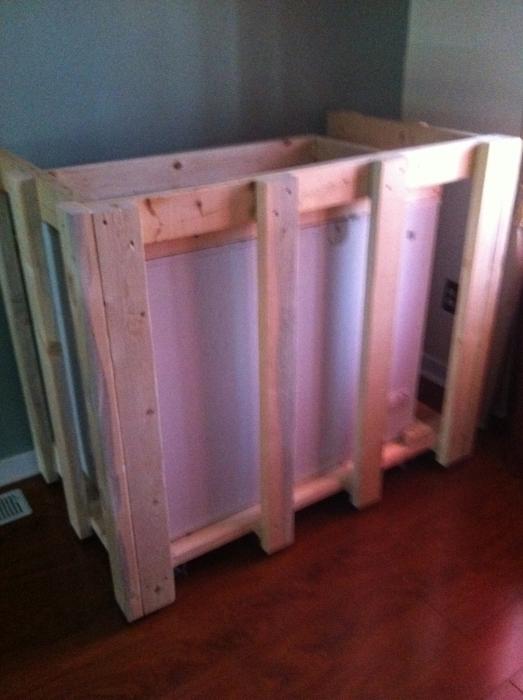
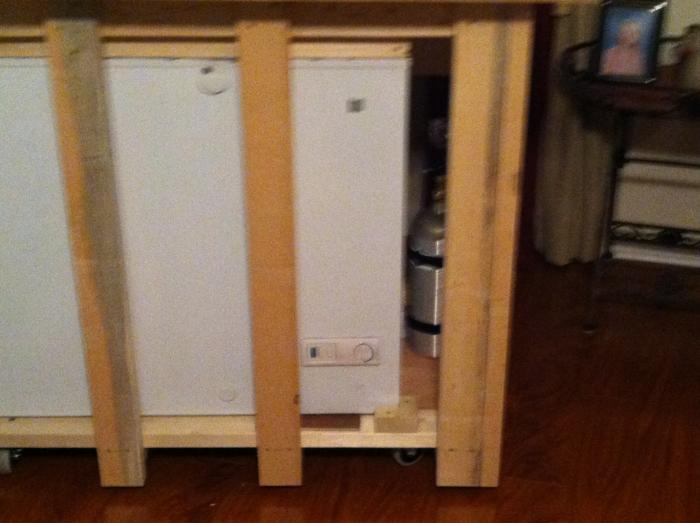
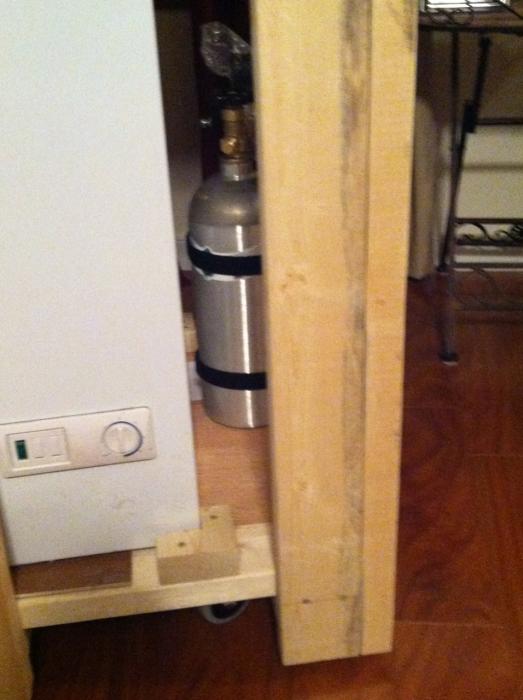
Framed in 5#CO2 outside of freezer used elastic Velcro to hold bottle in place seems to work well:

3.jpg


4.jpg


5.jpg
 
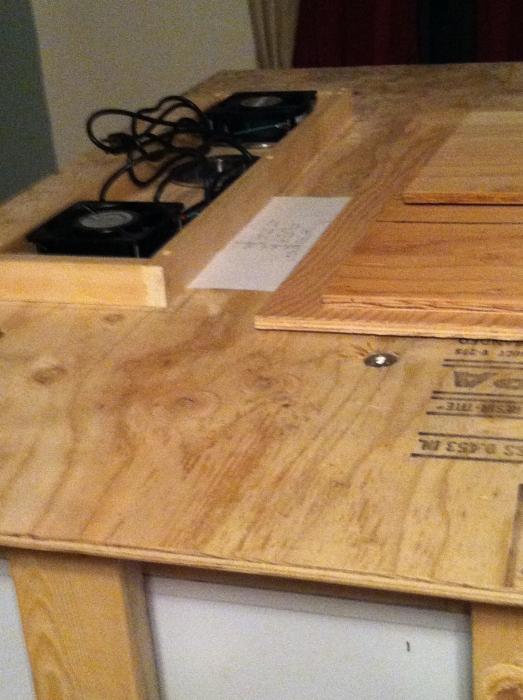
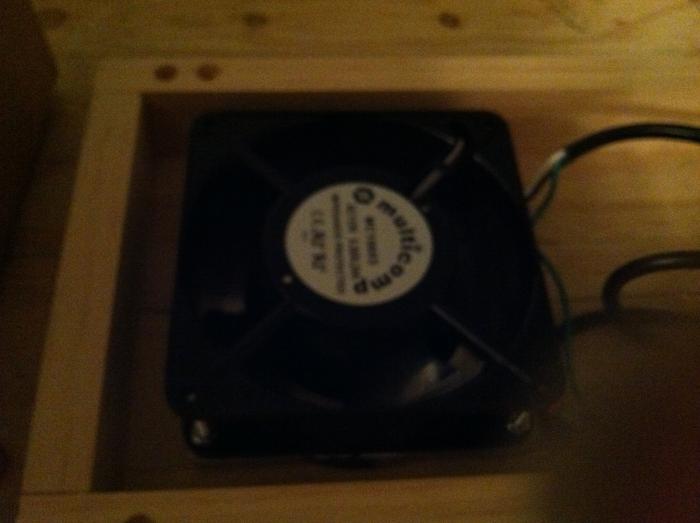
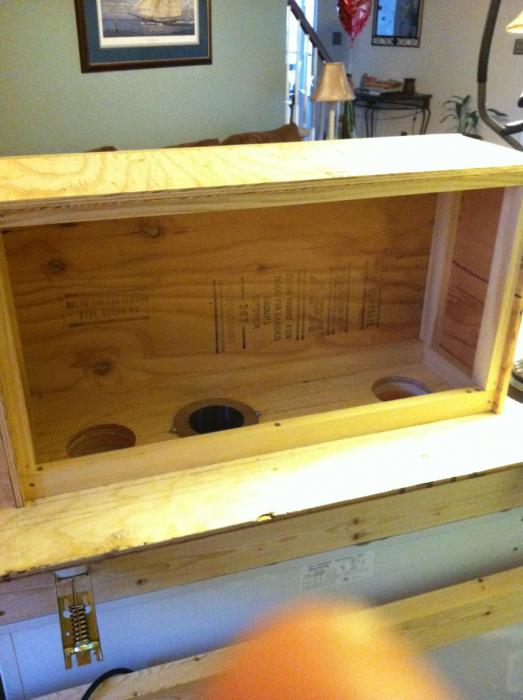
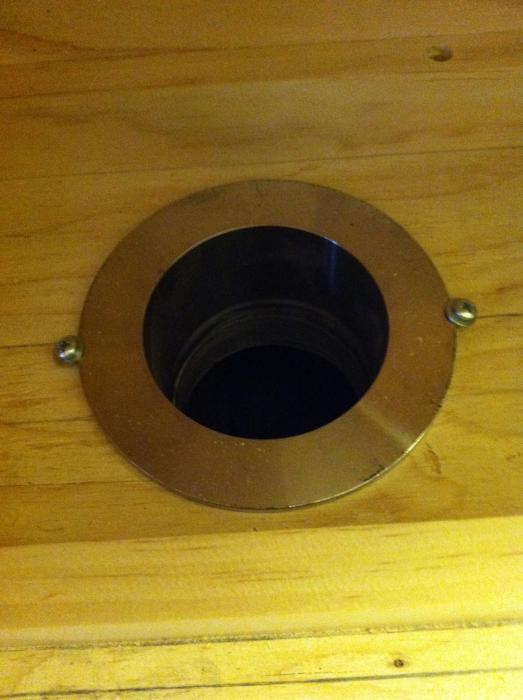
Time for cooling the coffin, I used 3" stainless steel pipe stub ends and made adapter plates to attach the square fans to the round flange. I also used 115 volt/.21 amp 4" fans with computer power cords soldered to them so I can plug them into a receptacle that will be in the coffin. They will be controlled from the second circuit of the temp controller. I had to drill a 3.5" hole all the way through the top of the freezer and 2 layer of 1/2" plywood. This took some effort and a couple batteries in the Dewalt. I can post additional pictures if needed.

6.jpg


7.jpg
 
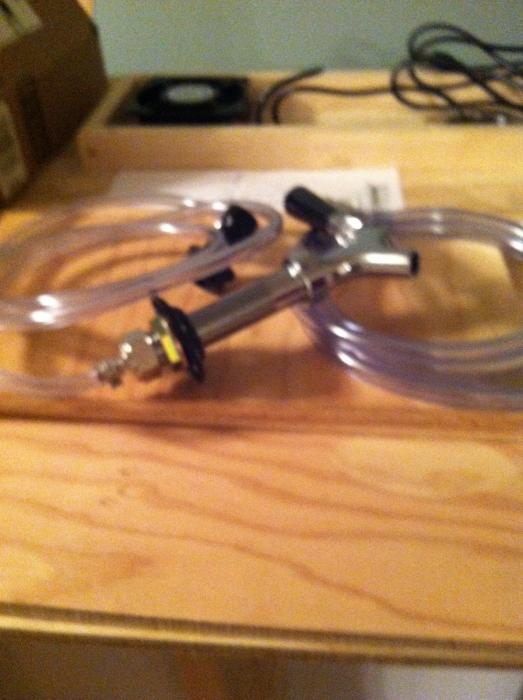
Planning ahead wife needs to know what it's going to look like before it gets living room approval. So here we go, faucet no handle as of yet. Only 1 at this time:

8.jpg
 
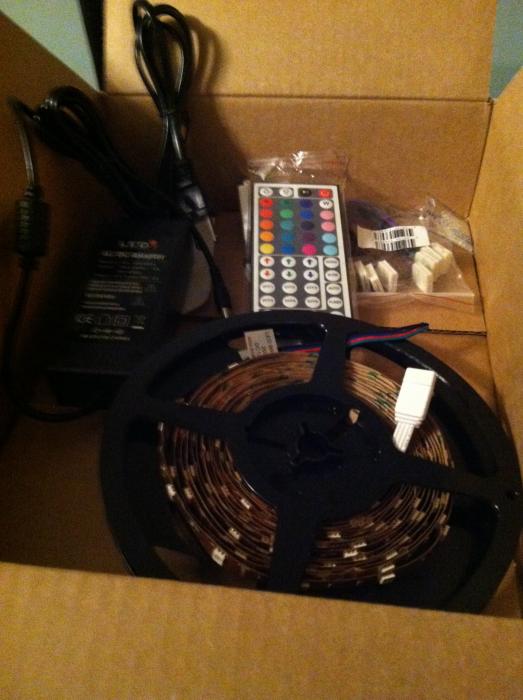
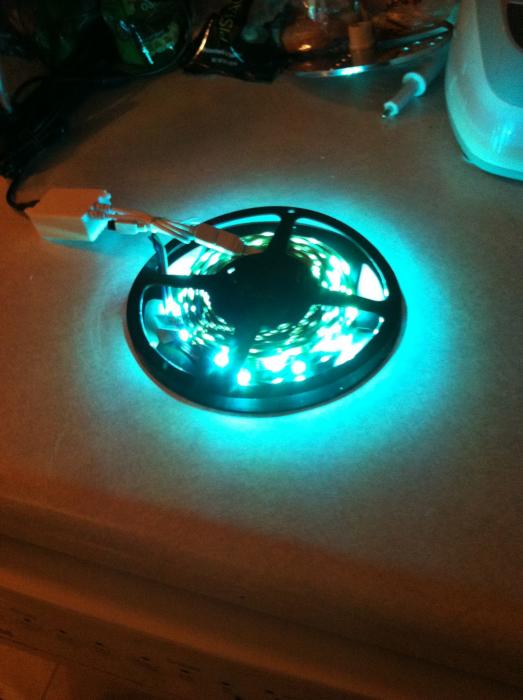
Mood lighting. Had no idea this was out there and this affordable. I think 16' with a IR remote was $37.00 and some change through Amazon.com This will be nice to change colors:

9.jpg


10.jpg
 
Last edited by a moderator:
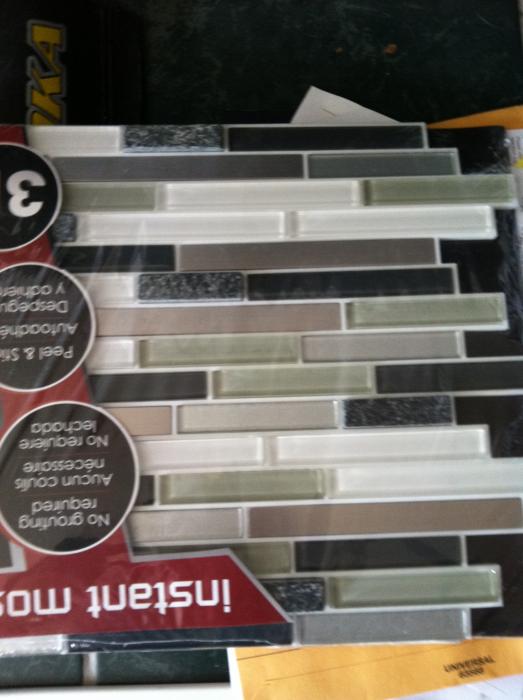
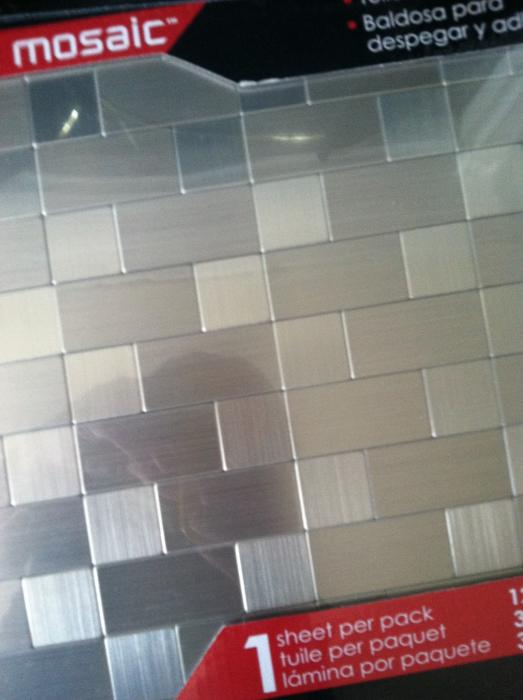
We went with a new peel and stick tile and backsplash to cut the weight down on the lid. I haven't seen anything on people having hinge failure but save on my back. If anybody has used these and experienced problems please let me know before I install them. Sorry picture upside down not sure how to fix it.

11.jpg
 
This is the same peel and stick brand as the backsplash we will do an epoxy coating over this to prevent spill through the joints of the tiles. I also don't plan on using a drip tray, I plan on using a bar mat under the faucets. Much easier and no nasty mess.

12.jpg
 
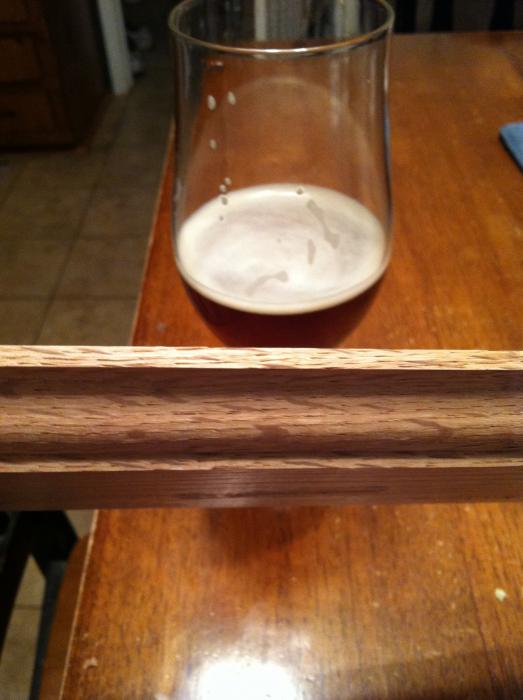
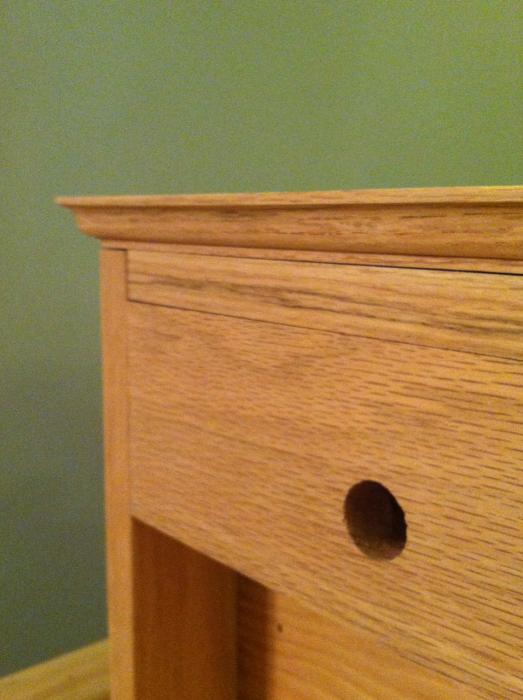
I wanted to add some flare to my Keezer trim work. We went with a 1/4" Roman Ogee router bit to add some nice detail. Batch #2 in the background.

14.jpg
 
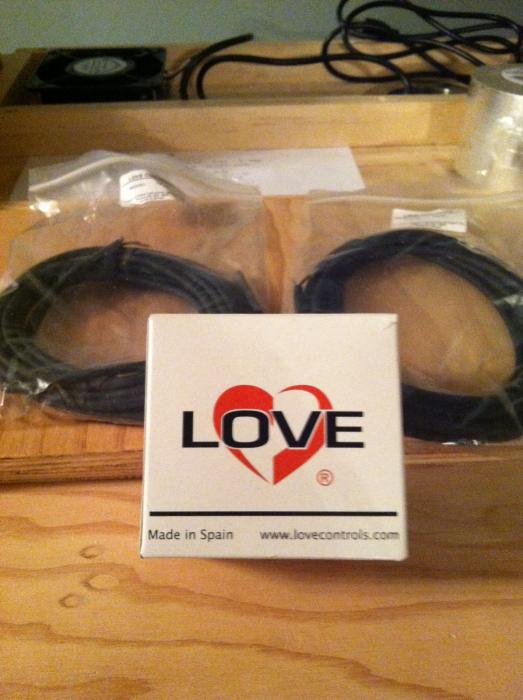
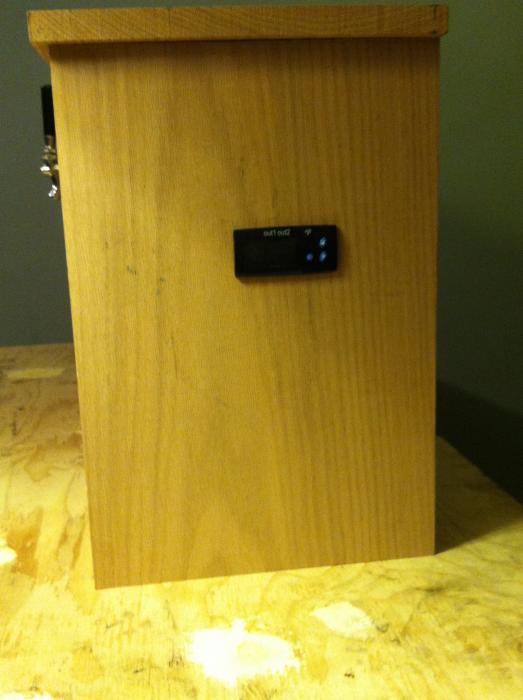
Got off topic with the accessorizing can't let the beer freeze or the coffin get too hot. I used the Love TSS2-2100 with 2 TS-21 stainless steel temp probes

13.jpg
 
Enough for 1 day. Any suggestions, comments, or questions would be greatly appreciated. Hope this can be of use to somebody wanting to pursue a Keezer project.


Drink more beer!!!:ban:

Thanks,

David:mug:
 
Curious how you plan on using the TSS2-2100 with two probes. Adding the second probe enables splitting the controller into two independent "single stage" functions, which could be useful with split systems (like side-by-side fridge/freezers) but it isn't as clear how that becomes an advantage on a keezer...

Cheers!

I don't think the coffin box insulation will be as efficient as the freezers. The freezer will be controlled from circuit 1 receptacle box in the coffin. I plan on putting a water tank on the hump in the freezer to help stabilize cycle times. I'm not sure about this yet any input would be welcome. The second circuit will run my fans in the coffin at a couple degree higher temp than the freezer. I will hang the probe for this up near the faucet shanks. I'm using receptacle and plugs to make it easy to replace if ever needed. Hopefully no time soon. If anybody sees flaws in this, or wants more information please post. I would hate to get too far along and find out I made a mistake in design.

Thanks for the question, :mug:

David
 
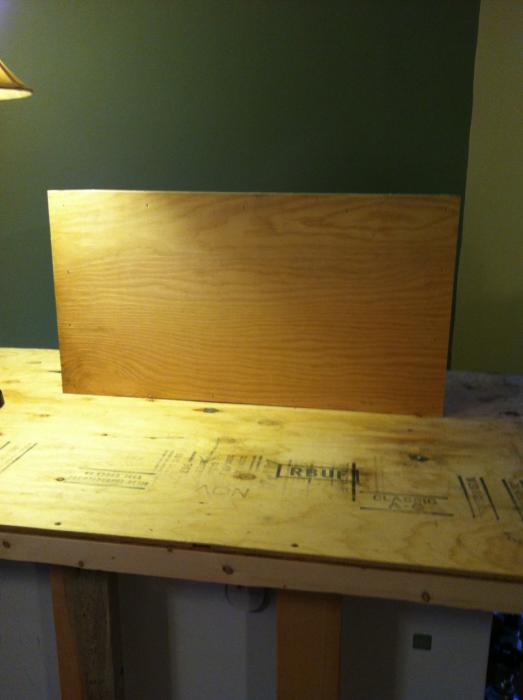
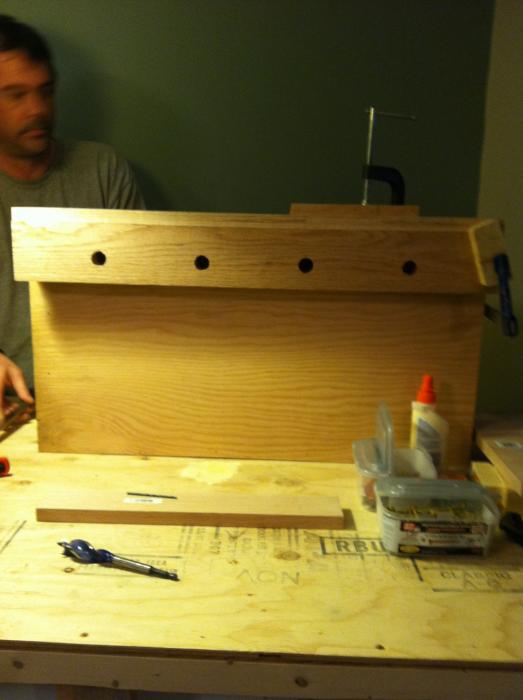
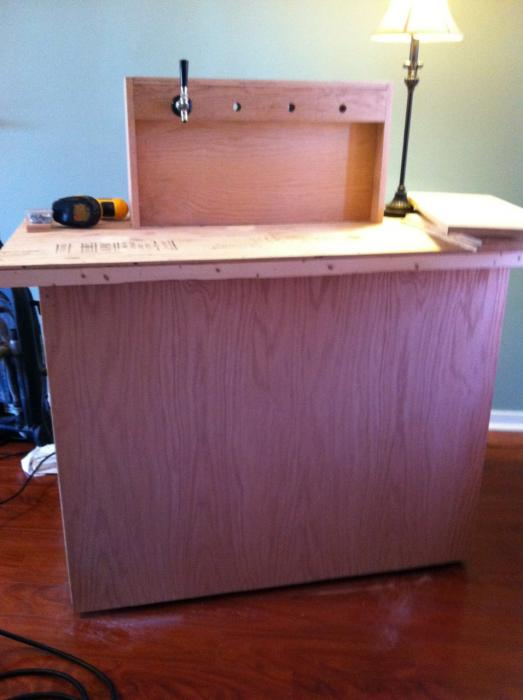
I knocked along today and got the coffin framed up and sheeted it with 1/2" plywood.
Outside dimensions:
28' wide
8-1/2" deep
15" tall

15.jpg


16.jpg


17.jpg
 
Also came up with a simple way to hold my fans and hose port down using 2 screws with washers.

18.jpg
 
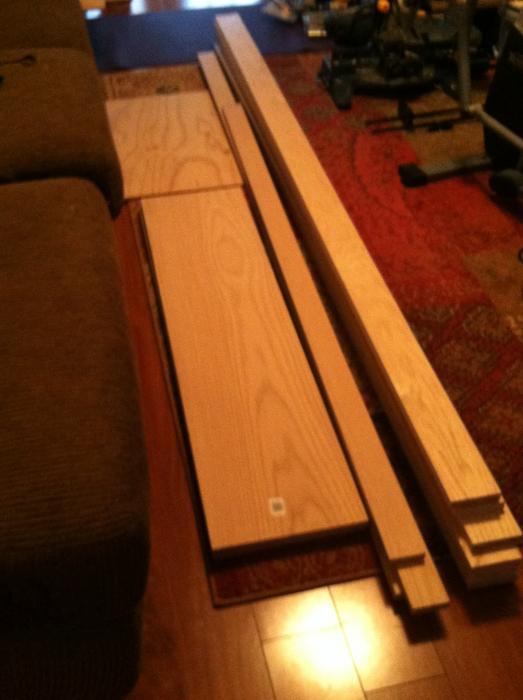
Rain moved in and shut me down for the day, so I took back some extra items to the home improvement store and picked up a 2 window latches for the back door on the coffin and my oak trim:

19.jpg
 
When the weather gets better I will complete the oak case around the coffin putty divots in the plywood bar top to get ready for tiling and get this bad boy wired-up. :rockin:

Calling for some snow here dang March can't wait for Spring.

Any questions, comments, or just check in feel free to post them up.


Thanks,:mug:

David
 
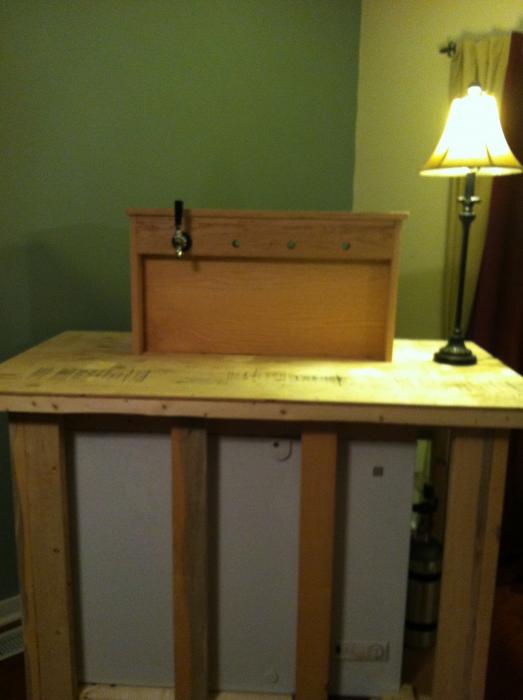
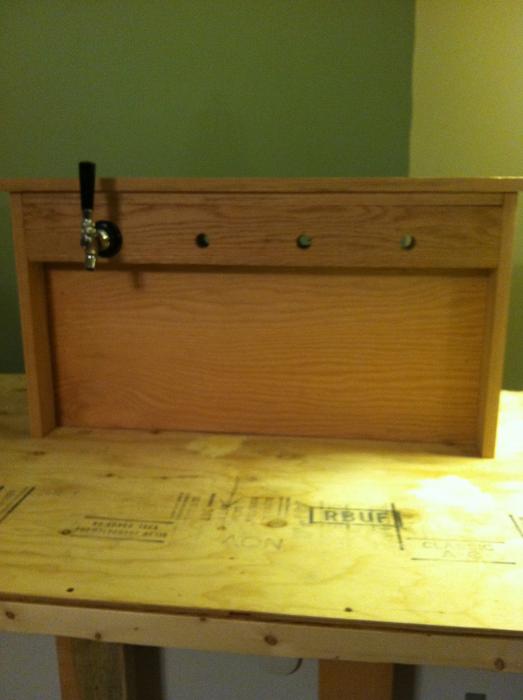
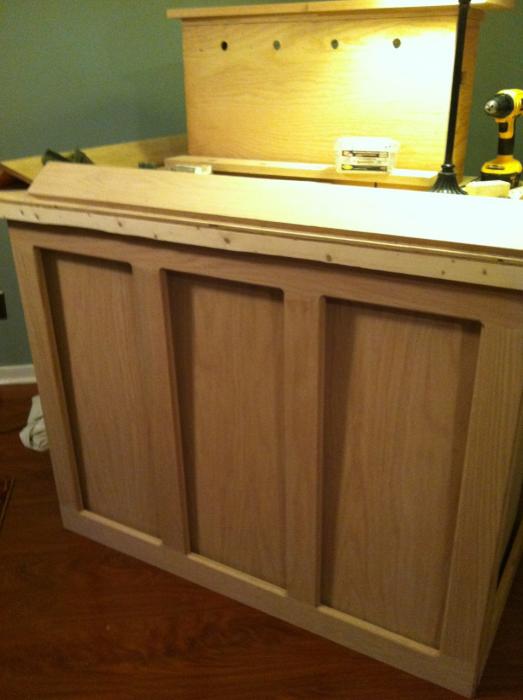
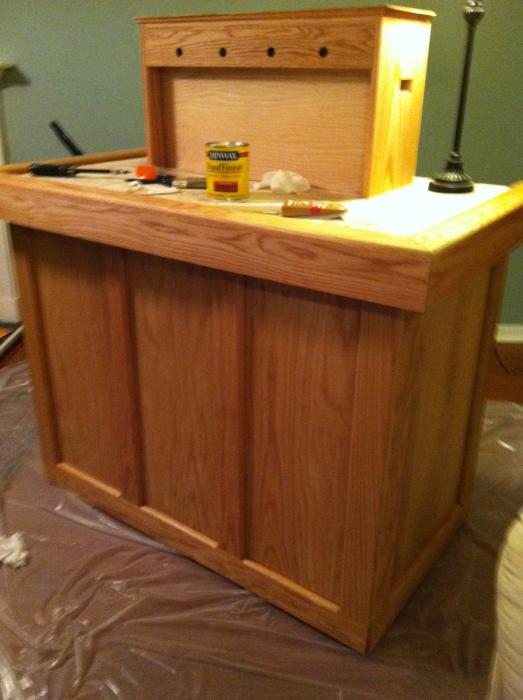
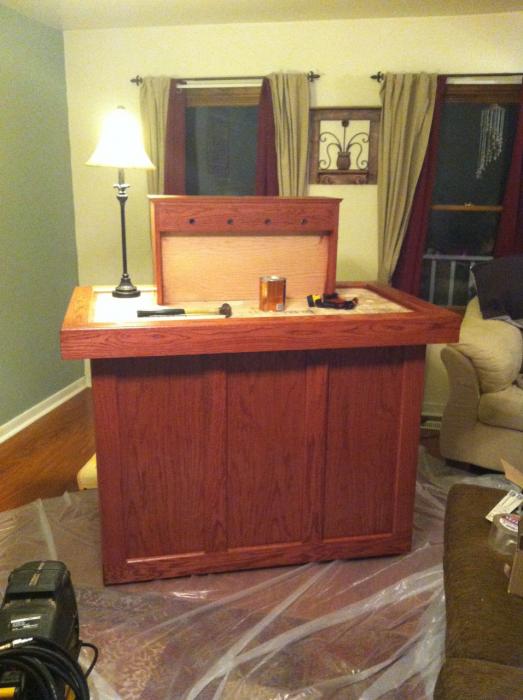
Had some nice weather during the later part of the week. So I assembled the top casing and faucet mount around the coffin:

20.jpg


21.jpg


22.jpg


23.jpg
 
I have made a lot more progress Friday, Saturday, and today I will post those pictures sometime this week. Hope you enjoy this post, as always comments, question, and feedback are welcome.


:mug:

David
 
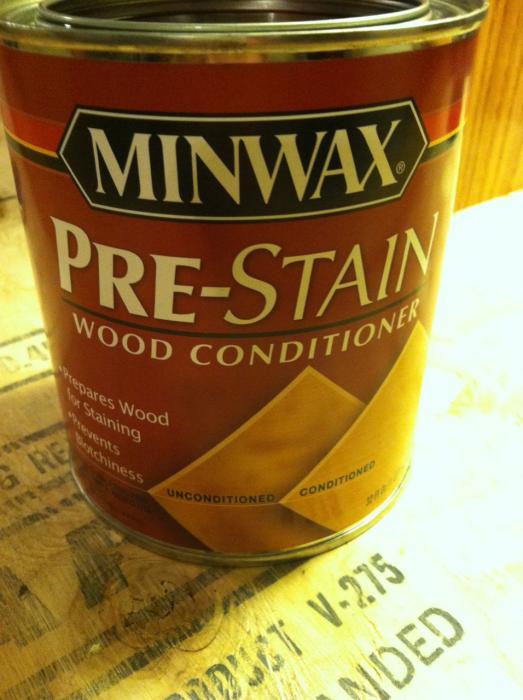
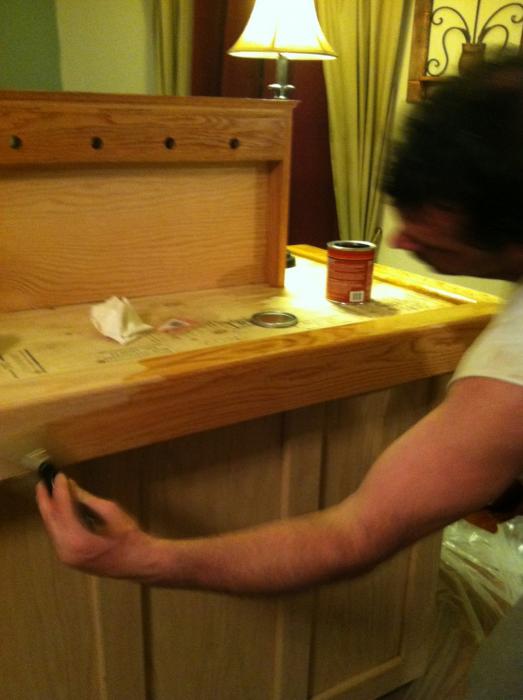
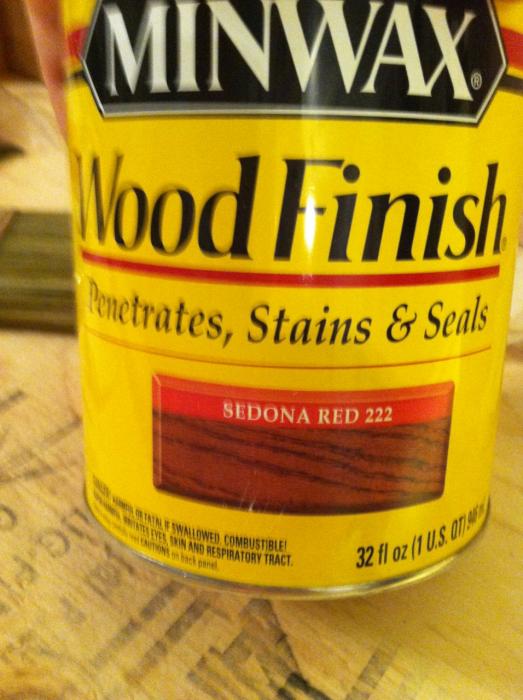
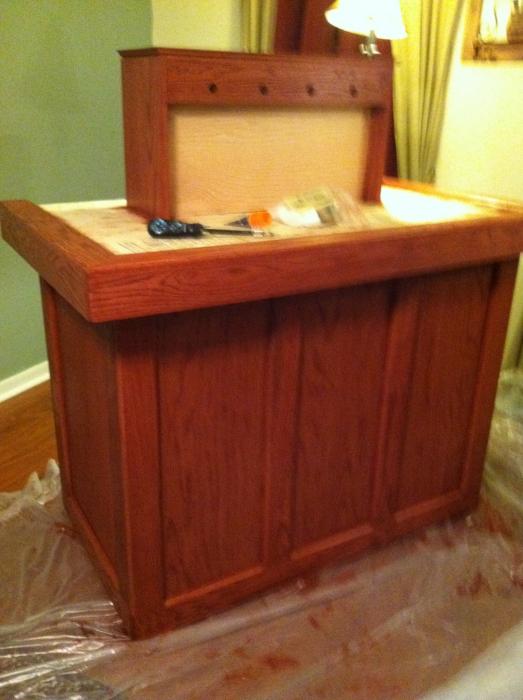
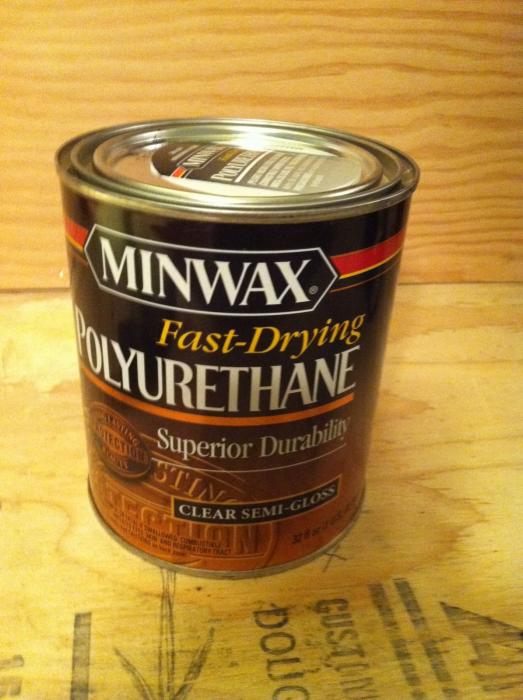
Used Minwax Sedona Red after testing 6 different stains, this might have been the hardest and most time consuming part of the whole build so far. :confused:

30.jpg


31.jpg
 
Ok this was done on Sunday when my dad came over and hooked me up.:)

Everything is ready to go. I did have some issues with setting up the temp controller here are the parameters that I used:

Love TSS2 parameter settings for Keezer “four”

Hold set down for 8 seconds
When 0 appears hit set and start entering the parameters.
SP1=38 DEGREES
SP2=42 DEGREES
R0=ind
R1=1 degree
R2=1 degree
R3=1
R4=32
R5=35
R6=45
R7=49
R8=ONOFF2
A0=.1
A1=10 set after running and cold so you don’t have a alarm going off while waiting to get cold.
A2=10 set after running and cold so you don’t have a alarm going off while waiting to get cold.
A3=5
A4=5
A5=18
A6=AHL
A7=AHL
C0=7
C1=dir
C2=dir
C3==opn
C4=opn
P0=f
P1=0.0
P2=0.0
P3=yes
P4=sd1
P5=2
H0=0
H1=no
H2=dir
H3=dir
H4=0
H5=0

As always questions comments, and feedback welcome.

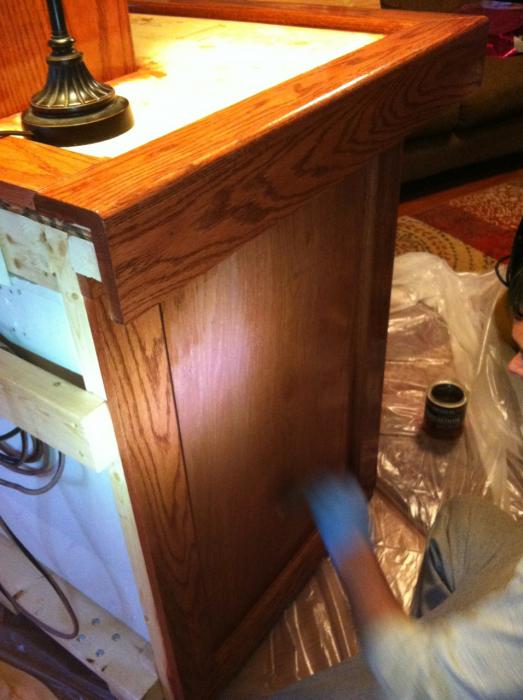
This will be the last update until after I'm done with the Poly. I will be putting 1 coat on each night.

Thanks,:mug:

David
 
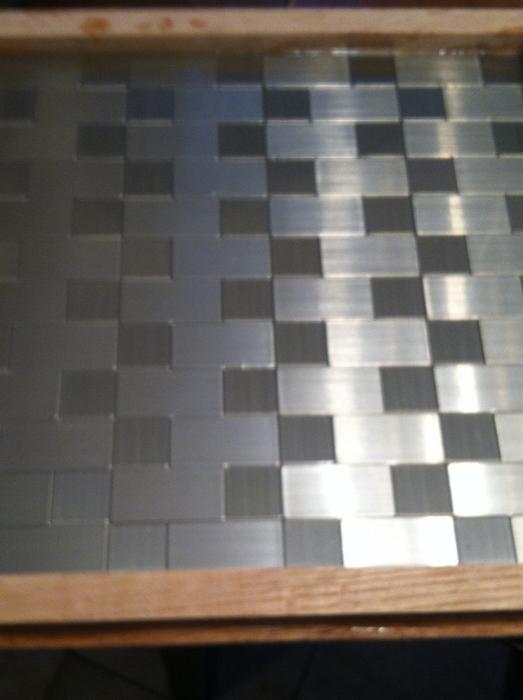
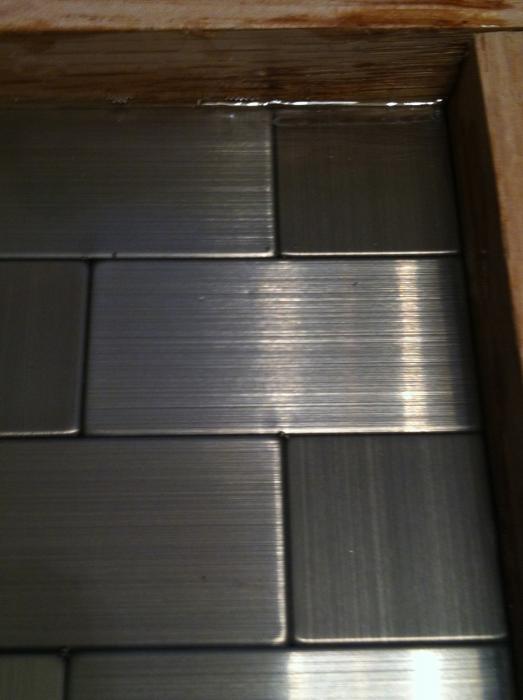
I did a test run of the epoxy over the weekend and it didn't go as expected. I'm looking for ideas. I want to keep this top as light as possible so the normal marble tiles are out. I have a piece of clear polycarbonate sheet to lay over the peel and stick stainless tiles. That seems like it will scratch easy and would dull over time. Any help or ideas would be appreciated.


:mug:

David
 
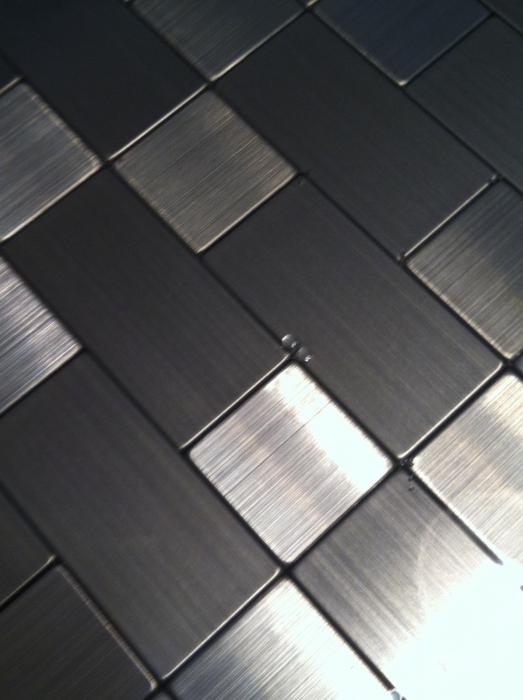
This doesn't look terrible, but it was a small run where I could keep up with and this is how it turned out. I know if I did the whole top it would be multiplied. I have put a lot of time and money into this build and don't want it to look bad. See pictures below:

IMG_3892.jpg


IMG_4212.jpg


IMG_6797.jpg
 
looks great! What is it that you're disappointed with on the steel tiles? the epoxy bubbles? It's tough to make out in the pic.
 
looks great! What is it that you're disappointed with on the steel tiles? the epoxy bubbles? It's tough to make out in the pic.

Thanks for the reply, each corner of the small tiles has a tiny bubble or dips in. If I were to do the whole top and have all the surface to watch, it would be worse. I have since come up with an, idea to use a high grade laminate that looks like marble and build the top up using 1/4" plywood. This will keep the weight down and hopefully give me a nice tough finish. Any thoughts or concerns would be greatly appreciated. I haven't seen this done on any other builds, so I hope I'm not messing up. I'm using the pattern on the bottom right. Again thanks for posting.

:mug::

David

image.jpg
 
Back
Top