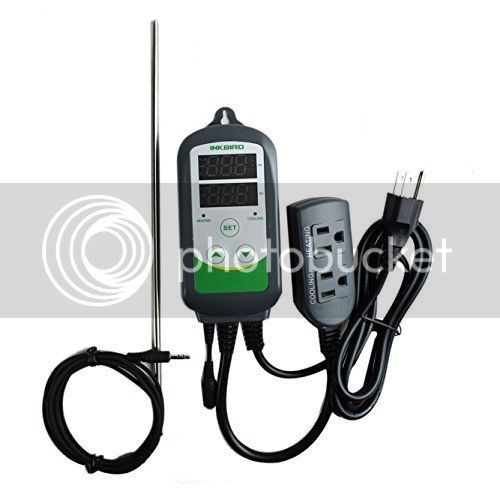
These two posts point out both sides of the coin. When I bought my Inkbird, I thought that wanted to measure the beer temp, so I also bought a thermowell to insert into the beer for the temp probe. I don't have a fridge or freezer, so I use my 10 gallon igloo with about 2.5-3 gallons of cold water, regulated by a pump circulating the water through an ice bath. The inkbird turns the pump on and off. What I found was that by the time the water had cooled my beer down to the temp where I wanted it, the water surrounding the carboy was so cold that the beer just kept cooling, overshooting my desired temp by 2-3 degrees. So for my setup, it works best to monitor the water temp around the carboy. I think the water regulates beer temp a lot better than air in a fridge. I keep the thermowell in the beer, and rarely does it rise even a full degree above the water temp.
So, say my Inkbird temp setting is 62 degrees. I have my differential set at 1, so as soon as the water hits 63 it kicks on the pump. At this time the beer is just a few tenths above 63. The pump runs until the water temp is back down to 62, shuts off, and by the time the water has stabilized, it may be around 61.5-61.7. Even in the heat of fermentation, this cycle only occurs about once an hour, and once the ferment has settled down, only 3-4 times a day.
I'm in no rush to buy or build a fermentation chamber, as I think this is doing a better job, due to the superior heat transfer abilities of water over air.


![Craft A Brew - Safale BE-256 Yeast - Fermentis - Belgian Ale Dry Yeast - For Belgian & Strong Ales - Ingredients for Home Brewing - Beer Making Supplies - [3 Pack]](https://m.media-amazon.com/images/I/51bcKEwQmWL._SL500_.jpg)