• Please visit and share your knowledge at our sister communities:
  • If you have not, please join our official Homebrewing Facebook Group!

    Homebrewing Facebook Group

immersion chiller :)

Homebrew Talk

Help Support Homebrew Talk:

This site may earn a commission from merchant affiliate links, including eBay, Amazon, and others.

poislb

Well-Known Member
Joined
Mar 29, 2011
Messages
1,277
Reaction score
69
Location
Kenosha
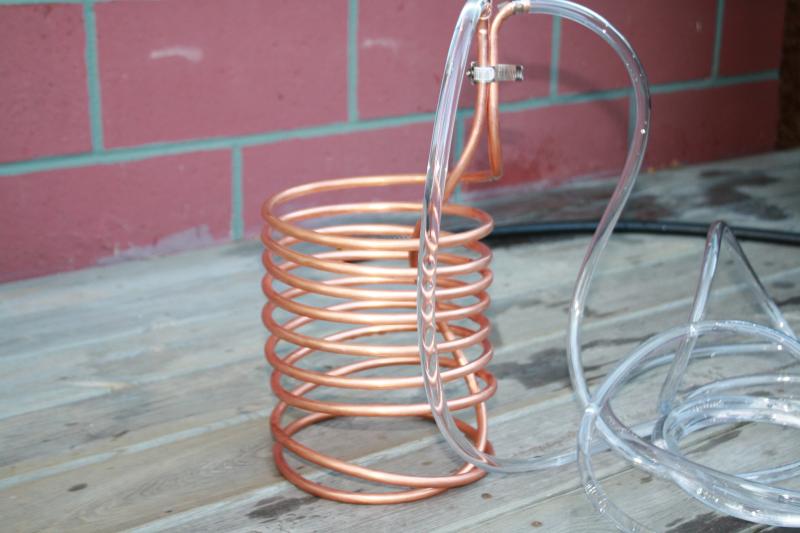
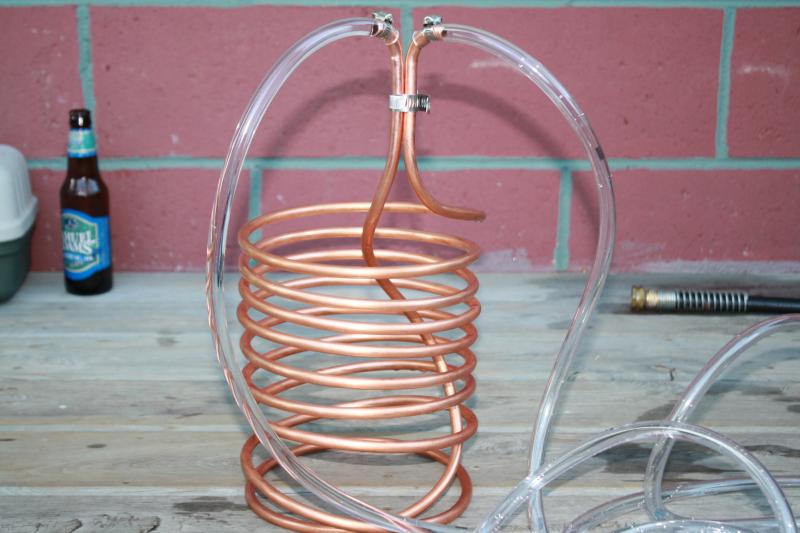
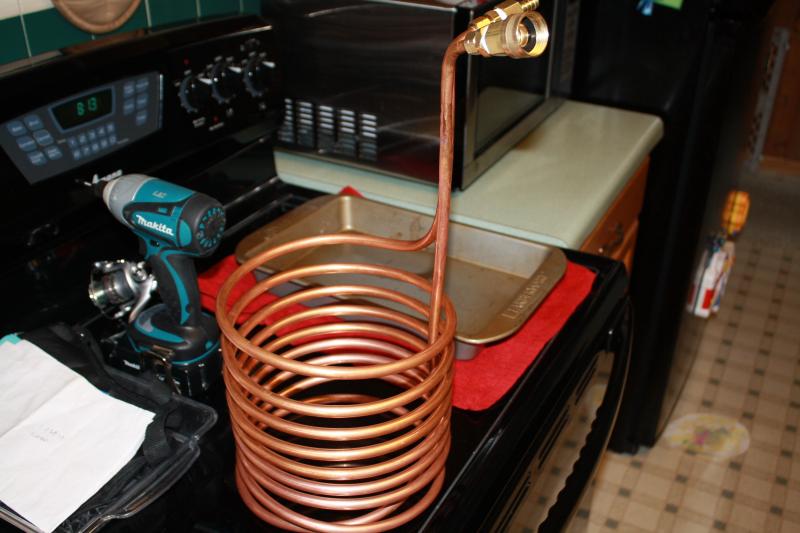
Saved about 30-35 dollars doing one myself, came out okay not the prettiest but she will do...20ft 3/8

Water going down and then up, is that correct?

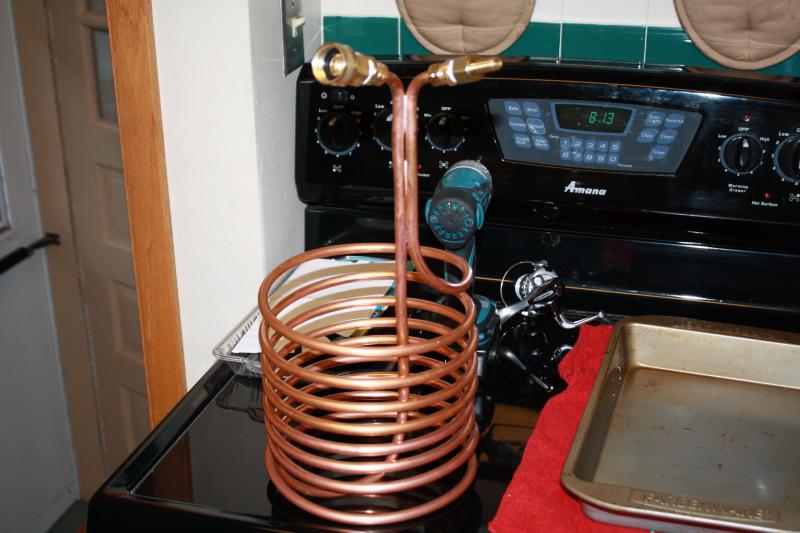
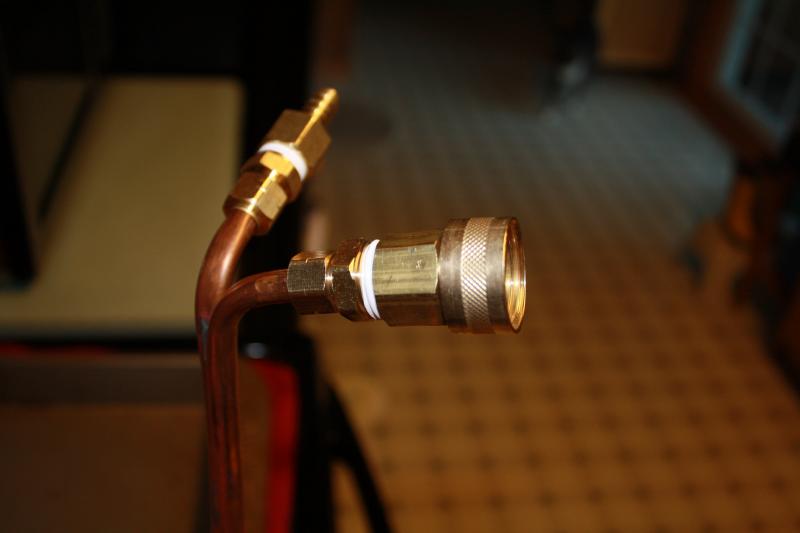
EDIT: The new and improved Chiller as of today, did some modifications this evening :)

IMG_1003.jpg


IMG_1002.jpg


IMG_1024.jpg


IMG_1025.jpg


IMG_1026.jpg
 
Looks good... Water flow direction also looks good. You could change it between the first two batches to see if one cools better than the other.

I would HIGHLY recommend making sure the water lines are outside the kettle, and on a down angle, so they drip outside the kettle, not into it. Otherwise, follow best practices when using the IC...

I made my first IC out of 20' of 3/8" copper. Cooled 5.25 gallons of wort from a boil to ~65F in about 12-15 minutes. 50' of 3/8" did it in about half that. Move the chiller inside the wort/kettle and you'll get faster cooling times.

I eventually changed over to a plate chiller. I used that for the first time for the batch that was brewed on 6/12. Can't wait to brew it again and use it.. :rockin: Much less physical work there, you just watch the thermometer in it and adjust the valves accordingly. From kettle, through chiller, into fermenter. All with the lid on the kettle. :ban:
 
That's what I did. I used 50ft and it cools it down very quickly. Nice job!!

Thanks..My next one will be 50ft for sure, this was a trial one and came out pretty good so will run it a few times and see how she goes. Sure beats ice baths for sure. Plus i just upgraded to a 2 welded coupler fittings so i can have the brewmometer and ball valve. didnt want to find out if the brewmometer was water proof or not...lol
 
Looks good... Water flow direction also looks good. You could change it between the first two batches to see if one cools better than the other.

I would HIGHLY recommend making sure the water lines are outside the kettle, and on a down angle, so they drip outside the kettle, not into it. Otherwise, follow best practices when using the IC...

I made my first IC out of 20' of 3/8" copper. Cooled 5.25 gallons of wort from a boil to ~65F in about 12-15 minutes. 50' of 3/8" did it in about half that. Move the chiller inside the wort/kettle and you'll get faster cooling times.

I eventually changed over to a plate chiller. I used that for the first time for the batch that was brewed on 6/12. Can't wait to brew it again and use it.. :rockin: Much less physical work there, you just watch the thermometer in it and adjust the valves accordingly. From kettle, through chiller, into fermenter. All with the lid on the kettle. :ban:

Thanks...and thanks for the advice, good to know:)
 
Looking good Bob... Didnt know you home brewed too!!

Dan, is that you? holy....small world...lol

Yeah, just got into it a few months back...just put together all my equipment recently and brewing my first batch of irish draught ale this thursday. Good to talk to ya again, how is everything?
 
Yeppers its me... I just started period. 1st batch on Fathers Day. Fun hobby.

Everything is going well hows about you and the fam?
 
Yeppers its me... I just started period. 1st batch on Fathers Day. Fun hobby.

Everything is going well hows about you and the fam?

No complaints on my end...familys good, still working, and im making beer:) kinda quit chiptalk, hardly play anymore. Still have the set of ameristars and thats it. Been taking home brewing to the extreme, actually found a local home brew shop to sell my home made mash tuns, pretty cool gig. im all set up for all grain but want to get at least one extract/ specialty grain kit under me first. What did ya brew? Also jumped right into the kegging, bought myself a kegerator and everything. Tried it out on a commercial keg for the boys b-day party and wondering why i waited so long...lol
 
Let us know (honestly) how it does! I have been looking to make that exact IC (same length/diameter) since I brew mini-mash's and only need to cool 2-3 gallons of wort. Did you use a corny keg to shape it?
 
Let us know (honestly) how it does! I have been looking to make that exact IC (same length/diameter) since I brew mini-mash's and only need to cool 2-3 gallons of wort. Did you use a corny keg to shape it?

Did a test run and it gets damn cold for sure...Shaped it with a nitrogen cylinder, same size as a paint can or corney keg. worked like a champ, surprised how easy it was. Just buy a decent bender, mine was a cheapo and its was hard to get the 90's on top without crimping it.....It get cold, probably only would take 10-15 min maybe less to cool 3 gallons...

Hardest part was running the bottom up through the top, just gotta play with it to get the bend ya really want....
 
I made both a 25 foot and a 50 foot chiller. Since the groundwater here is so warm due to the hot summer, I have to use both. I use the 50 foot in the beer and the 25 in a SS pot with ice water as a prechiller. I don't add the ice to the prechiller until it is below 100.
 
Looking good there Bob... If I didnt know you made it I would have guessed you bought it.

Thanks bro, it worked for me the first time i did it but it was brew day so i made it quick and very last min. Now that the first brew is over i had some more time to shape it to my likeing. Very happy with it now and now that i have a shape im happy with i made a few to sell at my LHBS:) Actually delivering them tomorrow. Total cost was under 35 bucks with the new fittings.
 
Back
Top