TipsySaint
Well-Known Member
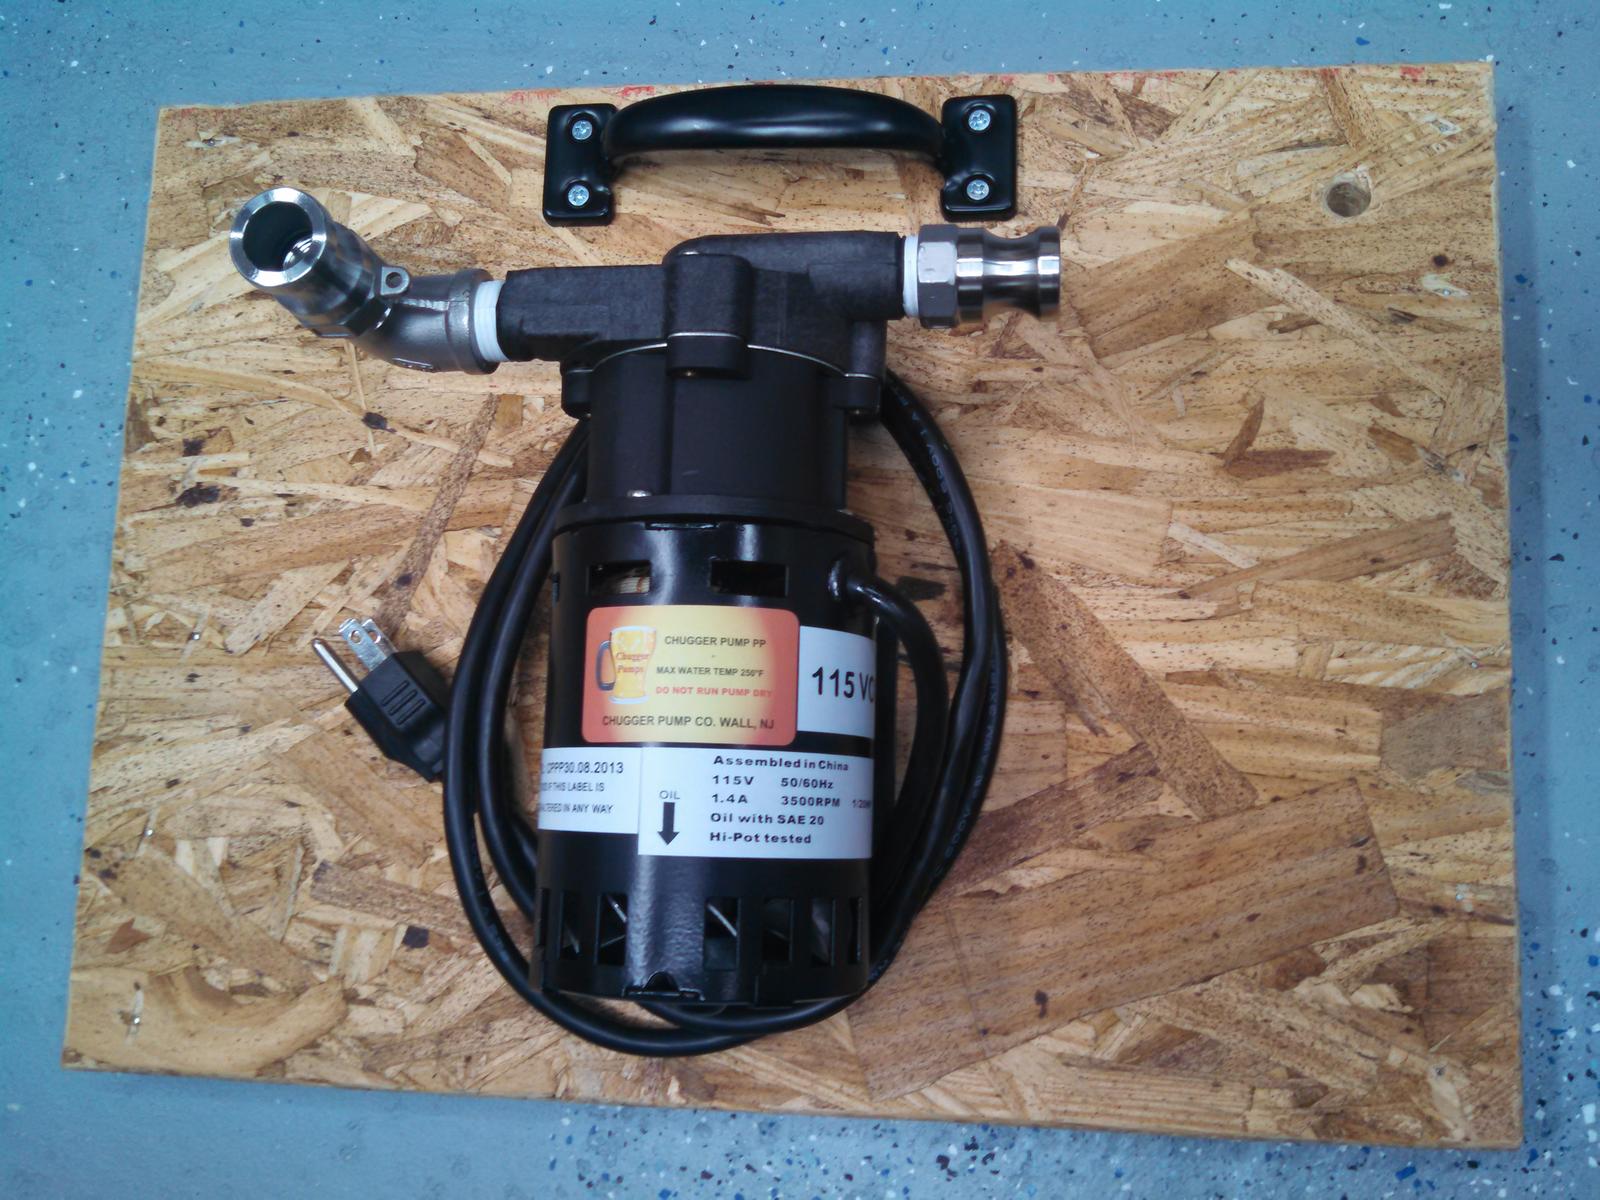
So I have a pump!  It's a chugger SS! I will have all the cam lock connections and sight glasses i need to use my pump thanks to Bobby at Brew Hardware!
Right now i'm thinking i'll do 6" of rigid tubing on either side and one ball valve on the out. Hose barbs on either side with 5' of 1/2" ID silicone tubing on either side with female cams to plug into my various kettles and tuns as needed. I think that the rigid tubing will help the pump settle out and prevent cavitation. I'm concerned about the 5' of captive flex tubing on the pump and that might not let the pump dry out.... maybe i need cam locks there instead of hose barbs....
So what I actually need to know is, how do I setup the plumbing on the pump itself. I've seen bleeder valves on out side, I've seen ball vales on just the out and on the in and out sides. I've see fittings directly on the pump and i've seen 3"-6" of rigid tubing on the pump and then valves. I've also seen some sort of pressure dials, which I assume you might be able to equate to GPM to help throttle the pump better....
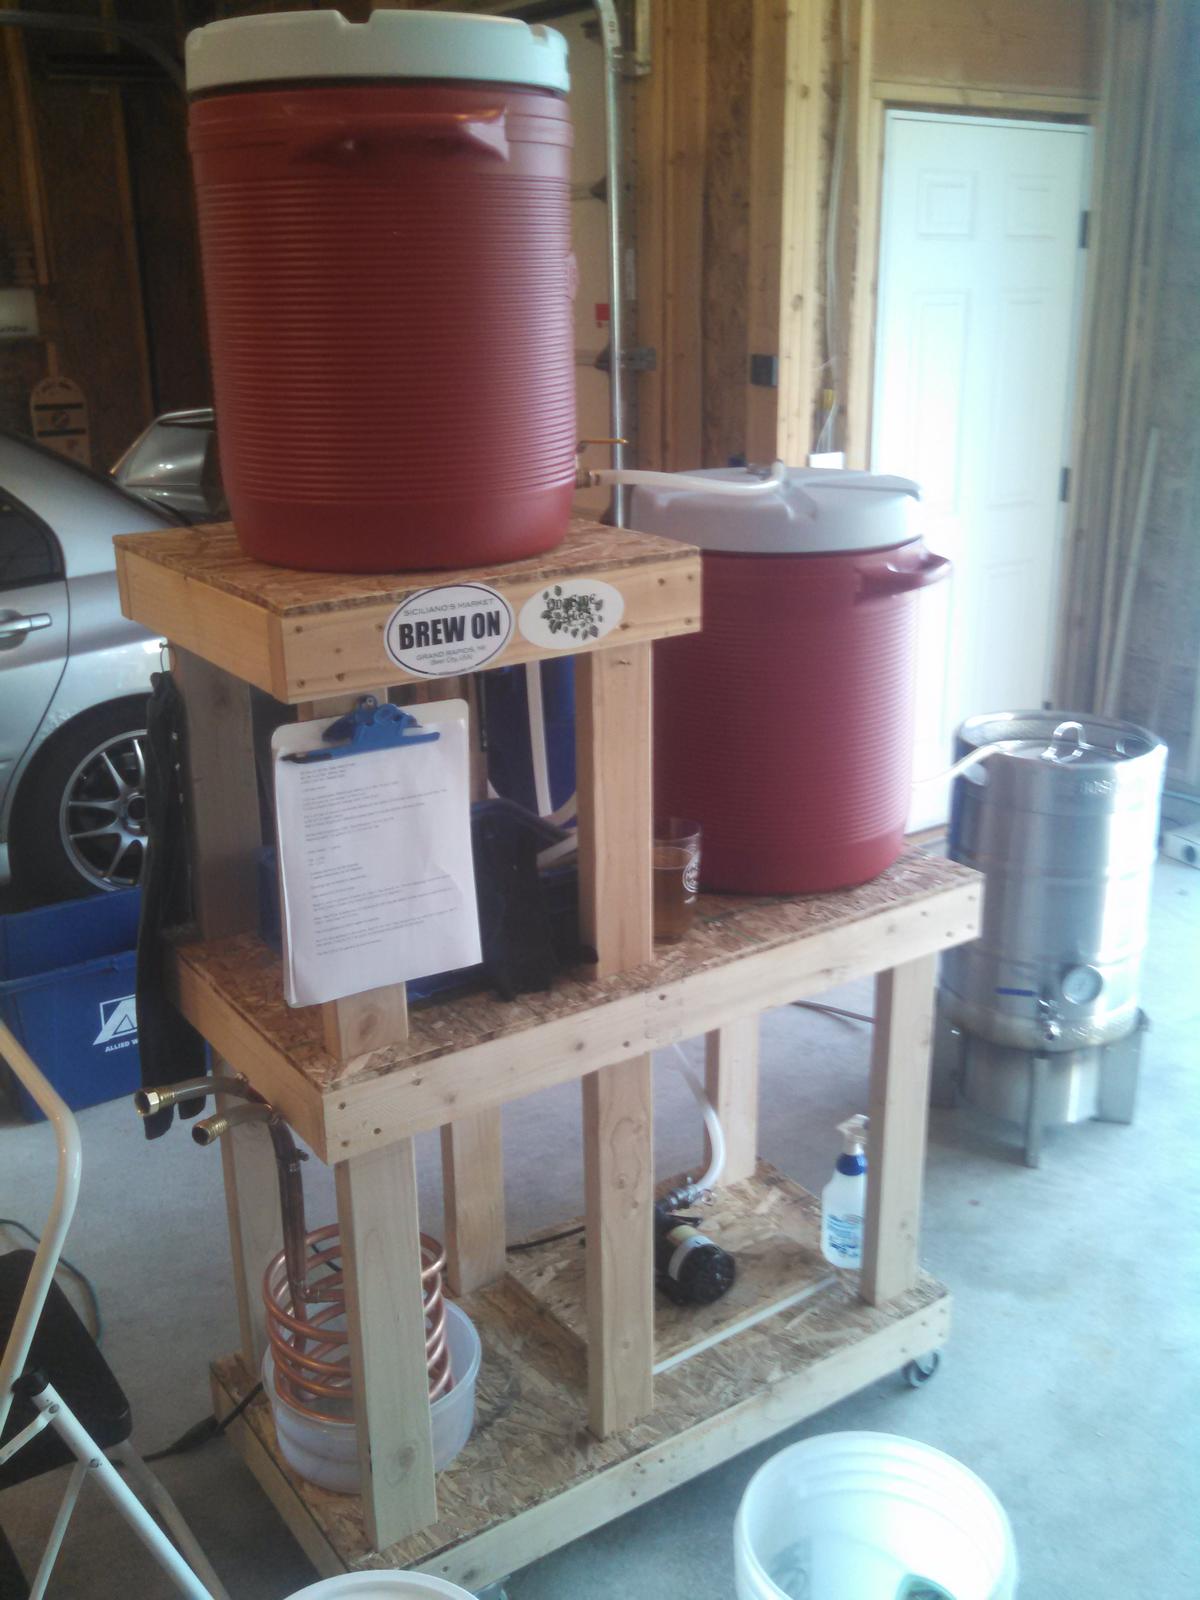
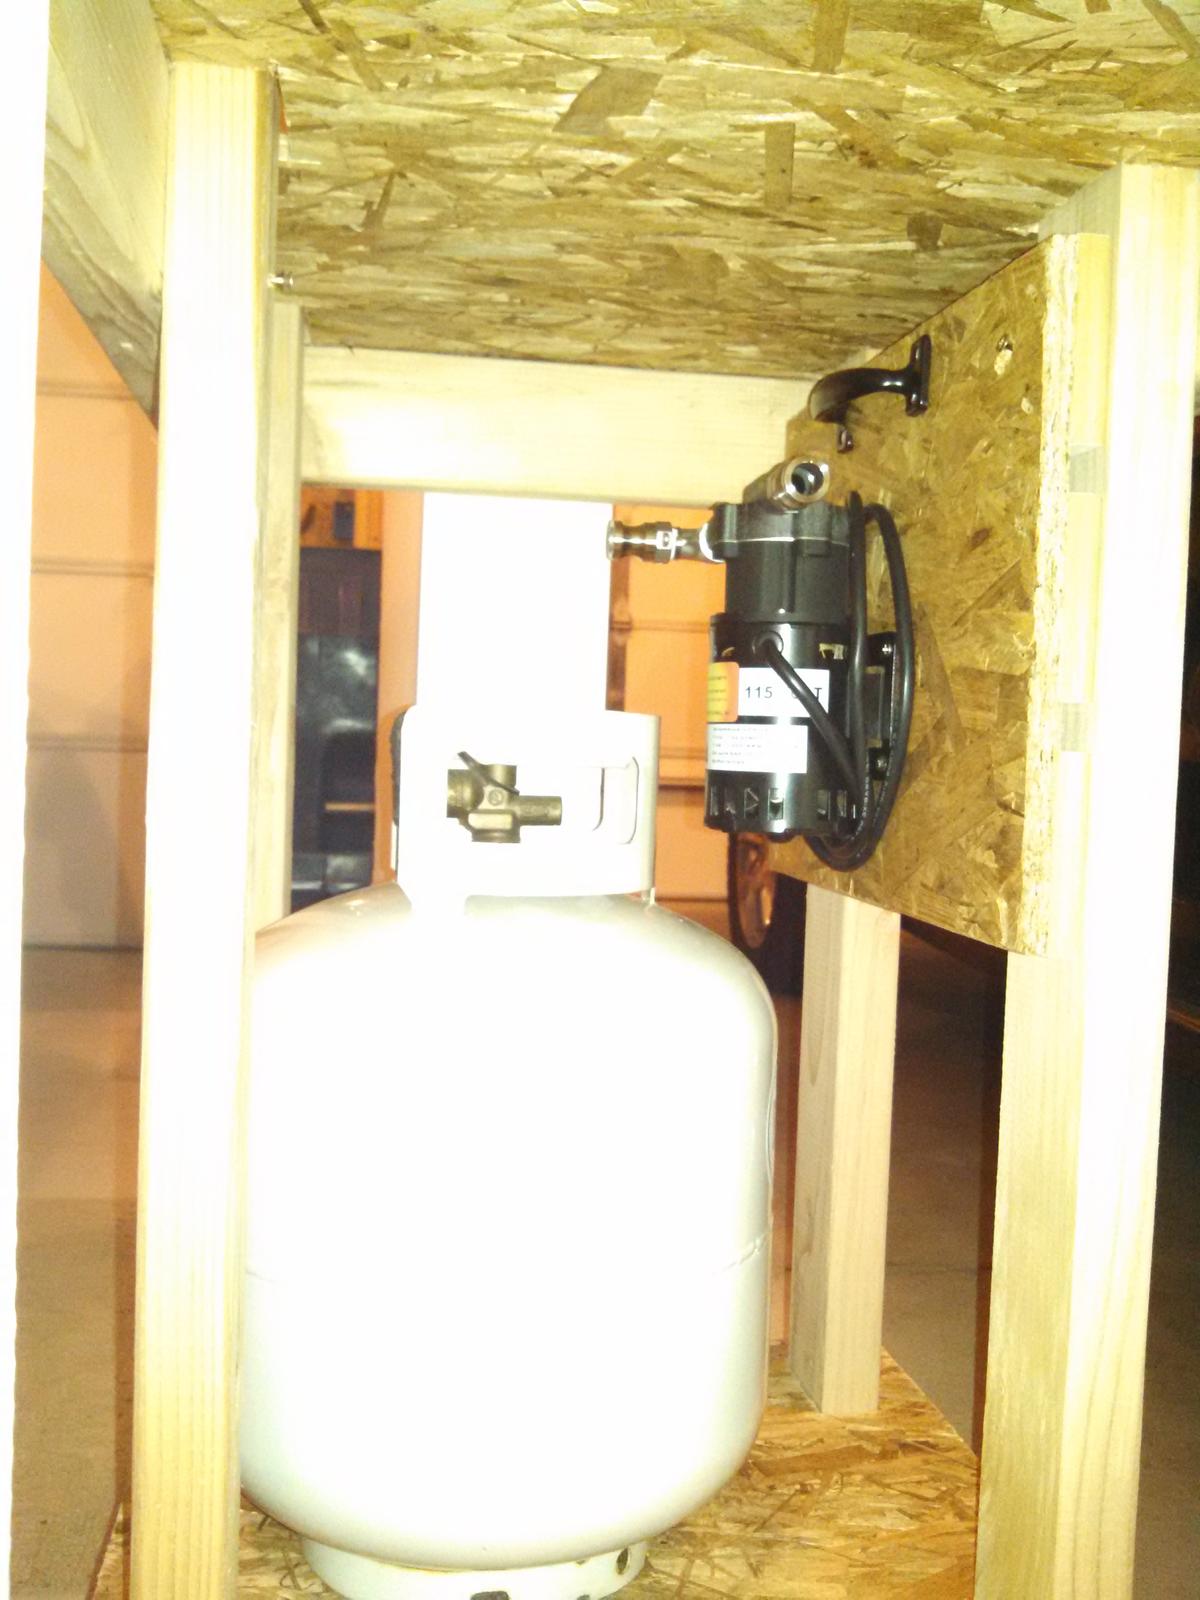
I haven't purchased any of the plumbing needed for this part of the product, so I'm looking for your opinions and experiences.... Pics of your setups would be great too!
As for the electrical right now i'm just going to plug and unplug as the pump came with a wall plug, I may get fancy with mounting and switches later; but not just yet.
Thank in advance all!
:rockin:
 It's a chugger SS! I will have all the cam lock connections and sight glasses i need to use my pump thanks to Bobby at Brew Hardware!
Right now i'm thinking i'll do 6" of rigid tubing on either side and one ball valve on the out. Hose barbs on either side with 5' of 1/2" ID silicone tubing on either side with female cams to plug into my various kettles and tuns as needed. I think that the rigid tubing will help the pump settle out and prevent cavitation. I'm concerned about the 5' of captive flex tubing on the pump and that might not let the pump dry out.... maybe i need cam locks there instead of hose barbs....
So what I actually need to know is, how do I setup the plumbing on the pump itself. I've seen bleeder valves on out side, I've seen ball vales on just the out and on the in and out sides. I've see fittings directly on the pump and i've seen 3"-6" of rigid tubing on the pump and then valves. I've also seen some sort of pressure dials, which I assume you might be able to equate to GPM to help throttle the pump better....
I haven't purchased any of the plumbing needed for this part of the product, so I'm looking for your opinions and experiences.... Pics of your setups would be great too!
As for the electrical right now i'm just going to plug and unplug as the pump came with a wall plug, I may get fancy with mounting and switches later; but not just yet.
Thank in advance all!
:rockin:


![Craft A Brew - Safale S-04 Dry Yeast - Fermentis - English Ale Dry Yeast - For English and American Ales and Hard Apple Ciders - Ingredients for Home Brewing - Beer Making Supplies - [1 Pack]](https://m.media-amazon.com/images/I/41fVGNh6JfL._SL500_.jpg)


