• Please visit and share your knowledge at our sister communities:
  • If you have not, please join our official Homebrewing Facebook Group!

    Homebrewing Facebook Group

Frodus's 10-gal electric HERMS with HMI/SCADA

Homebrew Talk

Help Support Homebrew Talk:

This site may earn a commission from merchant affiliate links, including eBay, Amazon, and others.
Got a 240V 50A outlet installed below my breaker panel today. Got a GFCI breaker and installed in my breaker box and ran some flex down to a retrofit box. I used a stud/cable finder but I didn't see the cable that was behind, so I cut a little high. Easy to cover over. Wired a 50A stove outlet for L1/L2/N and Ground connections. Tested everything and we're good to go.

20160212_154054.jpg

20160212_154100.jpg


Ordered the last components for my control panel this week, so should be able to finish the build next weekend if all goes well. Also ordered two 4500W elements.
 
Haven't posted in a while, sorry for that.

Found a Valley Grain Mill for $50 on craigslist and used it to mill my steeping grains and it worked great. It's adjustable and well-built. Mounting to a bucket lid soon. Too good of a deal to pass up.
20160225_181558.jpg 20160225_181610.jpg

I got my heating elements in and wired to a dryer plug. Then I ran a 5-gallon extract batch through one kettle. I also tested using the HERMS coil as an immersion chiller and it worked awesome. I threw it in there at the tail end of the boil to sanitize, and then turned off the element and ran water through. It cooled fairly fast, especially when recirculating the wort through my whirlpool arm.
20160222_211354.jpg20160222_211537.jpg
20160227_144359.jpg20160227_144406.jpg
20160228_143712.jpg20160227_152930.jpg
20160227_152945.jpg

Also used my conical for the first time, and I prefer this over a carboy. Easier to clean and no racking to secondary, just drain the yeast and you're good to go.

20160228_153223.jpg


Ordered the last pieces to my control panel, the 50A flange mount inlet and a couple of L5-15 flange mount receptacles. We have a punch at work for the holes and once those are installed, only wiring is left. Once the panel is finalized, I can start to tweak my HMI a little. Since I'm going to run a PLC for controlling the pumps, I can also add some countdown timers and a couple other IO points an read/write from the HMI. For now I'm only doing manual/auto and a PID setpoint through the HMI, and turning pumps on and off.
 
I've been busy planning our wedding, so I've only been brewing extract without the control panel and no power control. It's OK, but it boils really hard.

Things have been progressing though. Got a bucket mount built for the grain mill, got the rest of the parts for the Control panel. Got the inlet/outlet holes cut into the enclosure at work. Here's some pictures

20160430_152702.jpg

20160417_185858.jpg

20160419_063058.jpg

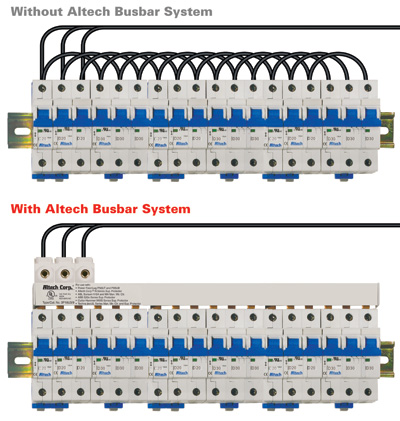
Also got some circuit breaker busbar that really helps simplify wiring and eliminates the need for several bus terminals. It looks like this:

WithAndWithout.jpg


Also got more done on my control panel. Hoping to tweak this version a little more:
Capture.PNG
 
Long time no post.

This summer has been really busy! I got married and we also bought a house. Had to do a bit of work to winterize the house and get some pluming and remodelling done so this system took back seat.

Need to get a 240V receptacle wired up in the garage and get the panel finished up. Did a little bit of work getting the receptacles mounted and a little bit of layout.

Still trying to decide if I want to put the power meter inside the panel, as it'll be a little tight.

Here's some pictures:
14264932_10104693731760783_4415860420738259217_n.jpg
14330111_10104693731840623_4958587560369768564_n.jpg
 
Doing some more mounting of items this weekend. Changed the PID's over from Watlow to Eurotherm (smaller and better features). Trying to get it all running so I can run some batches through it. Basic design is the same, just need to wire it up and mount parts.
 
Looks like you're on a build timeline similar to mine. I'm trying to take my time and get it right the first time, but the closer I get, the stronger the temptation to start slapping things together "temporarily." Must. Resist.
 
Yeah, bought a house a year and a half ago, so that took all our attention. Now it's brew time, and I can finish some projects.
 
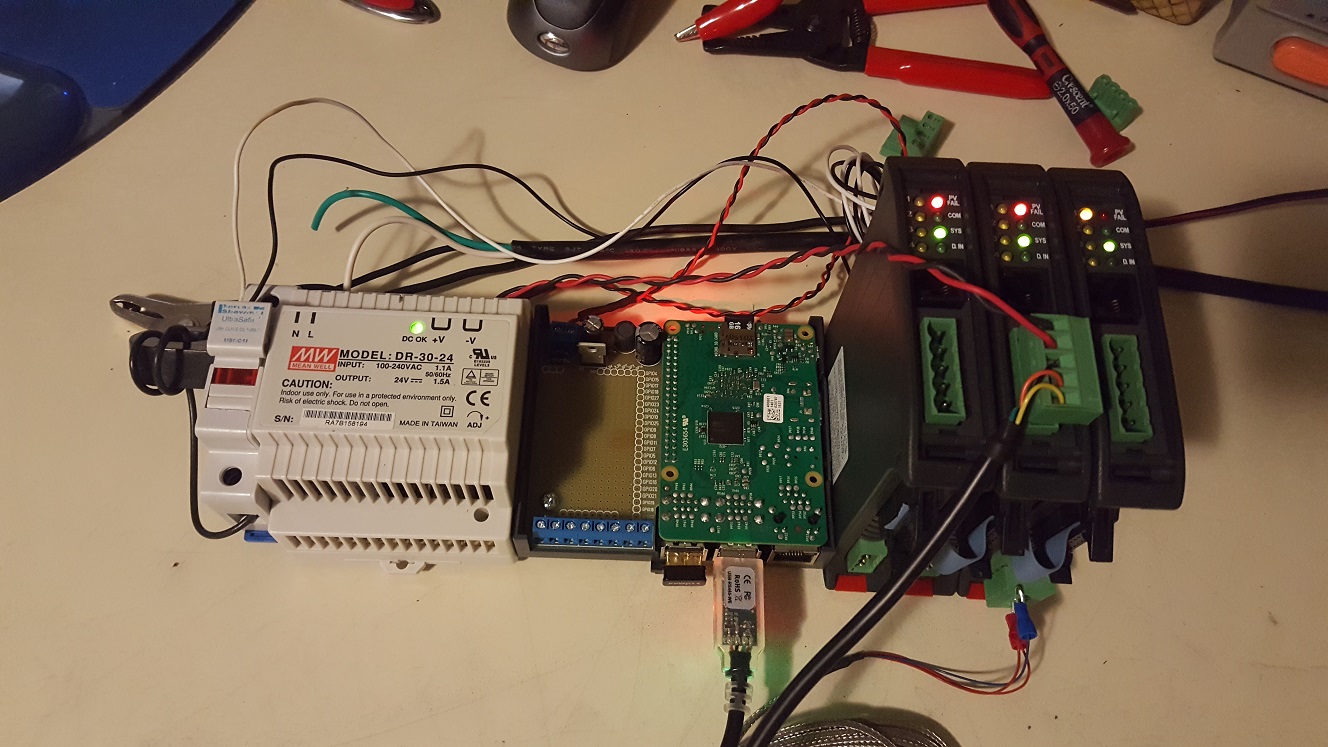
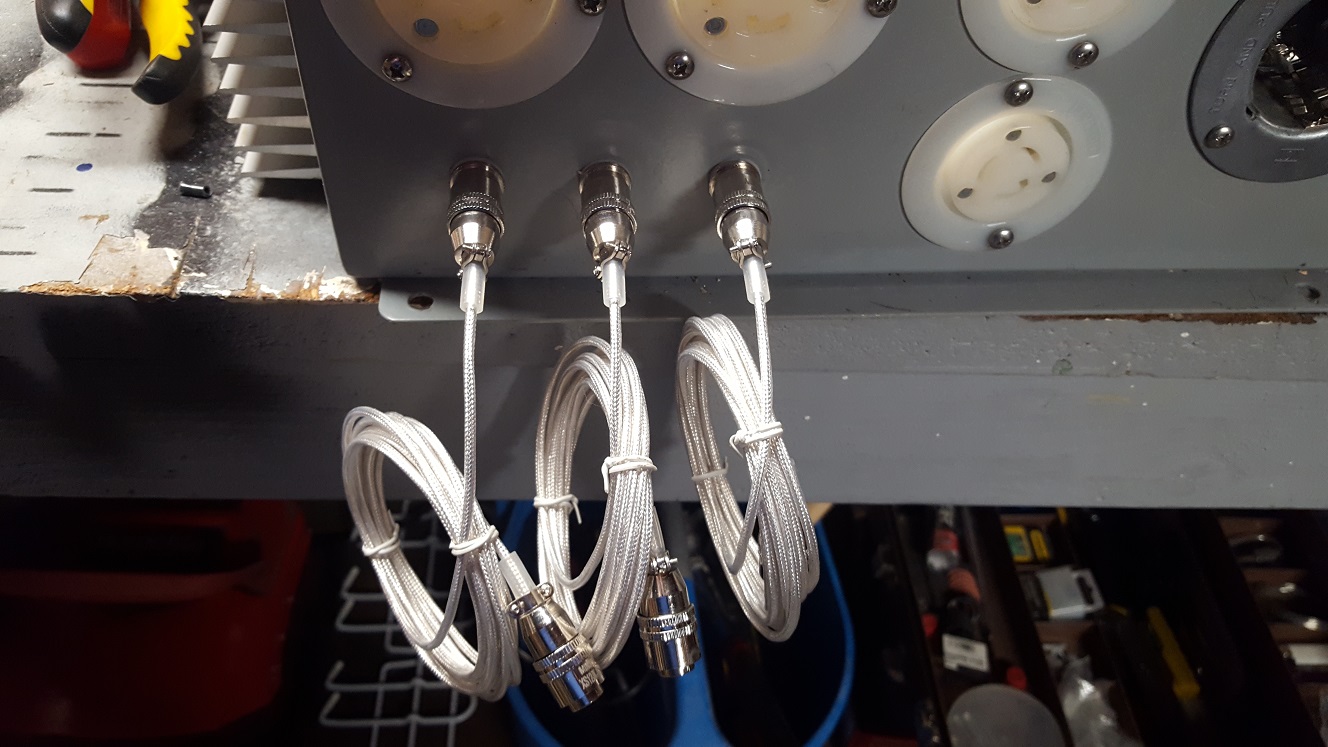
Another little update. I've been working on the interface some more, as well as getting the panel wired up. I still need to get the low voltage stuff wired to the PID controllers, get the modbus wired and install the wifi dongle/antenna cable.

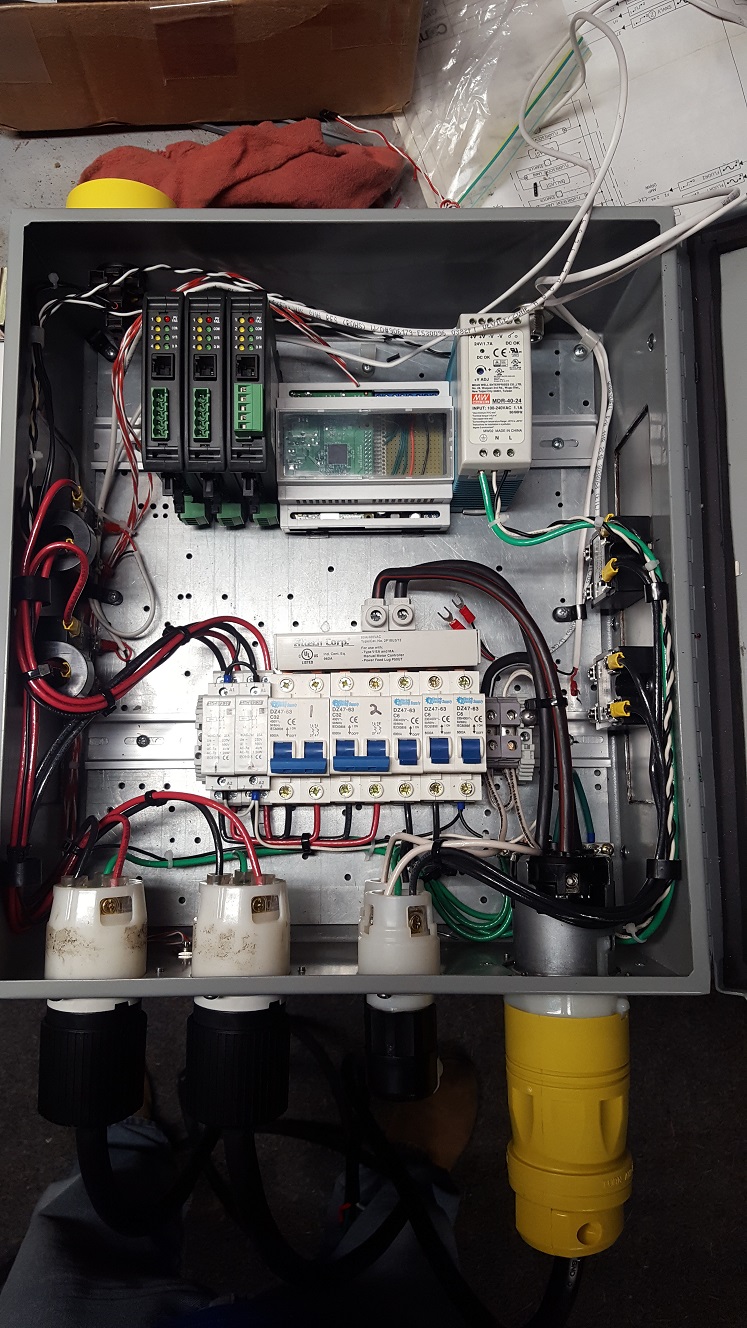
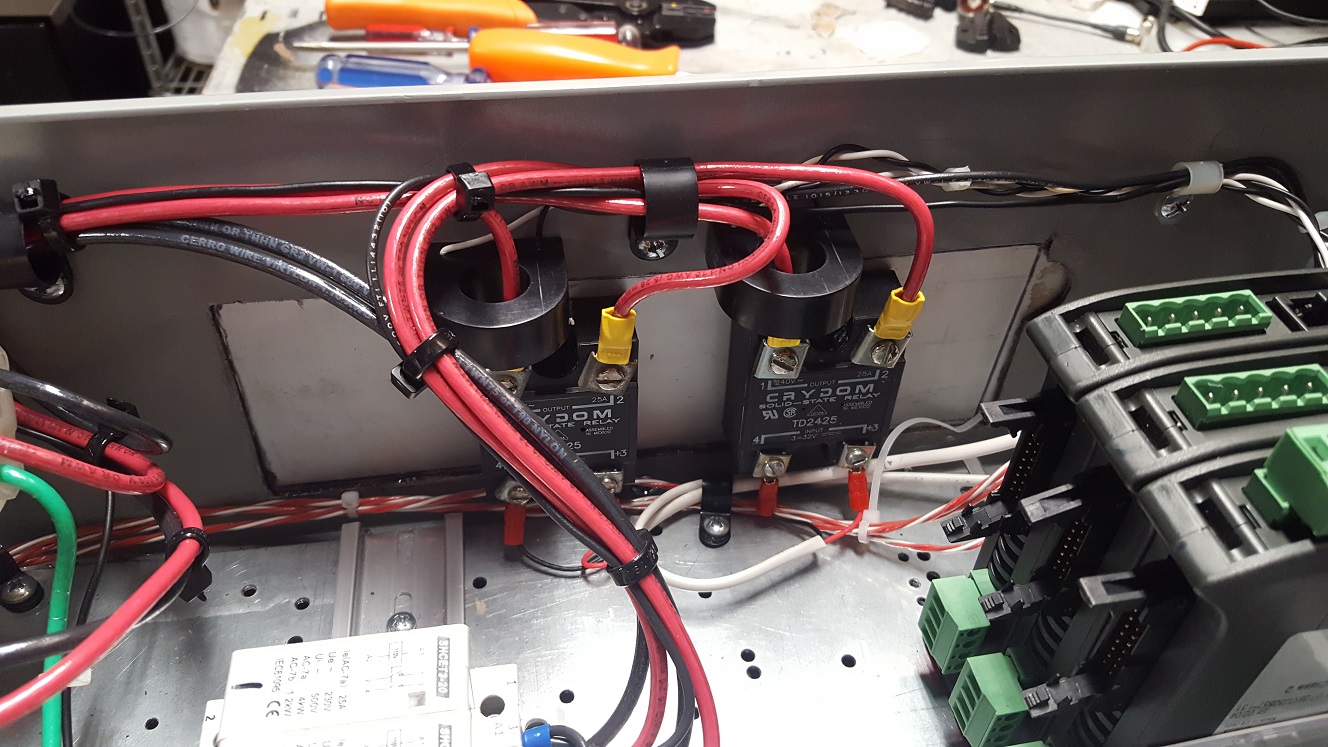
I'm using some of the unused outputs (alarm ouputs) on the PID controllers to drive the SSR's for the two pumps. I've also wired the E-Stop to the coils on the two 2-pole contactors for the heating elements in case I need to shut down. This will let me keep control power live.

The PID's have a nice feature on them where you wire in a Current Transformer. This will let you see how much current is going through each SSR. This allows me to ensure that I can tell if a heating element is open circuit if the SSR is on and I see no current, or that the SSR is shorted if the SSR is commanded off and I see current.

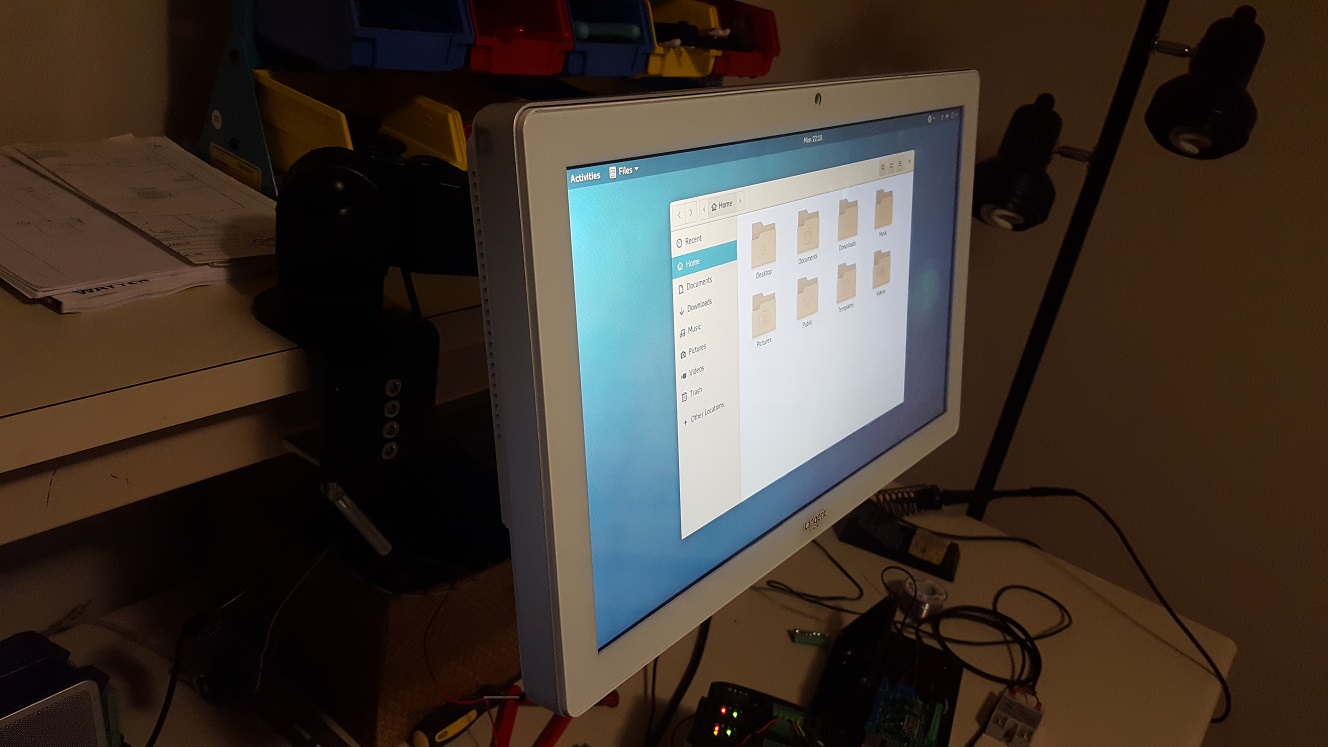
Also, since then, I got a medical grade Touchscreen computer and a mounting arm off eBay. This will be my new interface for the brew panel, and will also allow me to check on the temp chambers. Here's a video of the interfaces of both:


Here's some pictures of the panel mounting and wiring:
Touchscreen:
20180416_221049.jpg

20180416_220233.jpg

20180416_220258.jpg


Panel:
20180422_203742-1.jpg

20180422_203527.jpg

20180422_203523.jpg

20180422_203601.jpg

20180422_203618.jpg
 
Everything is wired up, powered up and I've started testing. The Temp sensors are all working and power and connections to everything look good. I can connect to my wifi network and control throughout the house (and remotely to preheat my HLT for brew day after work, HAHA). The Pumps are run off of one of the alarm outputs of the PID controllers and turn the SSR on/off accordingly. I found a nice little start/stop/reset timer and embedded into my dashboard. I can add functionality to my control panel later as they are needed. I still have 1 Temp sensor input, 4 digital inputs and 6 3A relay outputs I can use.

So now I just need to wire the heating elements and run the Autotune on the BK and HLT PID controllers and I think I can start brewing again. Also need to mount the 2 pumps and control panel to my brew stand.

Here's the control panel HMI as it is, Simple and easy to manage:
BCP.JPG
 
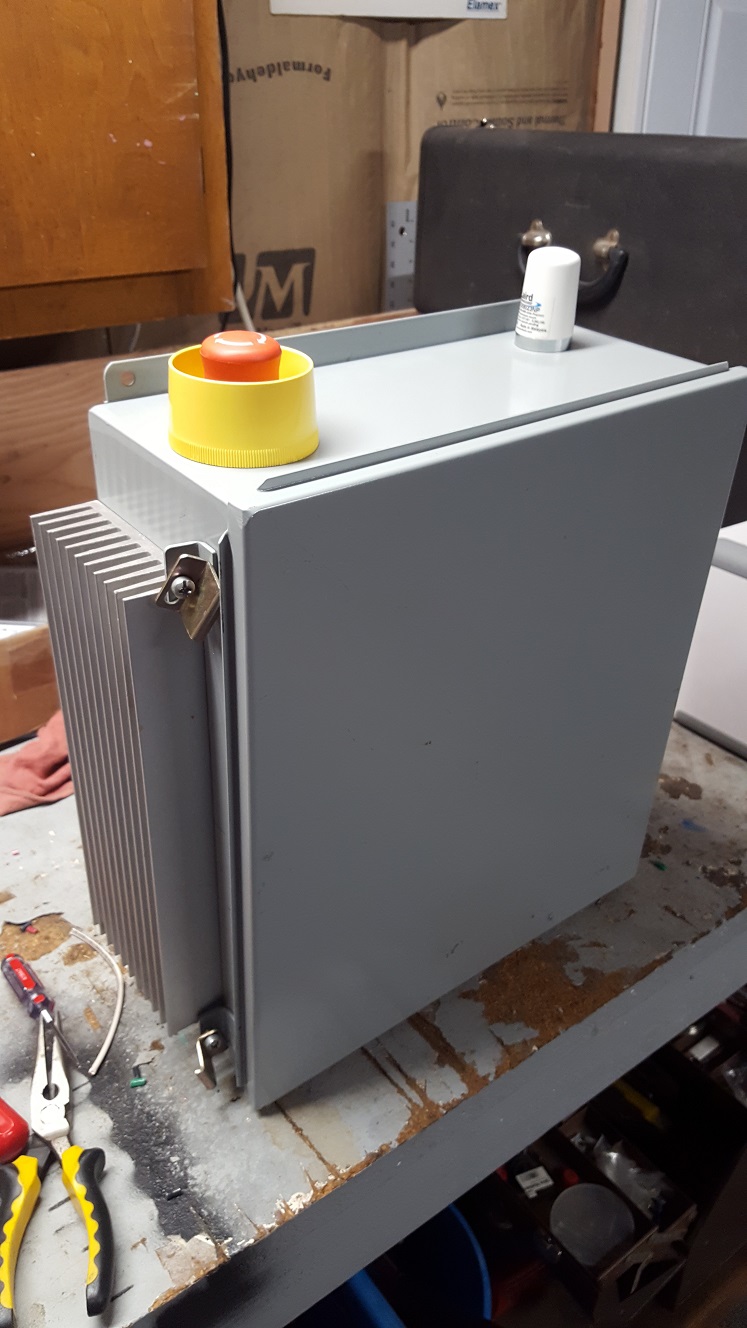
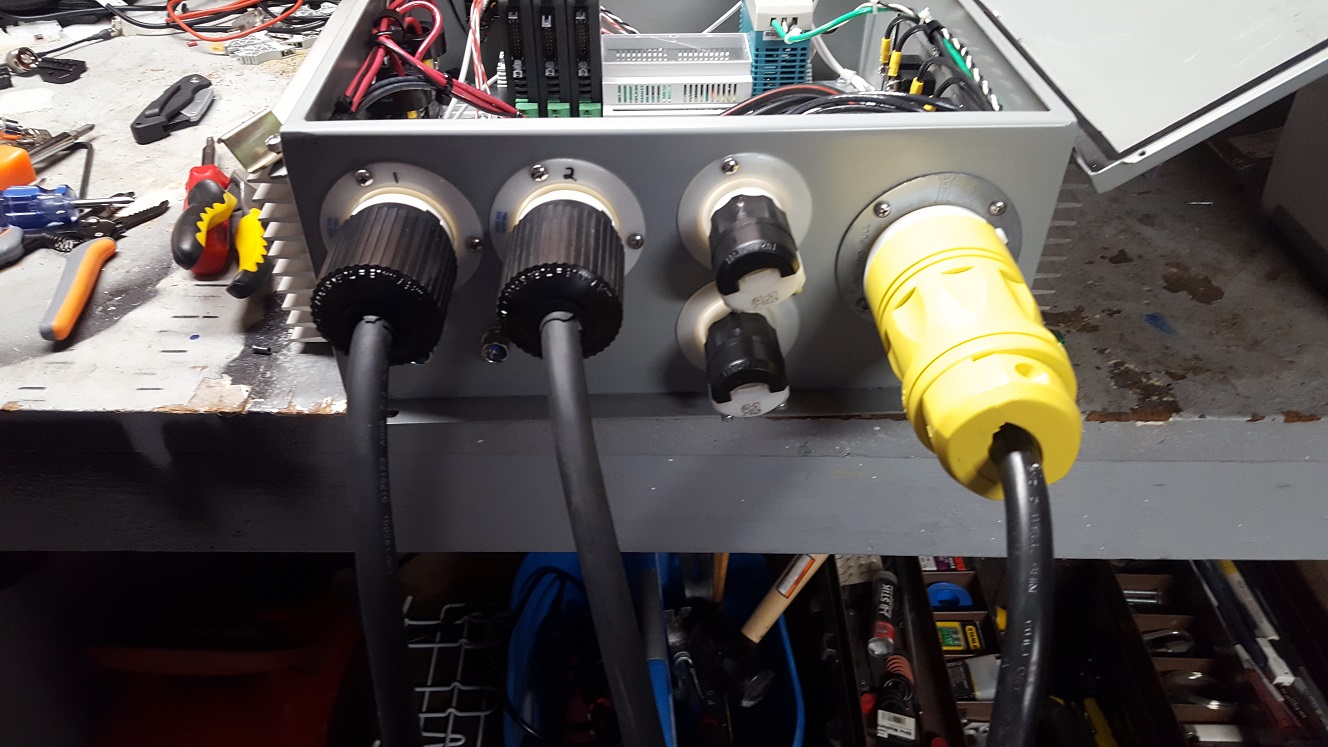
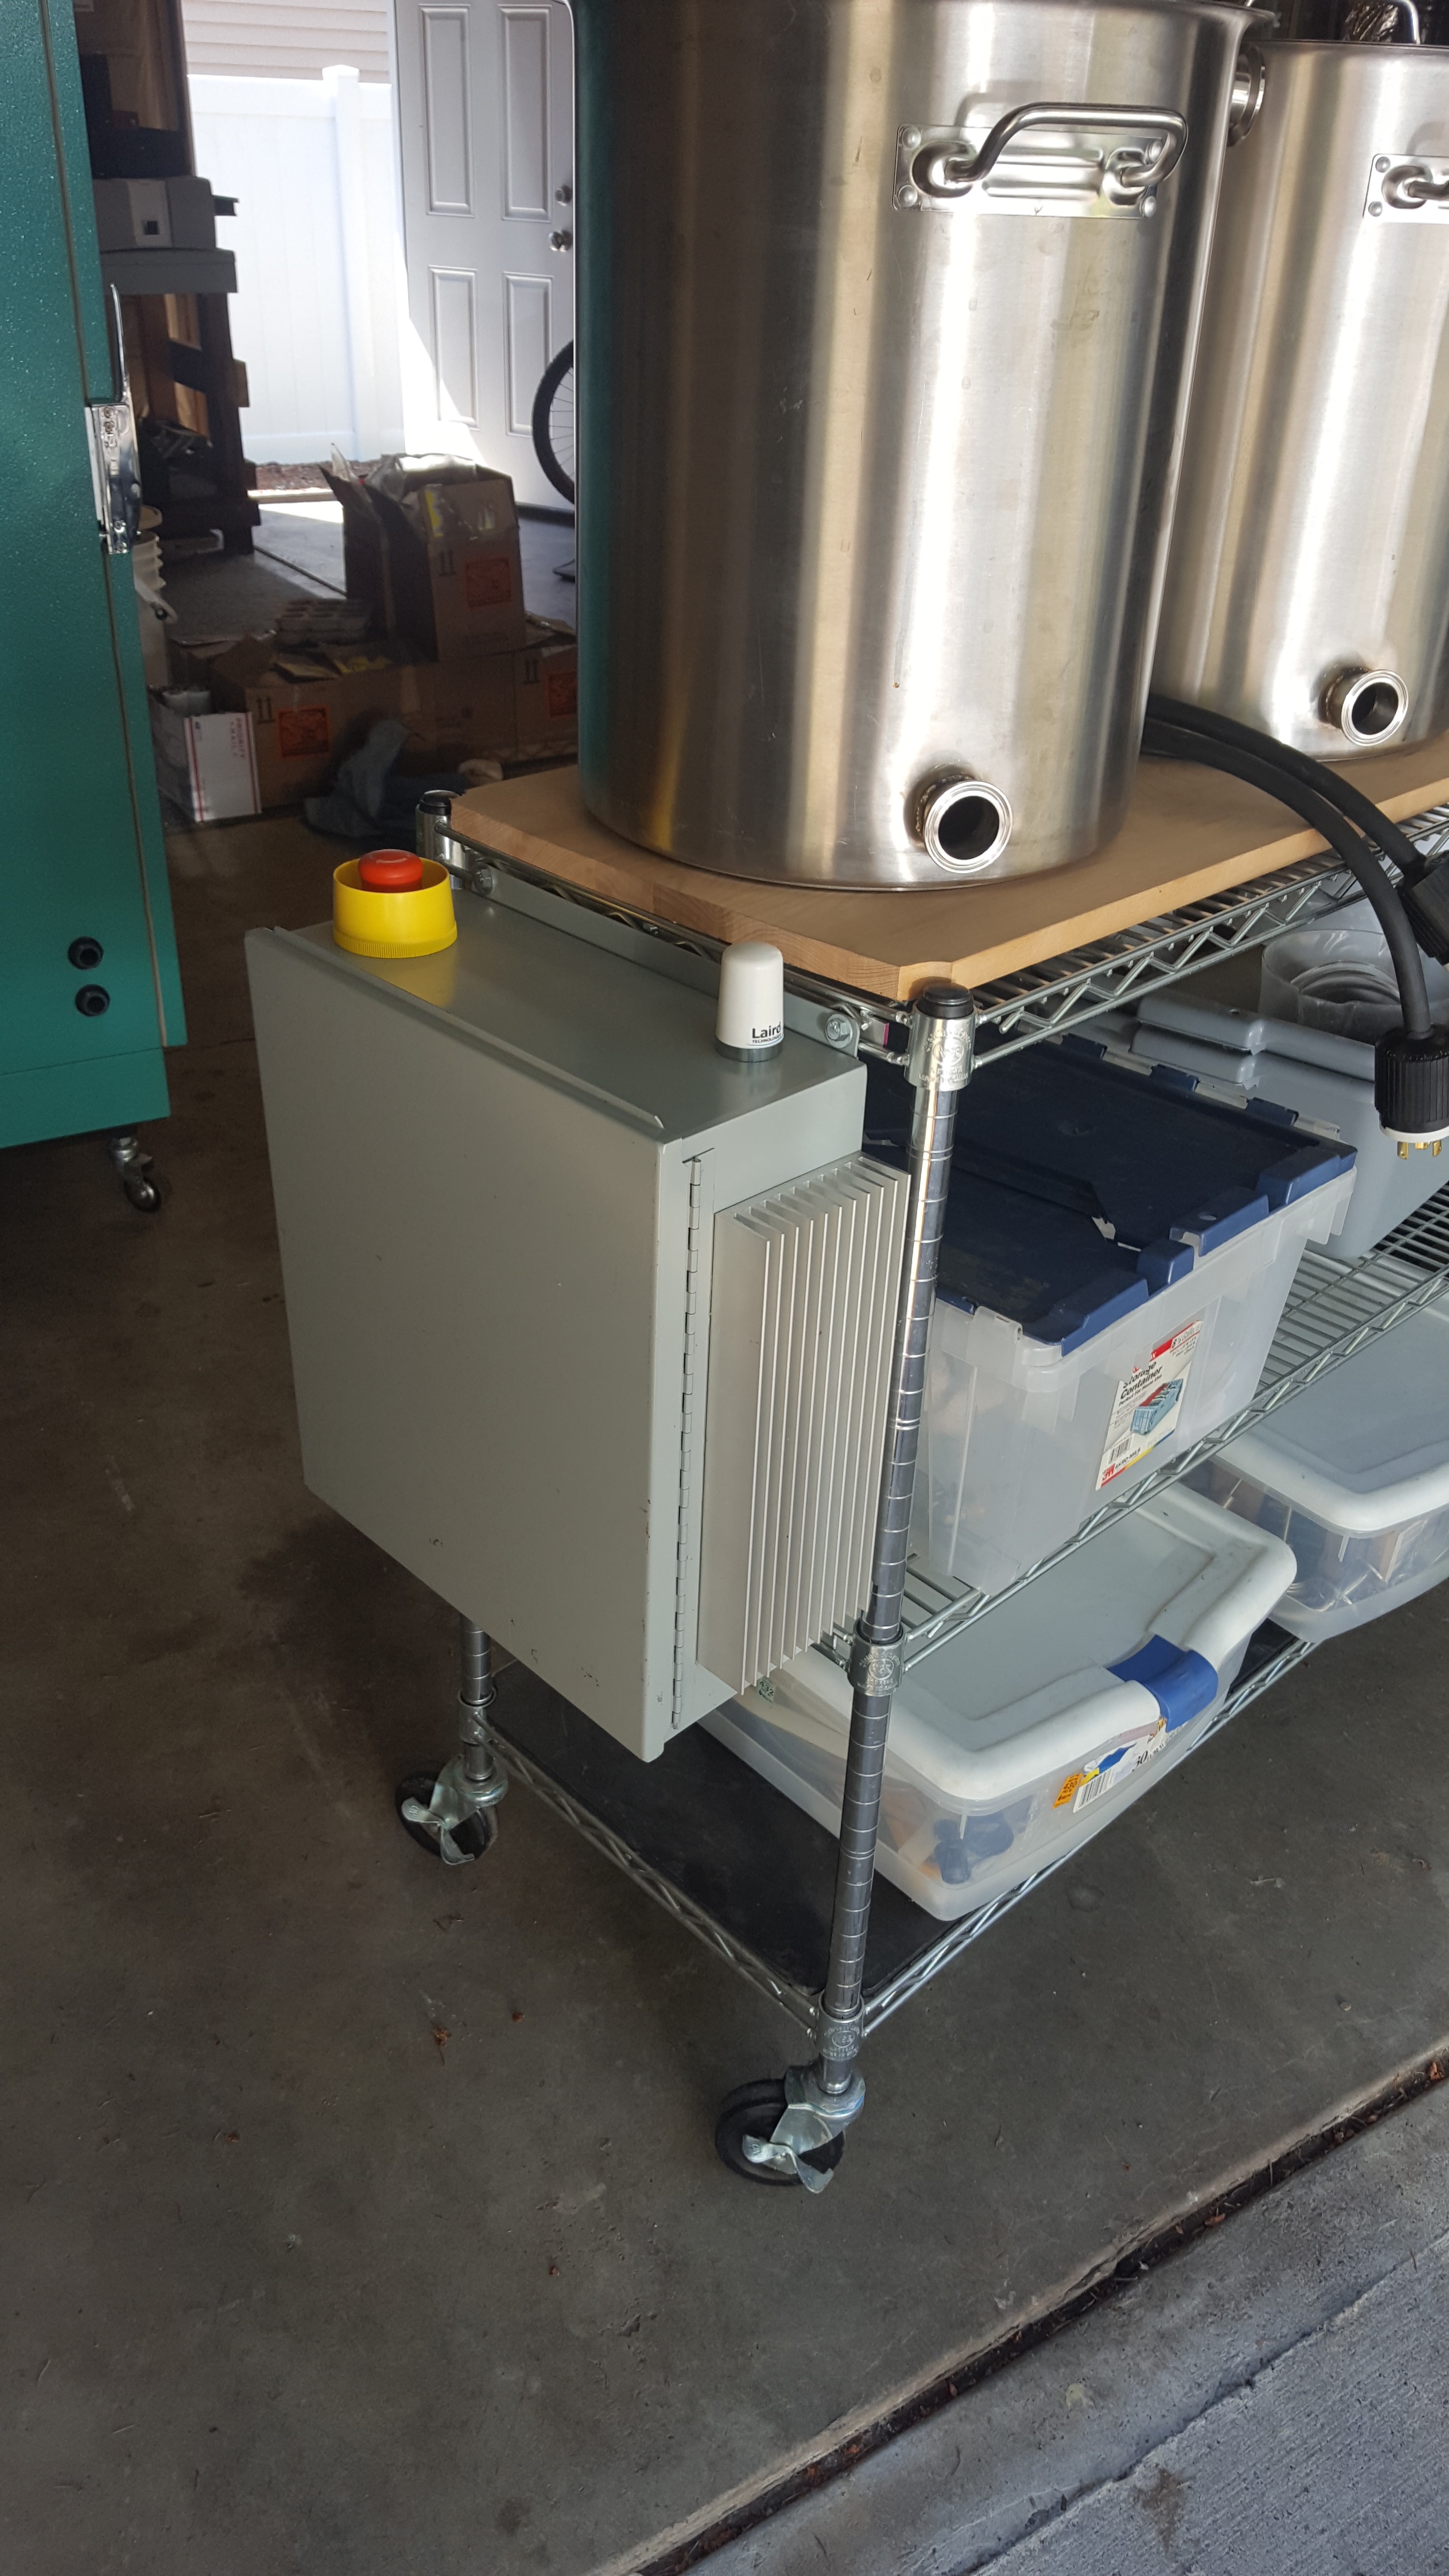
Got some final wiring done on the panel and then mounted it to my brew stand (Wire shelving). Also mounted the LCD touchscreen in the garage and ran power for it. Finished wiring the heating elements for the twistlock plugs. Basically everything is ready to test right now and I'll have basic brew functionality. I can add more bells and whistles later if needed. Here's some pictures:

20180722_160724.jpg


20180722_161309.jpg


20180722_153351.jpg


20180722_160751.jpg
 
Thanks Jcav! I'm excited. It's been a labor of love the last year or so.

Going to hunt down a recipe tomorrow and get the grains and some extra hose at the LHBS. Then do the PID autotune on both PID's with about 7 gallons in each (which is going to be my normal batch size). Also have to mount the pumps to something so they're not on the ground, but easily accessible.

And then clean everything for a couple hours so it's ready for a Sunday brew day.
 
It was a brewless weekend. I dry fired my heating element in the HLT, thinking I had plugged the BK into the BK output. It's toast (and it tripped the GFCI). Need to replace it.

I spent time getting the brew area ready. I mounted hangers for my mash paddles that my father made, and also an apron my mother made. Got the pumps temporarily mounted to a piece of wood and put twistlock ends on them.

I ended up working on another project (An electric race kart) for a while.
I am certain I would do this also, if it were even remotely possible. I therefore used a range plug on the HLT, and a twist-lock plug on the BK. So idiot-proof even I can't mess it up.
 
Yeah, I have marked them now, and should be good. I forgot I had switched them when I wanted to test PID 2 with the element in the BK. I should have left the other unplugged. Color coding them the next chance I get :)

It's no biggy, just delayed a bit.
 
Brewed a Dead Guy Clone on the system this last weekend and it went OK considering I hadn't really done a run through it. I did have some issues though.

A few things I ran into:
  • My wifi signal in the garage sucks. I kept seeing no communications between the Touchscreen computer and the Control panel. It was because my router wasn't really set up right (2.4 and 5 had the same SSID, so I split them up so the 2.4 was being used by further away devices). I also installed a WiFi repeater in the garage to boost the signal. Things are 100% now, and I never loose connection.
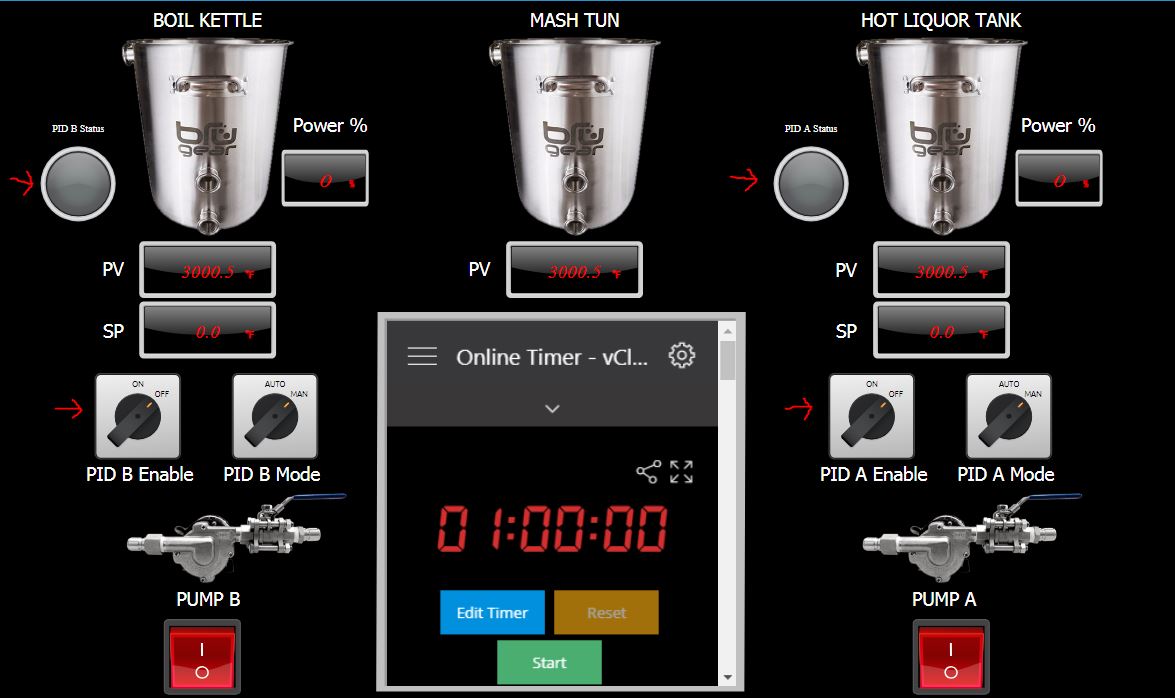
  • I don't have an on/off switch for the PID's (just auto/manual), which would have been useful. I updated my HMI screen to add that feature. I also put a status LED indicator on the screen rather than the Current. I just want to know if it's ON or not.
  • The HLT element failed and tripped the GFCI. I measured a resistance between the case and the element terminals, so it's toast. I ordered 3 more from ebrewsupply and will be replacing 1 and keeping the other 2 as spares if anything happens.
  • I need to run autotune. It doesn't quite ramp to temp like it should.
  • The "timer" I'm using is just a webpage that is embedded from some other site. I'd like this to be as standalone as possible. Needs fixing/coding.

So with the above problems, I wasn't able to maintain my temperature in the HLT (insulated), and I didn't recirculate through the HERMS, and the temp dropped. This lowered my efficiency and my wort gravity was fairly low. I added some light DME to the BK to bring it up and just about hit my target OG.

I was pretty happy with the pumps and control overall. I wasn't expecting it to go perfect, it was my first AG batch, after-all.

So once the new HLT Element is installed, I should be good for another brew session.
 
Last edited:
Added on/off button and an indicator light. Right now the indicator follows the SSR output. I might just change to, is the PID ON or OFF. Maybe Both would be good, so I know it's LIVE, and I know if it's pulsing on/off. The thing about these, is I can change it however I want, without cutting new holes or doing a ton of wiring. It's just a few components on a dashboard and voila.

Also, before, I was using a program called mbusd. It's a Modbus RTU to TCP converter program, but I have to run a script every boot, and it's also a little slower. Switched back to using Modbus RTU direct from MyScada software. That, coupled with the access point in the garage, things are much faster for response.

I'm considering some more controls via the RPi. I'm looking at Rexcontrols for the RPi. They have a fairly cheap module that allows some PLC style programming. I'd like to do a start/stop timer with that, and also maybe some smart controls based on some logic steps. Like, when I switch to stop, write 0 to the Power percent, so when it restarts, it starts at 0%, not previous value.

Here's the new screen (WIP):
Capture.JPG
 

Latest posts

Back
Top