HopSing
Well-Known Member
- Joined
- Aug 1, 2007
- Messages
- 148
- Reaction score
- 189
The cost of exchanging a 20# Co2 tank was only a few dollars more than the 10# tank that fits into my beer fridge, so I purchased a used 20# tank for $25 on CL and a Co2 fill station.
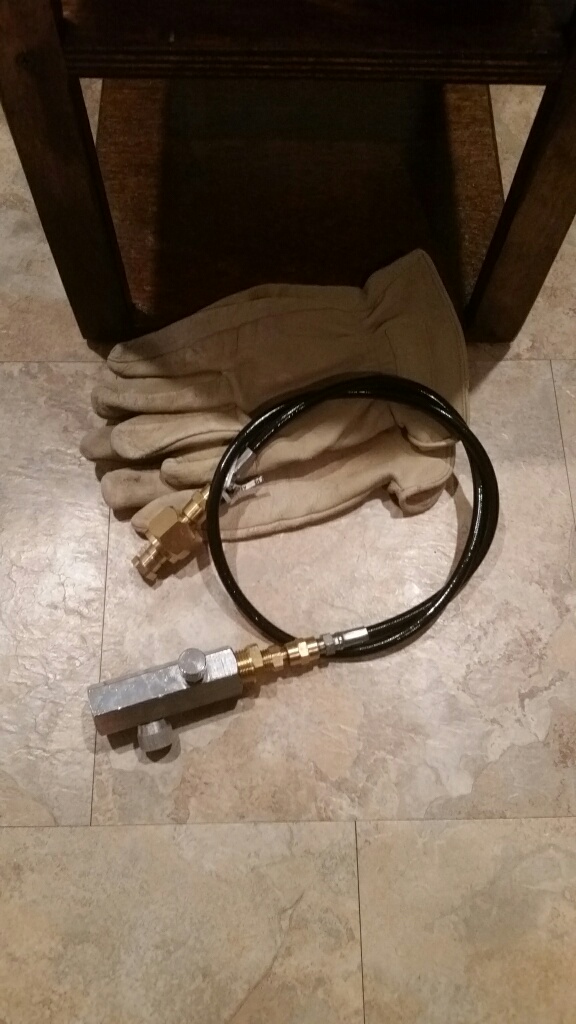
Here's the fill station I bought. I've used it a couple of times and it works really well. It comes with basic instructions and o-rings to make the seal on both tanks.
[Obsolete link removed --Mod]
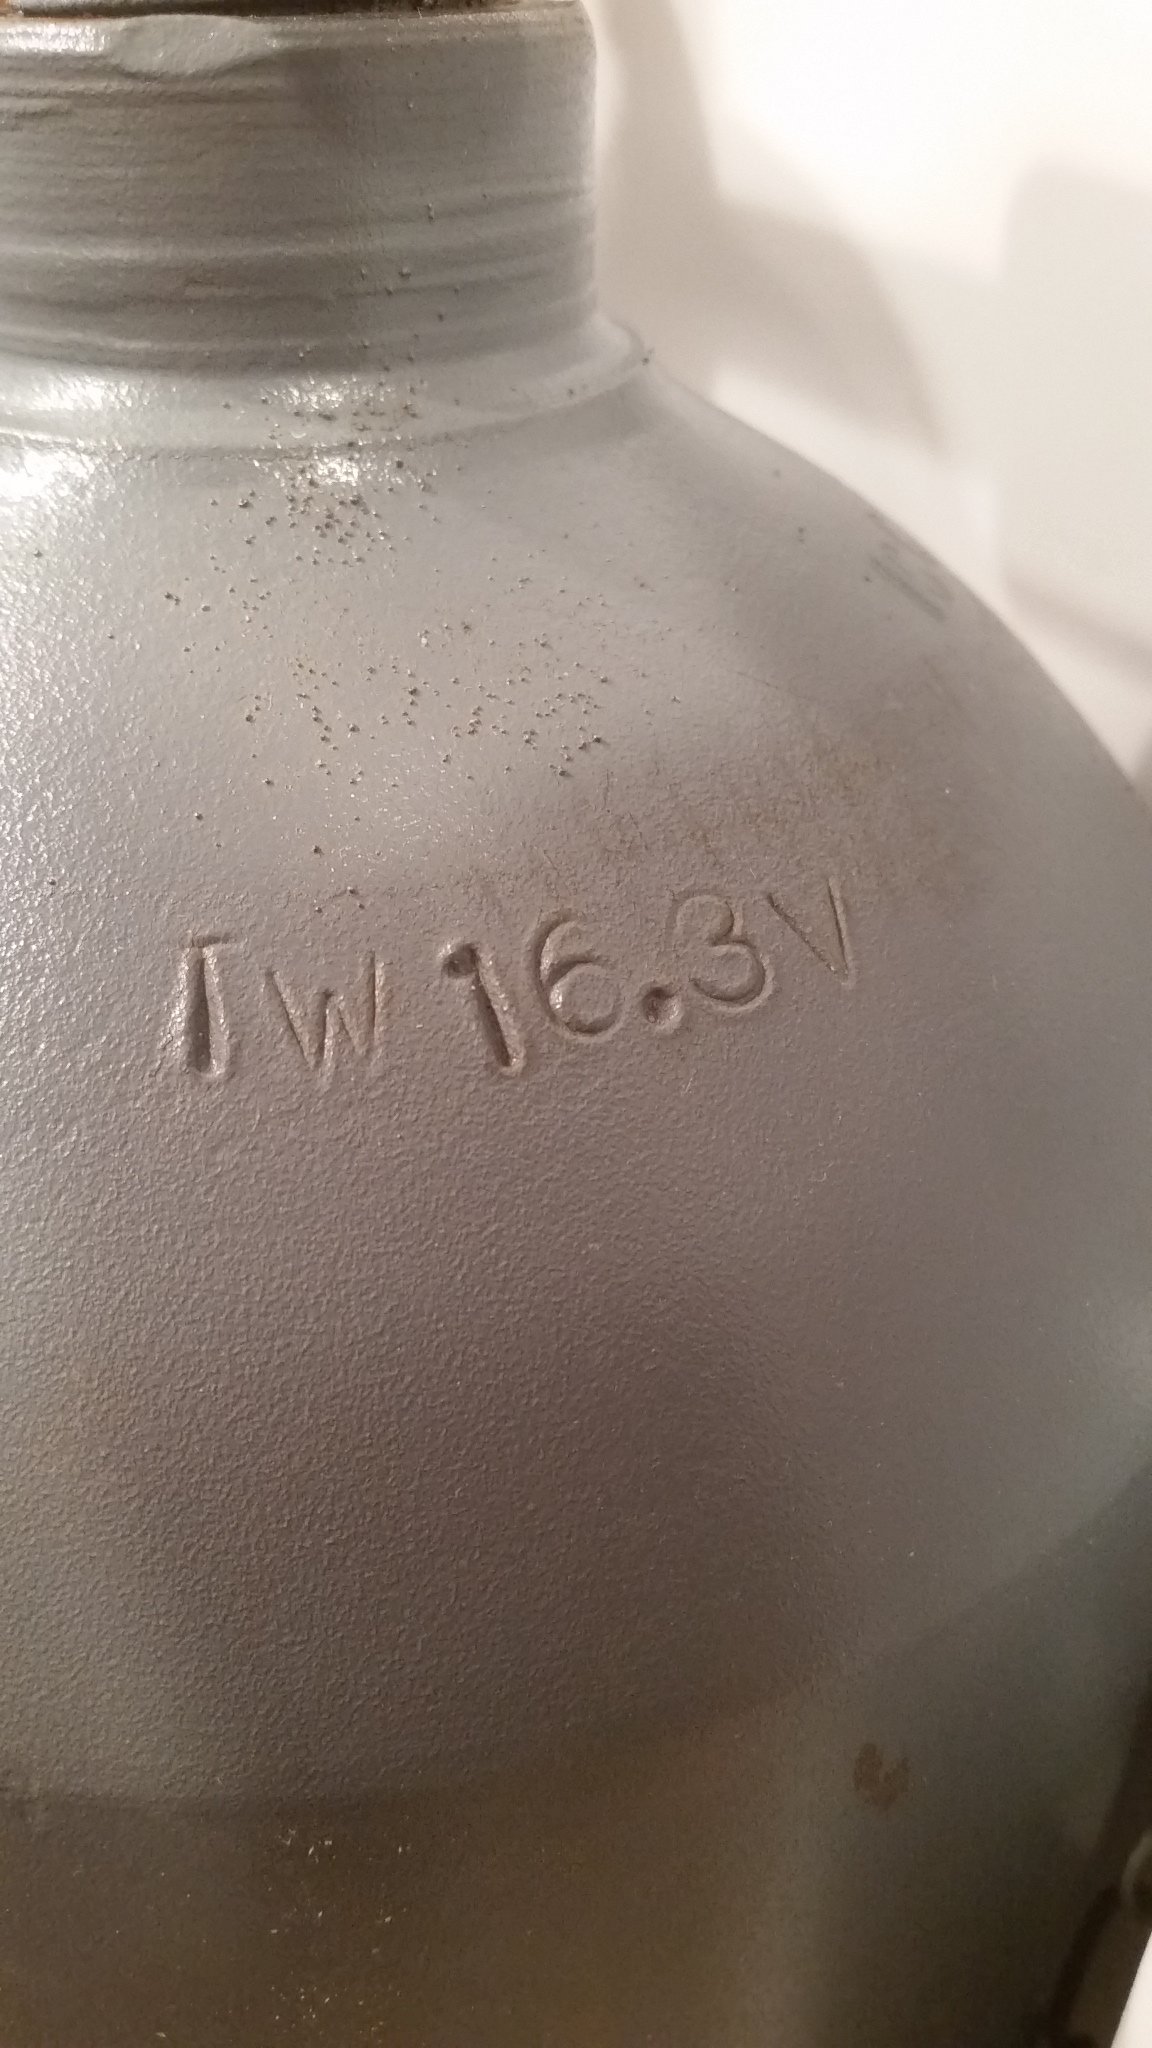
Be sure to weigh the tank you're filling as you're filling it so you don't overfill it. There is a tare weight (TW) stamped on the tank you're filling. See below for picture. That's the weight of the tank when it is empty. Add the size of the tank to that number and that is your fill weight. For example, the TW of my empty steel 10# tank is 16.3 pounds, so my fill weight will be 26 pounds. To get the tank to fill completely, put it in the freezer for a few hours. If you don't freeze it, you'll only get about 80% of fill, which is not a big deal other than you'll be filling more often. The supply tank should also be higher than the tank you're filling. I'd also recommend wearing at least safety glasses and gloves.
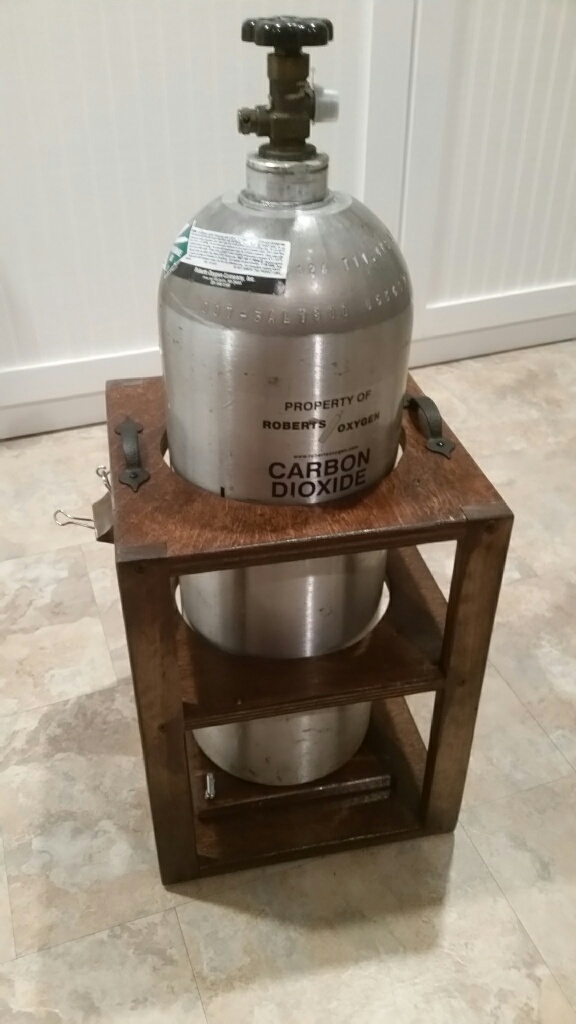
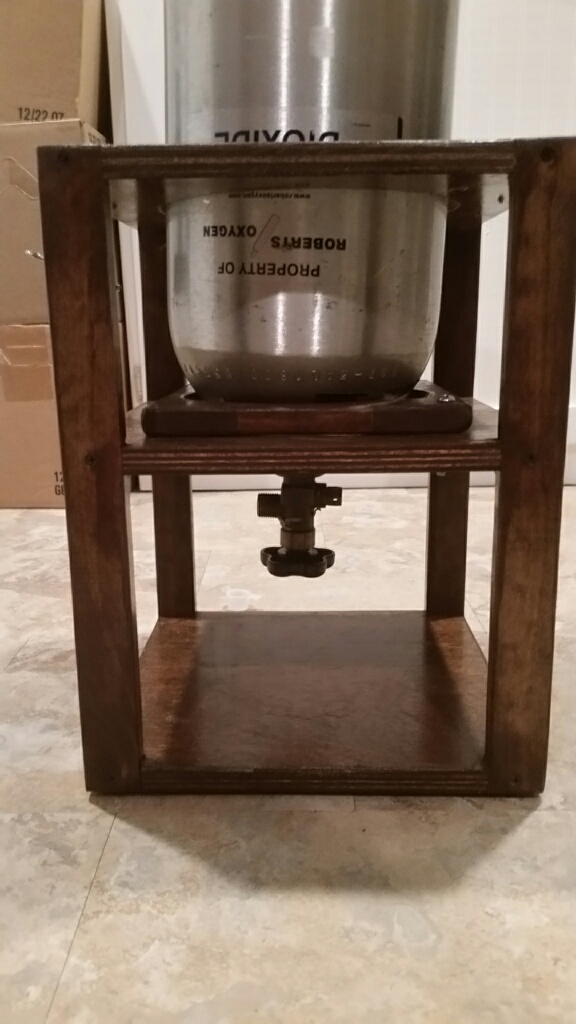
The supply tank will need a dip tube installed to flow liquid Co2 instead of gas Co2. The alternative is turning the supply tank upside down so liquid will flow. Exchanging tanks with a dip tube is a hassle so I went with option B. Flipping a 20# high pressure vessel upside down and keeping it steady is a good way to ask for trouble and be nominated for a Darwin Award, so I built a simple stand. It also helps store the 20# safely when it is not in fill mode. Here's some pictures.


Just remember the tank you're filling still needs a hydro test every 5 years. Do not fill tanks that are outside of the hydro date!! The date of the last hydro is also stamped on the tank.
Like everything we do for the hobby, do your homework and decide if you're willing to take on the risk and expense, but for me it worked out really well and gives me more options.
~HopSing.
Here's the fill station I bought. I've used it a couple of times and it works really well. It comes with basic instructions and o-rings to make the seal on both tanks.
[Obsolete link removed --Mod]
Be sure to weigh the tank you're filling as you're filling it so you don't overfill it. There is a tare weight (TW) stamped on the tank you're filling. See below for picture. That's the weight of the tank when it is empty. Add the size of the tank to that number and that is your fill weight. For example, the TW of my empty steel 10# tank is 16.3 pounds, so my fill weight will be 26 pounds. To get the tank to fill completely, put it in the freezer for a few hours. If you don't freeze it, you'll only get about 80% of fill, which is not a big deal other than you'll be filling more often. The supply tank should also be higher than the tank you're filling. I'd also recommend wearing at least safety glasses and gloves.
The supply tank will need a dip tube installed to flow liquid Co2 instead of gas Co2. The alternative is turning the supply tank upside down so liquid will flow. Exchanging tanks with a dip tube is a hassle so I went with option B. Flipping a 20# high pressure vessel upside down and keeping it steady is a good way to ask for trouble and be nominated for a Darwin Award, so I built a simple stand. It also helps store the 20# safely when it is not in fill mode. Here's some pictures.


Just remember the tank you're filling still needs a hydro test every 5 years. Do not fill tanks that are outside of the hydro date!! The date of the last hydro is also stamped on the tank.
Like everything we do for the hobby, do your homework and decide if you're willing to take on the risk and expense, but for me it worked out really well and gives me more options.
~HopSing.
Last edited by a moderator:


![Craft A Brew - Safale BE-256 Yeast - Fermentis - Belgian Ale Dry Yeast - For Belgian & Strong Ales - Ingredients for Home Brewing - Beer Making Supplies - [3 Pack]](https://m.media-amazon.com/images/I/51bcKEwQmWL._SL500_.jpg)


