• Please visit and share your knowledge at our sister communities:
  • If you have not, please join our official Homebrewing Facebook Group!

    Homebrewing Facebook Group

Dual Element 5 Gallon Batch 120V Build

Homebrew Talk

Help Support Homebrew Talk:

This site may earn a commission from merchant affiliate links, including eBay, Amazon, and others.
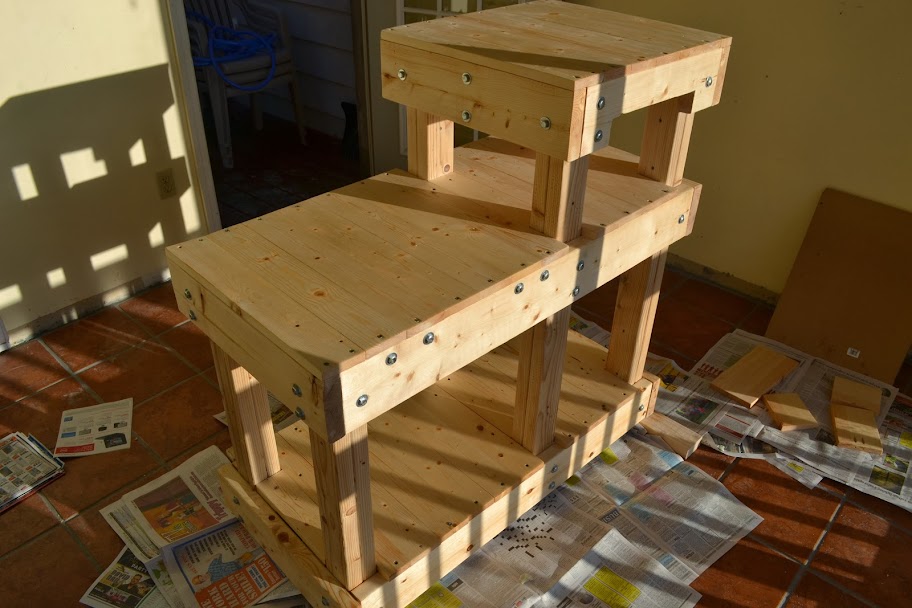
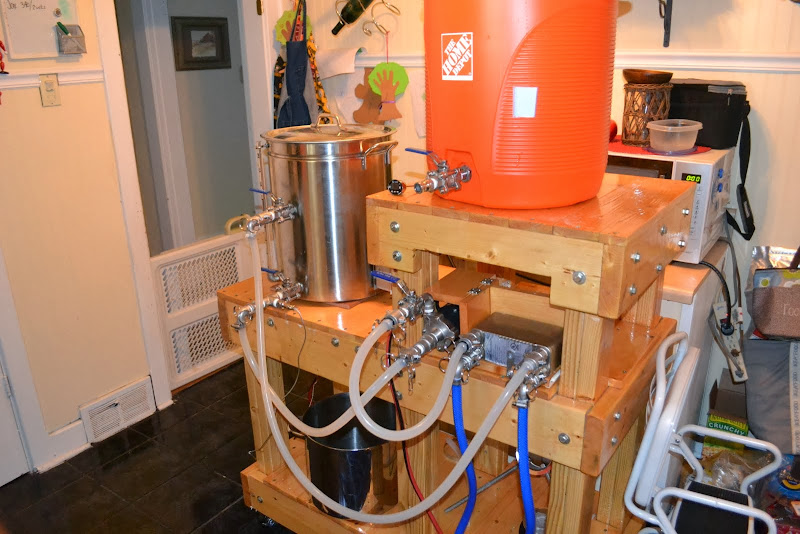
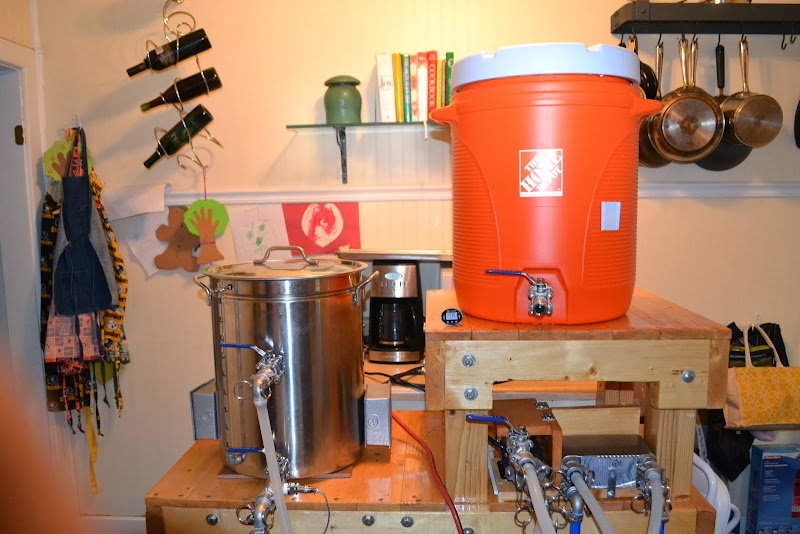
Apart from figuring out a permanent home for the control panel that will allow to be at workable height when brewing but stow away neatly, the brewstand is done!

Three coats of stain and three coats of polyurethane

DSC_0579.JPG


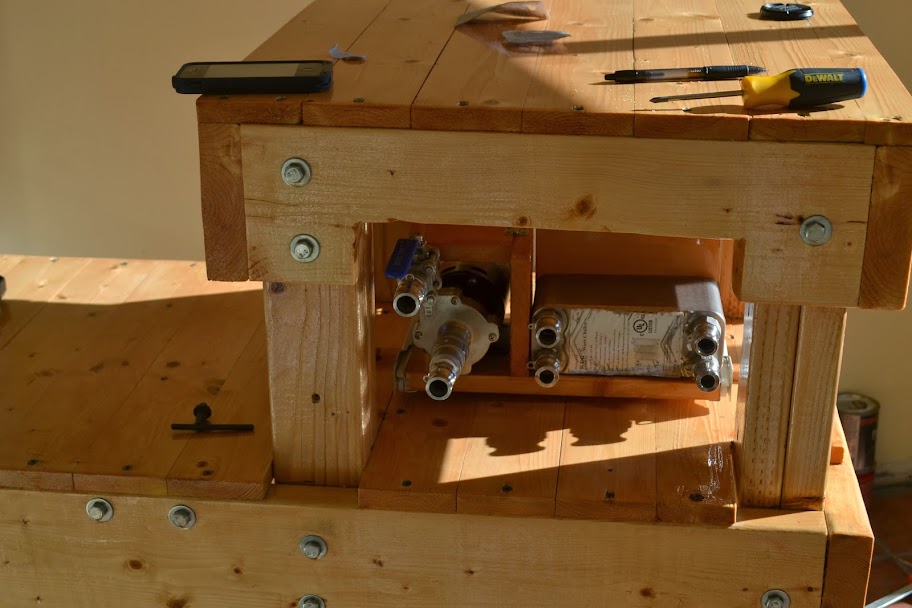
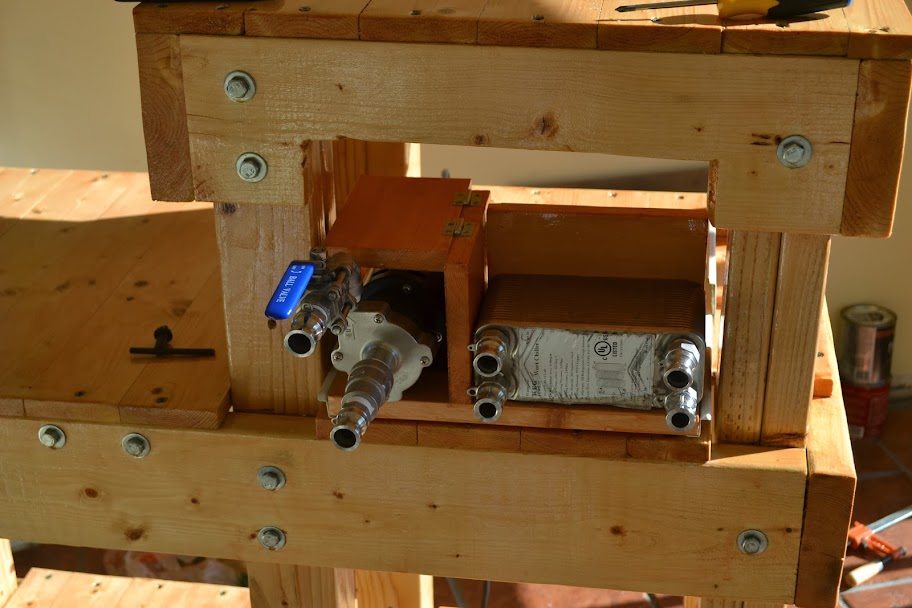
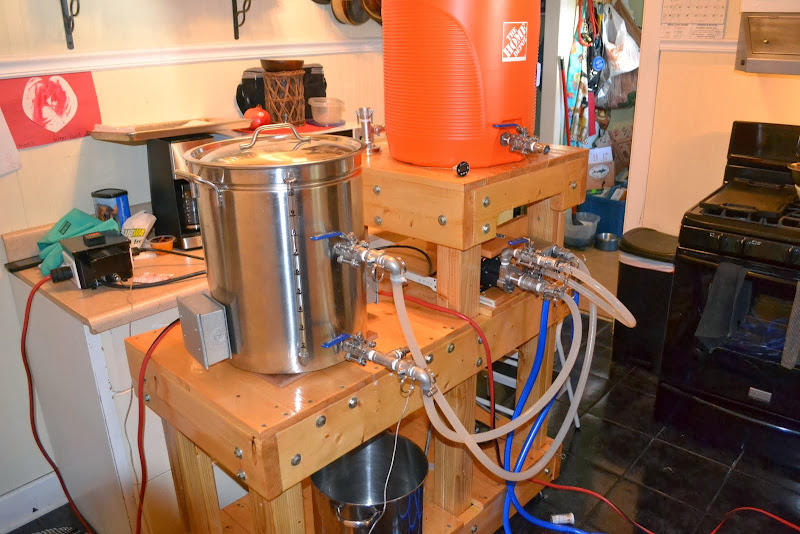
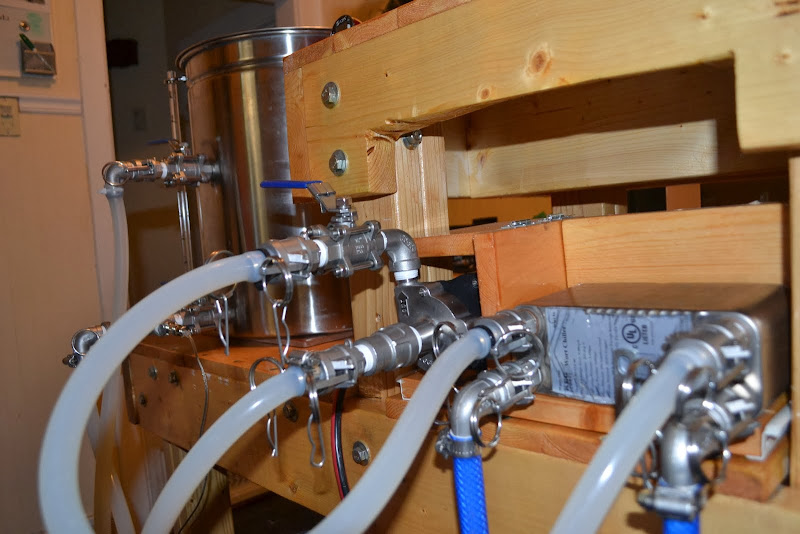
The pump / plate chiller sliding platfrom with hinged ceiling to protect the pump motor from liquid

DSC_0597.JPG


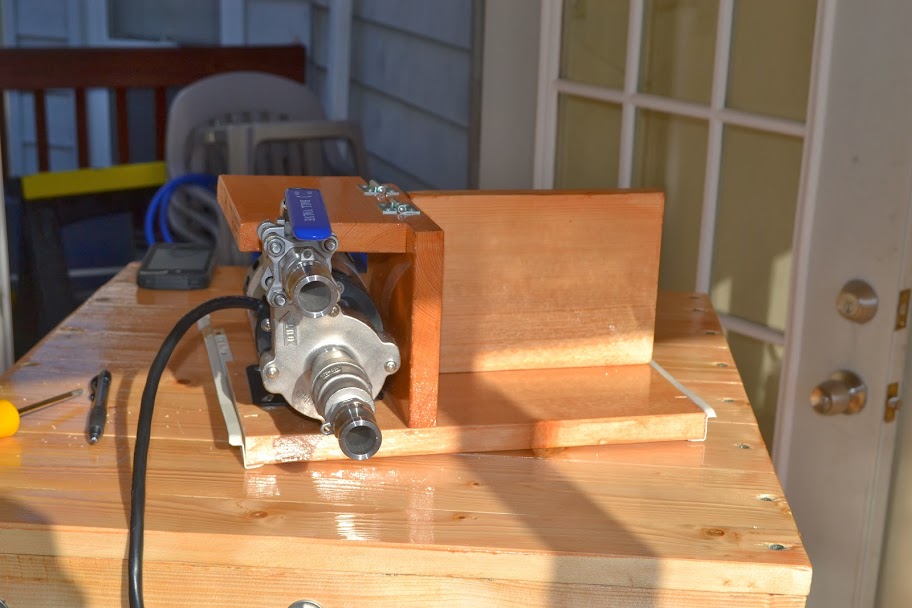
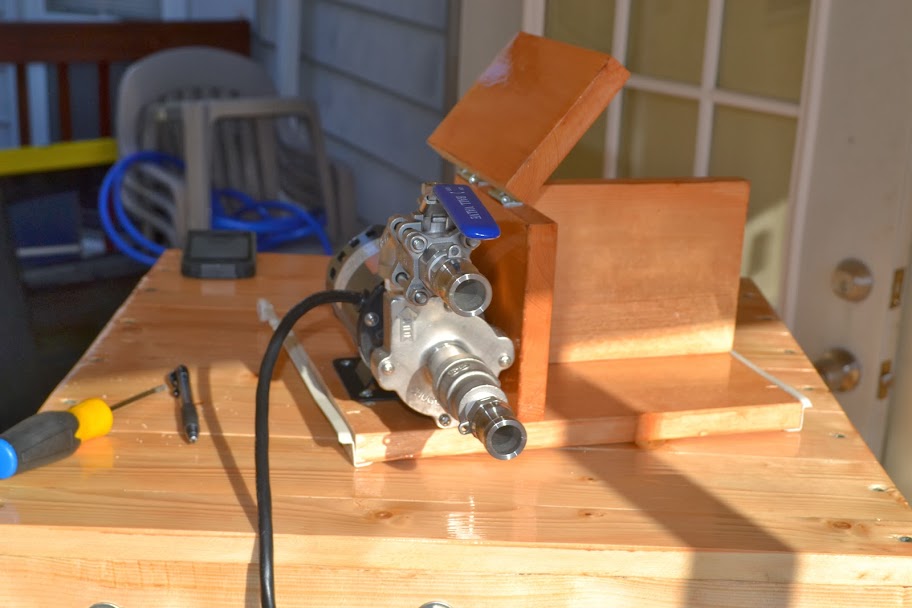
Hinged so that the pump can be removed if needed

DSC_0598.JPG


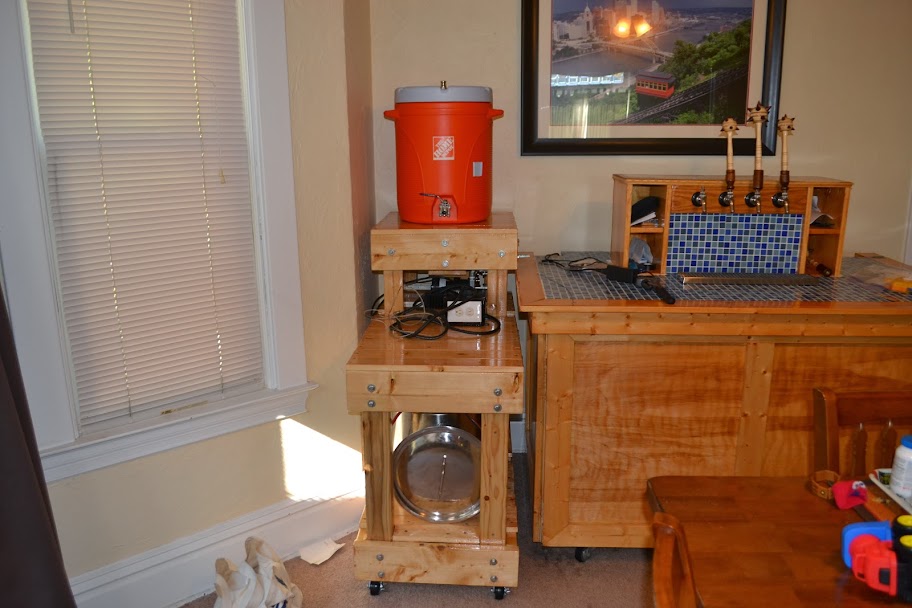
Pump / plate chiller retracted for storage

DSC_0599.JPG


Pump / plate chiller extended for use

DSC_0600.JPG


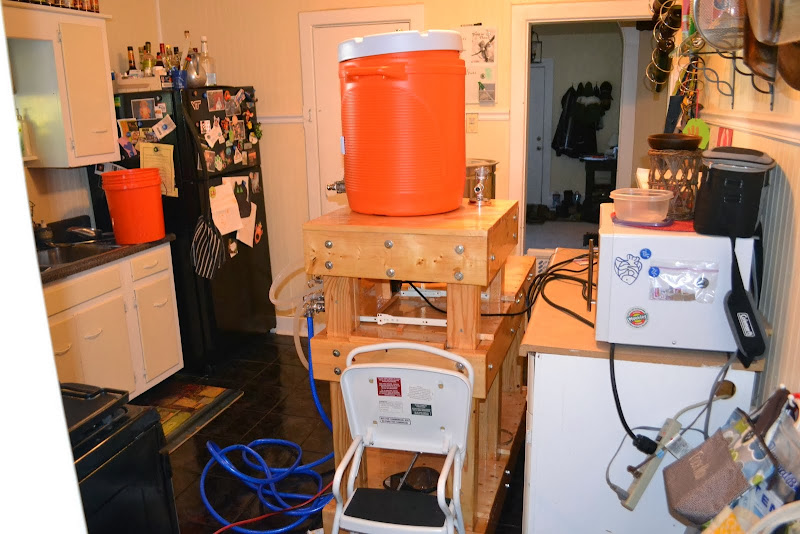
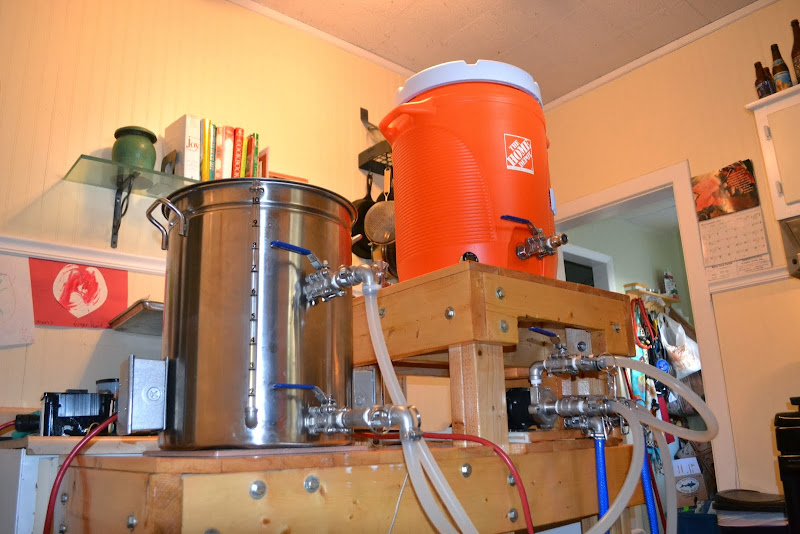
Brewstand in its storage spot next to the kegerator

DSC_0603.JPG


I am hoping to do my first brew on this system in the next few weeks!!!
 
So I finally brewed on the new system early last month. I am just getting to posting the pictures now. I did a DFH 60 min clone from BYO.

My numbers were a bit off efficiency wise, but I didn't write down specifics. Next time I will plug everything into BrewTarget and focus more on the process - this time was just about getting the maiden voyage completed.

I did learn that I could use the temp probe as an indicator of how well the chiller is working, which is really handy, and makes my T -> thermo -> camlock unnecessary ( and sellable :) )

I also learned that boilovers are very easily accomplished if you look away for a minute :p The batch is kegged and darn near carbed up, should be ready next Monday!

DSC_0606.JPG


DSC_0607.JPG


DSC_0608.JPG


DSC_0609.JPG


DSC_0611.JPG


DSC_0612.JPG


DSC_0614.JPG


There are various minor improvements that I would like to make to this, but I am satisfied enough to call it done!

For those interested about cost, I spent $1,340.63 on it for parts that I didn't have (not counting shipping or tax). I already had the plate chiller and two camlocks for it and the drinking water hose, so tacking those on brings the total cost to $1462.93. I had to buy some task-specific tools (step bit, water heater element wrench, hole saw, etc.), but they were included in the aforementioned cost. I also used various tools that I already owned - miter saw, screwdrivers, drill, socket wrenches, orbital sander, but nothing super expensive or out of the ordinary. I included all stain and staining supplies in the cost as well. If anyone would like a detailed rundown of the costs, I can get you a copy of the spreadsheet.

If I could do things different, I would definitely go the hole punch route instead of trusting the step bit to make a good hole for the heater elements. It worked out for me in the end but the extra $80 would have been worth the peace of mind.

Thanks to:

* jkarp - https://www.homebrewtalk.com/f51/countertop-brutus-20-a-131411/
* Disintegr8or - https://www.homebrewtalk.com/f170/how-build-5-gal-110v-ebiab-kettle-304914/ AND https://www.homebrewtalk.com/f170/step-step-build-110v-portable-pid-controller-379938/
* Kal Wallner / TheElectricBrewery.com - http://theelectricbrewery.com/heating-elements
* Bobby_M / BrewHardware.com
* Everyone who everyone who answered any of my questions about electric brewing, or building stuff or brewing in general.
 
Looks good! Just pay attention with those hoses and minimize any wort loss and your efficiency should be fine.
 
You're not using an exhaust hood ? Did you have any problems with moisture during the boil ? That's a lot of steam escaping the pot
 
You're not using an exhaust hood ? Did you have any problems with moisture during the boil ? That's a lot of steam escaping the pot

Nope. You can't see them in the pictures but there is a ceiling fan directly above where it was in the kitchen and a window directly across from it. It's meant to be mobile (all I need is two 20A circuits, which I have in the kitchen, but it doesn't "live" there) so installing an exhaust hood isn't really an option.
 
Haha ! Glad you saw my setup....at first my stand was like yours but i was afraid of doing damage to my mom's house because of the humidy when brewing in the basement. Anyway, when I'll have my own place, i'll need something portable and might remove my hood for a while to make it more compact like yours
 
Great work, looks similar to what I have been working towards. Do you have anything after the hose bard in the Mash tun lid? That's the one thing I have not worked out yet. My thought was to have a tee to 2 pieces of tubing with holes to spread the return water over the grain bed.
 
I use the same type of recirculation port with the same type of cooler MLT. I just attach a piece of silicon tubing to the barb and let it hang down into the MLT. It floats in a coil on top of the grain bed and keeps the return flow from disturbing the grain bed. I considered a bunch of complex solutions, but ended up trying this and it works really well. Plus it follows K.I.S.S.

Just something to consider.
 
Cool. Thanks man. Would love to hear more about your efficiency with the no-sparge aspect, as well as heating times with those elements.

My efficiency isn't all that great - low 60s I guess - I need to pay attention more the next time I brew but honestly I don't really care so much about that as much as I used to.

There is a sparge aspect of a sort, I don't recirculate during the mash, and then after I introduce the sparge water that has been heating in the kettle.

As far as heating times, I thought I had posted something to that effect but I guess not. Combing through some chat logs with a coworker from around the date that I ran the tests I found that it went from 120 to 190 in 8 minutes, and from 120 to 212 in 19 minutes total. That was just water though, but I'm not sure what difference that makes.
 
Great work, looks similar to what I have been working towards. Do you have anything after the hose bard in the Mash tun lid? That's the one thing I have not worked out yet. My thought was to have a tee to 2 pieces of tubing with holes to spread the return water over the grain bed.

Just the hose, I have thought of doing something different but have not gotten around to it.
 
My efficiency isn't all that great - low 60s I guess - I need to pay attention more the next time I brew but honestly I don't really care so much about that as much as I used to.

There is a sparge aspect of a sort, I don't recirculate during the mash, and then after I introduce the sparge water that has been heating in the kettle.

As far as heating times, I thought I had posted something to that effect but I guess not. Combing through some chat logs with a coworker from around the date that I ran the tests I found that it went from 120 to 190 in 8 minutes, and from 120 to 212 in 19 minutes total. That was just water though, but I'm not sure what difference that makes.

Thanks for the reply. Impressive heating times. Great job on the system and I hope you enjoy lots of successful brews with it.
 
I changed the visibility on my Picasa albums, apparently saying "Limited, anyone with the link" means that you cannot directly link to photos. I changed it back for that album.
 
Tagging this thread.. i want to do something very similar (hopefully i can!) Are you still liking your setup.. are there things you may want to change or do differently? How are the elements holding up?
 
To be honest I haven't brewed on it since January - life getting in the way. But I tested the elements vigorously and have brewed two batches on it and they seem to be doing fine.

I would have put the temperature probe directly into the kettle instead of in the tee off of the kettle out. It basically means that I can't use the temperature control aspect to heat the water if I am not circulating since the probe is past the valve. I could realign the probe to be BEFORE the valve, but then, with no liquid moving I think that the probe being in the middle of the kettle would be better than right before the valve.

But really thats it.

I wish I didn't need two separate 20A circuits for it, but that's not anything I can control.
 
Back
Top