• Please visit and share your knowledge at our sister communities:
  • If you have not, please join our official Homebrewing Facebook Group!

    Homebrewing Facebook Group

Building insulated/heated/cooled brew shed

Homebrew Talk

Help Support Homebrew Talk:

This site may earn a commission from merchant affiliate links, including eBay, Amazon, and others.
Now that the garden is in and I have time for other things again...

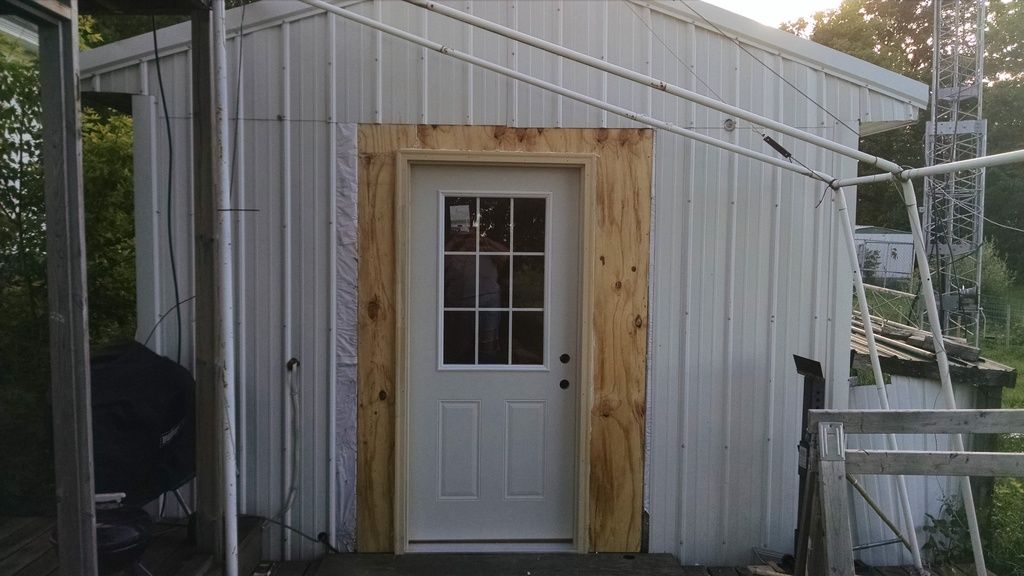
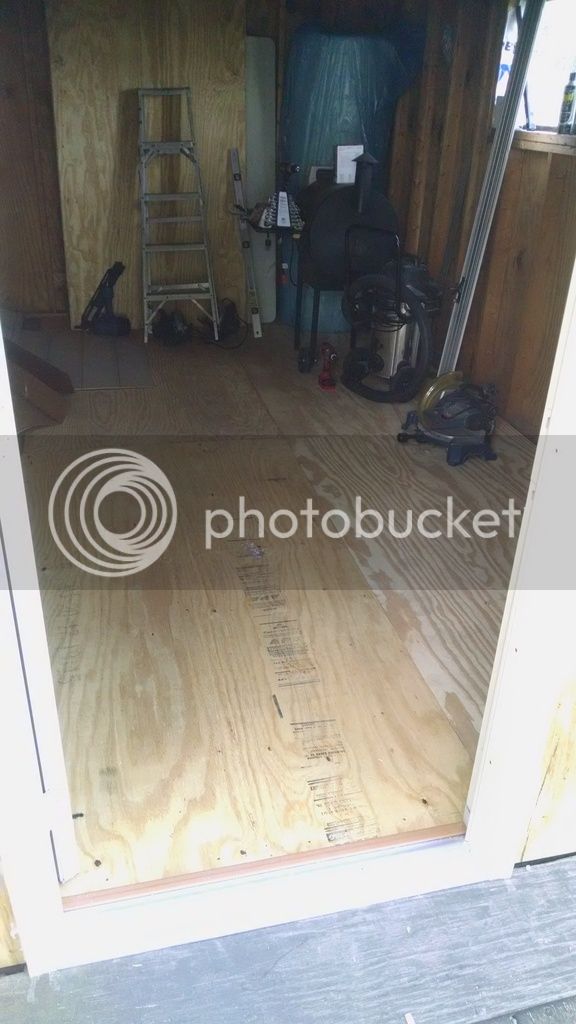
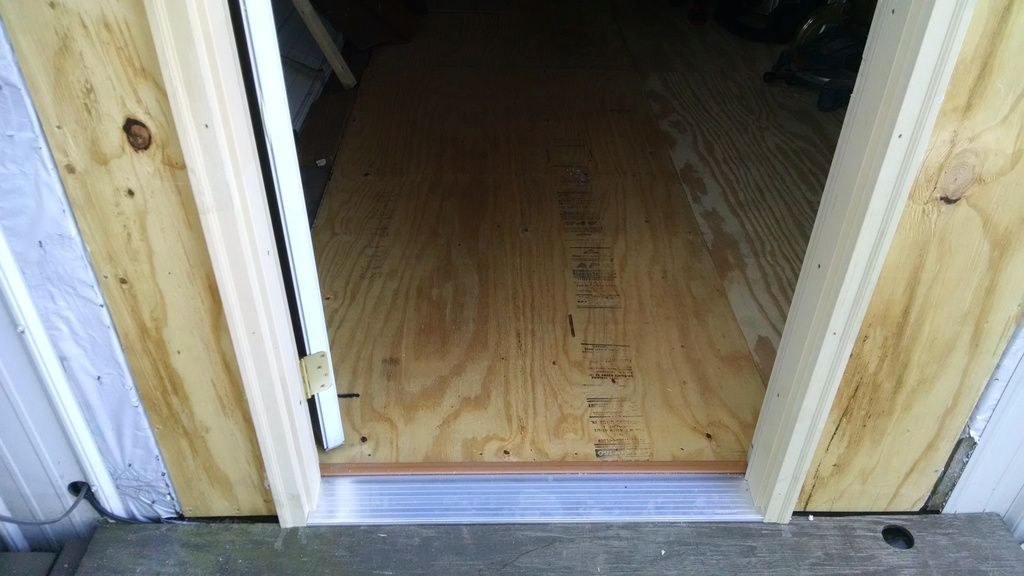
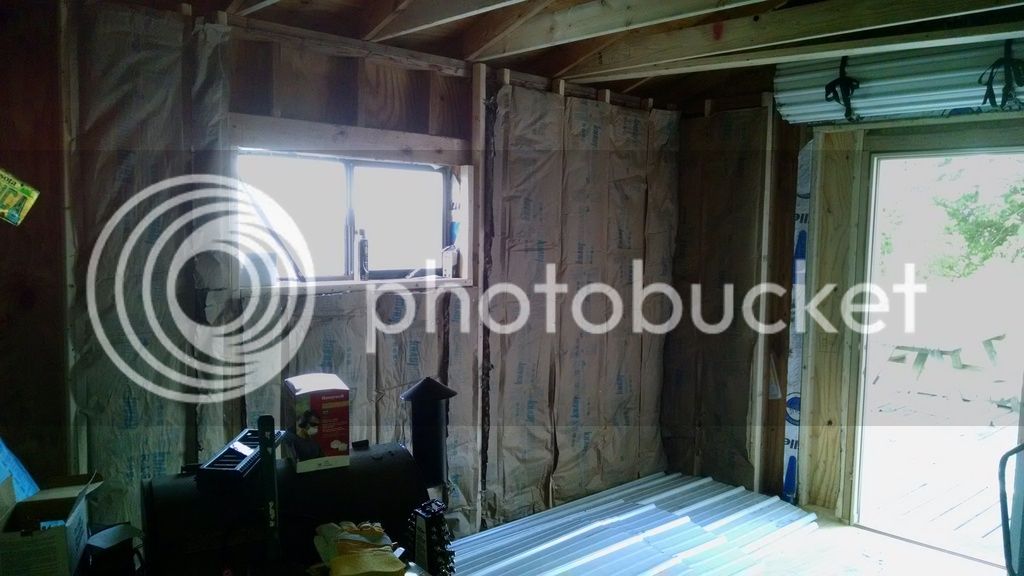
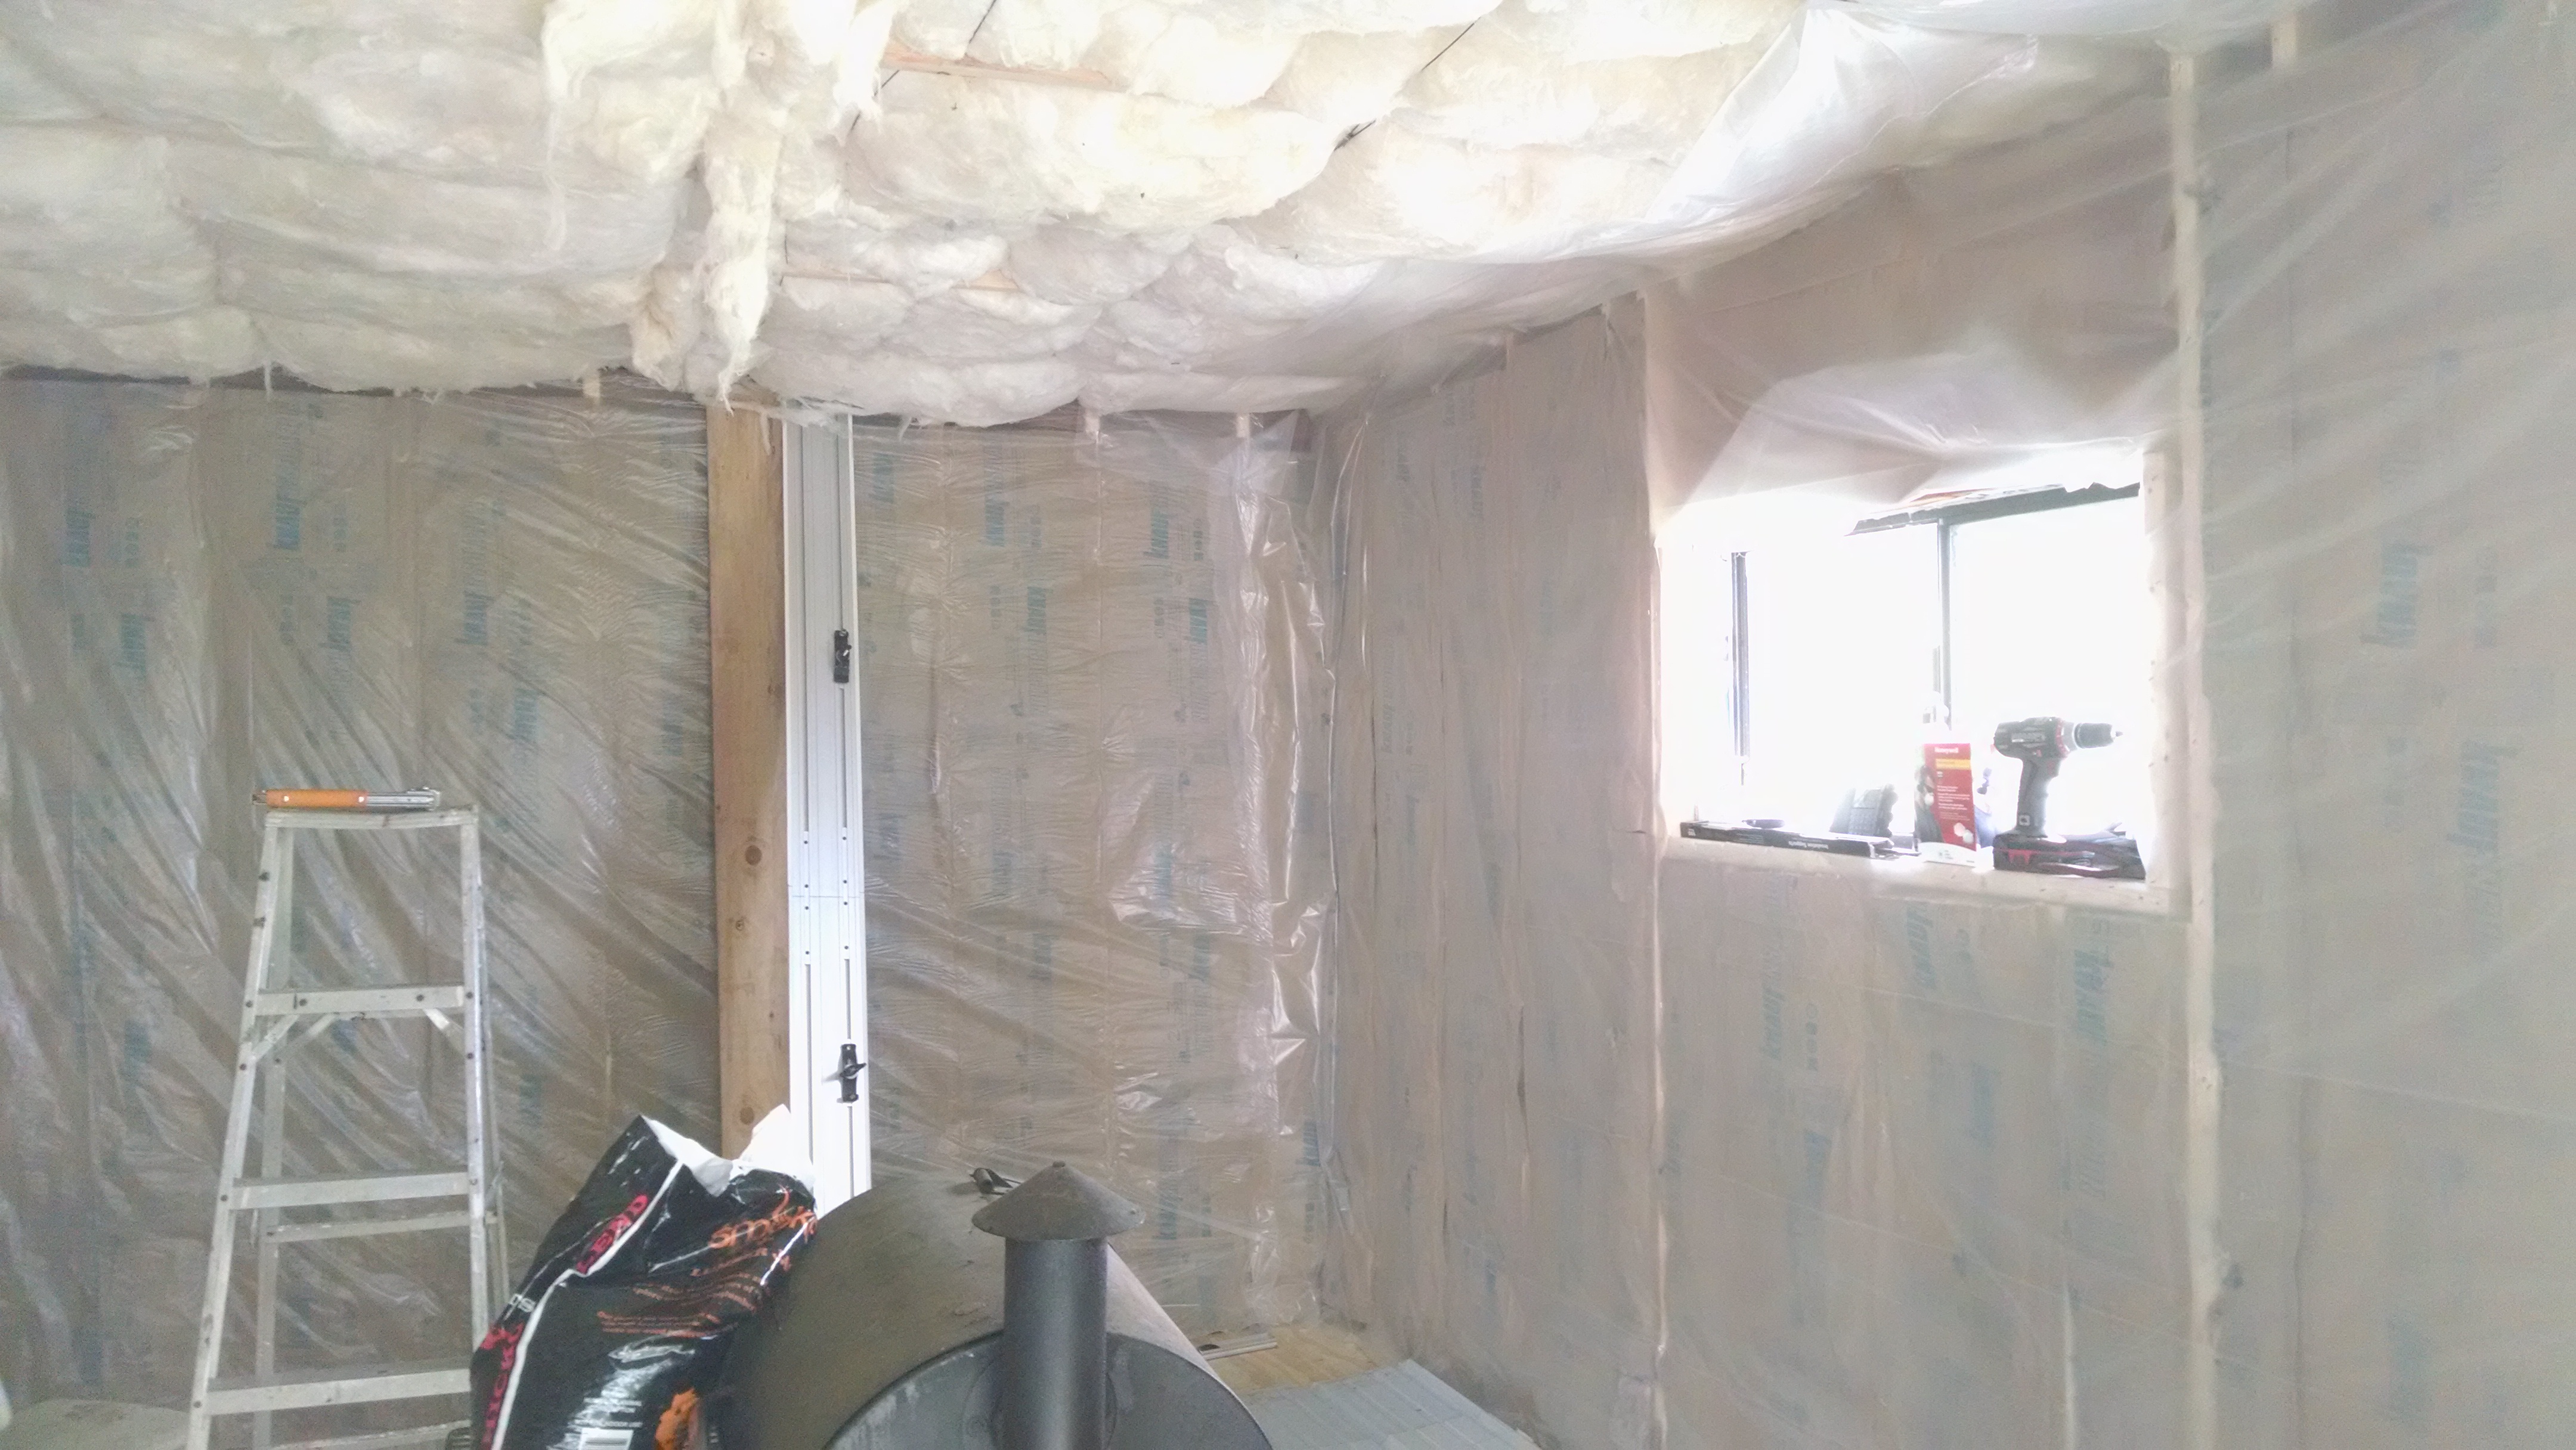
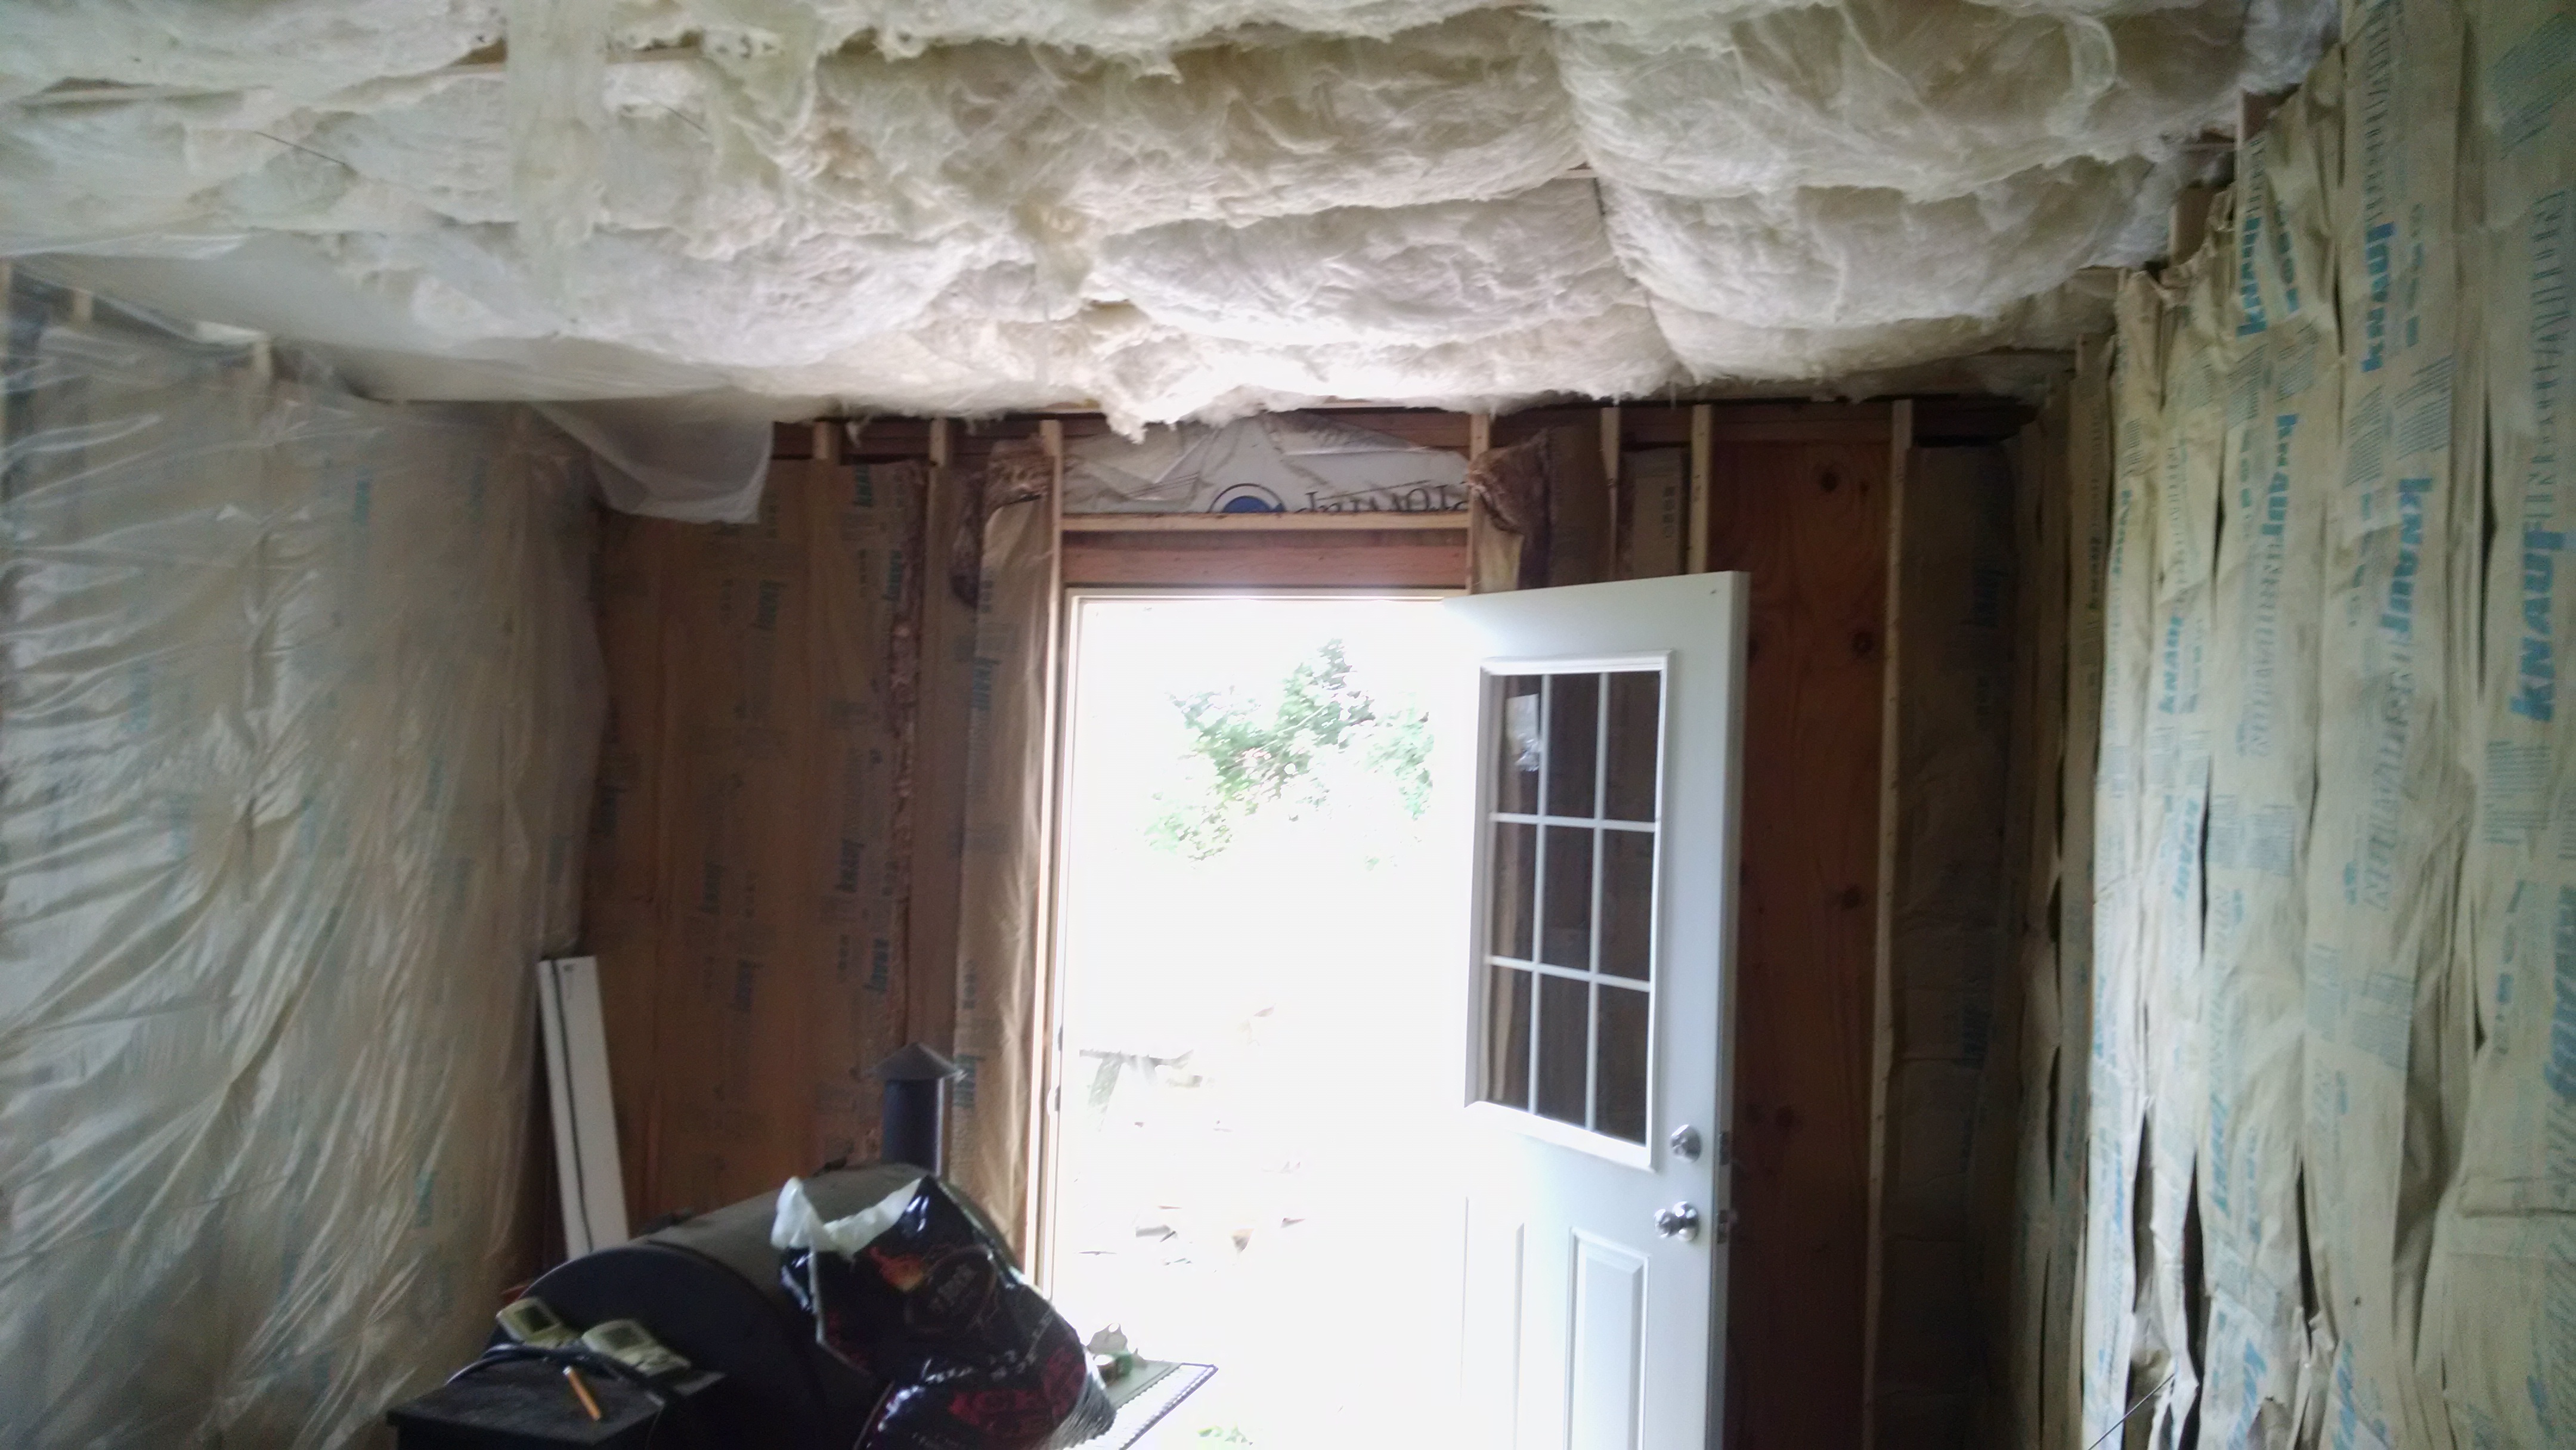
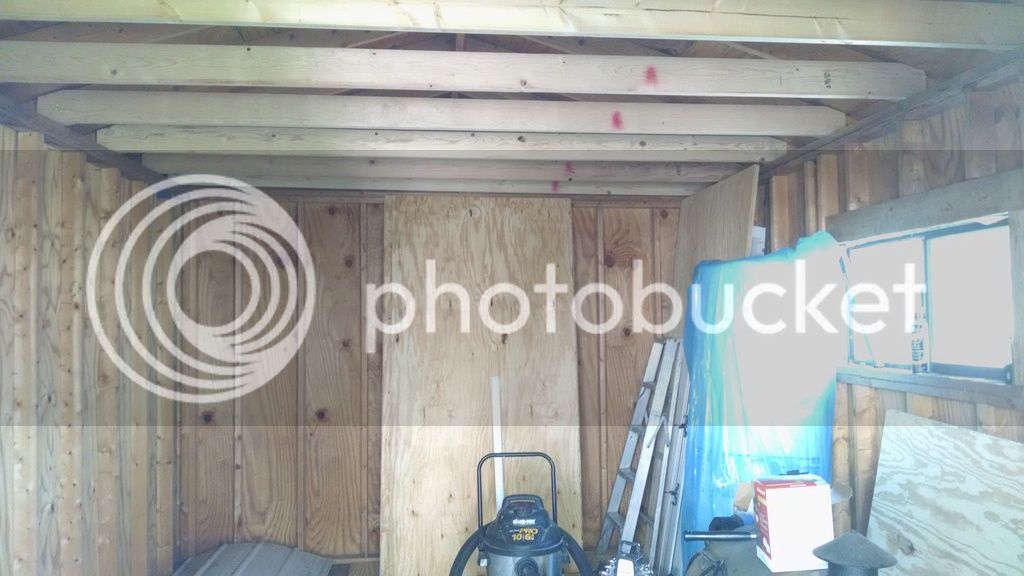
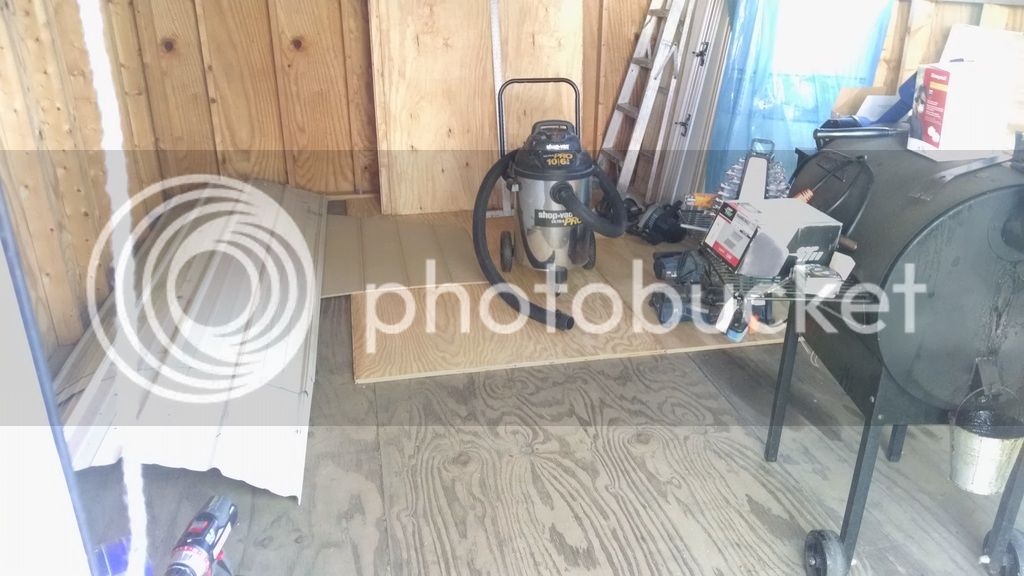
Ceiling joists all cut and in place except the 2 over the roll up door. It has to come out first(replacing with a 36" entry door). And I started on the new floor to cover the ripped up ply that is there now. 25 years of wear has it pretty ragged. I am furring out the wall studs with 2x3's so I have a 6" deep cavity for R19 wall insulation. Insulation is stashed in the garage for the walls, the big blue roll is for the ceiling and should be enough for 2 8" thick layers. That is leftover from the garage construction. Have to cut it to fit between ceiling joists but hey, it was paid for already!

IMG_20170620_175849985_zpstaisrqwq.jpg


IMG_20170620_175858764_zps6nmxnrqd.jpg
 
What......did your wife get tired of smelling beer in the house? Btw, what's that white stuff piled up outside the shed? :D
 
Looks like it will be a great brew shed. Just wondering if your soffits are vented. If they are, make sure your insulation doesn't block the airflow. If not, I would put in a few gable vents and that might be easier before you insulate and close up the ceiling.
 
Wife? Sorry I don't swing that way! :D Single, plan on staying single too! At my age I don't need a man underfoot.


Too bad for the rest of us- a brew shed and an off set smoker is quite a catch. A lot of we men get married for the looks and nookie and not the really important things, like beer and bbq.
 
They are vented but I plan on a gable vent on the east end too. Lot of humidity in winter when I brew. Vent hood should control most of that but...

Looks like it will be a great brew shed. Just wondering if your soffits are vented. If they are, make sure your insulation doesn't block the airflow. If not, I would put in a few gable vents and that might be easier before you insulate and close up the ceiling.
 
Framed in the new door opening. Need to sheath it then install the door. Once that is in things will go faster. Need that done so I can finish the floor, right now the roll up door tracks are in the way of the new flooring. Picked up some cheap vinyl to put down so it will be easy to mop, 12'x16' piece, going to run it up the walls 3 inches and caulk the corners for extra water proofing in case I need to hose it out...
 
Yup plus it is a common steel pattern I can pick up at the local lumbar yard. Interior will be the same white panel steel.

Added furring strips to just under 1/2 the inside, insulated 1/3 the walls. Need to add the last 2 pieces floors and my friend is bringing muscle to lift down the roll up door assembly(we removed the door tracks already). Need to add some 1/2 inch material to the window header to bring it to the right height or rip down a piece of 2x4... then I can finish insulating that little bit over the window. Then tackle ceiling insulation... then start on the interior steel which is going to be an all summer long proposition as I can afford to buy more steel. Need to build the vent hood also.

IMG_20170625_190827713_zpswvbmr56o.jpg
 
Flooring is all down. Won't get back to working on it until Wed then I hope to finish furring out most of it and insulate the rest of the walls. Then I can tackle the ceiling insulation which I have to cut from a 6'x60' roll(leftover from garage construction where 6' fit between the posts of the pole barn construction). Then get a vapor barrier up then I can finally start on the steel interior walls and get the sheet vinyl flooring down. Floor is ugly but at 49 cents a square foot it was affordable! And will be washable.

Floor pattern
729-4710_M9001_Swatch.jpg
 
All but 12 furring strips in place, ran out of materials so need to make a trip to town. Floor is all screwed down and a couple lumpy spots got extra screws today as I walked it with a level looking for uneven seams. Not going to worry about perfect but at least get it close. Ready to add more wall insulation next free day(brewing today when I get up) and Friday is going to be a trip to town to Menards for more materials. With a 60 mile round trip it is a nuisance but what I put up with for living rural and remote! one neighbor, horses across the street, farm field on 2 sides...
 
All the wall insulation except the piece over the electrical. I need to pull the wiring out and reroute it to a new load center. Half the ceiling insulation in. Spent the last 4 days covered in sweat and fiberglass... I ITCH! Hate that stuff! Get the last of the insulation in over the next 2 days(working overhead off a ladder is really hard on my shoulders/neck/back) then the vapor barrier plastic up. Then the girts for the wall steel and start hanging steel liner! Lot of work to get this far.
 
Ceiling insulation is all up, 2 walls have vapor barrier up(I ran out of plastic). Once all the vapor barrier is up I can put up the girts for the wall steel then start putting steel on the ceiling.

fUexiBm.jpg


P7VtJwQ.jpg


The ceiling insulation looks saggy because right now the only thing holding each piece in place is a piece of wire jammed in the joist space. As the plastic goes up it will flatten then the steel will push it the rest of the way in place.
 
Temp in there yesterday when we started on the last half of the ceiling was 102(84 outside, dark green roof and a lot of sun). Checked today, outside temps 81, inside was 75!
 
Back
Top