mugglesport
Well-Known Member
I'm sure I'm not the first person to have done this, but I thought I'd share my mash paddle, which I think offers a great bang for the buck, is pretty high quality, is very cheap, and was very easy to make. Yes, you could start with a plain plank of wood and shape your own and have it be special and unique and darling and all. I didn't want to spend my time doing that. And for those of you that aren't expert woodworkers (I'm definitely not), this is an easy way to get a pretty nice looking paddle without spending much time or money.
The materials needed are:
I'm not sure what kind of wood the paddle is, but it seemed harder than red oak. It's made in India, so whatever it is, it's probably not a common type of wood in America. That said, it's sold at a pretty major chain of restaurant supply stores here in the US, so I'm not very worried about any by-products from it.
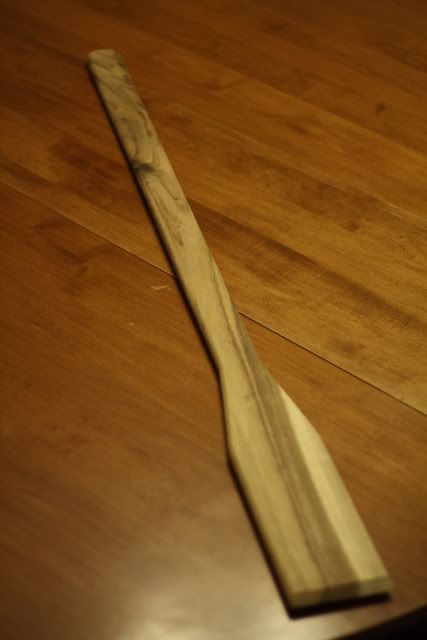
Here's the paddle as it comes:
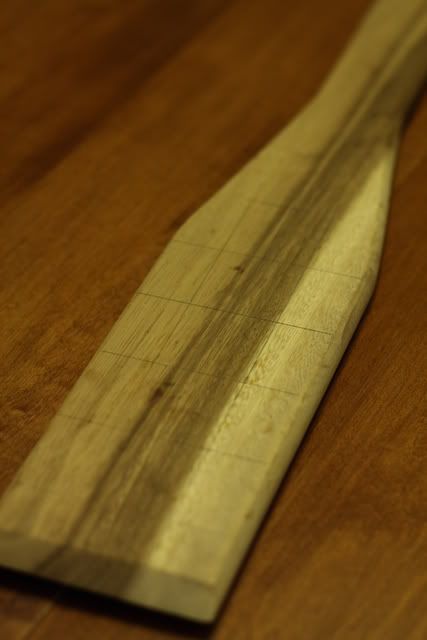
First decide what size holes you want and how close together they should be. I chose 7/8" holes, which allowed me to leave about 3/8" between each hole. I felt this combined a good level of doughball-break-up-edness with good rigidity. So, using my amazing math skills (and a calculator and lots of rethinking myself), I ended up two vertical lines spaced about 2 and 7/8" apart and five horizontal lines with the same spacing.
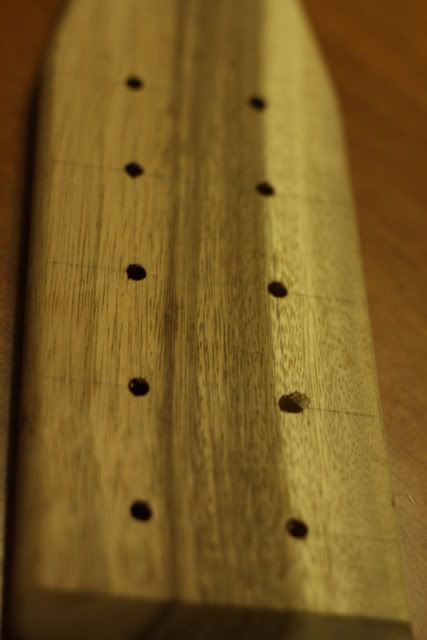
Then, I drilled a pilot hole at the intersection of each of the lines.
Next, I used the 7/8" spade bit to make the holes bigger. The edges of the holes are a little rough. I think the wood, while hard and seemingly strong, is maybe a bit brittle. I went back after taking these pics and sanded the insides and edges of the holes.
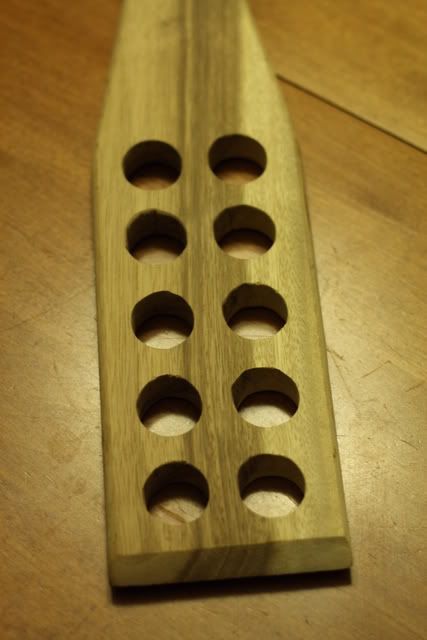
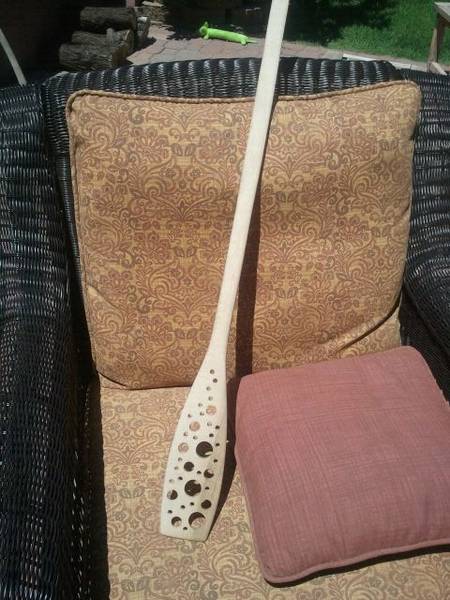
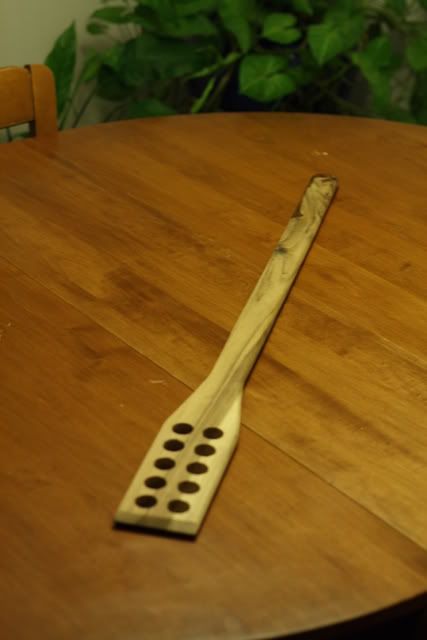
And TA-DA! Here's my mash paddle that cost me $8 (already had all of the tools) and took about 10 minutes to make.
I debated drilling one or two more holes in a single row above the two rows of holes, but I decided not to. I think one hole would be OK, but two might weaken the area between the handle and the paddle bit.
So this works pretty great. The handle is already routed and sanded smooth and is therefore pretty comfortable. The only thing to be cautious of is this...I bought my paddle at the store and was able to pick out the one that I wanted. There were some sitting on the shelf that had very rough spots or big knots in them. So, if you want to try this yourself and have an AceMart nearby, I'd highly recommend going to the store rather than ordering online.
The materials needed are:
- Ruler (or preferably a combination square) if you want to be neat about it.
- Pencil
- Drill
- 1/8" drill bit (or close to that for the pilot holes)
- Spade bit sized to your liking (7/8" seems best)
- 36" long wooden stirring paddle that can be acquired from AceMart (http://www.acemart.com/prod7130.html).
I'm not sure what kind of wood the paddle is, but it seemed harder than red oak. It's made in India, so whatever it is, it's probably not a common type of wood in America. That said, it's sold at a pretty major chain of restaurant supply stores here in the US, so I'm not very worried about any by-products from it.
Here's the paddle as it comes:
First decide what size holes you want and how close together they should be. I chose 7/8" holes, which allowed me to leave about 3/8" between each hole. I felt this combined a good level of doughball-break-up-edness with good rigidity. So, using my amazing math skills (and a calculator and lots of rethinking myself), I ended up two vertical lines spaced about 2 and 7/8" apart and five horizontal lines with the same spacing.
Then, I drilled a pilot hole at the intersection of each of the lines.
Next, I used the 7/8" spade bit to make the holes bigger. The edges of the holes are a little rough. I think the wood, while hard and seemingly strong, is maybe a bit brittle. I went back after taking these pics and sanded the insides and edges of the holes.
And TA-DA! Here's my mash paddle that cost me $8 (already had all of the tools) and took about 10 minutes to make.
I debated drilling one or two more holes in a single row above the two rows of holes, but I decided not to. I think one hole would be OK, but two might weaken the area between the handle and the paddle bit.
So this works pretty great. The handle is already routed and sanded smooth and is therefore pretty comfortable. The only thing to be cautious of is this...I bought my paddle at the store and was able to pick out the one that I wanted. There were some sitting on the shelf that had very rough spots or big knots in them. So, if you want to try this yourself and have an AceMart nearby, I'd highly recommend going to the store rather than ordering online.