• Please visit and share your knowledge at our sister communities:
  • If you have not, please join our official Homebrewing Facebook Group!

    Homebrewing Facebook Group

1 BBL Brewery Build ( Brutus Inspired)

Homebrew Talk

Help Support Homebrew Talk:

This site may earn a commission from merchant affiliate links, including eBay, Amazon, and others.
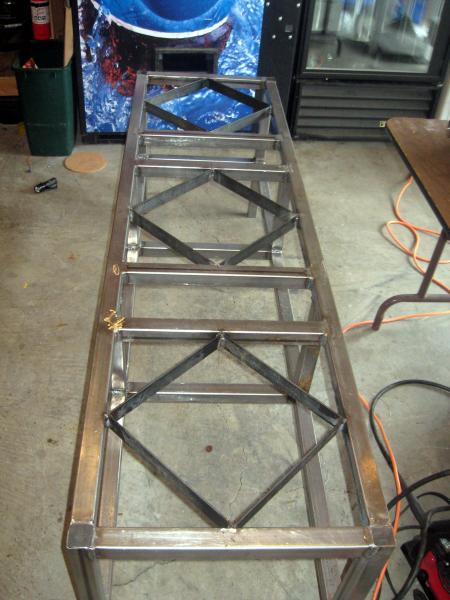
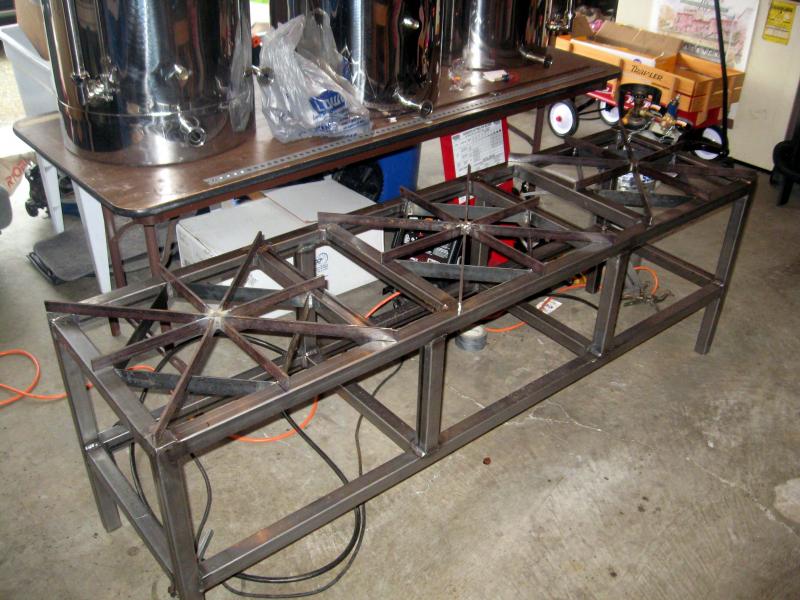
Got the corner caps welded and grinded...and the burner brackets welded in. Still have to cut the metal for the actual mounts which will attach to the burner brackets. My plan is to make them adjustable....if only for the initial calibration....with flat 18gauge stock...the one with the holes down the length of it....I'll throw a pic up once I start mounting them.

The grill tops took quite a bit of time...I am very happy to have them done!! I do not have a good work surface...so getting everything square was a PIA....I will have to do some grinding on them cause they got uneven/warped on me...so they wobble a bit. That will have to wait until I get the stand's feet caps welded in and the leveling legs installed.....then I can circle back, level out the grill tops and weld them to the stand.

top1.jpg


top2.jpg
 
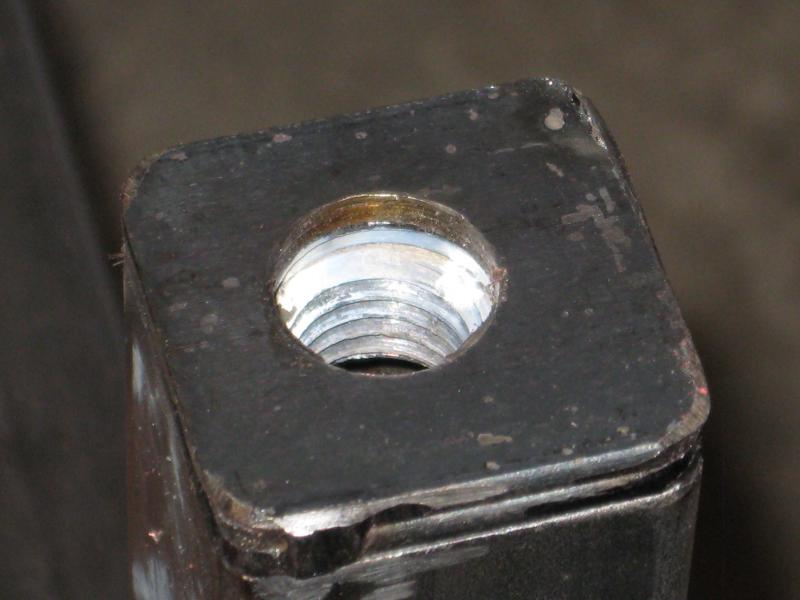
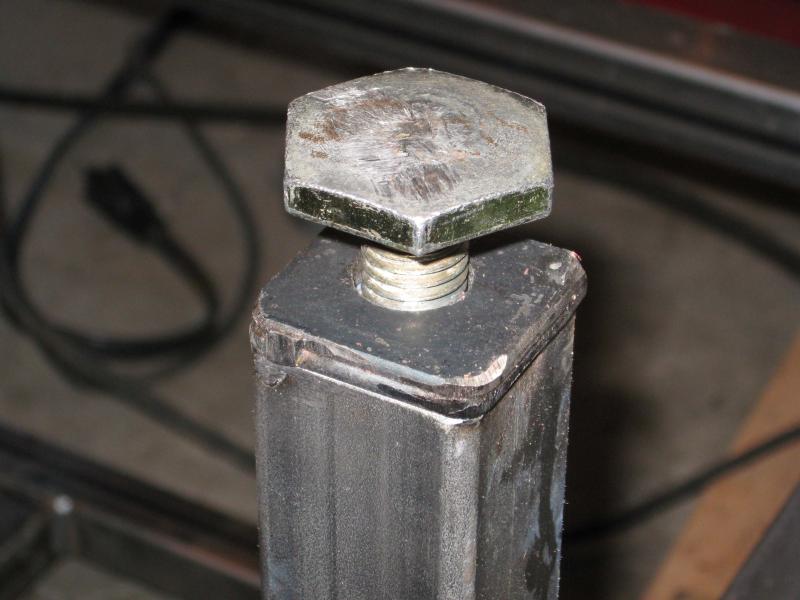
Slowly but Slowly....moving along. Got the feet plate finished so I can now level out the stand on my horribly uneven garage floor. :)

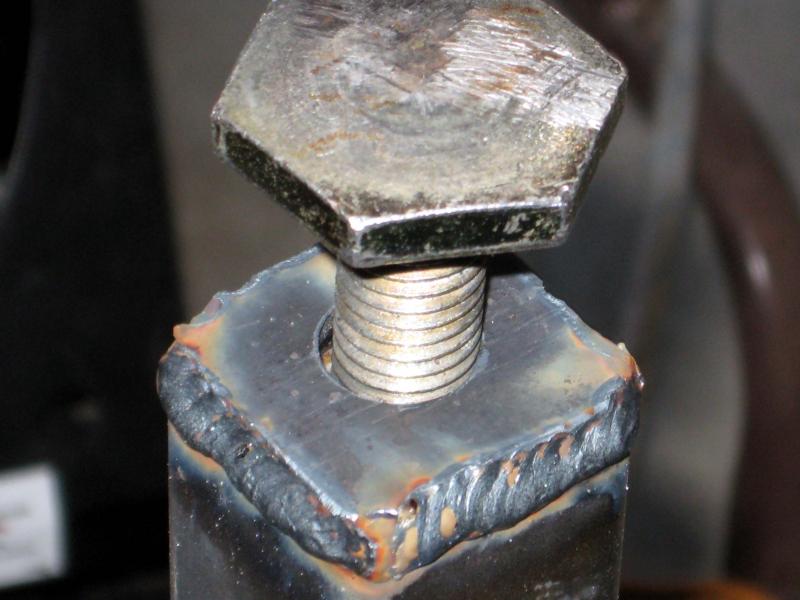
For the feet, I took 1/8" flat bar, doubled them up an tack welded them to the legs. I then used a unibit to drill out the 5/8" hole to allow the threaded feet to fit. I then Welded the nut to the plate...then grounded off the tacks...fliped them over and welded them in place.

For the record......please ask the welding police for a pardon....this is my first welding project!! Thank god for grinders!!!

feet1.jpg


feet2.jpg


feet3.jpg


feet4.jpg
 
This build is very interesting and I am loving the progress. I was thinking about picking up the 210,000 btu hurricane for a 55 gal boilermaker. I would love to hear how it works on your system.
 
Looks good. We are planning on using the same style stand for our brewery addition to our restaurant. How are you planning on finishing your stand? Are you going to use high temp paint? Do you think the TBB or any other governing body will have any problems with it not being stainless?
 
Thanks Josh...I will definitely report back on how the burners do.

As for finishing the stand...we are planning on high temp paint. We currently brew on a non stainless stand, so I don't think the TTB are concerned with the stand material....just my opinion... I don't know that for a fact.

I think you can run into the nit picky stuff like that with the local health inspectors more so! TTB are mostly concerned with getting their tax $$. Good luck with your brewery addition!!
 
Jaybrinks said:
I could not find a jet burner that could boast 210,000 btu's like the Hurricanes do. They may be out there, but I did not find one. We also like the flexibility that the hurricanes offer. I can crank up the pressure to full blast....or back it way down for a tiny gentle flame....and they are nice and quiet.... there are fewer leak points to worry about as well....I'm sure we could have made the Jet Burner's work..but after a lot of research, these seemed like a good fit for us......I guess we will really find out once we do our first test run.. :)

The High/Low pressure piping was only complicated at first...it is actually pretty simple to do...which allows us the full flexibility of using the Hurricanes on high pressure safely, getting the higher btu's.....and having adjustability.

http://www.tejassmokers.com/newproducts_page6.htm

Anything above 20 jets us suitable for your BK and HLT. For the MT I agree you will not get the granularity of control.

Y'all are local in Tacoma. If you'd like a demo on a 1/2 barrel system with automation, please PM.
 
The TTB is only interested in enforcing these particular CFR's and could careless if you fermented in plastic buckets or didn't use SS in certain applications. The local control boards may be a different matter but for our state we are ok. It is sometimes tough to navigate all the different agencies and the requirements for the Feds and the state but we have found at least in WA state the LCB folks are very friendly and helpful.
 
So are you guys bottling or is your beer only available at a pub? I'd sure like to sample what you're brewing.

cheers
Thanks....and we would love for you to sample it as well...:)

No bottling yet.....just kegs. We are located in Covington, WA...which is SE of Seattle by about 30 minutes.

We are carried by a few local pubs in the area...if you are in the area....let me know and I give you exact locations
 
Finally getting some progress updated. This 1st batch of pics are a little out of order from the rest to follow....

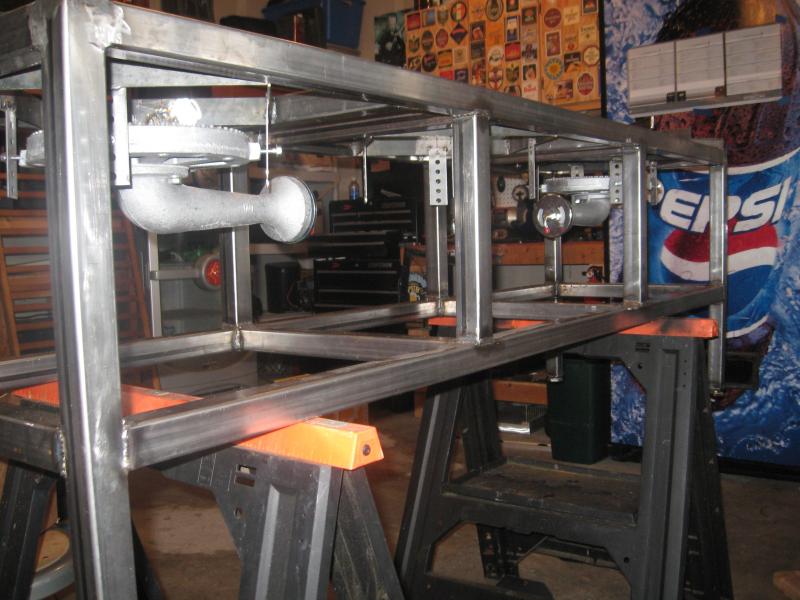
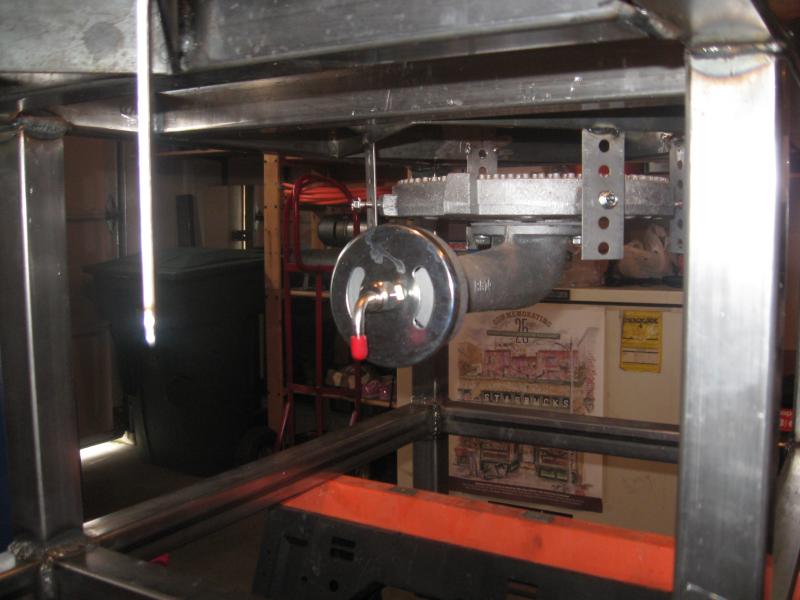
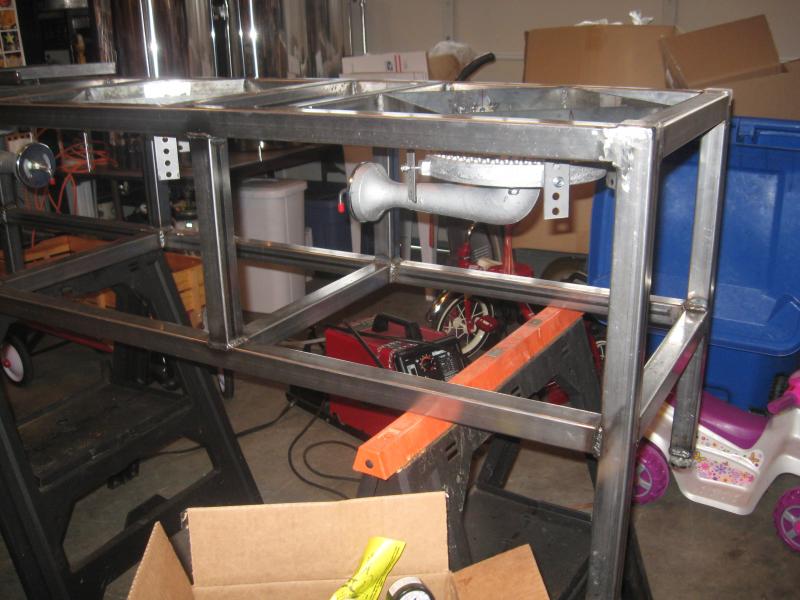
The burners are mounted....we only have 2 right now...the 3rd will be removed from our current system at the last minute....along with the 2nd pump.
I polished up the stand with 120 grit on the angle grinder...so now I am mocking up the the gas system.....then I will disassemble and paint the stand.

After that....it will be time to reassemble and get on to the electrical system.

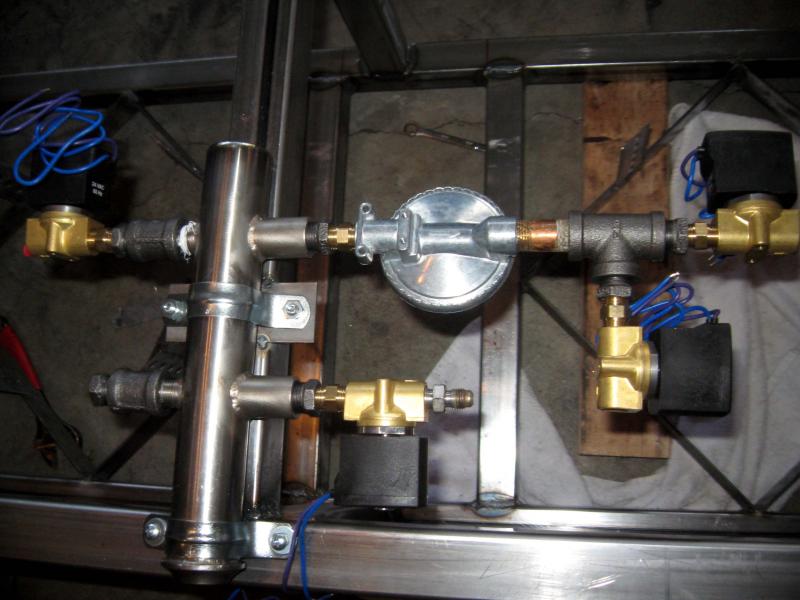
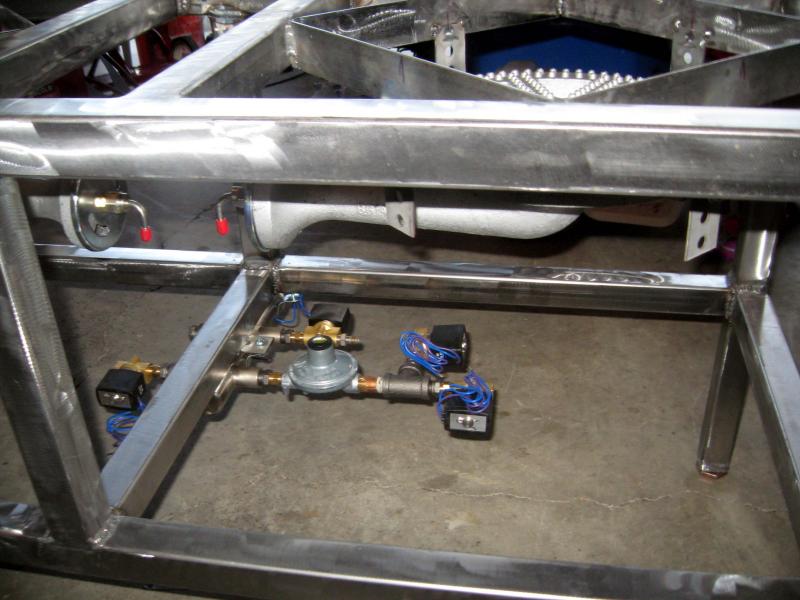
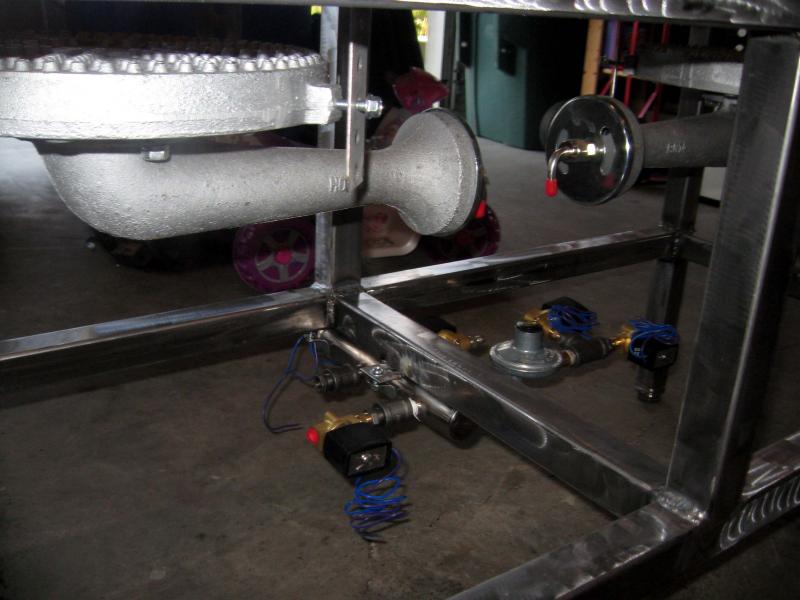
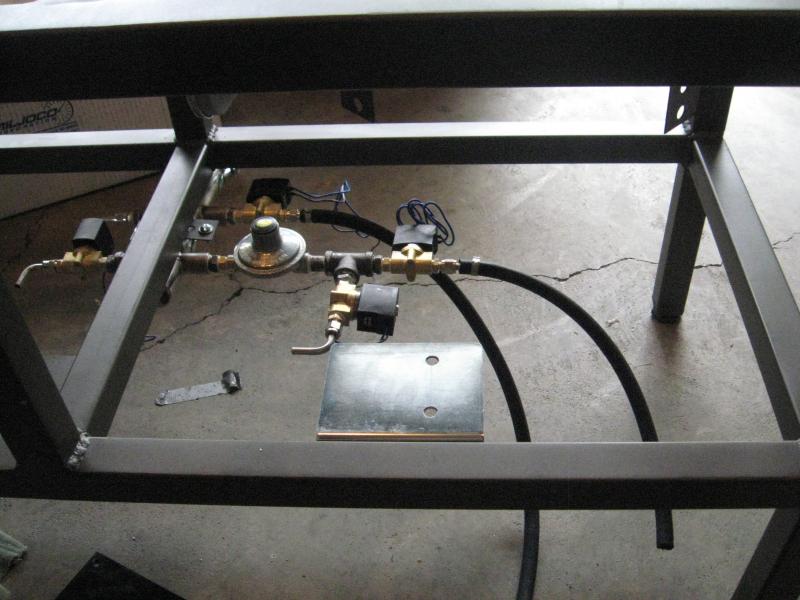
The last 2 pics are of the gas manifold....the stand is flipped upside down.

burner mount 001.jpg


burner mount 002.jpg


burner mount 003.jpg


gas 001.jpg


gas 002.jpg
 
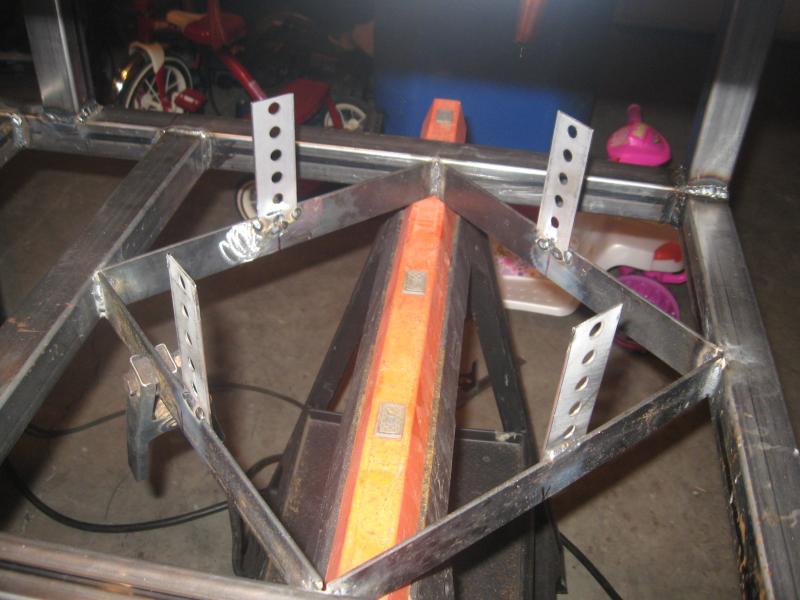
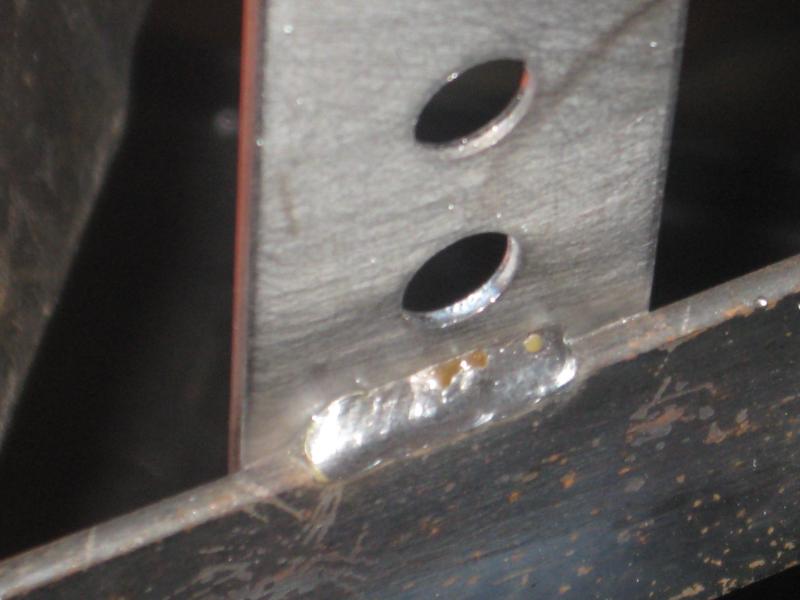
For the burner mounts I welded these 18 guage flat bar with holes (don't know the actual name) to the frame. These allow me to adjust the burners. I wanted to keep this part cheap and simple, because I did not see the need for an elaborate adjustment system when it will only be adusted once....on initial fire up for fine tuning.

bm1.jpg


bm2.jpg


bm3.jpg


bm5.jpg
 
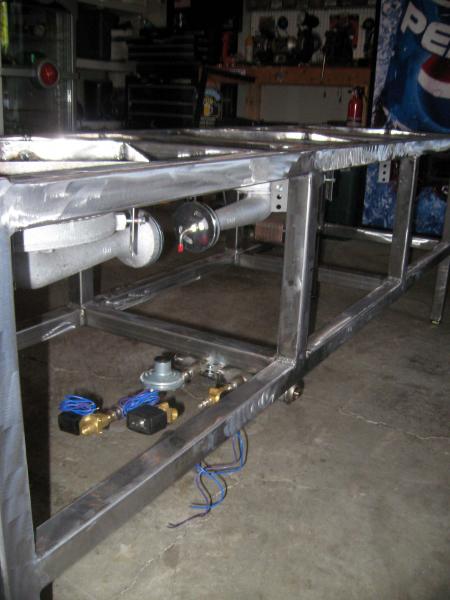
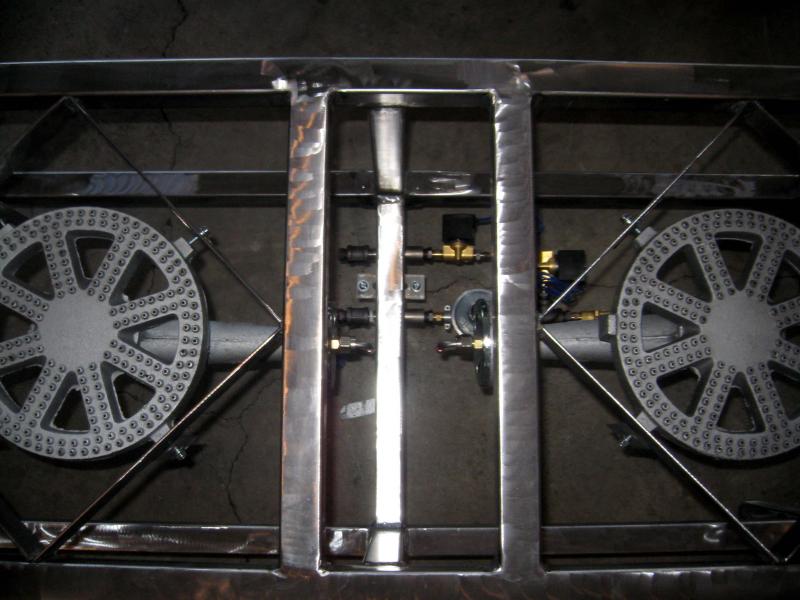
These pics are mainly of the stand with the burners and the gas manifold/valves mocked up...but not completely....just hand threaded together to see what fittings we forgot to buy...:)

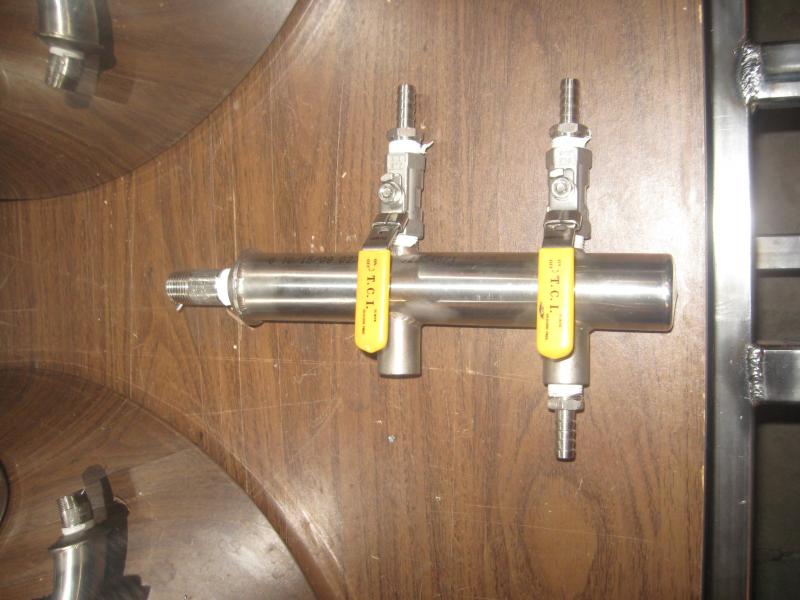
The 4th pic down is the gas manifold....this was a custom piece of stainless that was made for a water flushing system for soda fountain equipment at my work....it did not work out for them...so they auctioned it off...I got it for $5....cost them $250 to have made.:rockin:

gas 004.jpg


gas 005.jpg


gas 007.jpg


gas manifold.jpg


gas 008.jpg
 
Another pic of the burners....with manifold down below...2nd pic is of the Regulator set up from the tanks to the manifold. Right now, all we have are the standard BBQ 5 gallon tanks...so we will run them in tandem to increase surface area and limit frost up of the tanks.....and as you can see...they were generous with the black hose at the propane shop....

The last pic is of the Honeywell ignition modules that will monitor the pilots and burners....as well as provide the spark for ignition.

gas 009.jpg


gas 011.jpg


gas 012.jpg
 
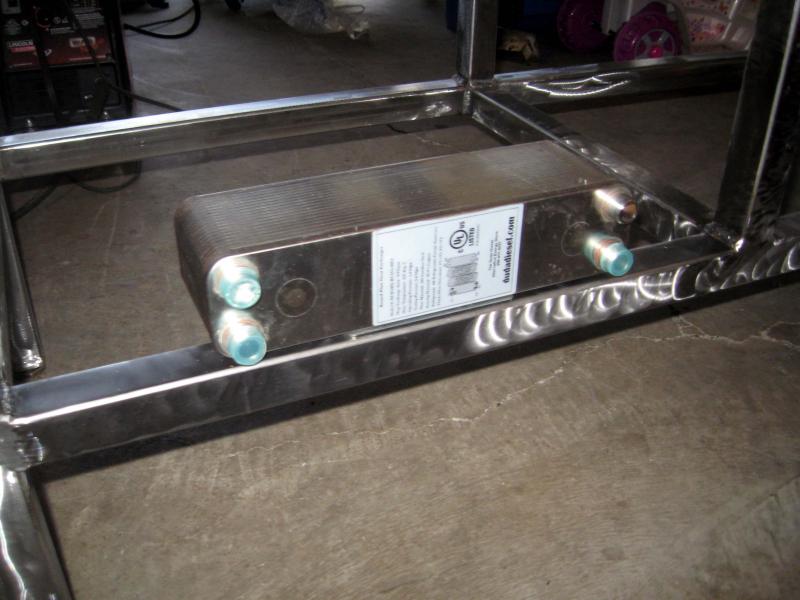
The chiller is a 40 plate model from Dudadiesel.com. They have a pretty great selection.....and are very affordable compared to the usual suspects you see advertised on all the big homebrew supply sites.

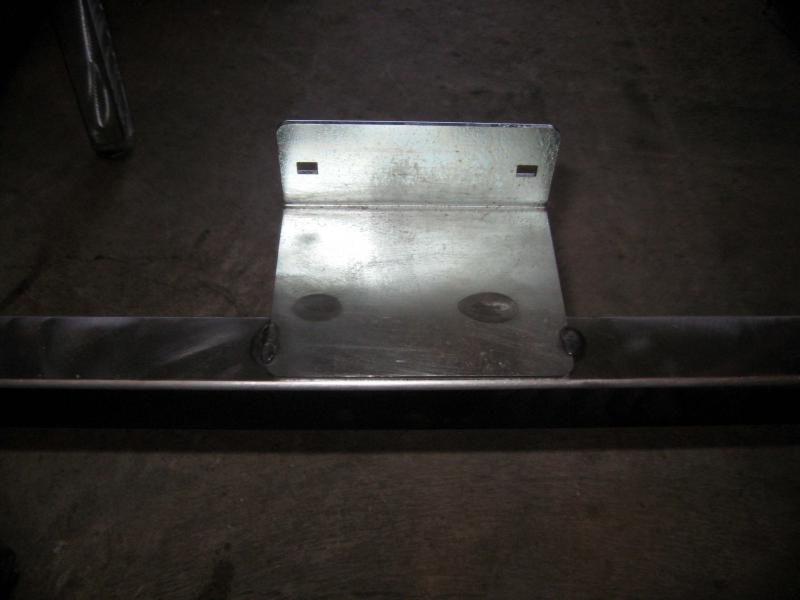
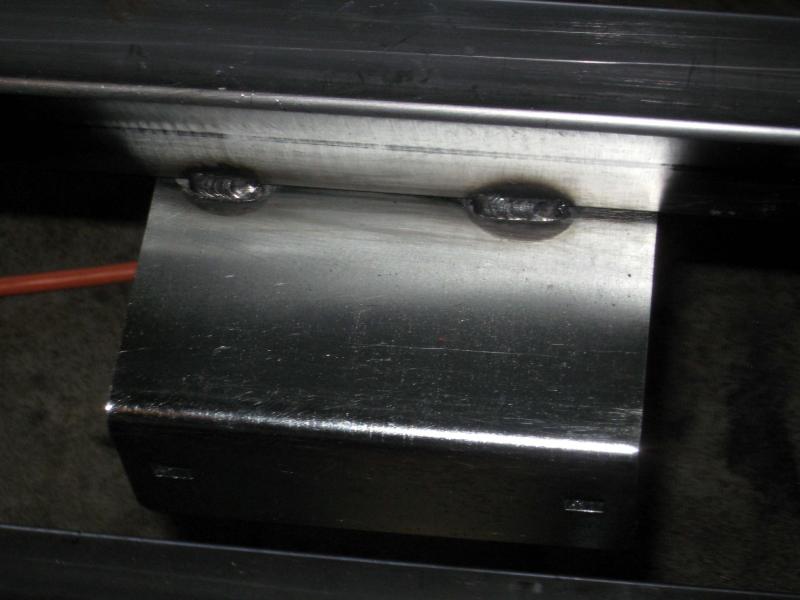
Got the chiller mount welded in place. It is a bracket from the scrap metal bin at work....can't remember what it was used for....maybe a vending machine security bracket.....

The holes on the bracket don't match up with the studs on the back of the chiller, so to keep it simple, I will just have a thin gauge bar that spans from stud to stud...basically clamping it in place to the upright portion of the bracket....this will make it even quicker to remove....just loosen a nut and lift it off.

gas 010.jpg


gas 003.jpg


gas 006.jpg
 
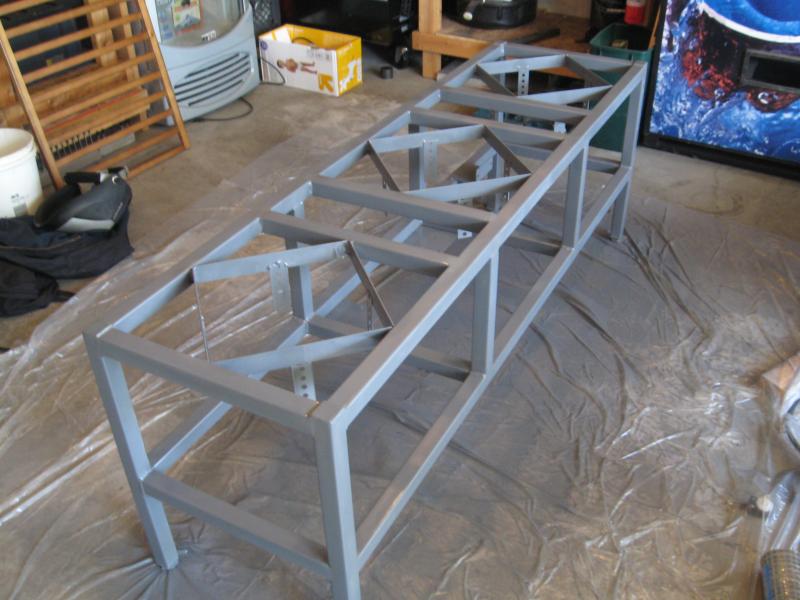
OK....I got the pump mounts welded on the stand and finished sanding up the stand to get ready for paint.

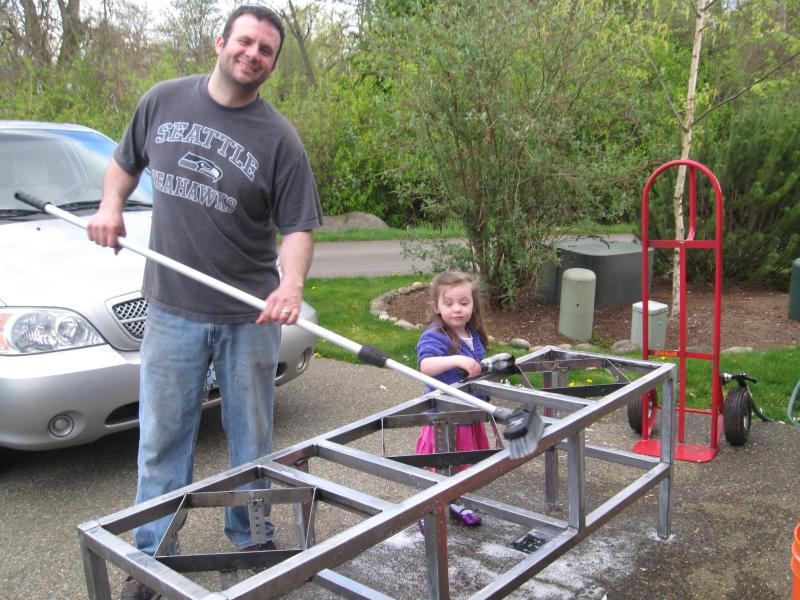
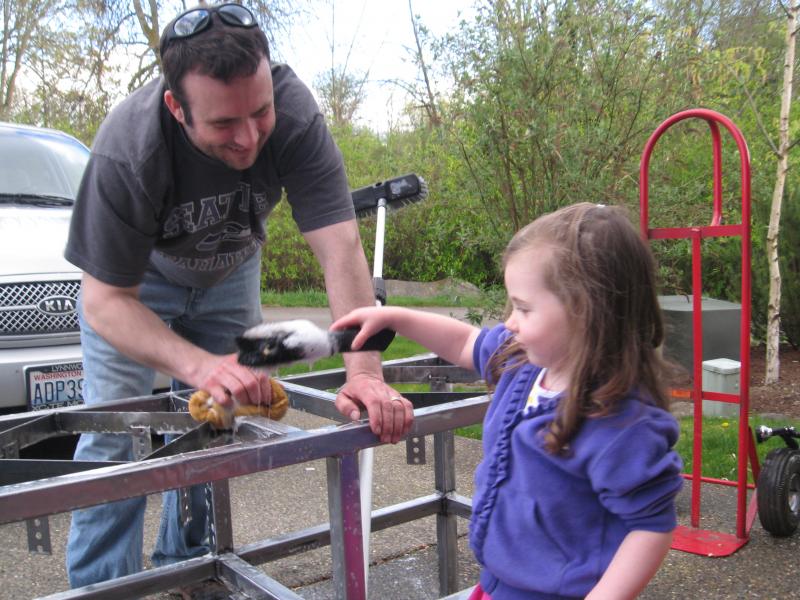
Spent some time with the daughter washing up the stand...she loves helping...my Lil brew buddy.

We used engine primer and paint which is good up to 500 deg. I won't bother to paint the grill tops that will be in direct flame. We went with the "Cast Iron" color....looks pretty cool. After 2 cans of primer and 2 cans of Paint.....I still missed some spots...crappy lighting......sooooo we willl be getting one more can next week to finish it off.

While the paint is curing, I will be sealing up the gas system, and trying to figure out how to mount the pilot burners.

brewstand wash 003.jpg


brewstand wash 012.jpg


brewstand wash 028.jpg


brewstand wash 033.jpg


brewstand wash 039.jpg
 
Your little "Brew Helper" is adorable!!!!

I've got 5 year old twin girls that love to help Dad make just about anything!

They really love the welding helmets! :)

Great looking stand! Awesome job!!
 
:) Thanks everyone for all the kind words.....I have an 8 month old girl too...can't wait till she is up and running around...then again I don't want time to go by too fast....which it always does no matter what.

For this weekend, I didnt' get as much done on the stand as I hoped. I had a lot of running around for parts and other red tape sort through. I did spend some time fitting together the rest of the gas system.....so I have most of the trips to the hardware store behind me....at least for this stage.

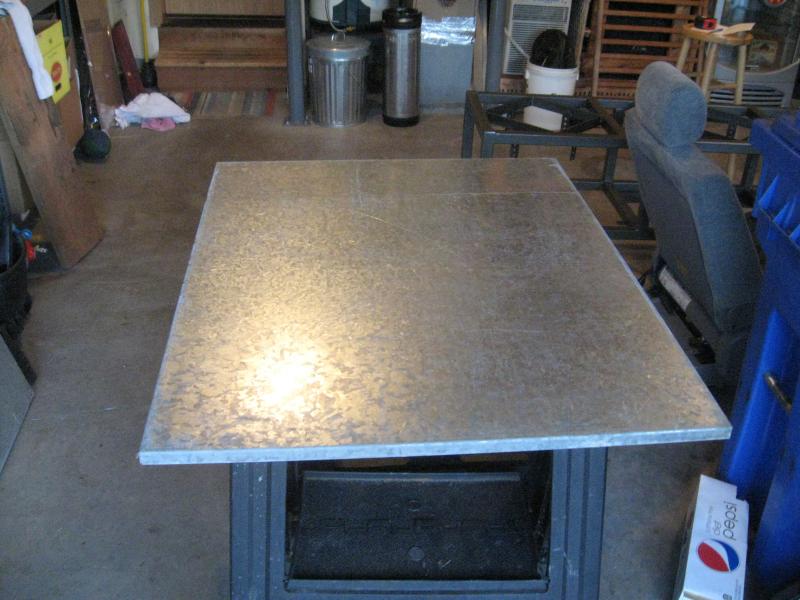
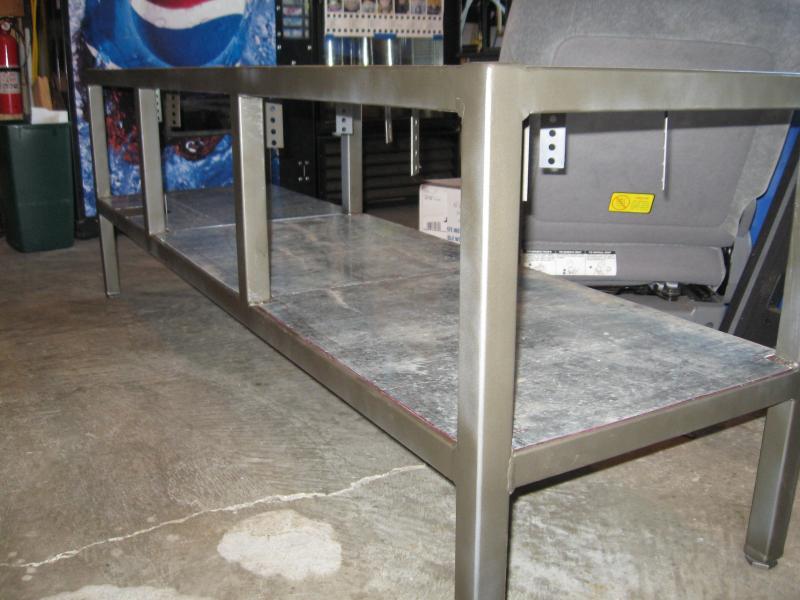
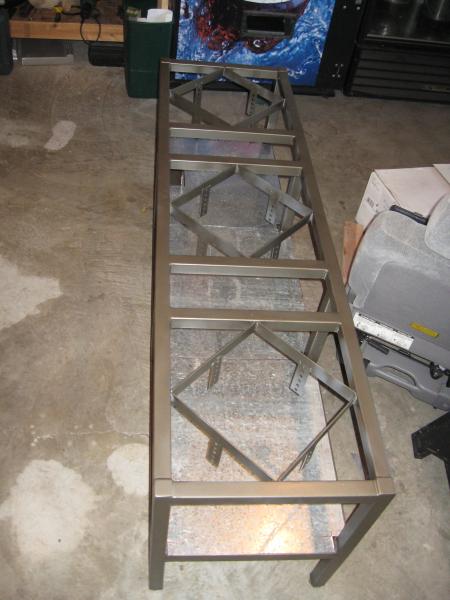
I received some galvanized metal sheets from a friend and turned them into the "floorboards" for the lower section of the stand. I measured and cut them all to fit today....although my craftsmanship didn't leave me to proud. :) Cutting long lines with a jig saw just seems to leave behind squiggly cuts no matter how many clamps and fences you use. My "shop" is pretty limited in tools...so I did the best I could.

Next I will be pulling them off the stands...smoothing out the edges and painting them. Paint will be the same color as the stands. I will attach them to the frame with some stainless self tappers. This will give easy access to the entire gas manifold and spark modules which will be mounted just below.

See ya next time!!!

floorboards 1.jpg


floorboards 2.jpg


floorboards0001.jpg


floorboards0002.jpg


floorboards0004.jpg
 
LOL...looking at the last pic on the above post....you can see where I missed spots all over on the paint job....jeeeeezz.....guess I will drag it out in the sunlight for the final coat!!! :drunk:
 
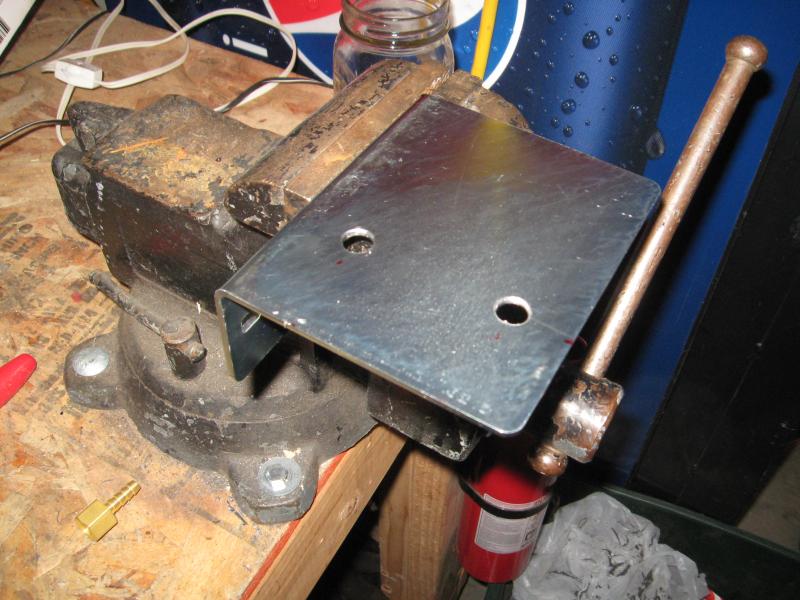
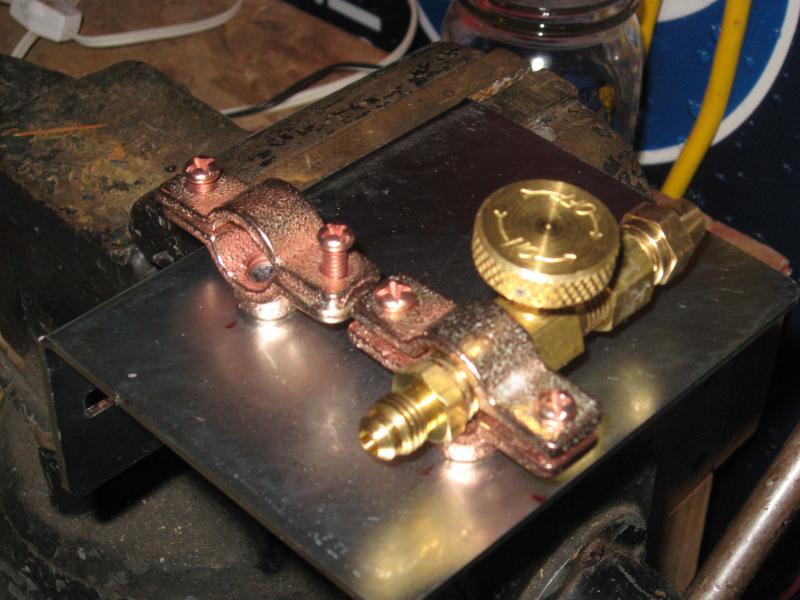
OK....so I worked on getting the needle valves mounted and the gas system plumbed in this weekend. The valve mounting was a challenge for me to figure out...being they are not panel mount valves. Once I found the copper pipe hangers it was very simple....they worked out perfectly....and look cool too.

The brackets were something I had on hand and are fixed to the frame with self tapping screws. We have tried to "re-purpose" as much "on hand" stuff as possible...to save some nickels and dimes.

Instead up using soft copper for everything, we used gas hose from the propane. I already had the barbed fittings on hand so it made it easier to plumb and added no extra expense for the fittings.

Valve Mounts 001.jpg


Valve Mounts 002.jpg


Valve Mounts 006.jpg


Valve Mounts 008.jpg


Valve Mounts 009.jpg
 
Just the rest of the pics of the progress. Still have some plumbing to snug up, then I can wire up the Ignition modules. Then I can flip the stand over and start wiring.

Getting closer!!!

Valve Mounts 012.jpg


Valve Mounts 014.jpg


Valve Mounts 016.jpg


Valve Mounts 011.jpg
 
Back
Top