
IOnceWasLegend
Member
- Joined
- May 6, 2013
- Messages
- 10
- Reaction score
- 2
After acquiring a large mini-fridge back in February, it finally warmed up enough for me to put together a fermentation chamber. This was my first foray into any sort of woodworking, and I'm looking forward to building a kegerator or something similar in the near future!
On the electrical side of things, I wired up an STC-1000 temp controller using this diagram here: http://lovebrewingcompany.com/wp-content/uploads/2011/08/stc-1000.jpg . I tried to do this as cheaply as possible, so I used a blue gang box purchased from Home Depot as the project box and dremeled out a standard faceplate to fit the STC-1000 in it. I'll post photos of that build later tonight.
Build of the actual chamber:
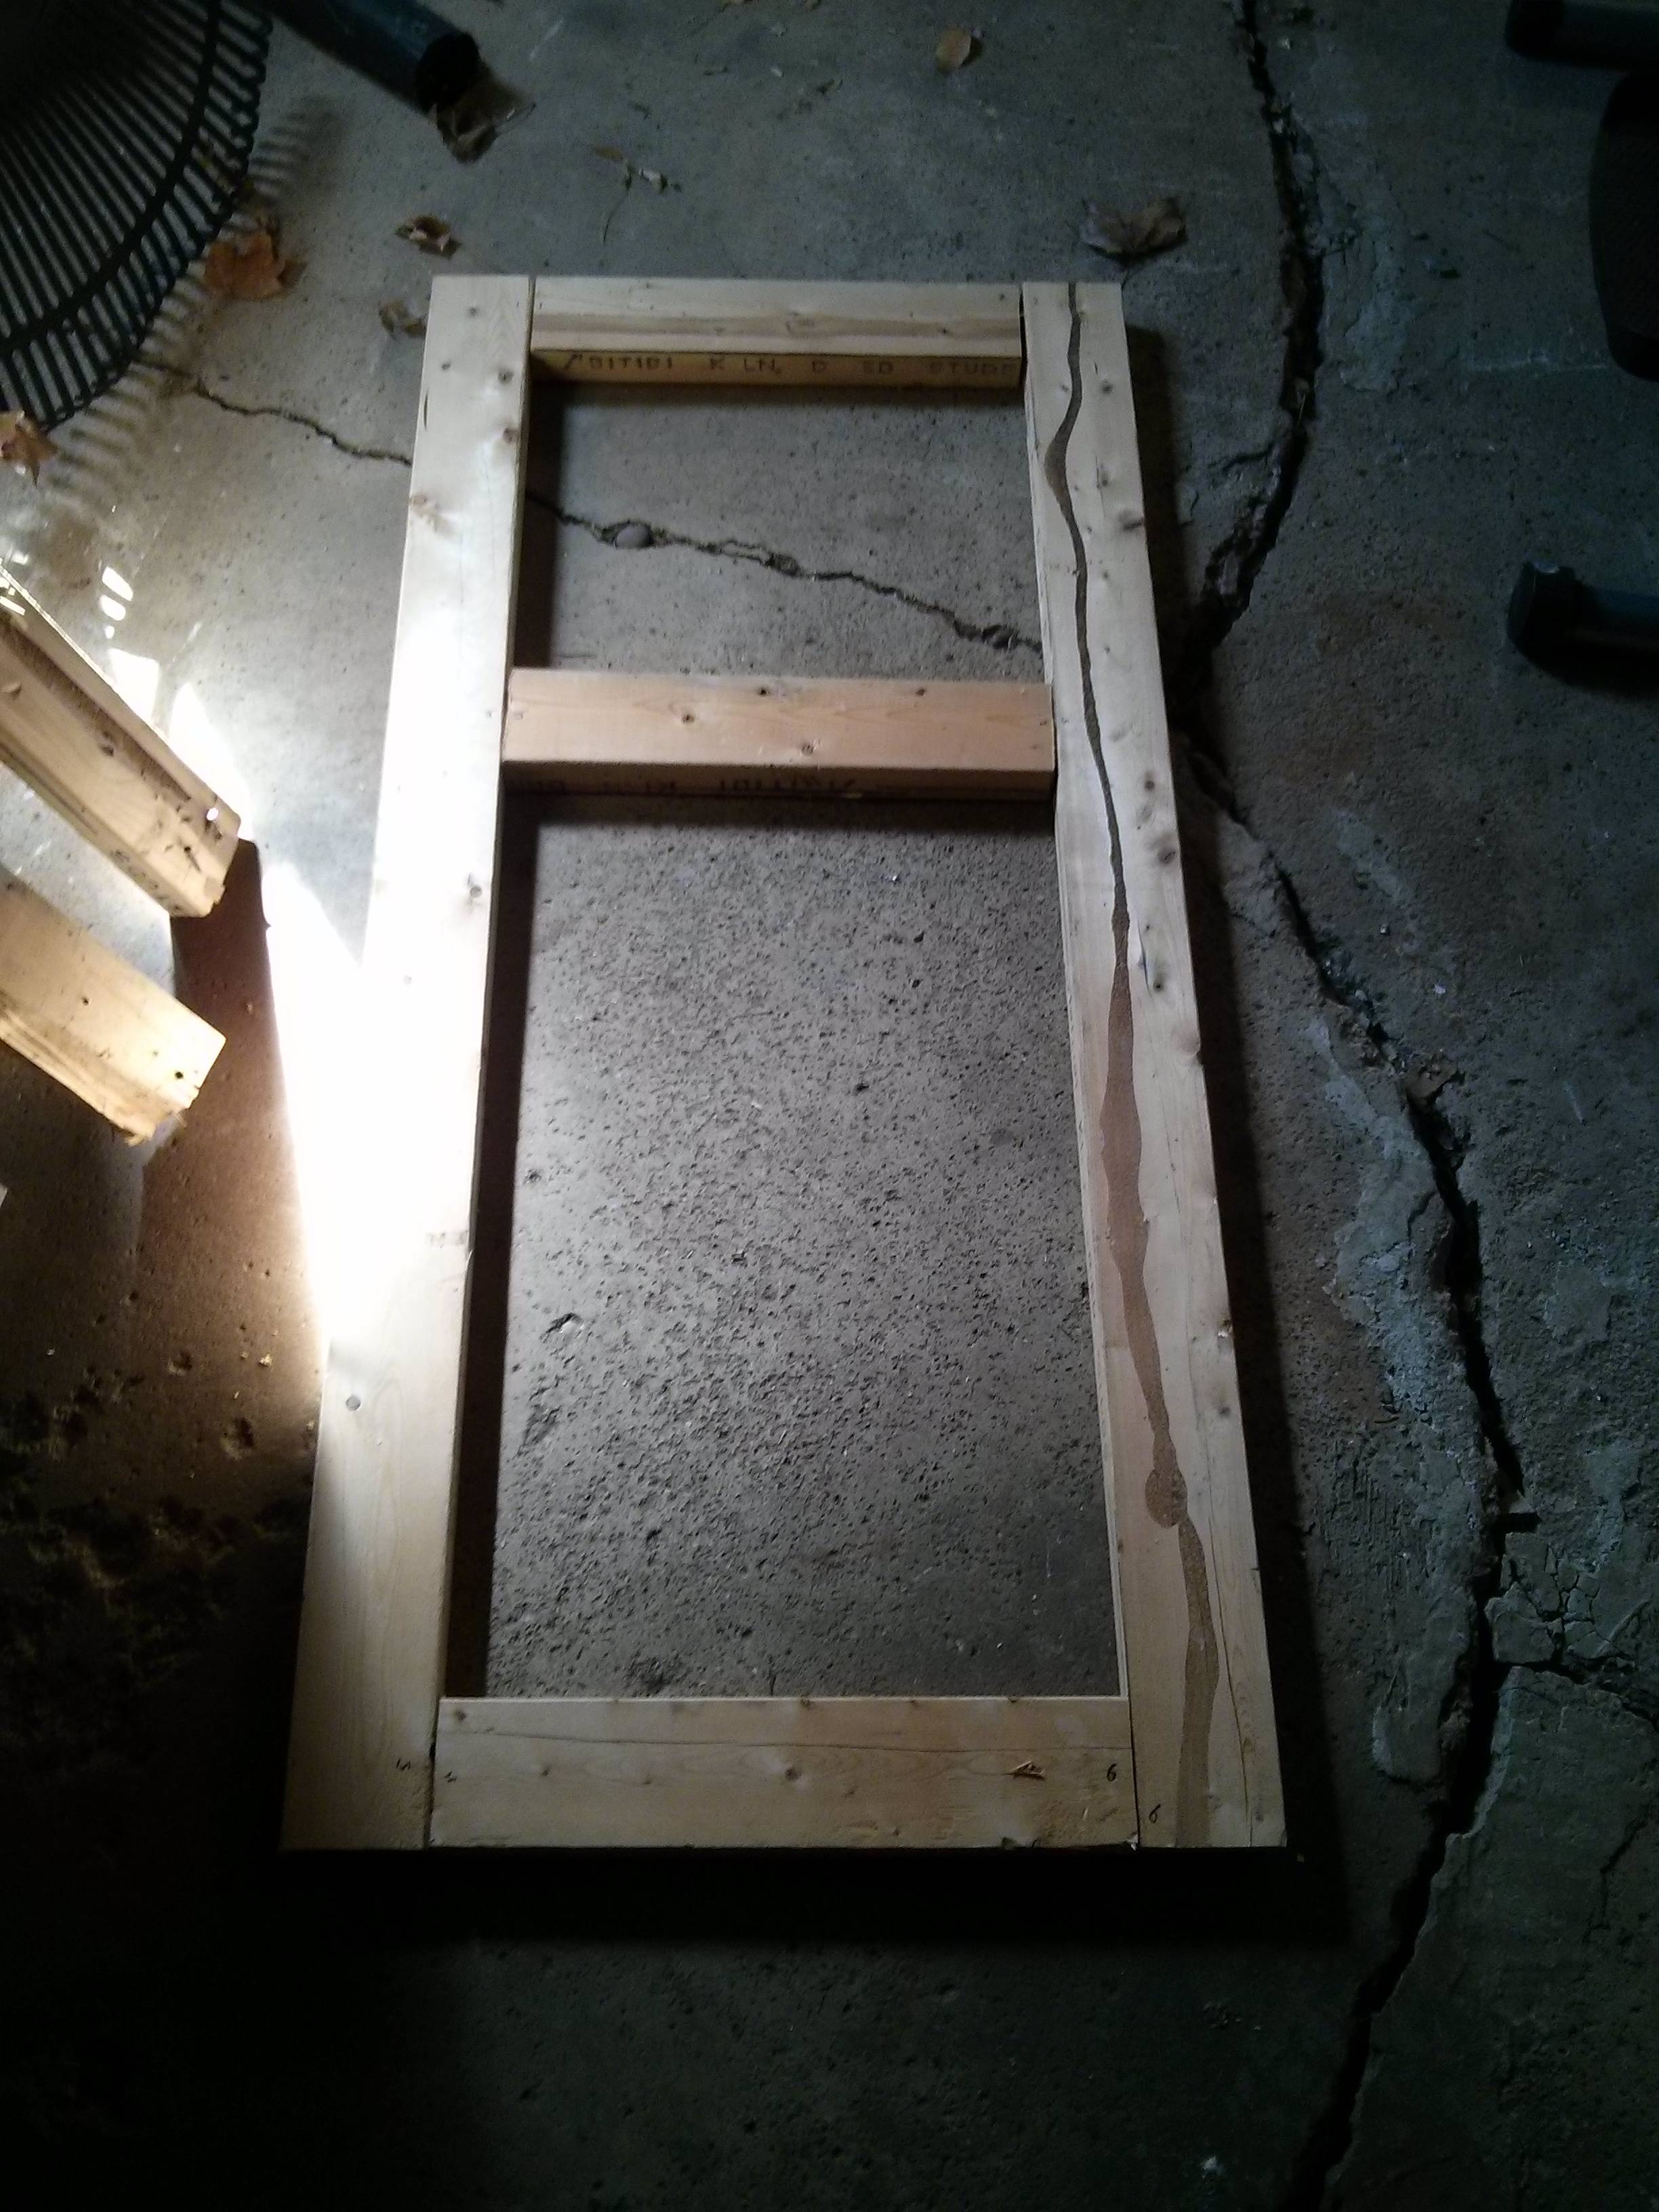
Humble beginnings. I chose dowel joining for this project based primarily on cost, as a cheap dowel joining kit at Harbor Freight was <$5.
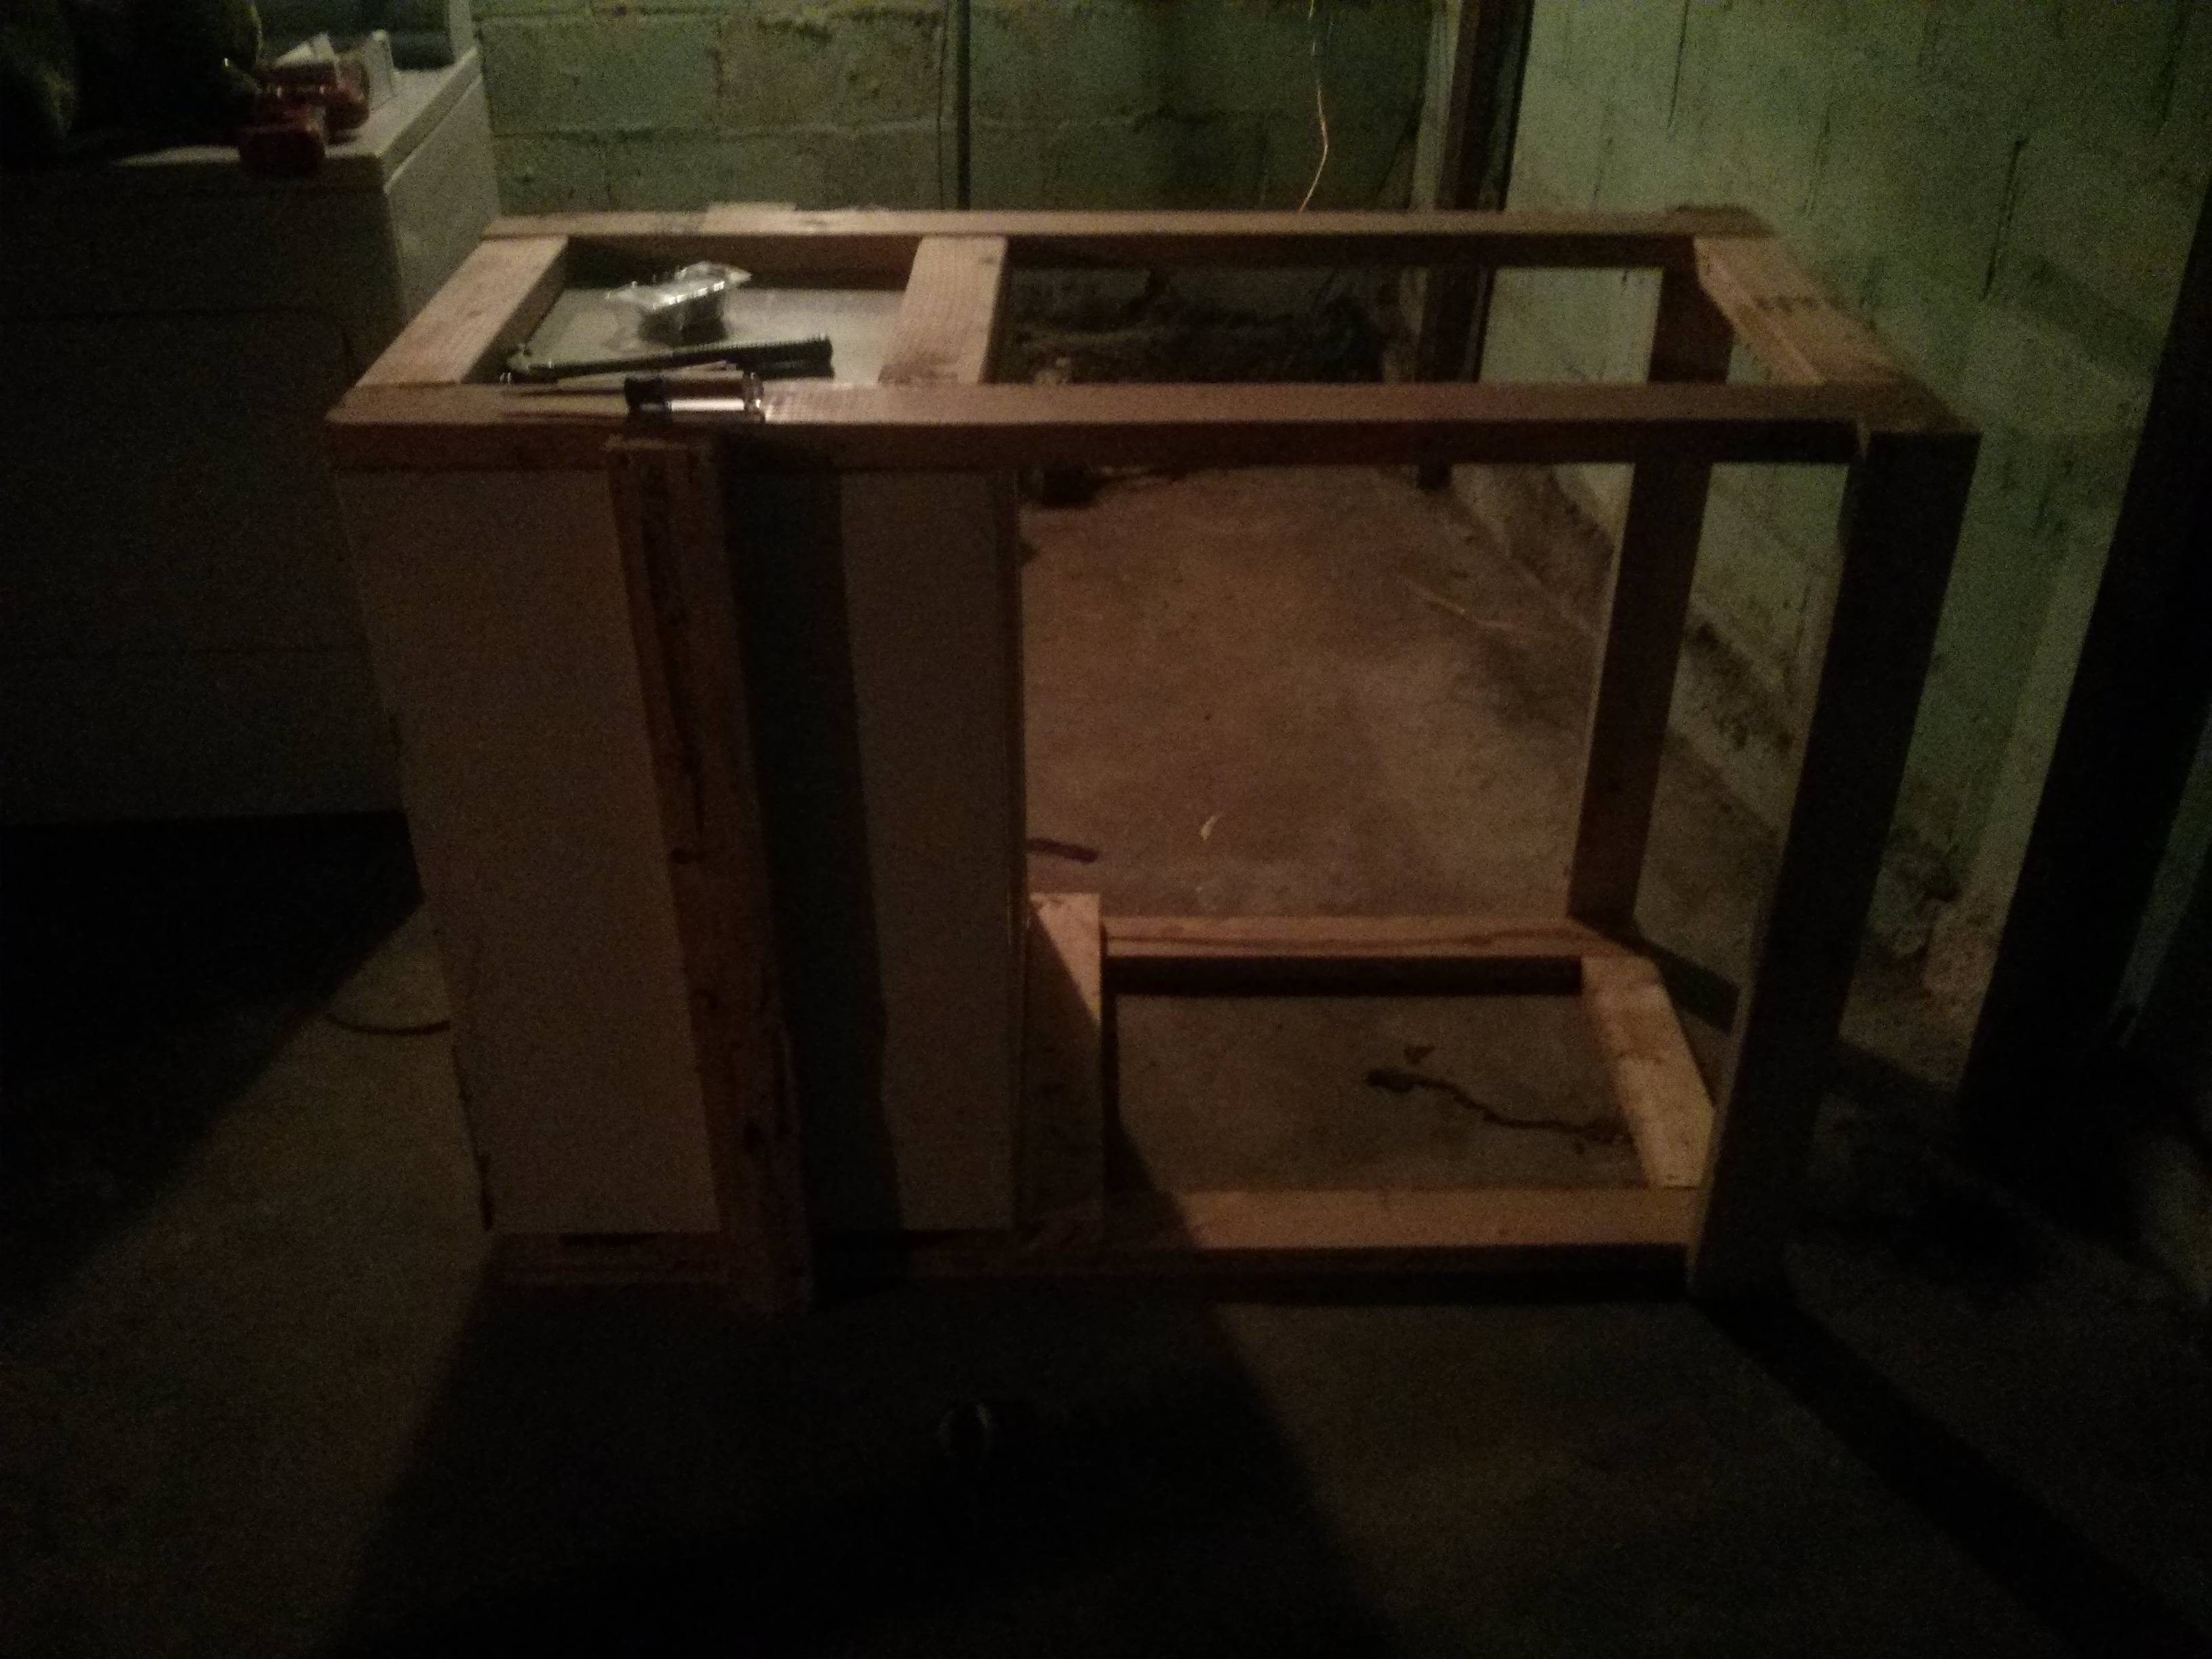
The full box. I added an additional 2x4 near the opening of the mini fridge, both to serve as a collar and to provide additional support for the frame.
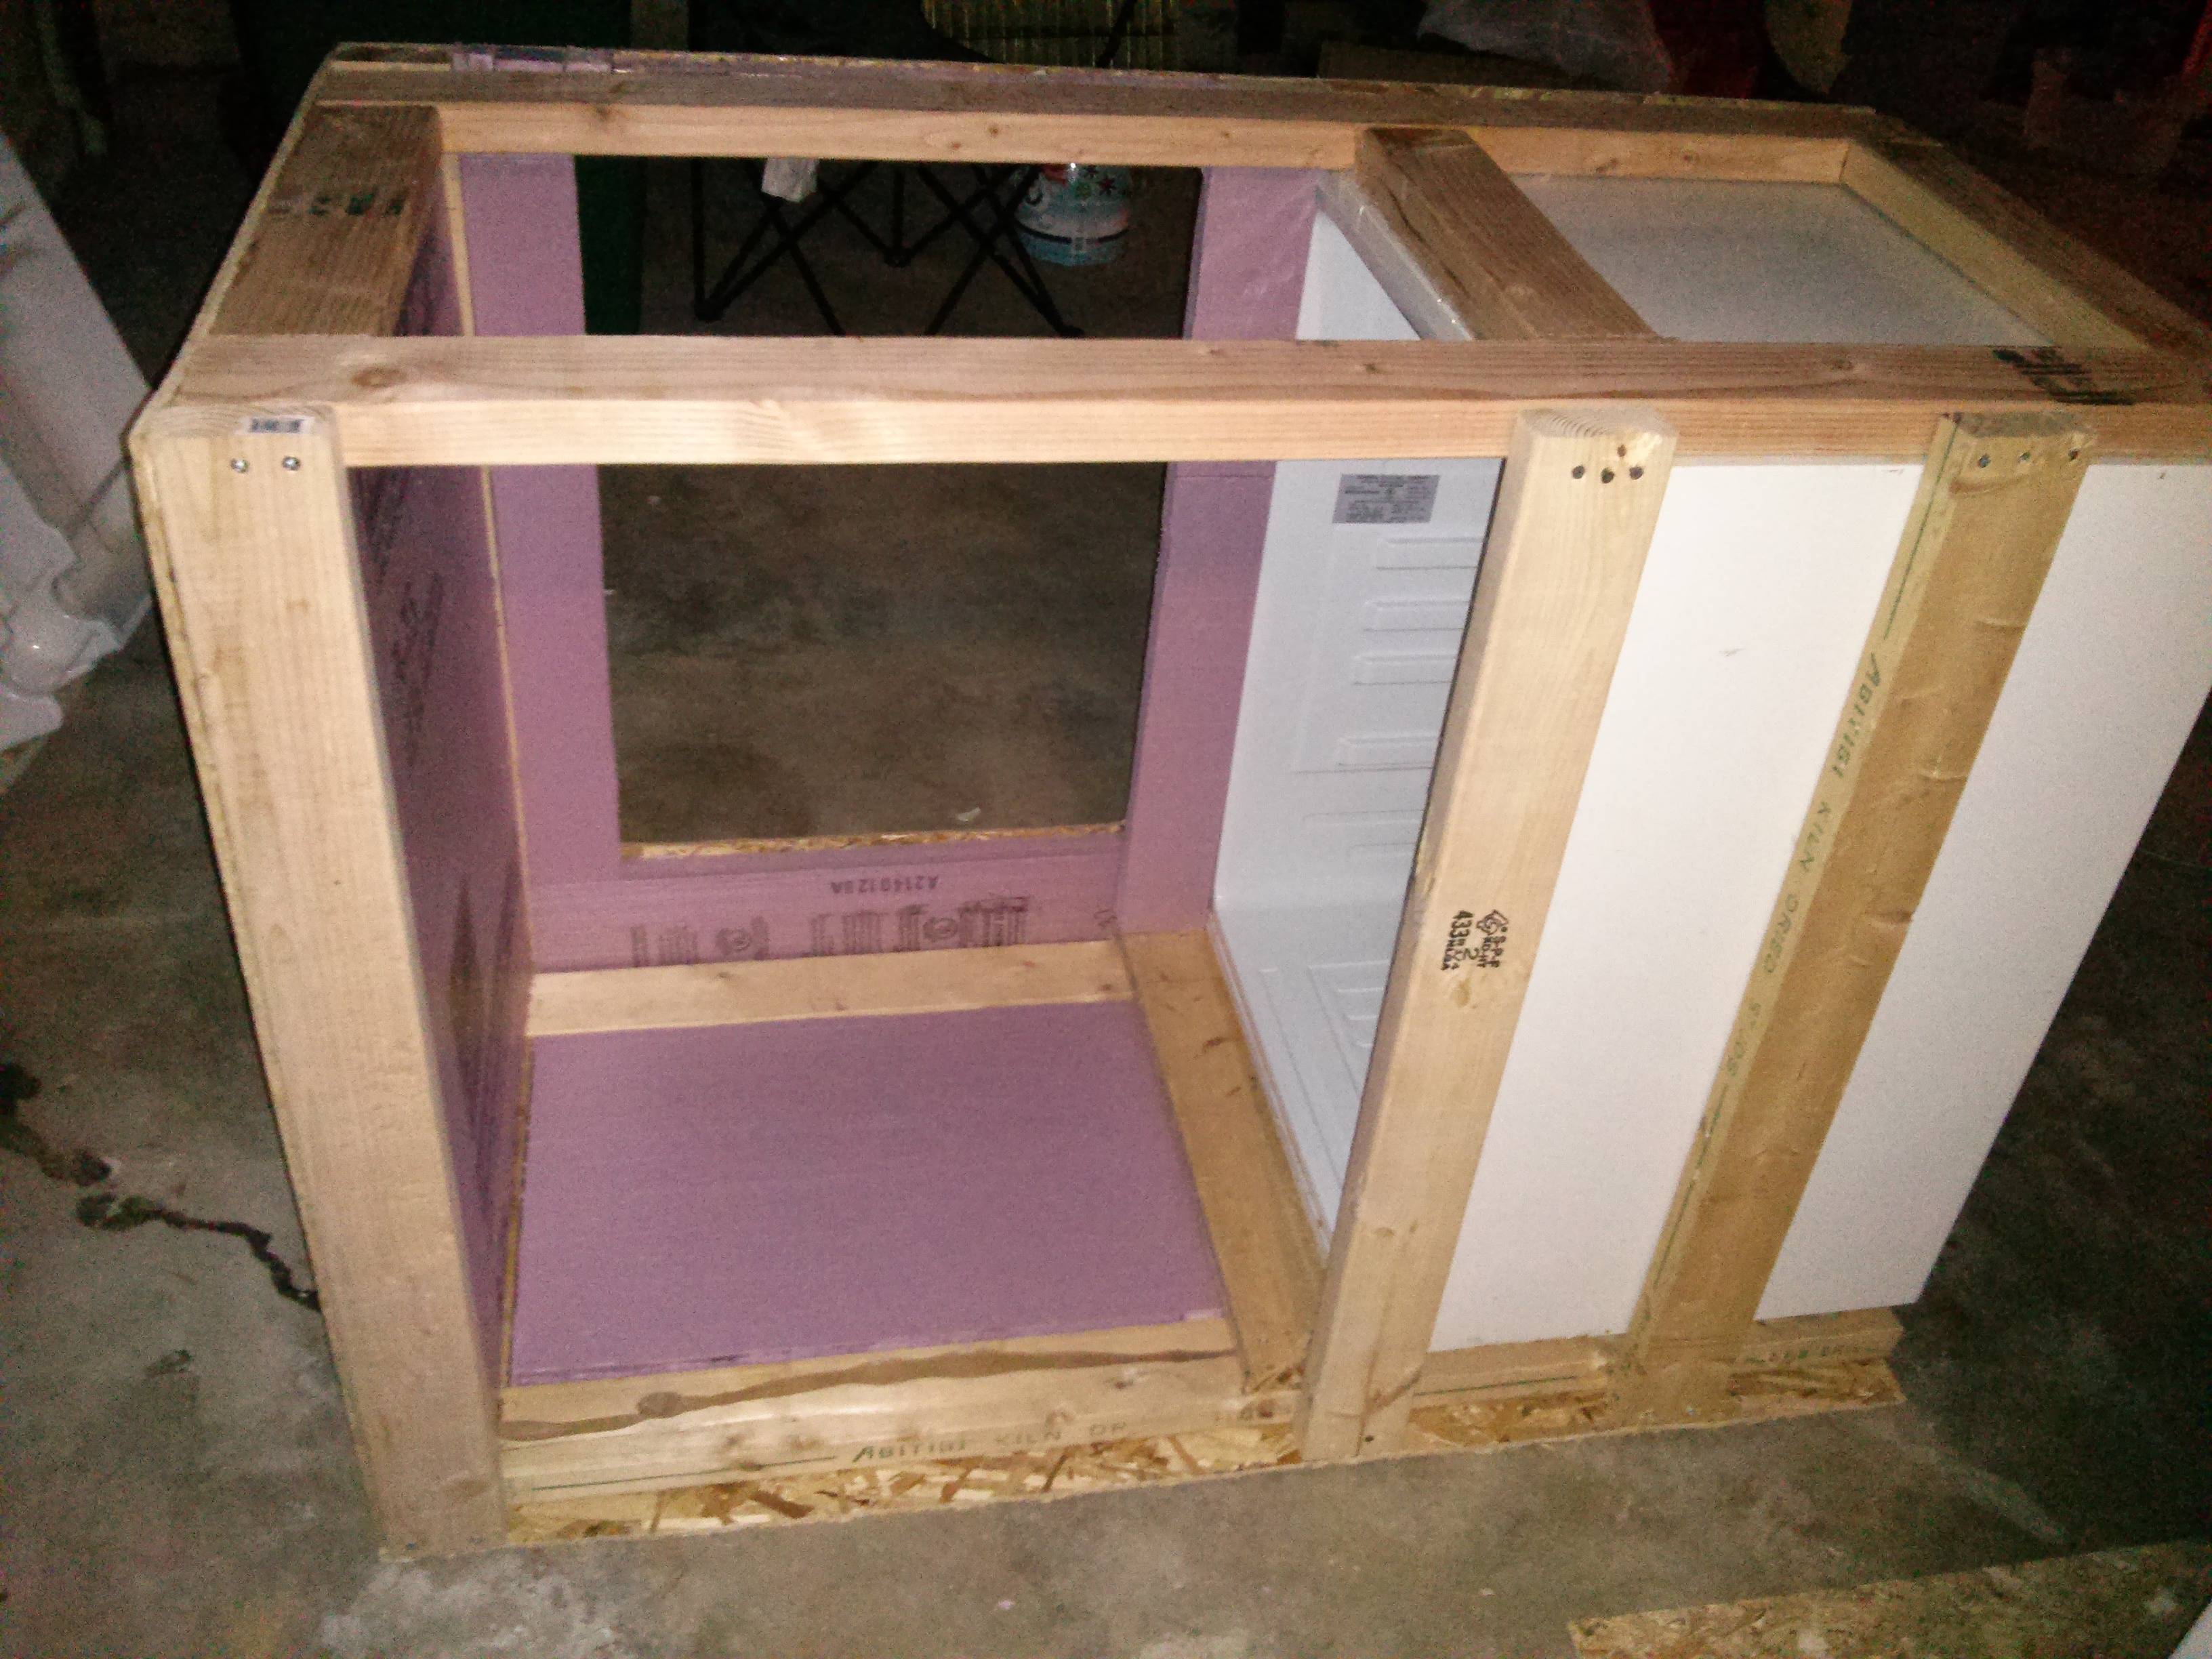
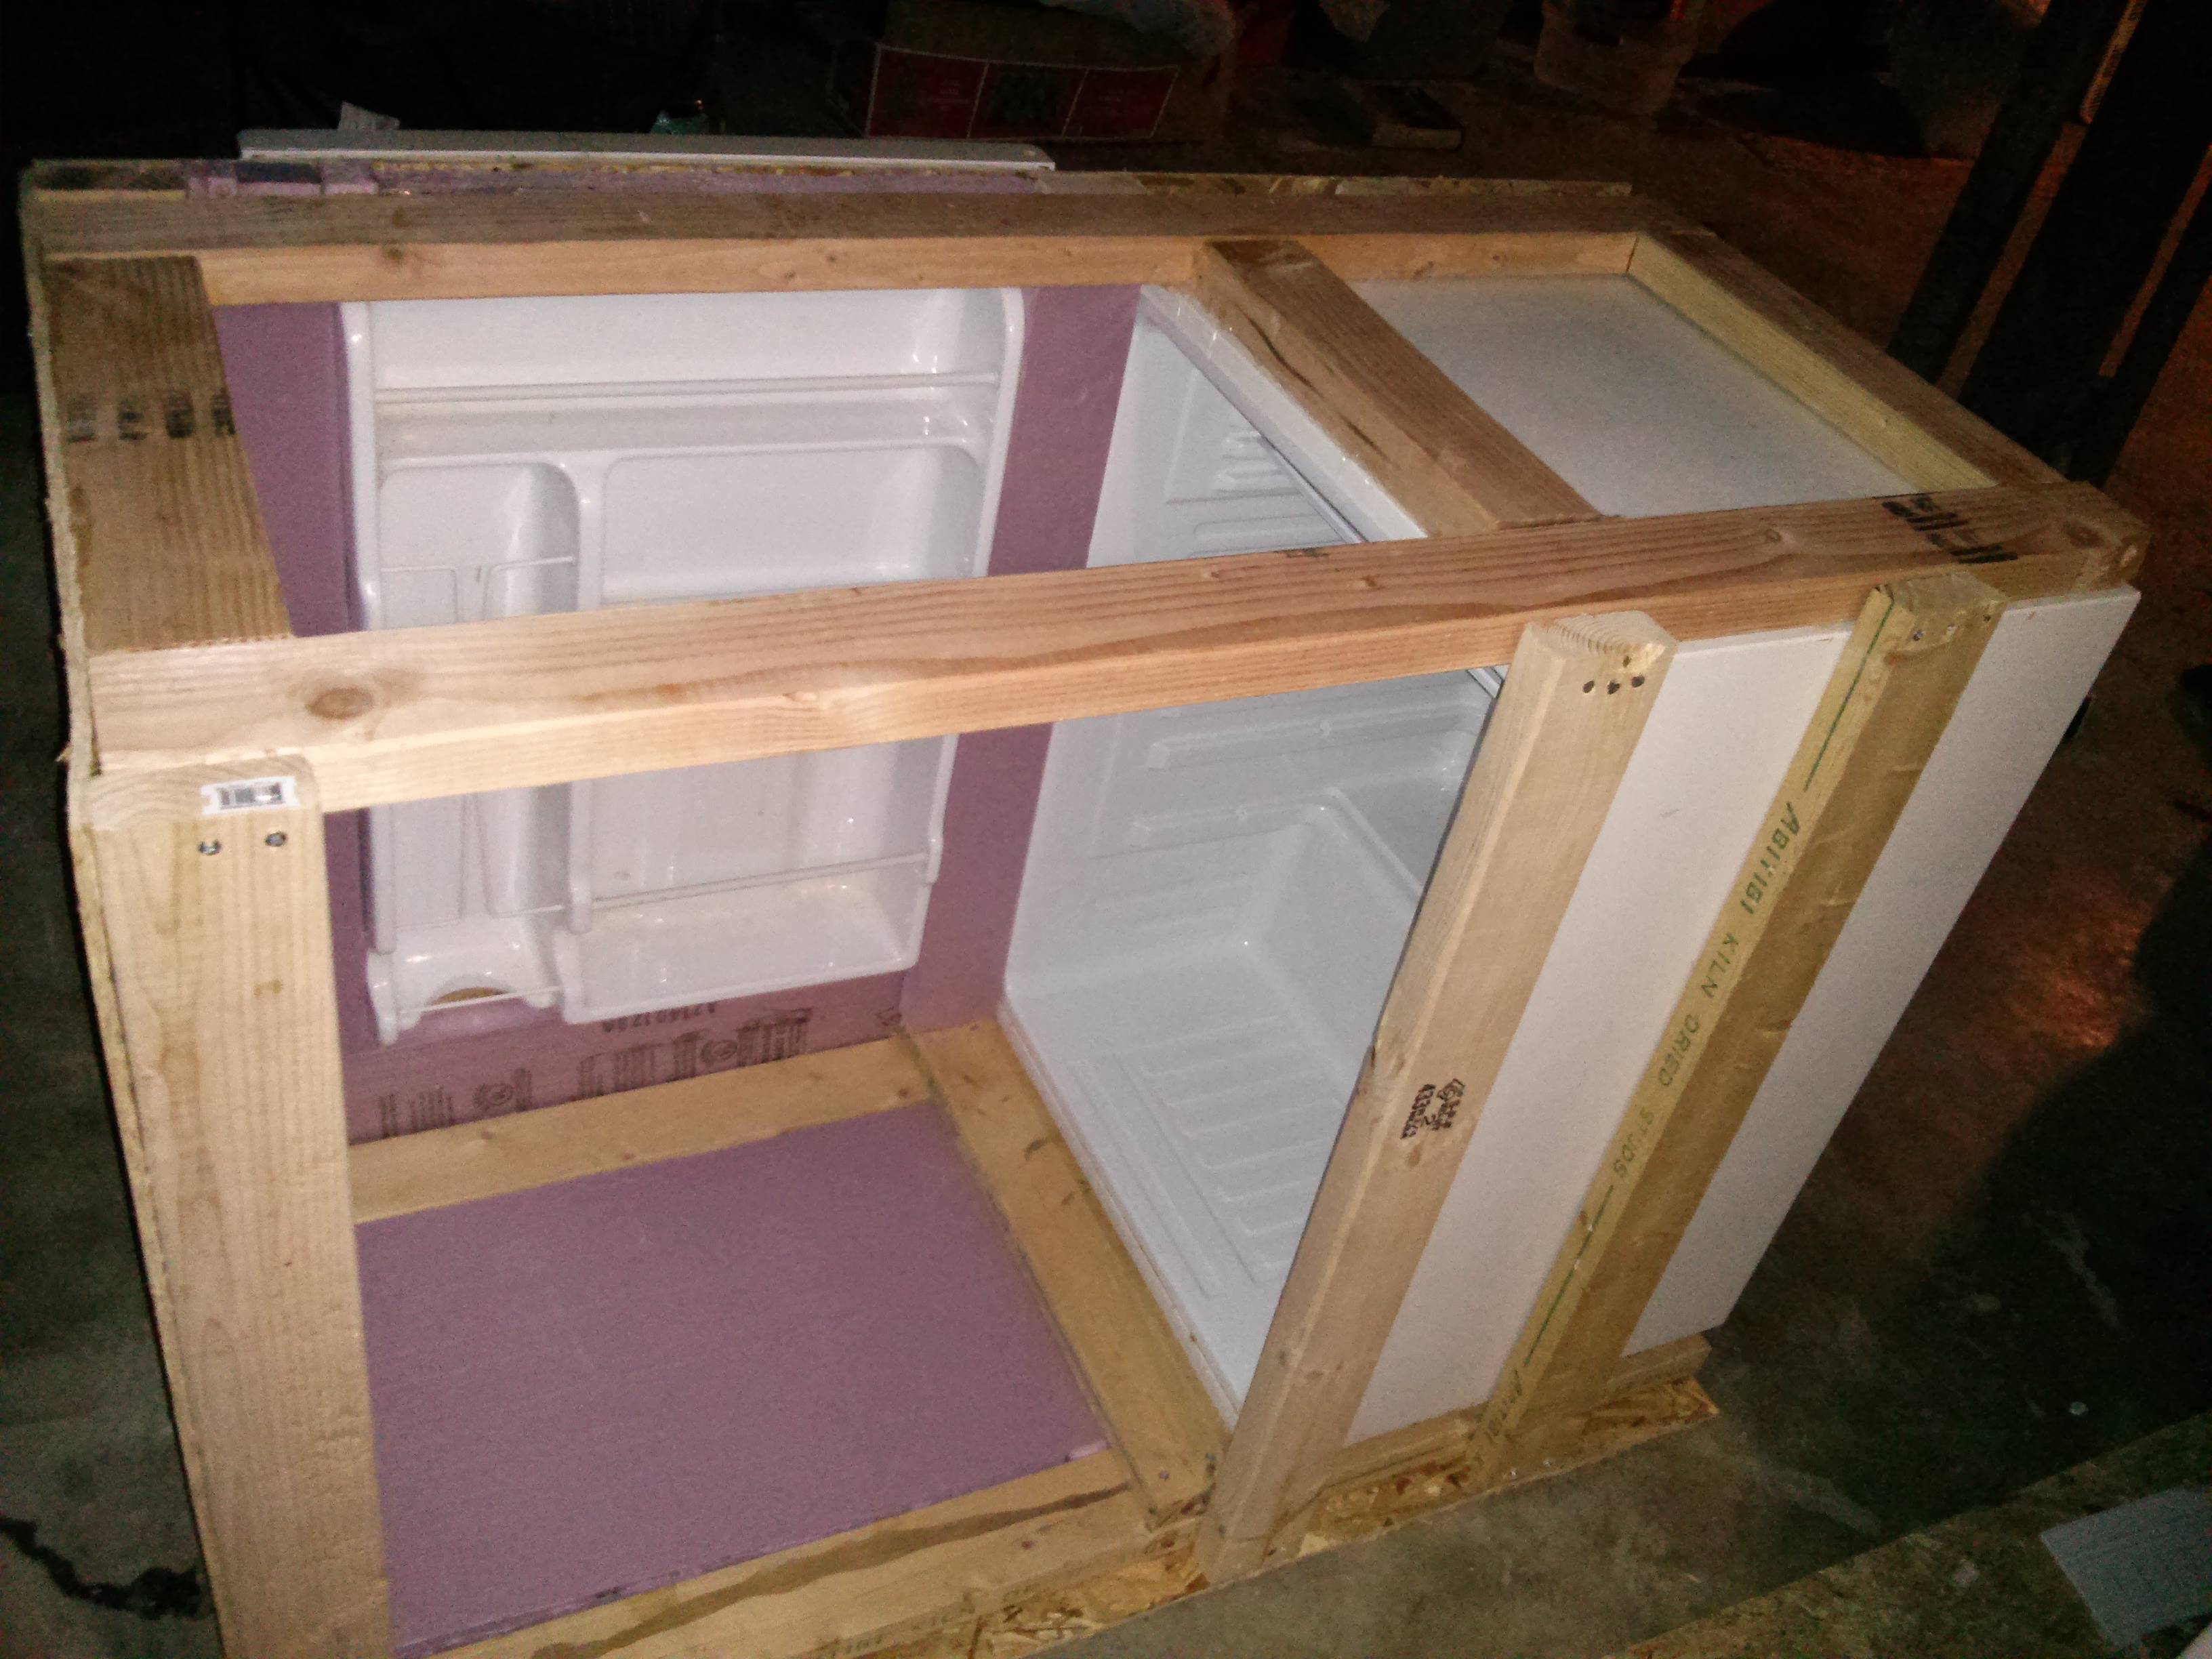
Several sheets of 3/8" OSB attached and the hole for the door cut out. I wanted to use the original door that the fridge came with, but I also entertained the idea of making a hinge-top lid. I used 1.5" R7.5 foam.
Testing a dry fit of the door. Success!
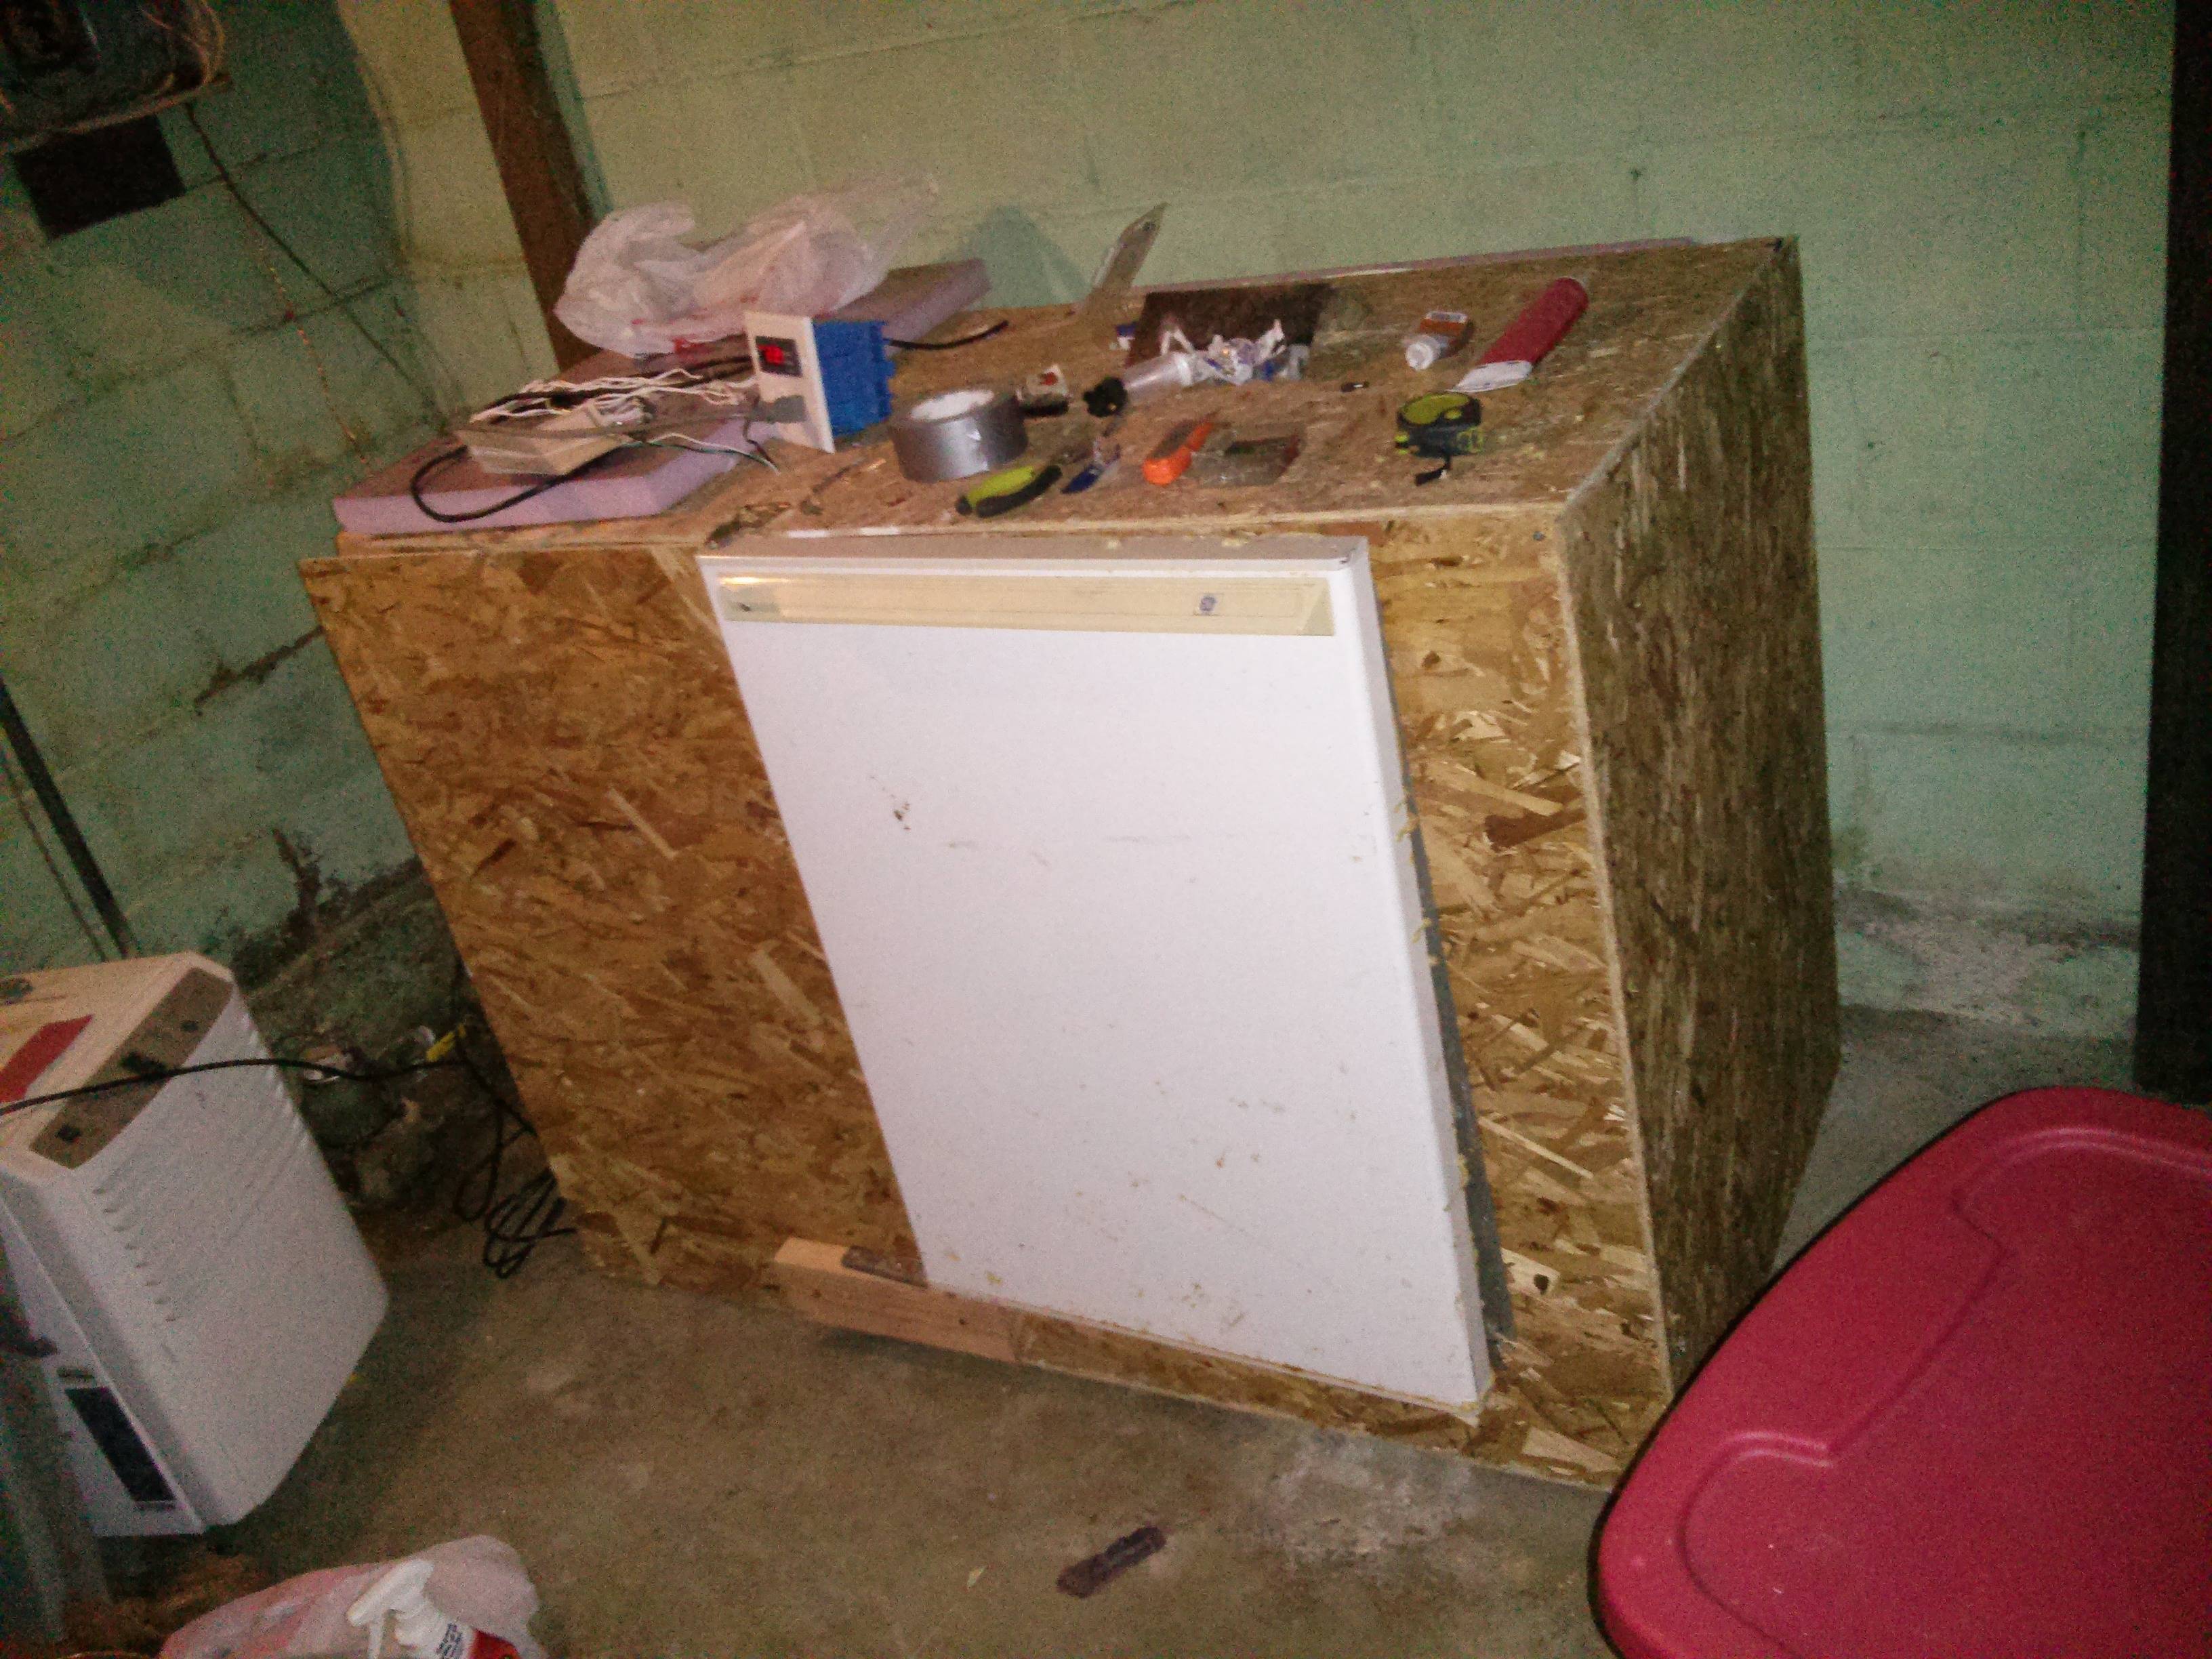
The functional product. After the last photo I sealed up the remaining sides with foam/OSB and sealed everything with silicone caulk. I fired it up, tested it, and it's been holding steady at 66 F for the past four days. In a couple weeks I'm going to attach some casters to the bottom, waterproof the inside and purchase a whiteboard to hang from the sides, but I can't do any more work on it for the moment. That's because...
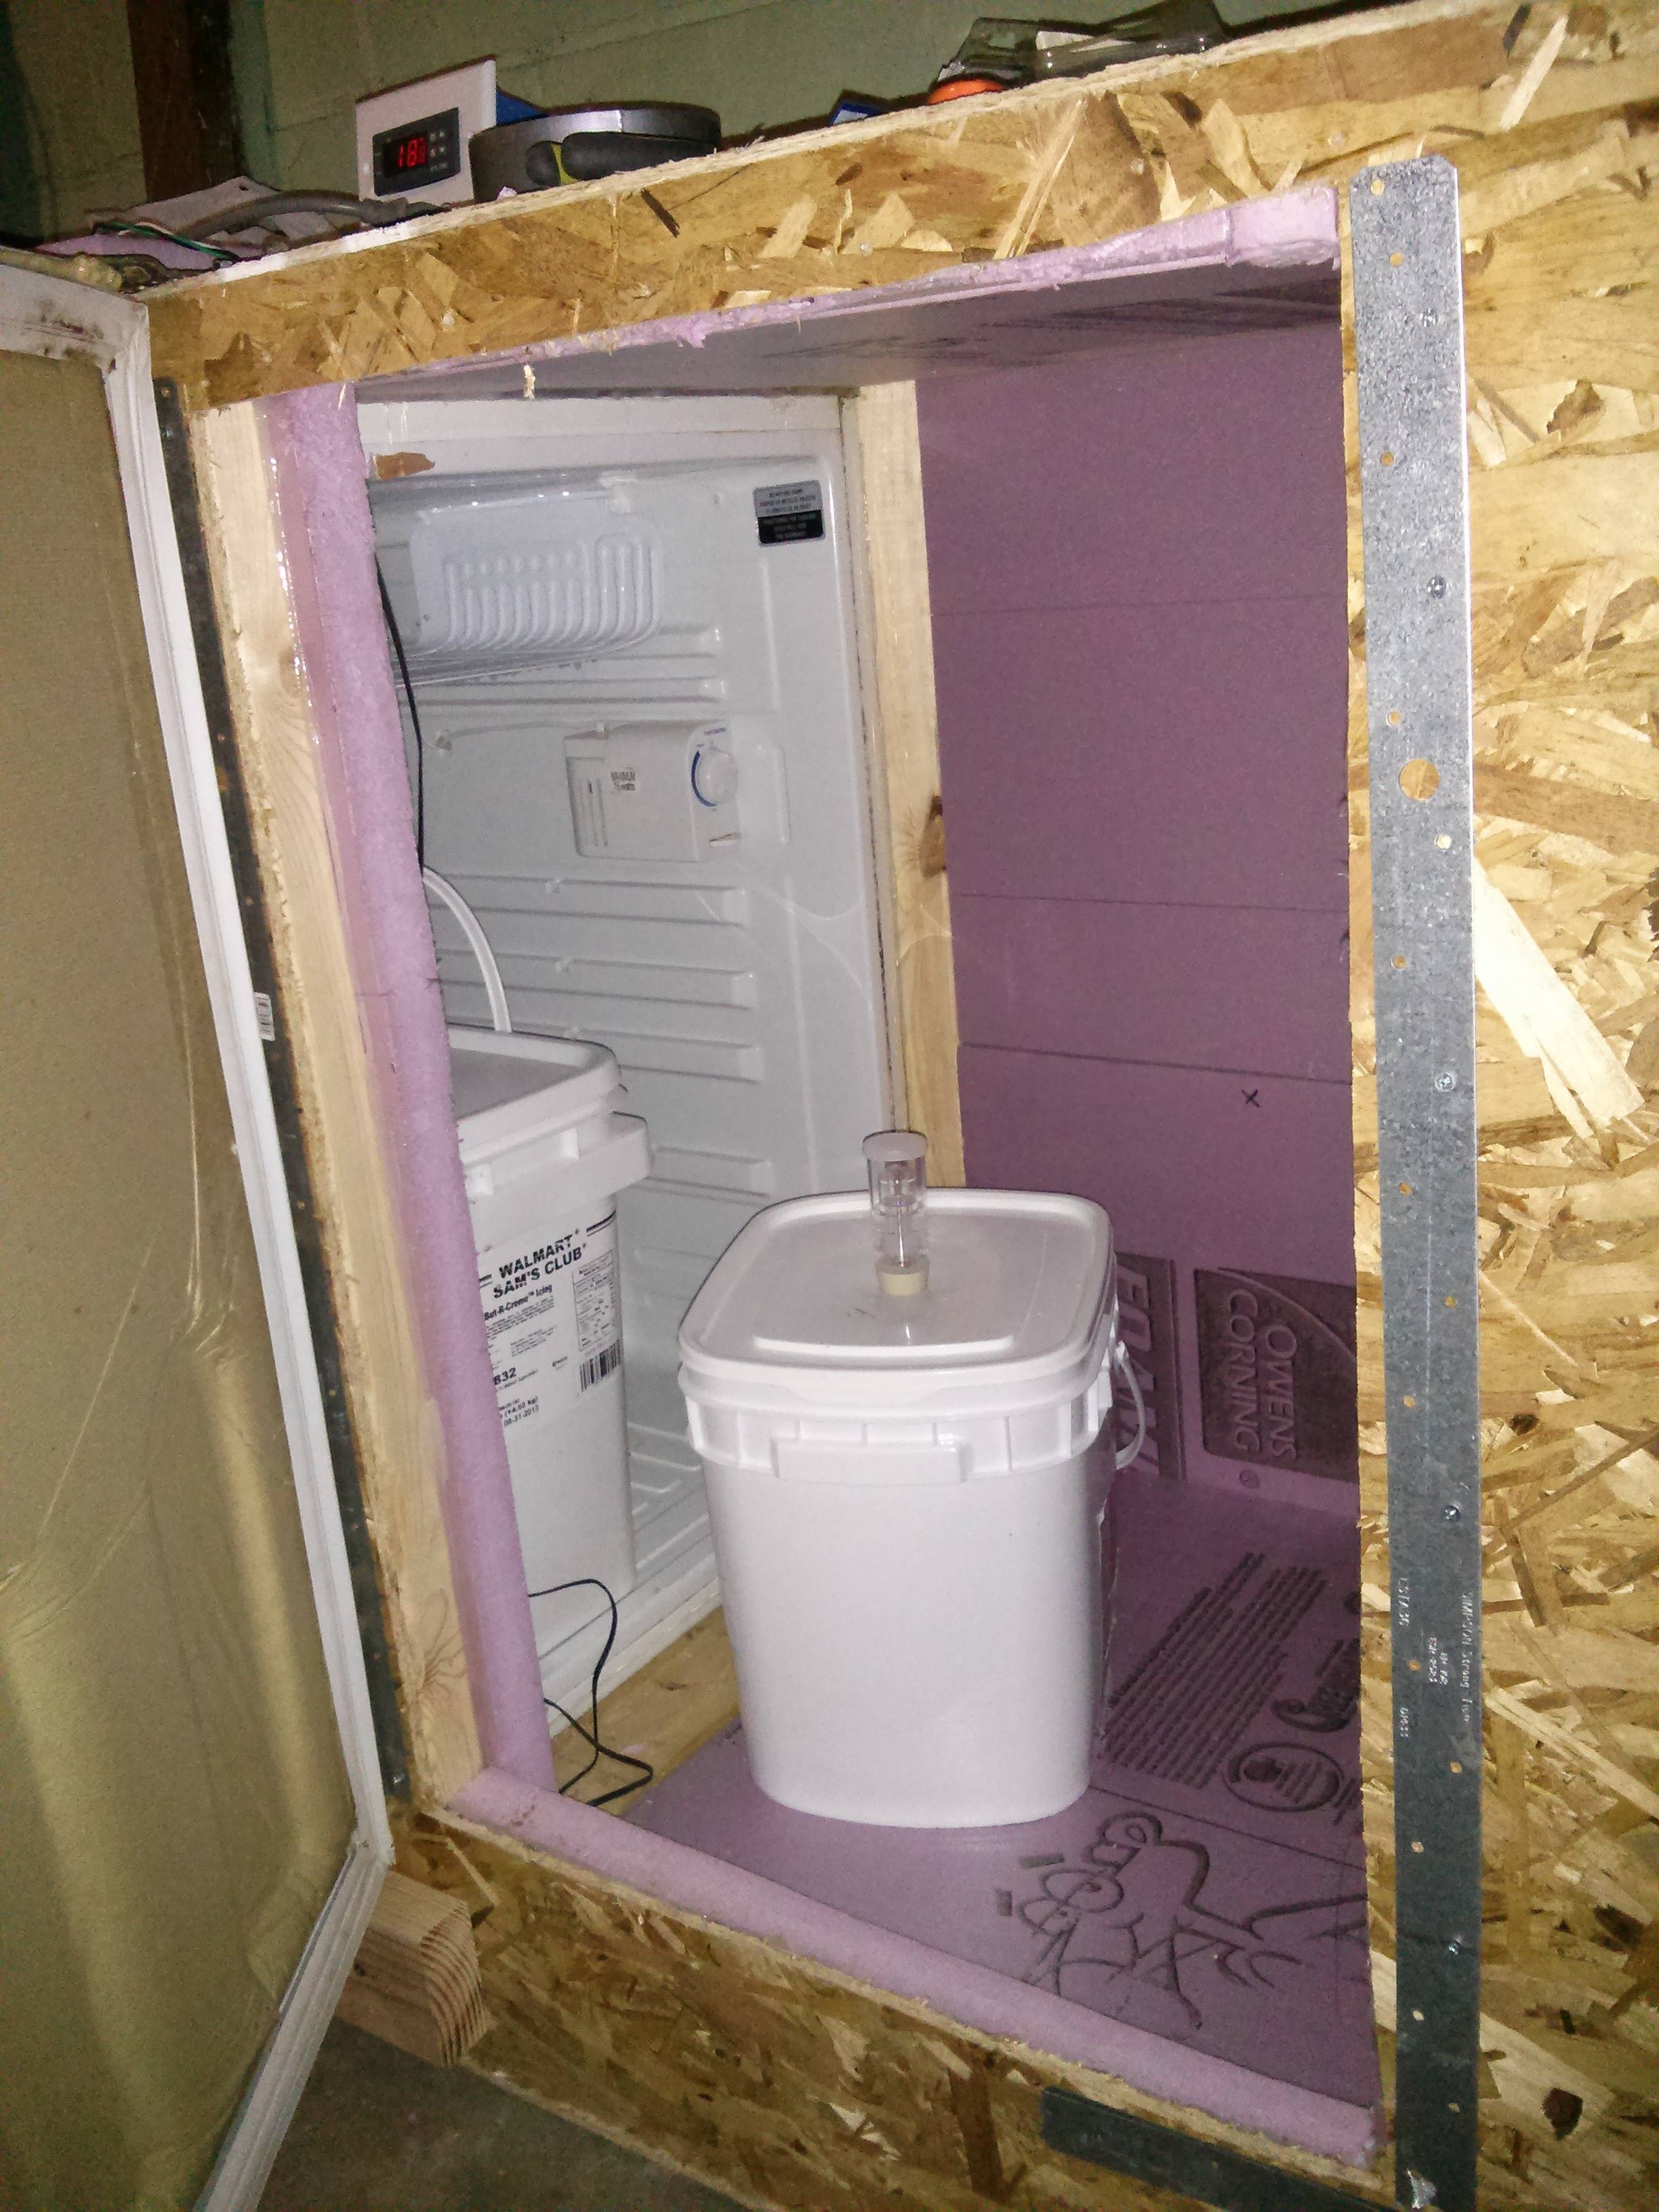
I have a batch of IPA bubbling happily away in there. Although I do need to go buy another 3-foot section of steel deck strapping to finish the 'edge' around the door for the fridge-door's magnet to stick to.
On the electrical side of things, I wired up an STC-1000 temp controller using this diagram here: http://lovebrewingcompany.com/wp-content/uploads/2011/08/stc-1000.jpg . I tried to do this as cheaply as possible, so I used a blue gang box purchased from Home Depot as the project box and dremeled out a standard faceplate to fit the STC-1000 in it. I'll post photos of that build later tonight.
Build of the actual chamber:
Humble beginnings. I chose dowel joining for this project based primarily on cost, as a cheap dowel joining kit at Harbor Freight was <$5.
The full box. I added an additional 2x4 near the opening of the mini fridge, both to serve as a collar and to provide additional support for the frame.
Several sheets of 3/8" OSB attached and the hole for the door cut out. I wanted to use the original door that the fridge came with, but I also entertained the idea of making a hinge-top lid. I used 1.5" R7.5 foam.
Testing a dry fit of the door. Success!
The functional product. After the last photo I sealed up the remaining sides with foam/OSB and sealed everything with silicone caulk. I fired it up, tested it, and it's been holding steady at 66 F for the past four days. In a couple weeks I'm going to attach some casters to the bottom, waterproof the inside and purchase a whiteboard to hang from the sides, but I can't do any more work on it for the moment. That's because...
I have a batch of IPA bubbling happily away in there. Although I do need to go buy another 3-foot section of steel deck strapping to finish the 'edge' around the door for the fridge-door's magnet to stick to.
")
